
Sound insulation mod - Holiday Fun
 07-05-2009, 04:43 PM
#1
Team Owner


Thread Starter
Seems I have made a tradition of doing mods on my C5's during the July 4th holiday so I planned a few for this weekend and the coming week. The first was installing the insulation kit I received from Madvette Motorsports for Mrs. Patches' coupe. Years ago, I used several rolls of Frost King and Reflectix to insulate my coupe and have been dreading the insulation job on her's. But I have to say, the Madvette Motorsports pre-cut kit made it considerably easier and better. Plus, no cut up hands from the FK's hard foil that I endured last time and practically no laborious figuring of how to cut the pieces up to get the best coverage. There was a slight bit of patching in some small areas but those were minor and far between.
Mrs. Patches helped out as well which was nice.
Anyway, this isn't a typical how-to that I would normally do because it's essentially just pulling the interior out and taping the pieces in. Just a few tools were required to get the entire interior out including a couple of Torx bits, sockets, scissors, a carpet knife, a couple of screwdrivers, a trim removal tool (optional) and a roll of tape.
Here are the requisite pics. I will point out a few interesting things as I go.
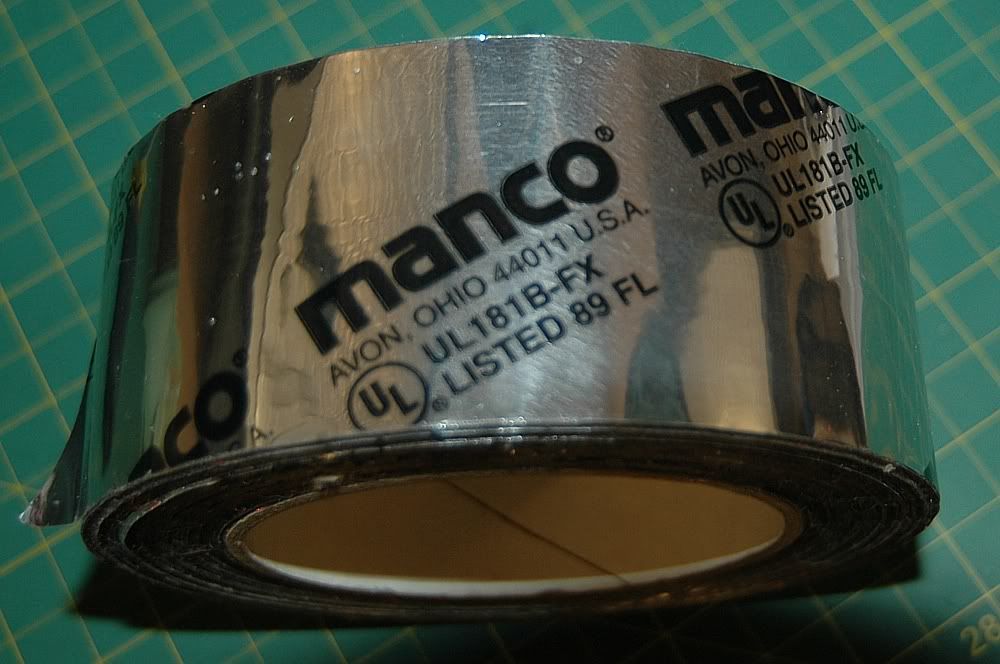
I bought this roll of tape at Lowe's when I did this mod on my C5 years ago. It's excellent stuff, allowing you to form it into corners and curves and holds the insulation nicely. Plus, it can handle temps that the insulation is rated for.
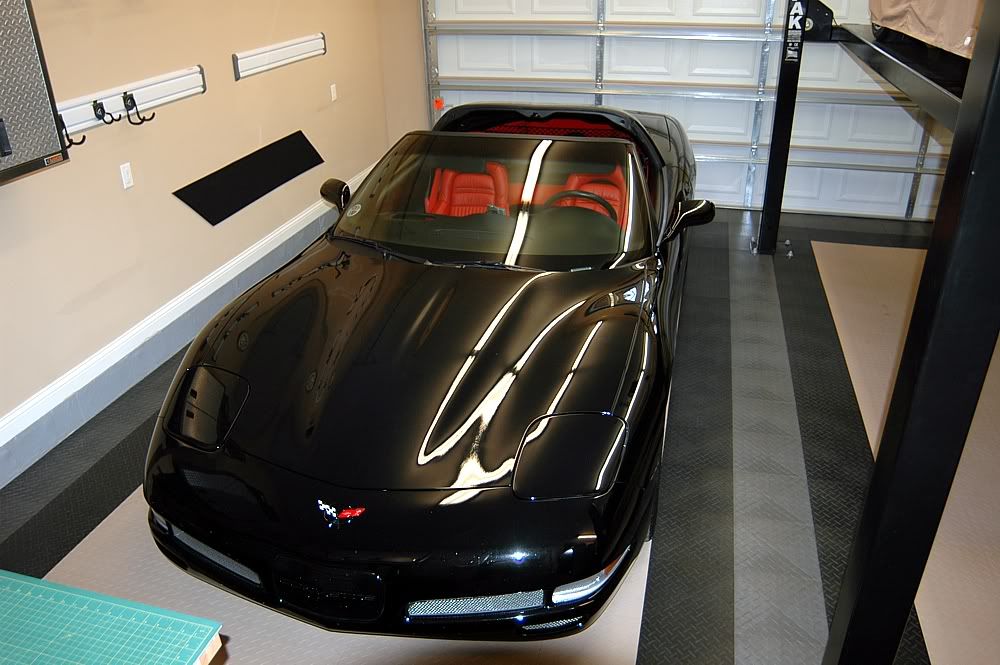
Parked the C5 in the "working bay" to allow easy access
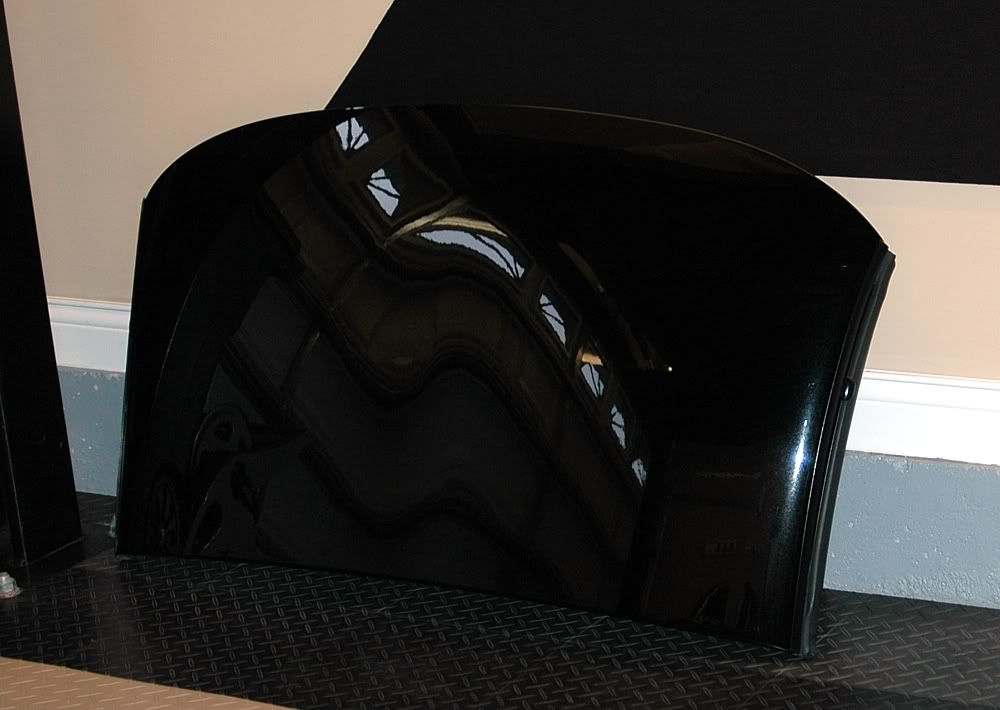
Pulled the top off as well
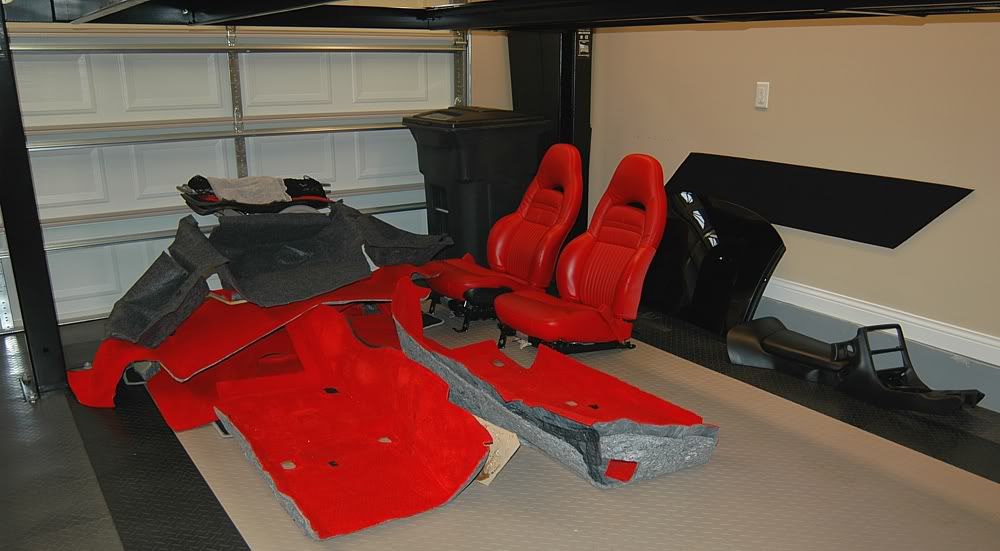
Ready to pull the interior

Seats out
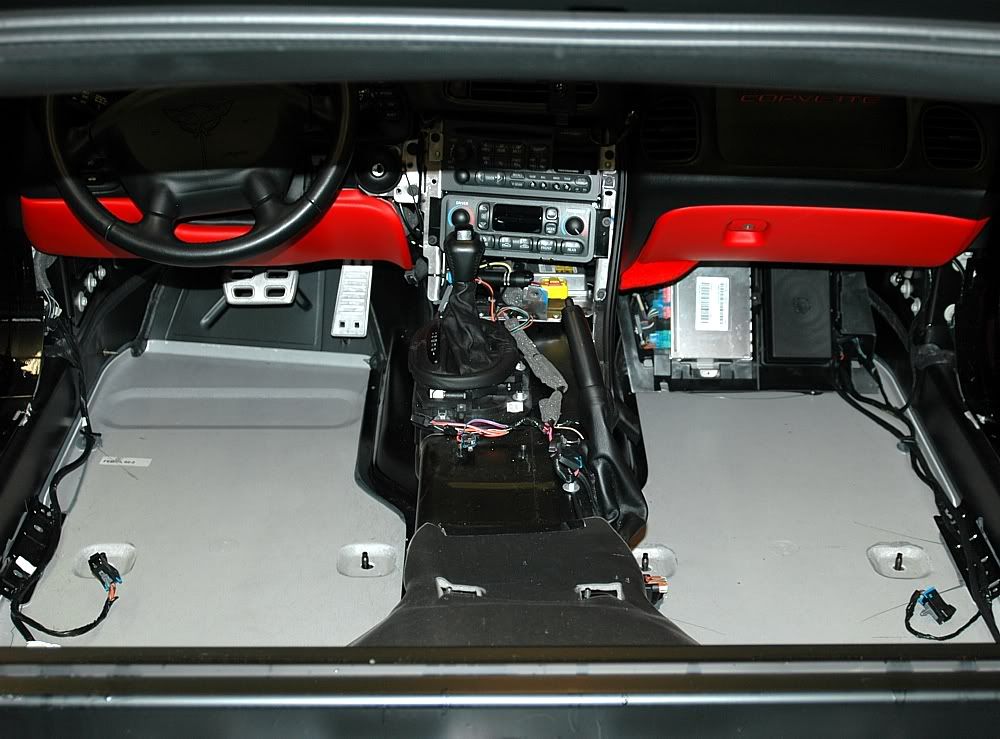
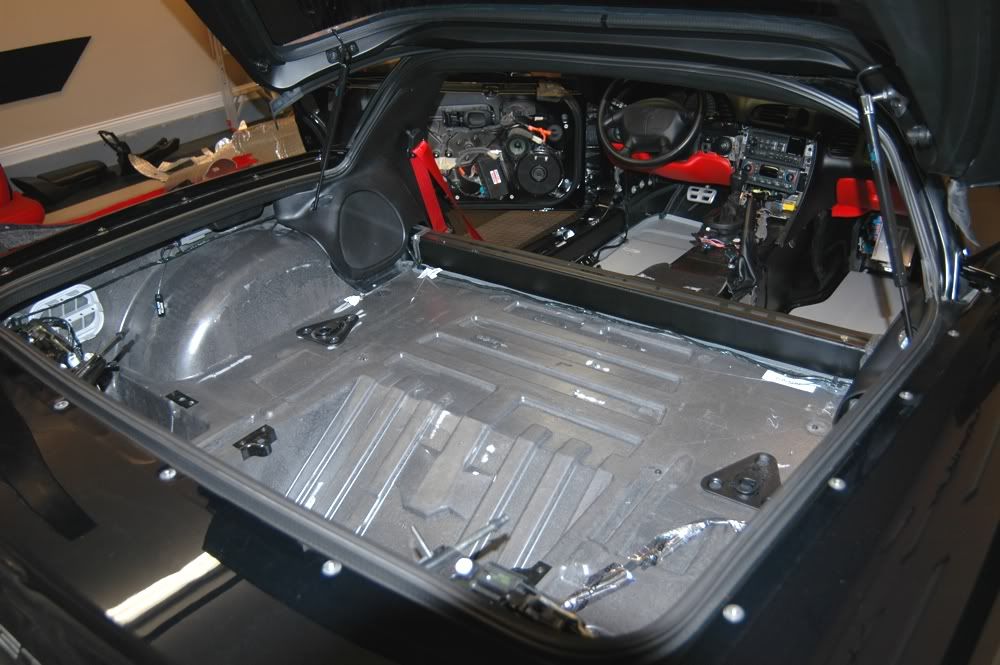
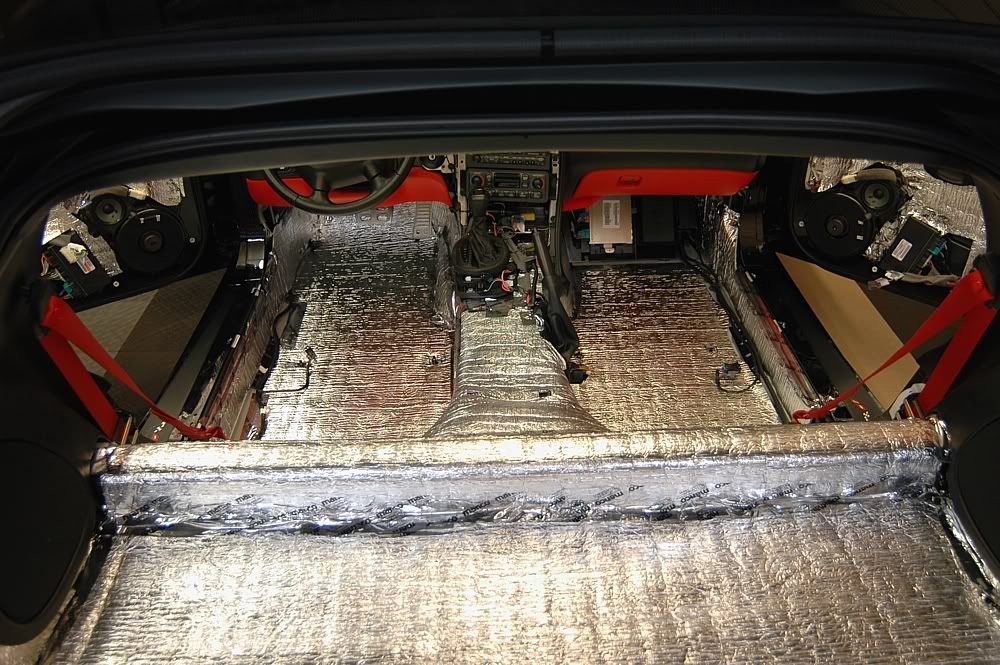
Interior out
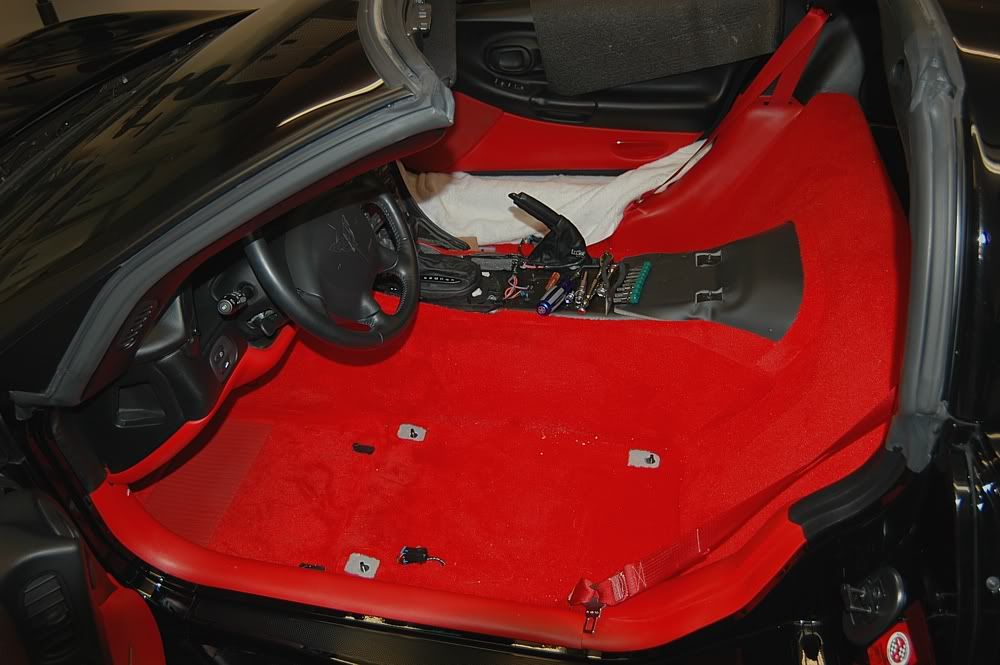
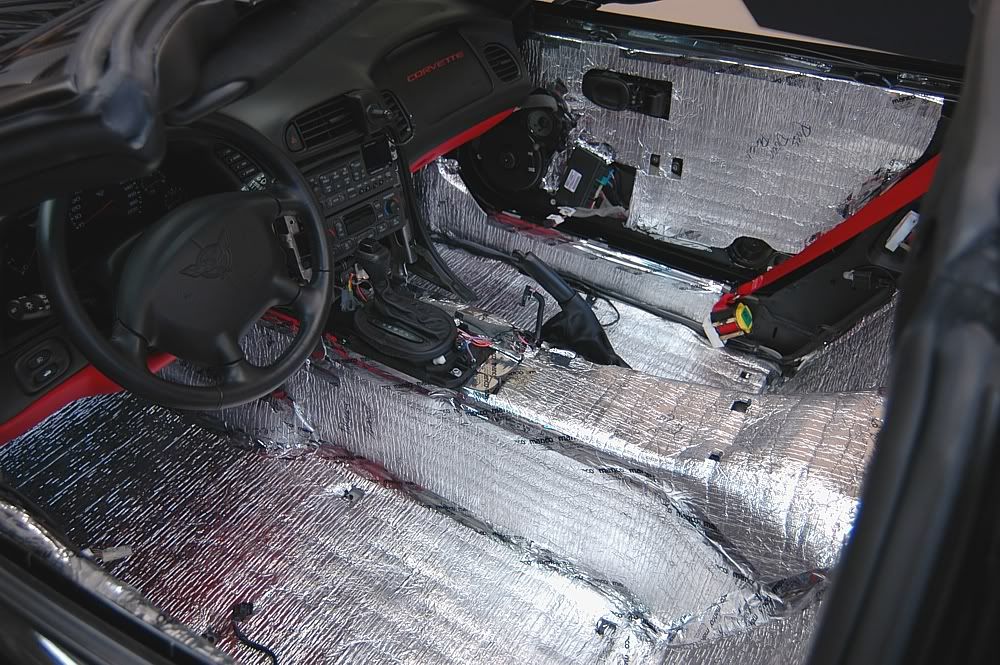
Passenger side
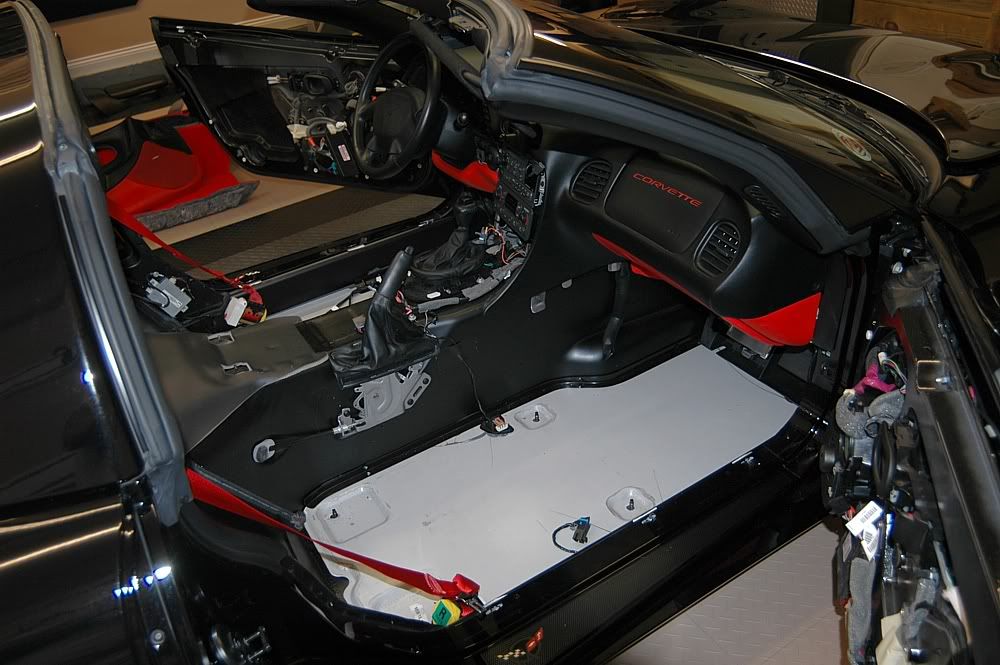
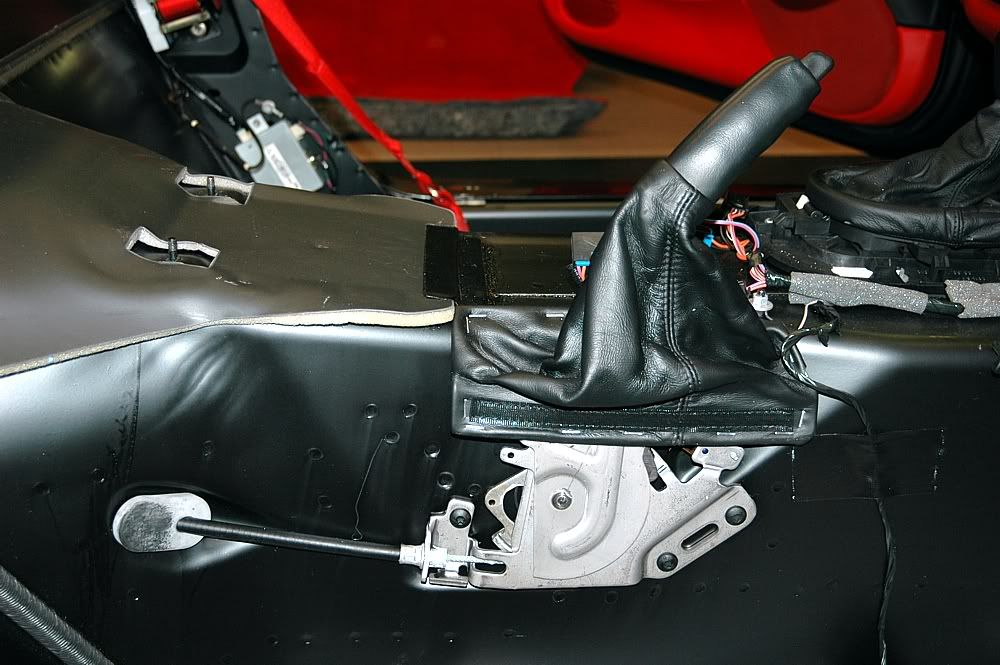
Parking brake lever assembly
Passenger floor pan
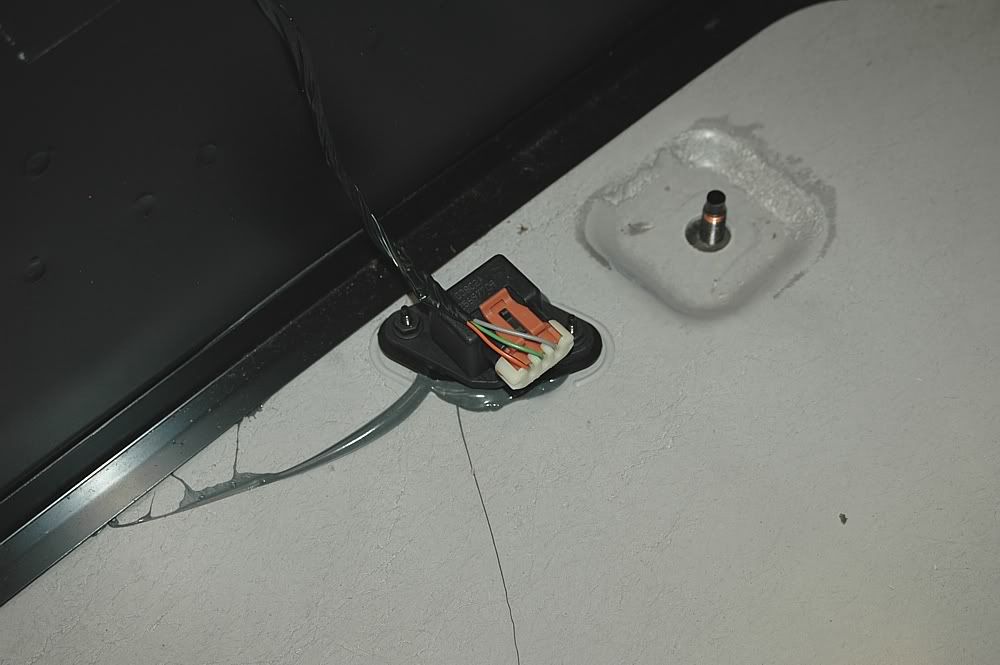
Lateral accelerometer - passenger floor
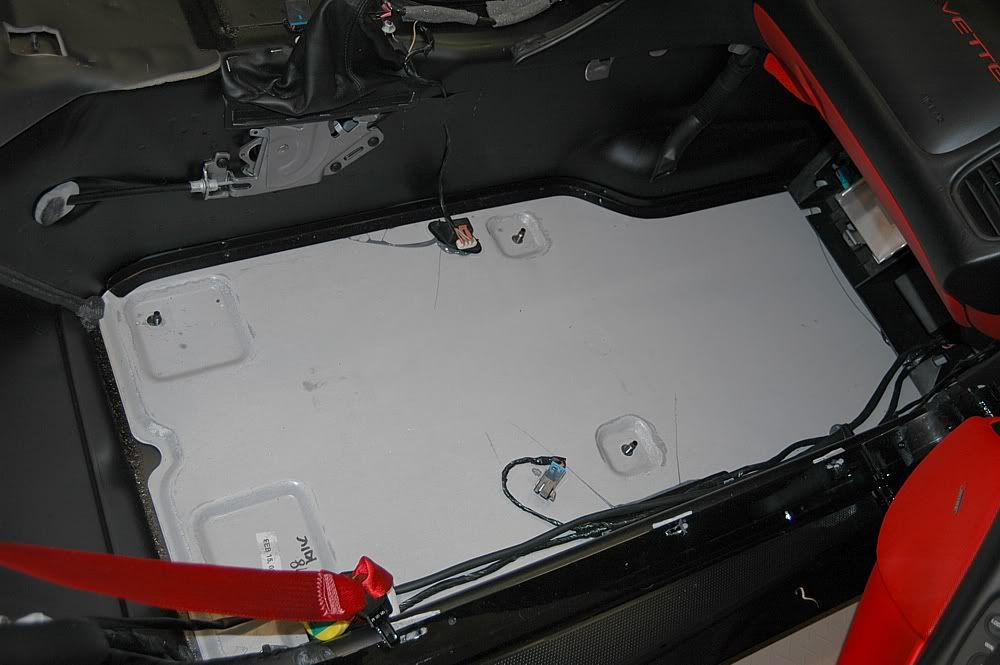
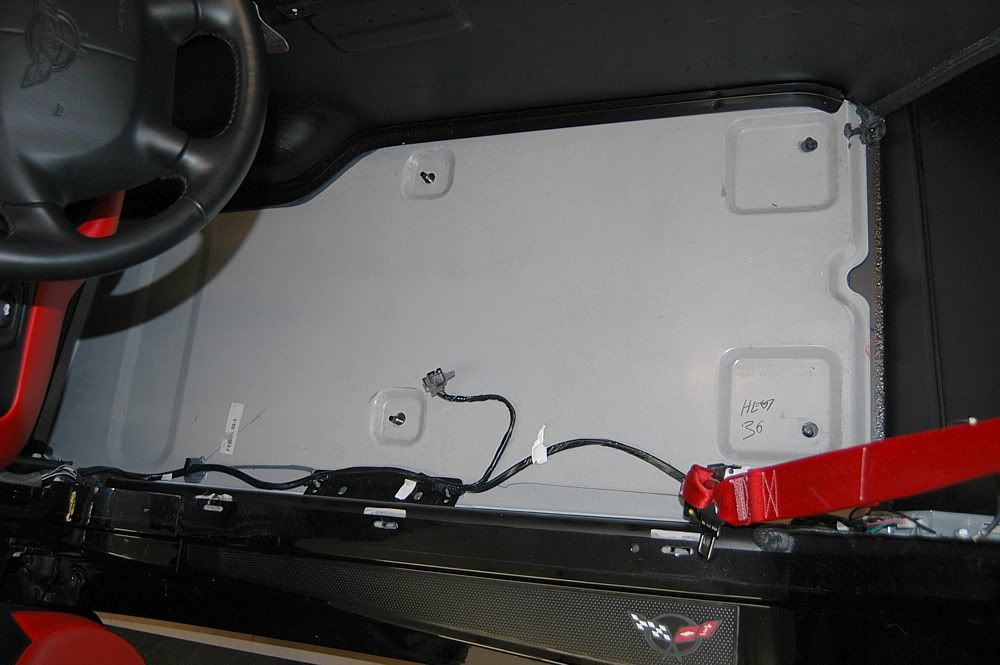
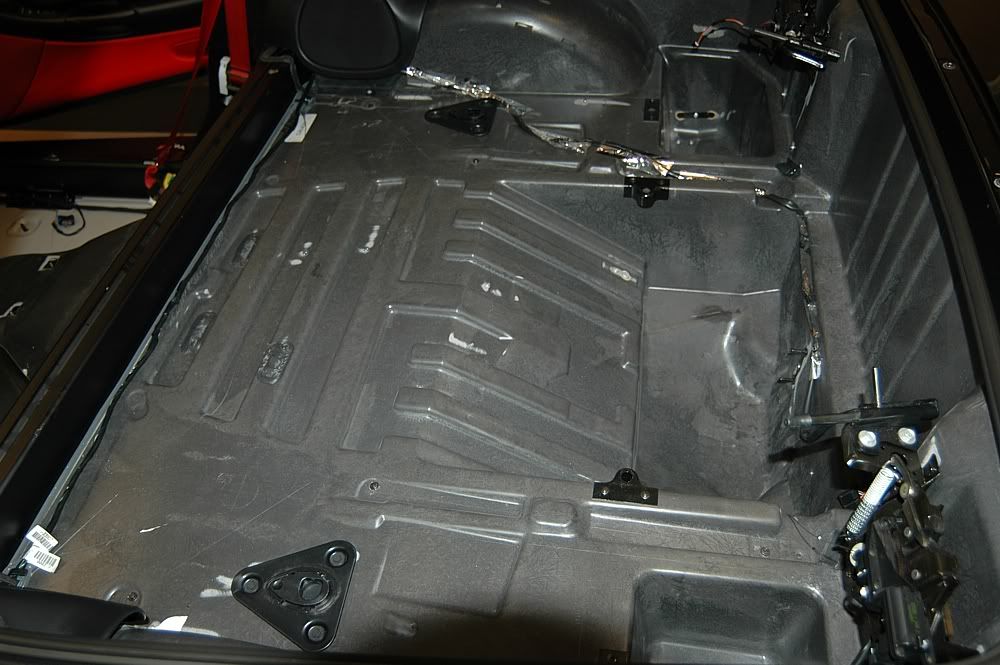
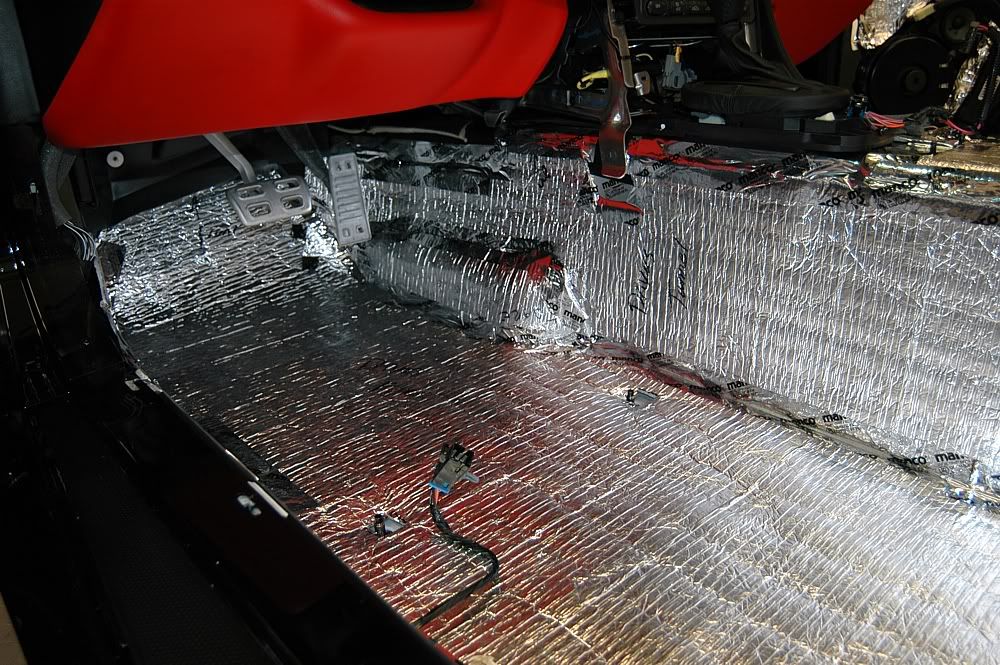
Driver floor pan
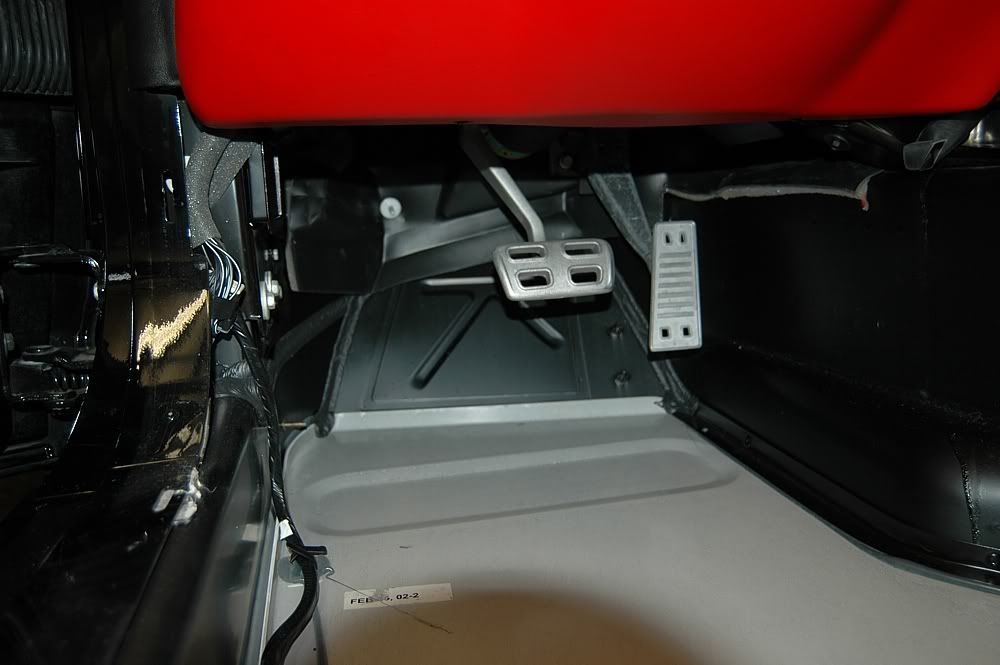
Driver footwell
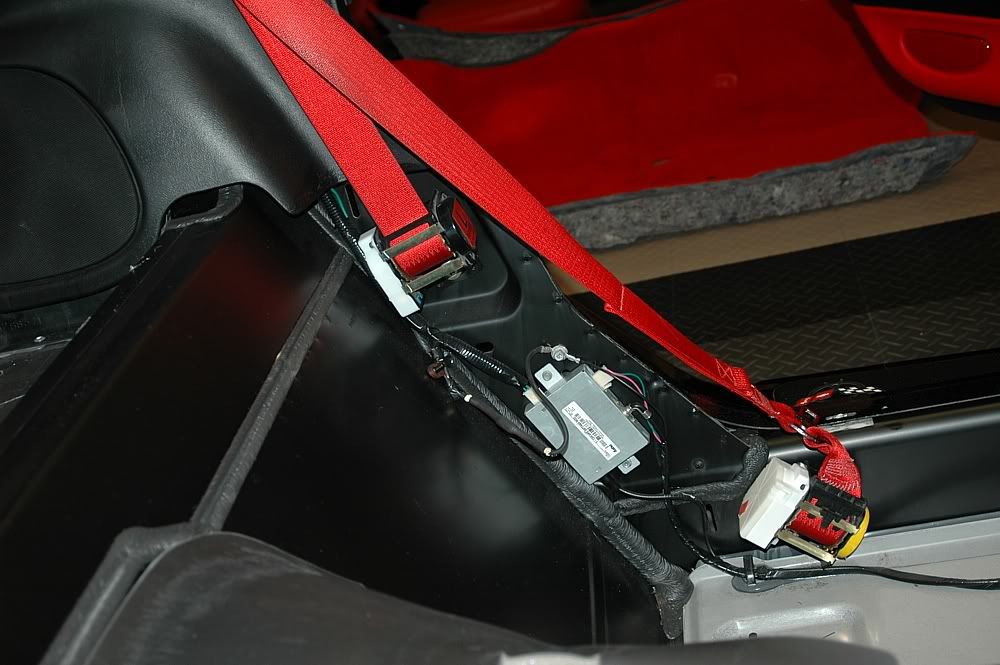
Driver seat belt assembly
Front cabin
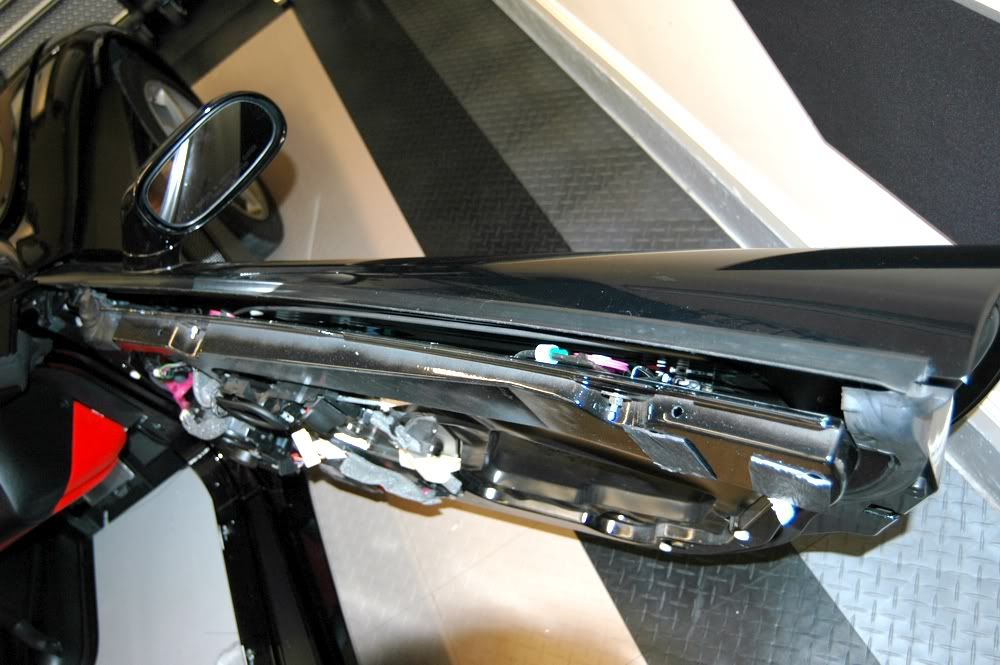
Driver door
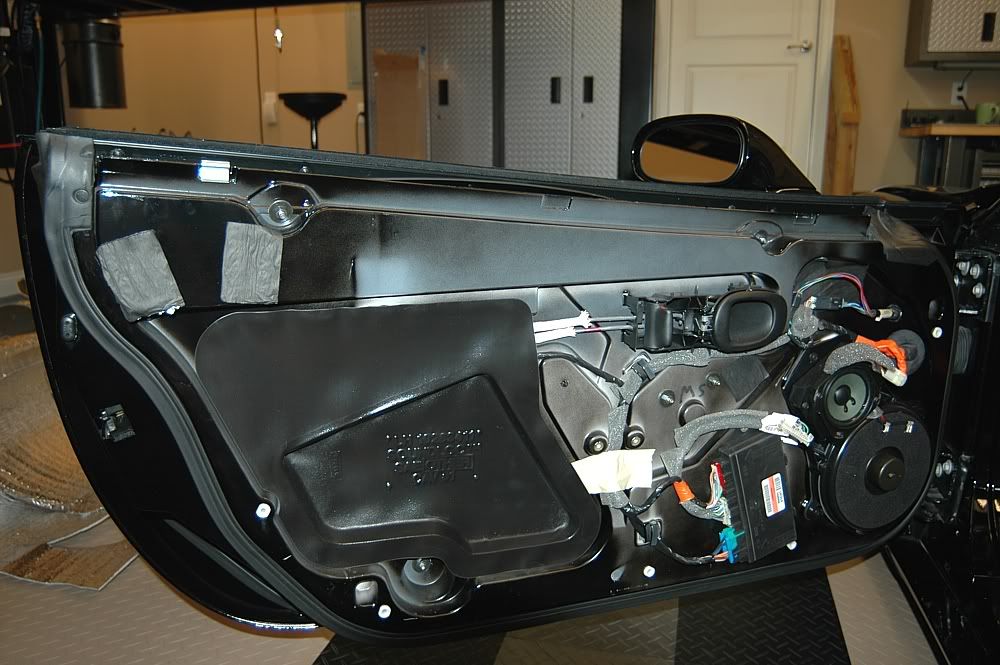
Window pullies can be seen looking into the top door gap
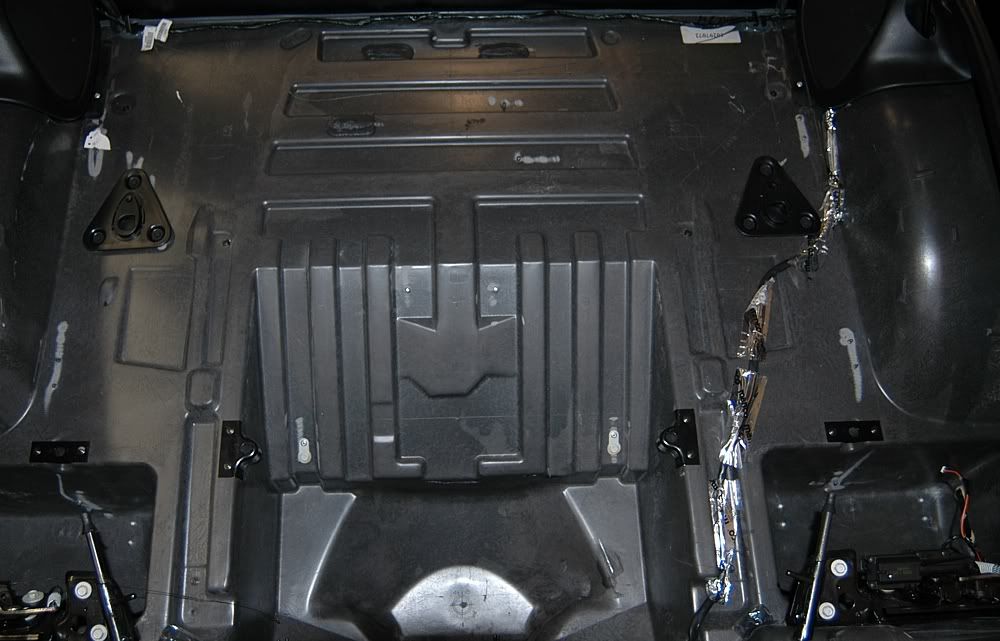
Rear cabin
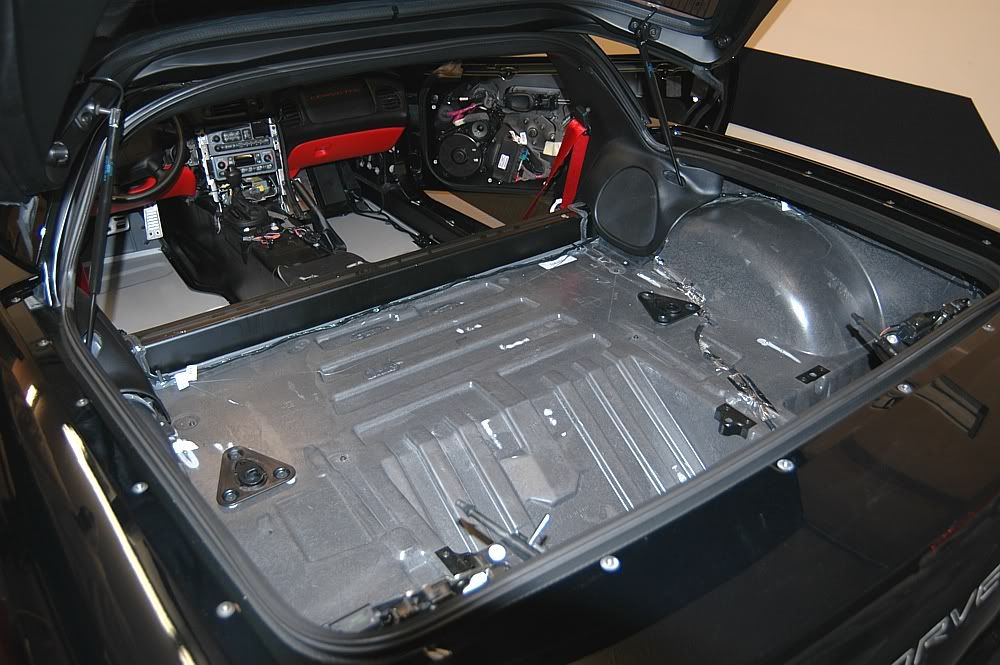
The cabin vent in the driver quarter panel

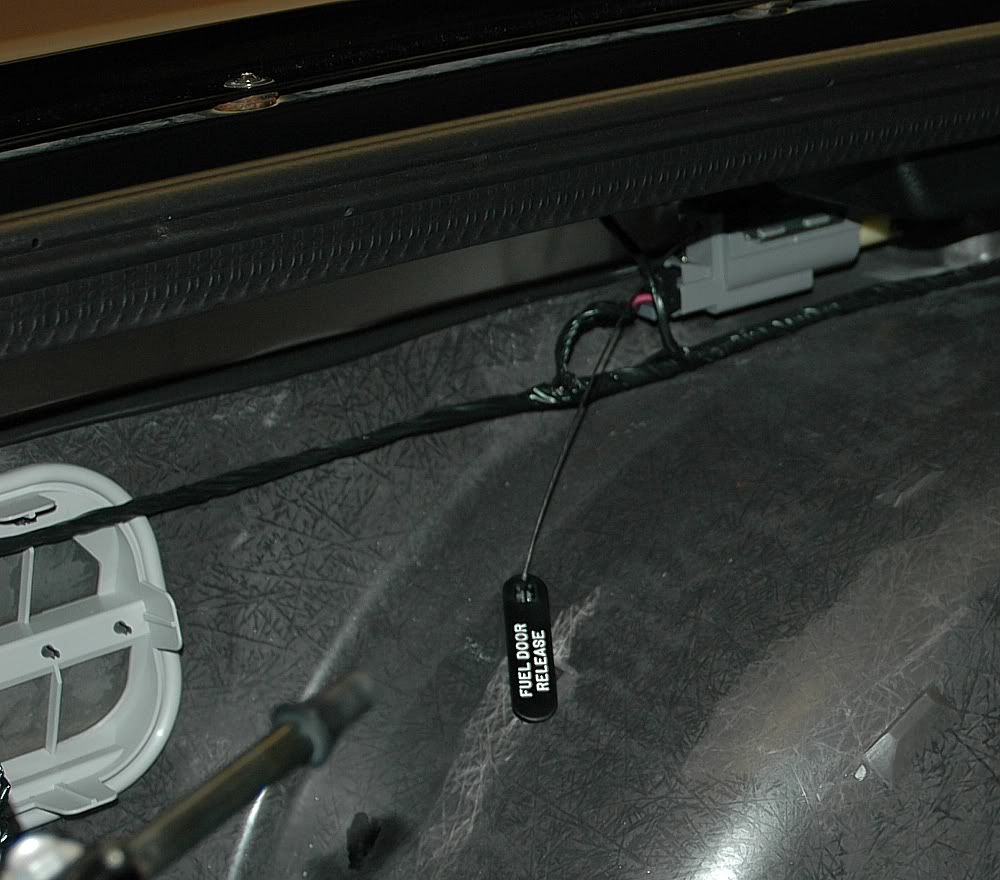
The manual fuel release cable
Mrs. Patches helped out as well which was nice.
Anyway, this isn't a typical how-to that I would normally do because it's essentially just pulling the interior out and taping the pieces in. Just a few tools were required to get the entire interior out including a couple of Torx bits, sockets, scissors, a carpet knife, a couple of screwdrivers, a trim removal tool (optional) and a roll of tape.
Here are the requisite pics. I will point out a few interesting things as I go.
I bought this roll of tape at Lowe's when I did this mod on my C5 years ago. It's excellent stuff, allowing you to form it into corners and curves and holds the insulation nicely. Plus, it can handle temps that the insulation is rated for.
Parked the C5 in the "working bay" to allow easy access
Pulled the top off as well
Ready to pull the interior
Seats out
Interior out
Passenger side
Parking brake lever assembly
Passenger floor pan
Lateral accelerometer - passenger floor
Driver floor pan
Driver footwell
Driver seat belt assembly
Front cabin
Driver door
Window pullies can be seen looking into the top door gap
Rear cabin
The cabin vent in the driver quarter panel
The manual fuel release cable
Last edited by Patches; 08-07-2009 at 07:52 PM.
 07-05-2009, 04:43 PM
#2
Team Owner
Thread Starter
The finished product:
Driver side
Driver footwell
Passenger side
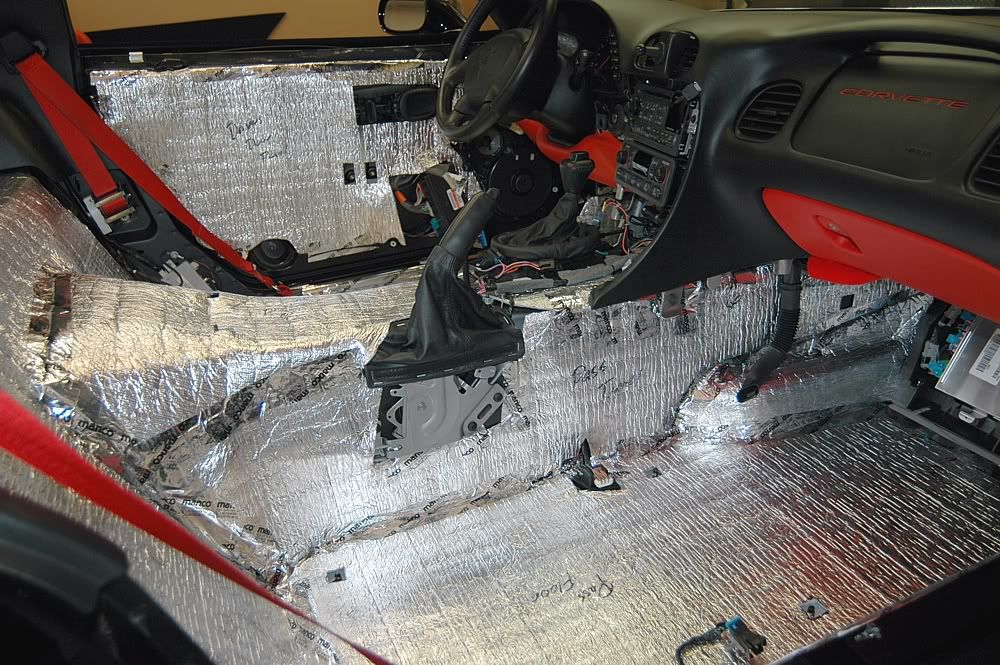
Tunnel and center wall
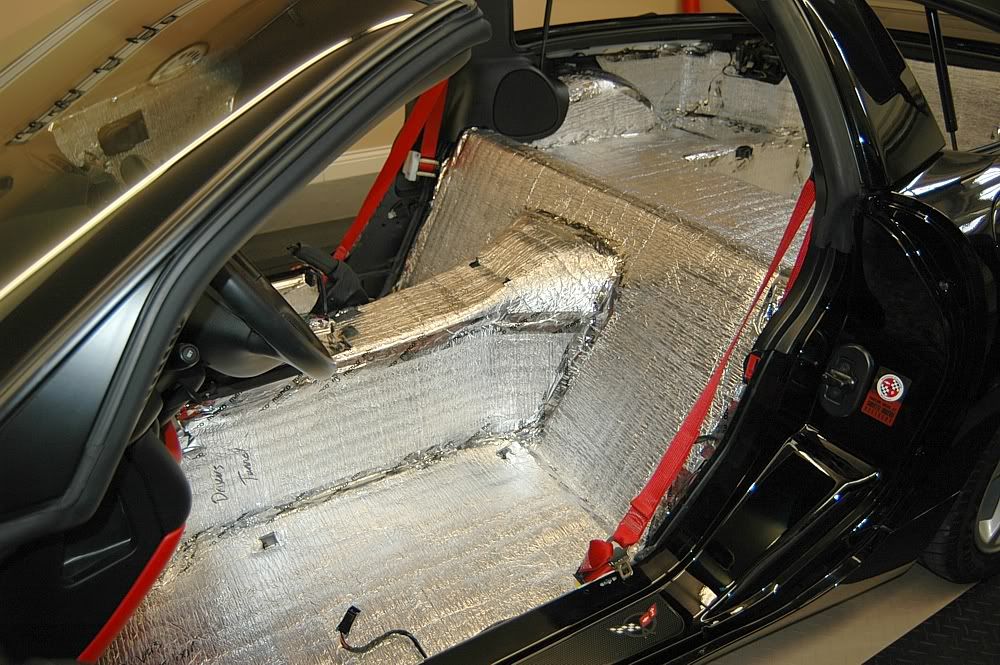
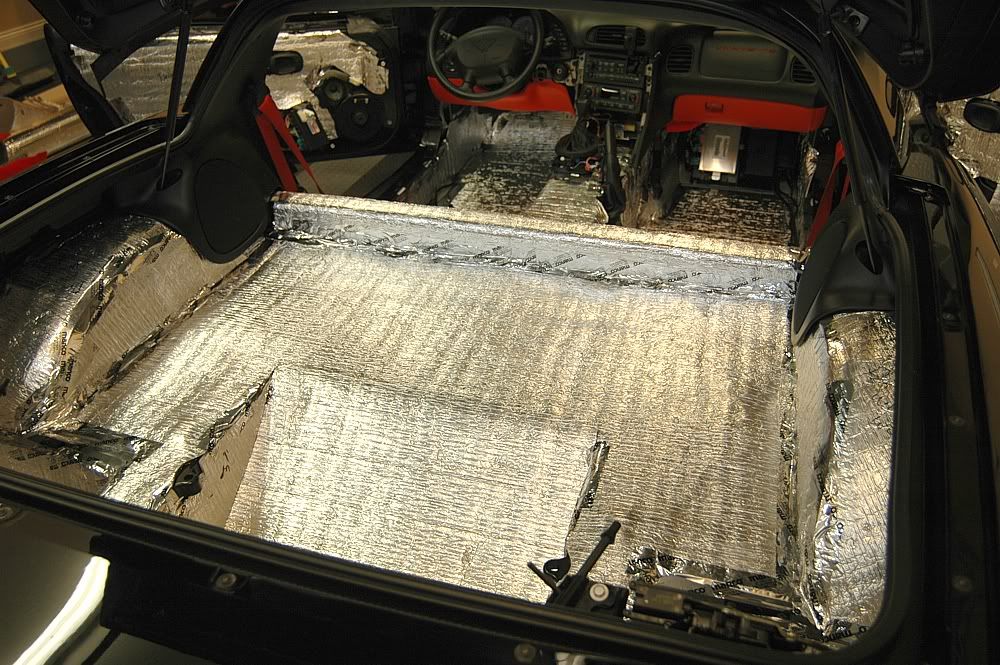
Looking forward from rear
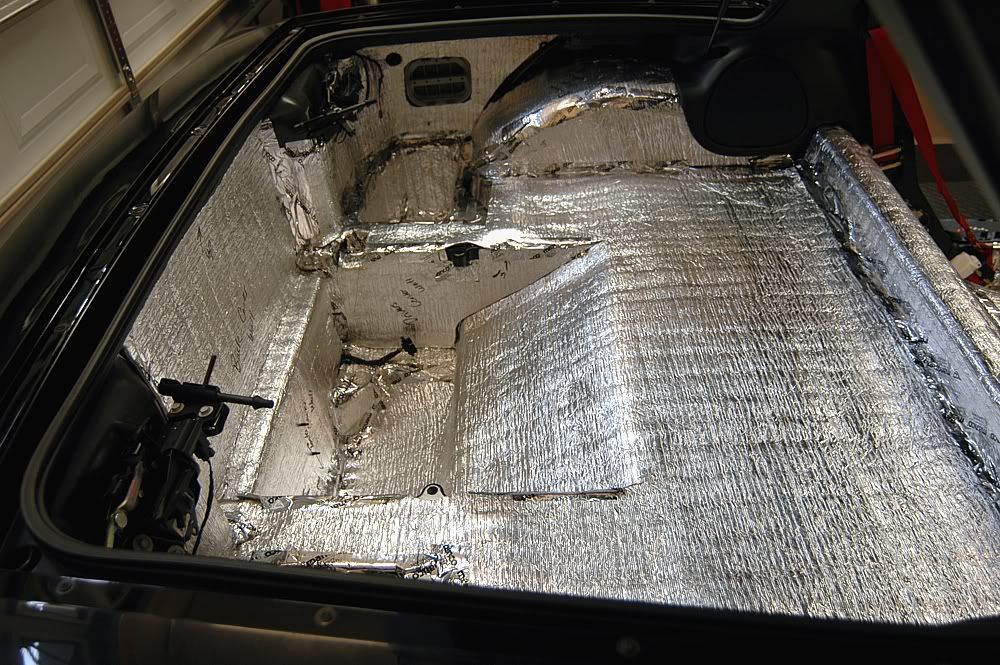
The rear tub
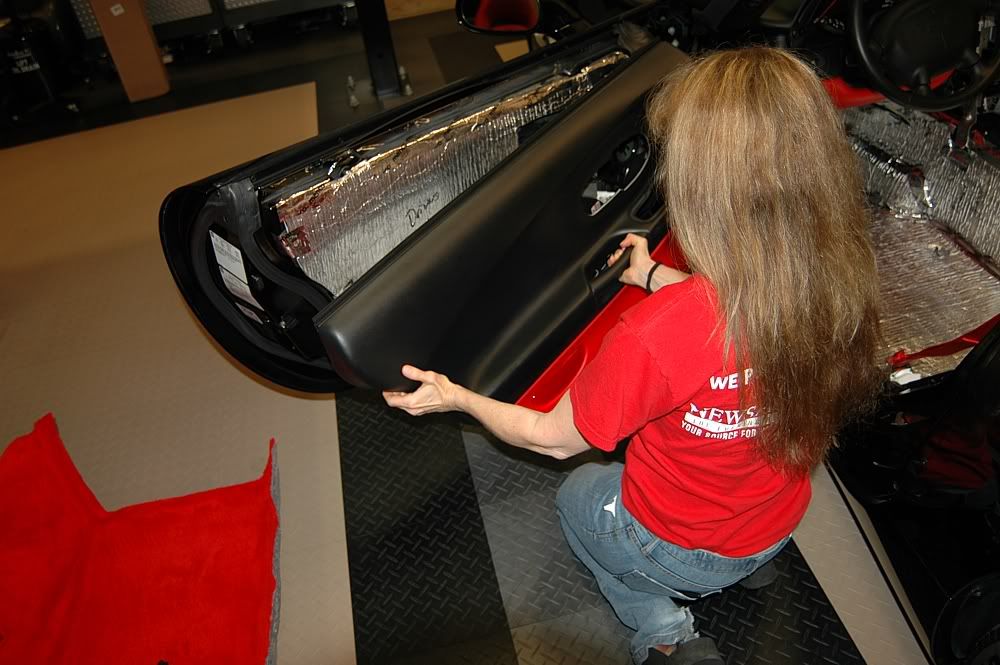
Workin' it!
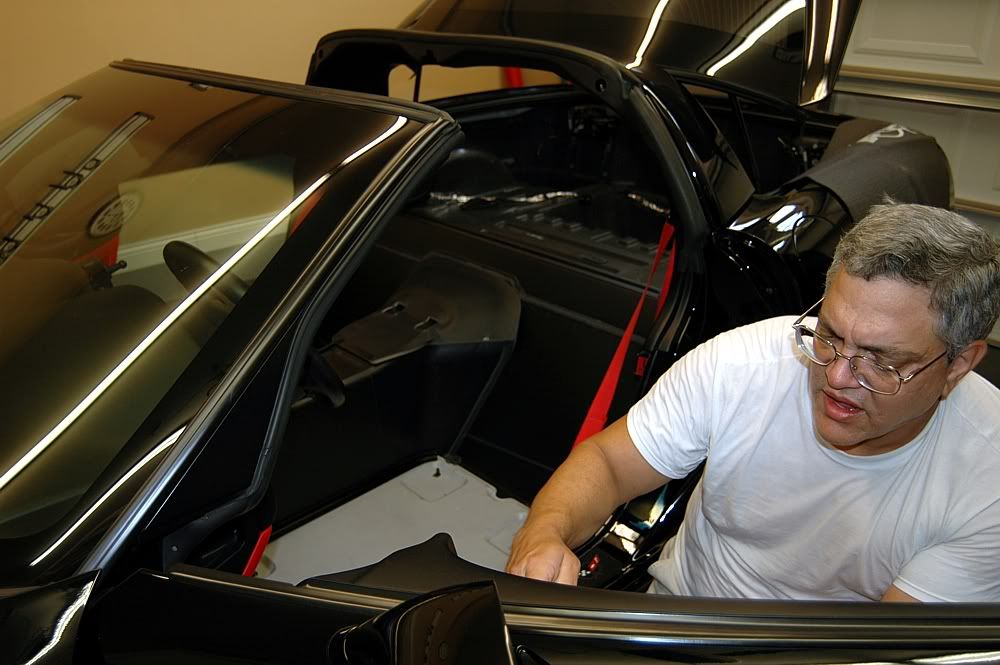
And, last but not least, Mrs. Patches lending a hand.
Overall, the job took the course of a day with several long breaks sprinkled in between. Last time took me all day as well but the hassle factor was significantly higher due to not having pre-cut pieces.
We don't have any cabin heat issues due to the headers I installed July 4, 2007 since I simultaneously installed an insulated EE tunnel plate so this mod was primarily for quieting the cabin. Compared to the FK mod on my other C5, I'd say this is on par with the sound reduction I got back then. It's significant but not earth-shattering. After all, Mrs. Patches still wants to be able to hear her NXT exhaust she so loves. After sampling the interior noise level change, we both felt it was just enough and not too much noise dampening - definitely a mod worth doing. 
Driver side
Driver footwell
Passenger side
Tunnel and center wall
Looking forward from rear
The rear tub
Workin' it!
And, last but not least, Mrs. Patches lending a hand.
Overall, the job took the course of a day with several long breaks sprinkled in between. Last time took me all day as well but the hassle factor was significantly higher due to not having pre-cut pieces.
We don't have any cabin heat issues due to the headers I installed July 4, 2007 since I simultaneously installed an insulated EE tunnel plate so this mod was primarily for quieting the cabin. Compared to the FK mod on my other C5, I'd say this is on par with the sound reduction I got back then. It's significant but not earth-shattering. After all, Mrs. Patches still wants to be able to hear her NXT exhaust she so loves. After sampling the interior noise level change, we both felt it was just enough and not too much noise dampening - definitely a mod worth doing.
Last edited by Patches; 07-05-2009 at 04:46 PM.


 07-05-2009, 05:52 PM
#5
Team Owner
Thread Starter
As I mentioned - I've done it before so this time was even easier in pulling the interior. Not much to it, really. The Madvette instructions are pretty good if you need help as well. 
 07-05-2009, 06:24 PM
#7
Race Director

Member Since: Jul 2008
Location: The Sunshine State
Posts: 16,996
Received 2,675 Likes
on
1,479 Posts
2022 C5 of the Year Finalist - Modified
2021 C5 of the Year Finalist - Modified
C7 of the Year - Modified Finalist 2021
Finalist 2020 C7 of the Year -- Modified
2020 C5 of the Year Finalist - Modified
C5 of Year Finalist (appearance mods) 2019
2018 C5 of Year Finalist

I agree! Looks great.
Question on your floor tiles....Do they withstand tire heat very well? I have those ribbed floor liners that roll out over the cement. They look pretty nice, however I have burn spots from the tires (heat). I was thinking about installing some race track floor tiles, however I was curious whether they also mark up from tire heat.
Also, what type of lift do you have? Looks great!


 07-05-2009, 07:08 PM
#9
Team Owner
Thread Starter
MSG C5,
No problem with heat - these tiles are polypropylene and can take some abuse. Plus, you can pop in a replacement easily if one is damaged.
Lift is a Bend Pak HD9. Made in America and excellent quality. Also, it's tested/certified by ETL SEMKO, a division of Intertek.
No problem with heat - these tiles are polypropylene and can take some abuse. Plus, you can pop in a replacement easily if one is damaged.
Lift is a Bend Pak HD9. Made in America and excellent quality. Also, it's tested/certified by ETL SEMKO, a division of Intertek.
07-05-2009, 08:10 PM
#12
Race Director
Member Since: Jul 2008
Location: The Sunshine State
Posts: 16,996
Received 2,675 Likes
on
1,479 Posts
2022 C5 of the Year Finalist - Modified
2021 C5 of the Year Finalist - Modified
C7 of the Year - Modified Finalist 2021
Finalist 2020 C7 of the Year -- Modified
2020 C5 of the Year Finalist - Modified
C5 of Year Finalist (appearance mods) 2019
2018 C5 of Year Finalist
MSG C5,
No problem with heat - these tiles are polypropylene and can take some abuse. Plus, you can pop in a replacement easily if one is damaged.
Lift is a Bend Pak HD9. Made in America and excellent quality. Also, it's tested/certified by ETL SEMKO, a division of Intertek.
No problem with heat - these tiles are polypropylene and can take some abuse. Plus, you can pop in a replacement easily if one is damaged.
Lift is a Bend Pak HD9. Made in America and excellent quality. Also, it's tested/certified by ETL SEMKO, a division of Intertek.
07-05-2009, 09:32 PM
#14
Burning Brakes

It makes it nice to "see" the job before you "do" the job!! Nice job documenting your work! I also had the same project this weekend.... except i used Luxury Liner Pro (about 70 pounds of it). In town it made a nice difference but the real test is on the hwy.... I'll hit that on monday.
 07-05-2009, 10:12 PM
#16
Melting Slicks

Very nice. I should really get a tunnel plate. I can't believe how much better this kit is cut in comparison to the other guy's. If I would've known this was coming out I definitely would've held off. I still need to purchase the doors panels from Madvette.

 07-06-2009, 07:04 AM
#19
Administrator


Member Since: Mar 2001
Location: In a parallel universe. Currently own 2014 Stingray Coupe.
Posts: 342,873
Received 19,276 Likes
on
13,957 Posts
C7 of the Year - Modified Finalist 2021
MO Events Coordinator
St. Jude Co-Organizer
St. Jude Donor '03-'04-'05-'06-'07-'08-'09-'10-'11-'12-'13-'14-'15-'16-'17-'18-'19-
'20-'21-'22-'23-'24
NCM Sinkhole Donor
CI 5, 8 & 11 Veteran


Excellent post, Patches. A job well done. 
07-06-2009, 07:21 AM
#20
Team Owner
Subscribing - Have wanted to do this to mine too
PATCHES - About how much would you say it helped reduce noise?
I want to muffle some noise and I don't mind if it cancels a lot (Actually I prefer more noise cancellation then less )
Or do they have a KIT with more noise reduction? then what you bought
Let me know !
Thanks,Matt
PATCHES - About how much would you say it helped reduce noise?
I want to muffle some noise and I don't mind if it cancels a lot (Actually I prefer more noise cancellation then less
)Or do they have a KIT with more noise reduction? then what you bought
Let me know !
Thanks,Matt