
pics and details in wiring a roem-vet1 harness for aftermarket radio install
 09-30-2010, 01:10 PM
#1
Former Vendor

Thread Starter

I posted this in the audio section as well. This is for all of you who do not look at that section of the forum.
I had to take a few minutes this morning to wire up a X920bt for a customer install.
So I figured now was the time to take some pics and makes some notes for everyone who has questions when it comes to doing this while installing you aftermarket radio in your C5
OK
First
we start with the roem-vet1 harness
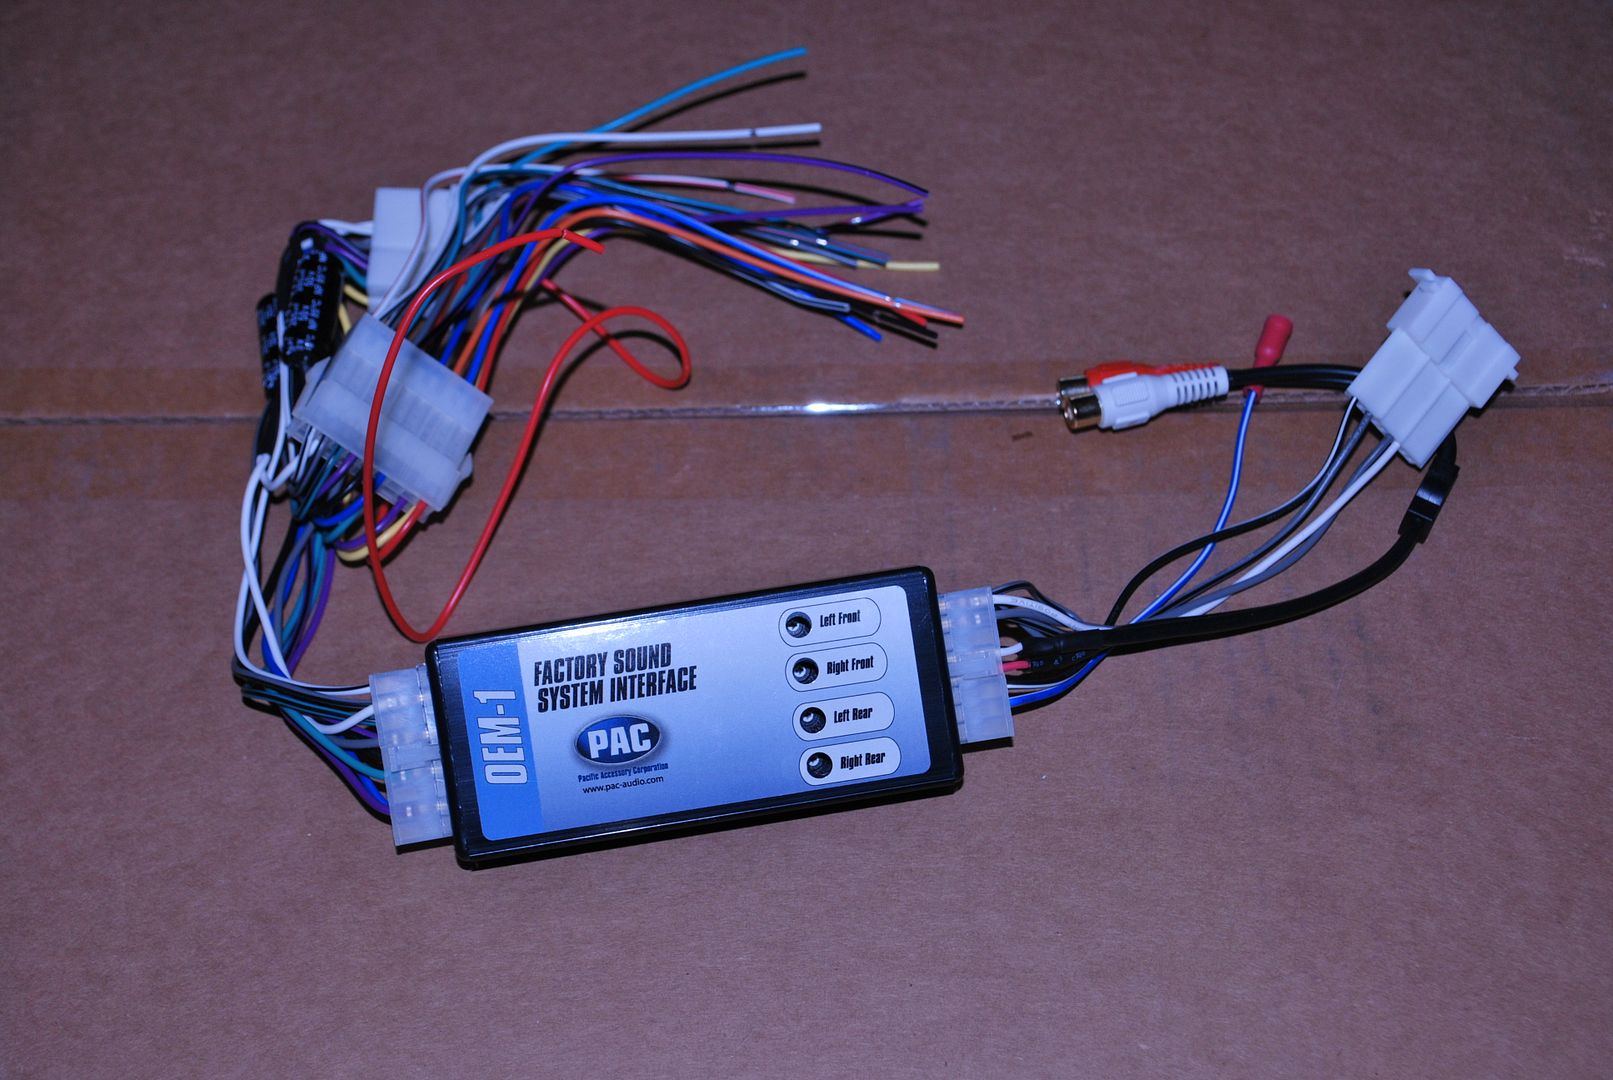
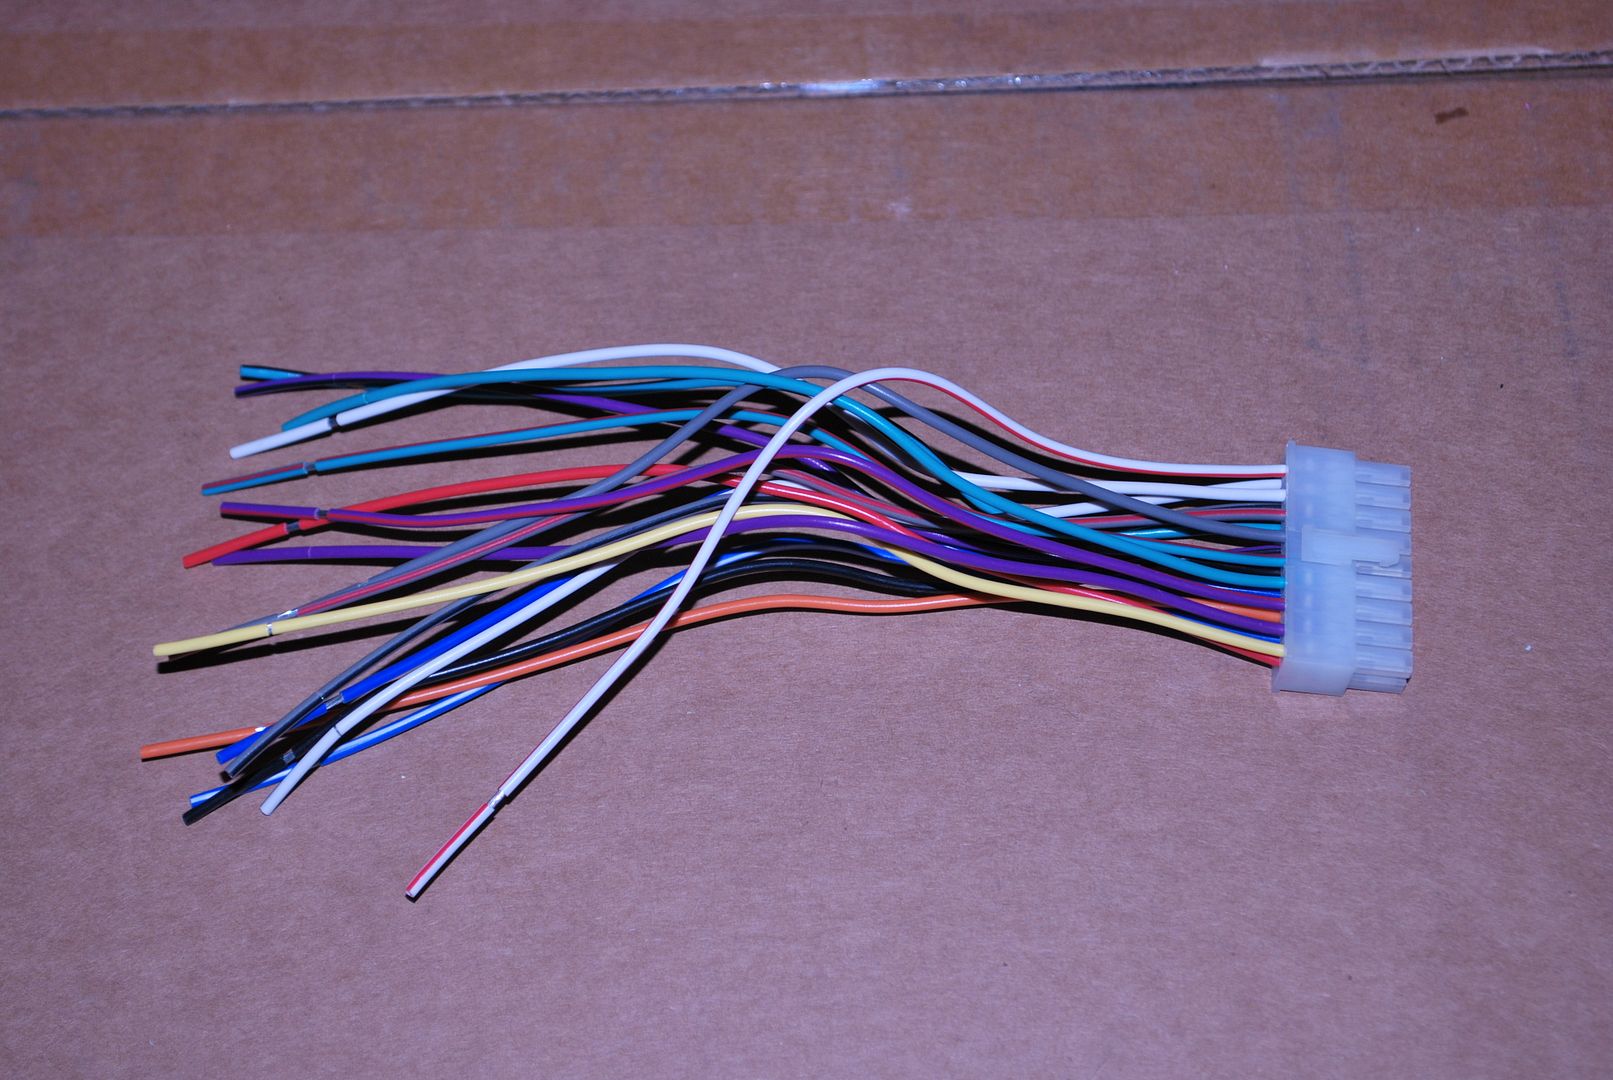
next we take the section of the harness we are going to wire and unplug it from the roem-vet1. This is just an easier way of working on the wiring.
First thing I did and this is the most important part of the process.
The BLUE/WHITE from the radio will connect to the BLUE on the roem-vet1. If you connect blue/white to blue/white then your front door speakers will not work and you will be calling me saying this system sounds like crap! So do this step first!
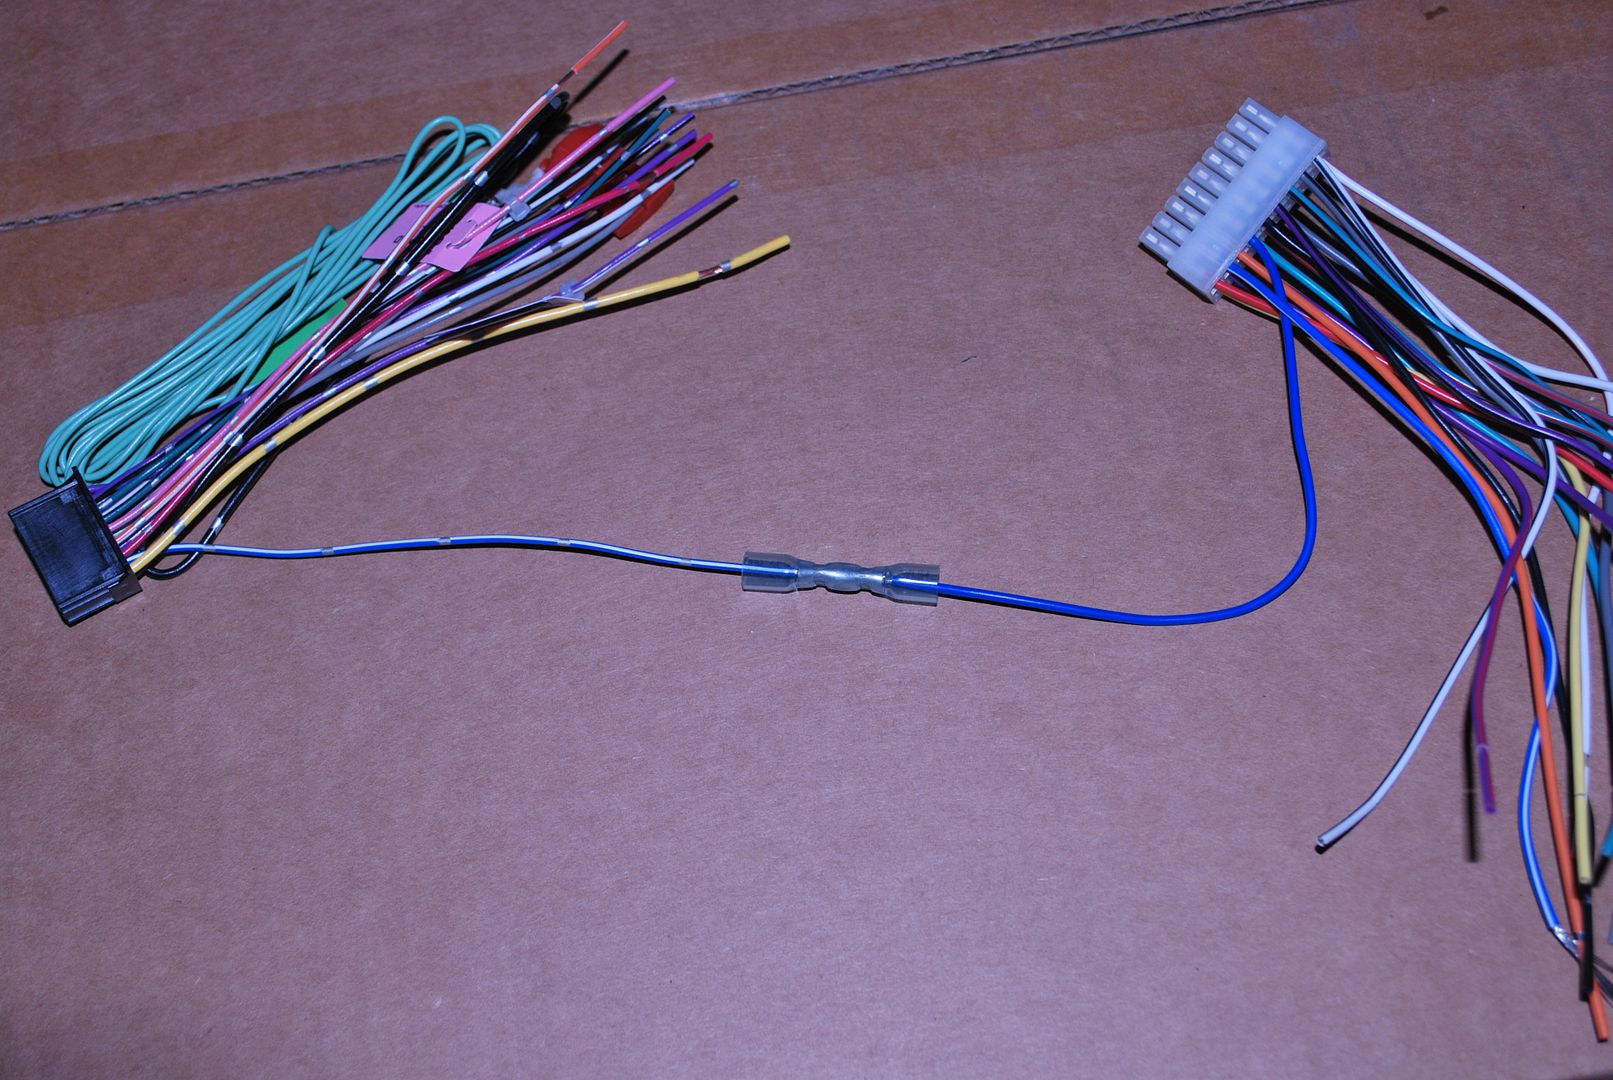
Next step i did was to connect the yellow from the radio to the yellow in the roem-vet1
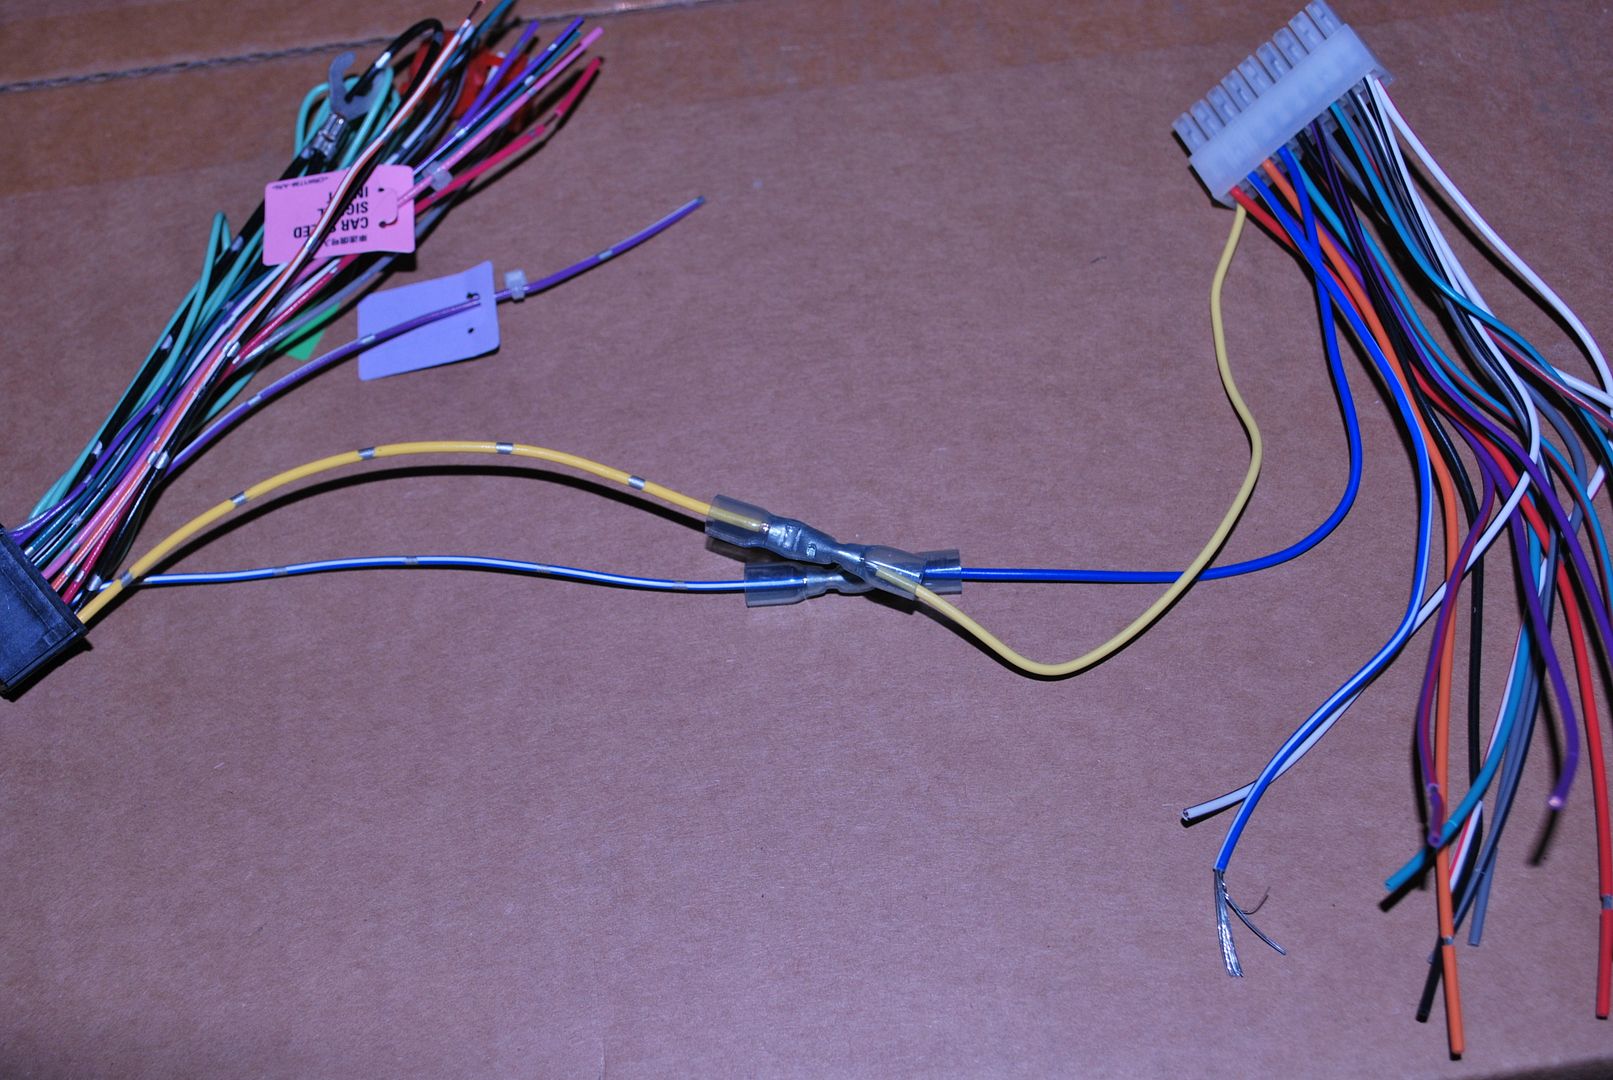
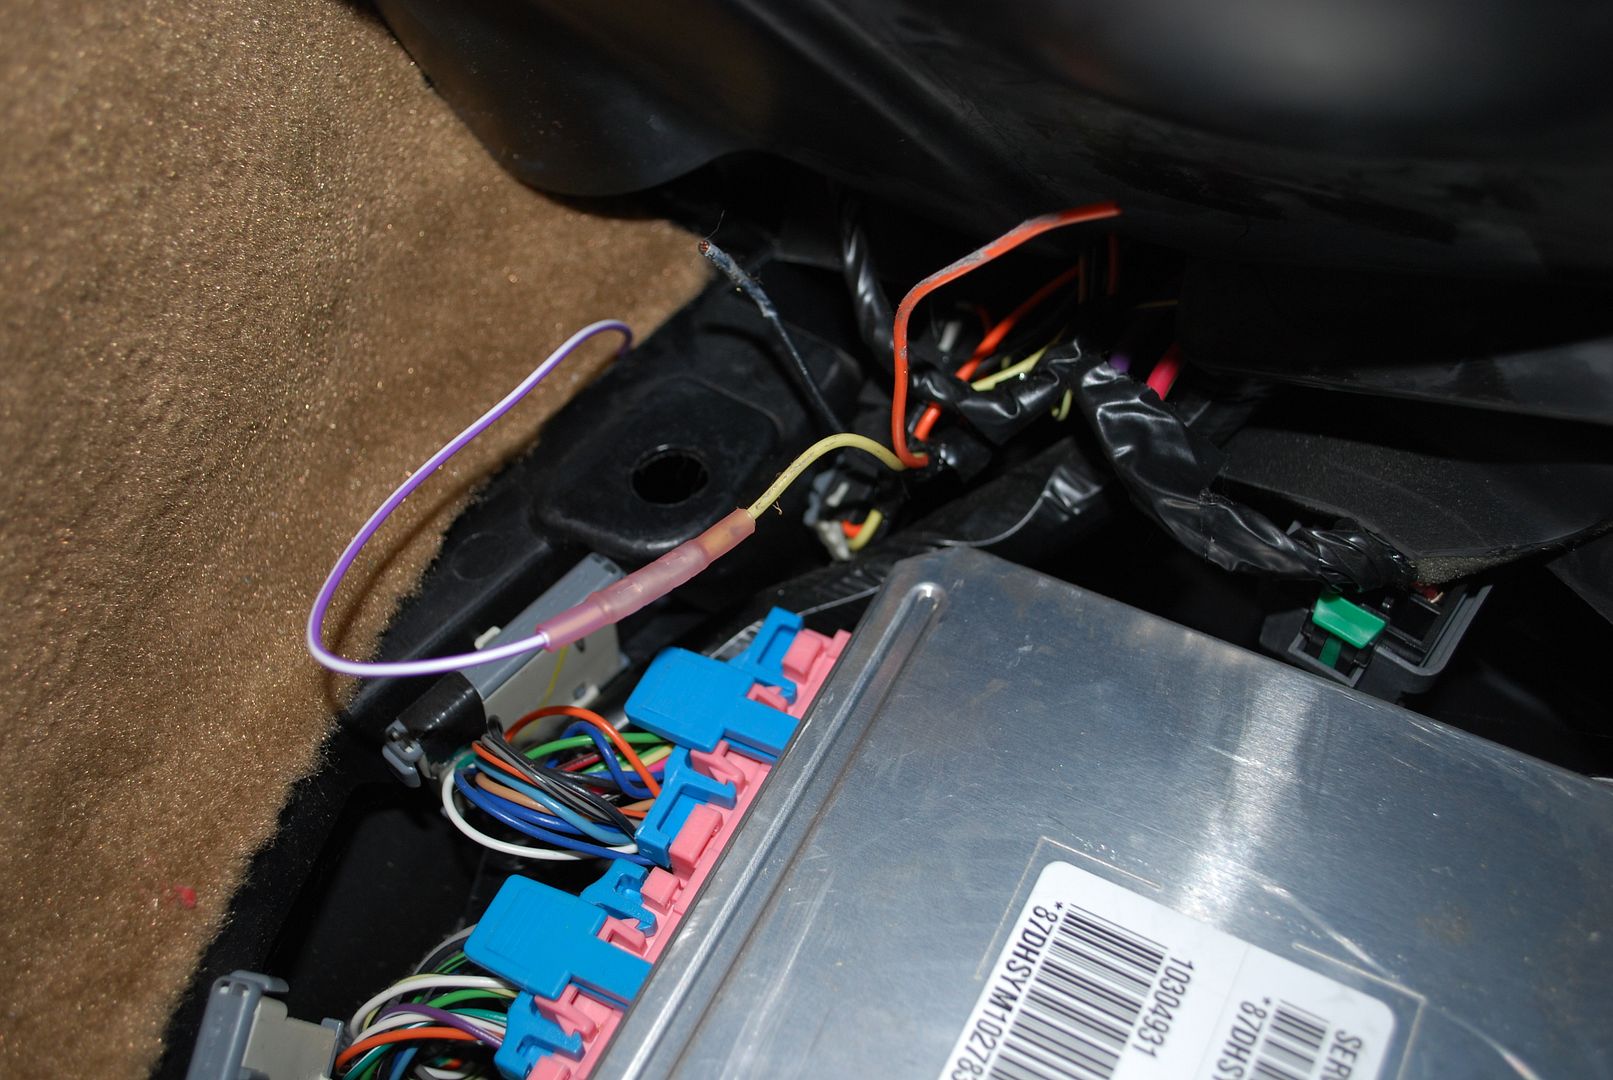
since everyone wants the bypass performed and your not hooking up the green parking wire. I like to cut off the extra wire and use this as an extension for the red ignition wire on the radio harness. As you can see i connected these two together as this will allow you to run to the ignition source which in most cases(97-03) you can run to passenger footwell to the yellow wire that is taped off. (there is also a black and orange wire there as well)
pic of harness
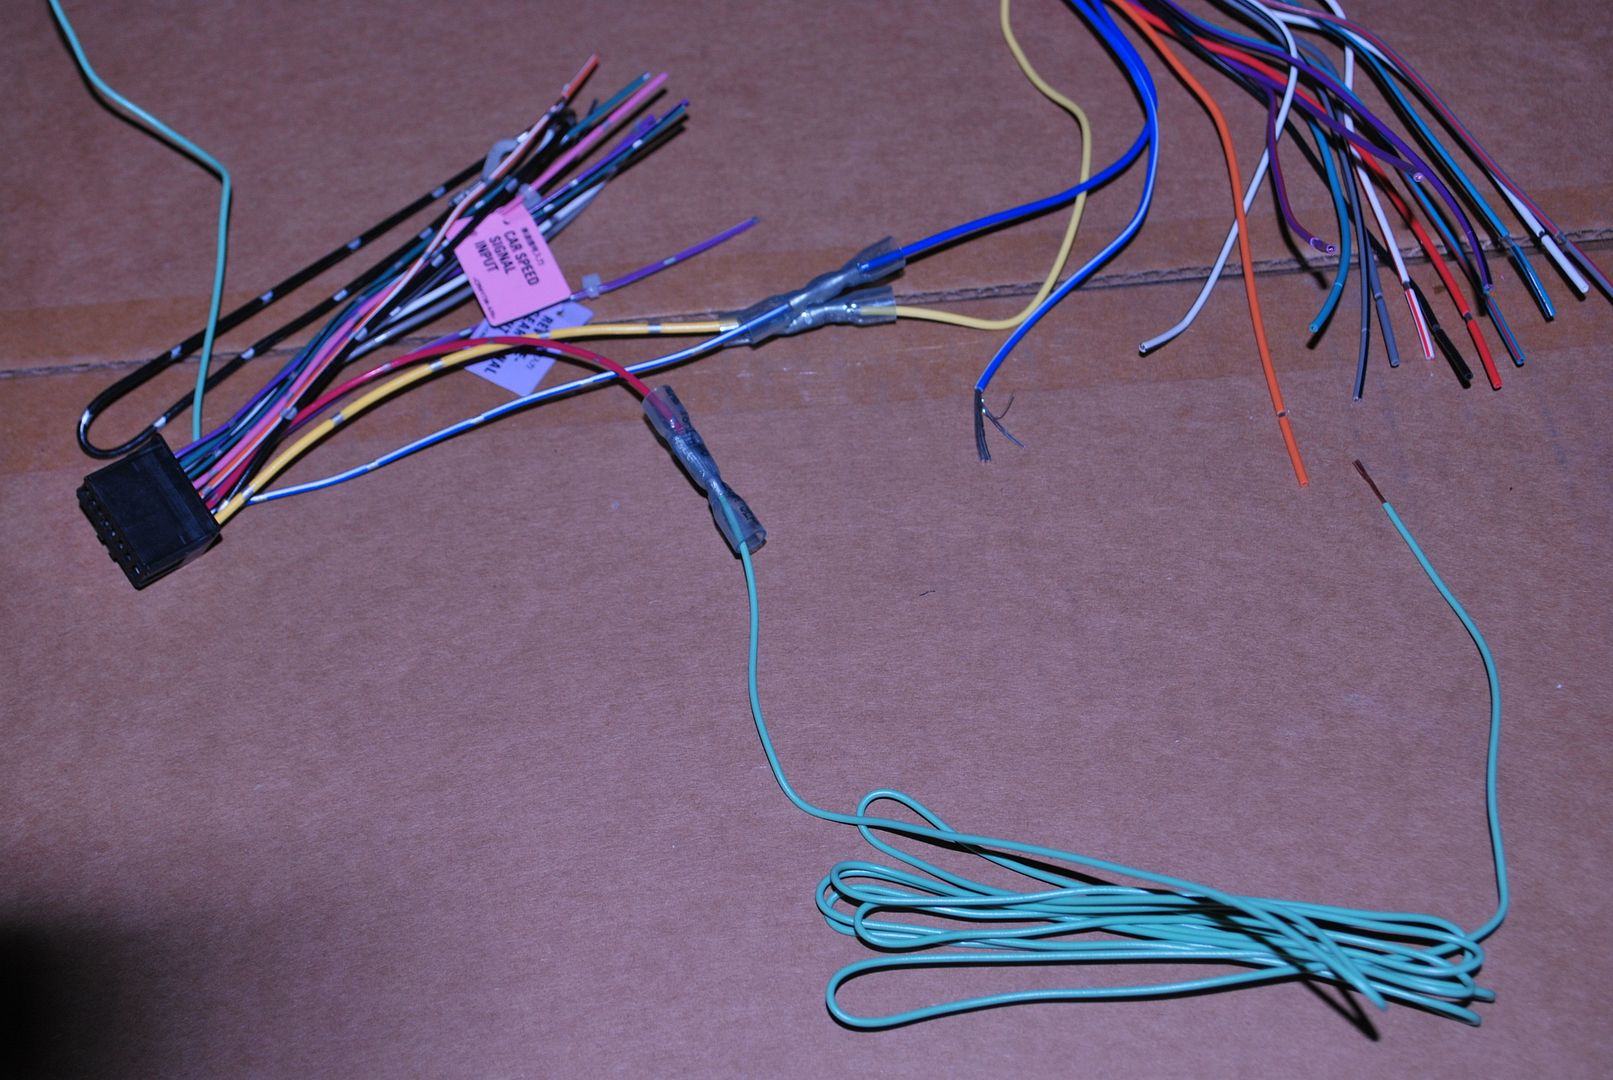
pic of wire instsalled in footwell
note this pic is from a prior install so the wire used to extend is purple just note that above for current install i used a green extension
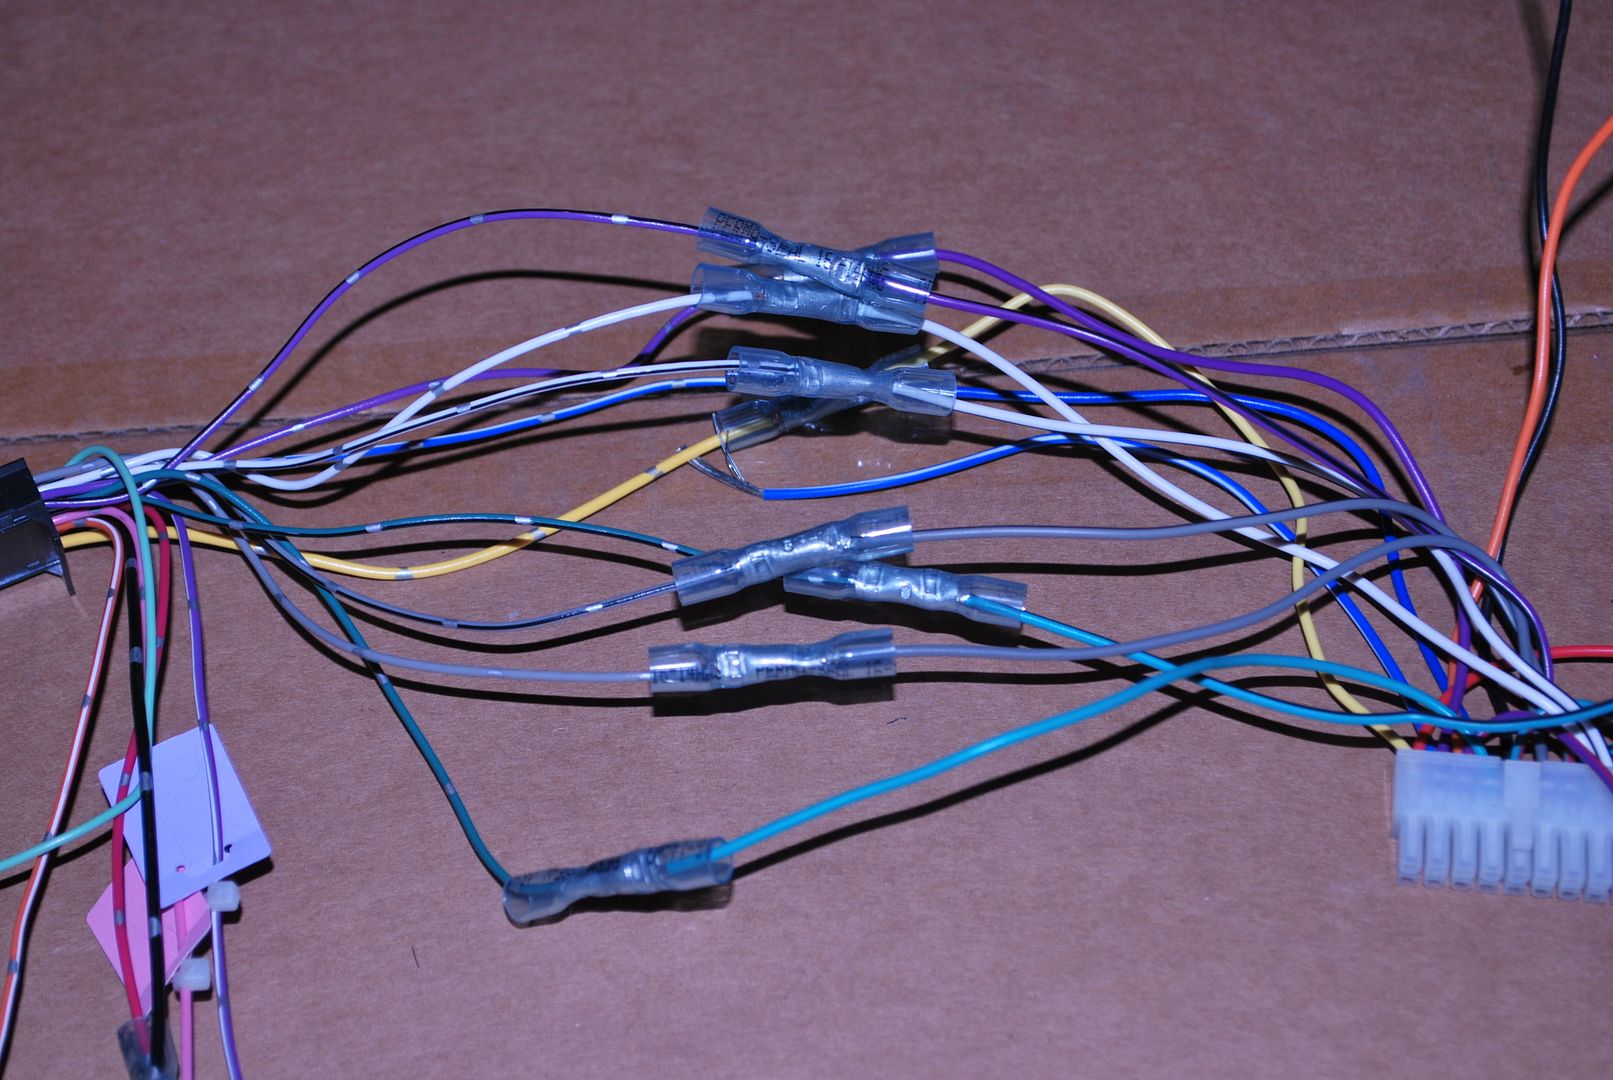
next step is to connect the speaker wires.
This is a matter of matching color to color. NOTE the roem-vet1 has three wires for each speaker. YOU WILL NOT BE USING THE LOW LEVEL SPEAKER WIRE, ONLY THE HIGH LEVEL.
for the most part after this your pretty much done.
Your wondering about the ground wire. In this install we did the bypass on the x920bt which was moving the one yellow/black wire over one notch in the connector. We then took the yellow/black wire we moved, the parking wire and the black ground all form the radio and conencted them to the black ground in the roem-vet1

only other wire you will need to worry about is the dimmer wire
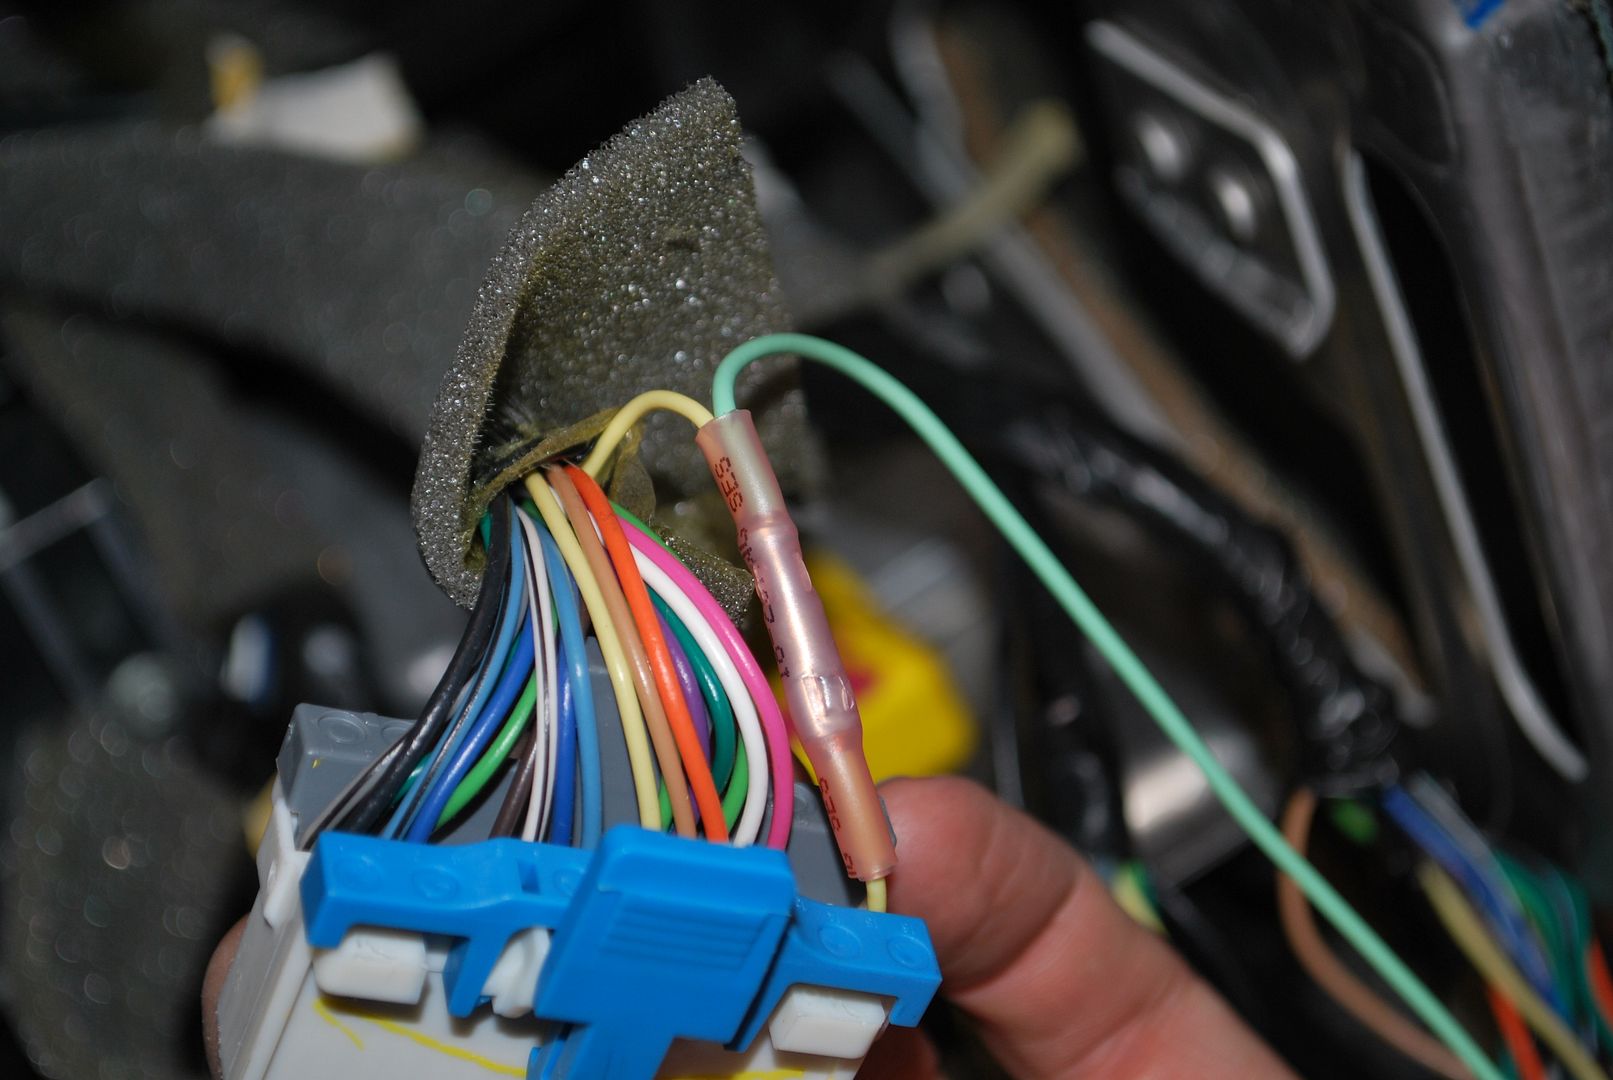
to connect the dimmer wire we spliced inth the hvac control harness.
The orange white wire from the radio harness was extended using a left over piece of green and then connected to the cream/yellow colored wire on the far right of the blue side on the hvac connector
I hope this helps everyone out.
If not you know I am always a phone call or email away form helping out as well.
I had to take a few minutes this morning to wire up a X920bt for a customer install.
So I figured now was the time to take some pics and makes some notes for everyone who has questions when it comes to doing this while installing you aftermarket radio in your C5
OK
First
we start with the roem-vet1 harness
next we take the section of the harness we are going to wire and unplug it from the roem-vet1. This is just an easier way of working on the wiring.
First thing I did and this is the most important part of the process.
The BLUE/WHITE from the radio will connect to the BLUE on the roem-vet1. If you connect blue/white to blue/white then your front door speakers will not work and you will be calling me saying this system sounds like crap! So do this step first!
Next step i did was to connect the yellow from the radio to the yellow in the roem-vet1
since everyone wants the bypass performed and your not hooking up the green parking wire. I like to cut off the extra wire and use this as an extension for the red ignition wire on the radio harness. As you can see i connected these two together as this will allow you to run to the ignition source which in most cases(97-03) you can run to passenger footwell to the yellow wire that is taped off. (there is also a black and orange wire there as well)
pic of harness
pic of wire instsalled in footwell
note this pic is from a prior install so the wire used to extend is purple just note that above for current install i used a green extension
next step is to connect the speaker wires.
This is a matter of matching color to color. NOTE the roem-vet1 has three wires for each speaker. YOU WILL NOT BE USING THE LOW LEVEL SPEAKER WIRE, ONLY THE HIGH LEVEL.
for the most part after this your pretty much done.
Your wondering about the ground wire. In this install we did the bypass on the x920bt which was moving the one yellow/black wire over one notch in the connector. We then took the yellow/black wire we moved, the parking wire and the black ground all form the radio and conencted them to the black ground in the roem-vet1
only other wire you will need to worry about is the dimmer wire
to connect the dimmer wire we spliced inth the hvac control harness.
The orange white wire from the radio harness was extended using a left over piece of green and then connected to the cream/yellow colored wire on the far right of the blue side on the hvac connector
I hope this helps everyone out.
If not you know I am always a phone call or email away form helping out as well.

The following users liked this post:
James2000 (12-27-2015)
09-30-2010, 01:58 PM
#2
Administrator


Member Since: Mar 2001
Location: In a parallel universe. Currently own 2014 Stingray Coupe.
Posts: 342,690
Received 19,222 Likes
on
13,930 Posts
C7 of the Year - Modified Finalist 2021
MO Events Coordinator
St. Jude Co-Organizer
St. Jude Donor '03-'04-'05-'06-'07-'08-'09-'10-'11-'12-'13-'14-'15-'16-'17-'18-'19-
'20-'21-'22-'23-'24
NCM Sinkhole Donor
CI 5, 8 & 11 Veteran


Nice tutorial Dennis. I still think if I ever change my audio system, I'll leave it to the pros. 
 09-30-2010, 02:56 PM
#4
Former Vendor
Thread Starter
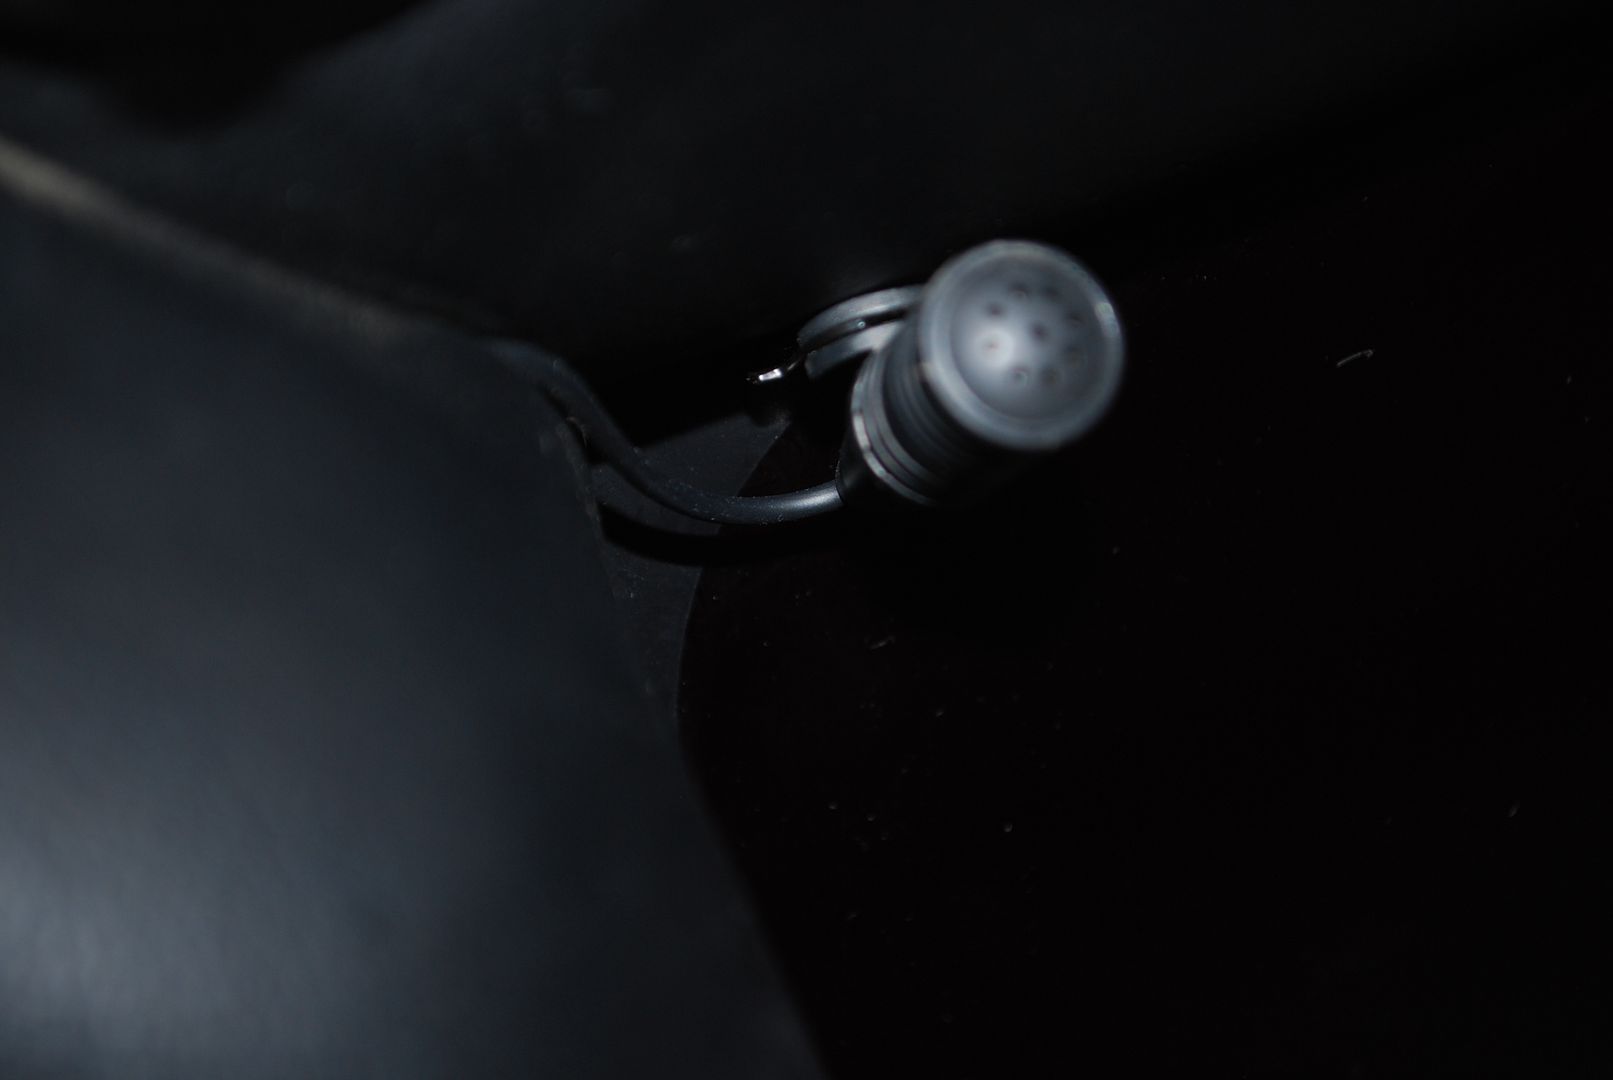
gps
corner of drivers side can do same on passenger side with sat antenna
a pillar and windshield meet

bluetooth in this install
upper corner dirvers side a pillar
 09-30-2010, 03:09 PM
#6
Former Vendor
Thread Starter
 09-30-2010, 03:48 PM
#8
Former Vendor
Thread Starter

 09-30-2010, 05:01 PM
#9
Team Owner

 Nice job! stillloving my set-up
Now it includes a Bazooka Tube
Thanks,matt
 07-06-2011, 07:23 PM
#11
Dennis I just got the Kenwood 6980 in from you and I'm just starting some of the wiring.
I'm confused about the bypass. You said to take the yellow/black wire and move it over one spot. There is only 1 yellow wire on the radio harness and the OEM-1. I must be missing something there. I will start wiring and post pics of what I have so far.
I'm confused about the bypass. You said to take the yellow/black wire and move it over one spot. There is only 1 yellow wire on the radio harness and the OEM-1. I must be missing something there. I will start wiring and post pics of what I have so far.
07-06-2011, 07:30 PM
#12
Le Mans Master

Dennis I just got the Kenwood 6980 in from you and I'm just starting some of the wiring.
I'm confused about the bypass. You said to take the yellow/black wire and move it over one spot. There is only 1 yellow wire on the radio harness and the OEM-1. I must be missing something there. I will start wiring and post pics of what I have so far.
I'm confused about the bypass. You said to take the yellow/black wire and move it over one spot. There is only 1 yellow wire on the radio harness and the OEM-1. I must be missing something there. I will start wiring and post pics of what I have so far.
07-06-2011, 07:39 PM
#13
07-06-2011, 08:37 PM
#14
Here's what I have right now.
Kenwood 6980
The left is the radio harness and the right is the harness that connects to the OEM-1.
All matching wires are connected.
What is not hooked up are the ones with the labels and are pictured. I don't plan on running the dimmer (orange/white) to the HVAC. I never dim my dash lights. Also the two long ones. The long green one says PRK (parking) and the long purple one w/white stripe says "reverse". Other than that there's the black ground and red power not hooked up.
So can I take the parking (long green) and black wire from the radio harness and run them to the black wire on the OEM-1 harness? Then cut the "reverse" wire and use that to extend the red from the radio hardness to the taped up yellow wire in the footwell?
Last edited by 1quick1; 07-06-2011 at 08:46 PM.

 07-06-2011, 09:07 PM
#16
Former Vendor
Thread Starter
Here's what I have right now.
Kenwood 6980
The left is the radio harness and the right is the harness that connects to the OEM-1.
All matching wires are connected.
What is not hooked up are the ones with the labels and are pictured. I don't plan on running the dimmer (orange/white) to the HVAC. I never dim my dash lights. Also the two long ones. The long green one says PRK (parking) and the long purple one w/white stripe says "reverse". Other than that there's the black ground and red power not hooked up.
So can I take the parking (long green) and black wire from the radio harness and run them to the black wire on the OEM-1 harness?
yes Then cut the "reverse" wire and use that to extend the red from the radio hardness to the taped up yellow wire in the footwell?
that will work unless you want to add a rear camera then you will need to extend that to the backup lights.
looks correct
07-06-2011, 09:23 PM
#17
Tech Contributor
Member Since: Aug 1999
Location: Should this thoughtful, valuable contribution meet with no acknowledgement or 'thanks' this post----
Posts: 16,382
Received 399 Likes
on
257 Posts
Nice work, Dennis....will do this some day for sure. Now, can I have meat sauce with my spaghetti?
07-06-2011, 10:18 PM
#18
Thanks Dennis! I will keep updating this thread and hopefully it'll help someone else like me who was searching for step by step instructions w/pics.
Tomorrow or Friday I will pull the dash and run the GPS, MIC, and power wires. I'm off all next week so I'm sure it'll get installed.
Tomorrow or Friday I will pull the dash and run the GPS, MIC, and power wires. I'm off all next week so I'm sure it'll get installed.
07-06-2011, 10:30 PM
#19
Former Vendor
Thread Starter
Thanks Dennis! I will keep updating this thread and hopefully it'll help someone else like me who was searching for step by step instructions w/pics.
Tomorrow or Friday I will pull the dash and run the GPS, MIC, and power wires. I'm off all next week so I'm sure it'll get installed.
Tomorrow or Friday I will pull the dash and run the GPS, MIC, and power wires. I'm off all next week so I'm sure it'll get installed.
no problem
they are also available here
http://www.doubledmods.com/Installation.php
07-07-2011, 01:09 PM
#20
So what's everyone using to cut the radio shelves out? Does this ultimately get mounted with just the two L brackets?