
Show us your NO or LOW COST HOME MADE do it yourself stuff
 01-31-2011, 12:57 AM
#41
Safety Car


 01-31-2011, 01:38 AM
#42
Melting Slicks

Thank you. Not my idea however. I saw someone do it in a thread. Just simply mask off the area and use the plasti-dip spray paint. I did about 3 heavy coats within 30 minutes. Just be sure to remove the tape along the edges after the last coat so it doesn't start to peel off. I like it because it can be taken off if you decide one day you didn't like it.
Yes!!
Yes!!
01-31-2011, 02:50 AM
#44
Tech Contributor
Member Since: Dec 2003
Location: Horncastle Lincolnshire, England
Posts: 19,384
Likes: 0
Received 79 Likes
on
61 Posts
2023 C5 of the Year Finalist - Unmodified

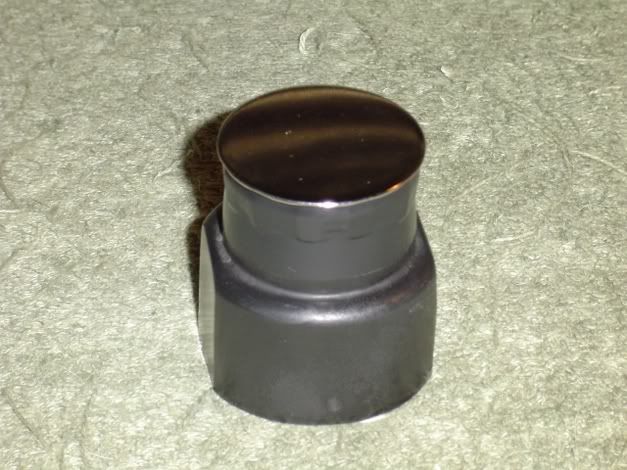
Trunk Popper for a Vert or Z06
This is an easy mod but for those of you who prefer to buy the ready made item it sells for a very reasonable price of $15.95 from one of the Forum vendors. Unfortunately the vendor doesn�t ship overseas so I needed a DIY version:
http://www.c5trunkpopper.com/
If you want to try yourself, pick up a 7/8� compression spring from Home Depot. They retail at $3.98 for a pack of 4 springs, 2 large and 2 small. You�ll also need an end cap of the same diameter. I used a 7/8� rubber stopper ($1.76). The advantage is that it acts as a soft buffer and can be trimmed to fit.
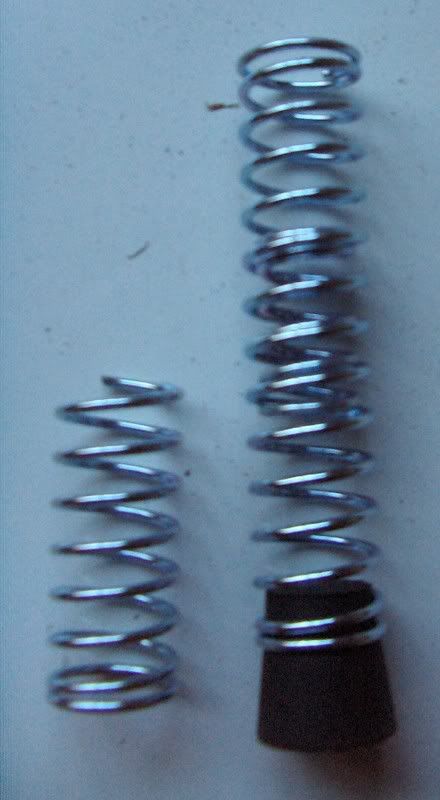
Cut the large spring to a length of 2�. The springs are quite strong so it takes a bit of elbow grease to cut it. Tighten the radius at the cut end of the spring to give a hole to fasten the screw through.
Undo the T30 torx screw on the right hand side of the closure plate. Insert the torx screw down the barrel of the spring and retighten it in place.
Slot the bung in place. You can trim the bung to get whatever fit you prefer. With it as shown it takes a good push to close the trunk. Trimming the bung will make it easier to close..
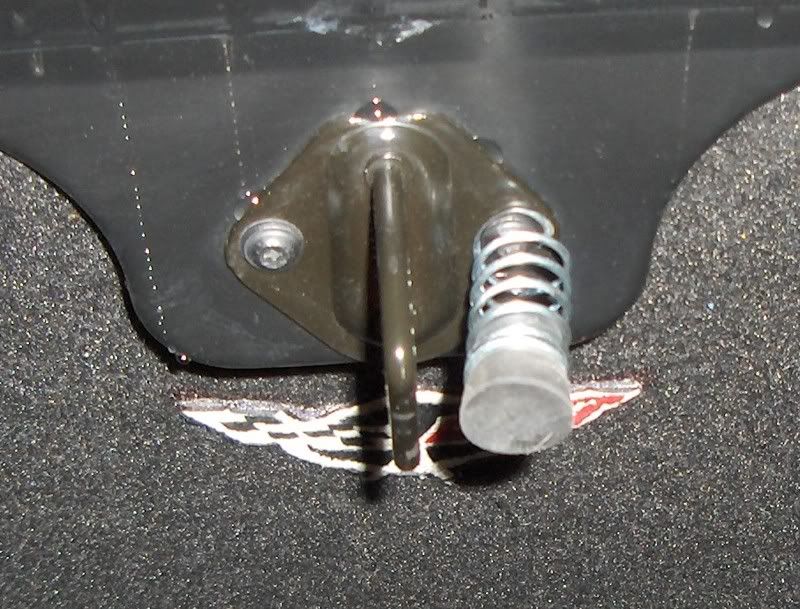
It took 10 minutes and all the lubrication and fiddling with the lock are a thing of the past.
This is an easy mod but for those of you who prefer to buy the ready made item it sells for a very reasonable price of $15.95 from one of the Forum vendors. Unfortunately the vendor doesn�t ship overseas so I needed a DIY version:
http://www.c5trunkpopper.com/
If you want to try yourself, pick up a 7/8� compression spring from Home Depot. They retail at $3.98 for a pack of 4 springs, 2 large and 2 small. You�ll also need an end cap of the same diameter. I used a 7/8� rubber stopper ($1.76). The advantage is that it acts as a soft buffer and can be trimmed to fit.
Cut the large spring to a length of 2�. The springs are quite strong so it takes a bit of elbow grease to cut it. Tighten the radius at the cut end of the spring to give a hole to fasten the screw through.
Undo the T30 torx screw on the right hand side of the closure plate. Insert the torx screw down the barrel of the spring and retighten it in place.
Slot the bung in place. You can trim the bung to get whatever fit you prefer. With it as shown it takes a good push to close the trunk. Trimming the bung will make it easier to close..
It took 10 minutes and all the lubrication and fiddling with the lock are a thing of the past.
01-31-2011, 08:59 AM
#45
Melting Slicks
Thread Starter
Member Since: Jul 2006
Location: Rutherfordton NC
Posts: 2,084
Likes: 0
Received 12 Likes
on
12 Posts
St. Jude Donor '10
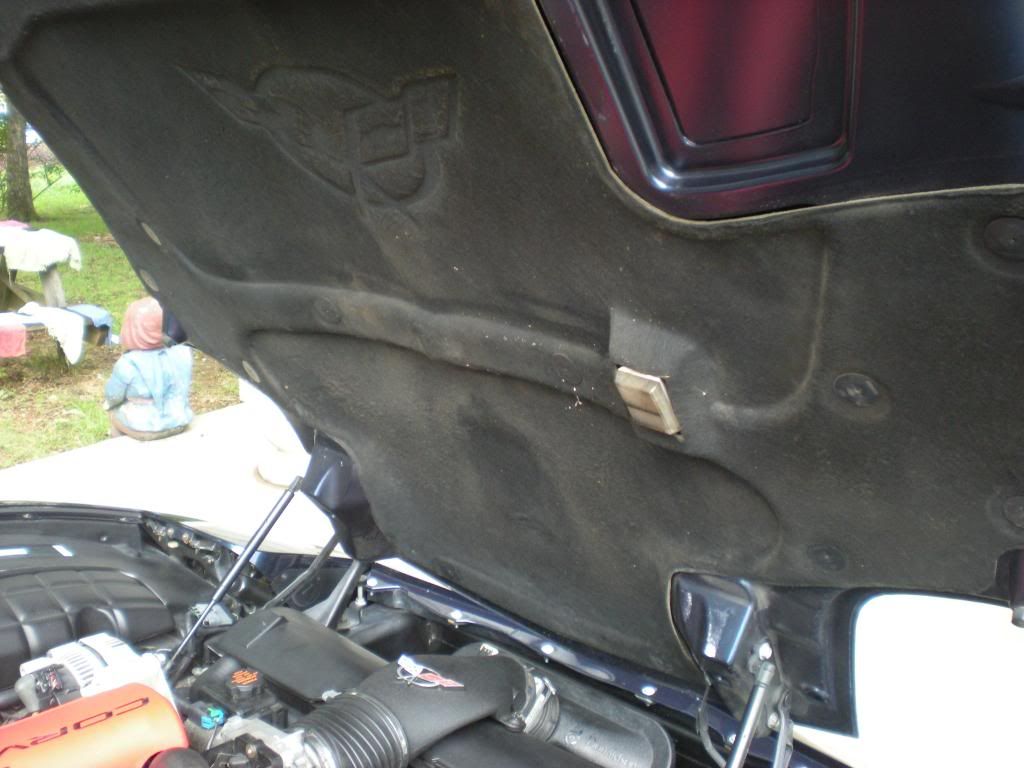
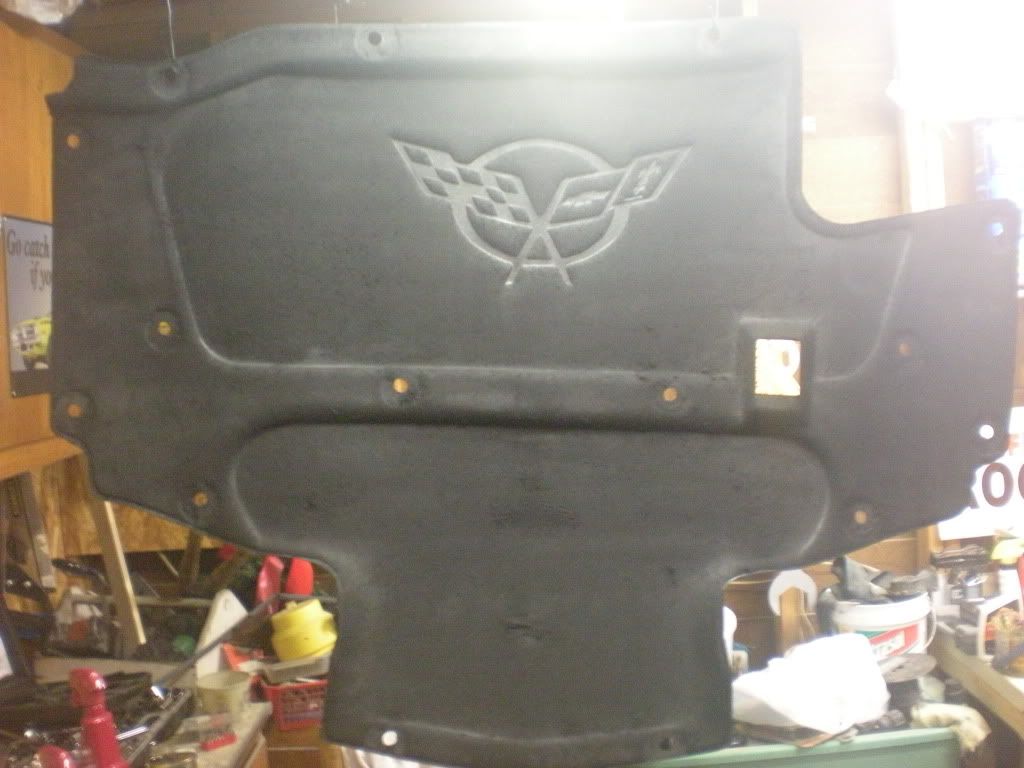
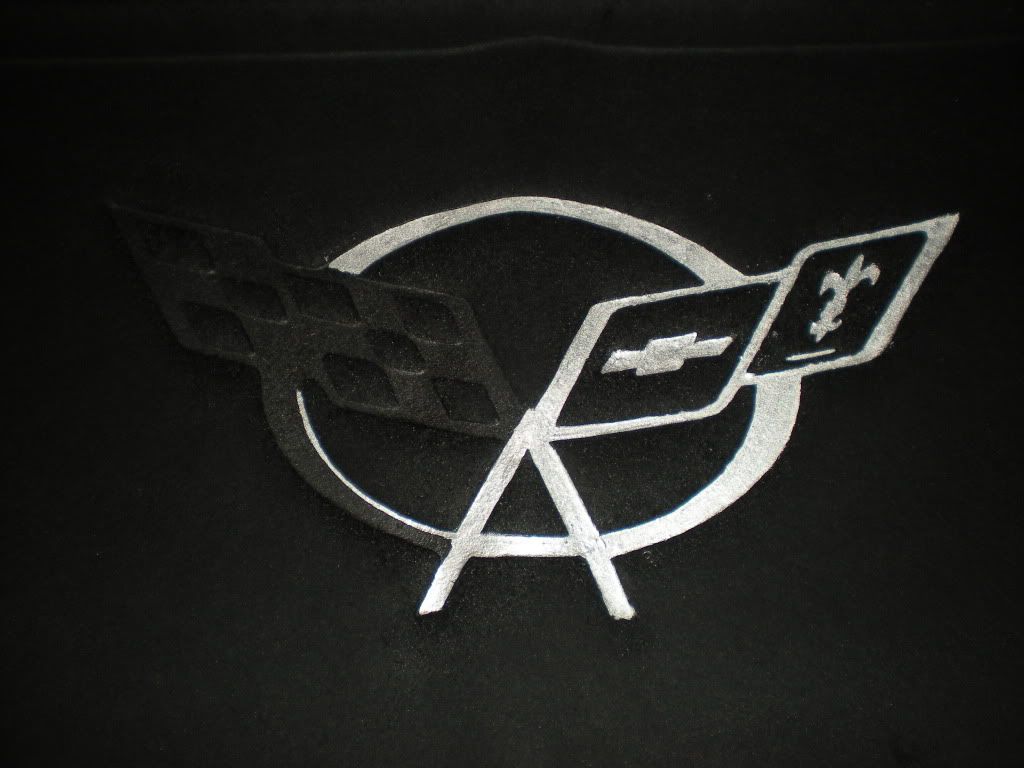
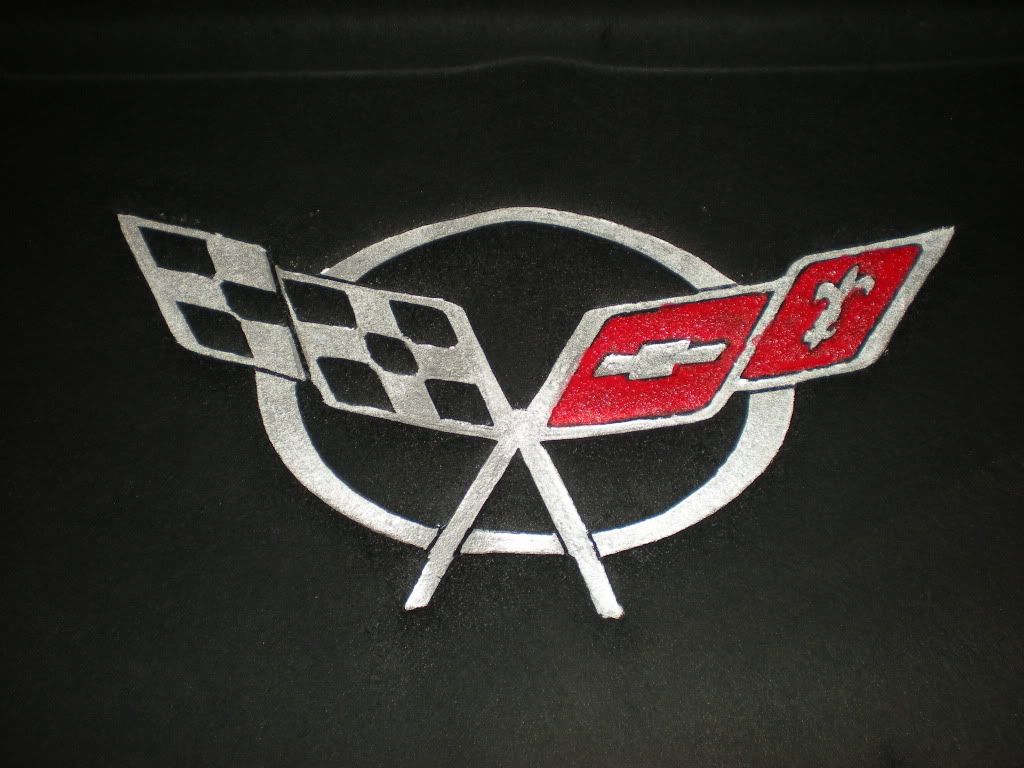
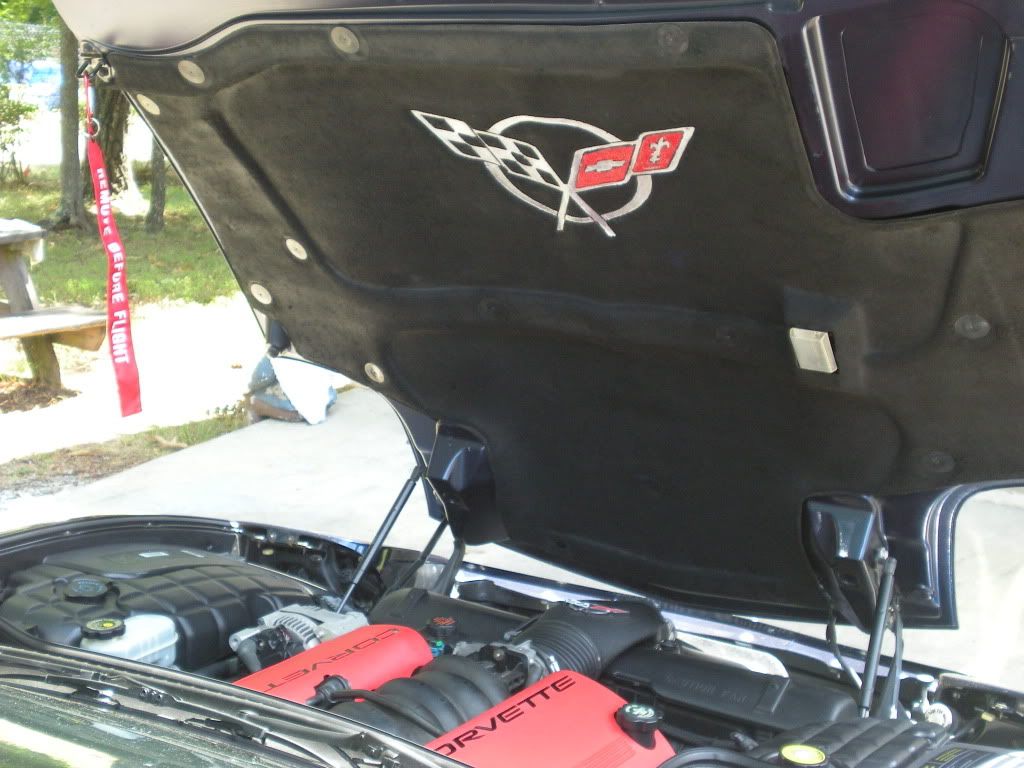
On the hood pad emblem paint. I did mine too. I took my pad off and painted my emblem on the kitchen table.
First thing I did was take the pad off and spray it with about 3 good heavy coats of flat black paint. Some people use BBQ grill paint, but I had several cans of flat black so I used that.
Then I let the pad dry. The next day I brought it in the kitchen and started the emblem. I used the Testors model car paint pens to do mine. The flat black paint covers the fibers good enough that the paint pens do a great job. This job cost me about $12 for the paint pens.
Here are the progress pics of mine.
Last edited by BarryBum; 01-31-2011 at 09:01 AM.


 01-31-2011, 02:23 PM
#49
Safety Car


great thread. some very creative thinking demonstrated here, not to mention some great ideas! thanks


 01-31-2011, 03:53 PM
#55
Pro

It's official. Looks like I have a few projects to do before the spring.
I'm on my way to find some door-edge guards, LED light strips, sink plugs and 3 cans of BBQ high temp paint.
Now i have to explain to my wife why the hood liner is on her kitchen table.
I'm on my way to find some door-edge guards, LED light strips, sink plugs and 3 cans of BBQ high temp paint.
Now i have to explain to my wife why the hood liner is on her kitchen table.
The following users liked this post:
TwoTowns (06-09-2020)
01-31-2011, 05:35 PM
#56
Instructor

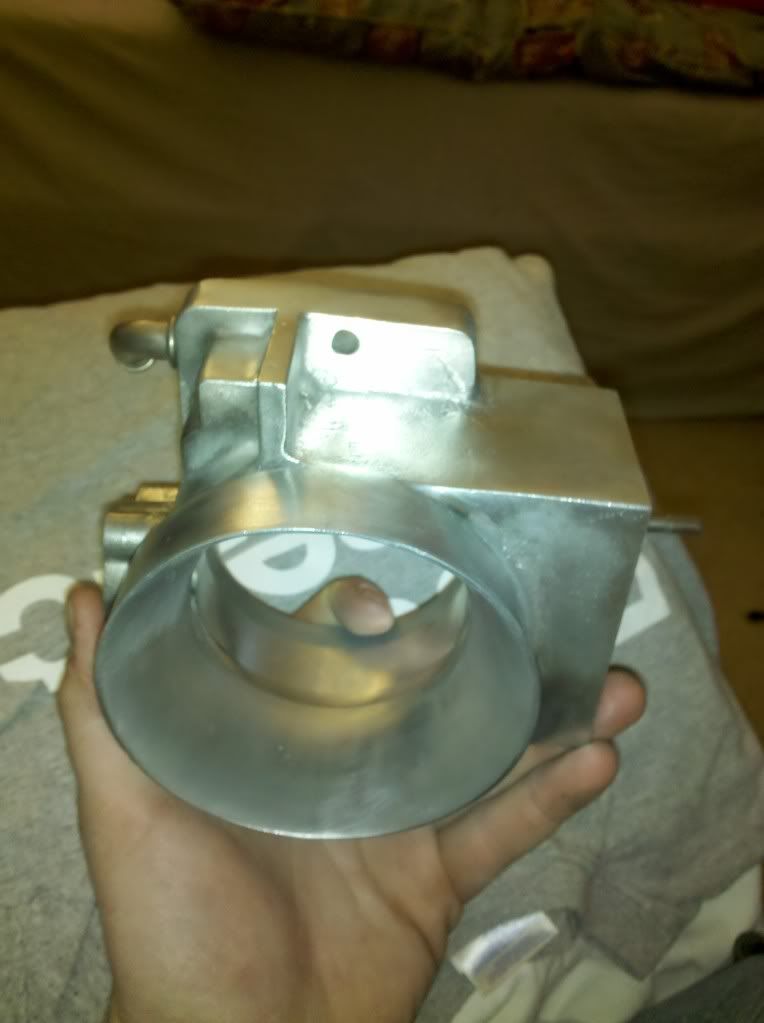
I started porting and polishing my TB, not 100% done with finish sanding the inside yet. Still have a 1 or 2 little deep spots to get out.
Pulled off the belt tensioner and alternator and started polishing them.
Took pics of alt and tensioner about a half hour into polishing them.
tensioner before

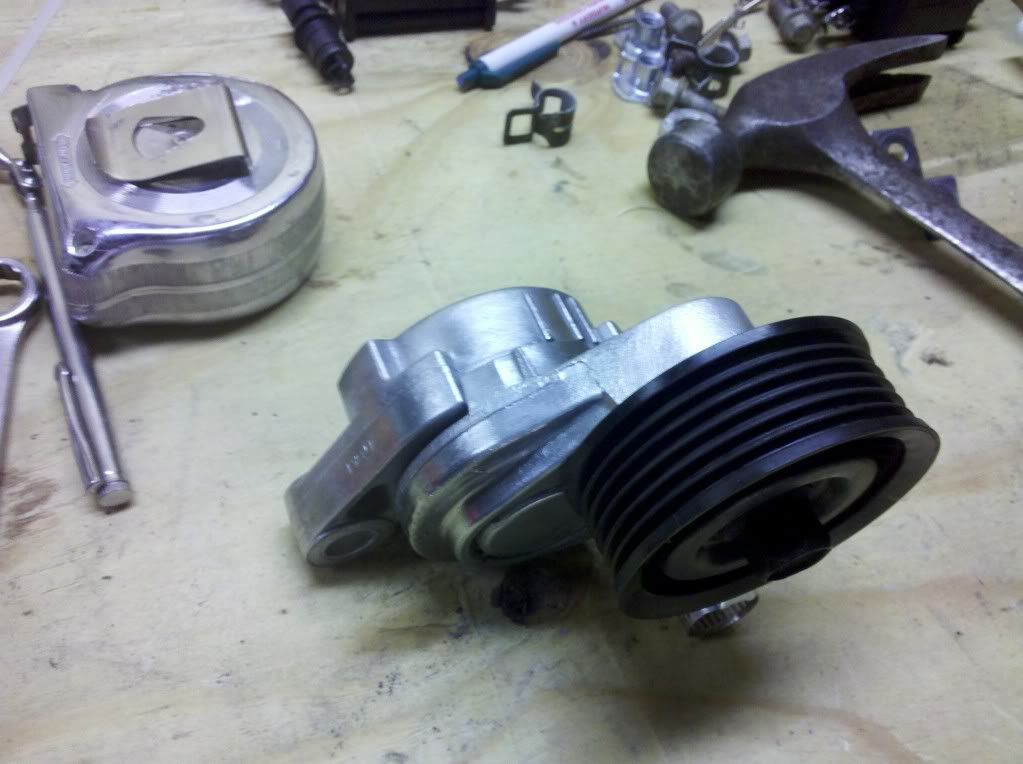
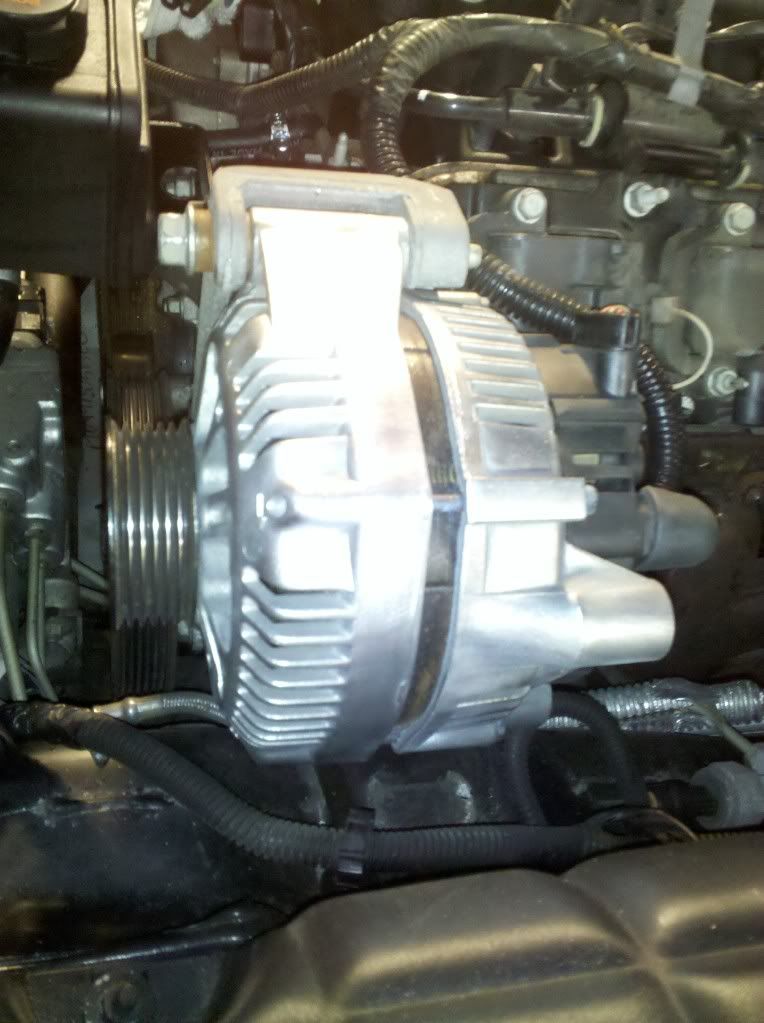
I just used my die grinder with various wire wheels, small wire brush, random sandpaper/ sanding sponges I had to polish.
Pulled off the belt tensioner and alternator and started polishing them.
Took pics of alt and tensioner about a half hour into polishing them.
tensioner before
I just used my die grinder with various wire wheels, small wire brush, random sandpaper/ sanding sponges I had to polish.

 01-31-2011, 06:21 PM
#58
Team Owner

Member Since: Jan 2009
Location: Somewhere in Mo
Posts: 73,434
Likes: 0
Received 31 Likes
on
27 Posts
St. Jude Donor '09-'10, '14

Don't have an actual picture but I made this to check fuel pressure with. It's way mor effective than pinching lines.
Copied from the thread I made about it. But I haven't checked pressure on a C5 so I don't know if it works for a C5. But for you guys that have a C4 also, here you go.
Here's a picture of a valve similar to what I installed. Then just attached a piece of 3/8 inch fuel line to one end and your line to the other end and then test away. works way better than pinching and way more efficient.
http://www.rcaccessory.com/newfuelshutoffvalve.aspx
Last edited by RetiredSFC 97; 01-31-2011 at 06:24 PM.
01-31-2011, 07:32 PM
#59
Le Mans Master

Member Since: Feb 2003
Location: Memphis Tennessee
Posts: 6,670
Likes: 0
Received 135 Likes
on
84 Posts

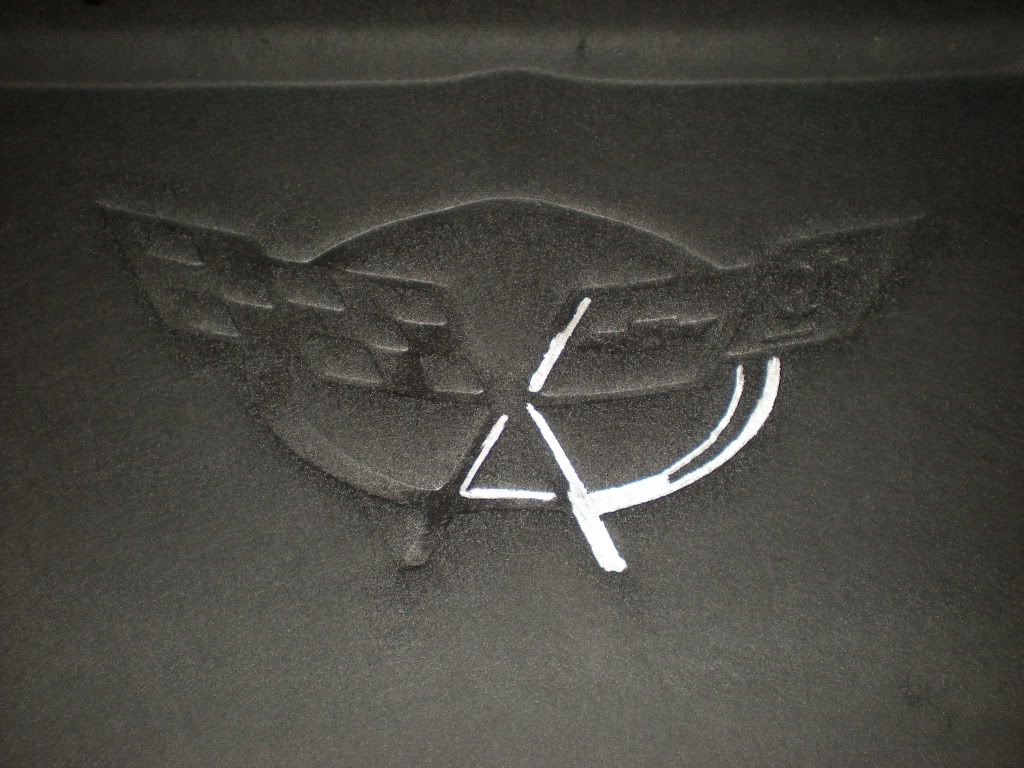
Colors came from Paint Pens, and lots of them. My daughter did each section 4 times to make the colors as vivid as possible.
01-31-2011, 09:41 PM
#60
Instructor

Member Since: Dec 2010
Location: Pensacola Florida
Posts: 102
Likes: 0
Received 0 Likes
on
0 Posts
[/QUOTE]I really like the idea of painting the hoodliner but is there any concern of the high temps melting the paint? Do you have to use high temp paints?
...And I just got back from Lowes. Picked up some wire mesh to cover the opening below the radiator. Lowes may be a forum sponsor before this thread is done.


