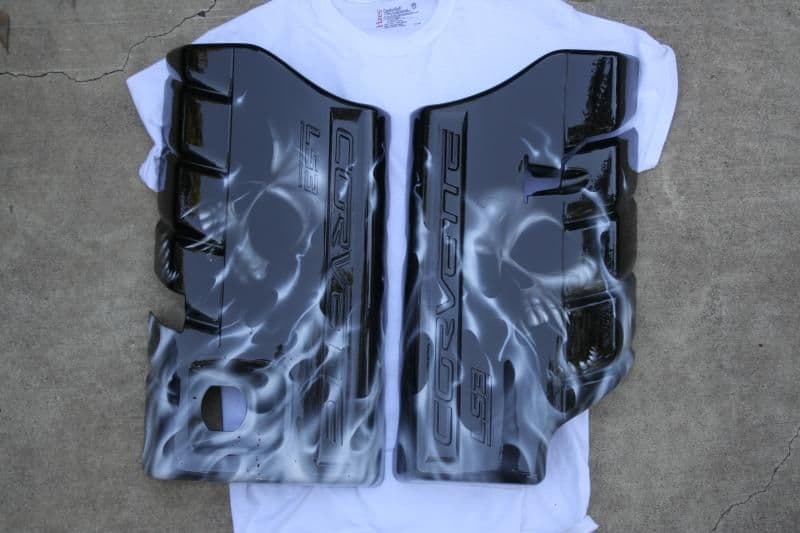
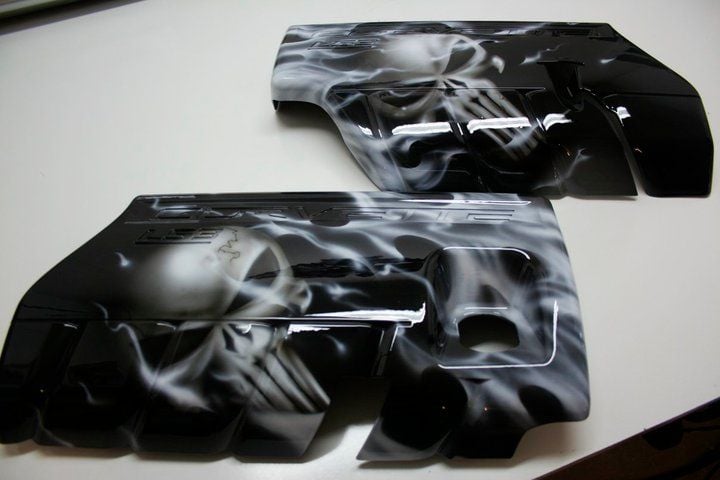
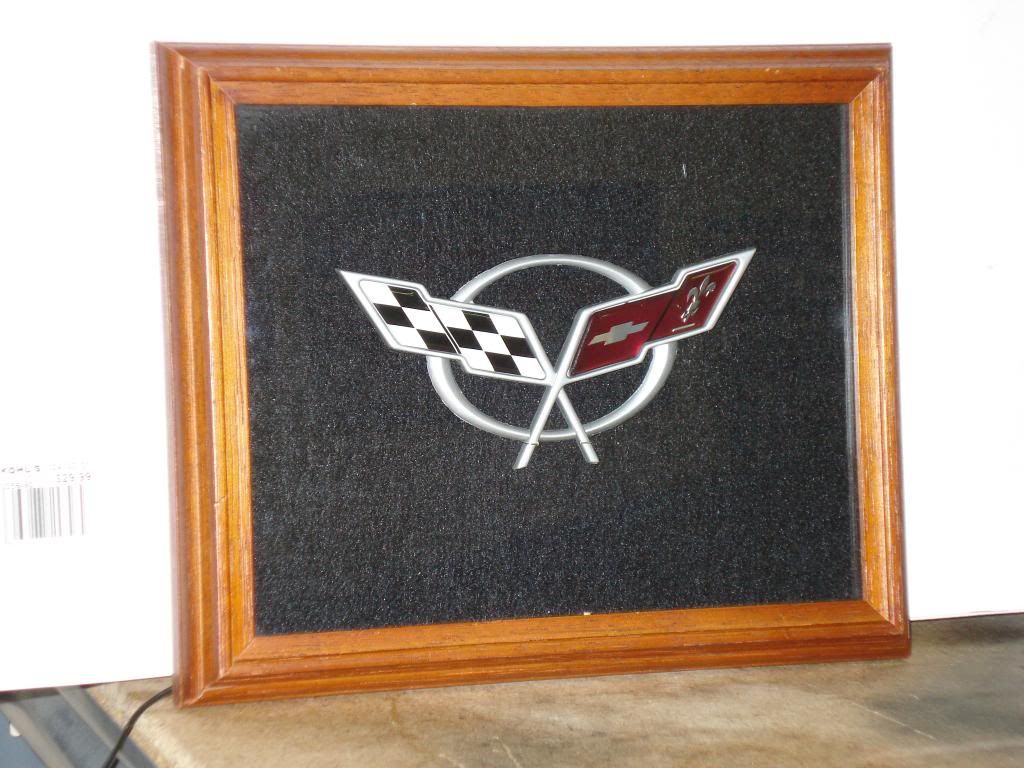
Show us your NO or LOW COST HOME MADE do it yourself stuff
#741
Team Owner


For those of you with a rearview camera and tired of getting to close to curbs when parking.
I installed a small camera in the center of the air dam and ran the wires back to the radio.

I put a power switch in the area above the lighter and a tee for the video input to my radio.

Now all I have to do is switch on the camera and I can see when I am close enough to curbs and parking blocks.


Rear View.

Easy and inexpensive add-on.
I installed a small camera in the center of the air dam and ran the wires back to the radio.

I put a power switch in the area above the lighter and a tee for the video input to my radio.

Now all I have to do is switch on the camera and I can see when I am close enough to curbs and parking blocks.


Rear View.

Easy and inexpensive add-on.
If so how do you keep it from coming on at the same time?
Won't it back feed to the rear one as well? "IF" they are Tee'd together?
Or is the TEE specifically for the Video cable?
Got a picture of the Video Tee?
My Kenwood only has the one setup for the rear view camera!
Thanks,Matt
#742
Racer


Member Since: May 2008
Location: Placentia California
Posts: 328
Likes: 0
Received 2 Likes
on
2 Posts

Do you also have the Rear View camera as well?
Answer: See picture above.
If so how do you keep it from coming on at the same time?
Answer: Rear comes on in reverse. Front comes on when switched on.
Won't it back feed to the rear one as well? "IF" they are Tee'd together?
Answer: The tee is simple 2 in 1 out, so if both cameras on it is mixed signal.
Or is the TEE specifically for the Video cable?
Answer: Tee is simple video only tee.
Got a picture of the Video Tee?
My Kenwood only has the one setup for the rear view camera!
Answer: That is why the switch is there, it powers the front camera when you want it, the rear camera is powered by the reverse lights.
Thanks,Matt
#743
Team Owner


#744
Team Owner


Member Since: Jan 2007
Location: cookeville tennessee
Posts: 28,846
Received 1,762 Likes
on
1,529 Posts

Do you also have the Rear View camera as well?
If so how do you keep it from coming on at the same time?
Won't it back feed to the rear one as well? "IF" they are Tee'd together?
Or is the TEE specifically for the Video cable?
Got a picture of the Video Tee?
My Kenwood only has the one setup for the rear view camera!
Thanks,Matt
If so how do you keep it from coming on at the same time?
Won't it back feed to the rear one as well? "IF" they are Tee'd together?
Or is the TEE specifically for the Video cable?
Got a picture of the Video Tee?
My Kenwood only has the one setup for the rear view camera!
Thanks,Matt
#745
Burning Brakes


Member Since: Aug 2009
Location: Fayetteville Arkansas
Posts: 1,066
Likes: 0
Received 6 Likes
on
5 Posts

Not to hijake the above posts... but if you dont want to install a camera. Just use a reference point to calculate the distance to the front of your car. Ill explain..
When I am sitting with my head against the seat, if I look through the gap produced by the driver side mirror and the A pillar, I look directly at a spot on the pavement (which if drawn parallel to my front bumper) that is 6" infront of the car.
I can get within inches of crubs everytime.
When I am sitting with my head against the seat, if I look through the gap produced by the driver side mirror and the A pillar, I look directly at a spot on the pavement (which if drawn parallel to my front bumper) that is 6" infront of the car.
I can get within inches of crubs everytime.
#746
Not a MOD per se, but I was in a accident with my 94 and I asked the repair shop if I could have the wheel they were replacing and of course they said yes. Anyway...had a glass made for wheel and found a old pedestal chair at a resales shop cut it down, drilled holes in the rotating top to match the bolt pattern and a freind of mine made the tire looking leather for the center of the wheel....and what do you have but a great little table for your man cave.


#747
Racer


Member Since: Feb 2008
Location: Lake Orion Michigan
Posts: 435
Likes: 0
Received 3 Likes
on
3 Posts

Not a MOD per se, but I was in a accident with my 94 and I asked the repair shop if I could have the wheel they were replacing and of course they said yes. Anyway...had a glass made for wheel and found a old pedestal chair at a resales shop cut it down, drilled holes in the rotating top to match the bolt pattern and a freind of mine made the tire looking leather for the center of the wheel....and what do you have but a great little table for your man cave.


#749
Since somone else posted with the DiNOC wrap on their engine, Id crosspost here about my exhaust plate:
Well I finally got around to doing mine. Its one of the 'rolled' stainless exhaust plates I got from another member on the forum. I wanted the rolled version as it curls under a bit and gives a more finished look to me. It has a 50th annv badge on it, mine is just an 02z. Didnt matter as I was going to remove the emblem and wrap the plate in carbon fiber. I got a 1'x4' roll of 3M DiNoc carbon fiber (matte, not the glossy kind). I got a longish roll in case I messed up (enough for 3 tries, but I did it on my first try). Stripped off the old emblem and old mounting tape then applied the carbon fiber. It was alot easier than i thoguht it would be...I laid it flat on the table, sticky side up, and heated it with a hairdryer to get it to lay flat. I then lined up the exhaust plate so the non-rolled side was applied first, and just slowly lowered it down. I got one small bubble in the corner, but i lifted the carbon fiber up gently and pushed it back down with a credit card and gentle heat. Then I just made slits on all the corners so I could wrap around the carbon fiber to the back. Came out fantastic.
This video pretty much sums up what I did:
And here are the pics:
Before:
Attachment 48377155
Cleaned:
Attachment 48377156
After:
Attachment 48377157
I messed up the emblem removing it...I had originally planned to reuse it. I decided to cut the ring off and refinish it. Heres what it looks like just sitting on the plate...Im not going to tell you what Im not 100% happy with, Ill let you guys pick it apart...
Attachment 48377158
And finally, I decided to just leave the emblem off for the time being, and just have the CF plate mounted....
Well I figured Id mount the plate while Im deciding what to put on it...and I think I like the look of it without anything on it. Ill see how I like it outside in the daylight! Heres a couple pics with the flash on and off...I spent about 20 minutes lining this thing up perfect, that 3m mounting tape is no joke once its on!
Attachment 48377159
Attachment 48377160
Further back
Attachment 48377161
I like how it came out, gives a nice finished look to the area and looks almost factory. And the plate is mounted straight, the camera is just slightly askew when I was taking the pictures.
#752
Instructor


#753
Hardwired my 9500ix. Used a cheap hardwire kit from ebay then made my own bracket. Cut a piece of sheetmetal about 10" long and 1" wide, drilled out the clip section for the radar, bent the bracket how I wanted, drilled a hole for the screw and visor plastic piece, cut another small 6" strip to double up the longer part for strength. Wrapped tight with electrical tape. Not the prettiest, but cost me 5 bucks in steel from the local hardware shop!
Attachment 48377137
Attachment 48377138
Attachment 48377137
Attachment 48377138
#754
Race Director


Hardwired my 9500ix. Used a cheap hardwire kit from ebay then made my own bracket. Cut a piece of sheetmetal about 10" long and 1" wide, drilled out the clip section for the radar, bent the bracket how I wanted, drilled a hole for the screw and visor plastic piece, cut another small 6" strip to double up the longer part for strength. Wrapped tight with electrical tape. Not the prettiest, but cost me 5 bucks in steel from the local hardware shop!


 home made in my garage!


