When you click on links to various merchants on this site and make a purchase, this can result in this site earning a commission. Affiliate programs and affiliations include, but are not limited to, the eBay Partner Network.
Previous owners has installed the extra euro turn signals in the front fenders - which is also required by Danish inspection. But I don´t like the yellow lamp housings - and they were not positioned symmetric (it´s a detail but Things like this has line up nicely)
I could have installed LED turn signals in the side mirror housings - but Again there was already cutted holes in the front fenders. Of course it would be much "cleaner" not to run any side turn signals - but that would bring some LEO attention at once...
My solution was to install some custom LED turn signals (hate to admit it, but the actually fit a Volkswagen made 20 years ago...) But the design will fit nicely with the front side marker lights from Radioflyer with LED strip mod.
The lamp housing mounts on an aluminum frame that I made - and gives the opportinity to Mount it "low". I think it will look cool when its all sanded and painted together with the fender - and of course it will meet Danish inspection rules.
It will look a lot more nice and clean, when painted and the Whole car is assembled - but you can get an idea
Hmm - as many others have experienced these projects are time consuming - and it takes a lot more time than planned, when only working in some weekends every month
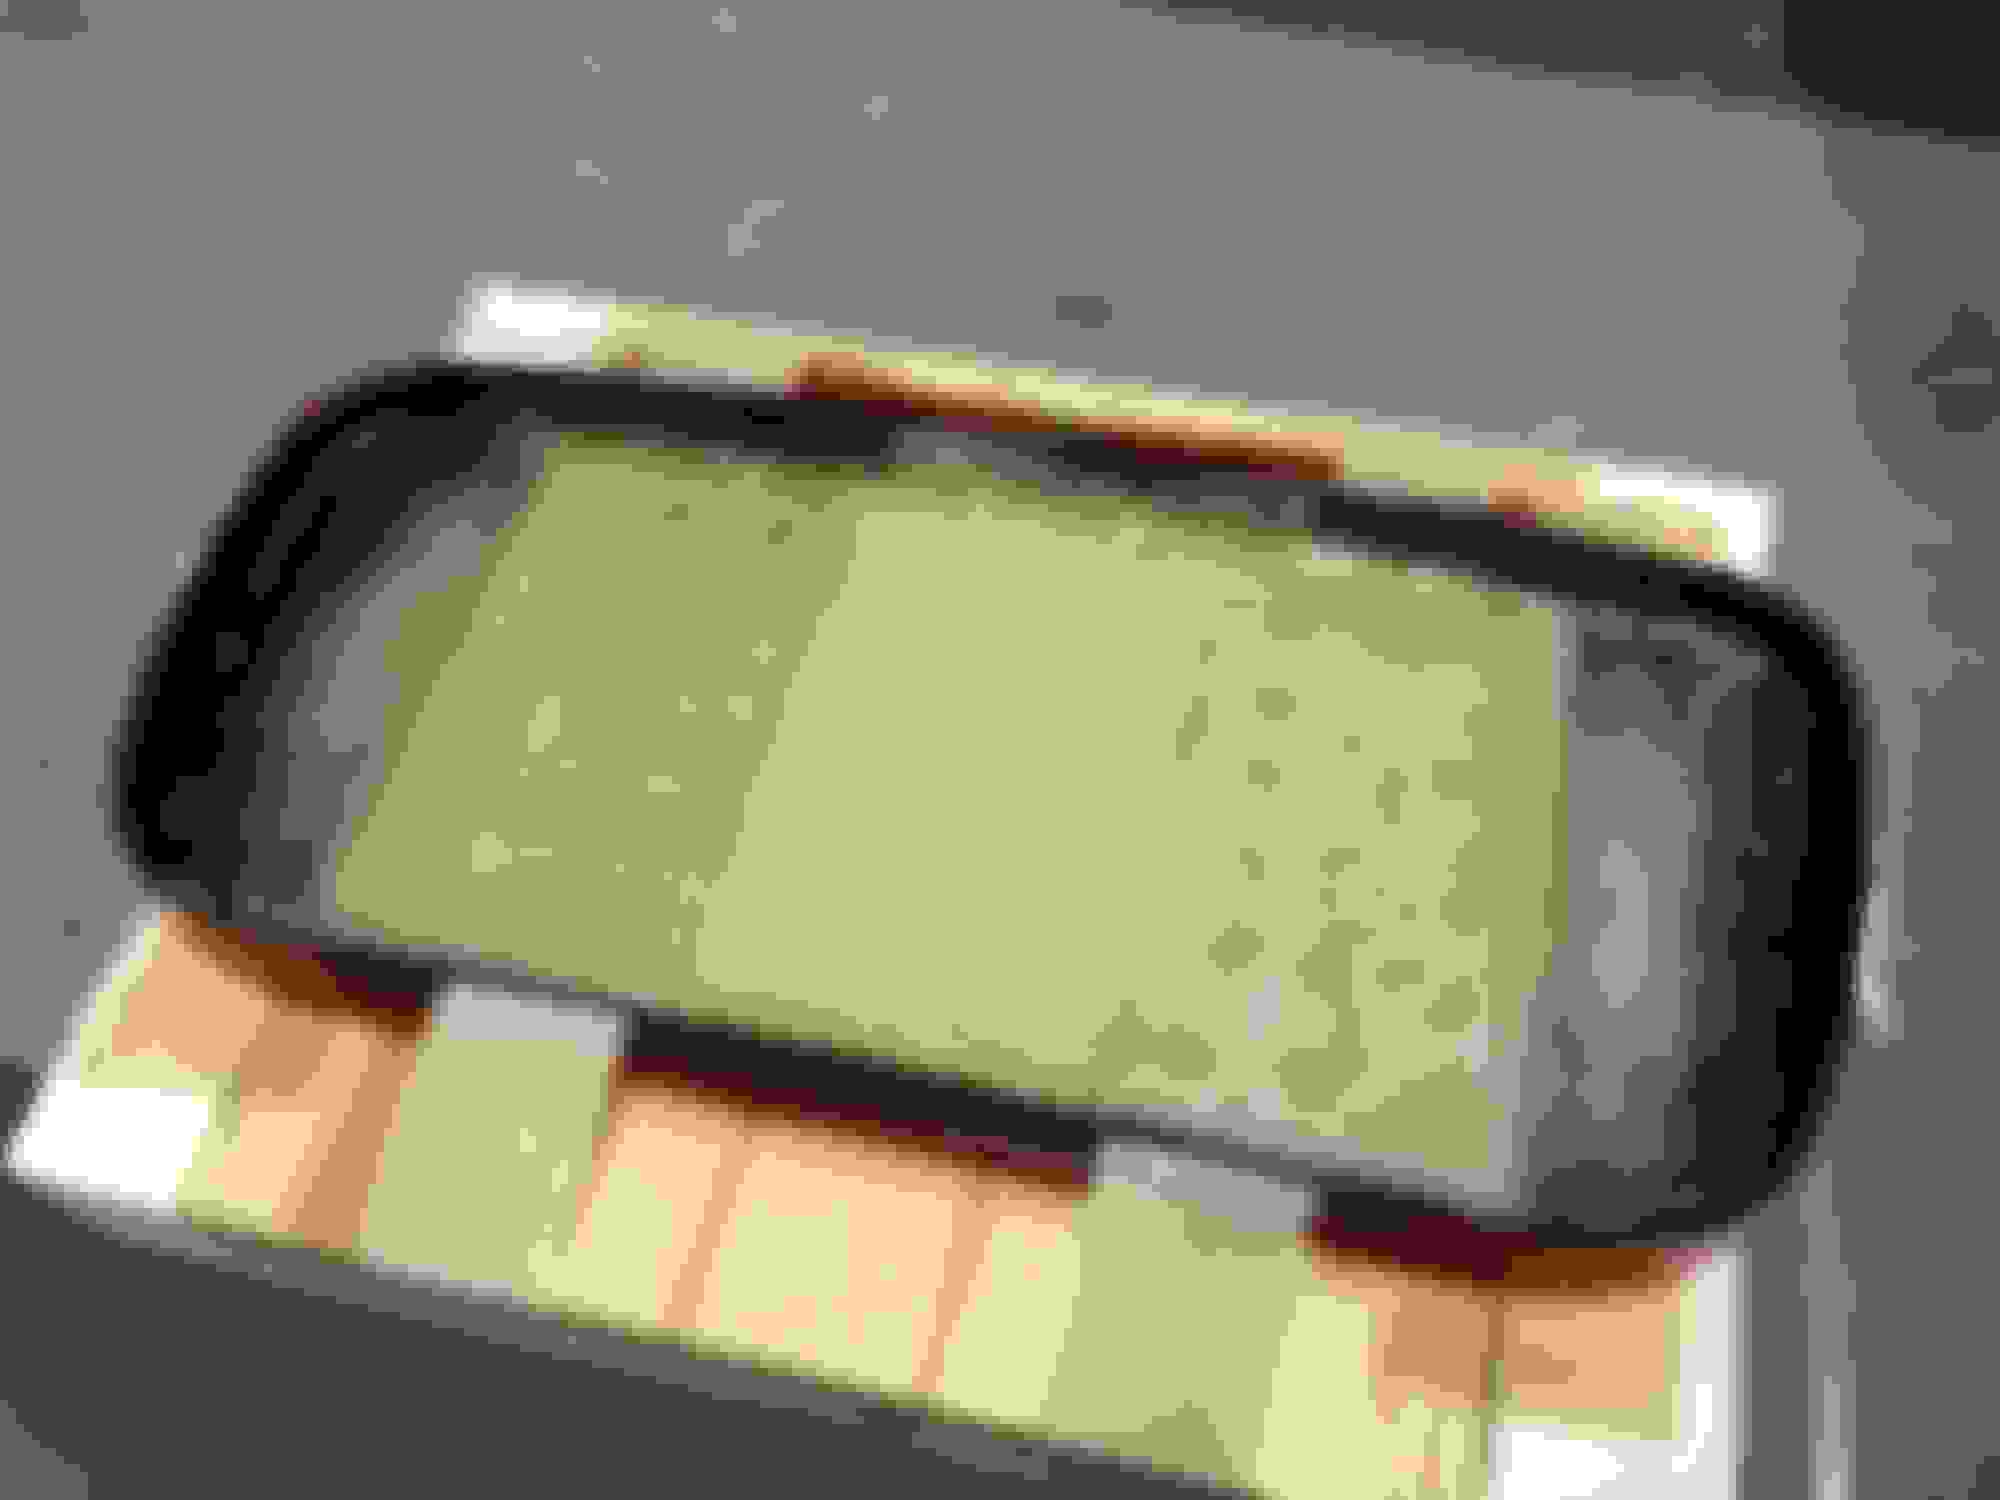
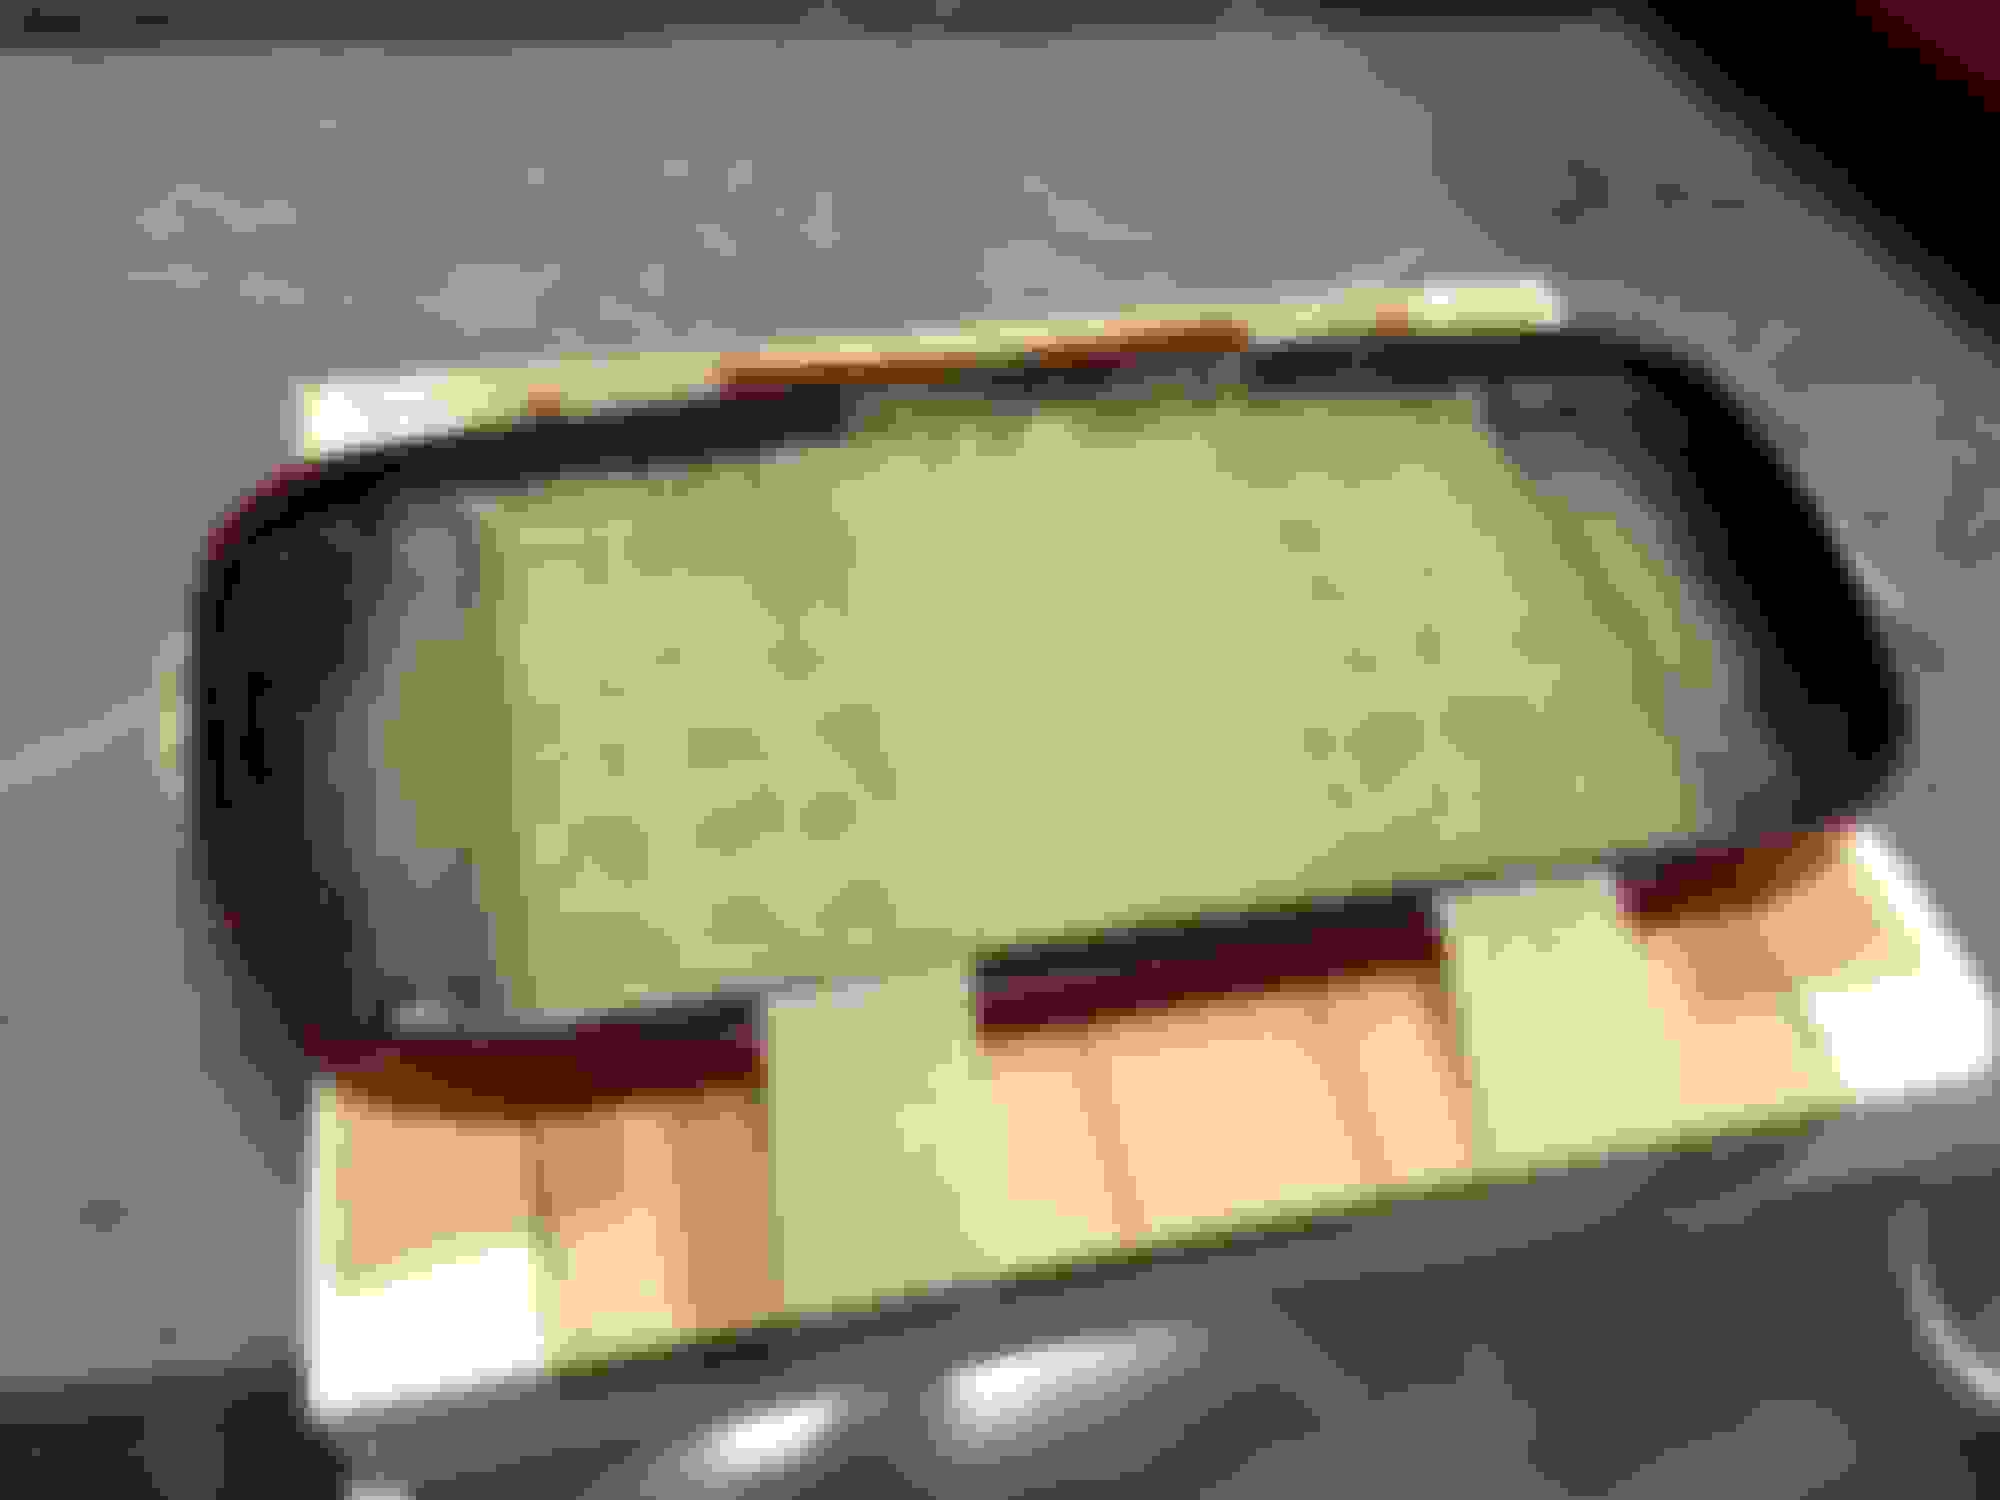
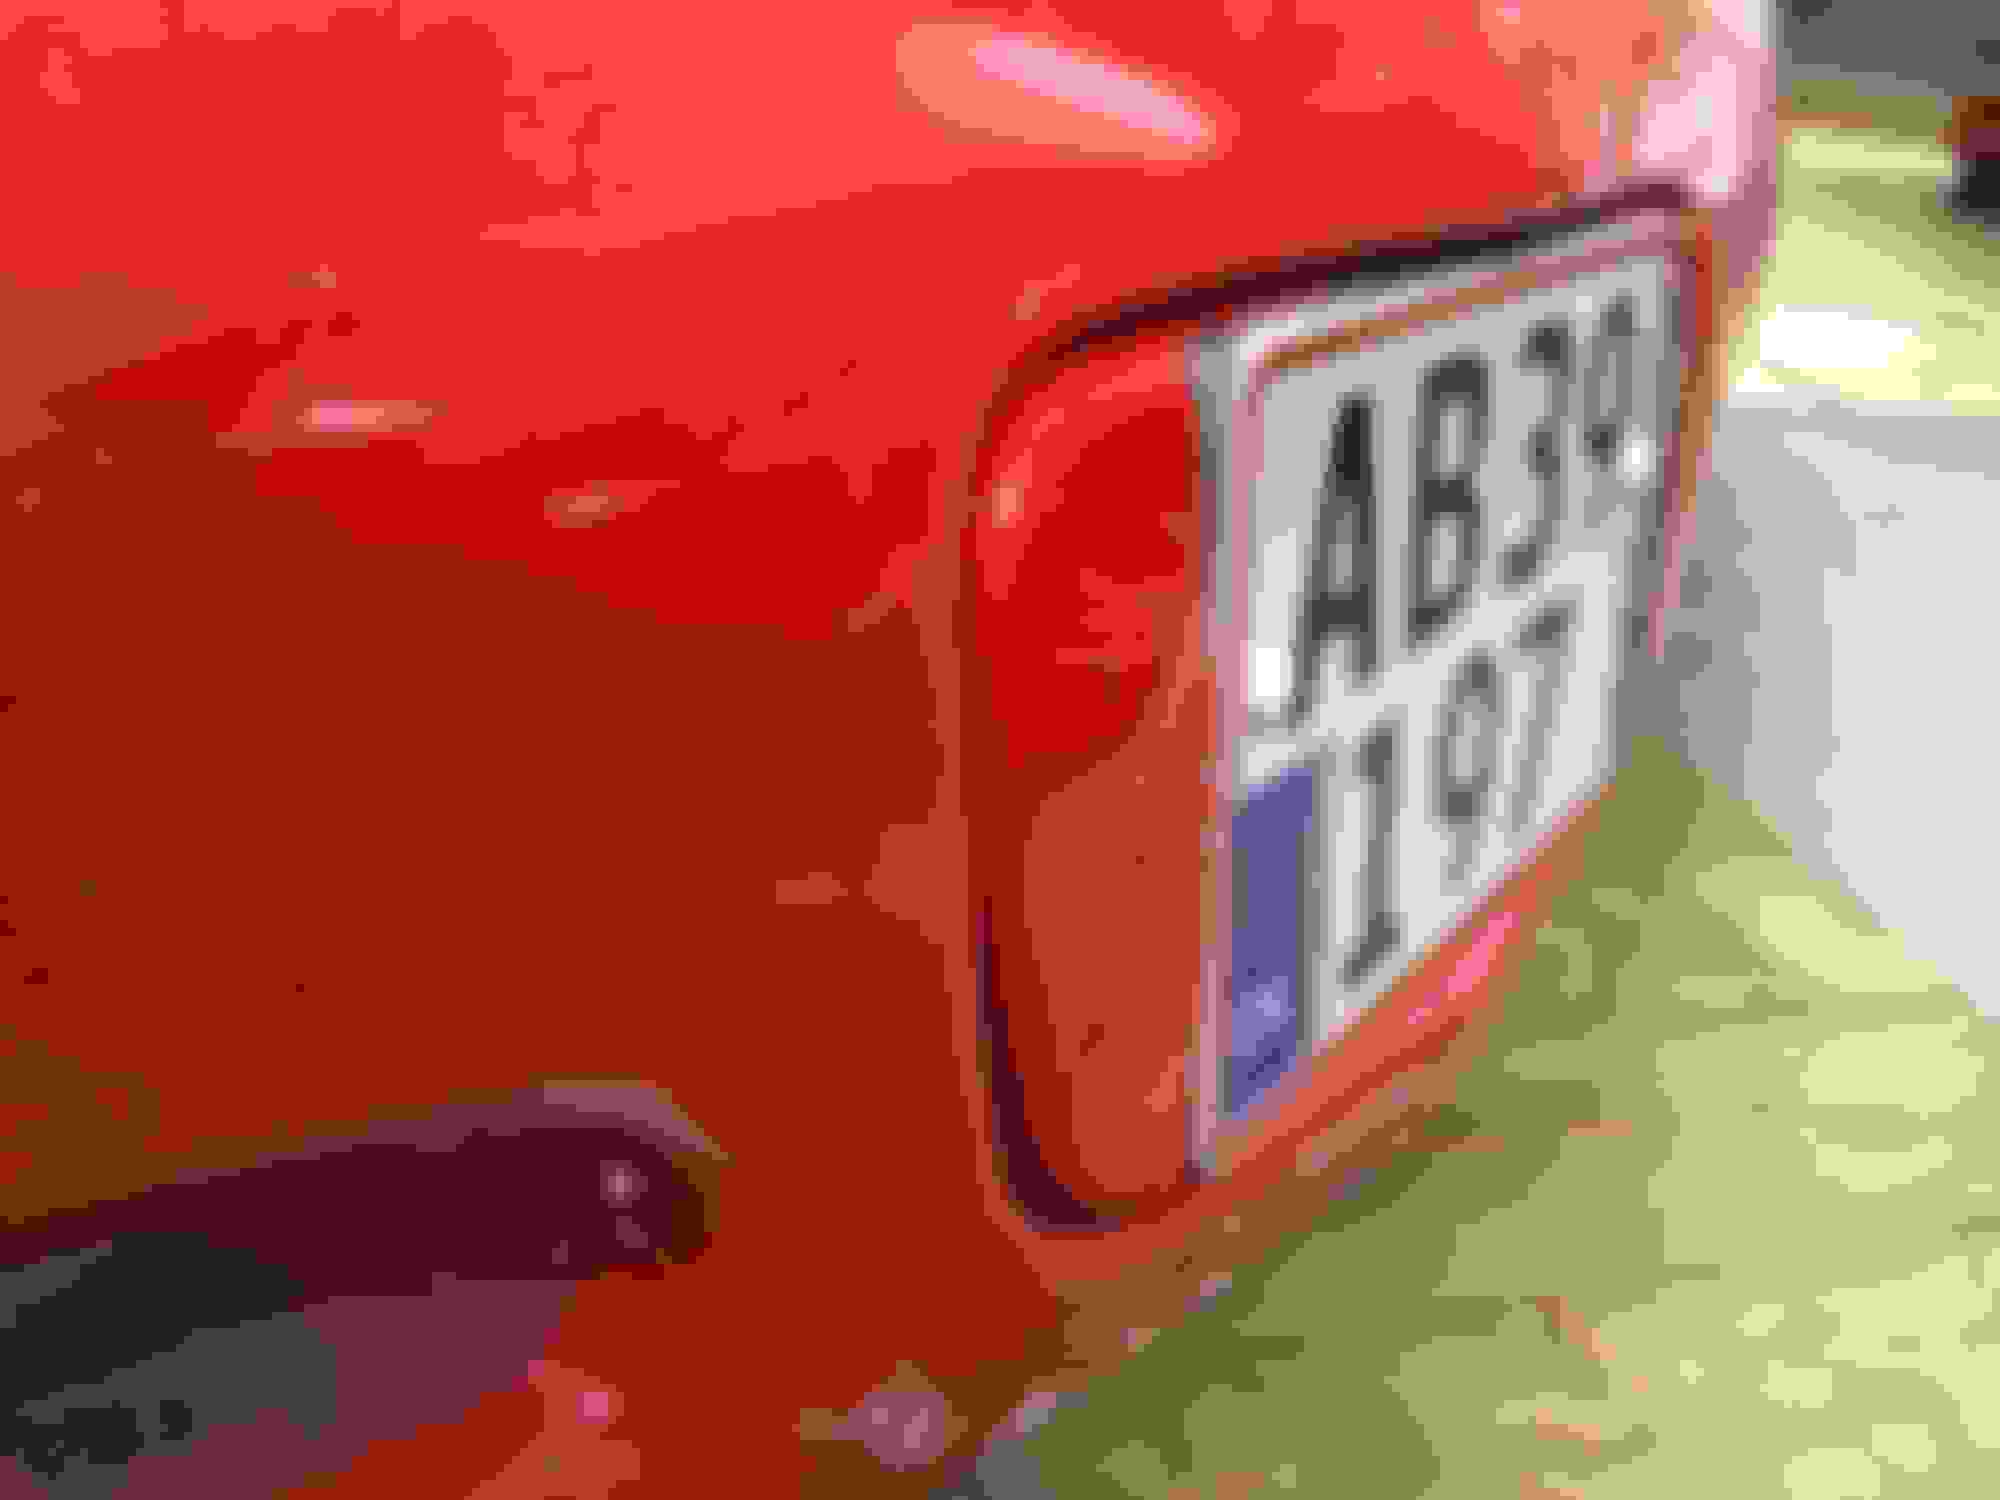
I´ve cutted out a piece of the front license plate filler and used epoxy resin and fiber glass to make a frame that matches the Danish license plate. The mold is shaped and sanded, and then covered in teflon tape - worked out great and was easy to separate. The two thin alloy pieces is only for stability. This is only a test fit - as it has to be sanded and shaped way more. But you get the idea. The finished frame will be smooth and the license plate will be as level as possible to the edges of the bumper.
For the rear panel I shaped a piece of clear acrylic that fills out the whole license plate area. It will be painted black it covers all the mounting hardware. So you will only see the nice LED backup lights and a clean black area with the license plate.
At the moment I´m preping all the covers for the engine compartment and sanding body parts. The front bumper has some cracks to repair, and all the pin holes in the hood needs to be filled, so it will be all smooth and clean when painted both sides.
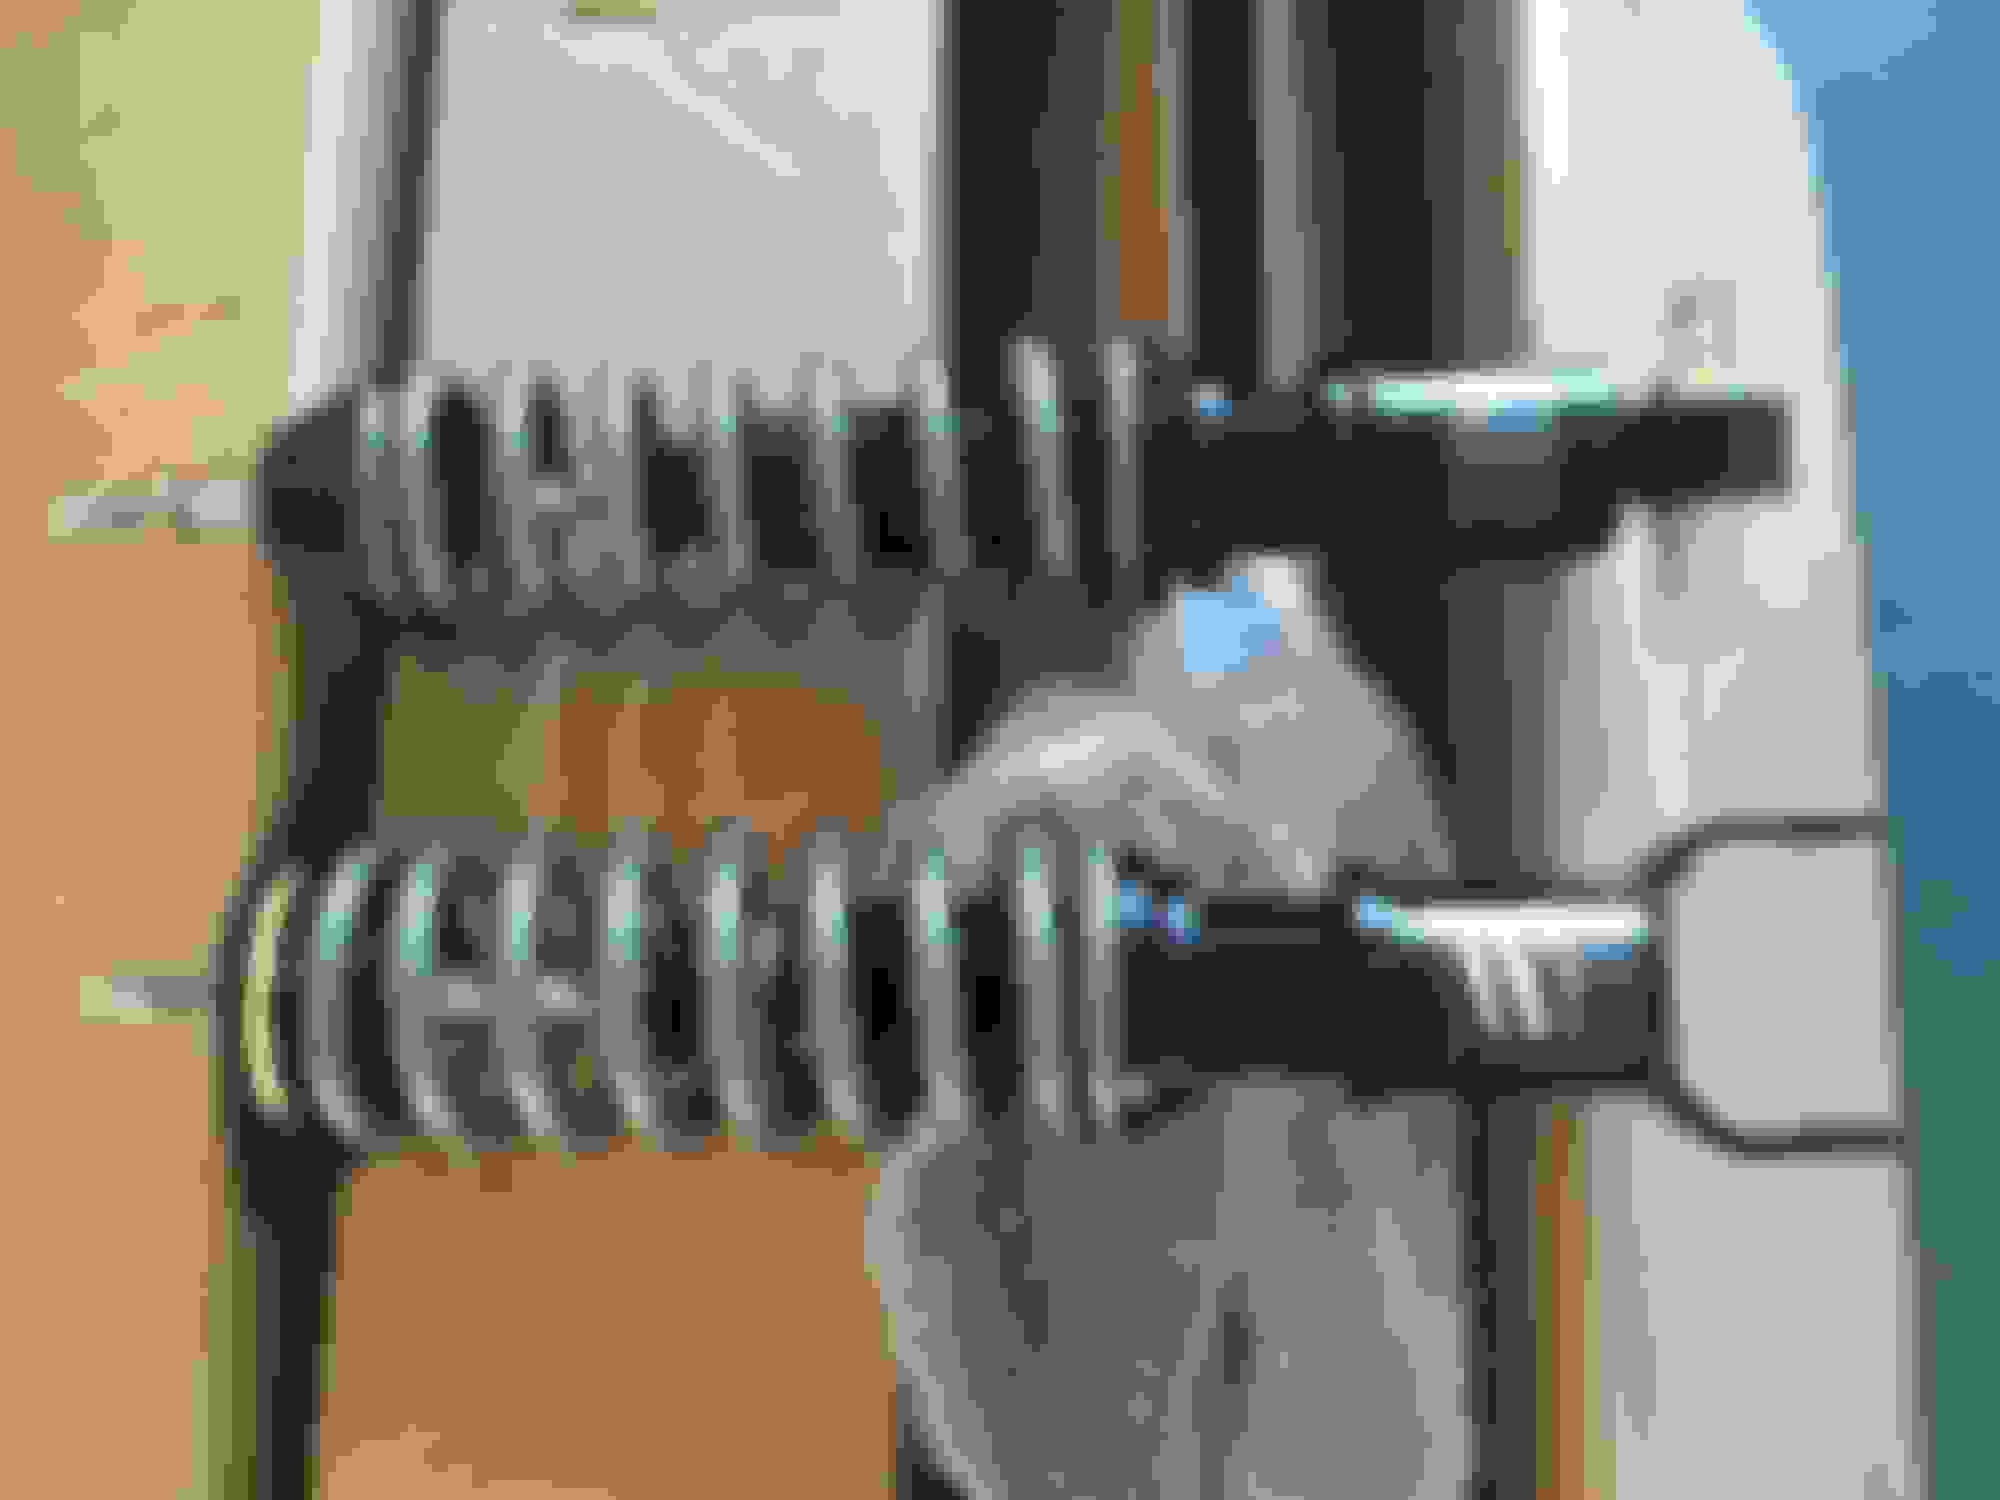
I received one of the nice brown boxes today - it was the Stance Coilover kit from Dennis / DD-Mods. Can´t wait to install them and see the new stance with the wider rear tires. As many others have written, I got an exceptional service from Dennis. He knows what he is dealing with, and the quick response in emails is amazing. For me it is important to deal with reliable vendors, as shipping and import taxes is a major part of the budget - and it is expensive and time consuming returning parts if they don´t fit. My best recommendations for a great vendor
Still working on the minor adjustment, pre-fitting the new parts and finishing the last fiber glass work. I want everything to be as perfect as possible before the new paint.
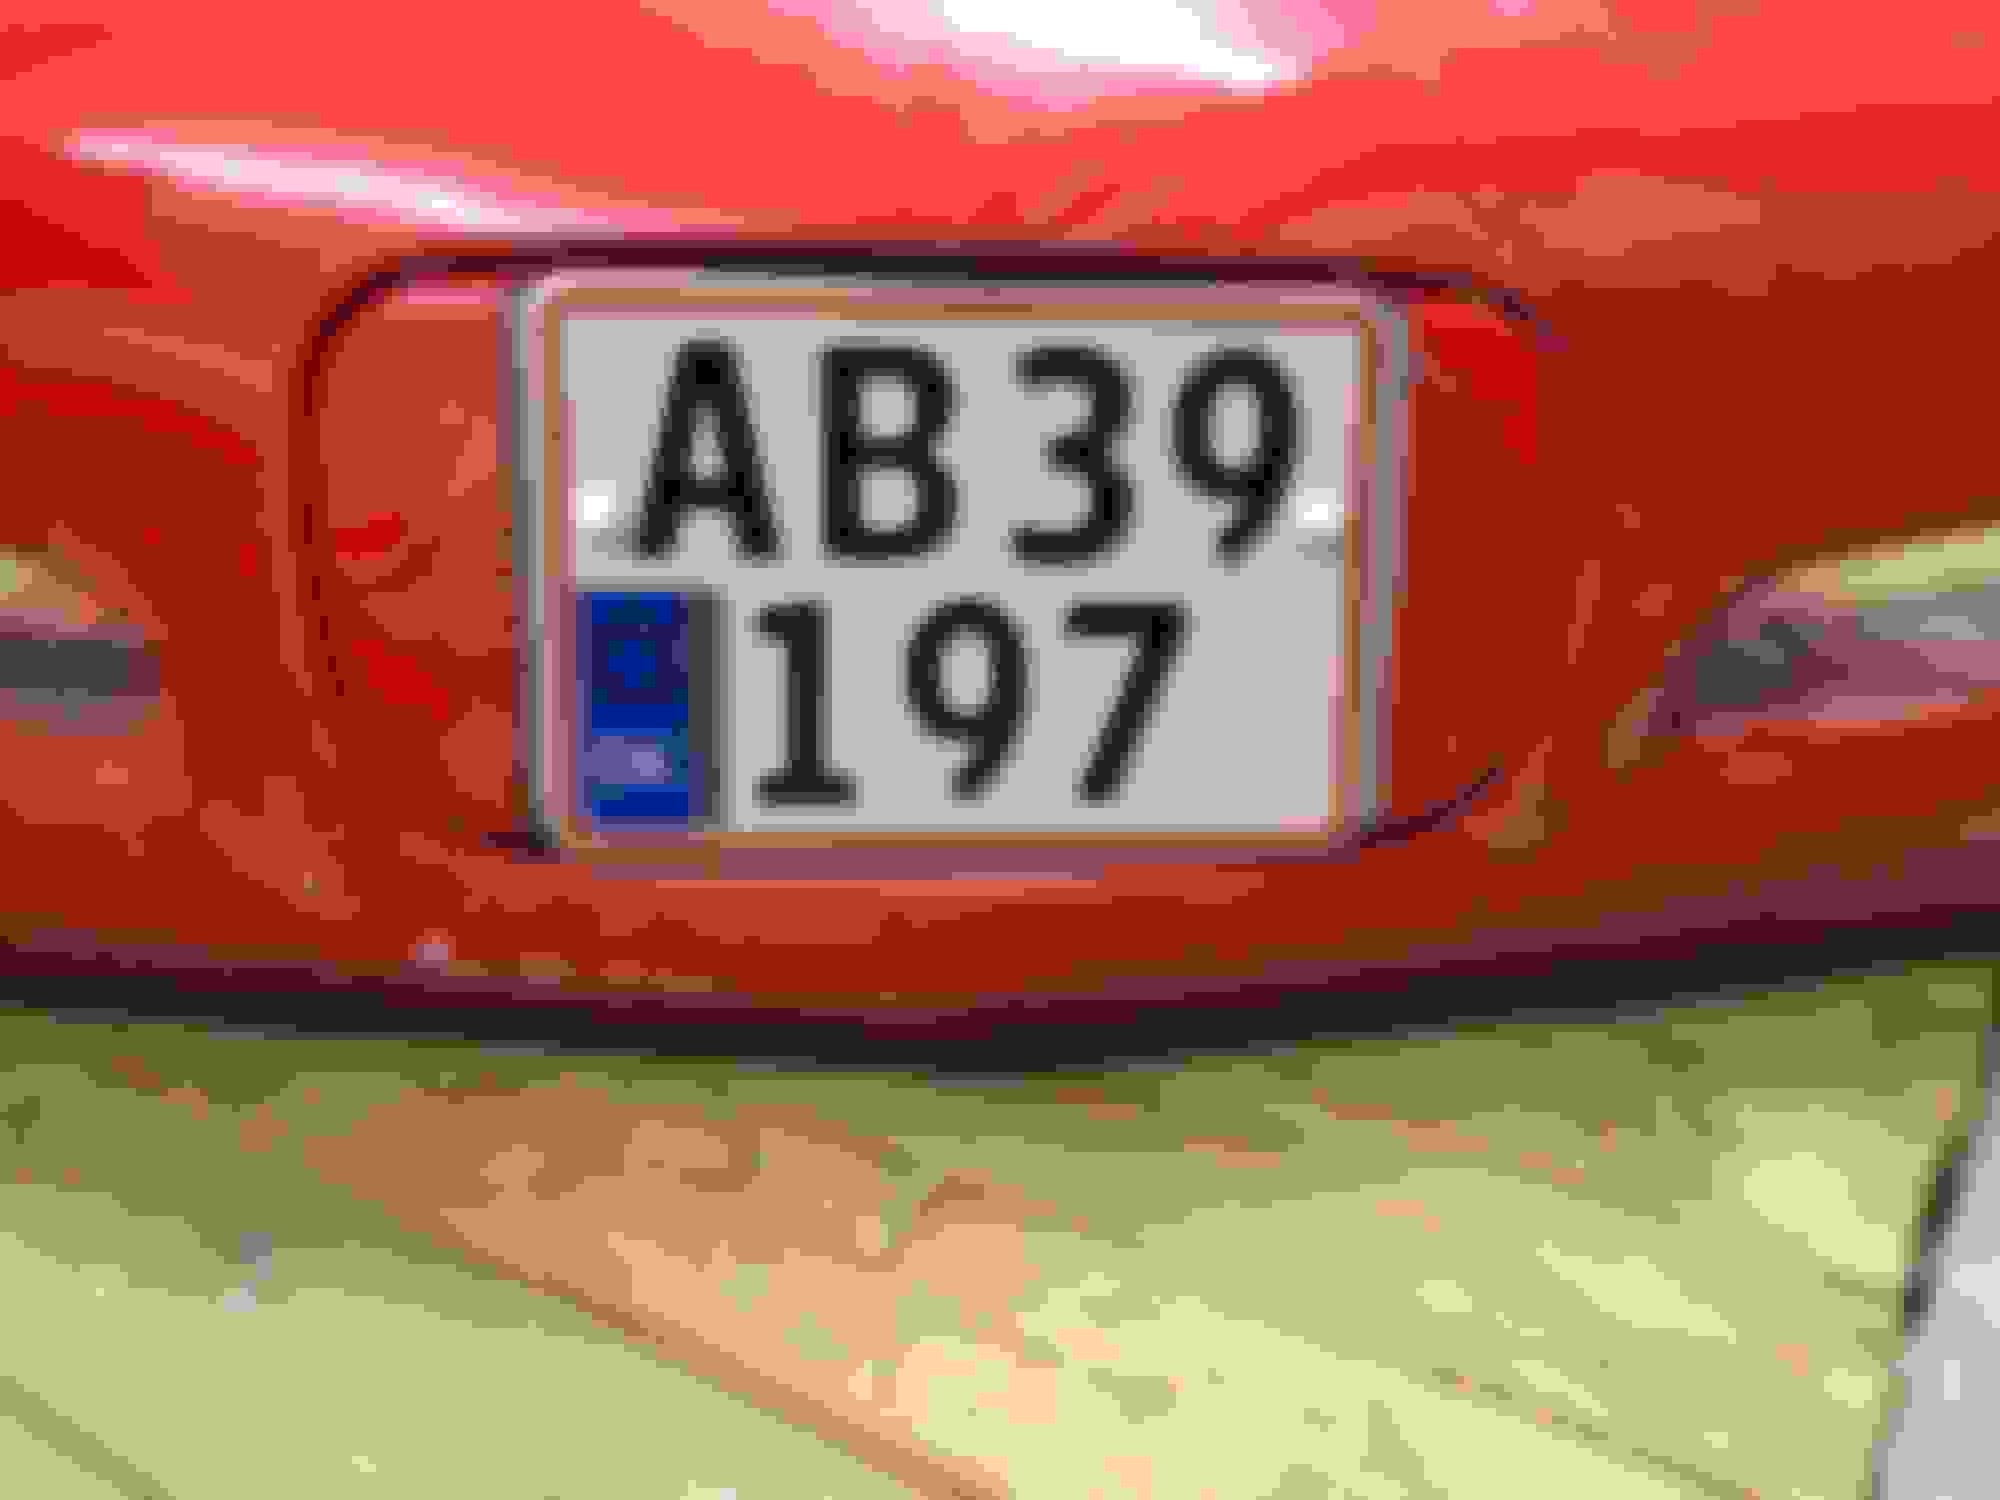
The license plate frame is sanded - needs the spray filler but you can see the shape. Its will be a nice touch to the Danish license plate.
The engine cover is nice - but I didn´t like the fitment of the little panel. The gaps was not alike and you could look through the top edge. So I enlarged the contact face with fiber glass and re-shaped the opening for the fuel line. I also glassed and filled the opening on the other side. It still needs the spray filler but its way better now.
The front bumper had a crack which I have fixed with fiber glass. I drilled in the end of the crack to stop any stress in the material and then glassed it together. A new front fascia cover would be perfect - but considering the cost to ship from US it would be way too expensive.
Previous owner had glassed the DRM ducts to the inner fender, but it didn´t attach any more. So I removed the old fiber glass and did some new. Right now I´m sanding and later I will paint the area black.
I found a cover for the washer tank and coolant tank i Europe - but the fitment was pretty poor. The opening for the washer tank was just a big cut up in top - so I´ve made a mold to make an extension with fiber glass, and the contour will be like OEM top of the tank with smooth round edges. The coolant cover was too short (IMO), and I´ve made an extension all the way around using a homemade mold. Right now it is raw fiber glass, but I will look much better when sanded.
It´s my first time ever using fiber glass and epoxy - and I learned that a little plastic cup can be used for mixing, but doesn´t do very well if you leave the rest...
Good job on the bodywork and such.. that is tough stuff.. get it right before you paint.. any issues in the body will always show in the final product (except amplified)
I went through a painting apprenticeship ... wow.. it shows hard work pays off, but its a lot of hard work
I sanded the covers for the washer tank and coolant tank today - and I think they went up pretty nice. They still need the spray filler and more prep before paint.
The coolant cover now covers way more - and ends in a nice leveled line. I enlarged the whole in top, so the OEM lid is functional without removal of the cover (that looks better IMO).
The washer cover has now some nice smooth edges around the lid. I will most likely keep the OEM lid and just remove the "attachment string", clean it up and paint the top of the letters. It looks almost OEM - just a bit "cleaner".
I still need to finish sanding and paint the brake ducts - and then next is the hood (filling all the holes on the back side - as it will be painted both sides).
I have removed the black stripes making the body panels ready for paint (IMO it also looks better without stripes - but everyone has their taste). I dont know which of the previous owner who added the stripes, but under them I found som paint damage in the front of the roof and top of the hood. I looks like cracks from rocks or other road debris that has been filled and sanded. So I guess adding the stripes have had more than one purpose...
The front end is now completely disassembled. The front fenders, front bumper and all the new engine compartment covers are sanded and ready for the paint shop prep.
I´m filling all the retainer holes in the hood as I want to paint it both sides (backside will be mainly red and with black areas inside the frame). I haven´t decided yet how to fill the small gaps where the frame is glued to the hood. I could use body sealer, which would be smooth but without the option to sand and make it even nicer. Or I could use some fiber glass filler, but it will be way harder to press into the small gap and I´m concerned if it can stand the vibrations from the pretty flexible hood? The best result would be the fiber glass filler as it can be sanded to perfection. Please chime in, if anyone has any input or experience?
Right now I´m doing adjustments to the rear fenders to make them fit. The fitment is not that bad (probably what you can expect from such an aftermarket product when installing in these cars - but I have nothing to compare with). But I want them to line up perfectly Agains the rear deck and rear hatch - so it takes some time. Here are before and after pictures from drivers side. It´s not finished at all (needs several filler and sanding sessions) but you get the idea of my goal for the final result.
I´m also trying to found out some more of the history - as I only know the owners from 2005 where it was imported to Sweden. Gene Culley has been very kind and emailed me a print from VIS, so know I know the built date the (5th october 2000). From the built sheet I knew that it is one of the 54 torch red Z06´s with the Z49-RPO for Canada (ordered and delivered to Trois-Rivieres Chevrolet).
It where registred to one owner in Trois-Rivieres, Quebec (maybe the dealer?), but was sold and imported to the US with only 2,852 miles in september 2001 and registred to a new owner at Massachusetts Motor Veh. dept. in Somerville. From there I´m not sure how to read the carfax (and old one from 2006 passed on by previous owners), but I think it was sold again in august 2002 to a new owner registred at Massachusetts Motor Veh. Dept. in Taunton with only 6,901 miles. From there I think it was sold to a dealer in Amityville, NY in december 2004 reading 37,191 miles and offered for sale until summer 2005, where it was sold on an auction in Pennsylvania to the swedish buyer. I´ve inserted a picture of the glove box decal. Please chime in if anybody can help finding any information about its history from built date to export in 2005 (previous owners or anything else related to the car). As there was only 54 TR Z06´s built with Z49, I believe it may be possible to trace some information. And this is one of the (probably) few that were imported to the US again within its first year.
Some of you fellow owners do probably have access to informations that is out of my reach here in Denmark - and know where what to search for. I would really appreciate any help and knowledge.
....Congrats on your efforts and mods, and really looking forward to the finished project !!! My sister and brother recently vacationed in Denmark and was trying to do a little family search while there, they loved it !!...
Thanks - some of the detailing might be "more than enough", but its a great satisfaction to see things end up being almost perfect. It is also a fun and learning process, as I´ve never worked with this kind of materials before (in the daytime I work with corporate finance ) but I´m confident that you can learn to assemble everything, if you just take your time and don´t rush the disassembling.
Best off all: when finished this would be my corvette and not just a corvette - and I will know every little bolt and nut
I´m almost done sanding and fitting body parts. Rear fenders are done and the gas lid is fitted (I really like the way it´s fitted with only a 2 mm gap around the lid)
All the retainer holes in the hood is filled and the result is a clean and smooth structure. I left the 3 drain holes open (as advices by DUB in the paint section). It´s not possible to buy Vette Panel Adhesive in Denmark (which DUB recommends when filling the gaps between the structure and the hood), so I´m waiting for a call back from a local fiber glass specialist who might have a simular product.
I only need to finish op the hood, the rear deck lid and the carravaggio spoiler - and then it is done.
Looking forward to sent it to the paint shop (and get a chance to clean all the dust from the garage) - hopefully it will be paintet within september, and then starts the fun part of the project
Hood and deck lid is sanded and waiting to get the smooth edges...
I finally found a filler for the hood and rear deck lid. It is "EVO filler" - and often used in car stereo builts as it is very flexible but can be sanded like ordinary filler. It is easy to work with and ready to sand within 30 minuttes.
In some places there was a little gap between the hood/deck lid and the structural frame. I ended sealing the gap with the kind of glue you use to install windshields. And then sanded the edges making sure the filler can attach well.
Then I used some tape to mark the edges of the filler - as I´m trying to make the seem invisible.
The filler is added.
So far I really like the result. I´m almost done sanding the rear deck lid, but didnt take a picture yet. The sanding is very easy. I will need to apply filler 2 or 3 times to get the result I want. Both deck lid and hood should be finished in 2-3 days - and then I´m done
The hood and deck lid is ready for the final prep at the paint shop. Every edge is smooth and I think they will look awesome when painted (the pictures dont do any justice).
I´ve also done some minor modifications to the carravaggio spoiler as I wanted the front edge to align with the edge of the rear bumper.
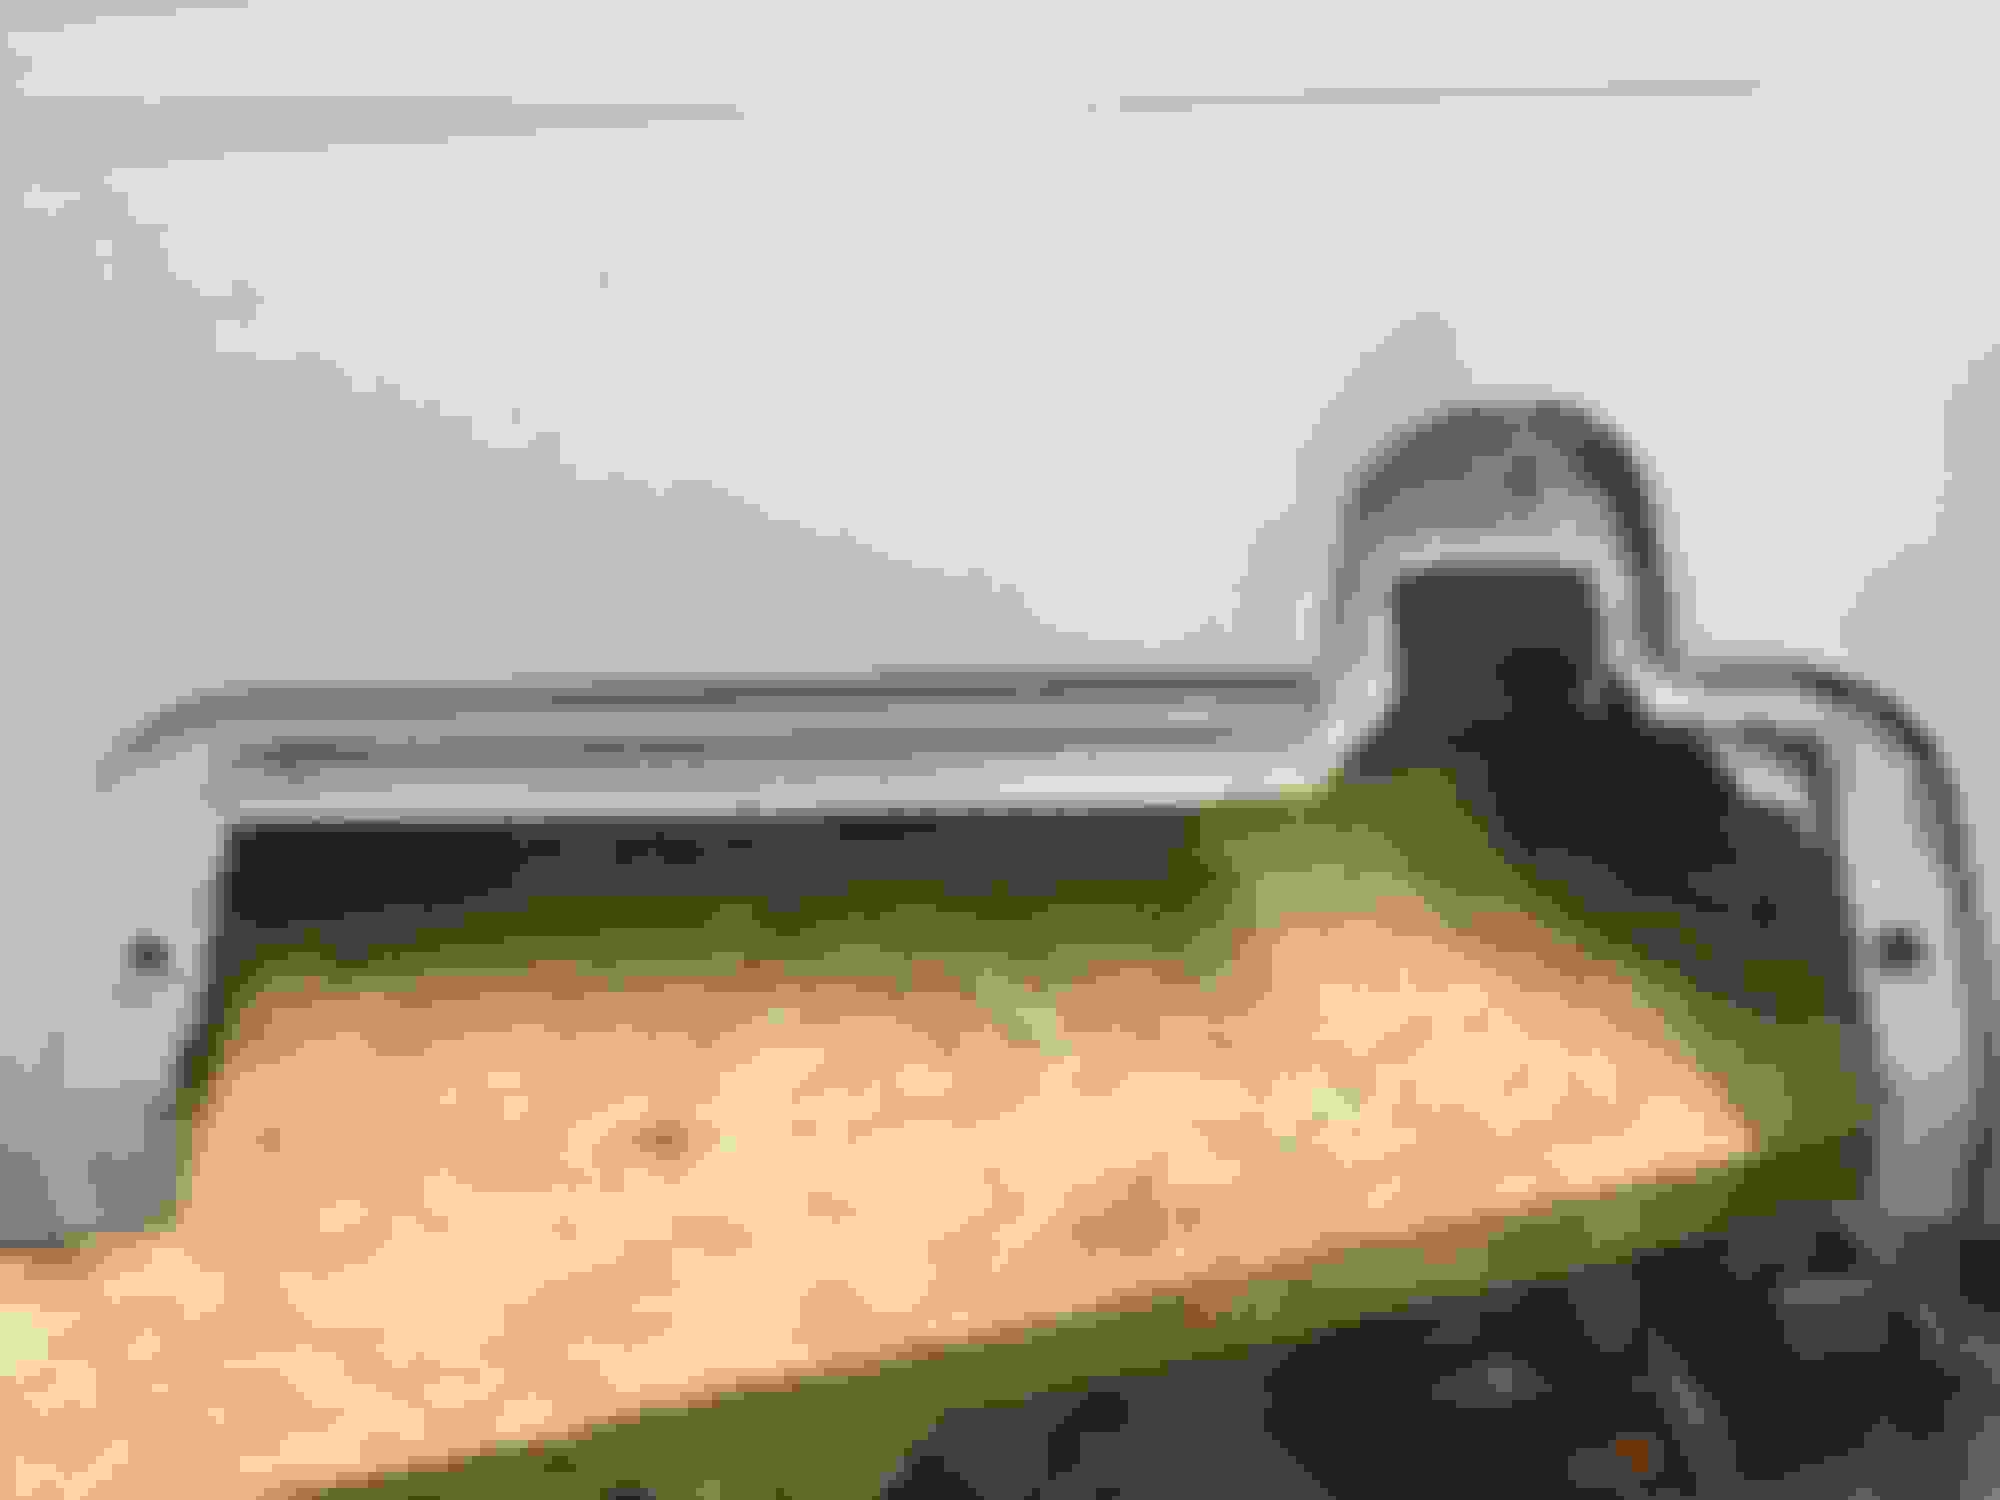
Rear fenders and rear bumper are now removed, and behind the rear bumper I found 15 years of dirt and dust. There is some surface rust on the rear frame just above the exhaust tips which needs to be cleaned sanded and repainted.
Though this is "all about vettes" I´ll post a picture of the man behind


 05-22-2016, 12:28 PM


 ) But the design will fit nicely with the front side marker lights from Radioflyer with LED strip mod.