When you click on links to various merchants on this site and make a purchase, this can result in this site earning a commission. Affiliate programs and affiliations include, but are not limited to, the eBay Partner Network.
Didn't want to wait,
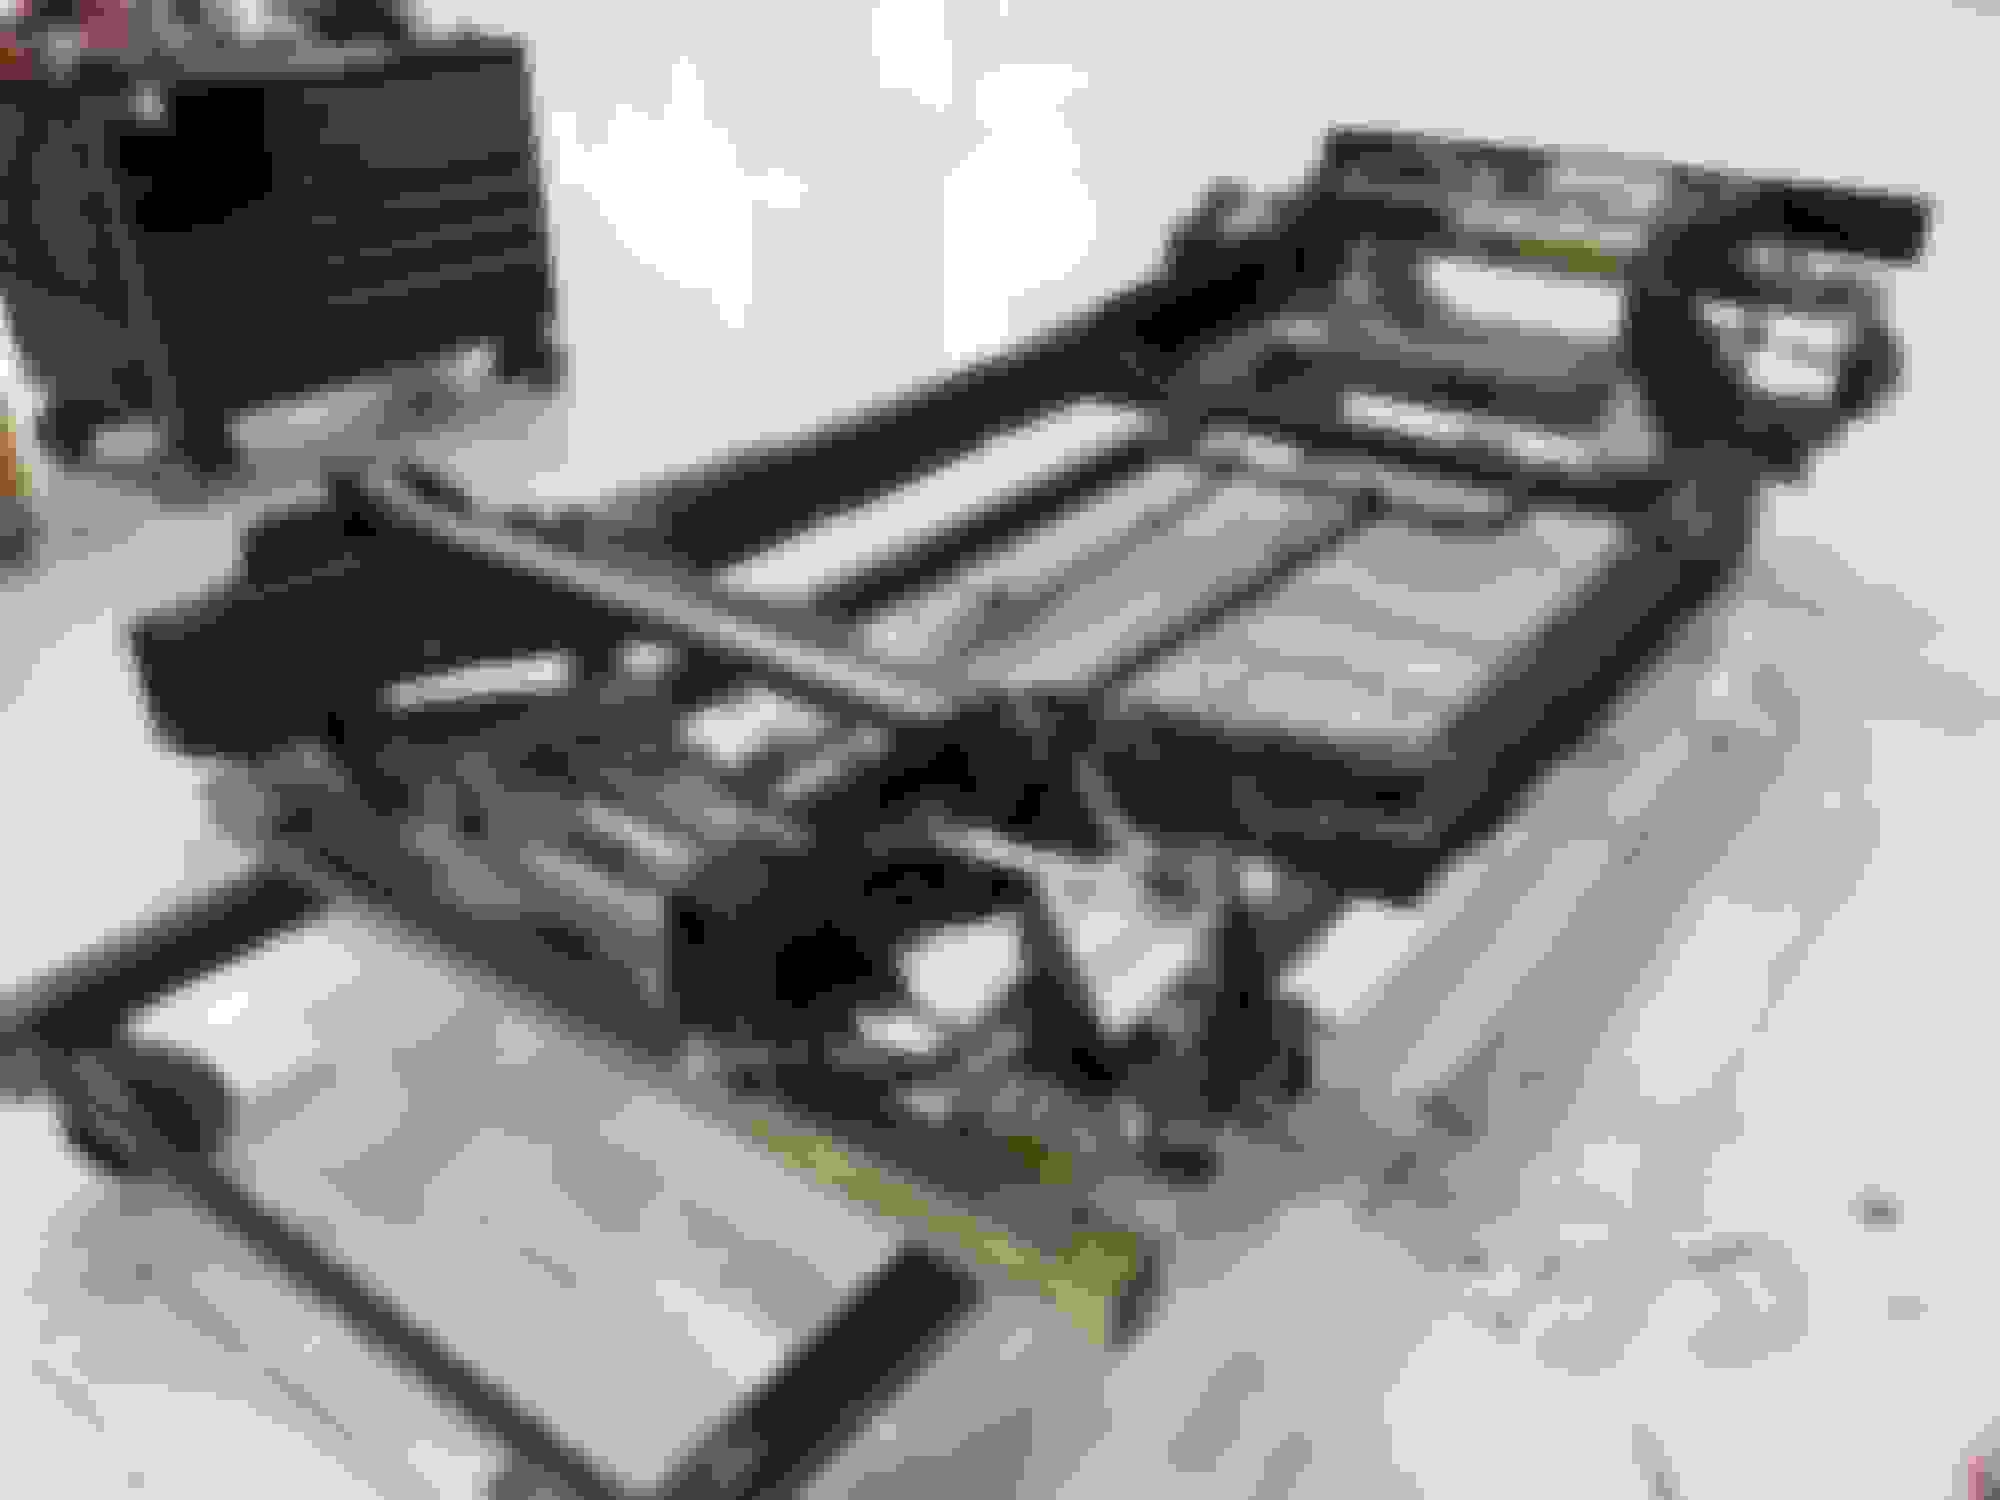
Found prototype mid engine C5 chassis
Used for another application. Now I have a basis
For something different!!!!!!!
Take a look jents.....
Today I started mocking shell for fitment. I'm bringing up the rear clip tomorrow so I'll start fitting it quick. Meanwhile here's a quick shot of the front, it's about 4-inches to high without frame bobbing as it sits. I will be bobbing off the front frame horns to shorten it like the original T-70. This will allow front clip to drop into alignment. I have the frame at 3.5-inches ride-height, & top of the body at about 38-inches.
Didn't want to wait,
Found prototype mid engine C5 chassis
Used for another application. Now I have a basis
For something different!!!!!!!
Take a look jents.....
today I worked on bobbing off front rails & cleaning up all the previous crap welded on the frame. With such a radical droop-nose this is what is required. I will be closing up frame horns & welding on saddles for quick disconnects on the front clip, along with additional bracing tying the rails back together more once final body location is established.
today I worked on bobbing off front rails & cleaning up all the previous crap welded on the frame. With such a radical droop-nose this is what is required. I will be closing up frame horns & welding on saddles for quick disconnects on the front clip, along with additional bracing tying the rails back together more once final body location is established.
Today I finished the front & rear frame bobbing for body fitting. I'm about finished removing all the old now. I'll have quite a bit of time grinding/cleaning removed area's but I'm really happy with the outcome so far. 'Bout time to break-out the TIG welder. Stay-tuned everyone.
I've been grinding & cleaning up all the removed welding slag along with TIG filling holes here & there. I have a few area's around the front suspension I need to address but I'm very happy with the progress. I will be removing stock rack & going to a right-hand side rack. This project is a right side driver. Here's some updated pic's Got about all the old off now. The floor area's will be reused, but I will have a little extra space forward of the engine. When I'm done with the top I'm going to flip it over & cleanup bottom next.
Originally Posted by RSILVR1
Didn't want to wait,
Found prototype mid engine C5 chassis
Used for another application. Now I have a basis
For something different!!!!!!!
Take a look jents.....
I've been grinding & cleaning up all the removed welding slag along with TIG filling holes here & there. I have a few area's around the front suspension I need to address but I'm very happy with the progress. I will be removing stock rack & going to a right-hand side rack. This project is a right side driver. Here's some updated pic's Got about all the old off now. The floor area's will be reused, but I will have a little extra space forward of the engine. When I'm done with the top I'm going to flip it over & cleanup bottom next.
You can start to see how low this car will be. The side-pods do indeed clear the frame rails. She's about 2.5 inches off table with this ride-height. I will be stretching the bodywork just aft of the cab area for leg-room & engine bay. I have some trimming to do around the front horns to clear nose-section. I may have some small blisters to cover anything that protrude's, but it's real close.
Its coming along awesome. I saw this chassis on Ebay and had some interest in it for something I am building. Oddly enough Falcon that used this frame is in my home town of Holly Mi. Your doing great and I think that it will turn out awesome. Would it be possible for you to measure the outside of the frame rails in the mid section? You may have started something with this chassis swap. I bet others will follow.
It is looking good! Could I persuade you to measure the outside to outside of the frame rails in the mid section. I would like to know if this may work on my project as well. Do you think you will have to have the pedal box inward like on so many mid engine cars?
[QUOTE=csdilligaf;1594930412]Its coming along awesome. I saw this chassis on Ebay and had some interest in it for something I am building. Oddly enough Falcon that used this frame is in my home town of Holly Mi. Your doing great and I think that it will turn out awesome. Would it be possible for you to measure the outside of the frame rails in the mid section? You may have started something with this chassis swap. I bet others will follow.[/QUOTE
Yup,
I'll take some measurements for you & post. I'm looking at final body ride-height now, so everything sits correctly when assembled.
I'm surprised the side-pods actually fit around the rails.


 05-07-2017, 10:18 PM