When you click on links to various merchants on this site and make a purchase, this can result in this site earning a commission. Affiliate programs and affiliations include, but are not limited to, the eBay Partner Network.
You could always choose another color? My car is all black yellow and carbon. Not many traces of silver, and zero chrome and polish, like you said different strokes. I think we can all agree in stock form the alternator is ugly!
I did not mean to sound insulting, your change does look very good on your eng. I just care for brighter colors, for me I guess a polish, chrome or silver plastic coat would work.
I did not mean to sound insulting, your change does look very good on your eng. I just care for brighter colors, for me I guess a polish, chrome or silver plastic coat would work.
No worries, none taken! Thanks for following along.
More progress today, I decided the fit of the plastic cover was good, but I wanted the texture patterns to match better so I made one from stainless and the powder coated it black to match, then the throttle body looked awful so off it came and got torn down. I am planning,g to grind/mill/buff some of the ugly rough edges off of the throttle body before coating it the same texture black.
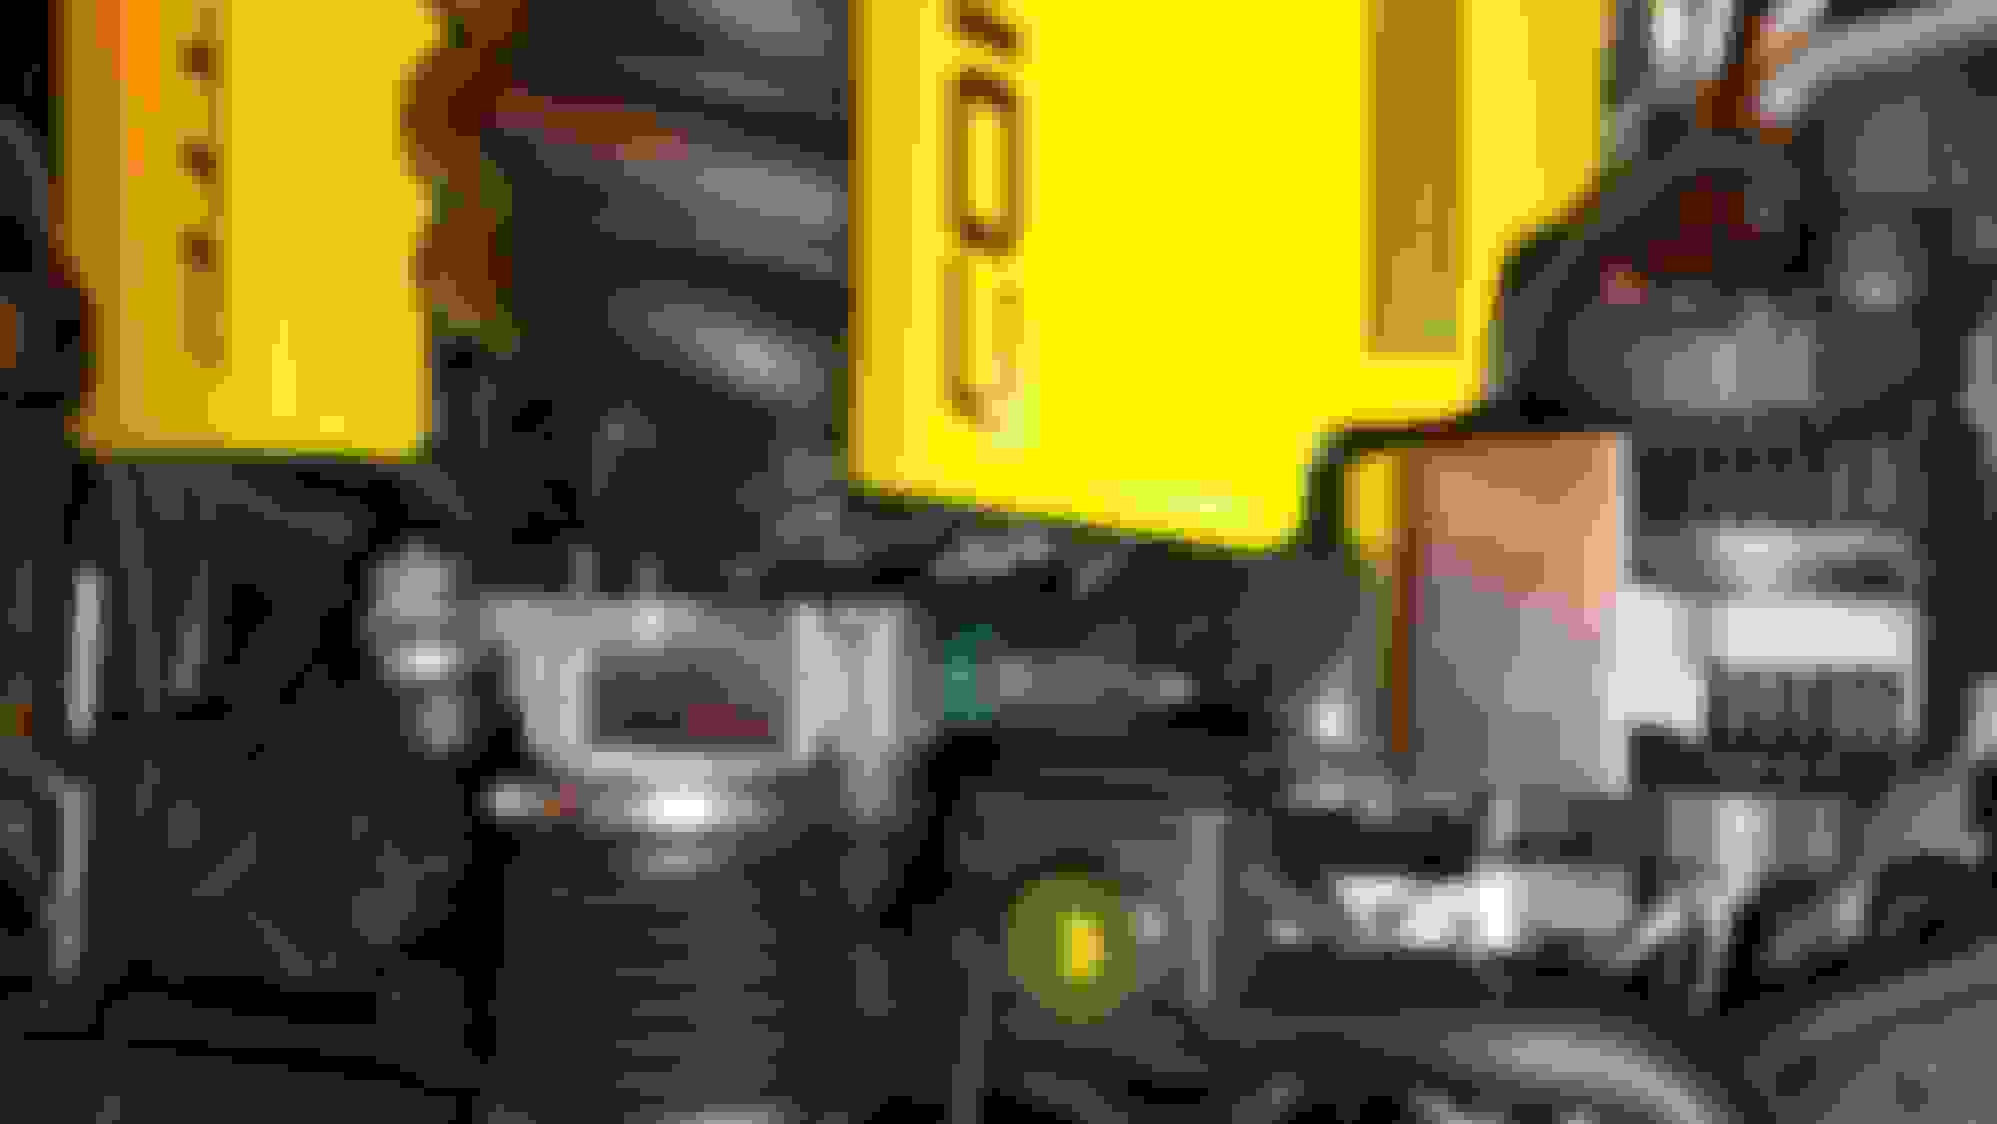
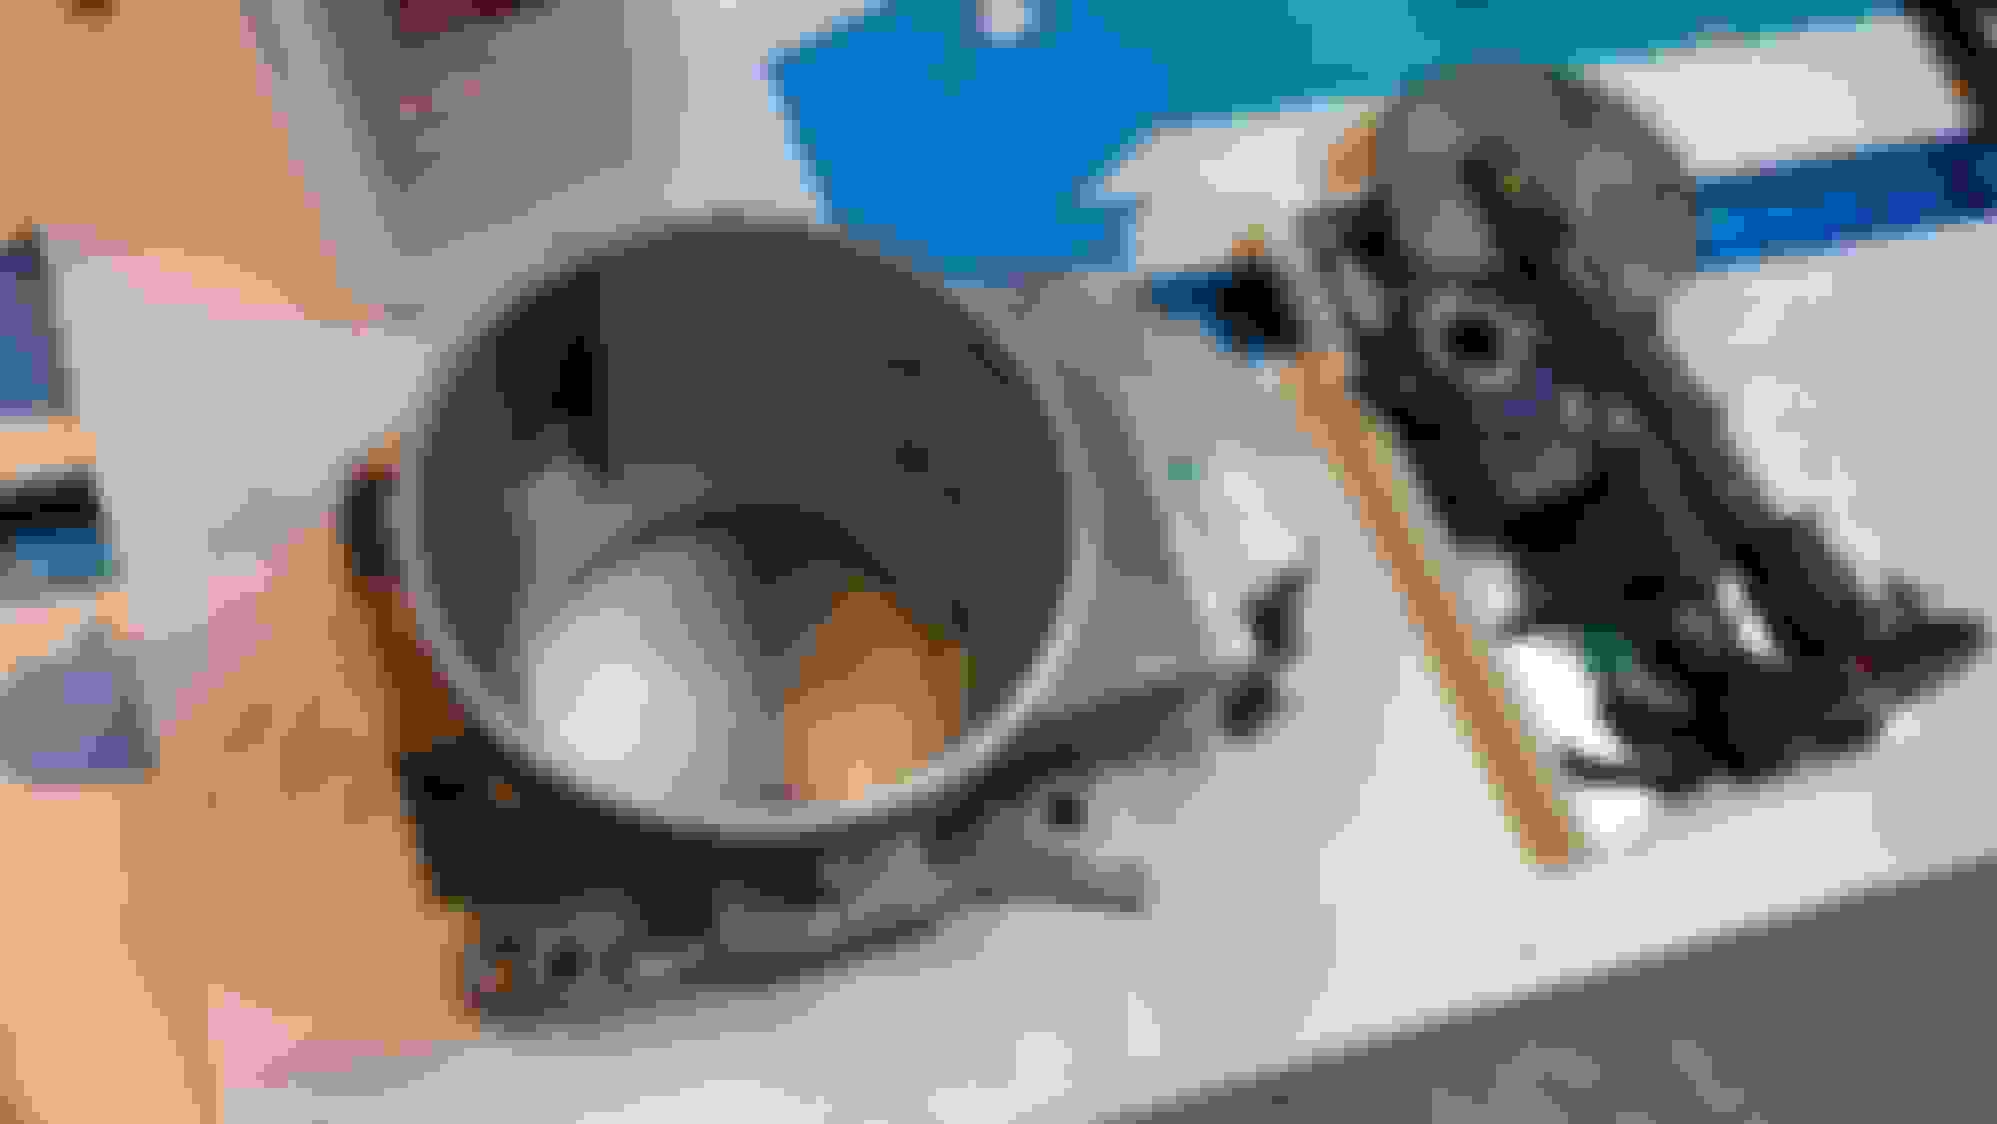
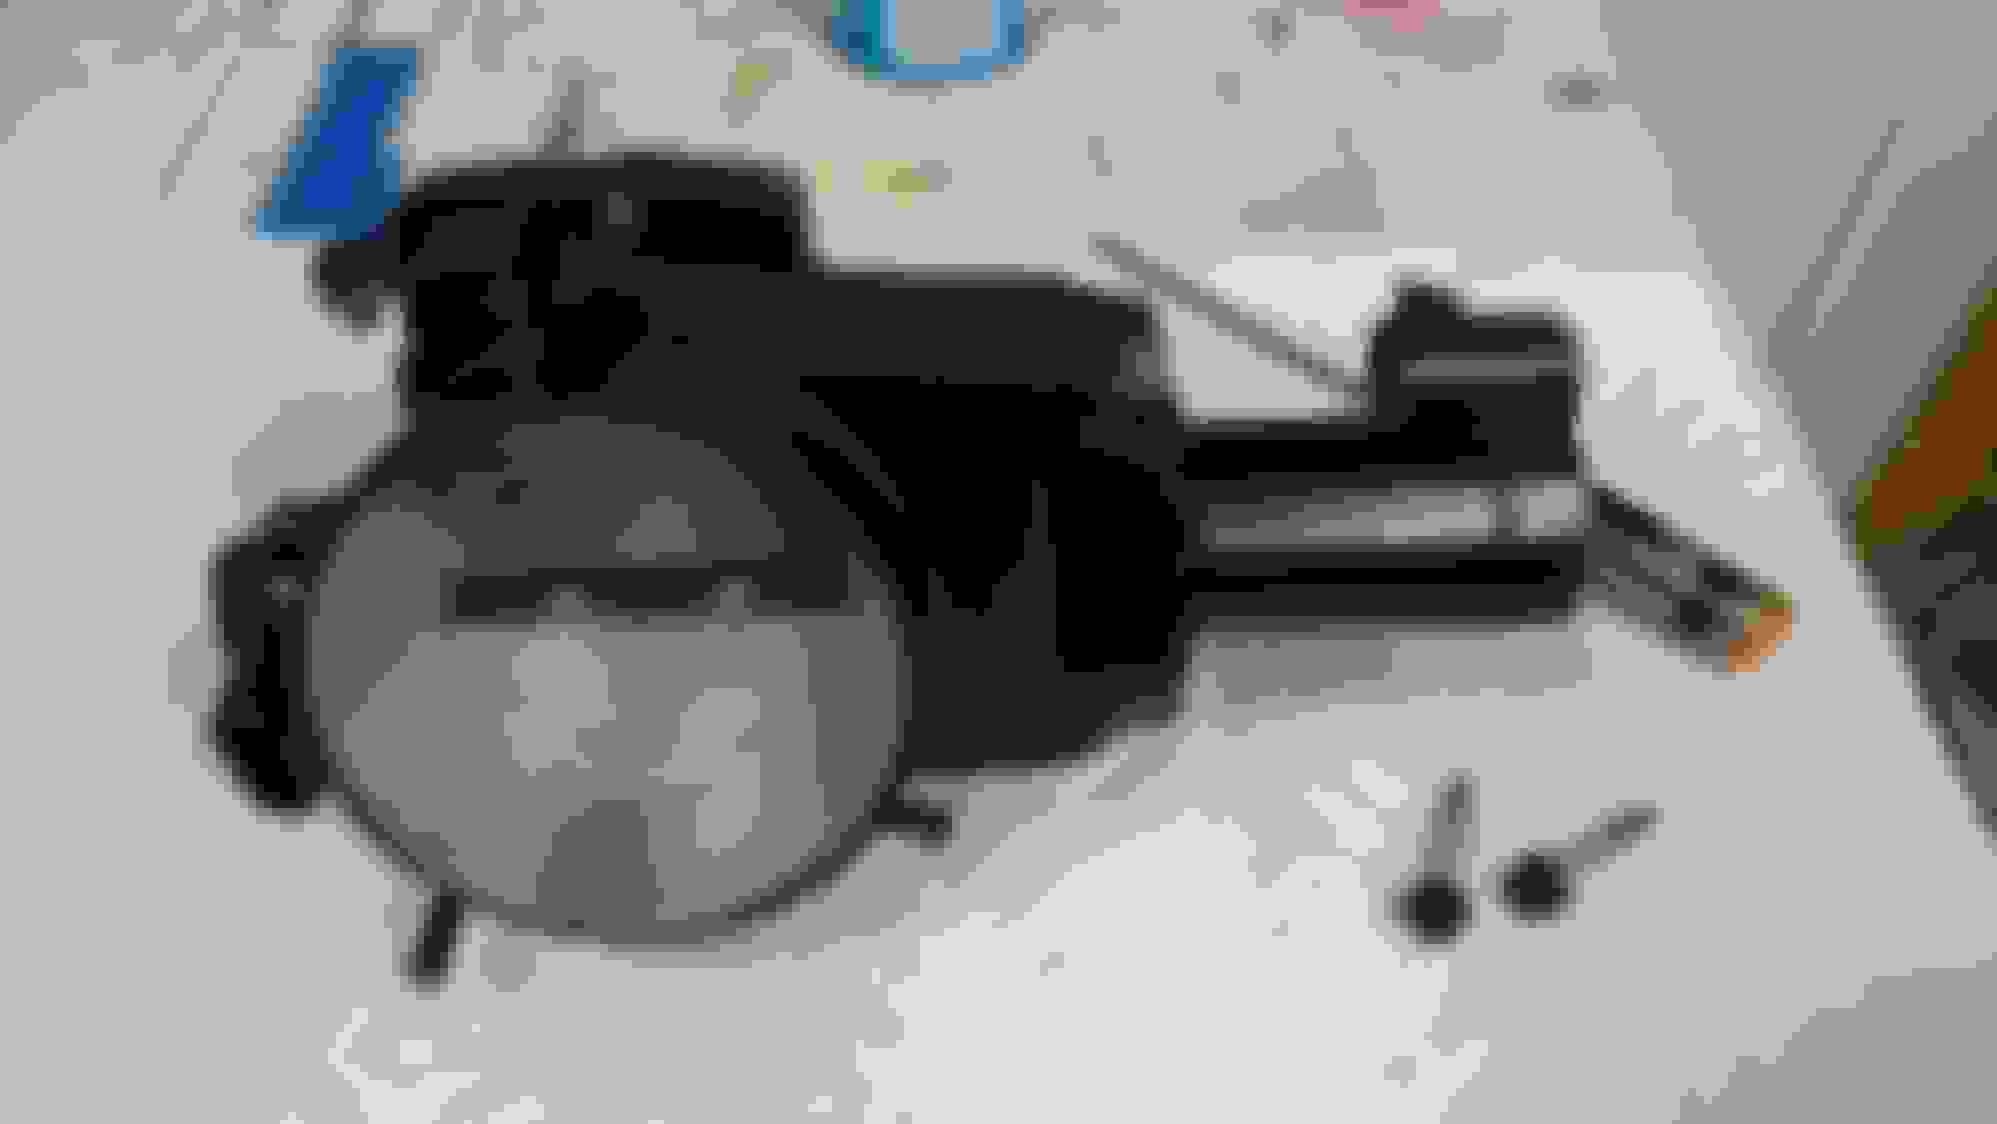
Todays contestant was the throttle body. After it was disassembled I ground down all of the ugly seams and edges as well as grinding off several ears that served no discernable purpose. After that it got a good cleaning and then a masking. I powder coated it the same texture black and it came out great. I reassembled it and then put it back on the car and did a coolant bypass mod at the same time just for the heck of it while I was there. I really like the way it turned out, but now the water pump is looking awfully suspicious but I am not feeling any enthusiasm for that right now. I do need to remove the worm clamps from the air bridge and coat, or at least spray paint those as well. I started the car and all was well, no leaks and the alternator was charging like it should.
Nebraska Trevor - did you use crinkle black on the alternator housing? Or is that a flat black and the normal texture?
I had done crinkle black powder coat on a few misc parts a year or two ago, accessory bracket included. I've just been looking up how to rebuild the Valeo units, since I retained mine in storage for the past five years. My thought would be to strip it down, powder coat to match the bracket, and rebuild to put it back in service. I have some Advanced Auto piece which has been working a charm in the meantime.
Patches - great work. Cool to think of the trans mount and the TB... now you have me thinking! The LS7 TB would look nice if I subdued it.
I've got crinkle black, gloss red, and actual CF in the engine bay. I think this will do nicely.
Glad to see there are some fellow crazies like myself!
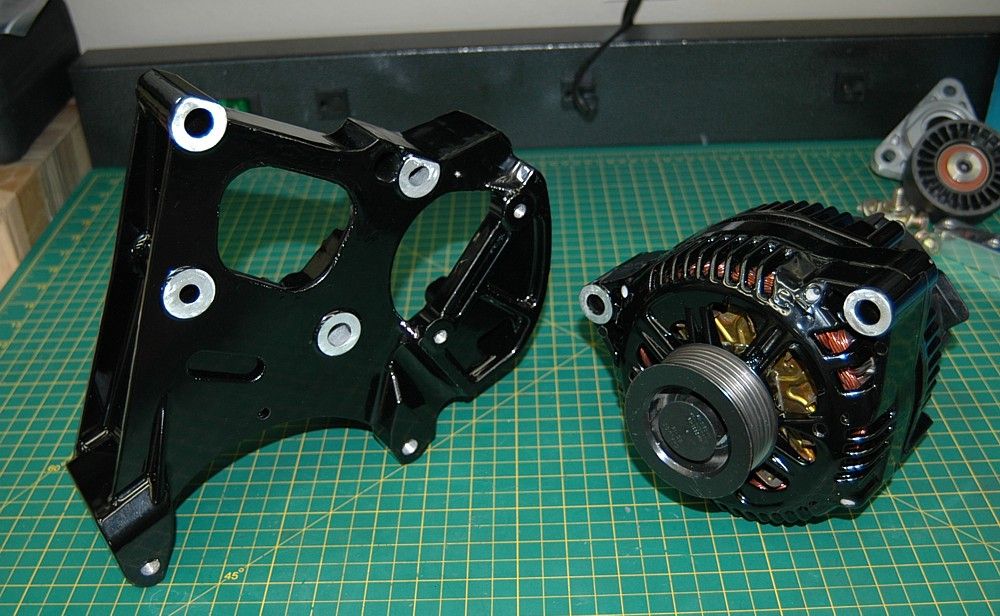
Thanks for the kind works. It is a texture black that I really like, it has some hiding properties but it still lets most of the texture from the base piece show up so I did a thorough job of buffing and grinding all of the die casting marks off of the housing. When you look at one of these alternators up close they are an amazingly rough and crude set of castings that really bothered me. It looks so much better now! Chrome ain't for everyone
Agreed. I've had my fill of polishing with the CCWs already this year. No need to go cleaning the engine bay. I'm also much more a driver than a show car owner - so it is going to get dirtier than many.
The crinkle black look is very clean.
I haven't disassembled the TB before. Never had an actuator fail. Do you need to completely gut it? What rubber parts are in there that can't take the heat?
I was talking to blownbluez06 about this kind of thing just the other day. You have to be careful when doing this because the alternator grounds through its chassis and bracket. It can burn them up very easy if not done properly, maybe at all. If you look at the aftermarket ones, they are anodized.
I was talking to blownbluez06 about this kind of thing just the other day. You have to be careful when doing this because the alternator grounds through its chassis and bracket. It can burn them up very easy if not done properly, maybe at all. If you look at the aftermarket ones, they are anodized.
Yep, that is why the mating surfaces were masked and left bare. As for anodization it is a very good insulator in its own right so the same problem would need to be addressed in that situation as well.
I was talking to blownbluez06 about this kind of thing just the other day. You have to be careful when doing this because the alternator grounds through its chassis and bracket. It can burn them up very easy if not done properly, maybe at all. If you look at the aftermarket ones, they are anodized.
He mentioned that in a post a while back while I was in the process of doing mine.
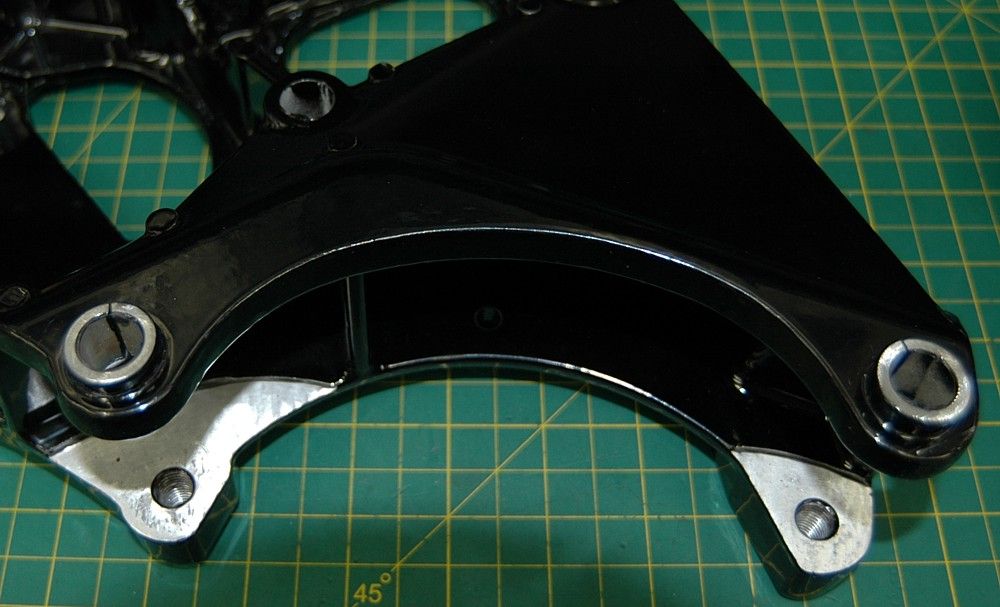
From BLOWNBLUEZ06: "You'll need to clear off that coating where the bracket interfaces the block and the alternator chassis. Those need to be clean metal or else you're going to have serious electrical problems. The alternators chassis is what is called absolute ground. Not the frame of the car and not the battery negative post."
You can see most of the areas I ground the paint off of to ensure electrical continuity from the alternator to the head.
Can I ask what you are using for an oven? Generic appliance or dedicated industrial? 400�F pretty well up there.
Also, for Patches, where's the matching photo of the installed? I, too, find the flat black looks a tad to rattle can, but the gloss adds enough depth to really set it off.
Can I ask what you are using for an oven? Generic appliance or dedicated industrial? 400�F pretty well up there.
Also, for Patches, where's the matching photo of the installed? I, too, find the flat black looks a tad to rattle can, but the gloss adds enough depth to really set it off.
Any oven works. I use a small convection oven, but anything that will get to 400 deg f should work. Just don't use the oven you prepare food in!

 01-18-2018, 06:50 PM