
Cheapest C5 HOW-TO. Evaaaar. HUD Dash Shrinkage Fix
 04-20-2011, 08:29 PM
#1
7th Gear

Thread Starter

Member Since: Mar 2011
Posts: 7
Likes: 0
Received 0 Likes
on
0 Posts
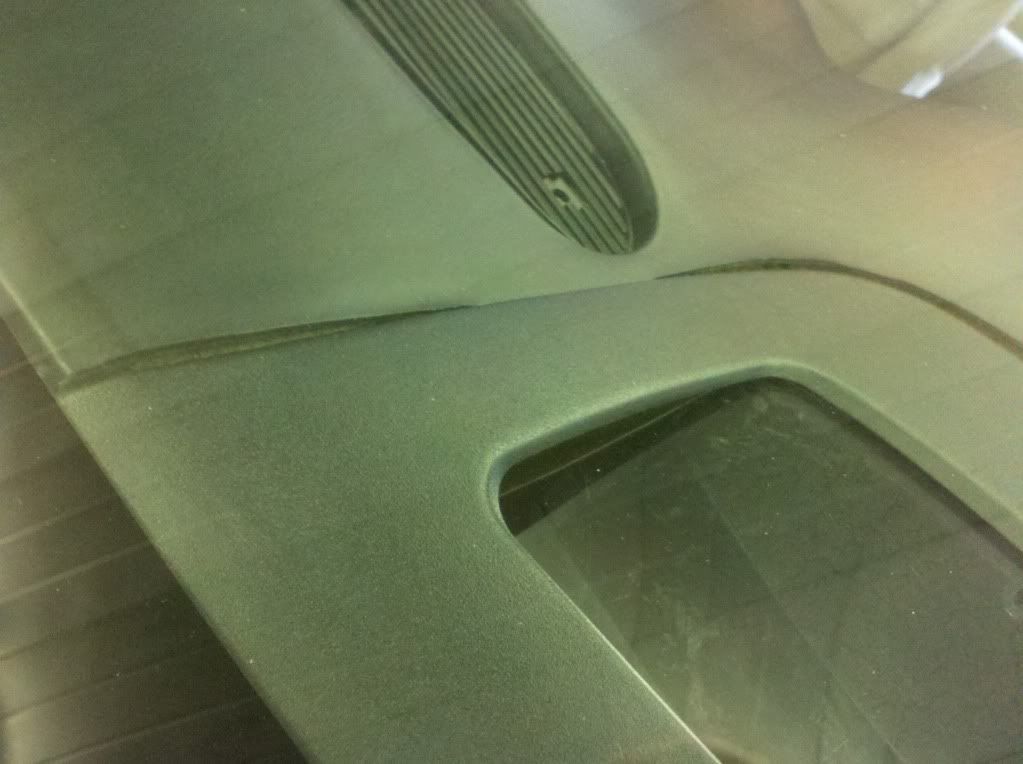
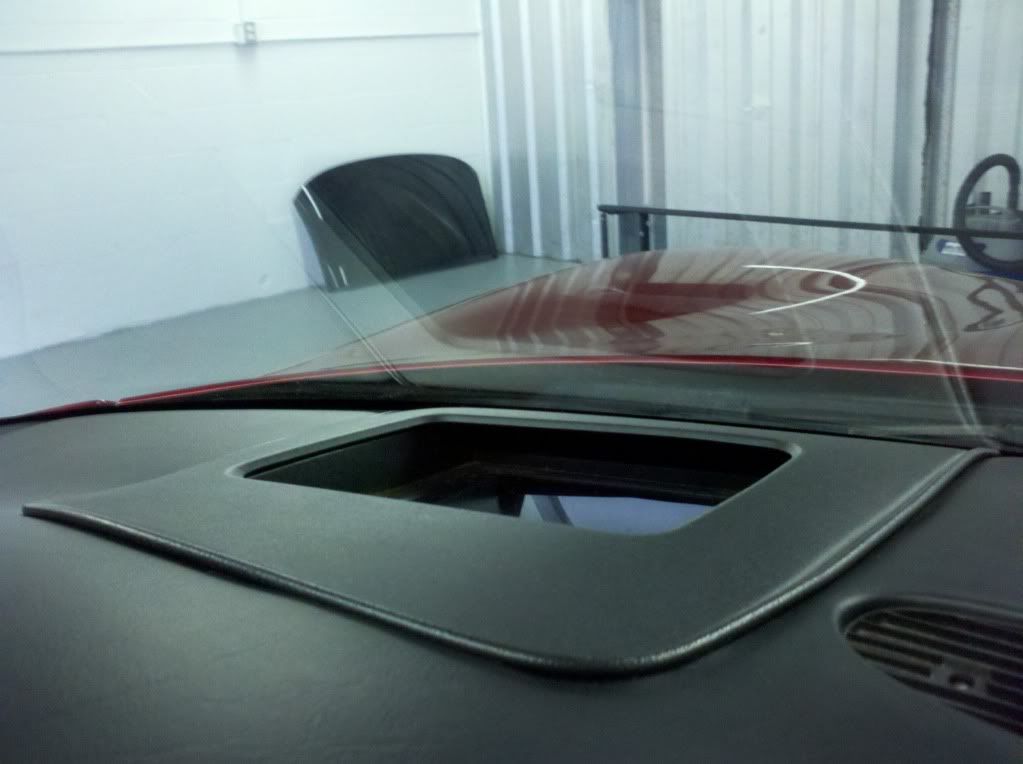
I just picked up a 2000 C5 Coupe a few weeks ago, and have noticed that the dash material has shrunk over the years, exposing the yellow foam underneath, just around the edges of the HUD panel. I just fixed this at a total cost of $5.20 and about 12 minutes.
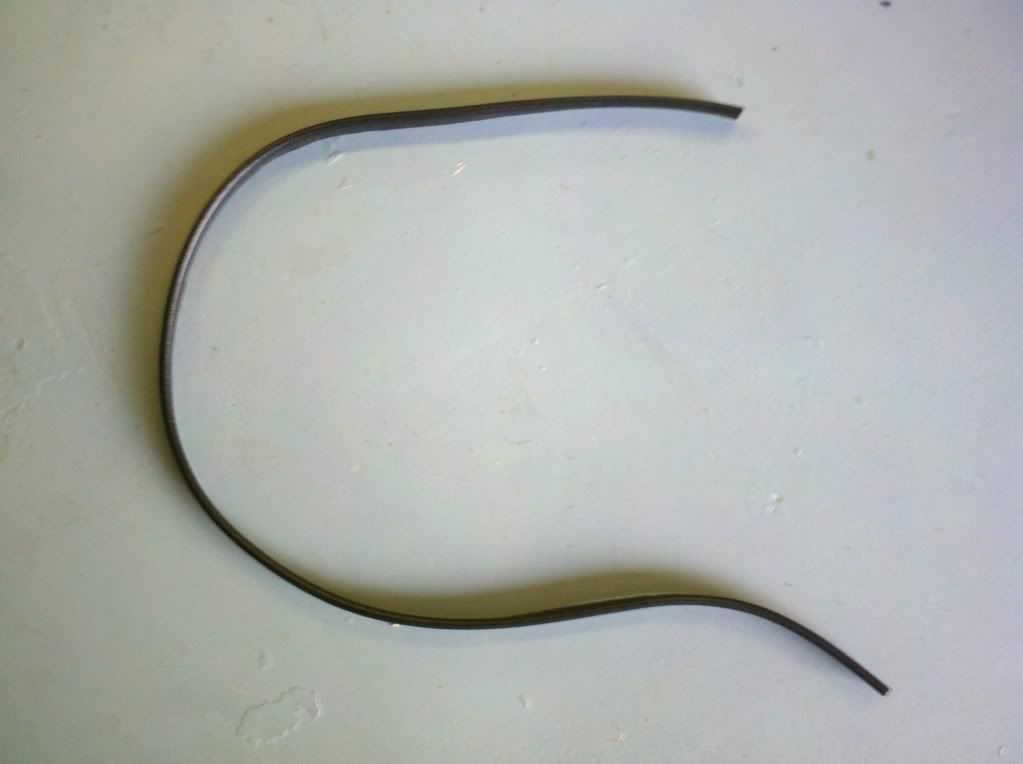
I found someone on eBay selling "Black Piping with Flange" used for Marshall Amplifiers in the "Musical Instruments > Guitar > Guitar Amplifiers > Parts & Accessories" Category, able to be purchased by the foot. I bought 3', but probably could have gotten by with 2' (though regrettably I didn't measure the scrap I cut off for the purpose of this post). If someone finds they can do this with 2' rather than 3', feel free to let us know!
See pics below...
Here is a picture from the outside, where you can see the foam showing around the edges of the HUD panel:
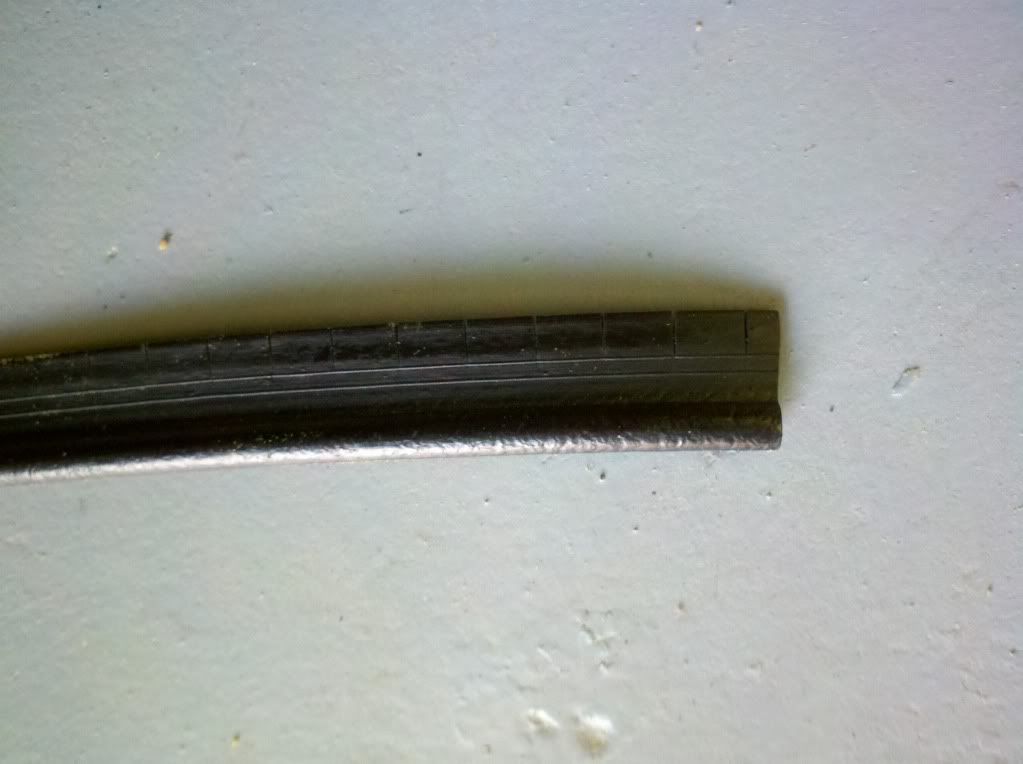
Here are a few pictures of the black piping I ordered:
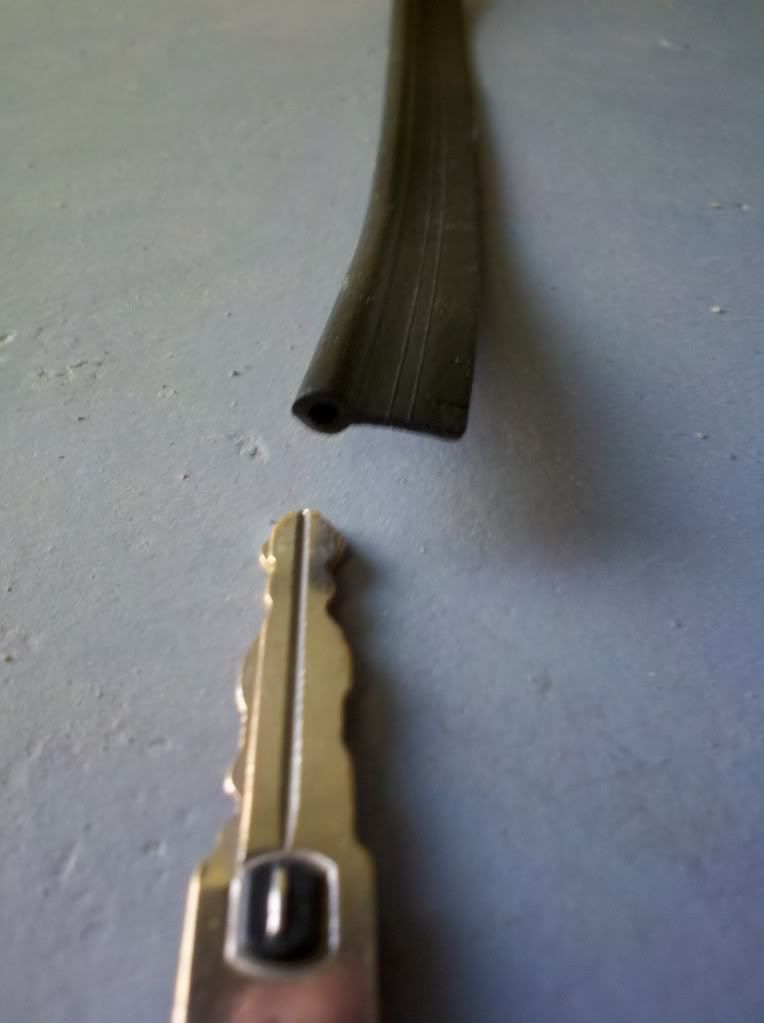
It is advisable that you heat the piping up a little to make it easier to work with, either with a blow dryer or heat gun (on LOW setting), or by letting the piping sit in the sun for 15-20 minutes.
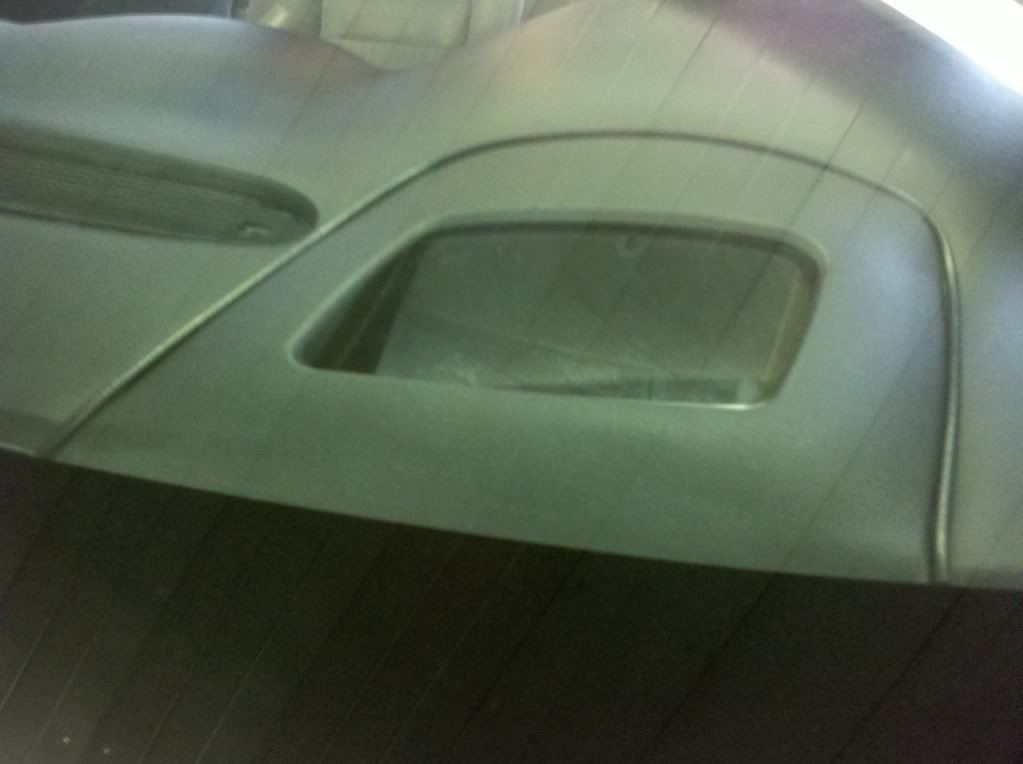
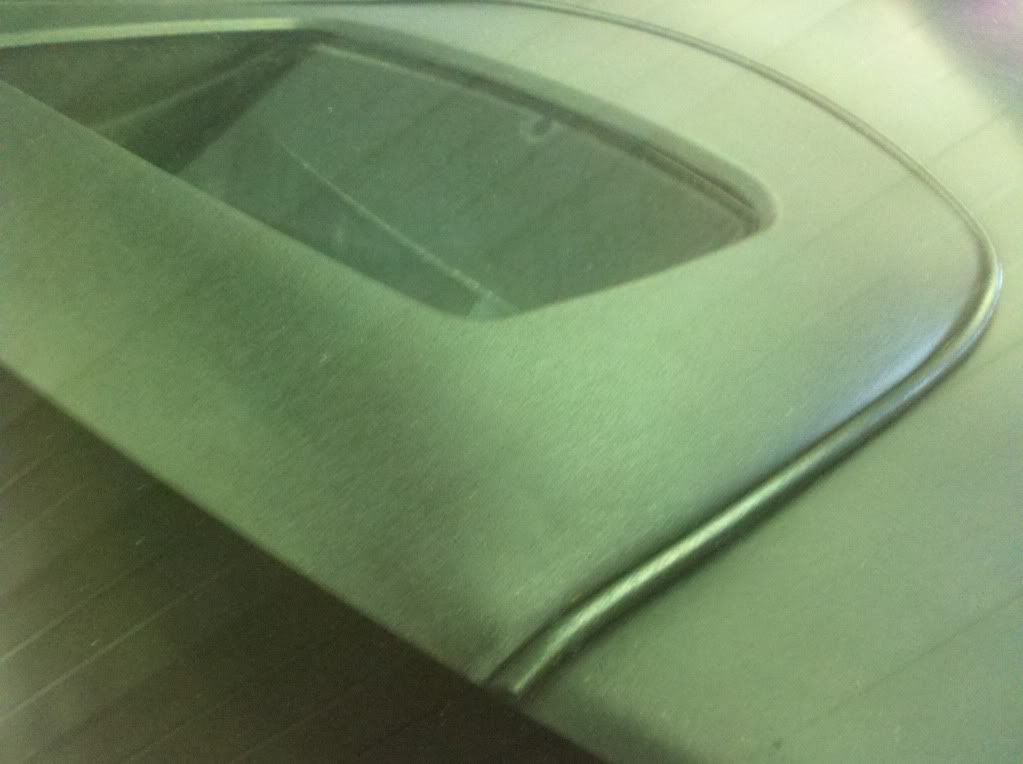
Here are a few pictures of the finished product:

I found someone on eBay selling "Black Piping with Flange" used for Marshall Amplifiers in the "Musical Instruments > Guitar > Guitar Amplifiers > Parts & Accessories" Category, able to be purchased by the foot. I bought 3', but probably could have gotten by with 2' (though regrettably I didn't measure the scrap I cut off for the purpose of this post). If someone finds they can do this with 2' rather than 3', feel free to let us know!
See pics below...
Here is a picture from the outside, where you can see the foam showing around the edges of the HUD panel:
Here are a few pictures of the black piping I ordered:
It is advisable that you heat the piping up a little to make it easier to work with, either with a blow dryer or heat gun (on LOW setting), or by letting the piping sit in the sun for 15-20 minutes.
Here are a few pictures of the finished product:
Last edited by BusyGuy360F1; 04-20-2011 at 08:41 PM.


 04-20-2011, 11:43 PM
#4
Team Owner

Member Since: Mar 2004
Location: Oklahoma City OK
Posts: 58,259
Received 1,675 Likes
on
1,298 Posts
C6 of Year Finalist (appearance mods) 2019

I've seen welting around the HUD bezel on some cars before, now I know why.
04-20-2011, 11:47 PM
#5
Team Owner


Actually I'm wondering if the HUD installation was not OEM but rather by a PO instead. I know that when I did mine, I was extra careful to leave as much material along the edges of that opening as I could when I made my cut.
I definitely agree with you on the benefits of keeping the dash protected though.
 I religiously use a windshield sun shade and use 303 from time-to-time as well.


 04-22-2011, 10:54 PM
#8
7th Gear
Thread Starter
Member Since: Mar 2011
Posts: 7
Likes: 0
Received 0 Likes
on
0 Posts

 04-23-2011, 03:47 AM
#10
Safety Car

 Flame on
04-23-2011, 04:03 AM
Flame on
04-23-2011, 04:03 AM
#11
Safety Car
04-25-2011, 07:49 AM
#12
Drifting

I just ordered some of the same stuff...probably the same seller on "the bay". I'm planning to do this next weekend and will post pics of before and after once I get it done. Thanks for the info...I hope it turns out as nice as yours did.
04-30-2011, 09:05 AM
#13
Drifting
OK...so I ordered 3 feet of it as a "just in case my measurement was a lil short" and installed it this morning. I DEFINATLY could have gotten away with just ordering 2 feet of it. Took maybe 10 minutes to do and looks nice. I'll post pics later if anyone wants to see mine.
OP-- on a great lil DIY.
OP--
on a great lil DIY.
05-06-2011, 10:22 PM
#14
Safety Car
Where do you get this magical piping? Sewing store? I've been looking for it for other uses.
05-06-2011, 10:51 PM
#15
7th Gear
Thread Starter
Member Since: Mar 2011
Posts: 7
Likes: 0
Received 0 Likes
on
0 Posts
From above...
--OP
05-09-2011, 07:46 PM
#16
Safety Car

 01-02-2014, 01:02 PM
#19
I know this thread is old as sin, but I just did this a couple months ago and it worked great. And bumping this thread could possibly help other Corvette owners so its worth the bump IMO.