When you click on links to various merchants on this site and make a purchase, this can result in this site earning a commission. Affiliate programs and affiliations include, but are not limited to, the eBay Partner Network.
Zero-slop U-joint shift linkage DIY (lots of pictures)
This is something I have been talking about doing ever since I dropped a C5 torque tube for the first time and discovered how sloppy the OEM shift linkage is. Inspired by nsogiba's recent thread and the fact that I had my torque tube out for a clutch upgrade anyway, I bought some u-joints and got to work.
The OEM shift linkage u-joints are un-lubricated pin-and-block style u-joints with loose tolerances. At no point in their life are they tight or anywhere near zero-slop. In a prior attempt to improve shifter feel, I bought a brand new shift linkage and discovered that they come sloppy right from the factory. The joints I am using are zero-slop needle-bearing steering u-joints. They're basically tiny versions of driveshaft u-joints. If you search eBay or Amazon for 3/4" steering u-joint, you'll find them for about $20 each in all sorts of spline configurations. I am using the weld-on versions. They are almost certainly made in China, but the ones I received are very high quality.
Before anyone asks, no, I'm sorry, I will not build you one. I am not a professional fabricator, nor do I aspire to be; this is only a hobby. I'm posting this so others can see what I did and build their own. It took me a full evening to finish, about 6 hours. The only tools I used were a bench vise, handheld angle grinder, digital caliper, and a Hobart 125 MIG welder. If a vendor wants to step up and start producing these, I think that would be great for the community.
I started by measuring some dimensions. I just made an arbitrary mark on the shaft that ended up being 109 mm from the edge of the collar that attaches to the shifter end. I also measured the other end, but didn't end up using this measurement because I had to shorten the shaft due to the new u-joint being longer.
Stealing an idea from my friend Matt who also did a u-joint replacement, I made a jig from a 2x4 to maintain the correct length and angles while welding. I didn't end up using it much because I didn't have the best sizes of screws to use, so it ended up a little sloppy, but I think it would have worked well if I had built it a little better. Plus, I had an extra shift linkage to use as a reference, so I ended up using that and test-fitting on my torque tube and trans more than I used the jig.
Cut the shifter end off the linkage and trimmed one side of the U-joint down as short as possible, then got ready to make my first welds.
Measured and cut the shaft to length:
I found that resting something heavy like an impact socket on the end of the shaft while welding reduced warping from the tacks. Otherwise, the side opposite the tack would lift up into the air and create a gap as the tacked side cooled.
Test-fit #1, so far, so good. The shifter bushings offer a bit of adjustment in case the length of the new shaft isn't exactly identical to the old one, but so far I'm dead on. I'm also using a Z06 lower box re-built by TMODcustoms here on the forum. His rebuild takes all the slop out of the lower box as well, so I should have pretty much the ultimate shift feel possible with a factory shifter when I'm done.
Chopped the transmission end off the shift linkage, trimmed that u-joint as well, then tacked them. I'm just using a small cap head screw in place of the roll pin for test-fitting.
Now I have some decisions to make. The new u-joint is longer than the old one, so I have to cut down the shaft on both sides of where it's offset by the rear bell housing. Back to the jig to try to get the lengths and angles right for the final welds. You can see the two marks I made--they're at the two edges of the slop in the jig. Based on comparing against my spare linkage, I cut at the longer mark and it came out right.
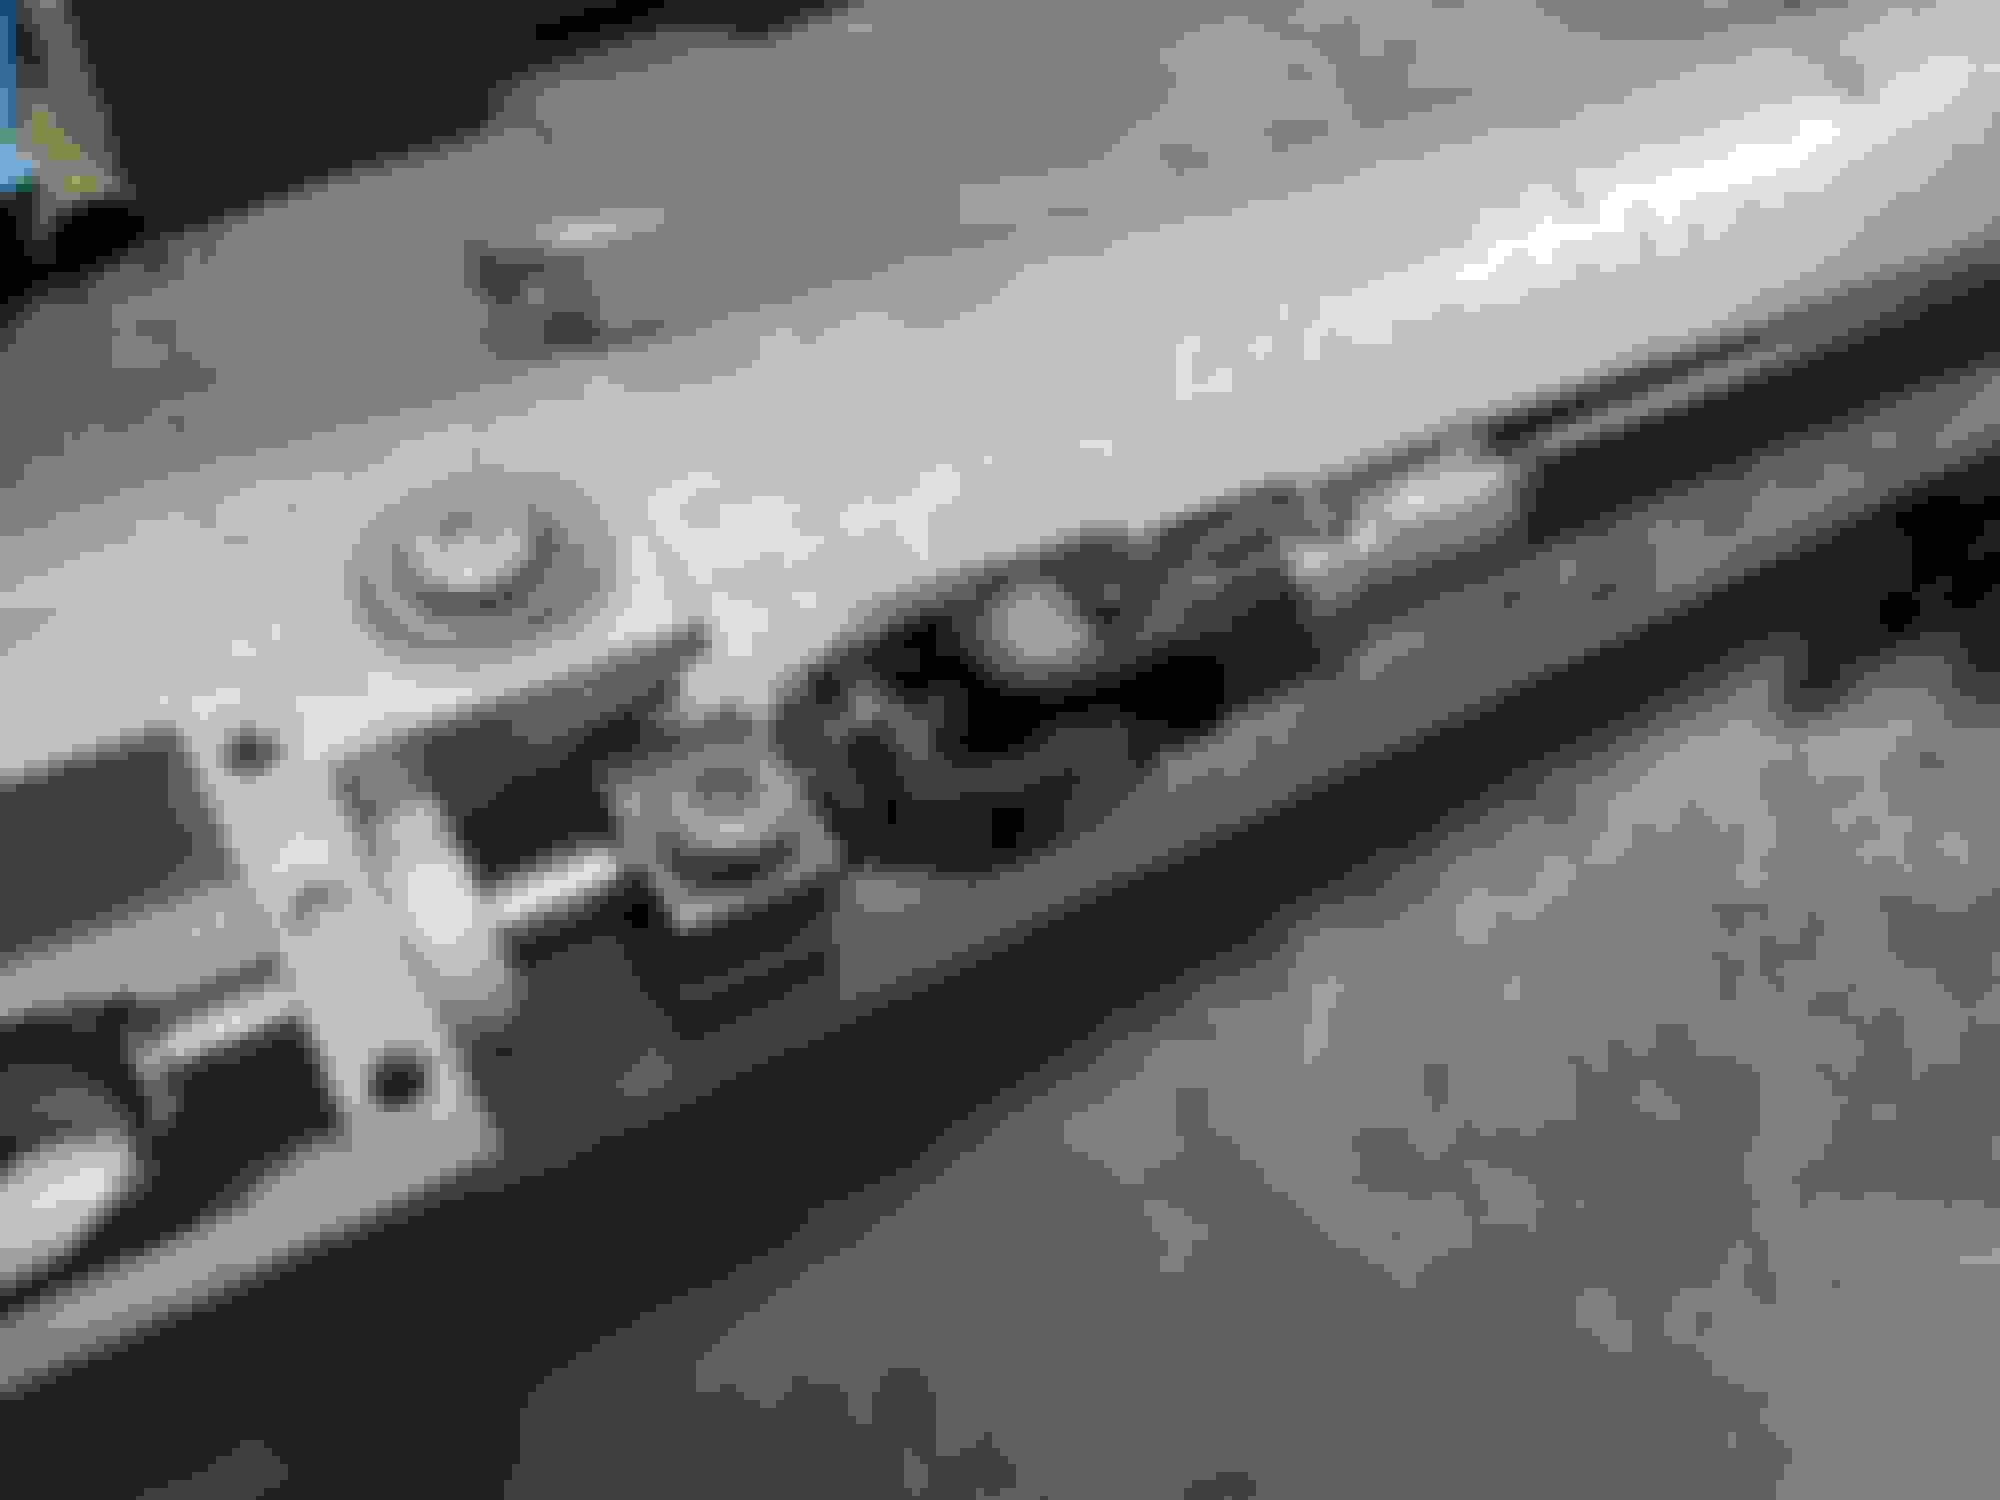
I tacked it all up and test-fitted--looks pretty good!
The closest it comes to touching the bell housing is in 1st, but it doesn't look like it'll be a problem. I haven't compared against a stock linkage to see if there's any difference in clearance.
Side by side with an unmodified linkage, looks good to me.
Finish welding. I took it slow in order to avoid overheating the u-joints--weld 1/4 of the way around at each end of the shaft, take a break, then come back and do the next 1/4.
A quick coat of some leftover black engine enamel, and we're ready to rock!
Thanks! I really doubt it. It seems like it would be impossible remove the transmission side of the linkage with the drivetrain in the car.
Everything is going back in either this weekend or next week sometime, but I have a lot more work to do (finishing up turbo build) so the car probably won't be on the road until July or so.
Last edited by TastyBacon; 05-11-2018 at 05:23 PM.
Better late than never, here's an update: I've had the car on the road for a few weeks now, and as expected, the shift linkage with the rebuilt lower box feels great! I was coming from a good-condition Z06 lower box and a relatively tight linkage to begin with, so the difference isn't as earth-shattering as it would be for someone coming from worn parts. The best way I can describe it is that the shifter feels like it's directly connected to the transmission. None of the high effort of an aftermarket short-throw with centering springs, just a factory shifter that feels and works like it should. With the u-joint linkage and the TMOD lower box, every gear-change feels just as precise as if there were no linkage at all. That was the goal, so I'd say I'm very happy with the results!
Better late than never, here's an update: I've had the car on the road for a few weeks now, and as expected, the shift linkage with the rebuilt lower box feels great! I was coming from a good-condition Z06 lower box and a relatively tight linkage to begin with, so the difference isn't as earth-shattering as it would be for someone coming from worn parts. The best way I can describe it is that the shifter feels like it's directly connected to the transmission. None of the high effort of an aftermarket short-throw with centering springs, just a factory shifter that feels and works like it should. With the u-joint linkage and the TMOD lower box, every gear-change feels just as precise as if there were no linkage at all. That was the goal, so I'd say I'm very happy with the results!
Finally got around to doing this modification myself on my '00 FRC. The amount of slop in the stock u-joints was impressive. Thanks both nsogiba and TastyBacon for leading the way here. If anyone is interested I have about 3 months before my torque tube and trans are going back in the car (damn snow) and wouldn't mind making a few of these on a core basis. If theres any interest PM me. In my opinion this is a must do for anyone chasing that "perfect" shift feel.
Finally got around to doing this modification myself on my '00 FRC. The amount of slop in the stock u-joints was impressive. Thanks both nsogiba and TastyBacon for leading the way here. If anyone is interested I have about 3 months before my torque tube and trans are going back in the car (damn snow) and wouldn't mind making a few of these on a core basis. If theres any interest PM me. In my opinion this is a must do for anyone chasing that "perfect" shift feel.
Glad to see this thread pop back up to the top of the feed. This makes such a huge difference in shift feel and accuracy. I cant stress enough how much i recommend this mod to anyone with their drivetrain out and basic welding skills.
I do once again have my drive train pulled out of my car this winter. Anyone looking to have one built let me know.
+1 for the TMOD shifter box. I bought one for my 07 Z51 and it was GREAT!
I was going to look into that "mod" last year, but instead spend my "mod money" on the rear fascia with the spoiler. I'm looking to do this shifter box upgrade this year, while the car is still off the road for the winter.
Would you mind telling us how much it cost, and what the turn-around time was?
Not quite as detailed, but got the shifter rod done in an afternoon. The OD of the rod is 3/4, so I got universals to fit and able to slide fore and aft for adjustment. The yoke is not as stout as Tasty's, so will see the longevity of it. Bought a used rod to save original. Rear section against original. Just cut off enough. Front section against original. Was able to slip joint over rod and adjust to weld, after checking fitment. Extra joint and cut off pieces. Used shifter to find best spot and tack welded first, then removed to fully weld. And back on. Works well here.
If the OP is still around, and sees this discussion, I hope that he can answer a question.....
I see that he has the "TMOD" shifter box, and as I had mentioned in my earlier post, I was going to have that done to my car's shifter box, as well. I did that, but came upon a question that can't seem to get answered. The "extension", for lack of a better term, on the OE shift box, has a hole on the top of it, and this is to set the adjustment pin in, for the neutral gate of the shifter. I had installed a Hurst shifter in my car, and after spending about an hour, or so, using the adjustment pin as intended, I was able to get the shifter working as smooth as glass.
Understanding that the OE bushings in the shift box weren't really all that precise, as well as they will wear, over time, I sent my shift box to "TMOD", to have it upgraded. There's one wrinkle....the "extension" that "TMOD" installs, doesn't have the alignment hole in it. Not knowing what to do, I simply installed everything back in place, and hoped for the best. The shifter works reasonably well, but has become a little "notchy".
"TastyBacon", how were you able to deal with this?
How did you keep the linkage rod from moving around while installing the linkage?

 05-11-2018, 03:47 PM