
[Z06] Prepped and painted my ZO6 wheels.
 05-07-2017, 09:04 PM
#1

A while back I purchased a set of 2001 ZO6 wheels so I could use the rear wheels on my 2002 ZO6. At the time I didn't know that the Alcoa wheels used on the 01's look a bit different than the Speedline wheels used after 01.
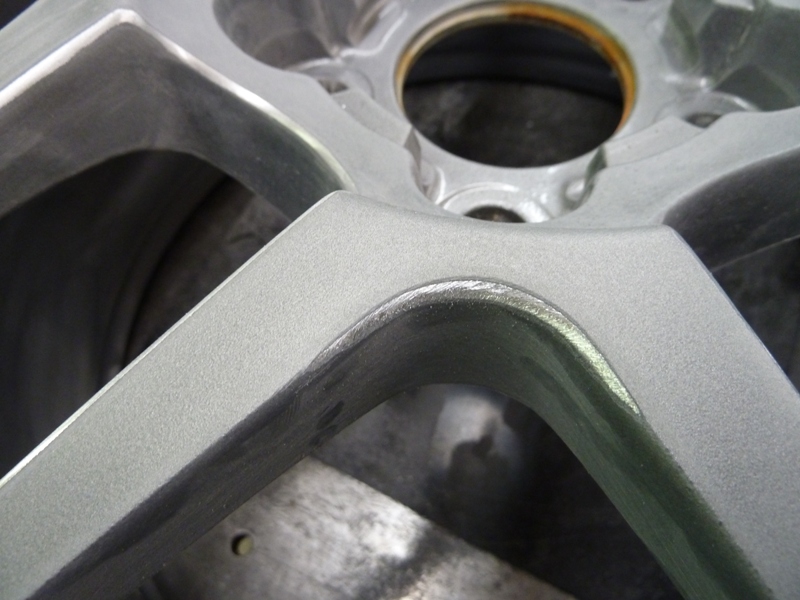
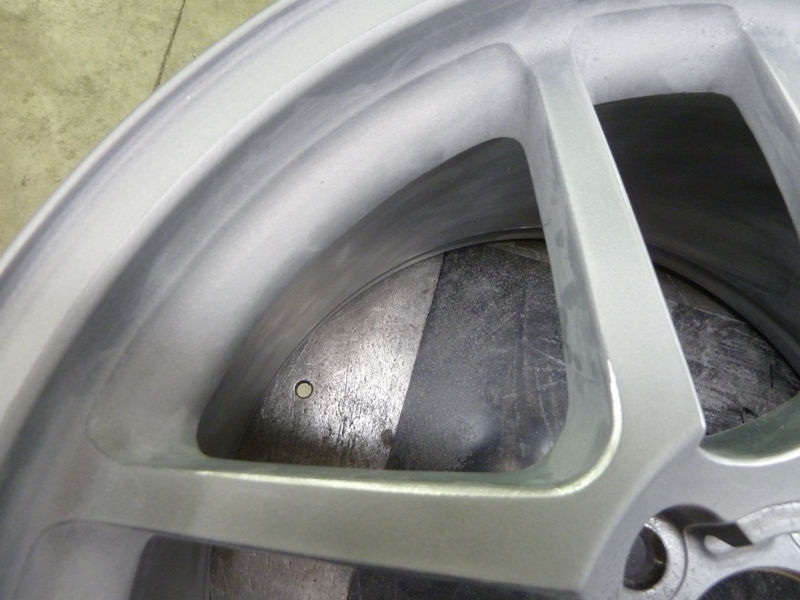
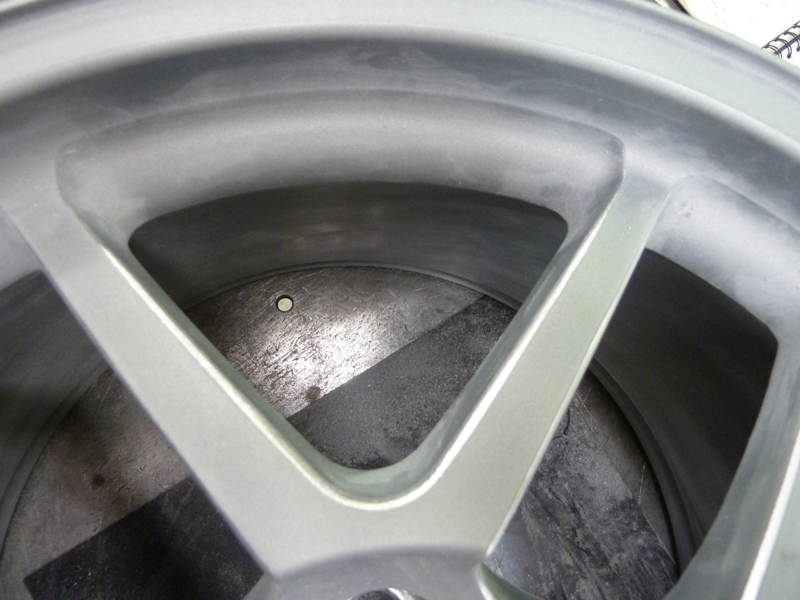
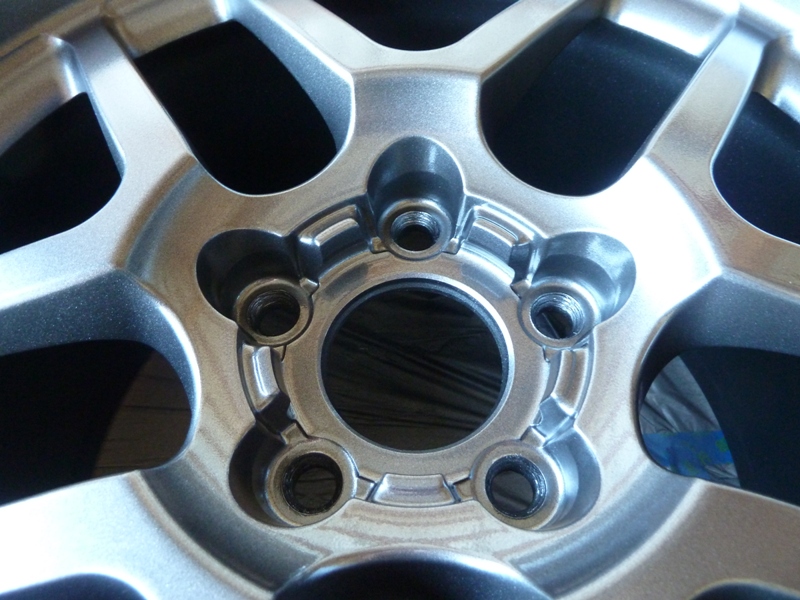
Two main differences I could see are the edges of the spokes on the Speedline's have a small radius where the Alcoa's have a sharp edge and the silver paint color is slightly different. The Alcoa's have a hint of blue in the silver.
I had to fix some road rash on my old wheels and I wanted a darker color so the repaint will fix the color difference. I decided to modify the wheels by adding the radiused edge to the spokes.
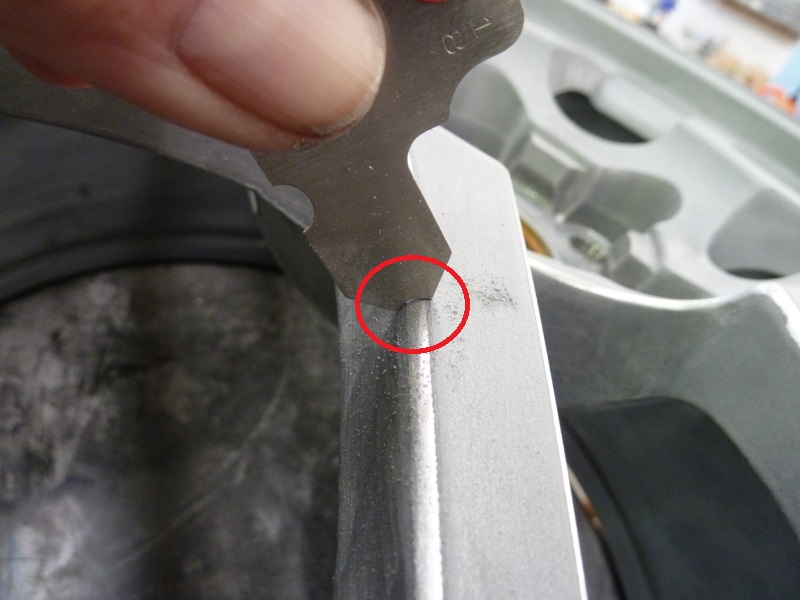
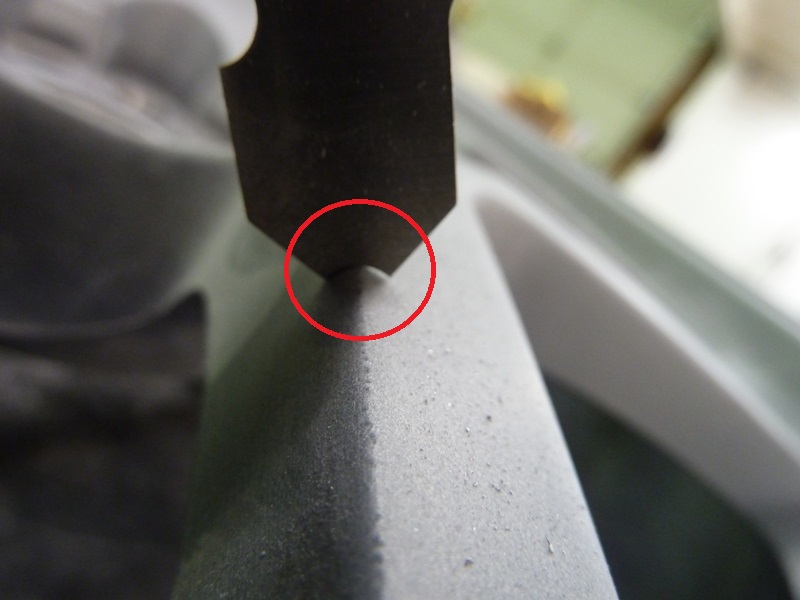
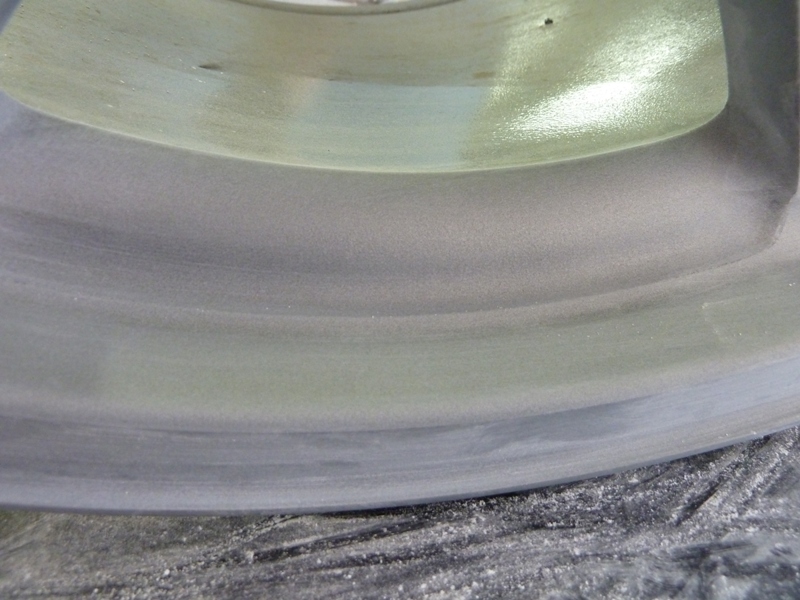
I used a half round file to rough in the 1/8" radius starting in the corners. The radius fades out near the rim attachment. I used the radius gage to check progress. I then smoothed it using 180 grit sandpaper and finished with 320 grit.
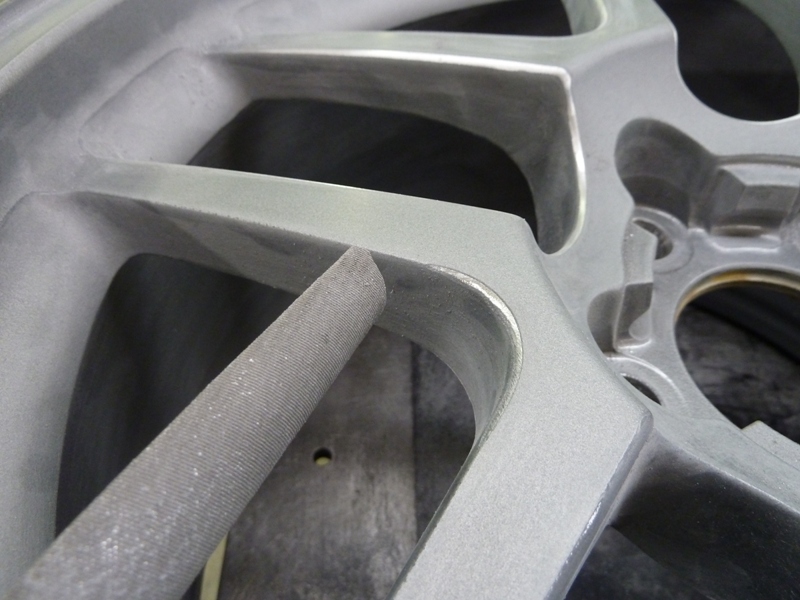
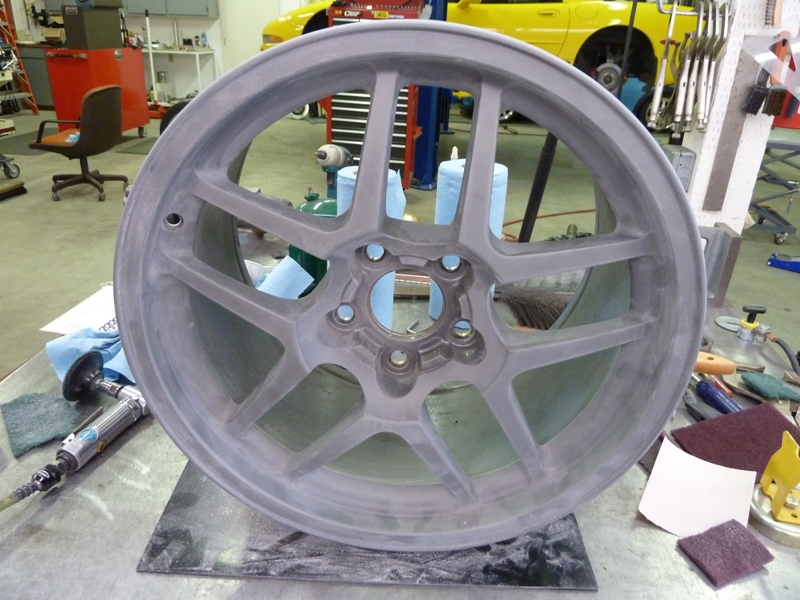
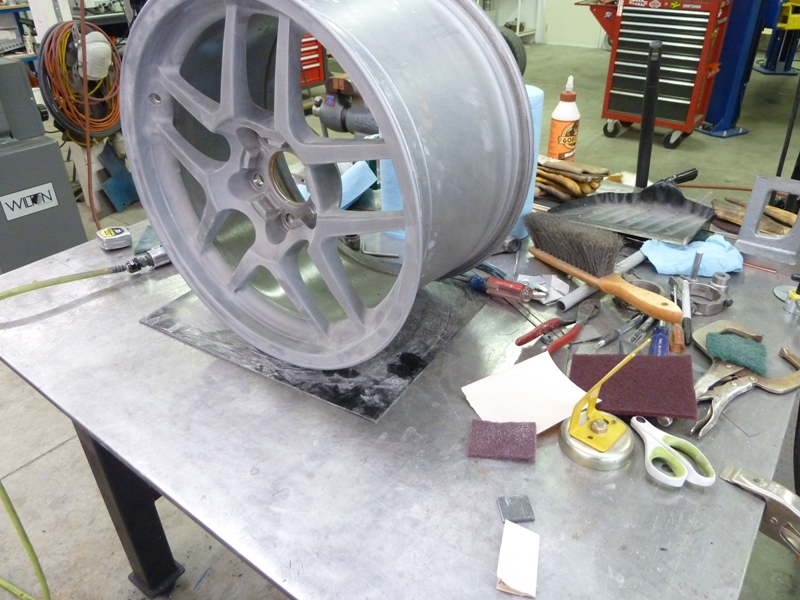
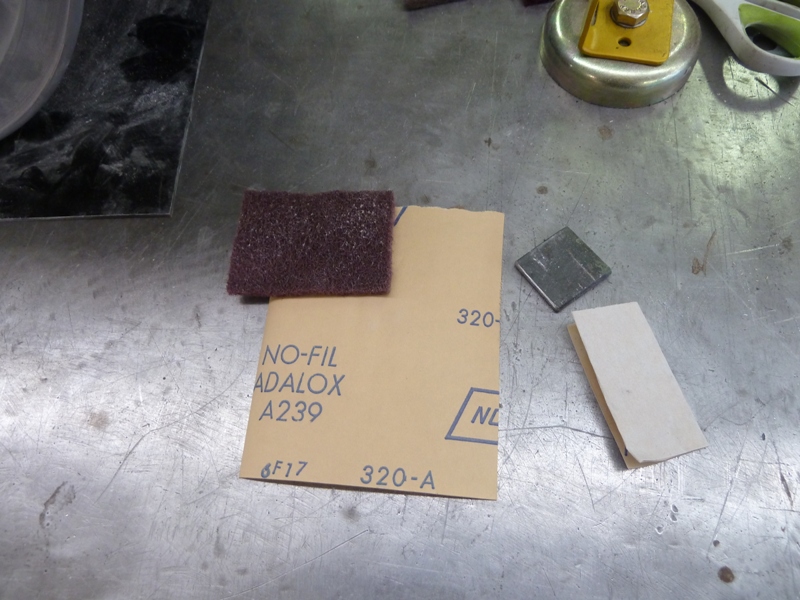
It took several hours to add the rounded edges but well worth it. I next scuffed every surface of the wheels that would be painted. I used a combination of red pads and 320 grit paper. This took the longest to do but is also the most important task to get a good paint job.
Two main differences I could see are the edges of the spokes on the Speedline's have a small radius where the Alcoa's have a sharp edge and the silver paint color is slightly different. The Alcoa's have a hint of blue in the silver.
I had to fix some road rash on my old wheels and I wanted a darker color so the repaint will fix the color difference. I decided to modify the wheels by adding the radiused edge to the spokes.
I used a half round file to rough in the 1/8" radius starting in the corners. The radius fades out near the rim attachment. I used the radius gage to check progress. I then smoothed it using 180 grit sandpaper and finished with 320 grit.
It took several hours to add the rounded edges but well worth it. I next scuffed every surface of the wheels that would be painted. I used a combination of red pads and 320 grit paper. This took the longest to do but is also the most important task to get a good paint job.
 05-07-2017, 09:26 PM
#2
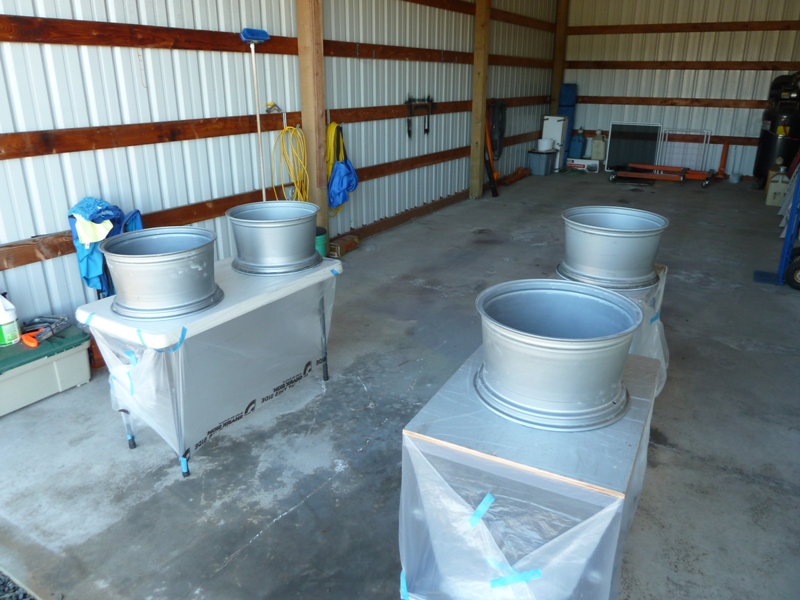
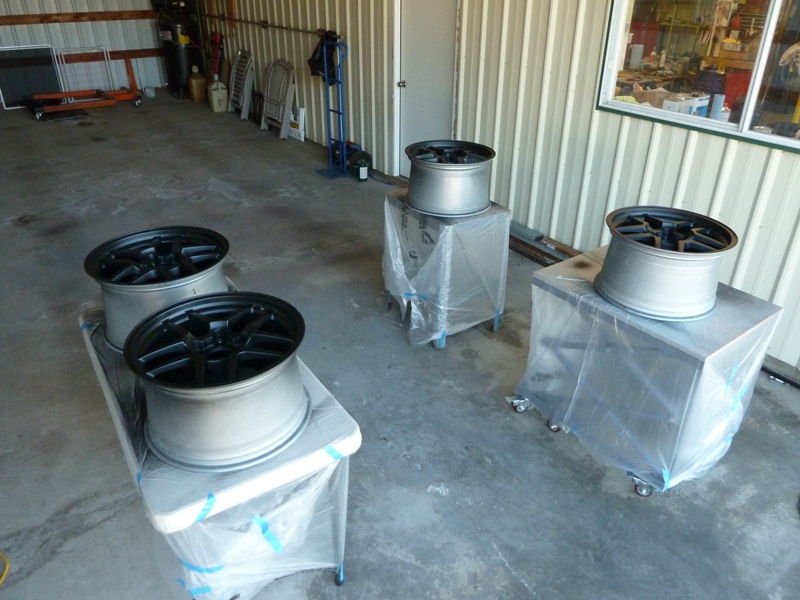
I sprayed the bare areas with etch primer and let dry over night. Here they are ready to spray the sealer coat. I used DP90 black sealer and did 2 coats on the inside barrels and one coat on the spokes.
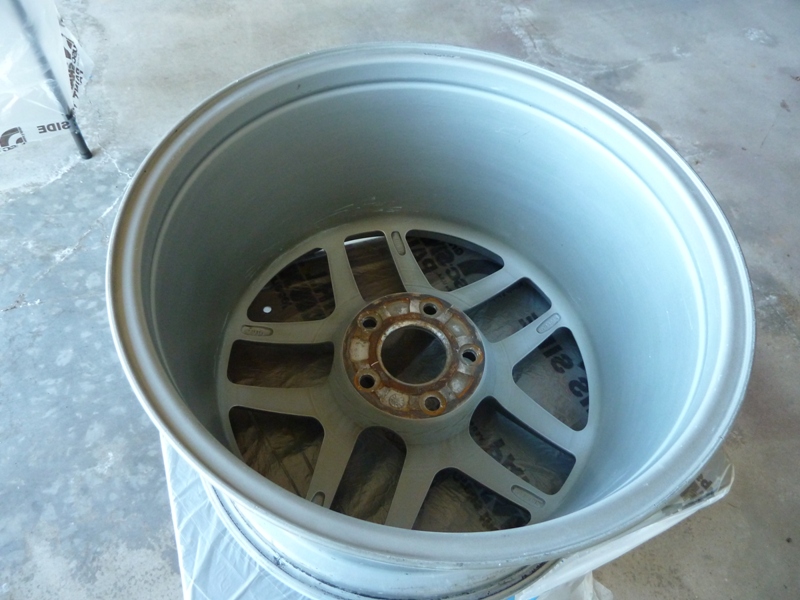
Sealer is on, is came out a great semi-gloss black. I won't be painting the insides with the gray metallic so the black sealer will have to do.
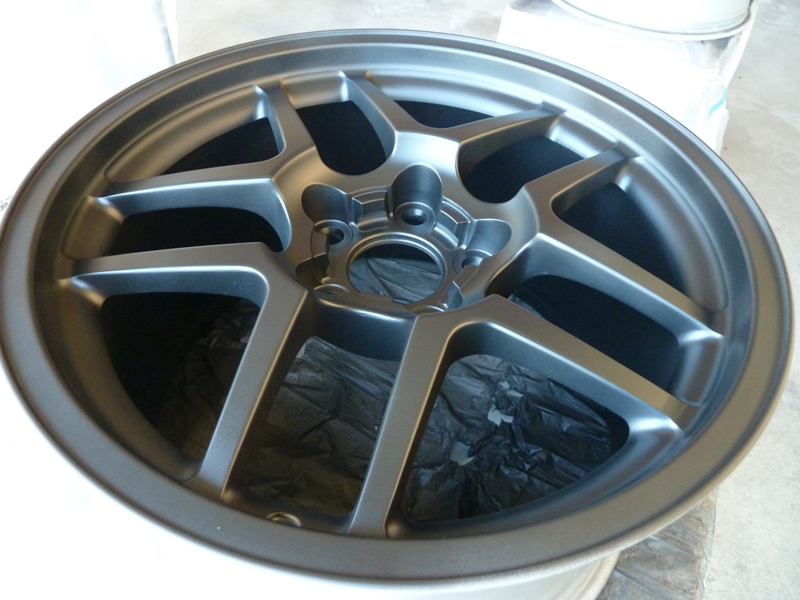
Final color is called Smoke Gray Metallic. I went with a single stage paint rather than base/clear to save work. Turned out ok for an amateur painter.

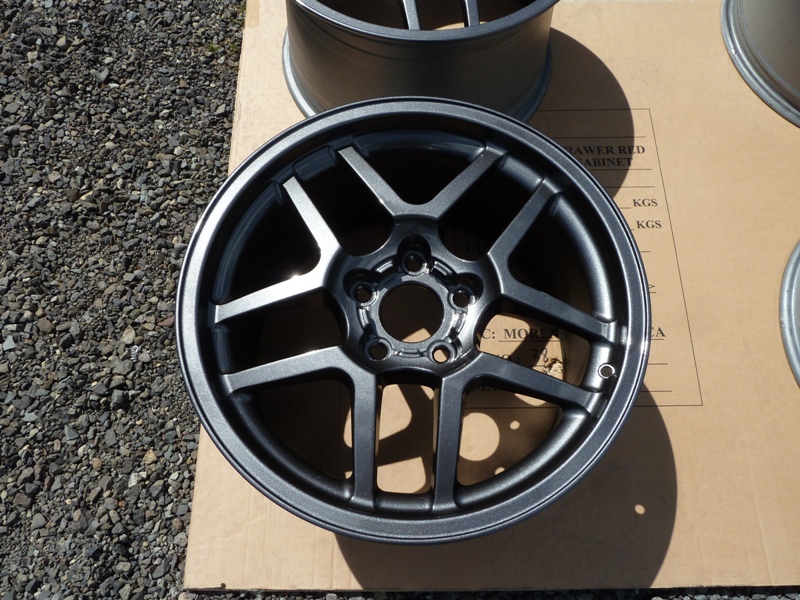
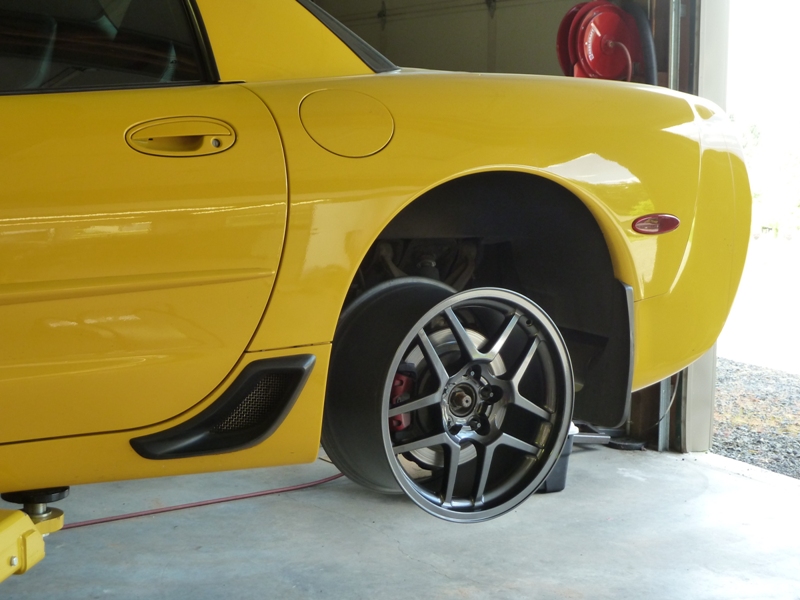
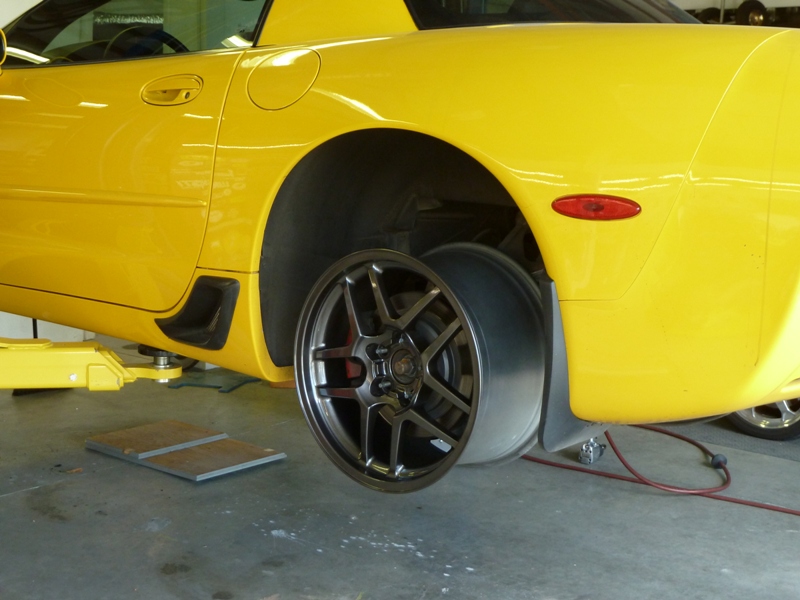
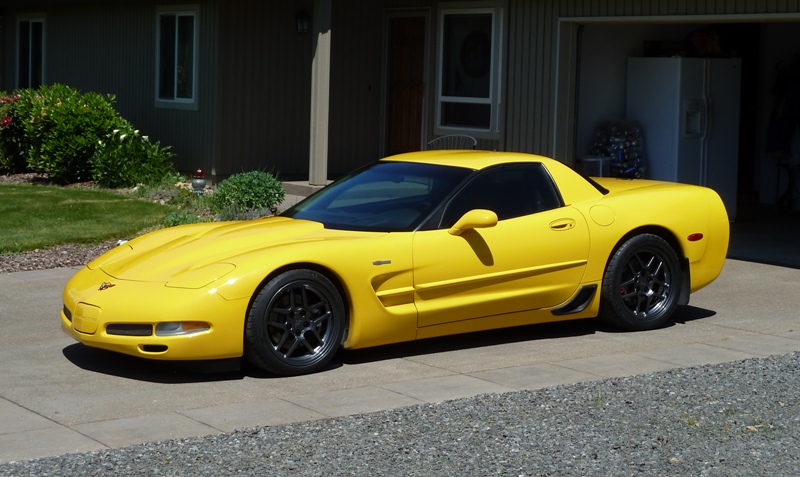
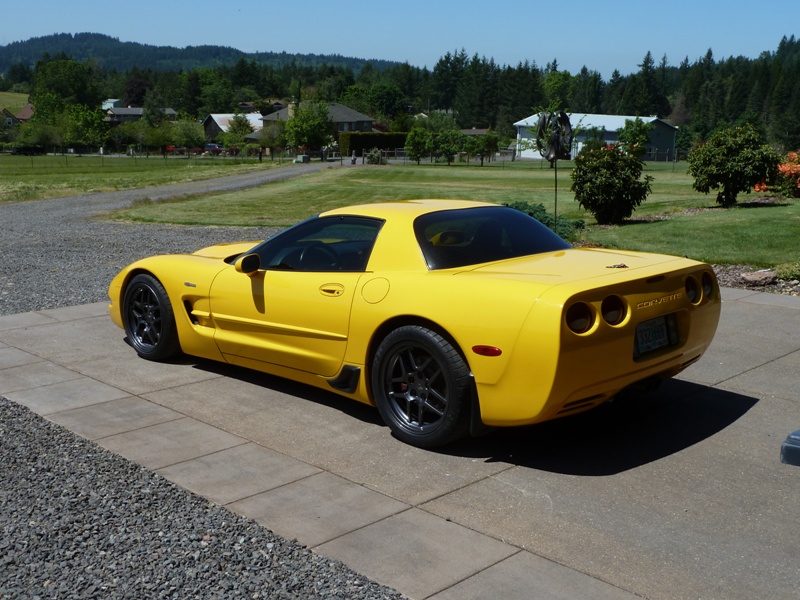
The color looks great with the yellow. I wanted a darker color than stock and this fits the bill. I can't wait for the tire to get in.
Sealer is on, is came out a great semi-gloss black. I won't be painting the insides with the gray metallic so the black sealer will have to do.
Final color is called Smoke Gray Metallic. I went with a single stage paint rather than base/clear to save work. Turned out ok for an amateur painter.
The color looks great with the yellow. I wanted a darker color than stock and this fits the bill. I can't wait for the tire to get in.
The following users liked this post:
IMXCITD (06-14-2017)


 05-12-2017, 09:30 PM
#9

I sprayed the bare areas with etch primer and let dry over night. Here they are ready to spray the sealer coat. I used DP90 black sealer and did 2 coats on the inside barrels and one coat on the spokes.
Attachment 48090991
Attachment 48090992
Sealer is on, is came out a great semi-gloss black. I won't be painting the insides with the gray metallic so the black sealer will have to do.
Attachment 48090993
Attachment 48090994
Final color is called Smoke Gray Metallic. I went with a single stage paint rather than base/clear to save work. Turned out ok for an amateur painter.
Attachment 48090996
Attachment 48090997
Attachment 48090998
The color looks great with the yellow. I wanted a darker color than stock and this fits the bill. I can't wait for the tire to get in.
Attachment 48091003
Attachment 48091004
Attachment 48091005
05-12-2017, 11:29 PM
#10


 05-13-2017, 10:13 PM
#14
Thanks everyone.
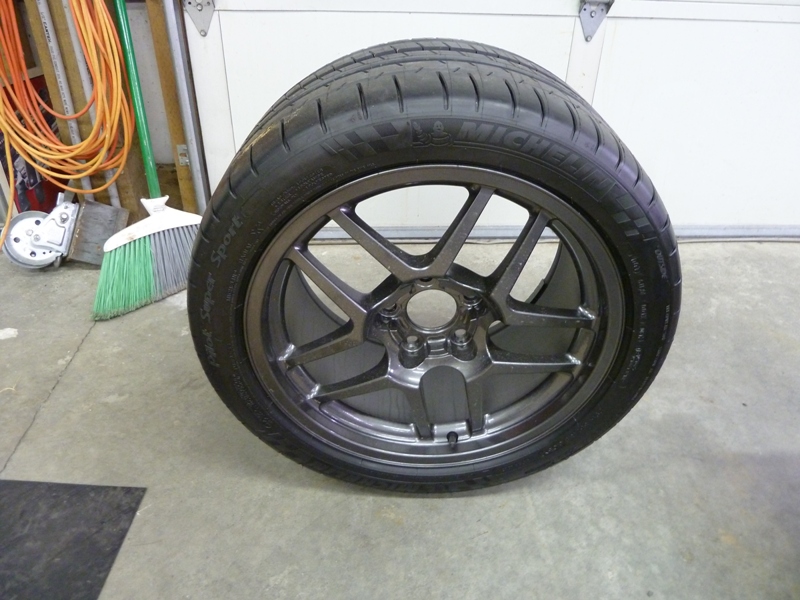
Tires are in! I hope to get them mounted Monday or Tuesday. It's raining here for the next 4 or 5 days so no big hurry except I can't wait to see how the color looks with the yellow.
I got a set of black lug nuts to go with them. I could paint the stock covers but the prep would be a pain so I'll try the black ones for awhile.
05-22-2017, 02:38 PM
#16
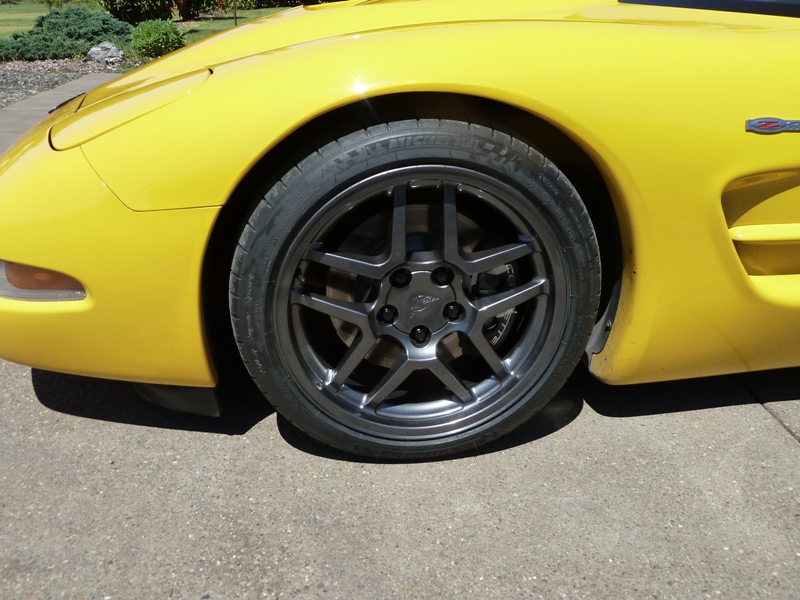
Haven't been out to the shop for a few days, bum knee is acting up. Tires are mounted but haven't been able to try them out yet. Notice the size difference between the new PSS and old NT05 front tires, both 275 width.

05-25-2017, 07:21 PM
#17
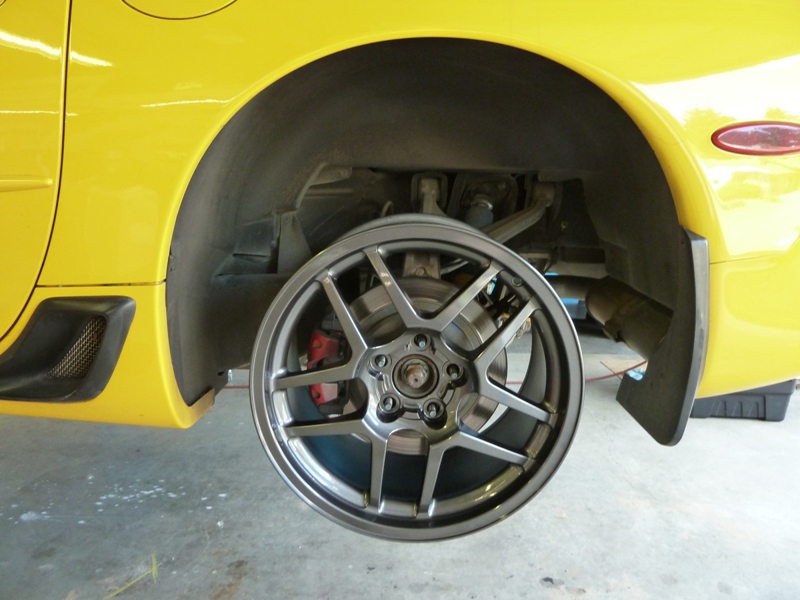
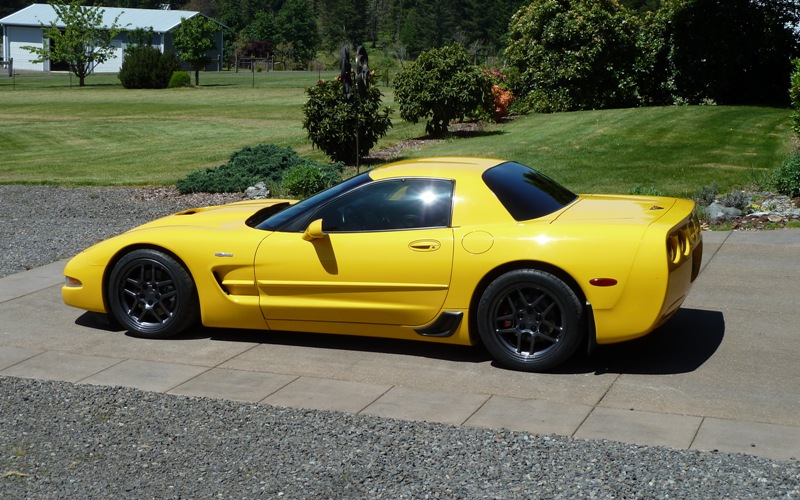
Here she is all cleaned up. I'm very happy with the color choice, darker than stock but not black. The metallic really shines in the sun.
Last edited by danh52; 05-25-2017 at 07:23 PM.
