
[Z06] rg's 2002 Z06 'build thread'
 07-27-2017, 01:57 PM
#21
Drifting


Seats look great! How are you securing your partition to the carpet so that it doesn't go flying?

The following users liked this post:
rgsGarage (08-18-2017)
08-18-2017, 03:46 PM
#23
Instructor

Thread Starter
The following users liked this post:
nsogiba (08-18-2017)
08-18-2017, 03:57 PM
#24
Instructor
Thread Starter
Bought some "Mod Red" Ray Bans to keep in the glove box...

And some Race Ramps to start the next phase of the transformation...

Took advantage of a sale on here for the smoked corners/LEDs and Hyperflash from JW Motorsports...


And picked up a set of the Steel Mesh Grills to match what is already on the Z's.... Taped up the front to prevent scratching going in...

 08-18-2017, 04:05 PM
#25
Instructor
Thread Starter
Time to do something with these wheels until I decide and buy whatever aftermarket wheels and tires I end up going with...

Original....

Coated with Plasti-Dip

Good time to put in the side Mesh Grills...

and Clean those rotors...
Back on the ground...


Original....

Coated with Plasti-Dip

Good time to put in the side Mesh Grills...

and Clean those rotors...

Back on the ground...

The following users liked this post:
IMXCITD (09-06-2017)
08-18-2017, 04:22 PM
#26
Instructor
Thread Starter
More to come. I am going to try to get this thread caught up to where I am tonight, or at least this weekend...
08-18-2017, 06:26 PM
#27
Instructor
Thread Starter
I bought one of the pre-painted SLP rear spoilers. It was easier to put on than I had thought, but overall I am not super impressed with the quality, it has some odd probably attachment strips that show through the top. For now, I am leaving it on though.


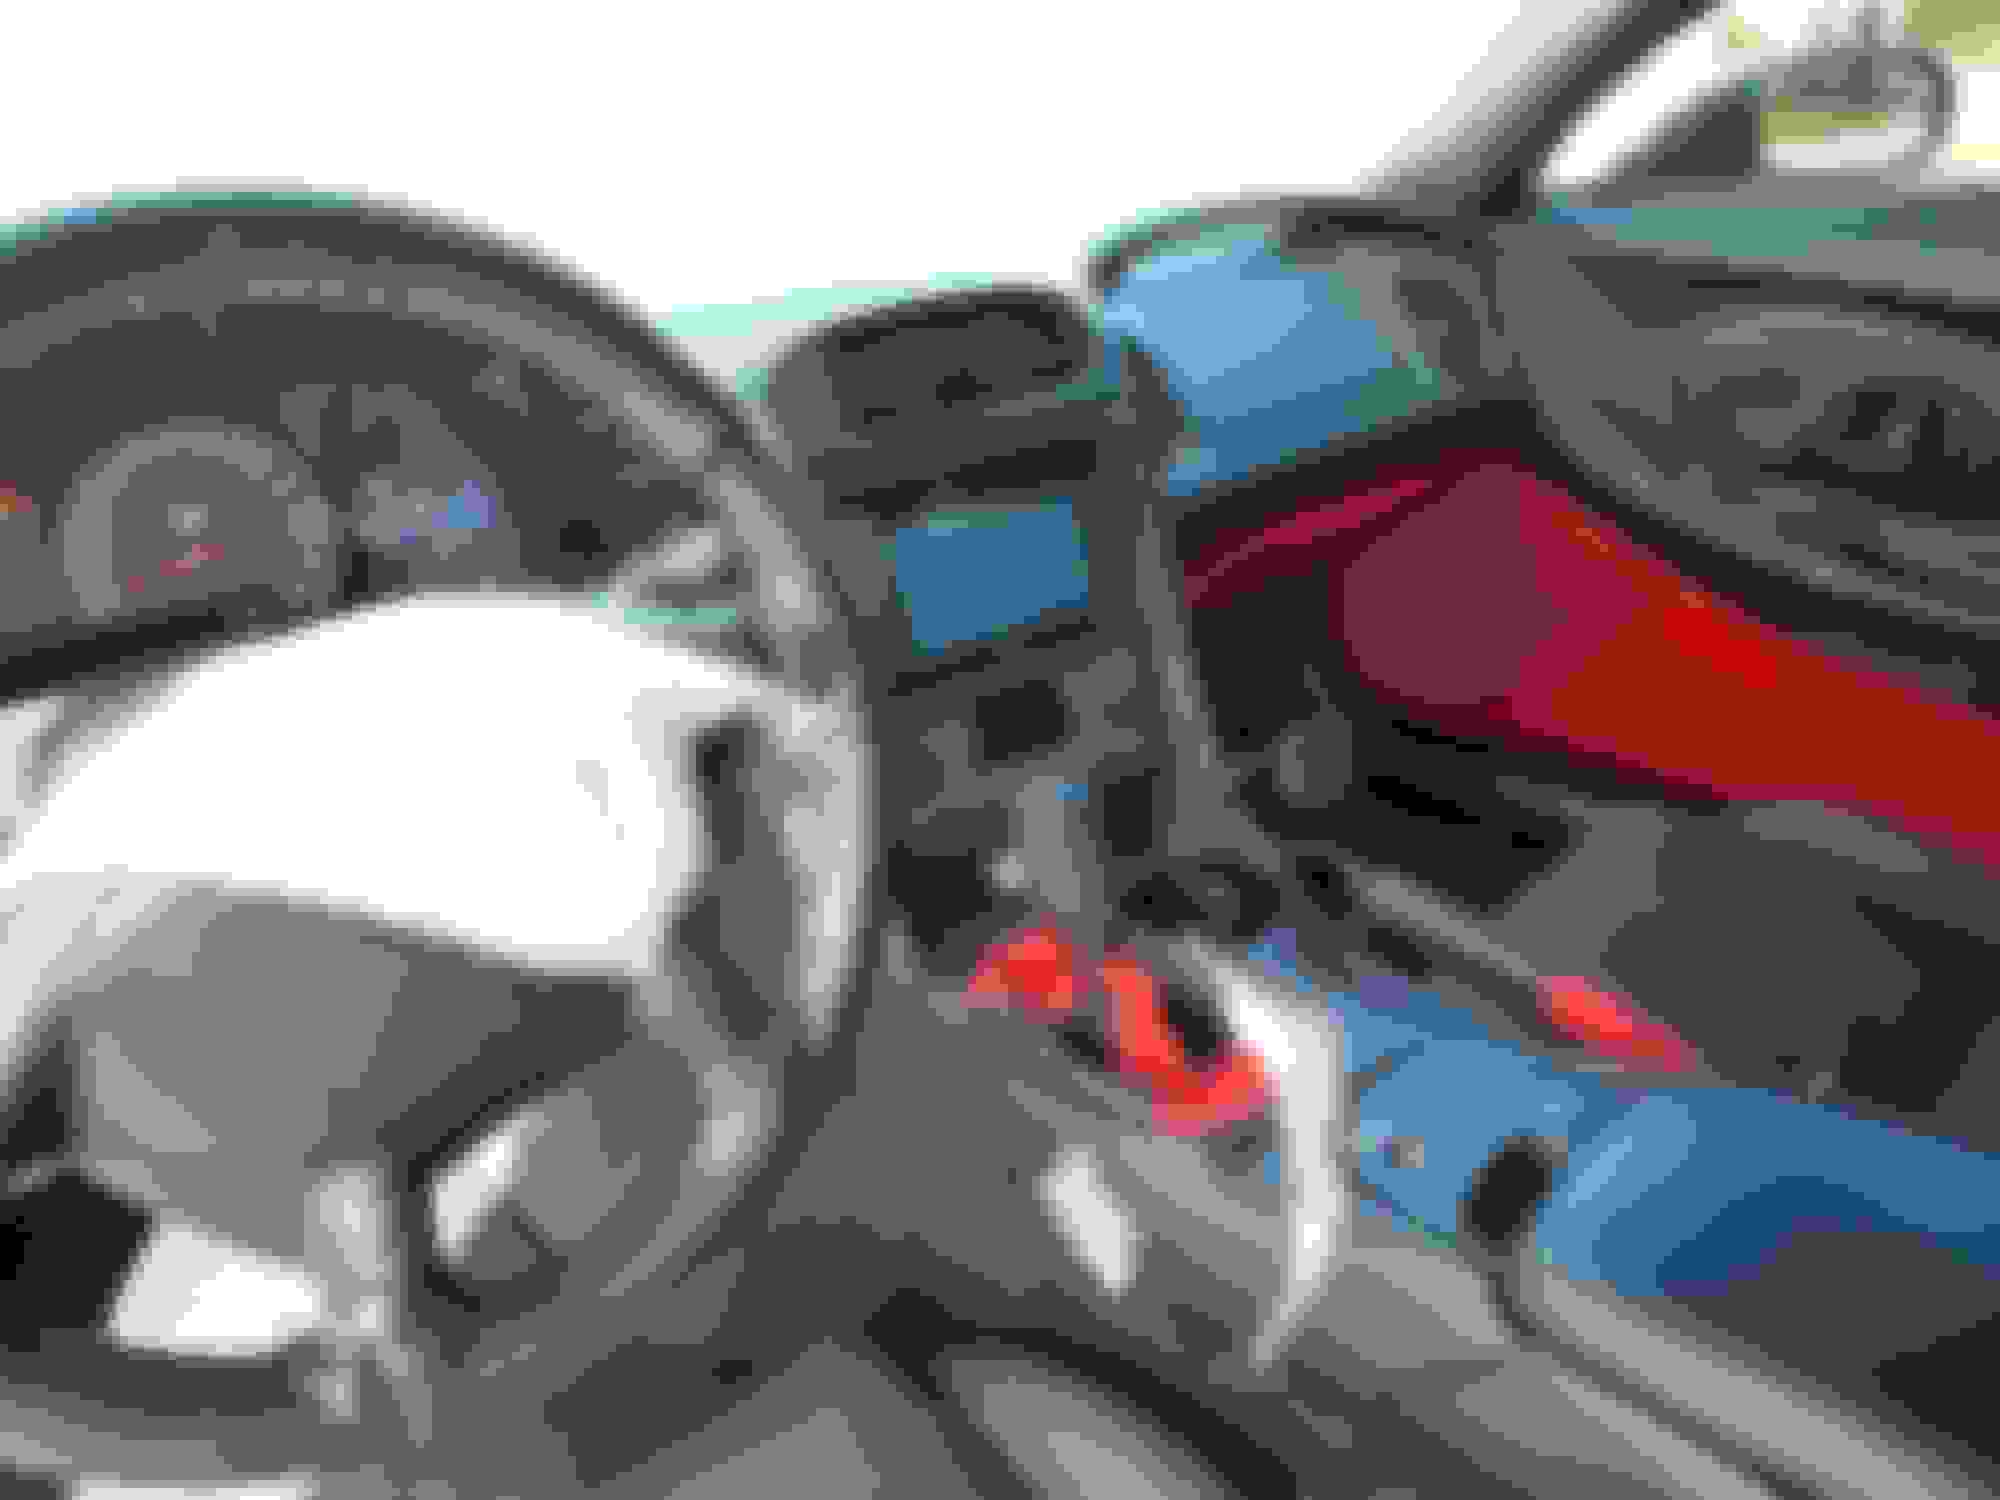
Then it was time to tackle the biggest project so far. Change out the Hurst shifter with the MGW shifter, and replace the head unit with an Alpine double din. Also bought some RedLine leather pieces...


Then it was time to tackle the biggest project so far. Change out the Hurst shifter with the MGW shifter, and replace the head unit with an Alpine double din. Also bought some RedLine leather pieces...

 08-18-2017, 06:46 PM
#28
Instructor
Thread Starter
Out with the old...


New shifter boot attached to the plastic ring the old one was attached to. I used Contact Cement to attach it.

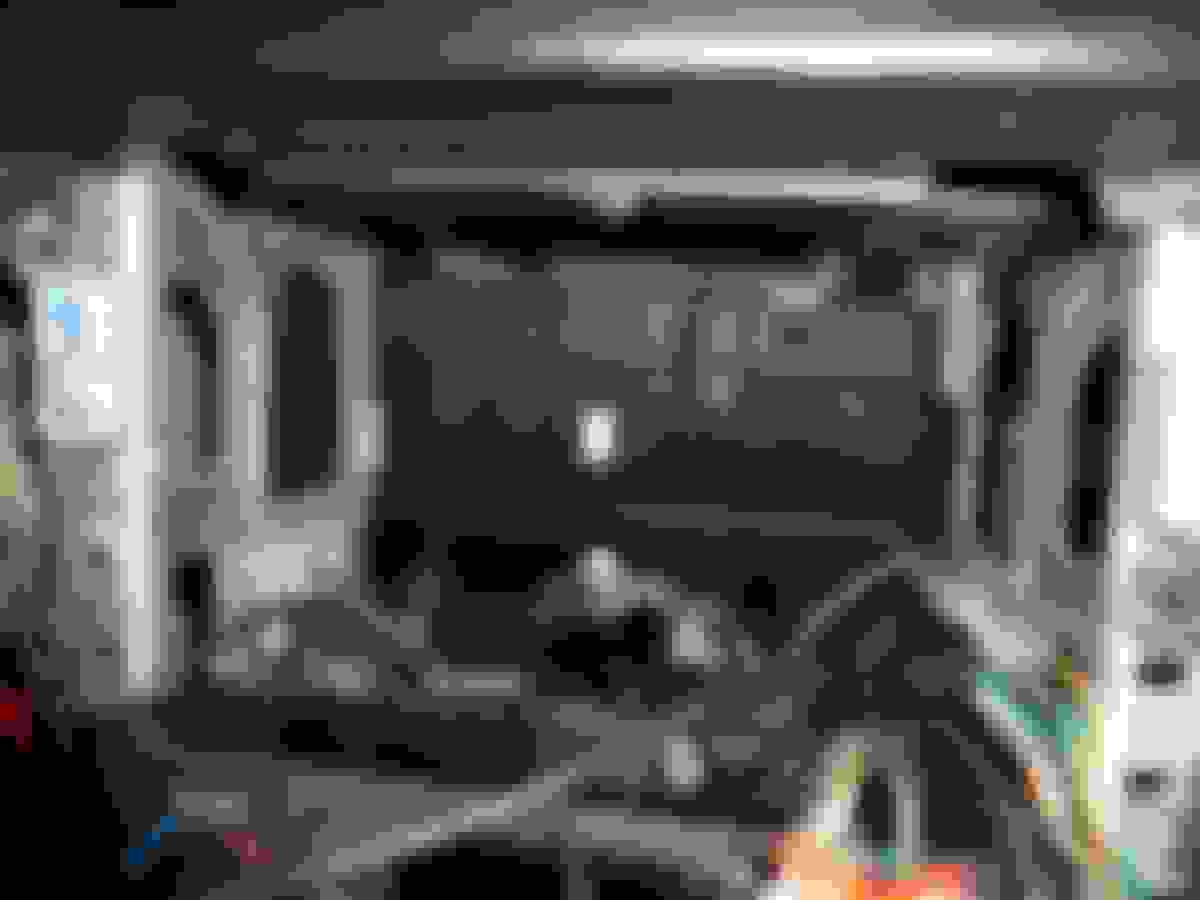
To get rid of the two metal braces/shelves holding in the old stereo and Climate Controls, it was time to bring out the big gun...

A quick test fit to make sure I took enough out...

Shelves are history...
I had a thread on installing the MGW shifter but basically, follow the videos on their website and it is a pretty straight forward affair.
As for the wiring harness on the stereo, I wired up the XSVI-2004 and could not get it to work. I had the ROEM VET1 that I had also purchased, and it worked on the first try. I would highly recommend the ROEM VET1 to anyone putting a new stereo in. The accessory wire was ran to the yellow wire under the passenger floorboard.
Here is the final test fit before I installed the top half of the shifter and buttoned up the stereo...


New shifter boot attached to the plastic ring the old one was attached to. I used Contact Cement to attach it.

To get rid of the two metal braces/shelves holding in the old stereo and Climate Controls, it was time to bring out the big gun...

A quick test fit to make sure I took enough out...

Shelves are history...

I had a thread on installing the MGW shifter but basically, follow the videos on their website and it is a pretty straight forward affair.
As for the wiring harness on the stereo, I wired up the XSVI-2004 and could not get it to work. I had the ROEM VET1 that I had also purchased, and it worked on the first try. I would highly recommend the ROEM VET1 to anyone putting a new stereo in. The accessory wire was ran to the yellow wire under the passenger floorboard.
Here is the final test fit before I installed the top half of the shifter and buttoned up the stereo...
 08-18-2017, 07:11 PM
#29
Instructor
Thread Starter
I ordered new (to me) lenses for the back lights off eBay and Blacked them out. I have let these sit for the last week setting up. New LEDs also came in for the back lights, so this weekends project will be putting those in, and installing the back up camera that is already wired into the Alpine.

If you go with an Apine, I highly recommend you buy one of these before you start installing. It needs to be wired into the wiring harness.

There was a lot of wires and boxes to stuff behind that stereo.


If you go with an Apine, I highly recommend you buy one of these before you start installing. It needs to be wired into the wiring harness.

There was a lot of wires and boxes to stuff behind that stereo.
 08-18-2017, 07:16 PM
#30
Instructor
Thread Starter
Got it all in though.

Which brings us to where it is today. I am sure I missed a few things, like the cool emblems I got for the center of the wheels. But here it is.


Which brings us to where it is today. I am sure I missed a few things, like the cool emblems I got for the center of the wheels. But here it is.


The following users liked this post:
IMXCITD (09-06-2017)
08-18-2017, 11:48 PM
#32
Racer
 08-22-2017, 10:34 PM
#33


Very cool. Good work. All the great things you've done to your car and I'm dying to know what kind of cell phone holder is that??? LOL. Lame, I know.
So details on the cup holder cell phone thingamajig. Please.
So details on the cup holder cell phone thingamajig. Please.
The following users liked this post:
rgsGarage (08-23-2017)
08-23-2017, 12:09 AM
#34
Instructor
Thread Starter
*** I have twitter if I want to deal with negativity. Using my edit and Ignore options here...
Last edited by rgsGarage; 09-06-2017 at 07:16 PM.
08-23-2017, 12:12 AM
#35
Instructor
Thread Starter
http://www.ebay.com/itm/Mount-Magnet...53.m2749.l2649
eBay magnetic mount purchase that just fits the original or aftermarket "cup holder" hole. It seems to work, but I haven't given it much of a test drive so far.
09-06-2017, 01:25 AM
#36
Instructor
Thread Starter
*** I have twitter if I want to deal with negativity. Using my edit and Ignore options here...
Last edited by rgsGarage; 09-06-2017 at 07:15 PM.
09-06-2017, 01:27 AM
#37
Instructor
Thread Starter
*** I have twitter if I want to deal with negativity. Using my edit and Ignore options here...
Last edited by rgsGarage; 09-06-2017 at 07:15 PM.
The following users liked this post:
Georgies (09-06-2017)
09-06-2017, 01:28 AM
#38
Instructor
Thread Starter
Anyway. Absolutely LOVE this car.


The following users liked this post:
rgsGarage (09-06-2017)
09-06-2017, 01:33 PM
#40
Pro

I like the mesh.. It's in keeping with the mesh above it... It's about contrast.. I'm transferring Racemesh from my old car to my black Z and planning on doing the same.. Actually there, in front coves, brake ducts, and rear exhaust slots.. Nice work
The following users liked this post:
rgsGarage (09-06-2017)