When you click on links to various merchants on this site and make a purchase, this can result in this site earning a commission. Affiliate programs and affiliations include, but are not limited to, the eBay Partner Network.
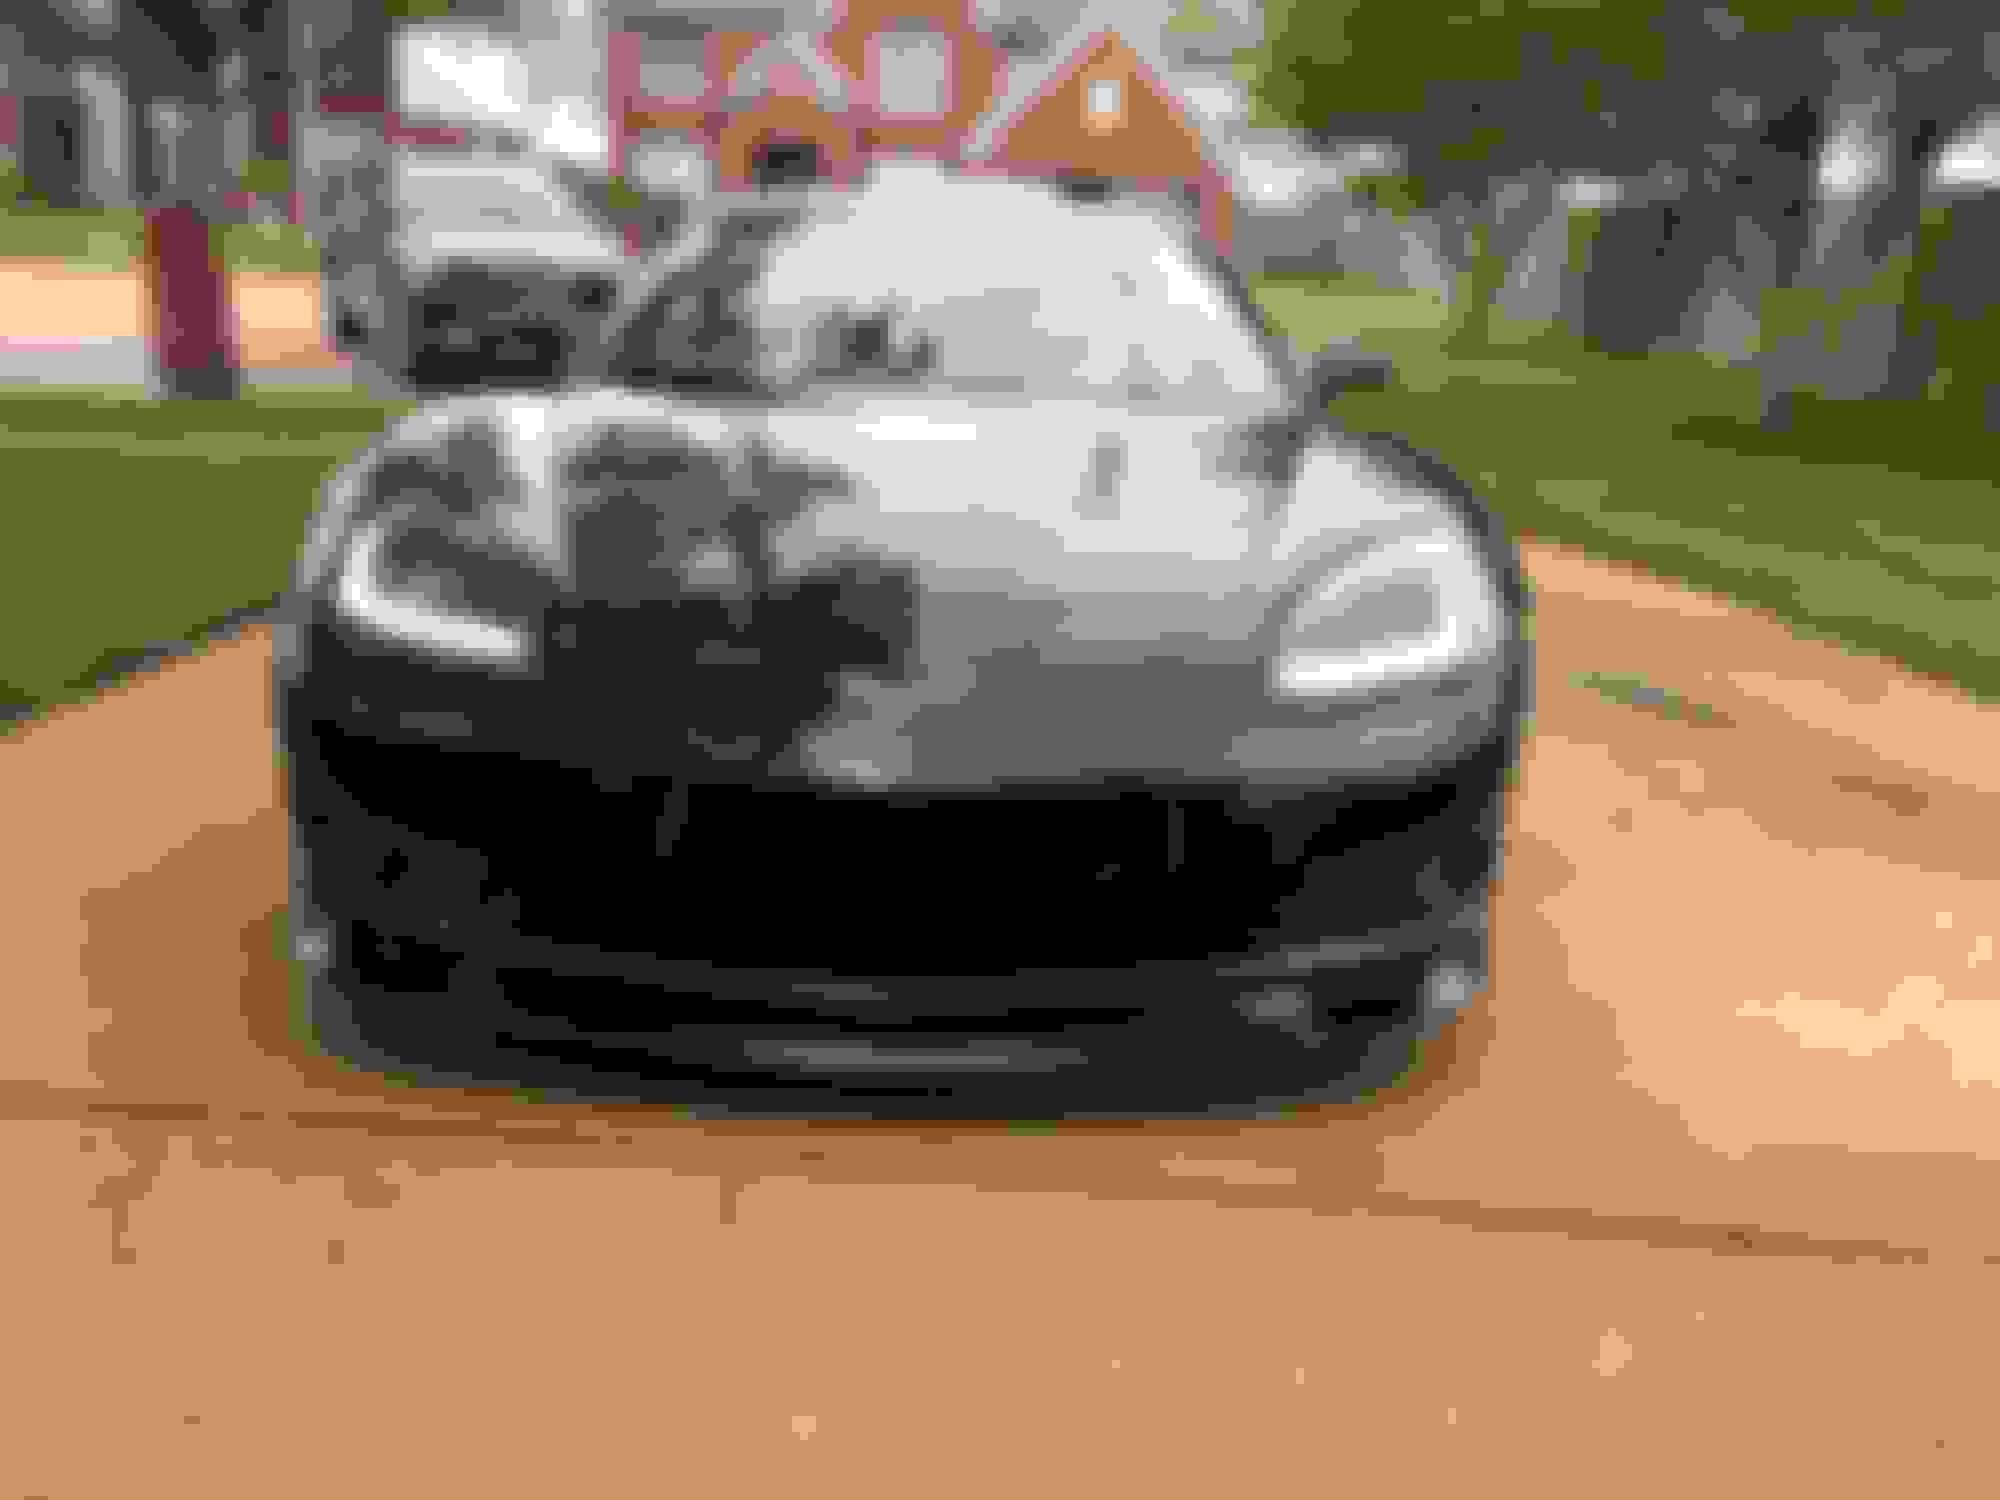
Had a minor mishap in the expressway and since the front bumper needed to be removed, I had the headlights replaced because they were beyond repair. I couldn't afford the OEM lights so I bought the Morimoto ones and so far I'm impressed. The question is, is there anything I can do to prevent them from getting yellow and messed up like the originals? I'm linking a youtube video of my lights
Out of curiosity what do the OEM headlights go for? As for the new ones, you shouldn’t have an issues with fading compared to stock. I would double check with morimoto before doing this, but I would either ceramic coat them or use a real good headlight sealant. They look way better than stock!
Your car looks awesome with them, now save up and get a pair of the fogs to finish off the look!!!
I don't know about the yellowing but I have my whole front including the lights protected with Sun-Tek Ultra (clear bra)
I called a GM dealer and I believe it was $1280 per headlight unit, I thought about just replacing the lenses but that was like 700 bucs with all the labor. The Morimotos cost $1350 for the pair and they are super bright compared to OEM.
Your car looks awesome with them, now save up and get a pair of the fogs to finish off the look!!!
I don't know about the yellowing but I have my whole front including the lights protected with Sun-Tek Ultra (clear bra)
Those foglights are nice, they're kind of expensive and I didn't have the bucs at the moment, but it's in my wishlist.
Jesus, have you adjusted your headlights yet? Aiming them was also very simple. A user on these forums by the name of doomi provided me with great tips on aiming these headlights appropriately. Here is the info he shared with me: "The height is really the aspect that matters the most. The top of the cutoff should be 25" off the ground. (I set my cutoffs for 24" cause my car is lowered)
And for the horizontal adjustment you need the find the center point and measure outwards. It's easiest to pull up close to the wall you will be using to aim with and put a vertical piece of tape where the emblem on your front bumper is. Measure out from there. Then back straight up 25 ft from the wall, apply tape at 25" horizontally for your vertical adjustment."
He also provided the following image to visualize:
INNER Screw – Vertical / Outer Screw – Horizontal on the back of the headlights - you can get to them by removing the rubber cover in the front of each wheel well.
What I did was pull the rubber off both wheel well and had a 1/4" drive ratchet w/10mm deep well socket and would turn hard left or hard right to allow me to reach in and make an adjustment (allows just enough room for you arm) then straighten the tires and check against the wall. Didn't take many adjustments to dial them in.
Just didn't know if you had these instructions or not so wanted to post them for you if you need them.
I called a GM dealer and I believe it was $1280 per headlight unit, I thought about just replacing the lenses but that was like 700 bucs with all the labor. The Morimotos cost $1350 for the pair and they are super bright compared to OEM.
I may be mistaken but I thought the OEM lights were out of production. Possible the dealer has a set and wants to capitalize on that, as well as your misfortune.
Lights look good, thinking of doing the same thing to my car!
If you do bd, complete the look with the fogs and tail lights.
As I�m sure you�ve seen, Cole from Vette Lights gets consistently high ratings for his customer service.

 06-10-2021, 08:58 PM


 Lights look good, thinking of doing the same thing to my car!


