
100% Plug N Play LED Interior Upgrade @ JWM- Ships for free!
 01-07-2012, 08:33 AM
#1
Banned Scam/Spammer
Thread Starter

Member Since: Feb 2007
Location: Oklahoma City
Posts: 50,094
Received 265 Likes
on
253 Posts
St. Jude Donor '09-'10-'11-'12-'13-'14-'15-'16-'17,'19,'22


Full Replacement Kit
Replace those dated stock lights with our SMD LEDs!! 100% plug n play and require no soldering, harnesses, or re wiring. These are the highest quality SMD LEDS on the market. Only JWM has these

These are covered by JWM's lifetime warranty!
The color options are white, red, and blue.
Our kit includes bulbs to replace:
Footwell lights- 1 pair
Rear Hatch/Compartment/Trunk- 1 pair
MAP lights- 1 pair
Glove box lights- 1 bulb ** Optional
Side markers- 2 pairs ** Optional
*Directions can be reviewed on our site before you purchase*
Starting at $40 shipped
Order your full package here <--------------
Set of 2
If you just want to try out a set we offer these by the pair.
Prices are $15 a pair (2 lights)
Order here <--------------
Order here for trunk/hatch <--------------
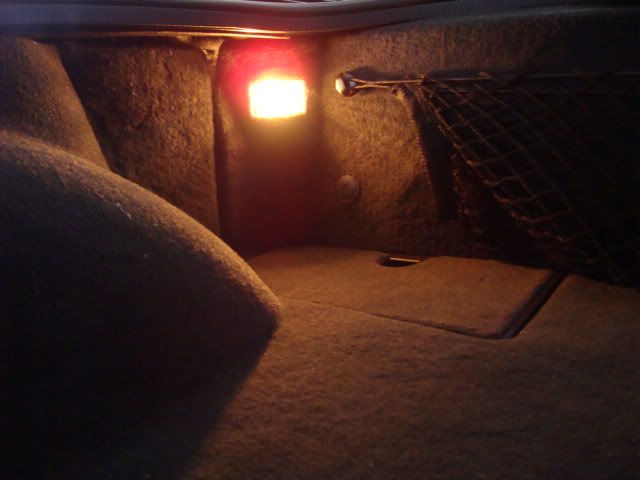
OEM
Our powerful 8 SMD LEDS


Last edited by JW Motorsports; 08-12-2013 at 10:31 AM.
 01-07-2012, 08:36 AM
#2
Banned Scam/Spammer
Thread Starter
Member Since: Feb 2007
Location: Oklahoma City
Posts: 50,094
Received 265 Likes
on
253 Posts
St. Jude Donor '09-'10-'11-'12-'13-'14-'15-'16-'17,'19,'22
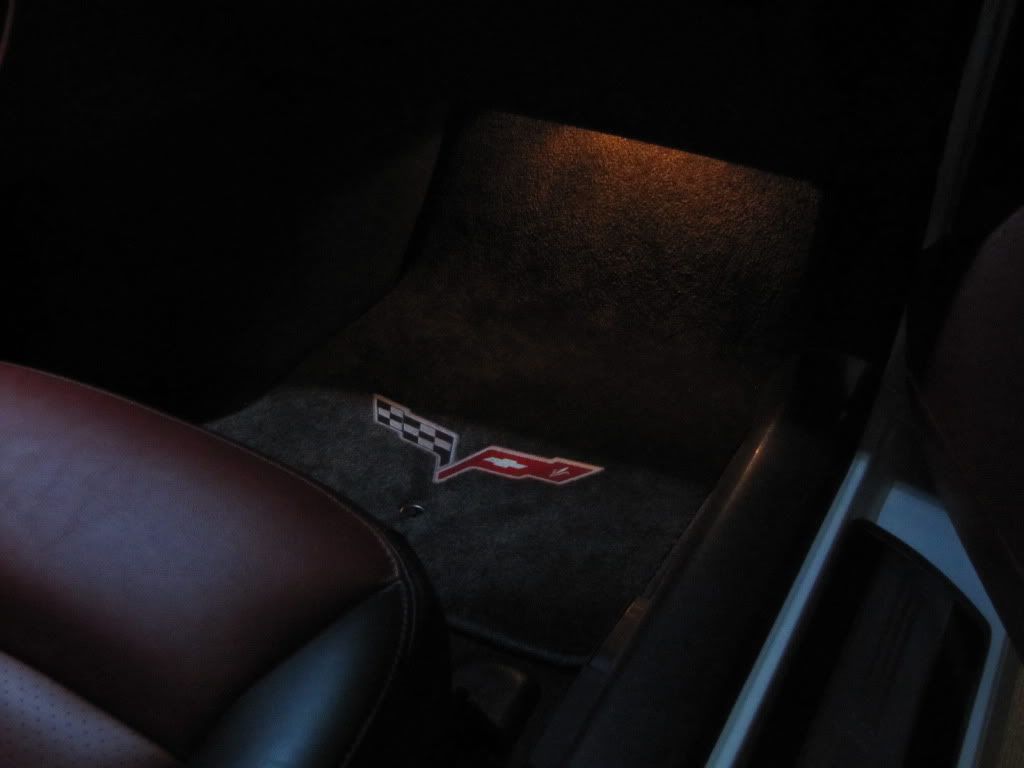
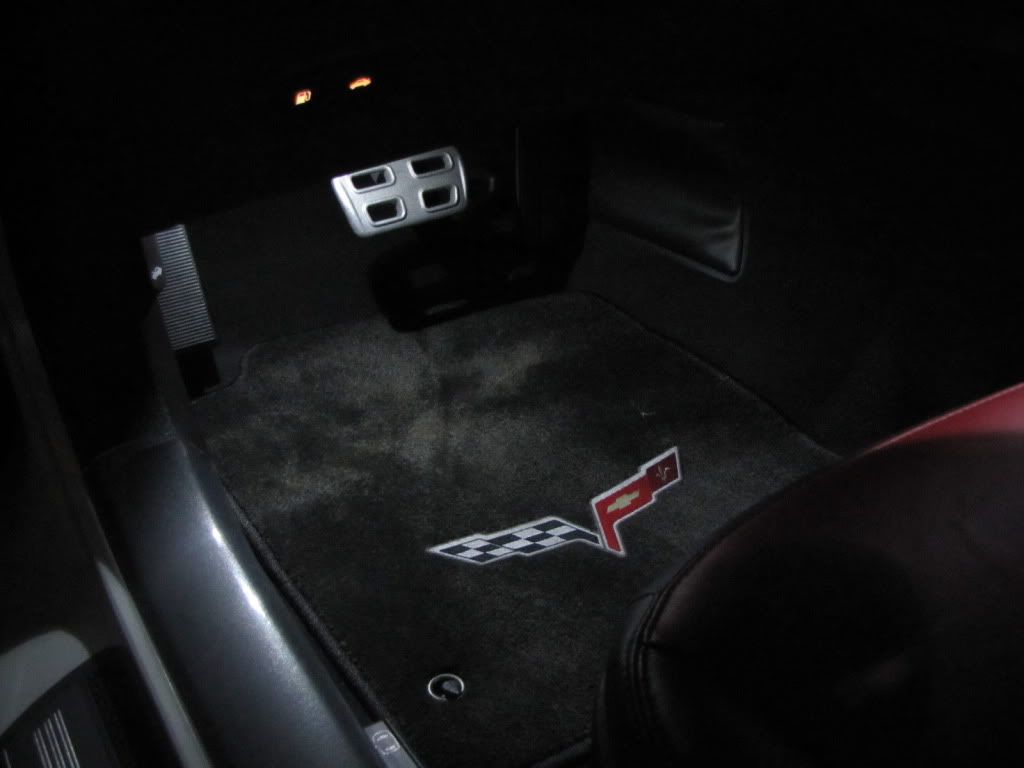
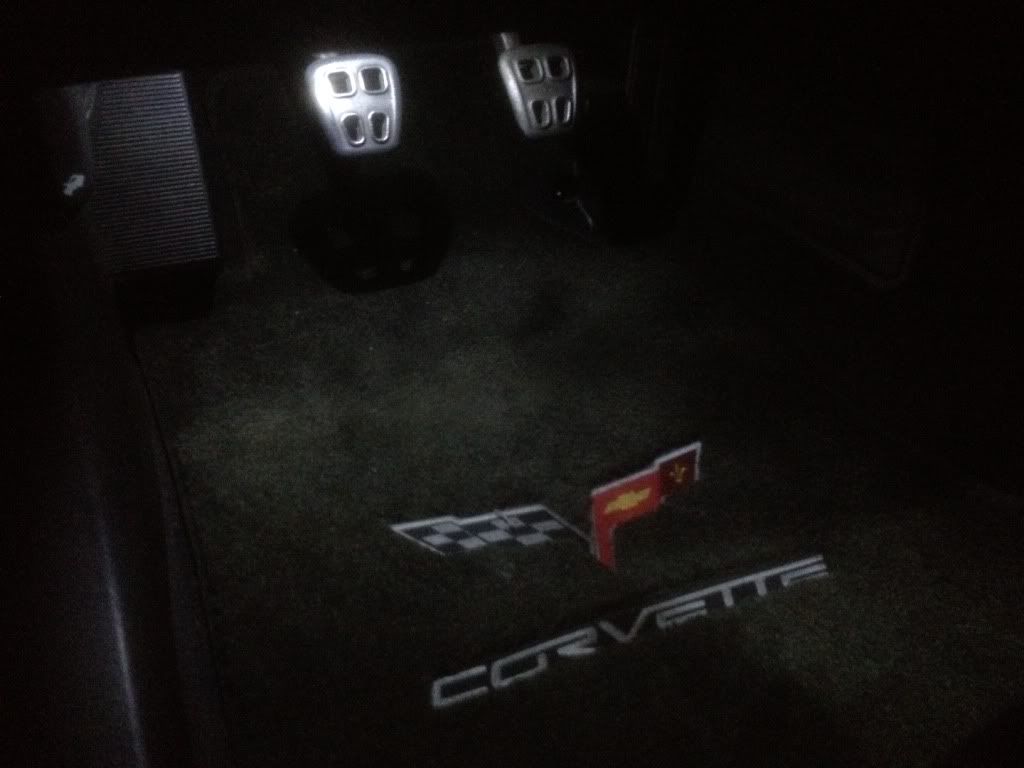
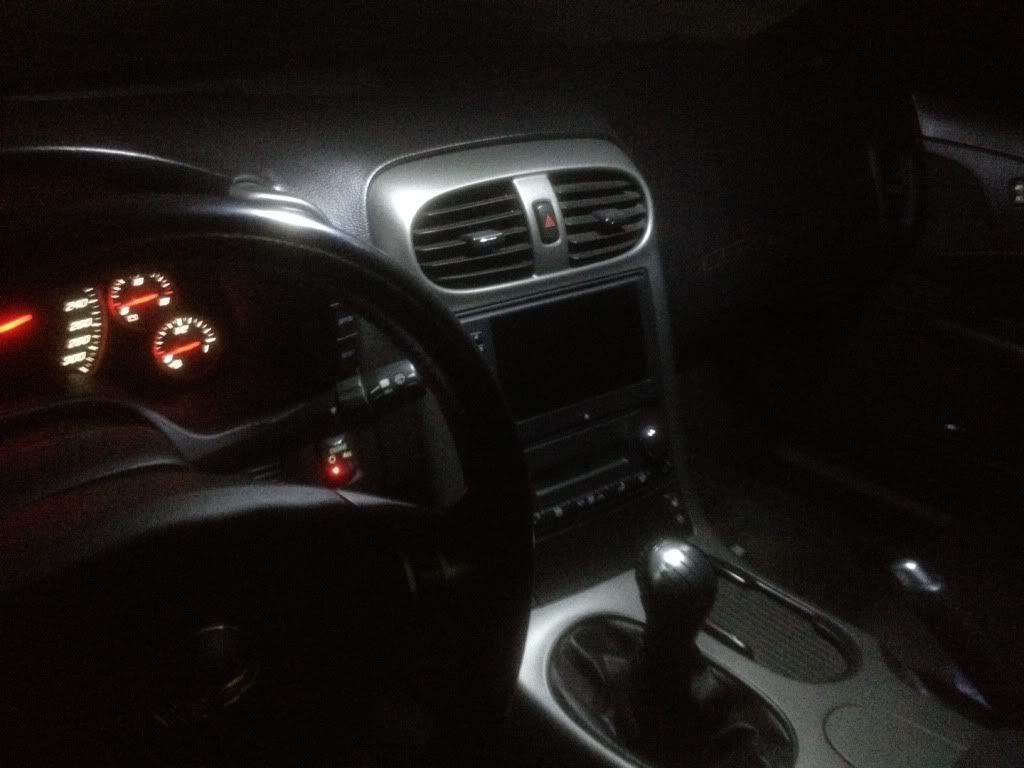
Here are some shots of my new LED lights from JWMotoring. Cant believe the change until you do it. Easy huge improvement. You can actually see your feet in foot well now. My suggestion is to take your time to change them. Nothing is easy on a vette. I still need to get the passenger side done but need a tool to pry down the panel to access light housing. There is one pic of passenger side to see the diff from driver side. Enjoy and thanks JWMotoring for Holiday special.
Before:
After:
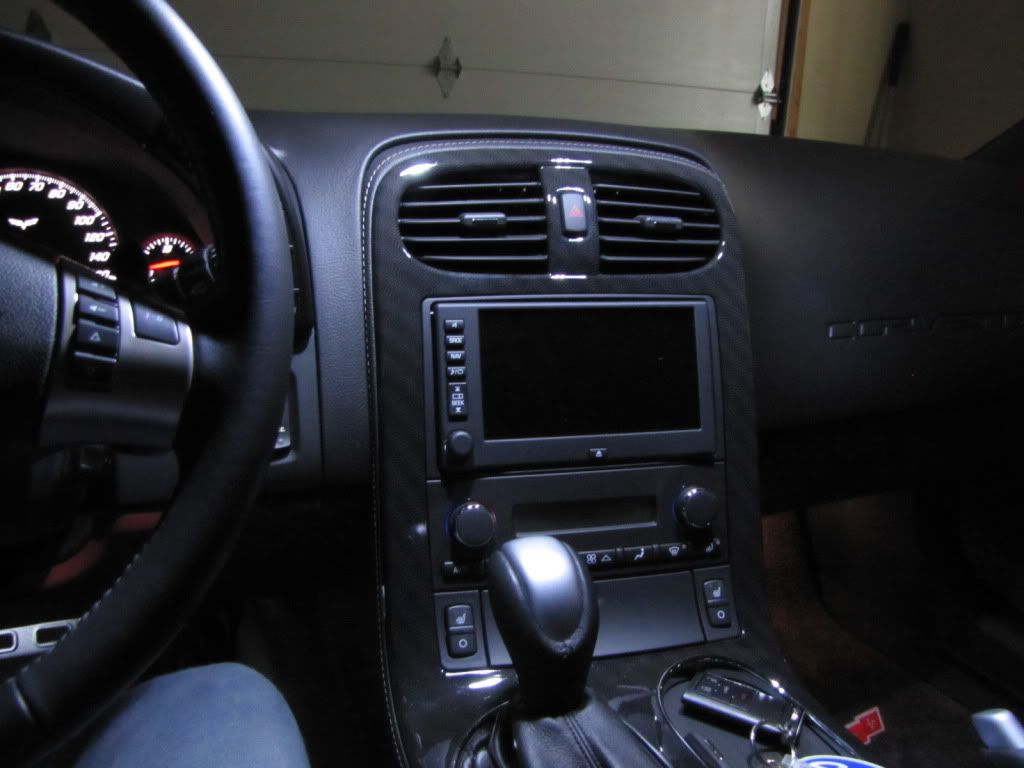
Before:
After:
01-07-2012, 09:05 AM
#3
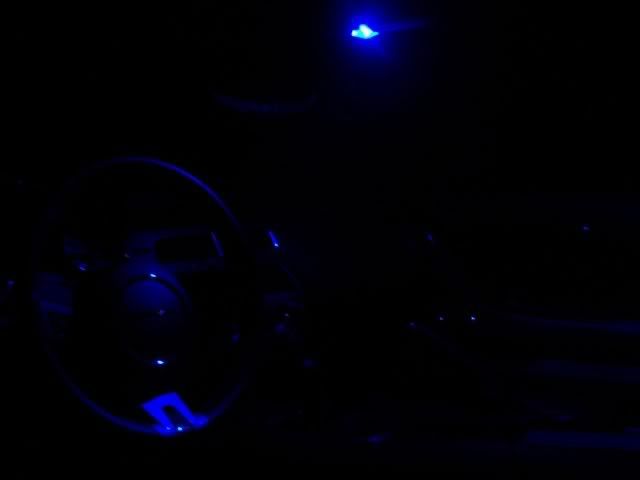
I am thinking about doing my interior lighting in blue to match my gauges, radar detector and audio. Do you have any pictures of the blue lights? Just curious what it would look like in an ebony and titanium car.
 01-08-2012, 07:52 AM
#5
Banned Scam/Spammer
Thread Starter
Member Since: Feb 2007
Location: Oklahoma City
Posts: 50,094
Received 265 Likes
on
253 Posts
St. Jude Donor '09-'10-'11-'12-'13-'14-'15-'16-'17,'19,'22
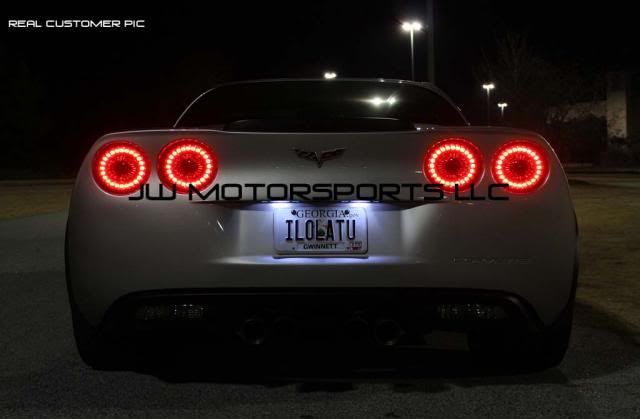
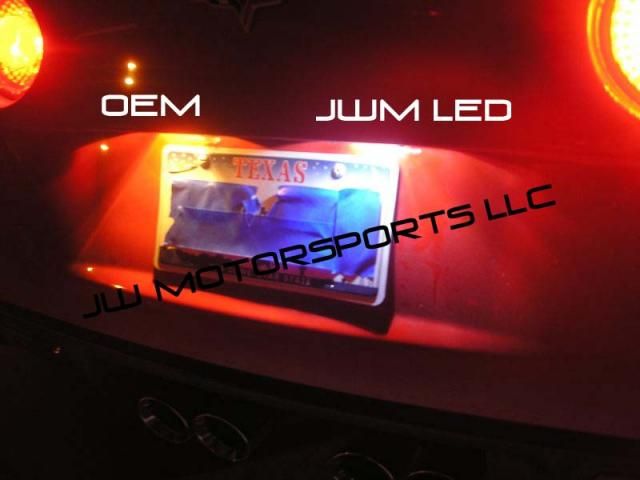
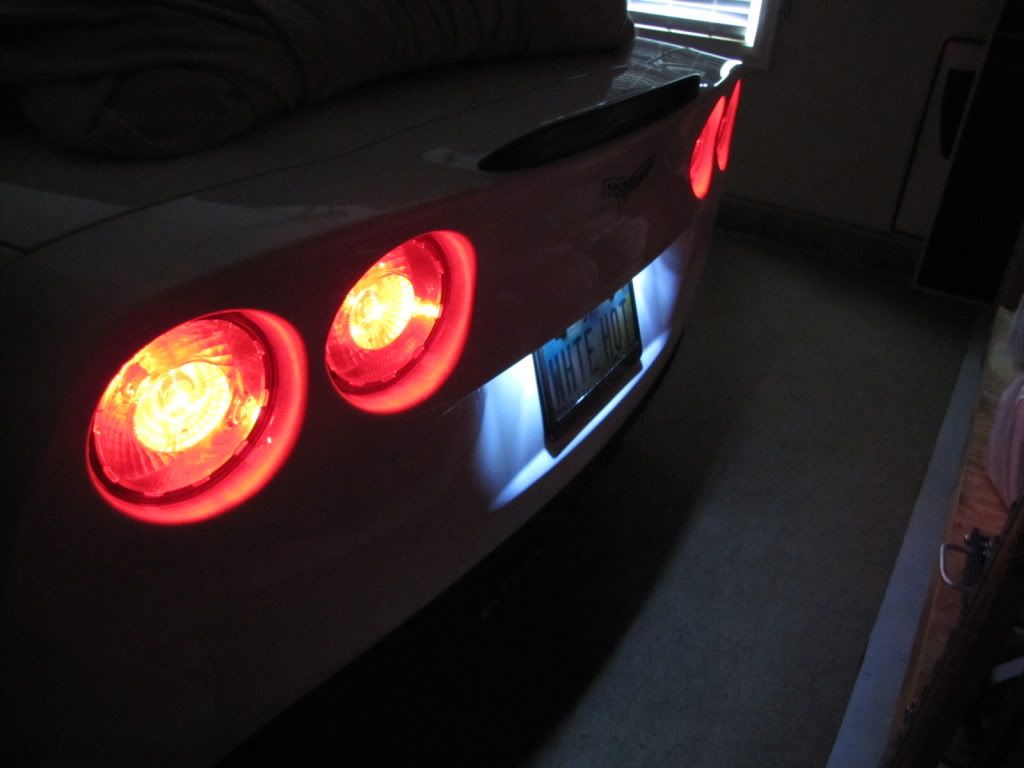
If you're not looking to go all out with the full kit I highly suggest the license plate bulb swap. These really add a high end touch to the great looking C6 rear.
Here is a comparison of stock vs our leds
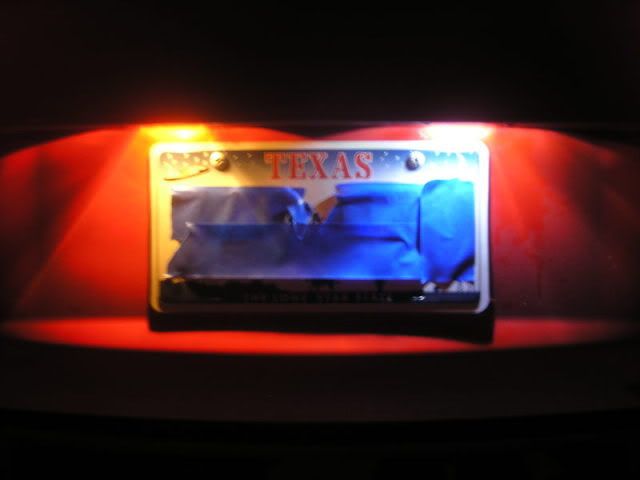
Both leds
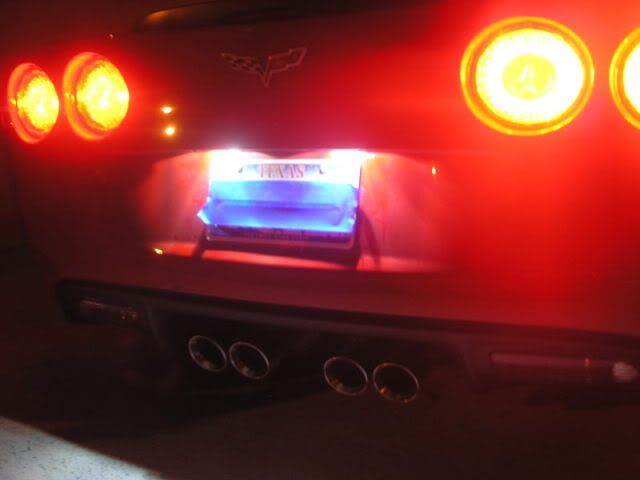
$15 for the set of two
http://www.shop.jwmotoring.com/produ...4&productId=21
Here is a comparison of stock vs our leds
Both leds
$15 for the set of two
http://www.shop.jwmotoring.com/produ...4&productId=21
Last edited by JW Motorsports; 01-08-2012 at 08:52 AM.
01-09-2012, 06:26 PM
#7
Banned Scam/Spammer
Thread Starter
Member Since: Feb 2007
Location: Oklahoma City
Posts: 50,094
Received 265 Likes
on
253 Posts
St. Jude Donor '09-'10-'11-'12-'13-'14-'15-'16-'17,'19,'22
Sorry I don't. There isn't much of a difference with the stock side markers. That's why I made those two optional now.
They would be perfect if you run the clear corners.
They would be perfect if you run the clear corners.
01-13-2012, 07:52 PM
#9
Melting Slicks

 01-20-2012, 11:05 AM
#12
Advanced

Member Since: Nov 2010
Location: Oakville Ontario
Posts: 89
Likes: 0
Received 0 Likes
on
0 Posts

My license plate bulbs were burnt out (which I didn't notice before) and the others were blackened by the heat that the stock bulbs generate.
Easy to install but they are polarized so if they don't work at first, flip them around and install.
Thanks JW!!
 01-20-2012, 12:32 PM
#14
Banned Scam/Spammer
Thread Starter
Member Since: Feb 2007
Location: Oklahoma City
Posts: 50,094
Received 265 Likes
on
253 Posts
St. Jude Donor '09-'10-'11-'12-'13-'14-'15-'16-'17,'19,'22
You don't even need any. Pop the cover off (small screwdriver), remove old, and insert the new. If they don't work flip them around 180 degrees and plug back in. The polarity has to be matched.
01-20-2012, 07:45 PM
#15
Thanks! i started to simply pop the cover off, but it had some resistance, and i wondered if there was some trick to it. i didn't want to break something.
01-21-2012, 10:11 AM
#16
Drifting

Just installed mine. They are fantastic... Do you guys make or sell any for the vanity mirrors? They are extremely yellow now in appearance too... Just wondering and if so, what size bulb would they require?
On another note, any suggestions about removing the glove box bulb? That one is giving me a hard time...
On another note, any suggestions about removing the glove box bulb? That one is giving me a hard time...
Last edited by spinalator; 01-21-2012 at 01:04 PM.
01-22-2012, 07:39 AM
#17
Banned Scam/Spammer
Thread Starter
Member Since: Feb 2007
Location: Oklahoma City
Posts: 50,094
Received 265 Likes
on
253 Posts
St. Jude Donor '09-'10-'11-'12-'13-'14-'15-'16-'17,'19,'22
Just installed mine. They are fantastic... Do you guys make or sell any for the vanity mirrors? They are extremely yellow now in appearance too... Just wondering and if so, what size bulb would they require?
On another note, any suggestions about removing the glove box bulb? That one is giving me a hard time...
On another note, any suggestions about removing the glove box bulb? That one is giving me a hard time...
Here is a tip I found for the glove box
Reach fingers around, notice the light kinda shifts right and left if you tug the box around it? Push in the side closest to the glove box opening and at the same time push it towards you. It should pop out a little, do the same for the other side( its just like a plugin clip). Disconnect the wire, use the slip knot fishing wire to pull the light out and then replace it with the LED
 01-22-2012, 11:43 AM
#19
Advanced
Member Since: Nov 2010
Location: Oakville Ontario
Posts: 89
Likes: 0
Received 0 Likes
on
0 Posts
Vanity mirrors we don't. I tried but they are just too hard to remove without breaking.
Here is a tip I found for the glove box
Reach fingers around, notice the light kinda shifts right and left if you tug the box around it? Push in the side closest to the glove box opening and at the same time push it towards you. It should pop out a little, do the same for the other side( its just like a plugin clip). Disconnect the wire, use the slip knot fishing wire to pull the light out and then replace it with the LED

