
Rear bumper cover letters DIY with Pics
 10-06-2013, 10:03 PM
#1
Melting Slicks


Thread Starter

Purchased the letter inserts from CF forum vendor RPI and installed them this afternoon. Below gives you an idea of what's is involved and how to install them. Total time was about 20 mins.
Before

After

How to
1. Here is what you get in the package and what the letters look like when you open them.

2. Prep is very important. I used some glass cleaner, which has plenty of water to float any dirt and ammonia to clean off any wax or residue.

3. I first used a soft cloth to wipe down the letters then a Q-Tip to clean even more. You can see dirt on the Q-Tip even after two cleanings. Again, prep is the key.


4. Carefully remove the dye cut letters from the card and lay them out. This is a good time to test fit, and get an idea of how you will place them.

5. It's hard to tell, but there is also a protective layer of clear plastic on the individual letters. Be sure and remove this after you test fit. In the pic you can see where I have started to remove the clear coating from the letters.

6. When your ready to install, you will remove the backing, exposing the adhesive. Use care to not touch the exposed adhesive. The oils from your hand can reduce its ability to adhere to your surface.

7. Here is a picture of the longest piece. I found that if you only removed part of the backing and put the "V and E area" letters in place, you could then put the remaining backing off and position the remaining portion of the lettering with ease. Sometimes you have to make minor adjustments in the placement as you go.

8. Wipe off any residue and fingerprints and enjoy your "Corvette" Letters.

Hope this helps,
John
Last edited by JKbride; 10-06-2013 at 10:06 PM.


 I got mines from RPI too.
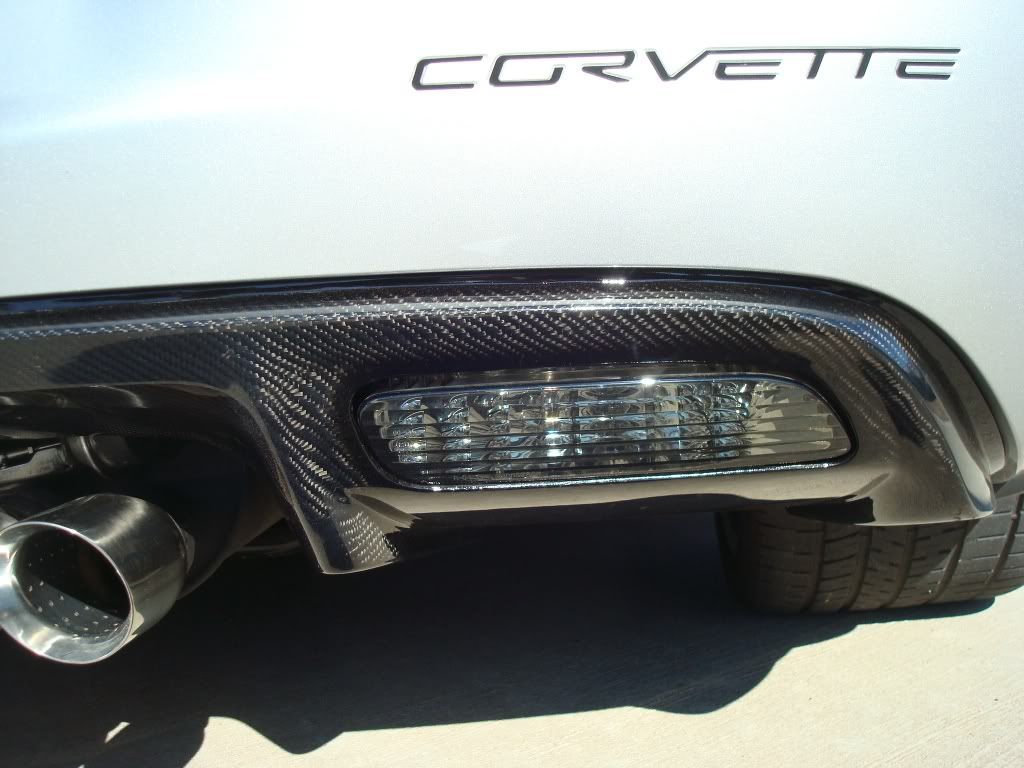


 10-07-2013, 07:33 AM
#7
Drifting


wanting to do that to mine but was not sure how detailed it was
Got a guy that does body work, probably worth my time to pay him(if you have ever seen ME do anything like that
 )
10-07-2013, 07:37 AM
)
10-07-2013, 07:37 AM
#8
Team Owner


Member Since: May 2000
Location: Plantation Florida USAF(Retired) 1966-1990
Posts: 47,886
Received 4,504 Likes
on
3,589 Posts
U.S. Air Force
St. Jude Donor '05-'06-'07-'08-'09-'10-'11-'12-'13-'14-'15-'16-'17-'18-'19-'20-'21-'22-'23-'24
NCM Sinkhole Donor


 Looks good!
 10-07-2013, 08:01 AM
#9
Team Owner
Nice job.

