When you click on links to various merchants on this site and make a purchase, this can result in this site earning a commission. Affiliate programs and affiliations include, but are not limited to, the eBay Partner Network.
It took a solid week of pieced-together free time and lots of Amazon Prime shipments, but I finally fitted my 2010 C6 with a modern head unit and some actual A/V inputs. I was determined to do a clean install, so it took a little planning and a bit more money than I anticipated, but I'm really happy with the results. The key for me was to maintain a clean, from-the-factory look, maintaining every possible feature I could. I've yet to see another install exactly like mine, so I wanted to share my "finished" product to encourage anyone who likes the amenities of a modern head unit with all the bells and whistles. I say "finished" because I'm waiting on a connector to hook up the AUX jack, but everything else works perfectly.
Here's some photos:
I went with the Pioneer AppRadio 4 for a few reasons: Apple CarPlay, Waze, and it didn’t hurt that Amazon had it on sale two weeks ago for $350
The wiring harness used is the RP5-GM11 to maintain OnStar and steering wheel controls. The first one I bought didn’t have the firmware installed, so that was the first of several hitches I ran into during install. Thankfully Best Buy had extras in stock.
The dash kit is the Metra 95-3304. Pretty standard fare, but the mounting brackets didn’t align properly with the radio’s screw holes, so it’s not perfect, but the only alternative (Scosche) looked awful.
I mounted the microphone just above the rear-view mirror, running the wire down the driver side A-pillar, back behind the instrument cluster, into the center stack. Two mistakes made here: first, I attempted to run it down the passenger side, but the OnStar wiring, airbag, and heat shielding made it more difficult to run cleanly. The driver side on the other hand has no wires (other than the OnStar mic), and pulling out the instrument cluster is as easy as popping off the trim and removing four screws. The other mistake: I stripped out the screw hole on the frame for the sun visor clip, so I’m going to use a wall anchor going forward.
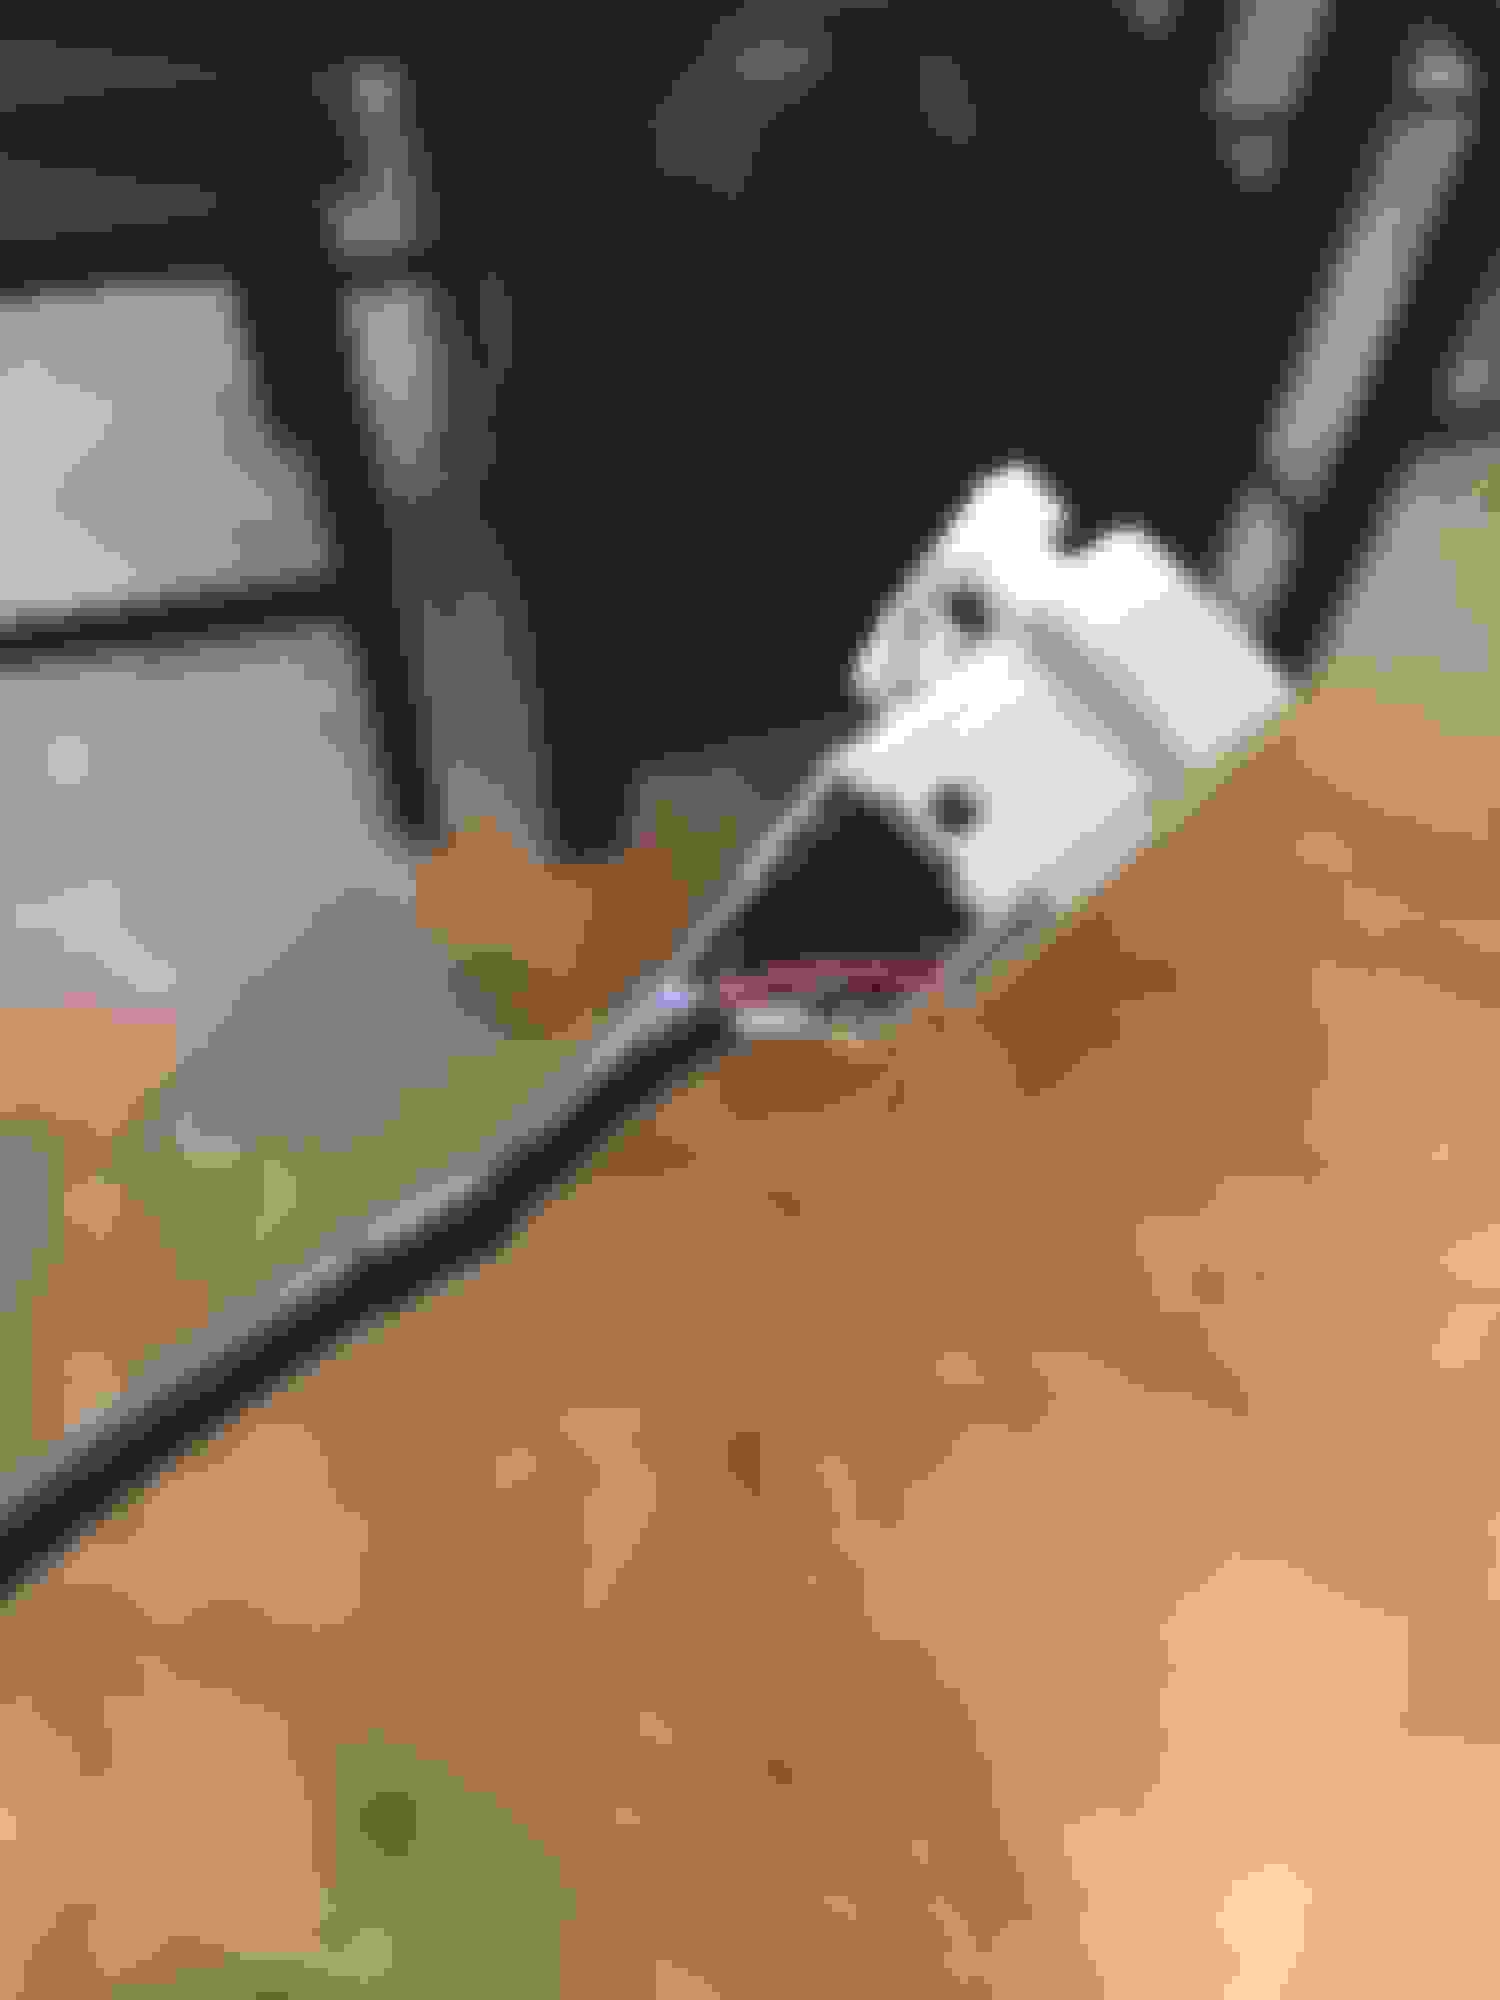
My next dilemma was where to put the GPS antenna. I wanted to put it exactly where the factory antenna was, but getting to it would require removing the entire dash pad. I conceded and placed it on top of the air vent on the left side of the center stack. I had to cut the metal base to get it to fit, but it works well, it's out of sight, and it's easily replaceable in the future.
Then came the fun part: the center console. I refused to have a bunch of loose wires in the console, but my 2010 had absolutely zero USB or AUX inputs and no great place to put them. I stumbled upon Ray Kawal’s walkthrough for upgrading to a 2011+ Nav unit with USB/AUX and decided to order the 2011 center console. Unfortunately it had been completely discontinued in titanium, so I ordered it in ebony (it turned out looking great, however). In order to use the AppRadio to its full potential I also needed an HDMI input somewhere. Of course the console made the most sense, so I ordered the Rerii flush-mount USB/HDMI combo from Amazon. This was perfect because I had two USB, an AUX, and an HDMI port on the head unit, so I’d be able to utilize all four inputs. There was a problem, however. Where do I install these ports? I could have used the 12V power port, but I really didn’t want to sacrifice any features I didn’t need to, especially an always-live power source. I noticed the space between the two screws that tie the center stack to the center console might be big enough to fit these ports, so I took a gamble and decided to drill it out. I actually had to drill three holes: one in the 2011 center console, one in the mounting piece of the center stack, and one in the finished piece of the center stack. I used a 1-1/4" hole saw and a Dremel tool to do the job. The console and mounting bracket holes were completely gapped at the top and bottom respectively to allow them to "sandwich" the ports. I had to trim away a bit more than 1-1/4" on the mounting bracket hole to allow the mounting nut to fit through it. I also went a tad too far when sanding down the finished hole, so I had to put the dust cover on the ports to give it a bit more backing to mount tightly. This was the most nerve-wracking part of the entire process, but it actually turned out really great! I should have taken photos of this process, but I’ll try to do so when I take it apart again next week.
Now to hook it all up, I used a couple of 1.5ft USB extension cables, a 1.5ft HDMI extension cable, and the mini-jack connector that came with the head unit. This allows me to have a disconnect in the center console without having to remove the head unit. The 2011 center console’s USB connection is a mini-B, so I bought a USB male A to female mini-B adapter and taped it to the stock harness to hold it secure. The AUX wiring harness is proprietary, so I bought the matching Delphi Metri-Pack 150 connector and will wire up my own AUX cable next week. Putting everything back together was a bit of a pain. With so many wires under the center stack it’s a little tight, but with some finagling it will all fit.
Here’s what I "lost" by doing this install:
No more navigation directions or radio info in the HUD (not a huge deal, the factory nav isn’t all that great anyway, and what little radio info the HUD did give was useless).
The CD player. I haven’t listened to a CD in years.
The factory door chimes. The stock radio produced those, so the wiring harness has a chintzy door chime module instead. It sounds awful, and I wish it came through the speakers, but it’s not a deal breaker by any means.
Voice commands. The AppRadio 4 doesn’t have any built-in voice commands (other than Siri through CarPlay), but I didn’t use the stock ones anyway.
Then there’s the "quirks":
Bluetooth. Since the factory bluetooth is built into the OnStar module it is still active and can still be activated by pressing and holding the VR button on the steering wheel. Essentially I have redundant Bluetooth phone connections now. Not a big deal, but remember to unpair your phone from "General Motors" if you want to use the head unit’s Bluetooth.
OnStar. It works just fine, however for some reason the wiring harness doesn’t mute the rear speakers, only the fronts. I have to explicitly mute the head unit. Again, not a huge deal because I don’t personally use OnStar.
BUT! Here’s what I GAINED by doing this install:
A/V inputs galore. It’s such a joy to no longer have to listen to FM radio. Having two USB ports allows me to leave my iPod plugged in as a backup music source while still being able to hook up my iPhone, and if I’m really lazy I can just use the Bluetooth A2DP streaming.
CarPlay and AppRadio. CarPlay was the big one for me, but once I saw Waze was supported by AppRadio I ordered the digital A/V connector for my iPhone. It’s expensive but worth it.
Better sound quality. The graphical EQ built into the head unit allows much more granular control.
A more modern interface. The factory nav unit is woefully outdated. Pioneer is constantly improving the look and usability of their interfaces.
If anyone is interested in doing a similar install and has any specific questions ask away.
I am on the fence on doing a swap as well. But losing the door chime is a scary thought. And I want to retain my steering wheel controls for the volume function at least.
No speaker change out? What about a amp or sub woofer?
I am on the fence on doing a swap as well. But losing the door chime is a scary thought. And I want to retain my steering wheel controls for the volume function at least.
No speaker change out? What about a amp or sub woofer?
Thank you! You don't lose the door chimes entirely. They just come out of this tinny speaker that hangs off of the wiring harness. They still work, but they don't sound as good as the factory chimes coming through the speakers.
I still have full steering wheel controls: volume up/down, next/previous track, answer call, end call, and I reprogrammed the 1-6 button to mute the radio instead. The only real difference is the answer call button used to serve as a mute button as well with the factory unit, but the wiring harness doesn't support having multiple functions on the same button. I don't really use the presets anyway.
I have the factory Bose system, and everything I've heard says it's difficult to upgrade, so I decided to forego that for now.
Nicely done brother Electronics scares the poop out of me so hats off to ya.
One thing is' do you have any interference with your FOB ??
They warn in the manual about that if any electronics are plugged into the console, IE a cell charger did it to me, till I figured it out with the help of my owners manual. Just an FYI
NSF
Thanks man! No interference that I've noticed yet, but I'll keep an eye on it!
Good job? Looks nice but you left out one important critique. How does it sound compared to the OEM one? To complete the install you should replace the front speakers (at least) and bypass the OEM amp into an aftermarket one. I did the opposite of what you did. Kept the OEM nav and replaced the front speakers, added a 12" sub in the rear, added 2 amps - one for front speakers and one for sub. I found that the OEM nav worked well enough for my purposes and I'm really into loud and clear sound so I ditched everything Bose and went aftermarket.
Good job? Looks nice but you left out one important critique. How does it sound compared to the OEM one? To complete the install you should replace the front speakers (at least) and bypass the OEM amp into an aftermarket one. I did the opposite of what you did. Kept the OEM nav and replaced the front speakers, added a 12" sub in the rear, added 2 amps - one for front speakers and one for sub. I found that the OEM nav worked well enough for my purposes and I'm really into loud and clear sound so I ditched everything Bose and went aftermarket.
Actually, I didn't leave that out. I noted explicitly that the sound quality is better with the Pioneer unit because of the EQ. Maybe you just missed that part. If all that stuff is more important to you more power to ya, but for me the quality of FM radio doesn't matter that much.
I guess I'm lucky cause I'm half deaf from running heavy equip. most of my life so all I hear is volume LOL, don't have to spend boo-coup bucks on stereo stuff just turn it up
NSF
Actually, I didn't leave that out. I noted explicitly that the sound quality is better with the Pioneer unit because of the EQ. Maybe you just missed that part. If all that stuff is more important to you more power to ya, but for me the quality of FM radio doesn't matter that much.
Yes, I did miss that part, sorry. FM radio quality doesn't matter to me in the least either. I also added a wired interface to the XM module and stream Pandora from my phone exclusively.

 05-13-2016, 11:46 AM


 just turn it up