When you click on links to various merchants on this site and make a purchase, this can result in this site earning a commission. Affiliate programs and affiliations include, but are not limited to, the eBay Partner Network.
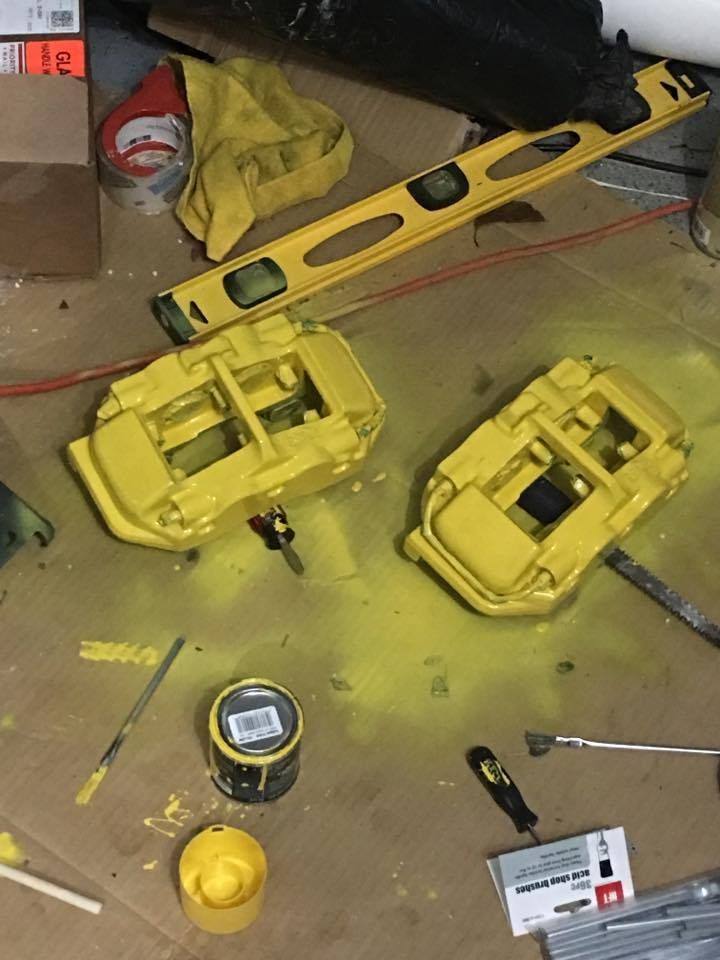
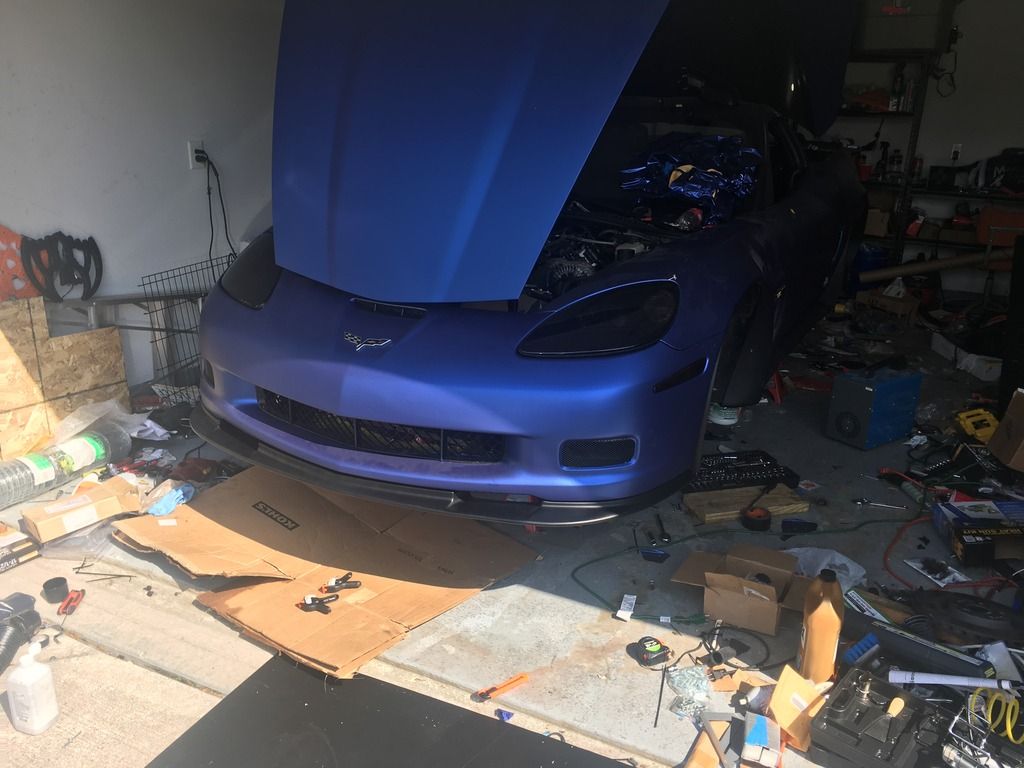
Hi, everyone! So I've been a member here for a while (usually in the c5 area) but I recently added this 08 z06 to the family and it has been fun! She has a built motor and upgraded suspension and more. The clutch failed on me a few weeks ago so while I'm waiting for my new one to come in (it's been 3+ weeks and just shipped Friday..: ack I decided to take the plunge into my winter mods. I really liked the yellow but it had a few scratches here and there, rock chips and other defects but nothing too bad and my buddy had a ton of leftover vinyl from when we wrapped his car so that where the wrapping started. I'm also Painting the calipers yellow. Reworking the break vents. Aftermarket tails, halos, blacking everything out, side skirts and new lip, fixing some vacuum leaks and recently found she has been set up for a chassis mounted wing so maybe that if I can get one cheap.: *****: Oh and the new monster twin disc clutch. So anyways to the wrap. I am using Avery SW900 Supreme MATTE BRILLIANT BLUE METALLIC wrap and 3m 1080 matte black (also extra from a car). Both are applied dry and have the air release technology. In my limited experience, I prefer the Avery because it stretches better and I feel is more workable. If you were to buy the vinyl retail it'll probably run you 600$. you will need a friend to help! So now the fun Begins!
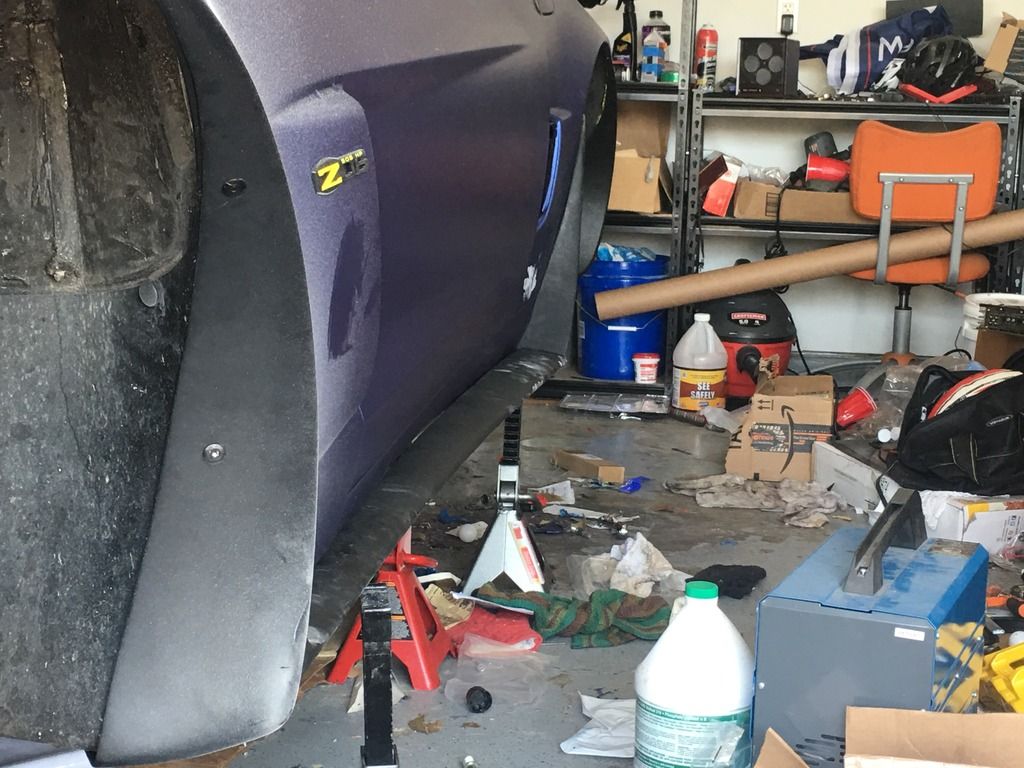
Some Crappy Before Pics:
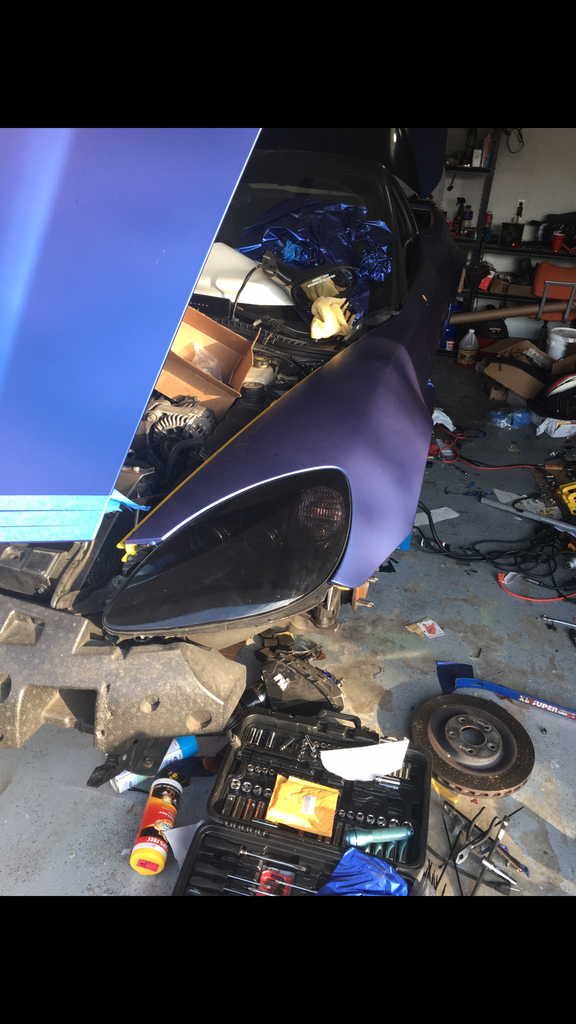
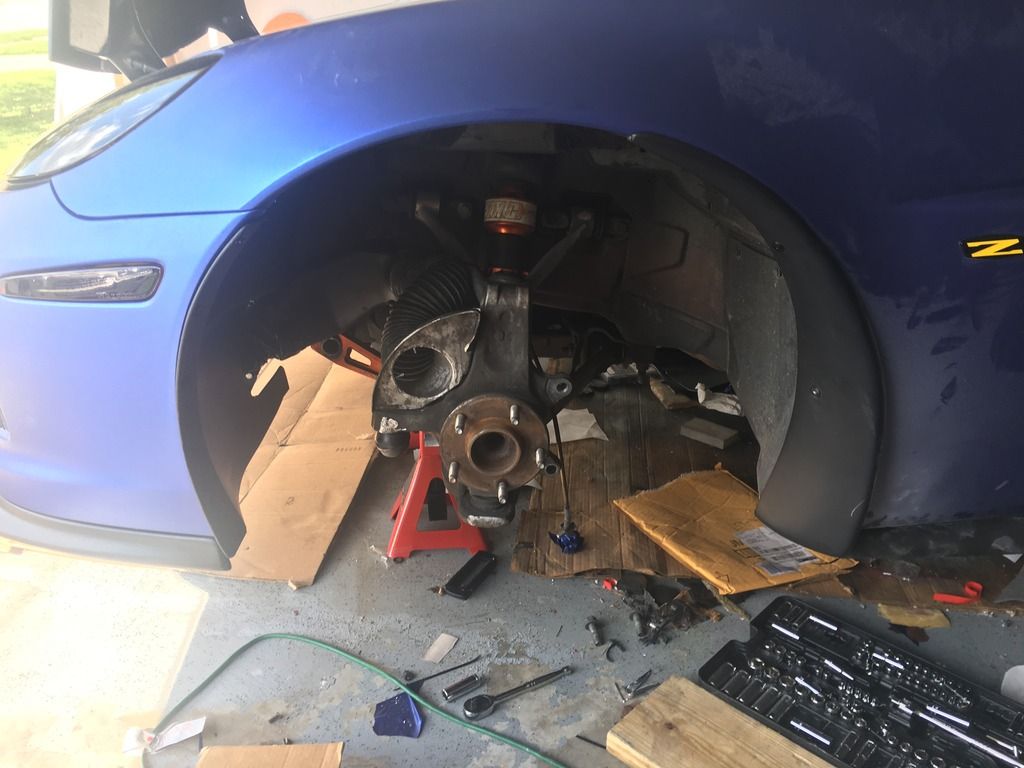
Begin Disassembly:
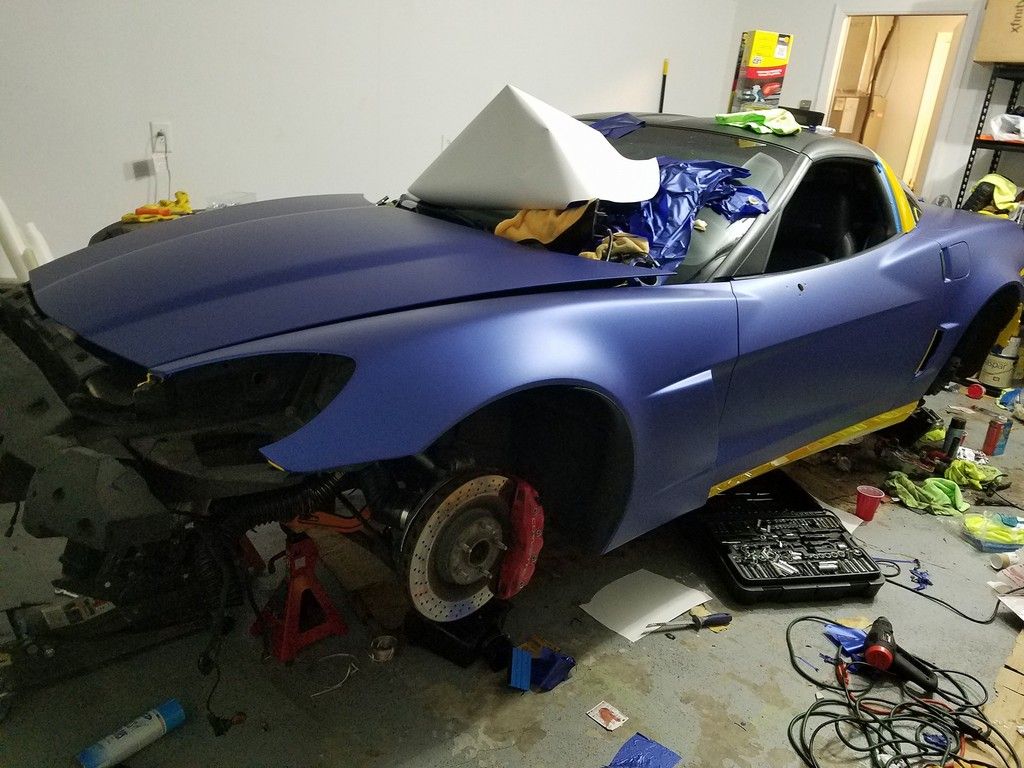
I took off, headlights, tails, markers, vents, fogs, both bumpers, fenders, liners, mirrors, handles, loosened the quarters and rockers. Since I am doing the brakes too I have the wheels, calipers, rotors off.
NOTE: You don't have to disassemble to the extent I did but I had time and want this wrap to be perfect so meh why not
Let the wrapping begin!
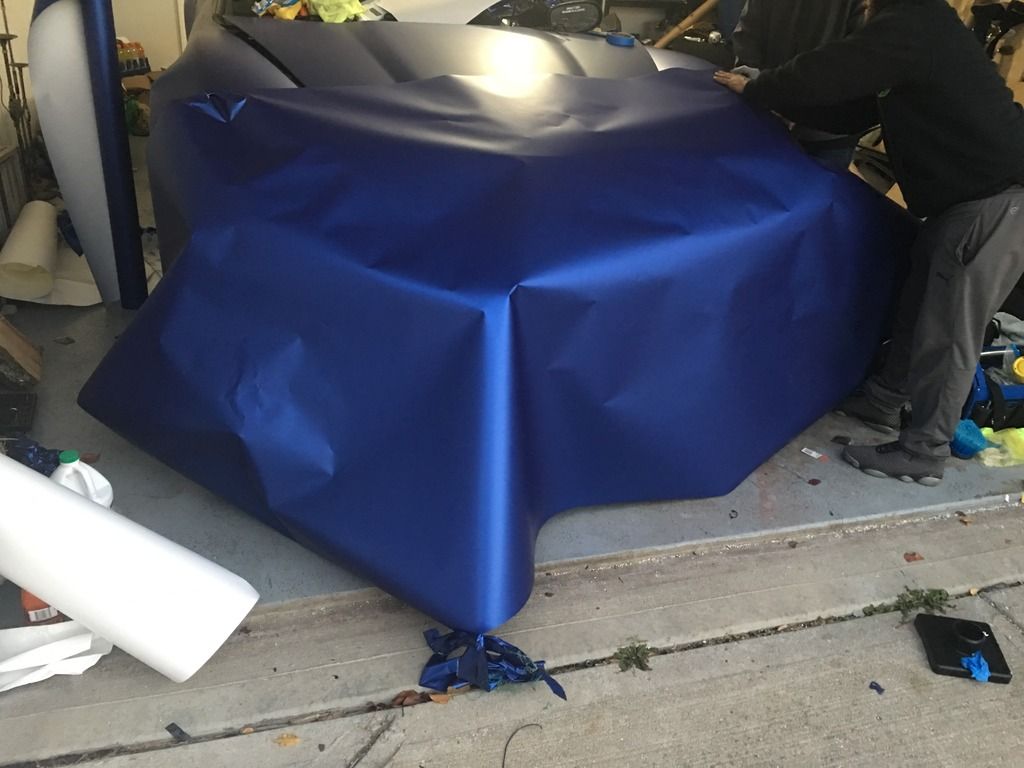
I started with the hood because its easy haha. Actually wrapping the car hasn't been too bad. The hardest part is finishing the edge after you have the piece wrapped (tucking into seals, making the corners curved perfectly, seams and all that fun stuff!) Yes that's me in the picture
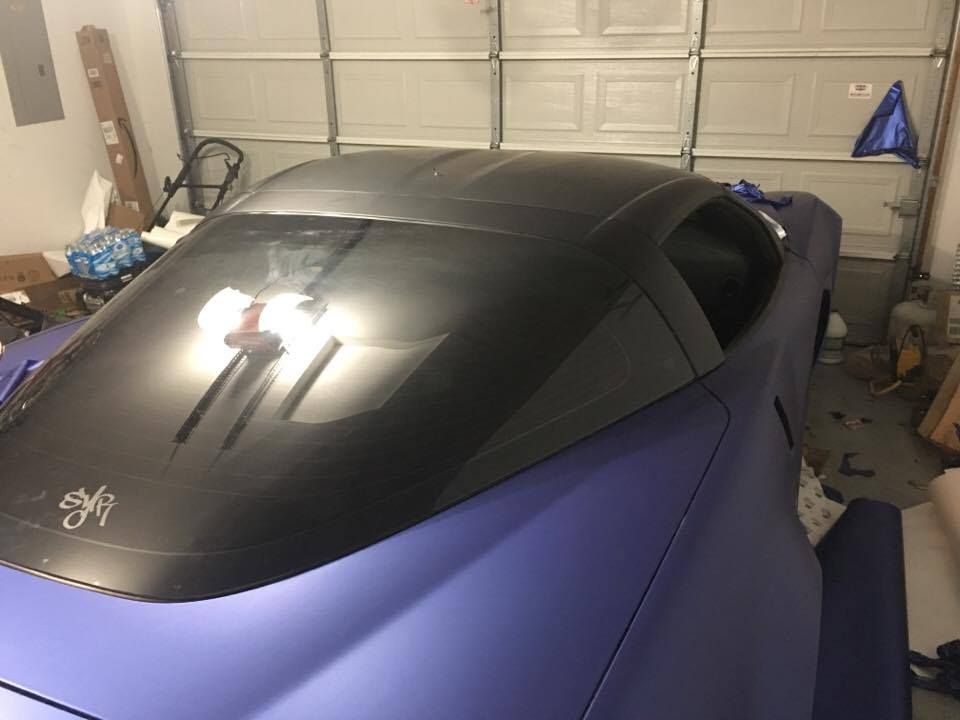
Now to the roof. Waiting on the halo because our one scrap piece of the 1080 matte black long enough to do the halo (6 feet in case you need to know) ripped so I am waiting on the brown truck guy to drop some off. The key to the roof panel is to put painters tape over the weather stripping so A) you can cut the vinyl without cutting your seals and B) vinyl doesn't stick to painters tape very well so u can easily slide the vinyl behind the weather stripping. I think they make tools to do this but painters tape and your squeegee works fine!
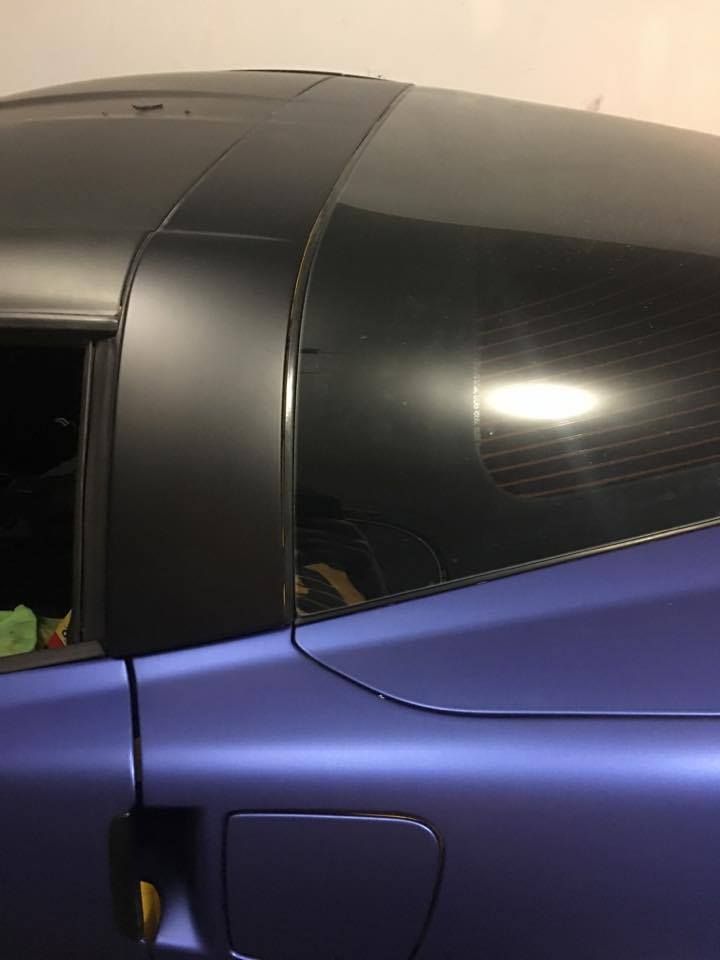
Next, I did the deck Lid. This is similar to the hood. When you are tripping the vinyl down pay attention to how your corners are looking. Also tape around the window and on the quarters! (my buddy is in this pic)
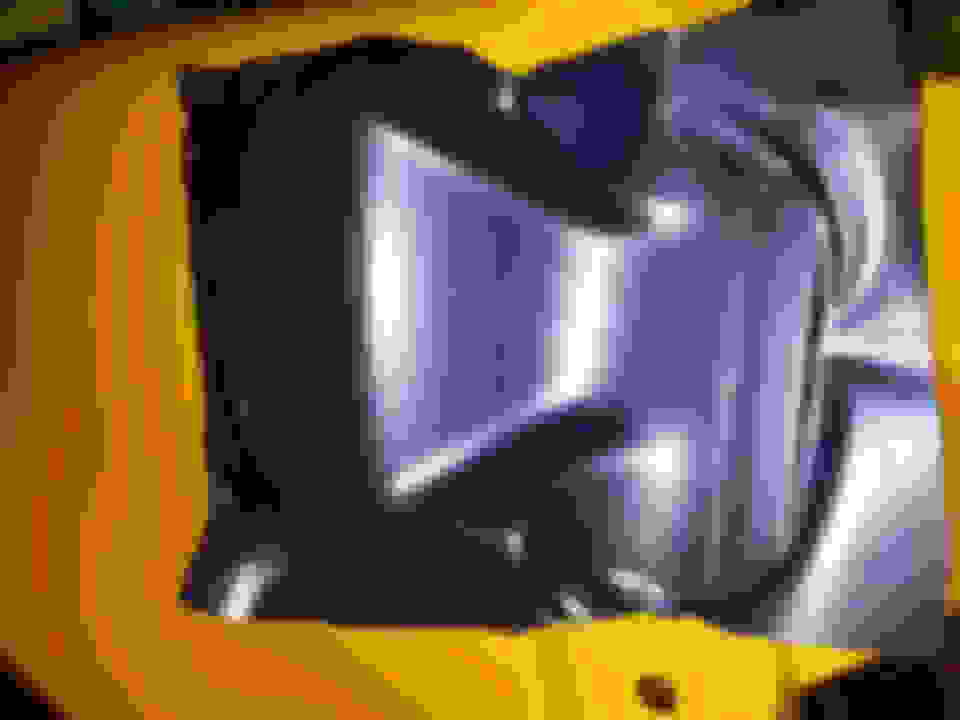
Strange brackets welded on the crash bar? chassis mounted wing at some point?
The next task to tackle was the doors. I decided to do the quarter in two pieces so I trimmed in the door handles at this time too. (the seam is not noticeable )
Moving on to the quarter panels. These have been the most difficult thing so far. Lots of pulling back up heating and reapplying.
NOTE: If you have creases in the vinyl or any other defects usually a little heat from a heat gun will make it flat again.
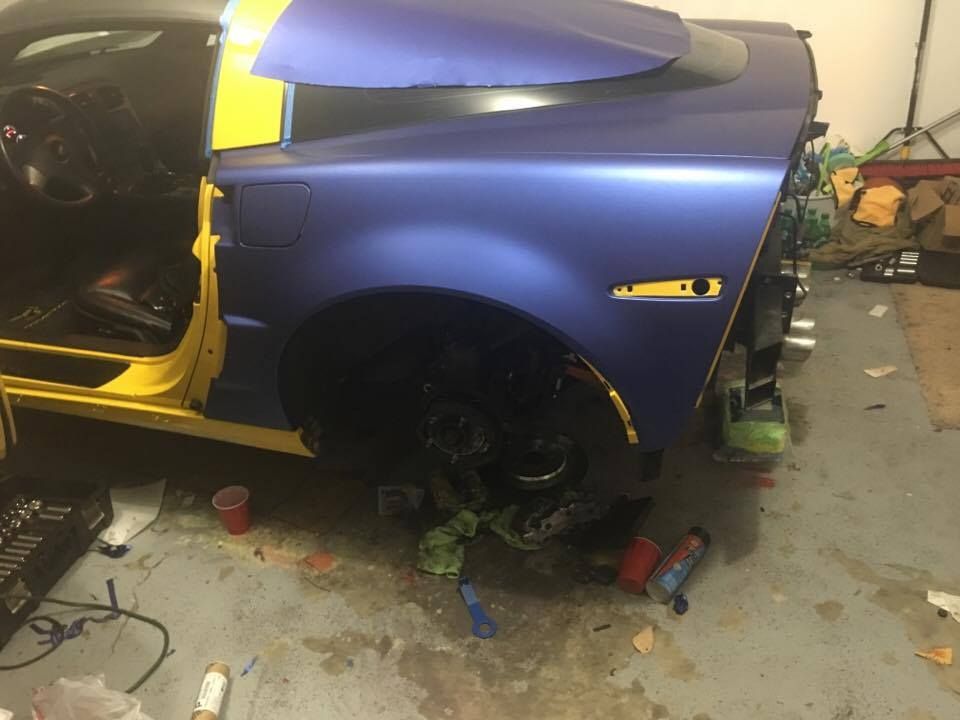
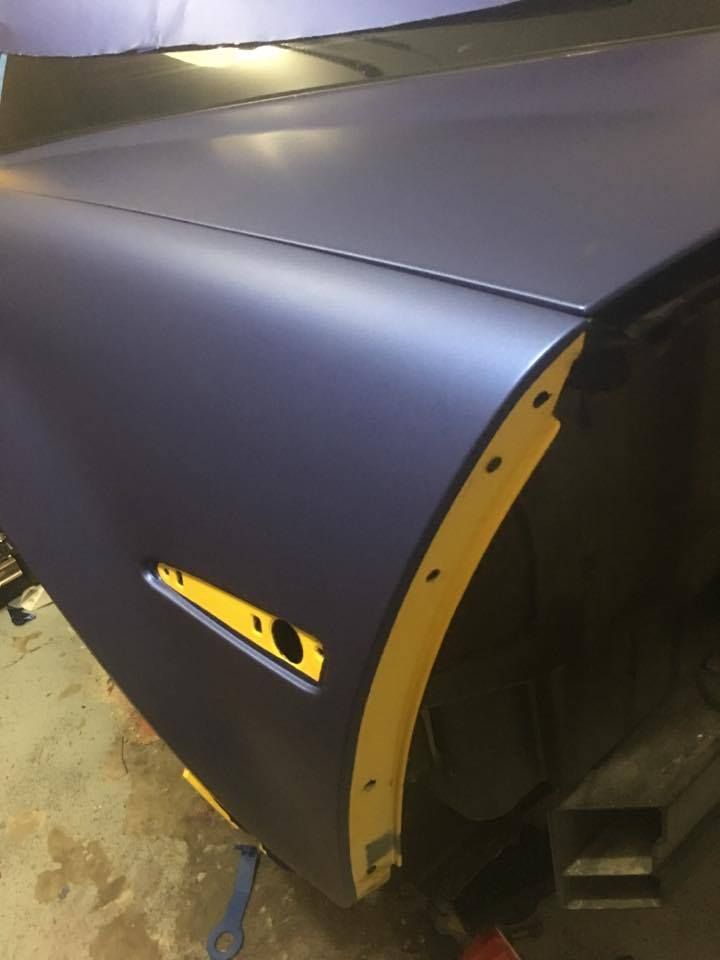
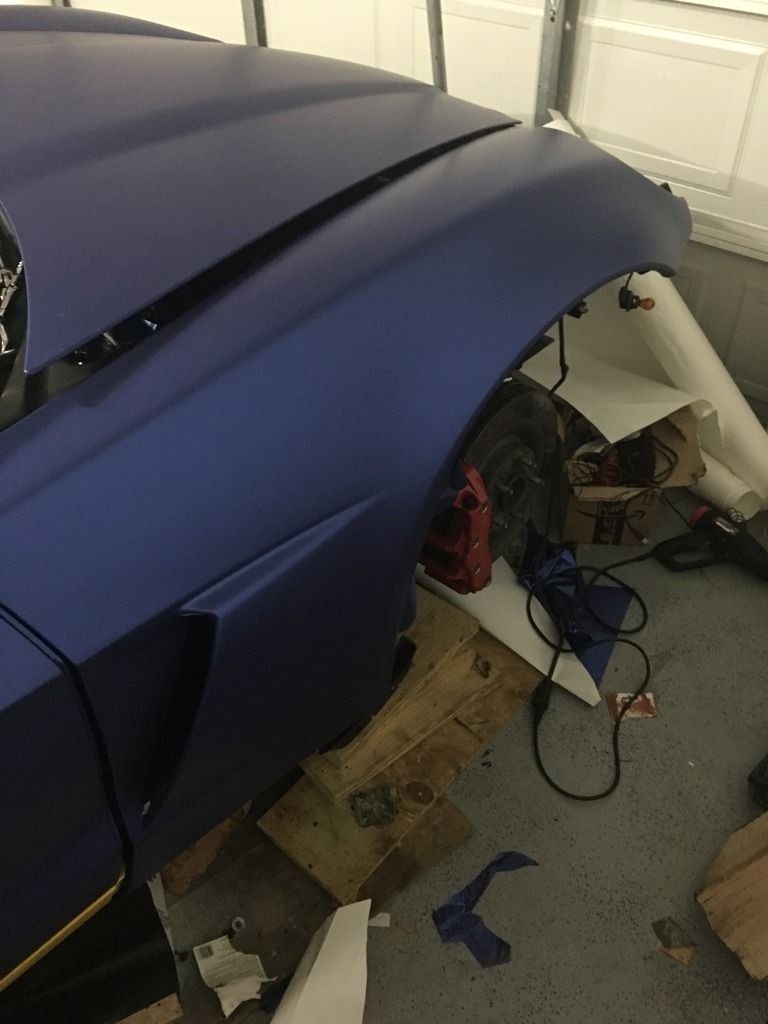
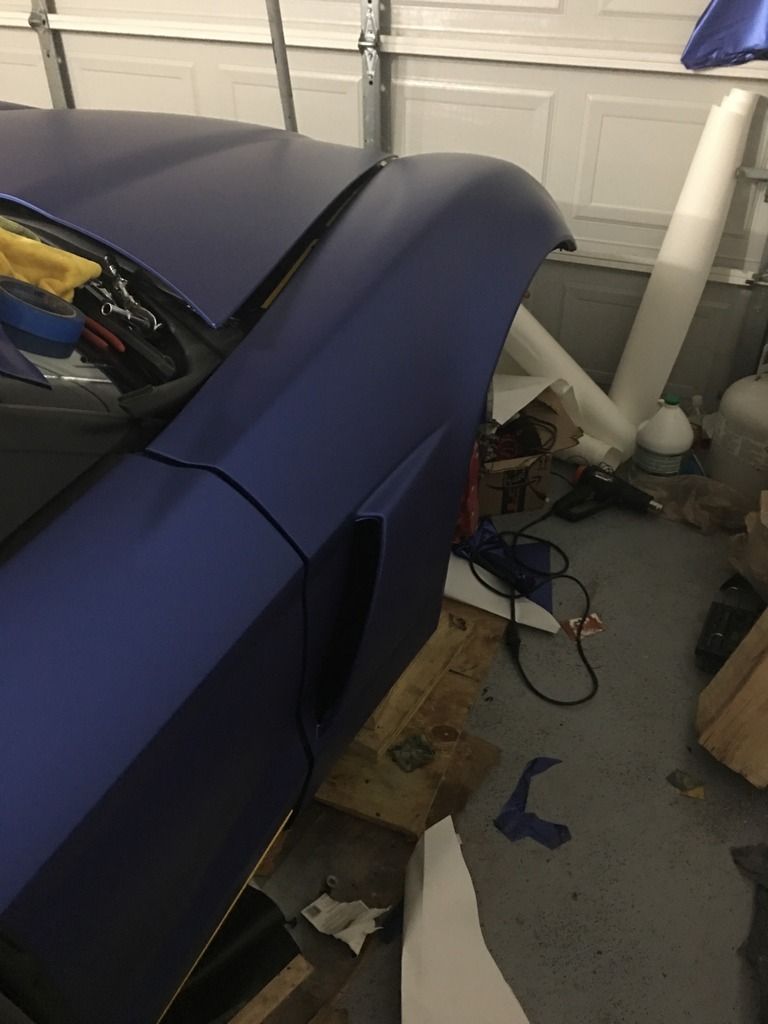
Fender Fenders Fenderz. This is where I'm currently at. the fenders are in two pieces as well (the cove in front of the vent is its own piece). Again patients on this we reset this piece like three times but she turned out great. Hopefully knock the other side out tonight!
passenger side fenders done! should be finishing with the wrap aspect today!
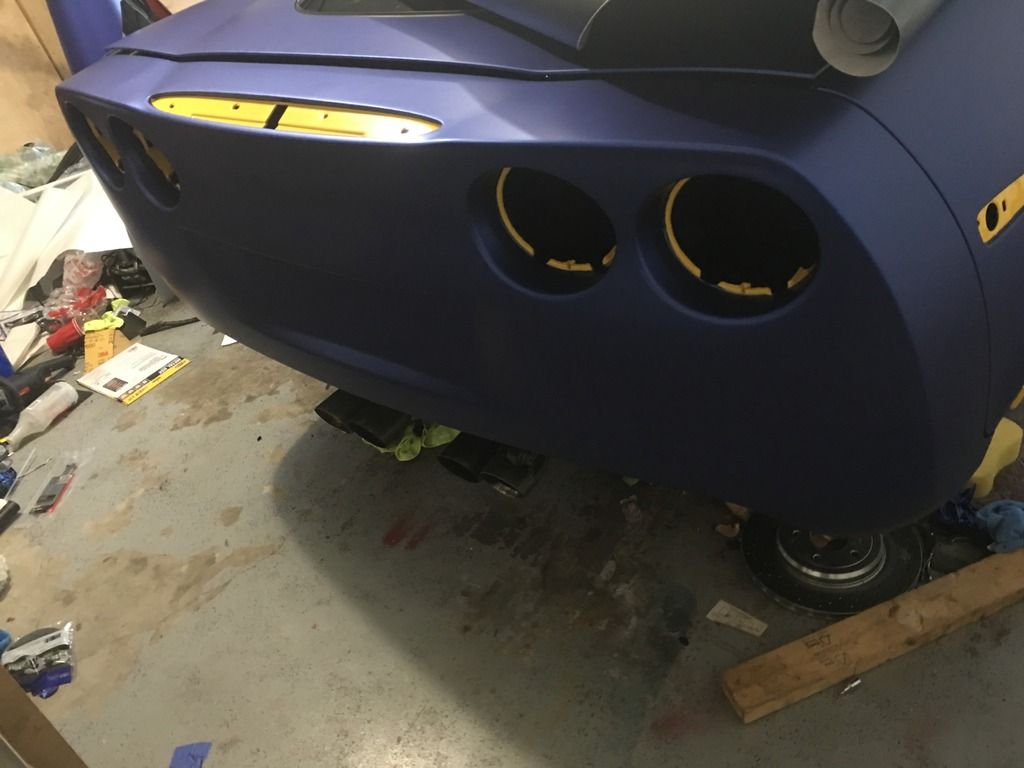
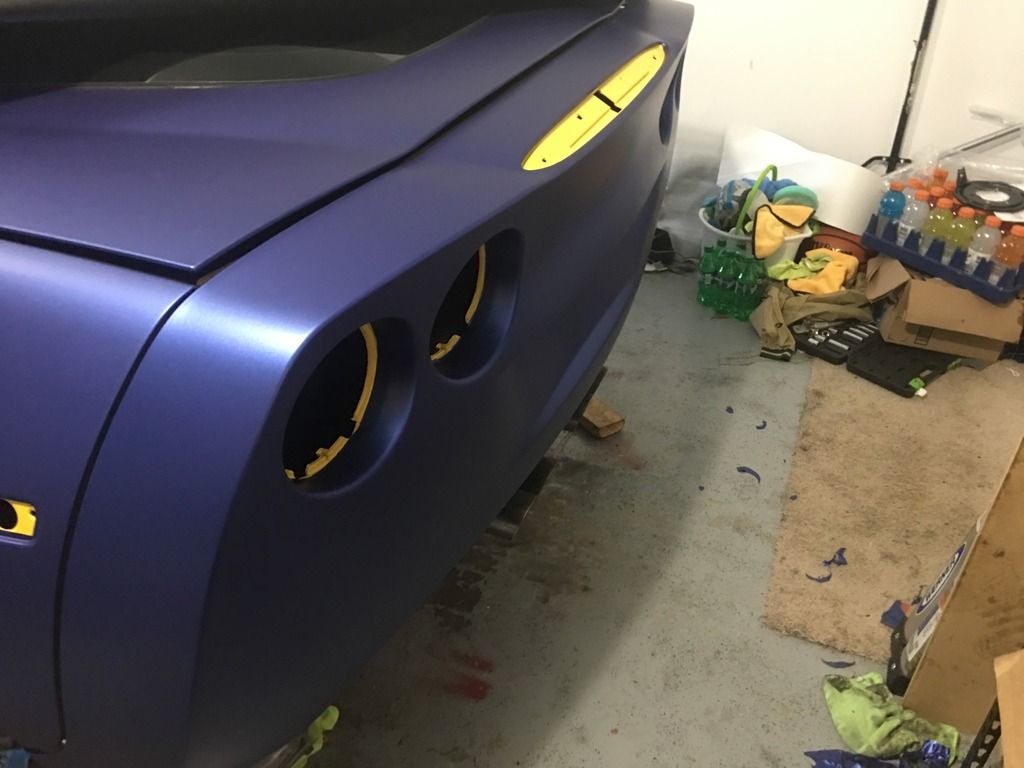
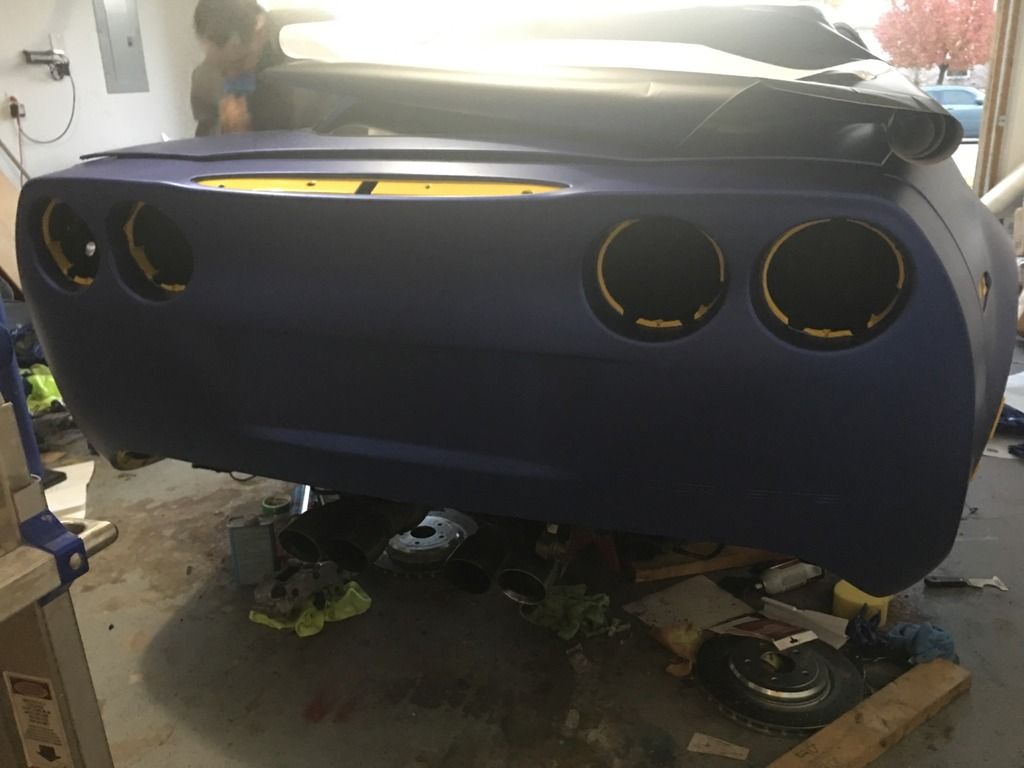
Rear Bumper. This one was a pain to figure out how to wrap. Ended up going with two pieces. I think it ended up looking really good!
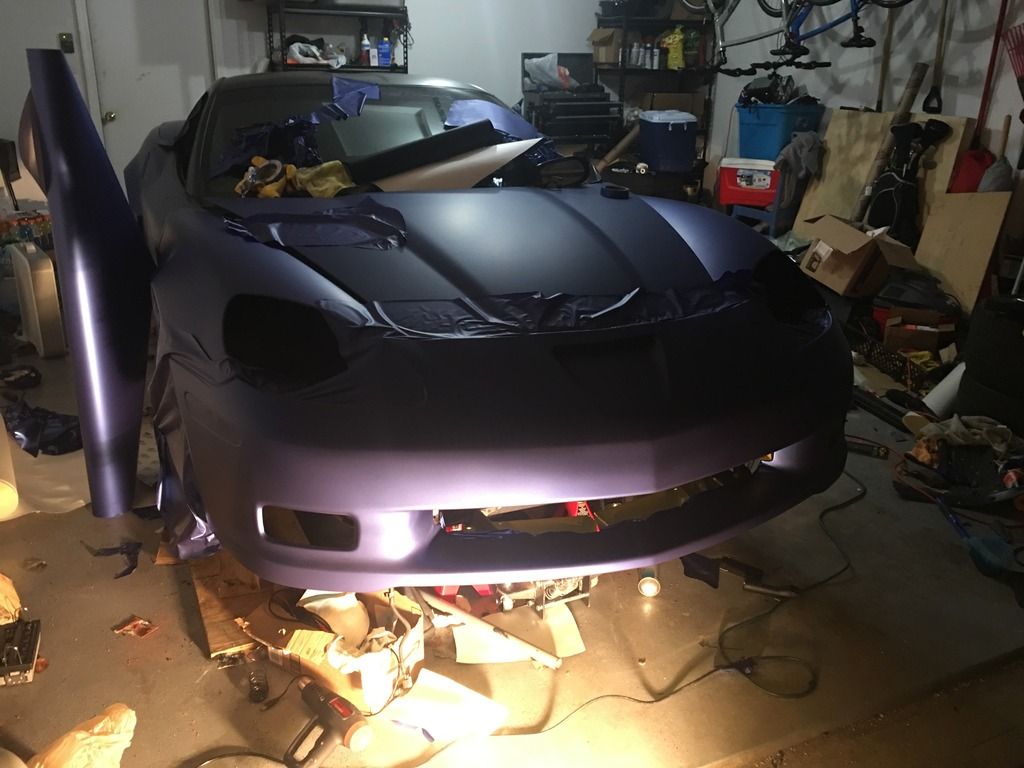
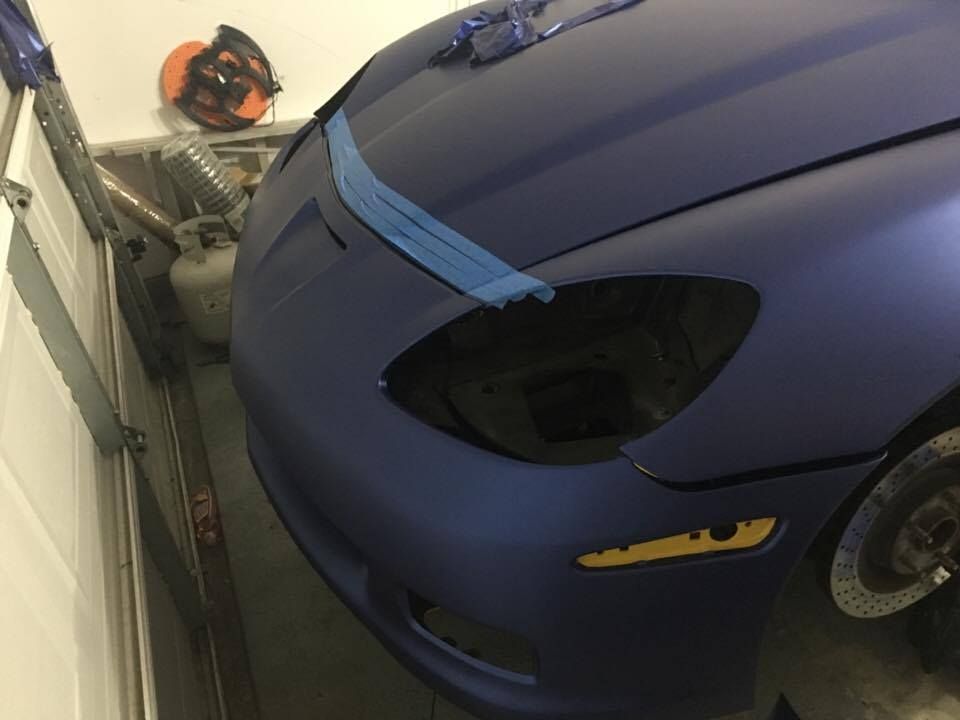
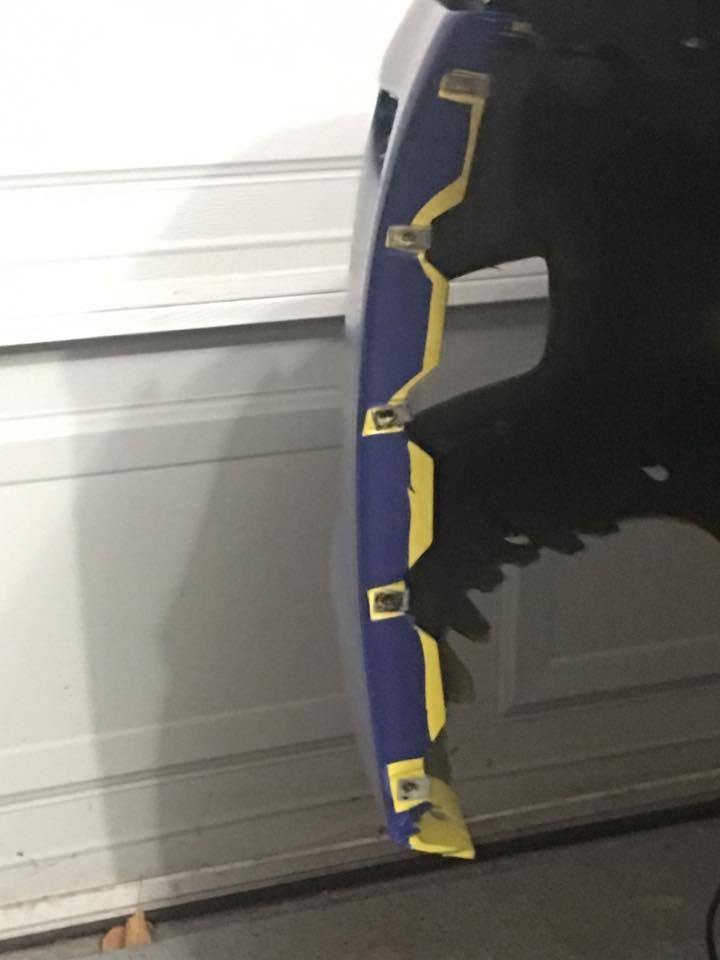
Front bumper time! so I thought the rear was difficult the front was, even more, fun haha! This one 1 piece with a small patch on the air intake vent. I ended up needing a neighbor in addition to my buddy plus the fiance to hold the light because it's winter and it gets dark at 4 pm. haha. I'll get more pictures tonight. All I have left is some trimming on the front bumper and the rockers.
Front Bumper is DONE!
Wrapped the rockers, glad I saved them for last they were super easy! I need to find some side skirts to seal up the edge under the car. So the major wrapping is done. Next few days I'm going to piece in the jams and plasti-dip other parts to give it a nice finished look!
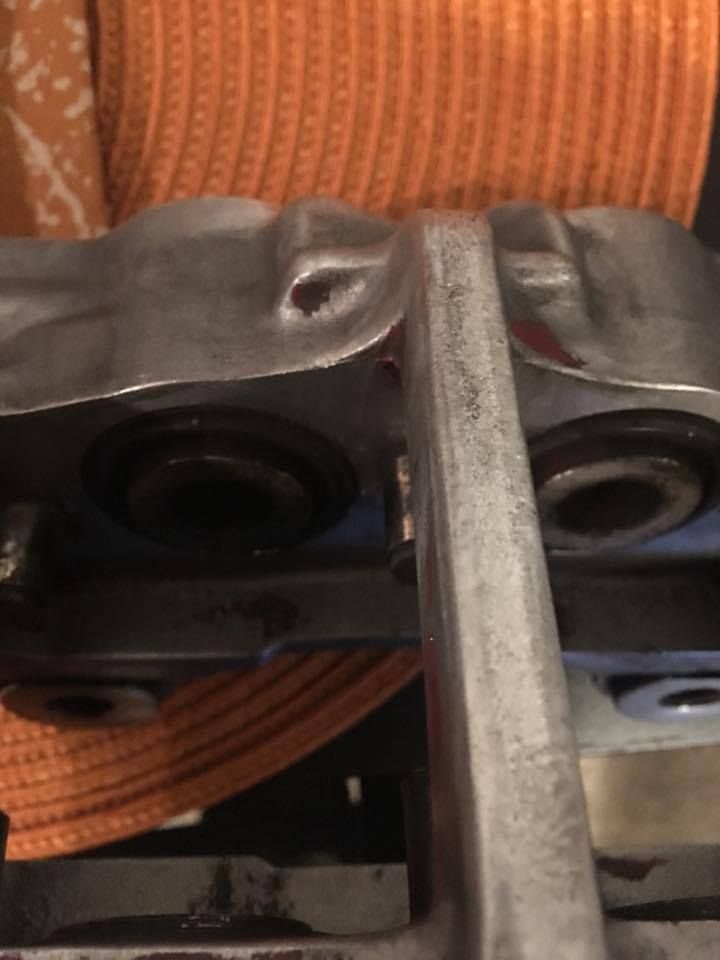
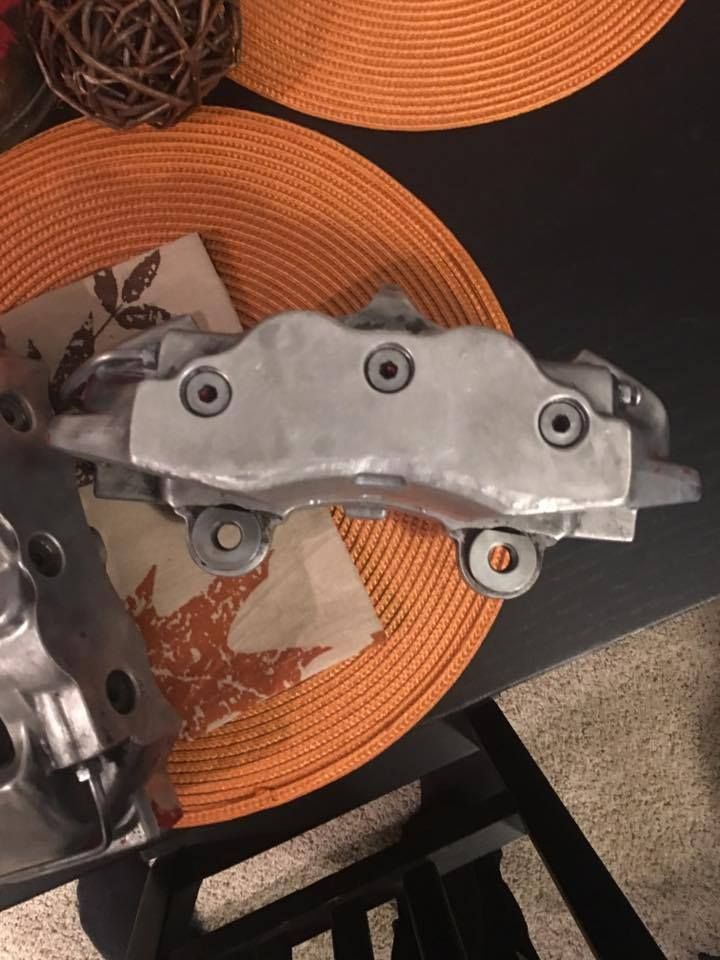
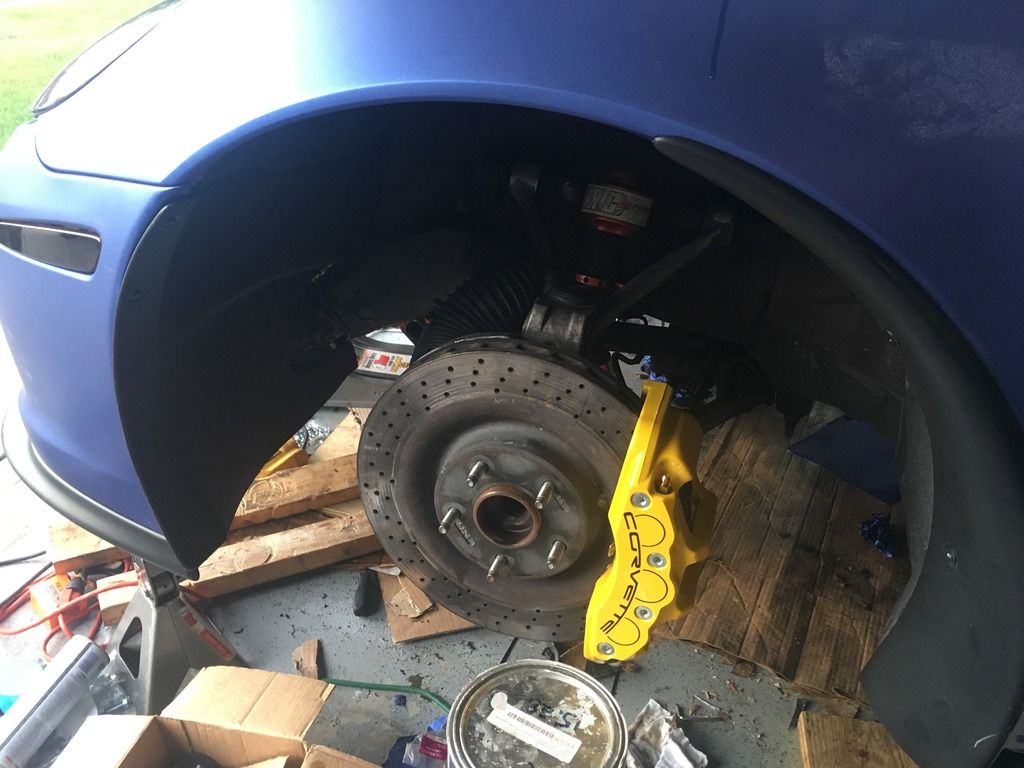
Now I can start on the brakes! I got the two rears removed and stripped them!
Okay, guys, I am back. I've had a busy couple of months (got married, moved houses and all that good stuff) so my project got put on the back burner. But I am back at it.
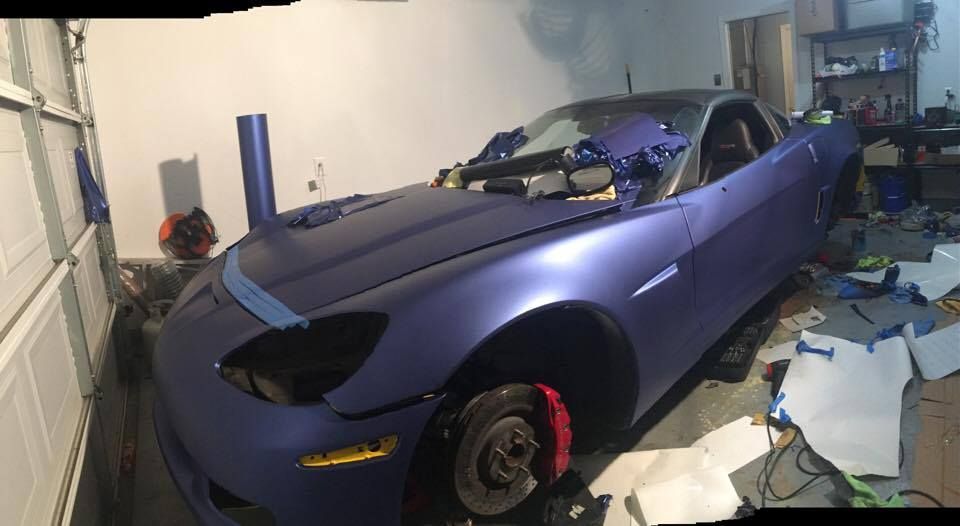
Installed some side skirts and zr1 front lip. Had to do a little trimming on the front of the side to clear my APSIS front splash guards.
I got some VIVID Tint vinyl and used that to wrap my reverse lights and my headlights. The reverse lights are pretty easy. The headlights are a lot more difficult. They didn't turn out perfect. (had some bubbles from dirt or dust). but I am happy with them. A heat gun is a must for this as the vinyl is a little thicker.
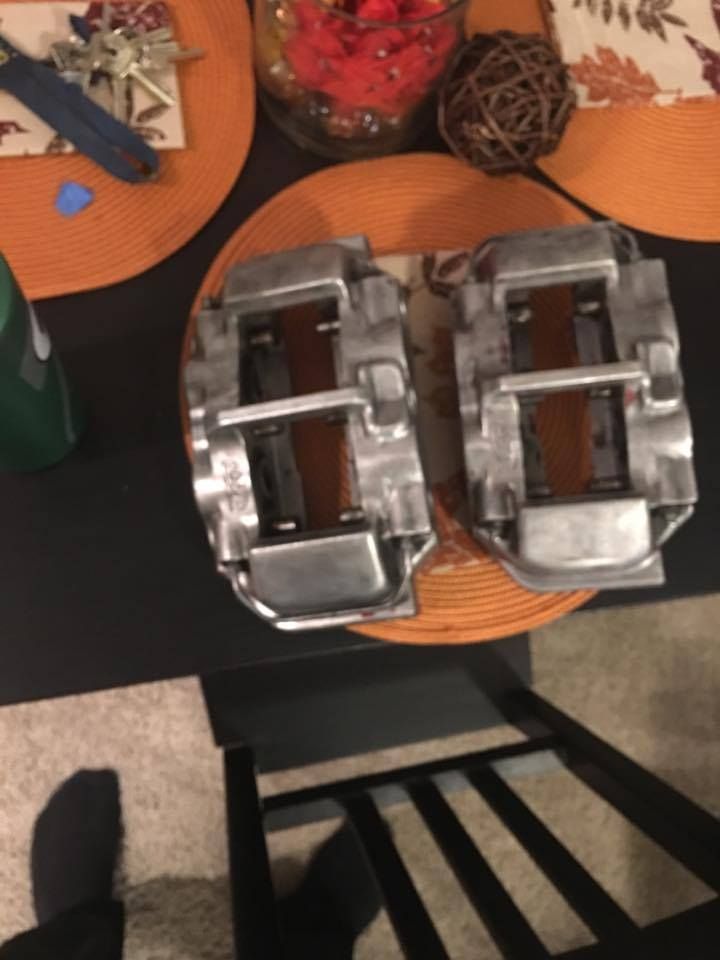
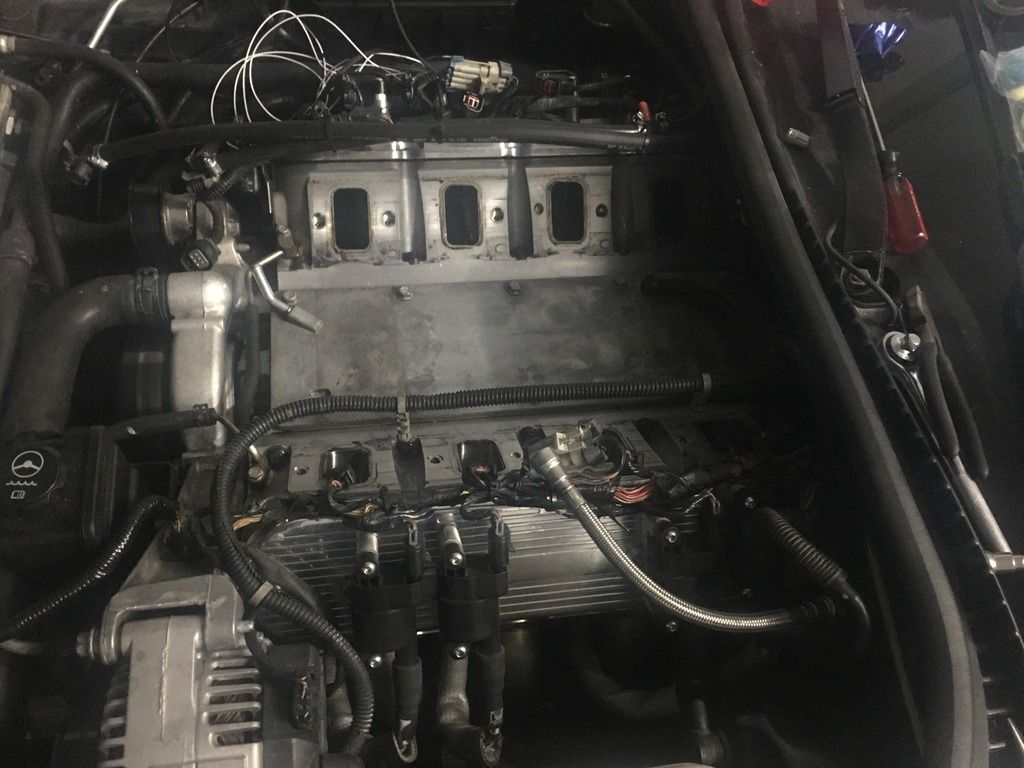
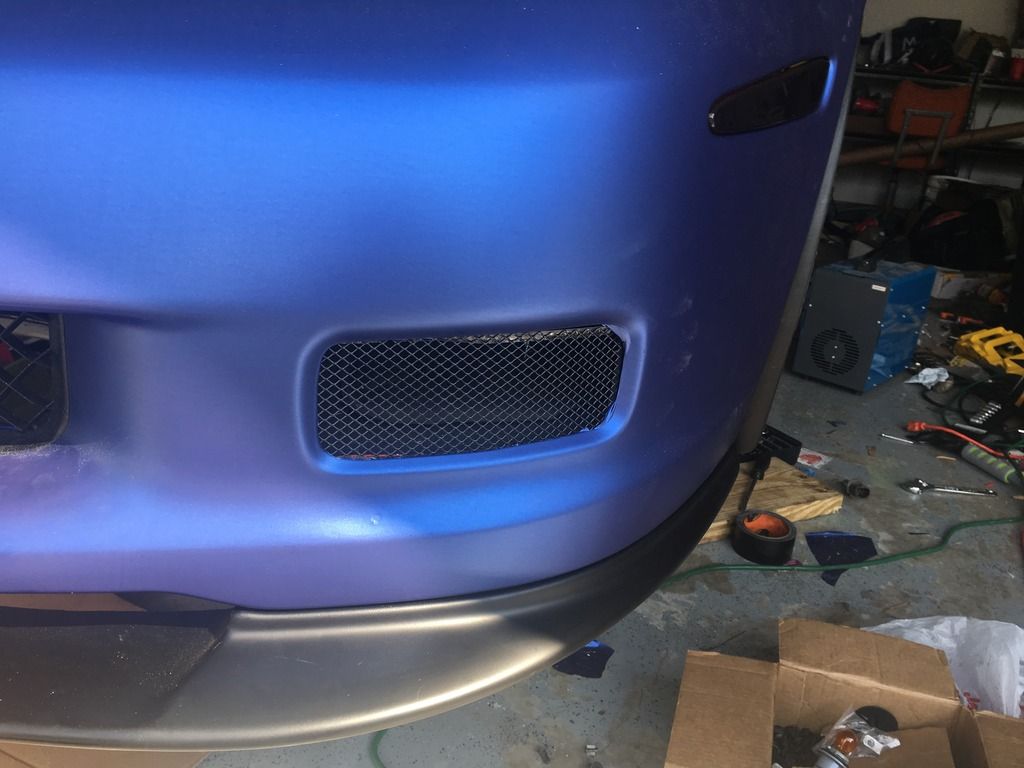
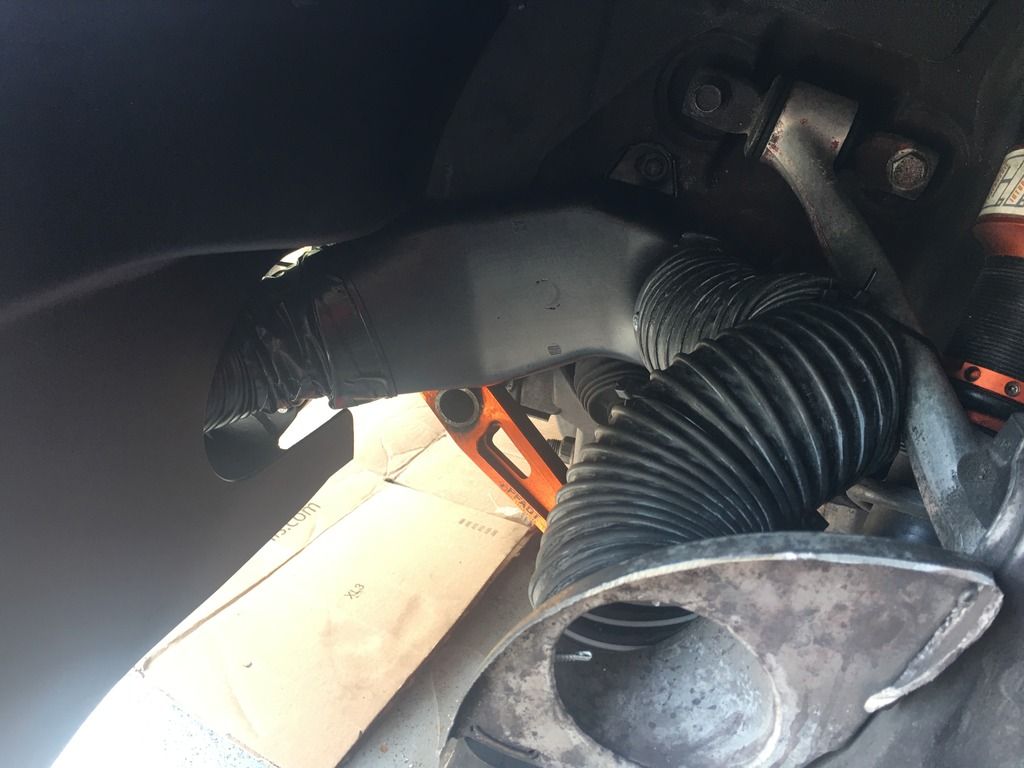
Ended up getting the brakes powder coated, and they turned out NICE! before I put them back on. I went ahead and rebuilt my fog light brake coolers because I had rubbing issues with my old ones. I also put on a ported intake manifold.
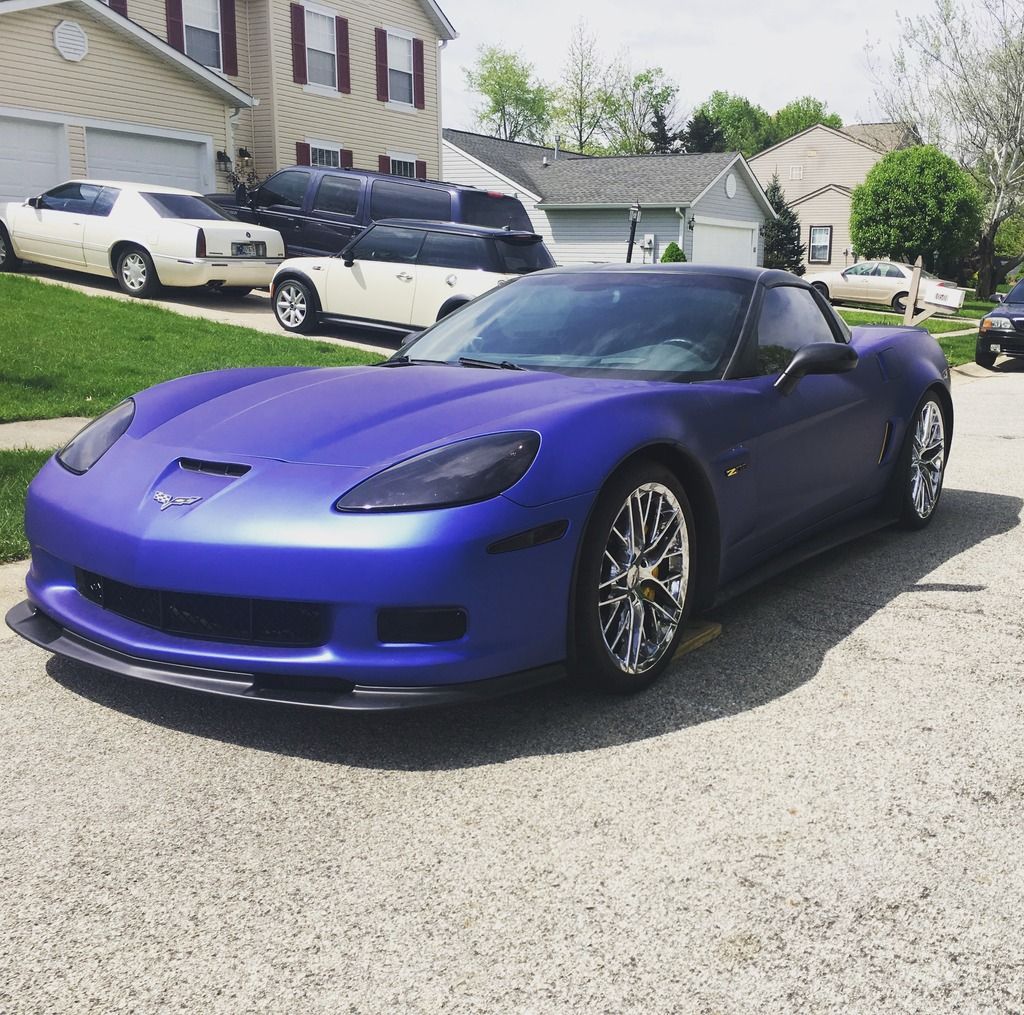
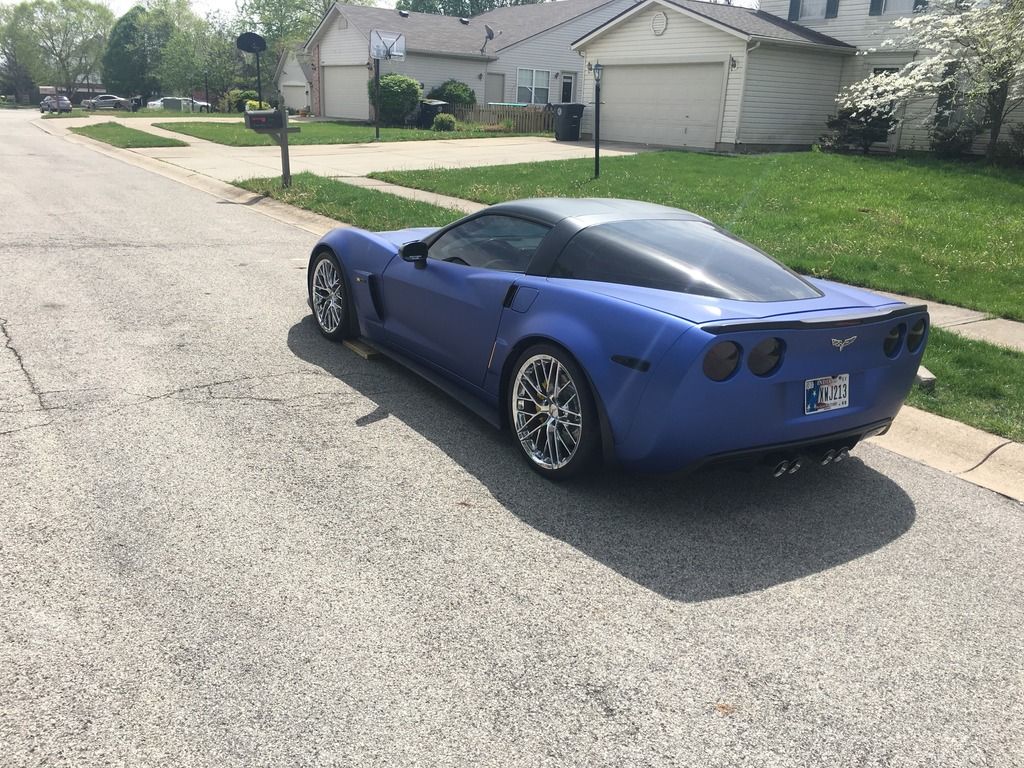
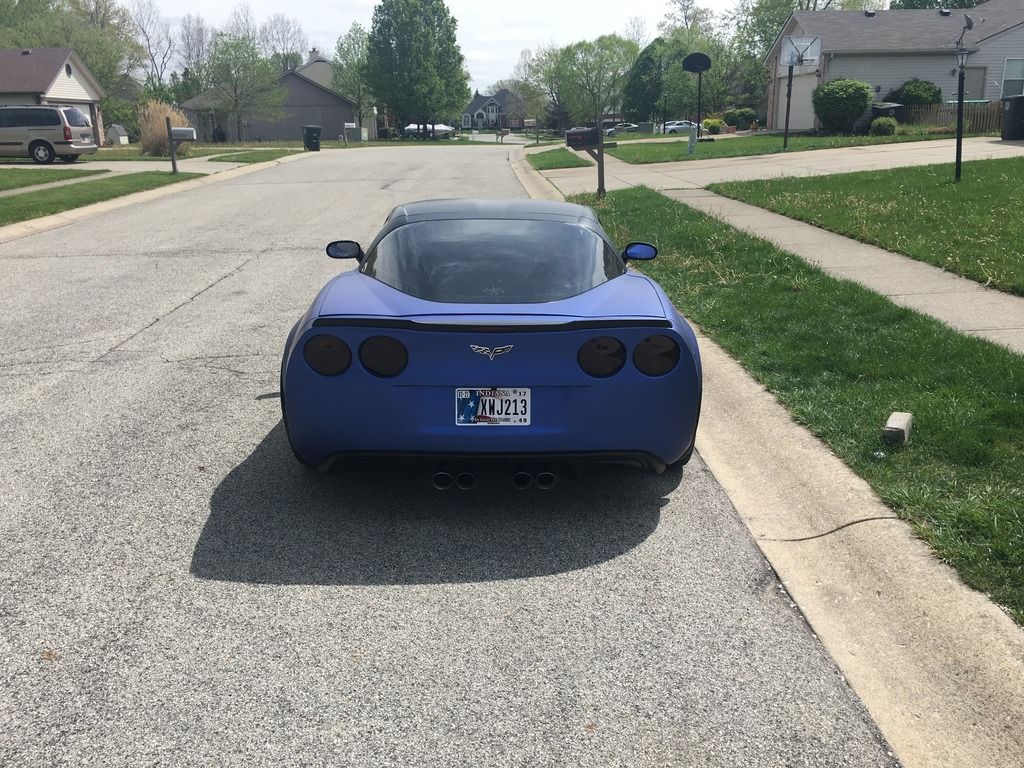
So here she sit's in front if the new house. She still needs the clutch put in, door jambs wrapped, radio, exhaust valve switch and a wash/detail. So there is still more to come.
Last edited by _Wayne_; 04-24-2018 at 01:53 PM.
Reason: more pics and even more pics!
...I am definitely not trying to start a disagreement nor hijack a great thread, but how is this easier than a color change repaint? Corvettes disassemble fairly easily, as shown above, and all parts can be painted off the vehicle with the exception of the rocker panels. I can understand if the paint was flawless and one wanted to protect an investment quality vehicle from damage, but what is the advantage to wrapping if, as stated previously, there were flaws in the original finish? BTW, it looks great, I am just curious...
...I am definitely not trying to start a disagreement nor hijack a great thread, but how is this easier than a color change repaint? Corvettes disassemble fairly easily, as shown above, and all parts can be painted off the vehicle with the exception of the rocker panels. I can understand if the paint was flawless and one wanted to protect an investment quality vehicle from damage, but what is the advantage to wrapping if, as stated previously, there were flaws in the original finish? BTW, it looks great, I am just curious...
Cost is the first criteria - all of the wrap materials can be had for less than $1000.00 and he has no labor involved.
2nd - No way could you spray solvent based paints in your garage without killing yourself and your neighbors - trust me I have done it.
These cars are water base paint so to do it correctly you need to use a primer that will lockout the base layer so you can not just spray over the top.
To cure correctly the waterborne paints need heat lamps to cure and dry correctly.
The cost of paint and materials alone would start at $2000.00 for the least expensive and march on up from their.
It is nothing to spend 10,000 on a paint job today, I have seen bills for materials alone that exceed the 10K mark with labor another 10K.
Lastly if he wants to return the car to stock he has a few hours of ripping off the matt blue wrap and the car is back to yellow and for sale - no need to pay for a repaint
I think each has a place and time and advantages
No worries I like to hear what other people have to say! My reasoning is My car really didn't need a repaint or a wrap, I just thought why not matte blue is pretty cool and she can't move anyways haha . It has some issues but I wet sanded them so they were flat and if I pull the wrap I'll touch them up wet sand again and buff it. But as stated above the cost is a huge factor, 25 yards of quality vinyl (most cars can be done around this) is about 600$. If u choose to have it installed ur probably going to add around 1.5k in labor. So around 2k your out the door in a nice looking car that will last u 8ish years if u care for it. If I were to repaint it as stated above I'd be around 2k in materials alone and that wouldn't include labor or if I diyd it the cost of tools and what not. So that's my reasoning. If I was serious about wanting a matte corvette and I planned on keeping it a Long time. I'd save up and have it painted.
Thank everyone for the comments. I'll have an update tonight or tomorrow morning!
...I am definitely not trying to start a disagreement nor hijack a great thread, but how is this easier than a color change repaint? Corvettes disassemble fairly easily, as shown above, and all parts can be painted off the vehicle with the exception of the rocker panels. I can understand if the paint was flawless and one wanted to protect an investment quality vehicle from damage, but what is the advantage to wrapping if, as stated previously, there were flaws in the original finish? BTW, it looks great, I am just curious...
It's a lot cheaper...especially when your friend has leftover vinyl

 11-28-2016, 11:36 AM


 I decided to take the plunge into my winter mods. I really liked the yellow but it had a few scratches here and there, rock chips and other defects but nothing too bad and my buddy had a ton of leftover vinyl from when we wrapped his car so that where the wrapping started. I'm also Painting the calipers yellow. Reworking the break vents. Aftermarket tails, halos, blacking everything out, side skirts and new lip, fixing some vacuum leaks and recently found she has been set up for a chassis mounted wing so maybe that if I can get one cheap.: *****: Oh and the new monster twin disc clutch. So anyways to the wrap. I am using Avery SW900 Supreme MATTE BRILLIANT BLUE METALLIC wrap and 3m 1080 matte black (also extra from a car). Both are applied dry and have the air release technology. In my limited experience, I prefer the Avery because it stretches better and I feel is more workable. If you were to buy the vinyl retail it'll probably run you 600$. you will need a friend to help! So now the fun Begins!
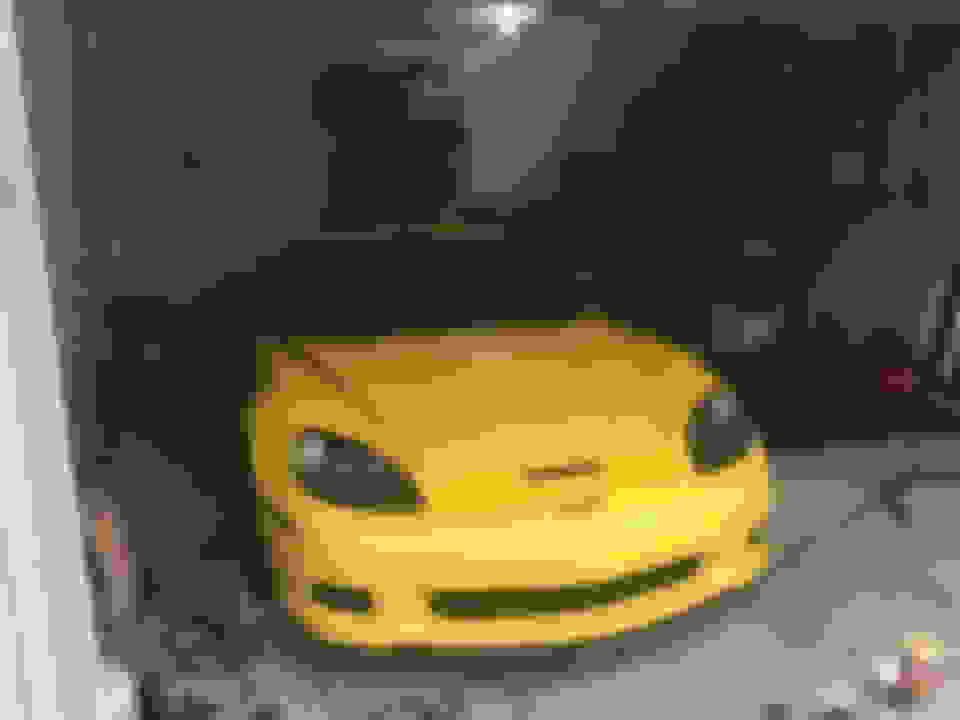


 )
)


 do post up pics when done! It's a nice way to change the look, but still be able to bring it back to the original colour.


