When you click on links to various merchants on this site and make a purchase, this can result in this site earning a commission. Affiliate programs and affiliations include, but are not limited to, the eBay Partner Network.
Are you trying to access the three rods that control how it grips the windshield stump? Or are you trying to get inside the larger frame that holds the mirror itself?
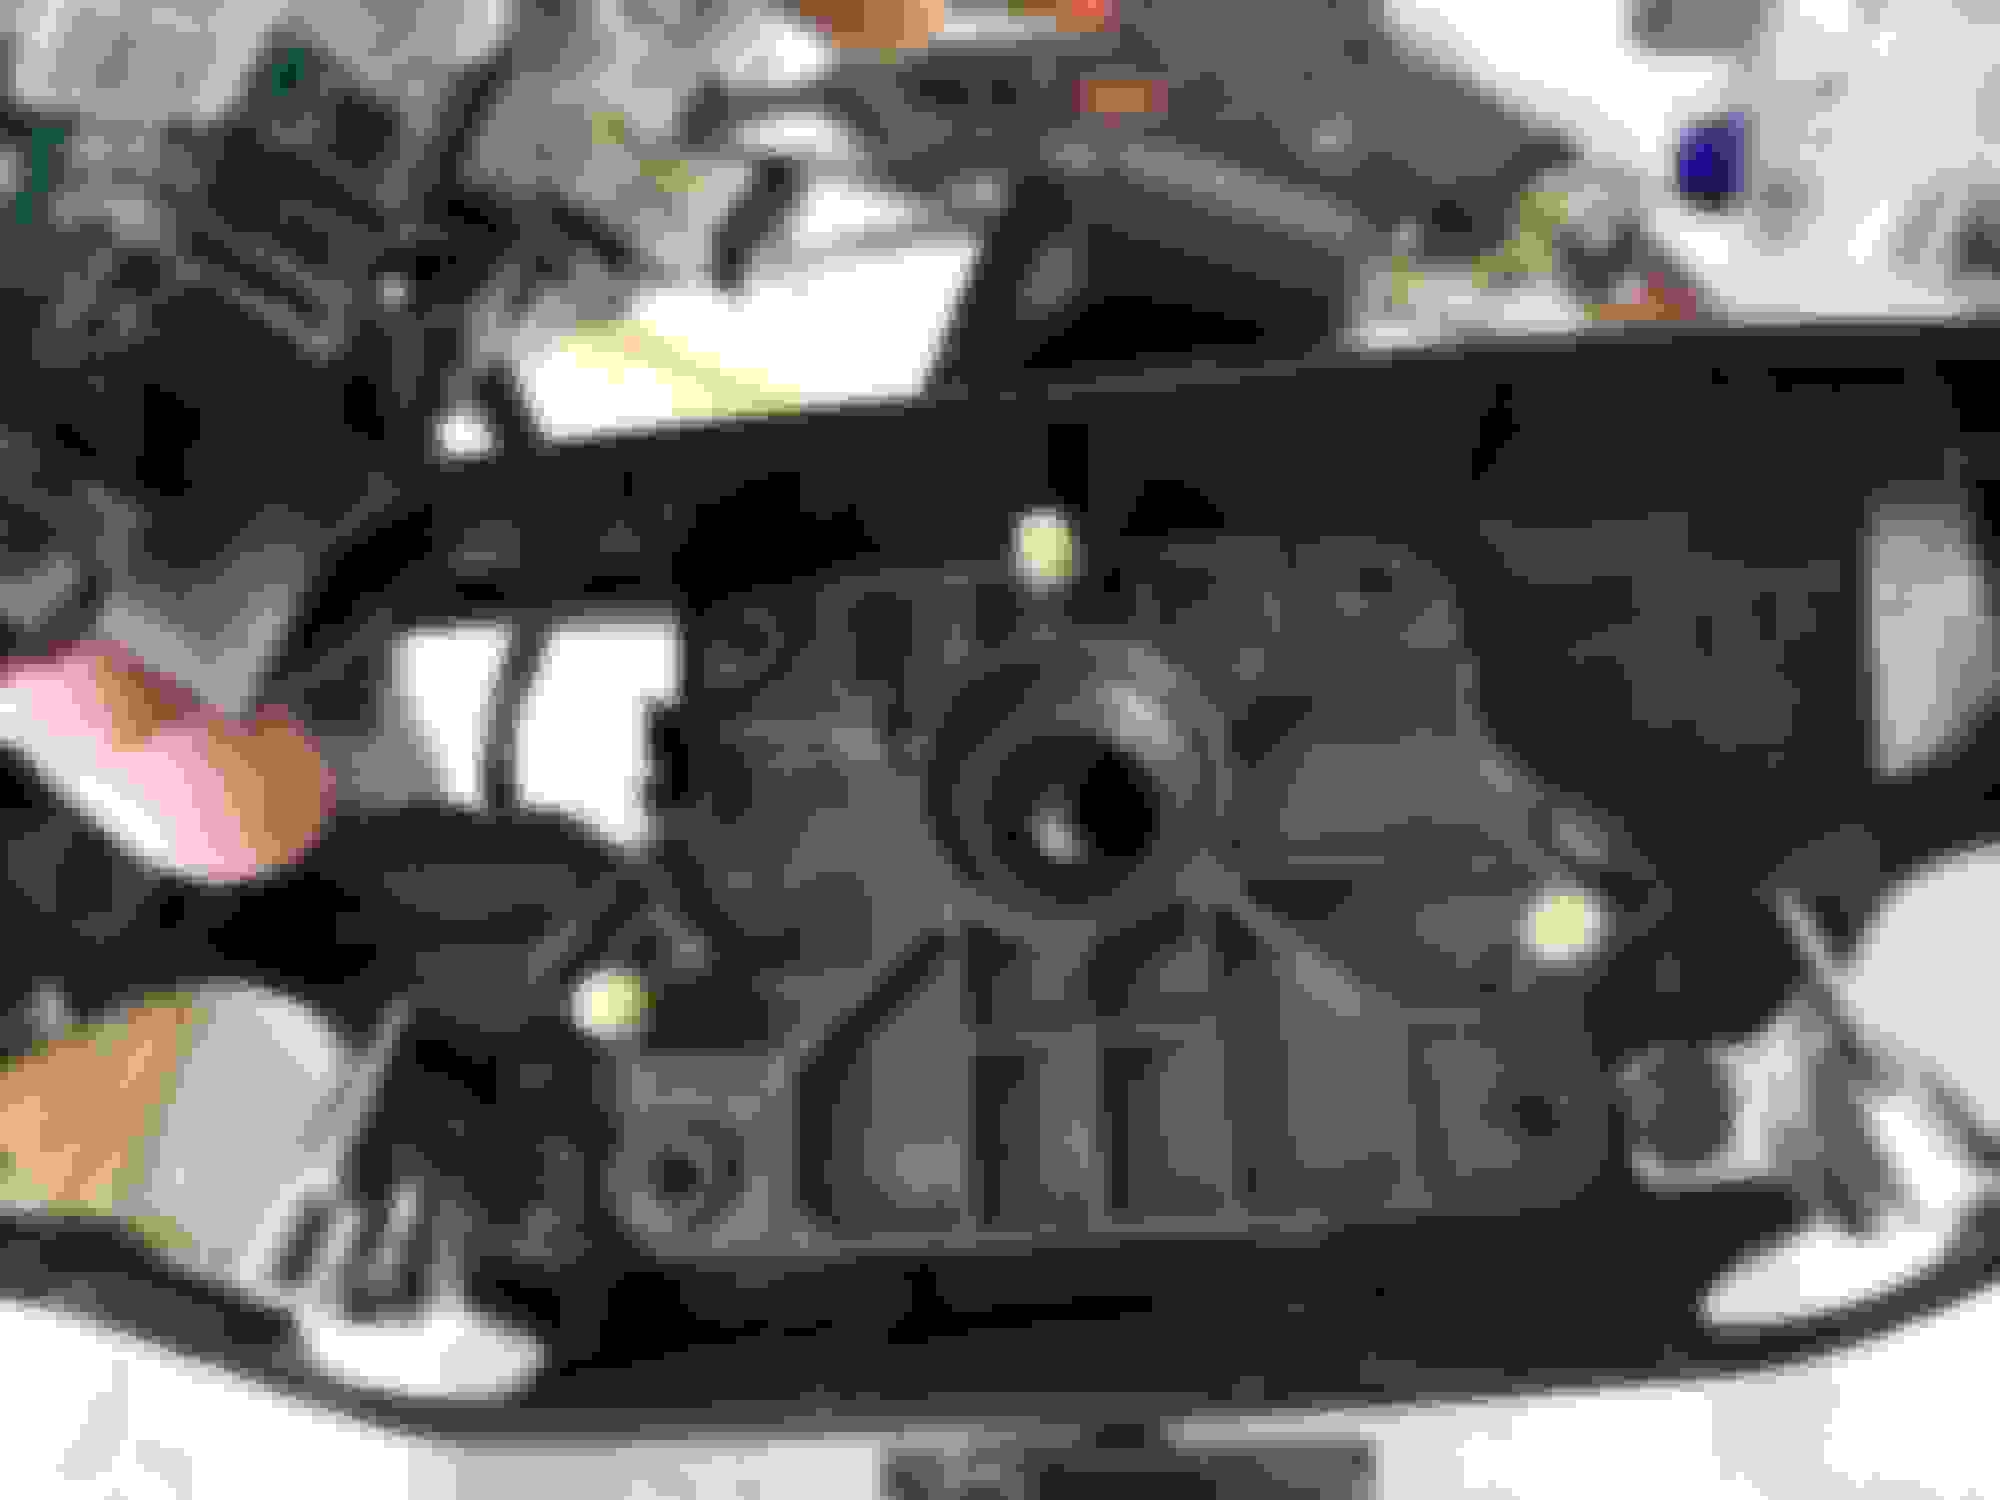
If the three grip rods, there are three tiny Torx screws that secure a circular covering ring. They may need tiny drops of penetrating oil applied about an hour in advance to break them free.
I've never tried to disassemble the larger mirror frame itself.
Are you trying to access the three rods that control how it grips the windshield stump? Or are you trying to get inside the larger frame that holds the mirror itself?
If the three grip rods, there are three tiny Torx screws that secure a circular covering ring. They may need tiny drops of penetrating oil applied about an hour in advance to break them free.
I've never tried to disassemble the larger mirror frame itself.
I'm trying to get the entire mirror apart to see about fixing this issue...
Does anybody have a fix for broken tabs? I can't tell if the back of the mirror is made with these tabs on it, or if there is a separate piece with the tabs.
Where did you get this info? Not that I don't believe you, but given the project I'm working on, I'd like to know for sure.
I own an autoglass business. I've tried. They are all glued together. You can and will get it apart but like I said. They plastic mirror housing will get damaged. I've taken a few apart for various reasons.
I don't know if it is glued. It does not look like so to me.
and there is a guy who replaces just the glass and I don't believe he is destroying the shell to get to the glass. I emailed him about taking the ball/socket out and his response was his company does not remove that part from the mirror shell.
I will email him again and ask if he would simply take the shell apart for me and return the disassembled parts to me.
It's definitely not glued. I took mine apart last year to build a custom radar detector mount and it just took a few minutes.
I can't remember the details but it's only a few screws holding everything together if I remember correctly
It's definitely not glued. I took mine apart last year to build a custom radar detector mount and it just took a few minutes.
I can't remember the details but it's only a few screws holding everything together if I remember correctly
I didn't see any screws, aside from the ones on the mount itself.
I didn't see any screws, aside from the ones on the mount itself.
I'll try to find some time this weekend to pull mine again for more info. Unfortunately I didn't take any pics of the process and my memory is blurry. I just remember it was easy.
But you can see by the pics below I had to take everything apart to pass the radar mounting bolts through the rear casing and secure with nuts from the inside.
Aha! Thanks, doomi! It's probably a pressure fit of some sort, but I wanted to be sure before I tried to pry it apart. Granted, mine is already broke, but I'd rather not make it any worse.
Left hand in the second pic. There has to be pressure placed along that seam which separates the two pieces at that seam to where it either "pops" apart or gives enough space to insert a trim tool to push/pry the two pieces apart.
When I pinch, nothing seems to move. It seems as if the glass is keeping the two plastic halves from bending in anyway so I cannot get a pry tool into the space.
I am tempted to break the mirror, pull out the glass, disassemble and paint the plastic then send it off to the mirror repair guy in the YouTube video and have him put in a new mirror.
I think you're probably right. I wish I could tell you with certainty, but until I pull mine again I just can't remember. I can tell you for sure that I've had mine apart a couple of times and was able to put it back together without breaking anything. I feel like I remember the glass being a separate piece that is floating and not connected to anything. But then again, I was thinking I remembered screws holding things in place.
Here are a couple of videos. The first shows how to open the shell of the mirror and the second shows how to remove the mirror from the shell.
Opening the shell is easy. It does take a decent amount of pressure at the seam, but once you can get something in there it pries right open. I'd use something plastic so you don't damage the housing, but you could do it with a butter knife pretty easily.
When you pull the guts make sure you unhook the harness wire from the channel in the back or it will get stuck on the way out. There are some pics of the innards and housing at the bottom. I'll keep it apart for a few hours in case anyone has any questions.
Everything just clips back together when you are done.


 05-31-2018, 12:29 PM