
[Z06] Install of the new 2012 centennial edition steering wheel on a Corvette 2006 z06.
 04-18-2012, 03:02 AM
#1
5th Gear

Thread Starter

Member Since: Jan 2011
Location: Gothenburg
Posts: 5
Likes: 0
Received 0 Likes
on
0 Posts
Hi forum members...
This is my first trial of doing a DIY thread with photos...
Please be kind with your remarks regarding spelling or the photo quality...
As you already know the 2012 steering wheel need some remodeling due there is no radio buttons on the 2006 model.
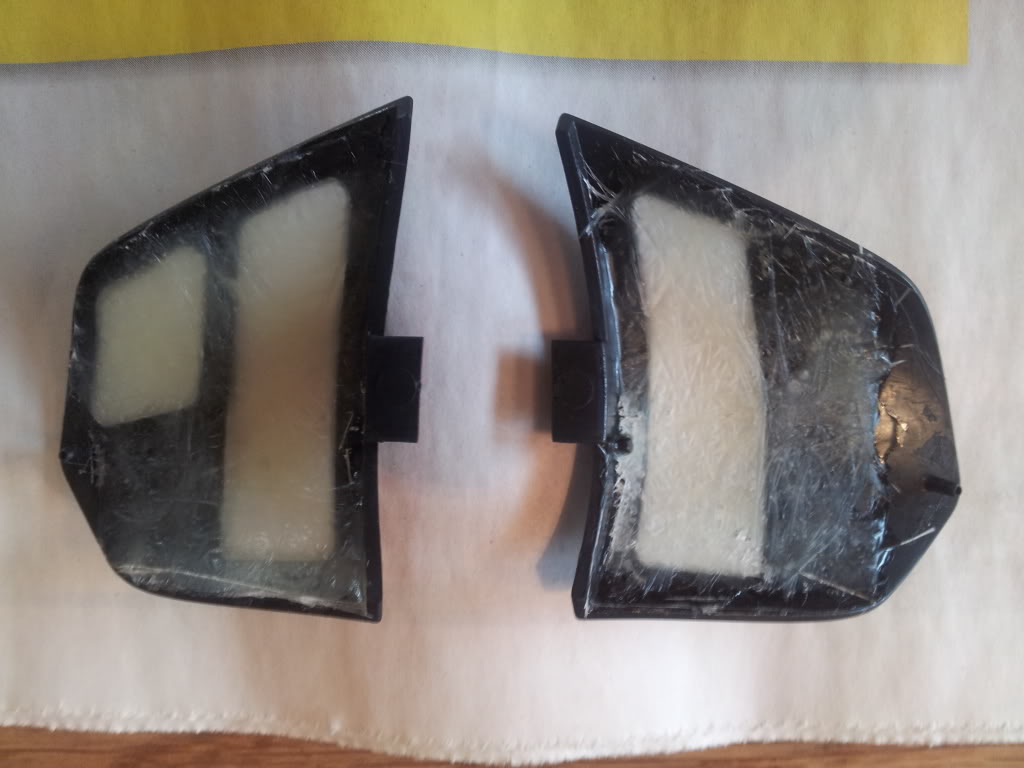
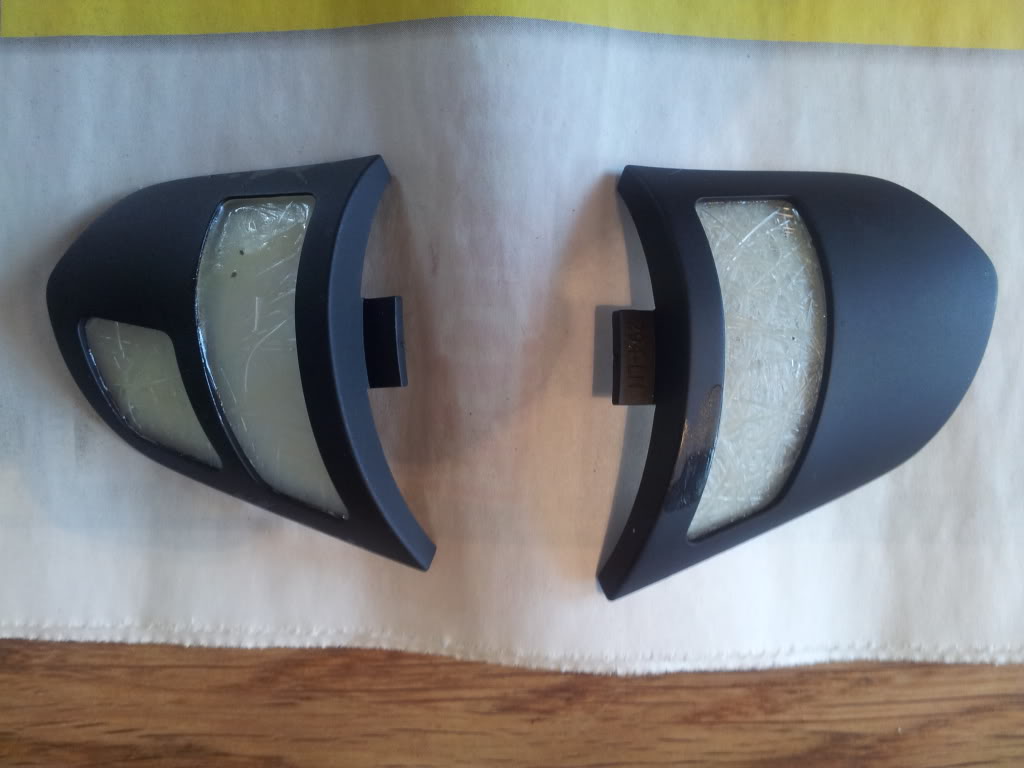
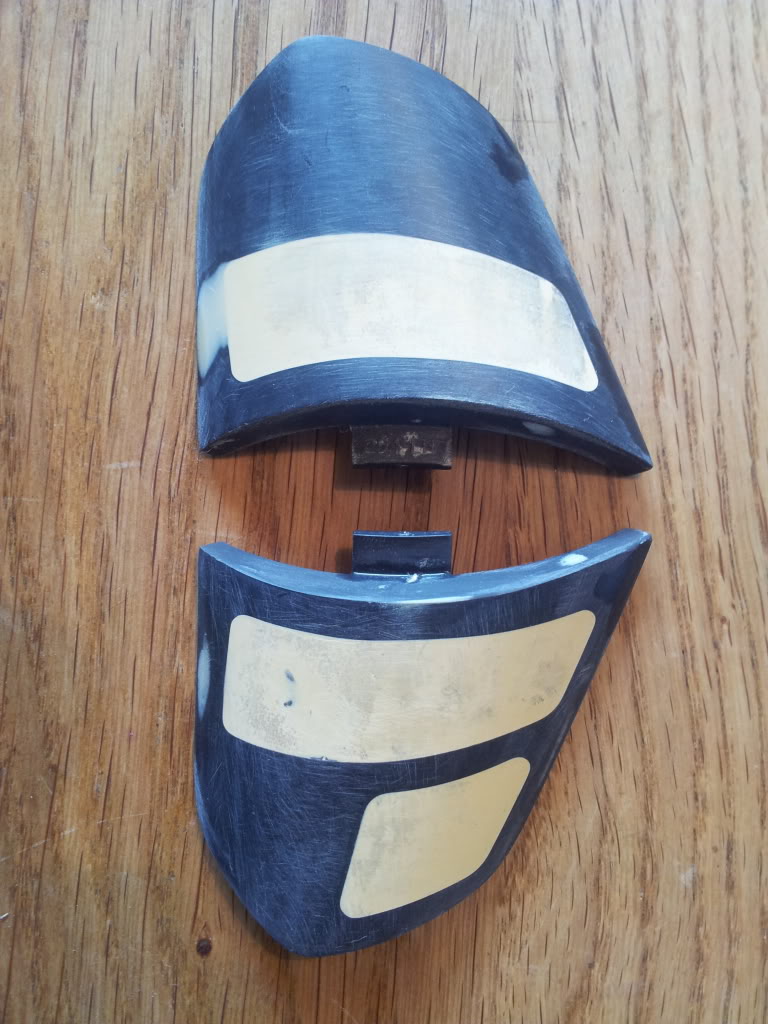
First start by removing the radio controllpanels from the new steering wheel. These are just fixed with some sticky glue. Remove the radio control buttons under the panels. (Just two screws).
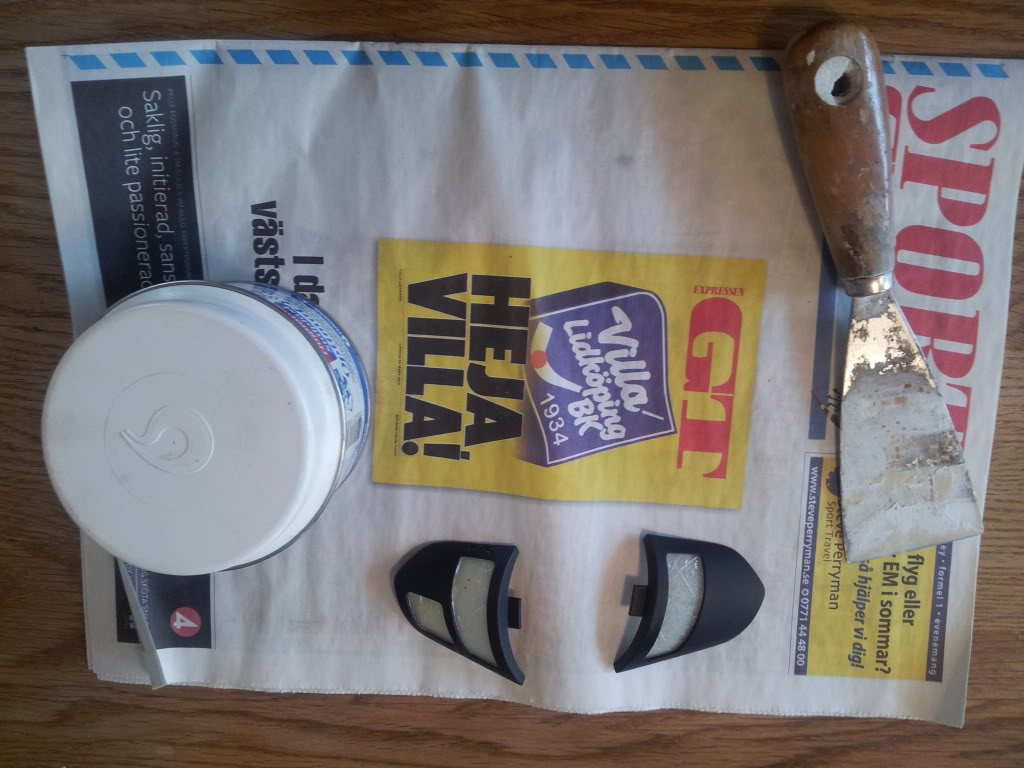
Now the fun starts. First I put a layer of epoxy on the backside for stiffness.
When its hardened I put some filler on.
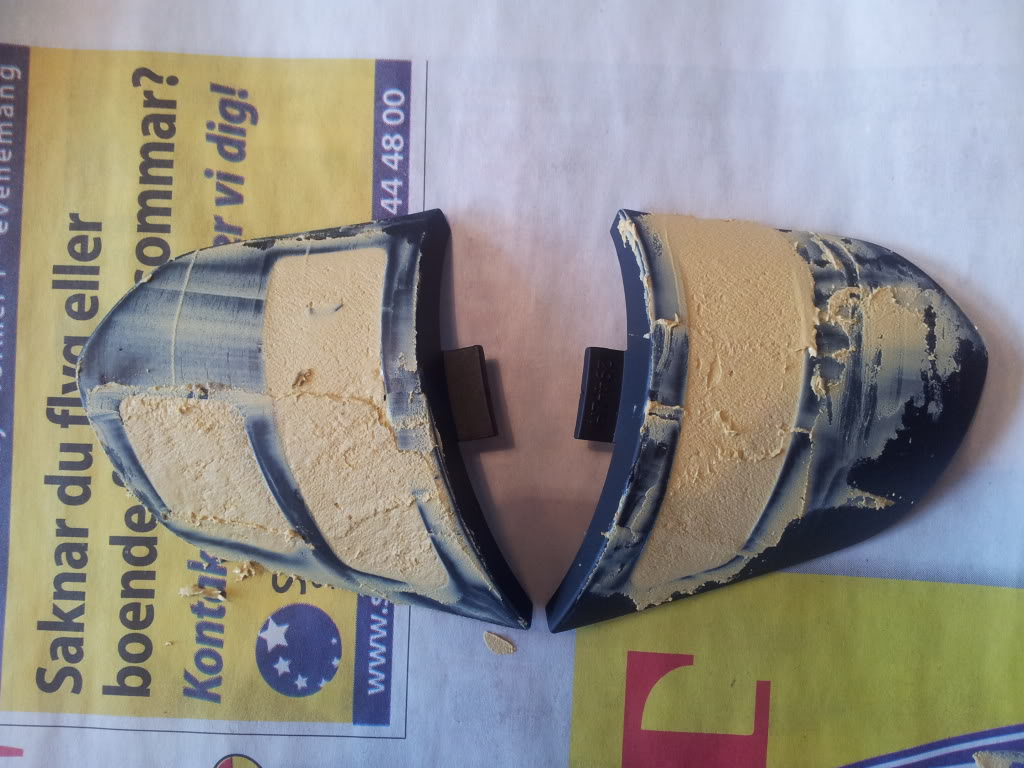
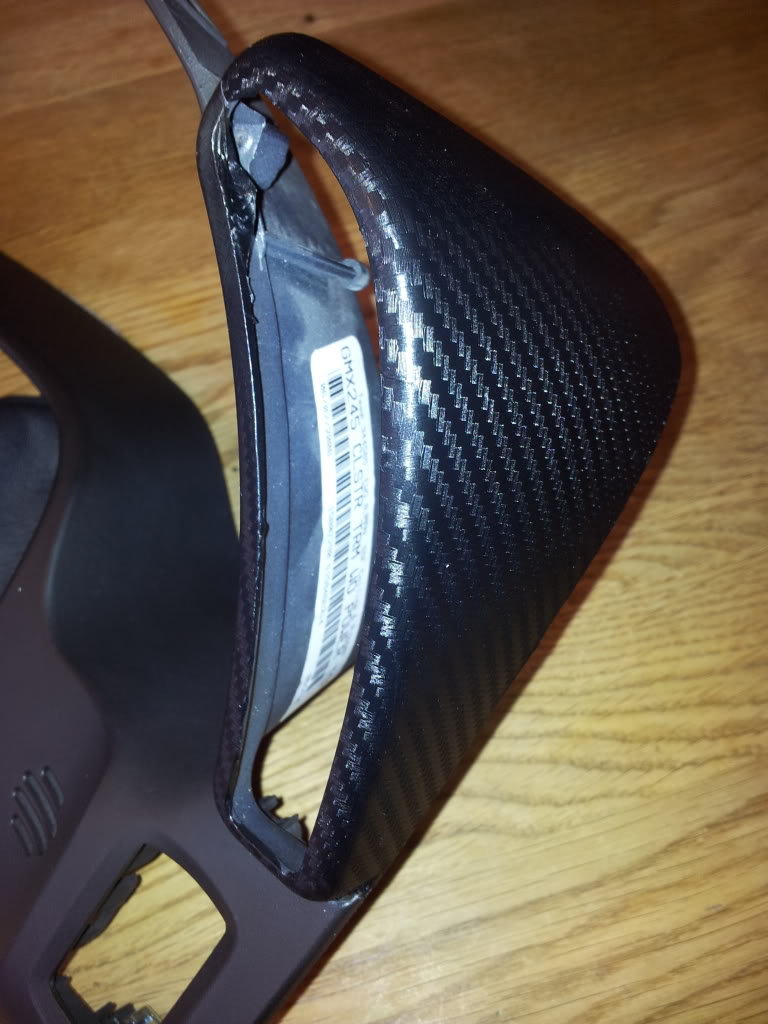
After 2 layers with some sanding/grinding it look like this.
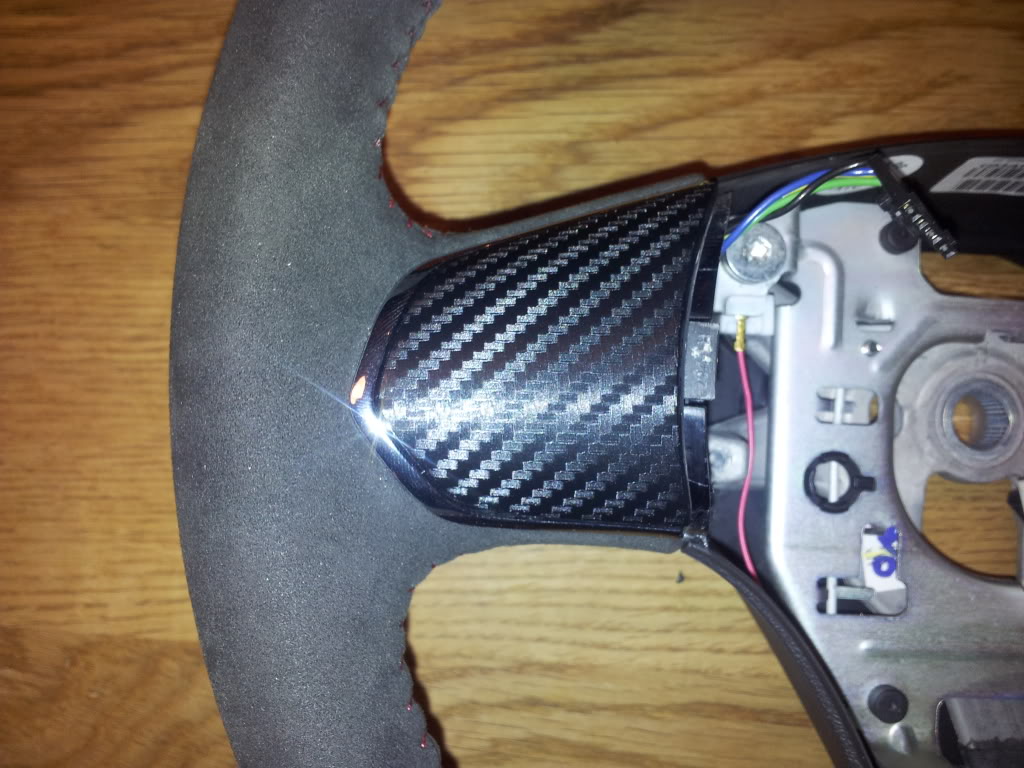
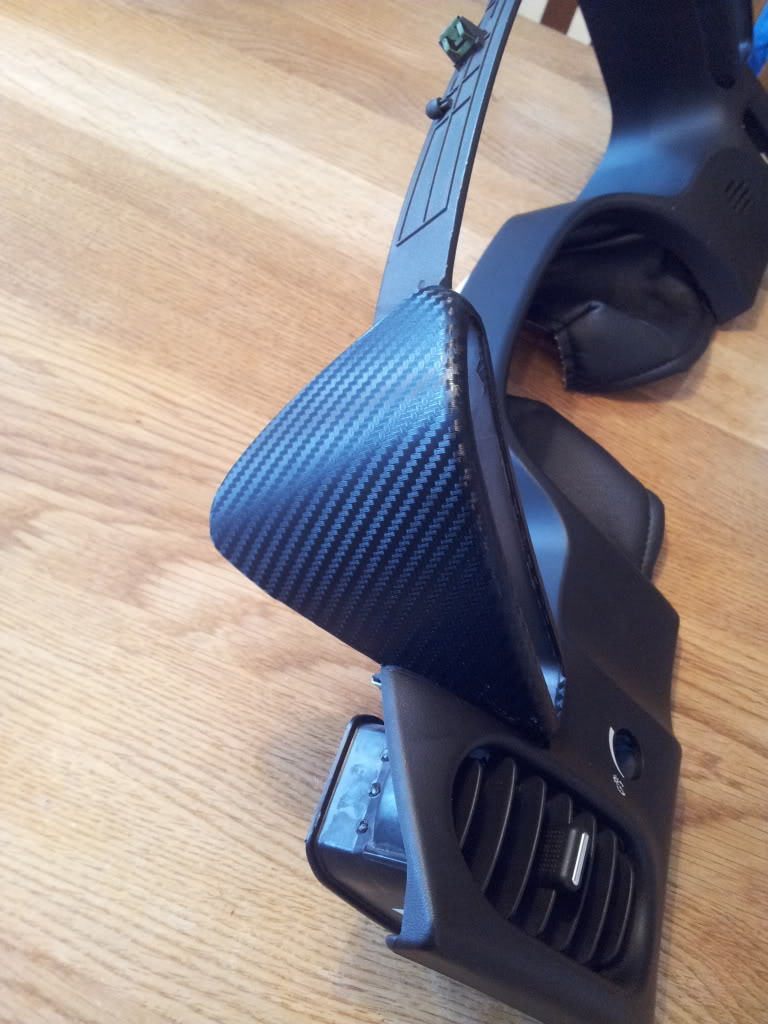
I decide to go with wrapped foiled carbon (similar to Dinoc) to cover it up.
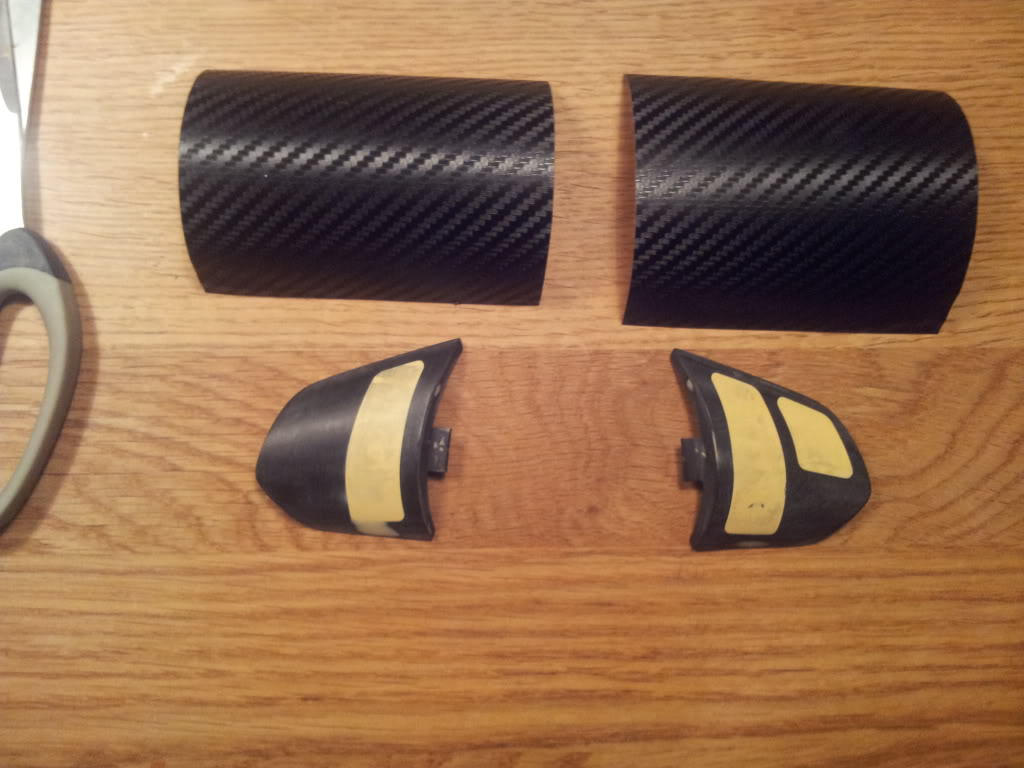
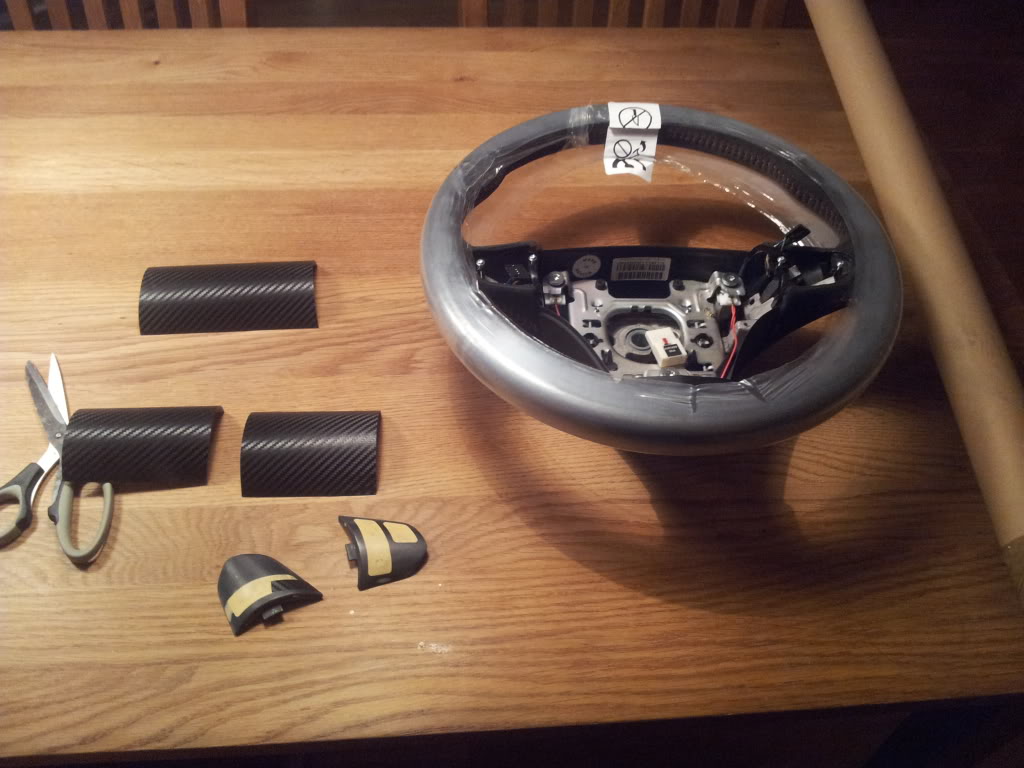
Here is the result.
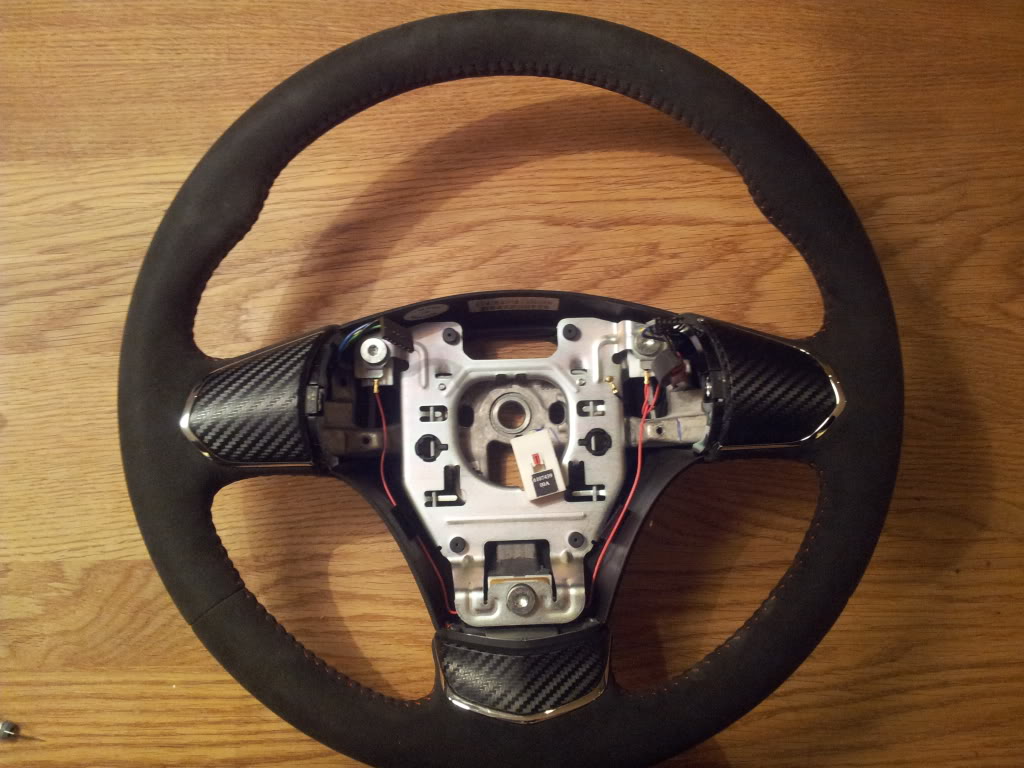
Now its time to install the steering wheel in the car.
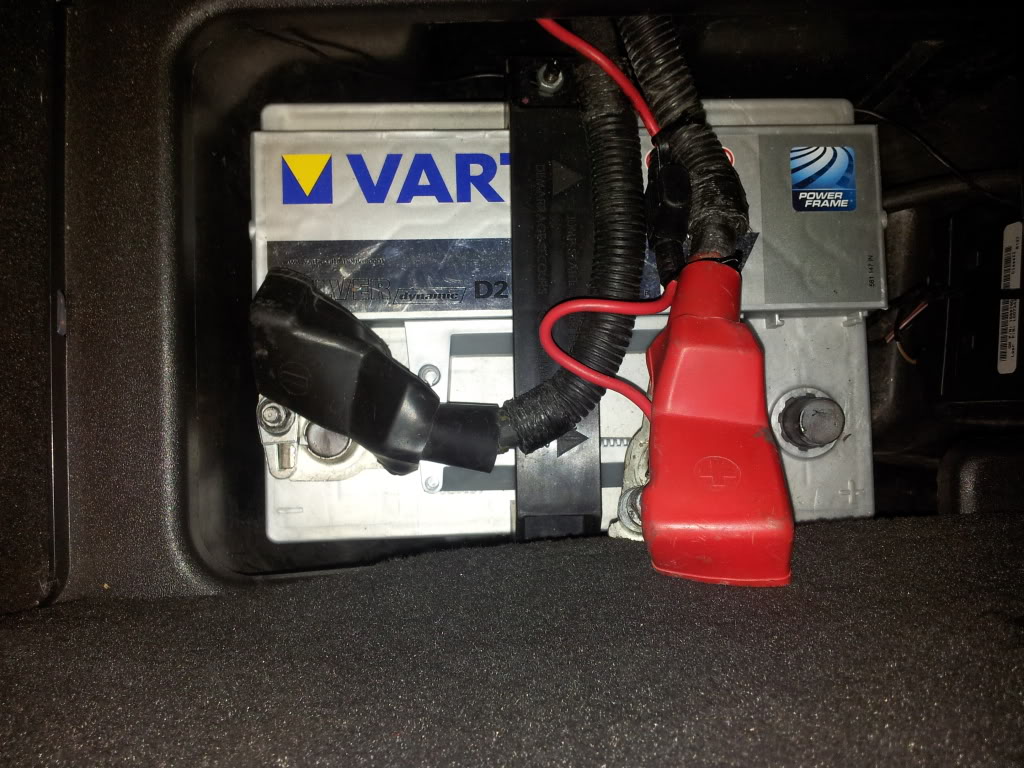
Start with removing the plus cord from the battery.
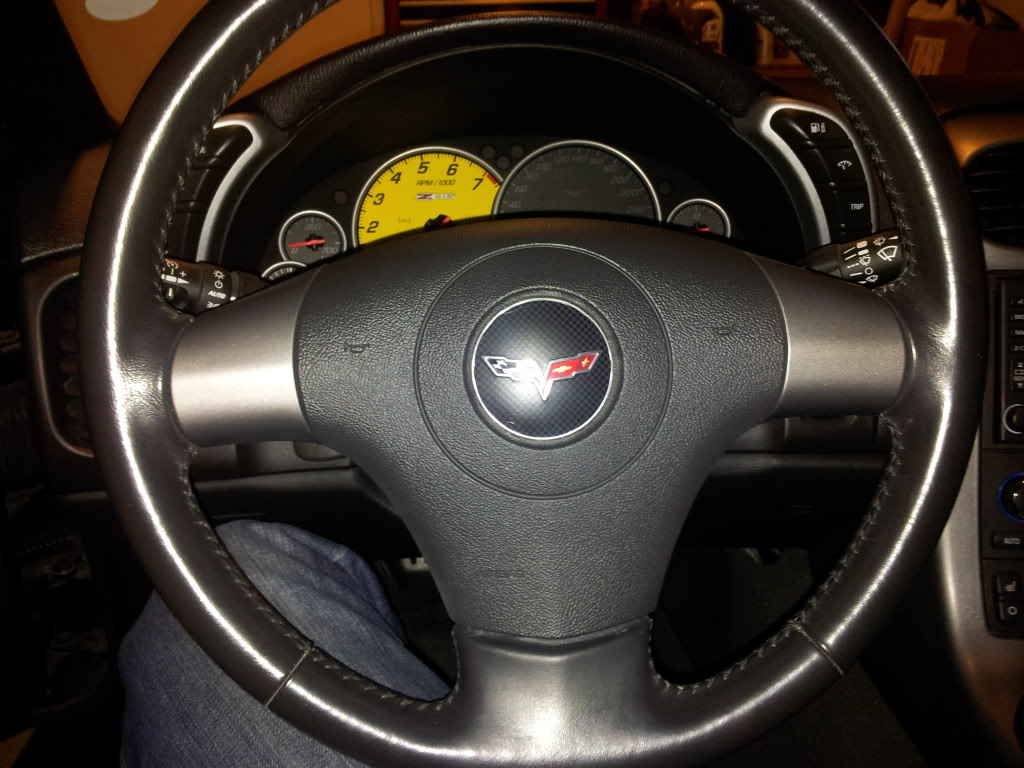
Here is the old SW
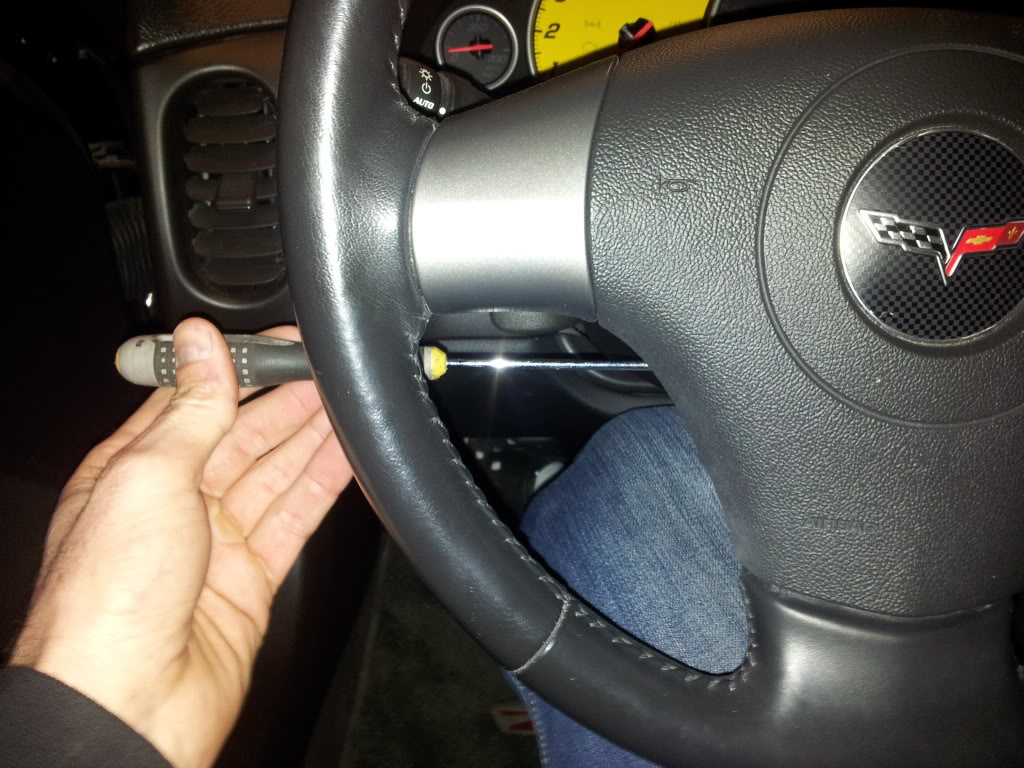
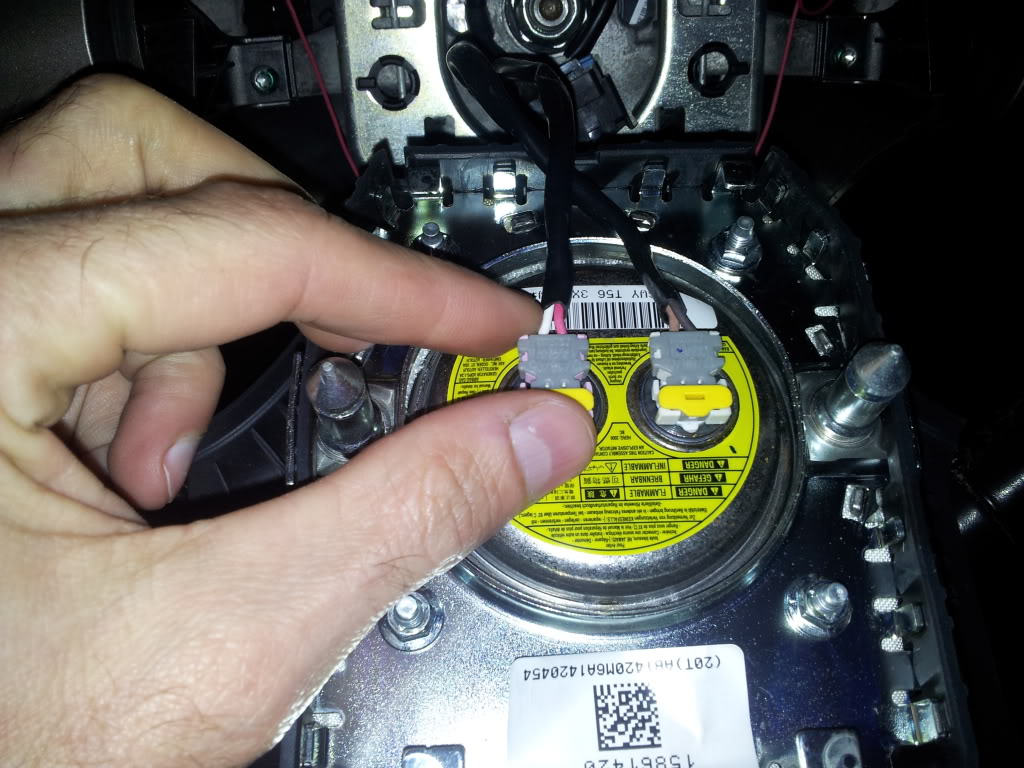
We start by removing the airbag. Just put a small screwdriver in the small holes and push gently as pictured and it will come off.
Remove the connectors (marked with different colors so you cant put it wrong then when you assembly the new SW)
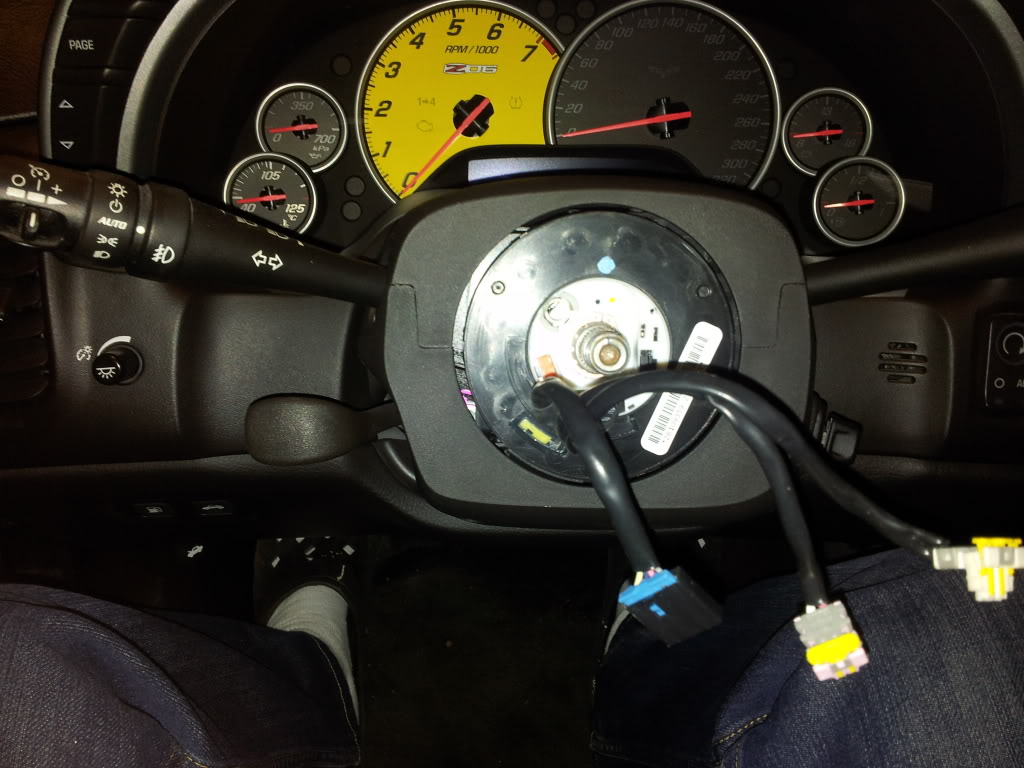
Start unscrewing the big central nut, lock the SW with your knees and the just tap firmly one the left and right side of the SW and it will come right of.
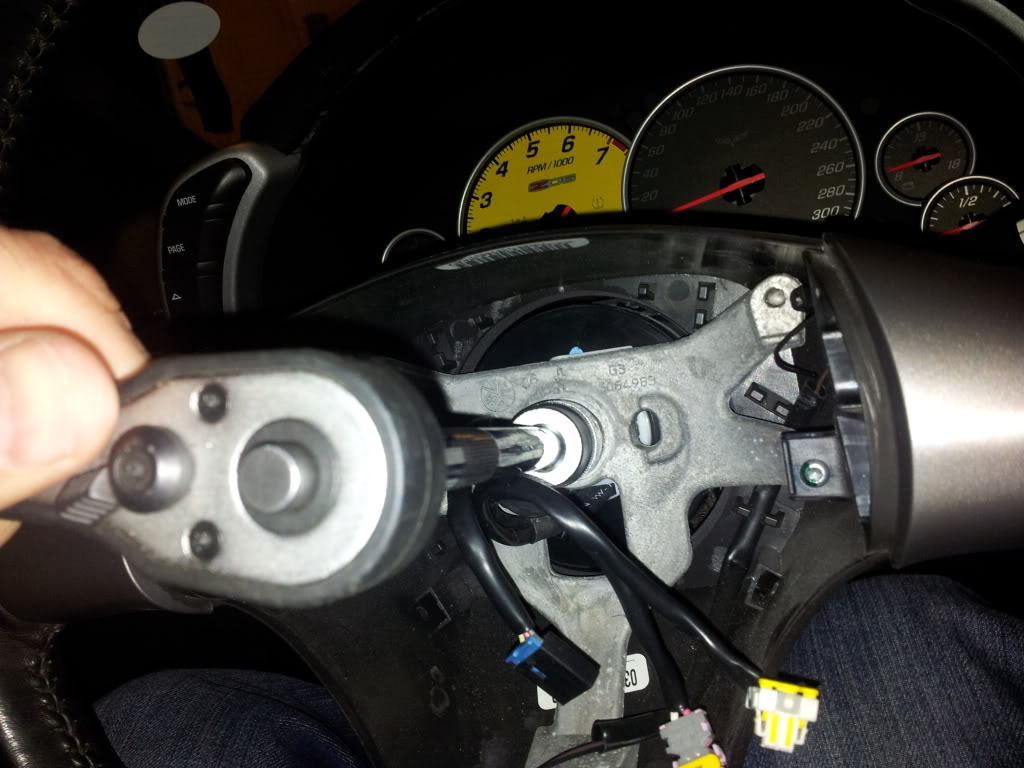
Now its completely removed.(The splines have a marker 12 0�clock so you cant put the new SW on the wrong angel)
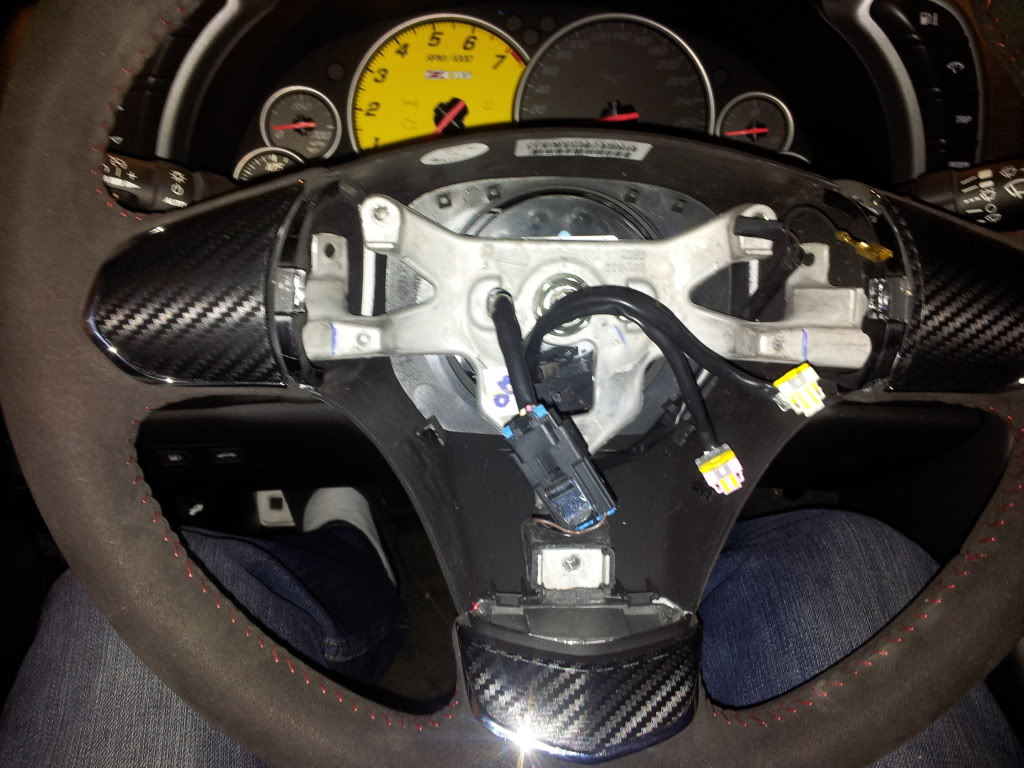
Now put the new SW on and tighten the lock nut firmley. Because the are different main connectors on the 2012 SW I dismantle the old one and used this instead. Its real simple to change and are just fitted with a big metal clip in the center of the wheel.
Now put all back in reverse order ( No pictures) and here is the finished result.
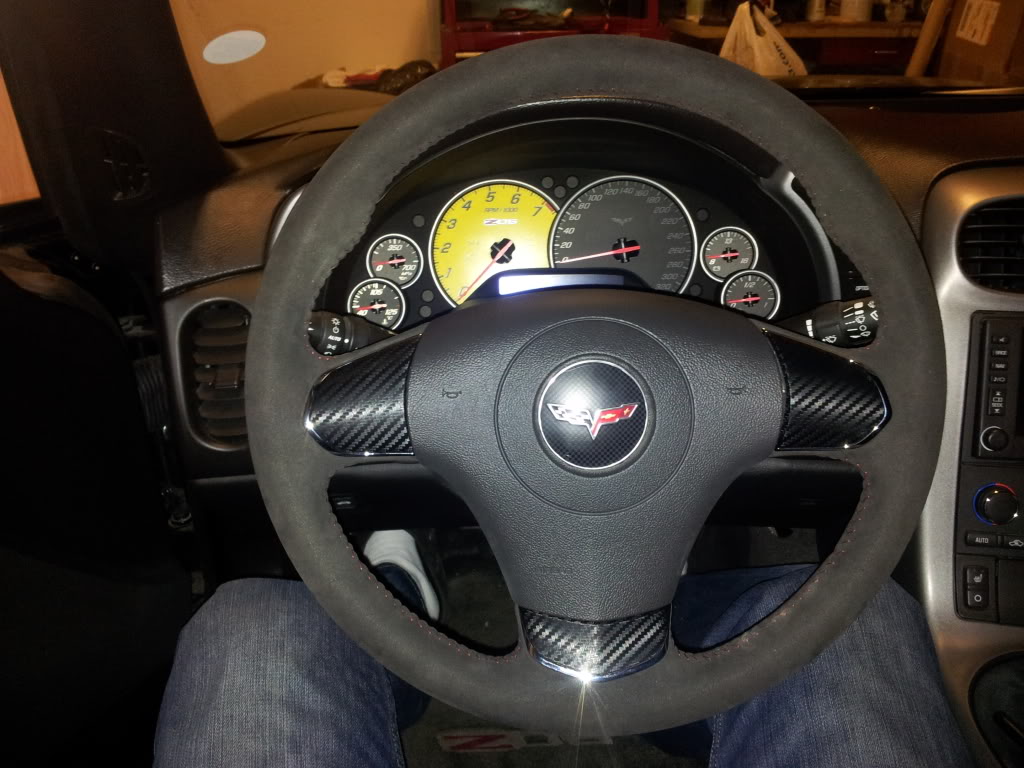
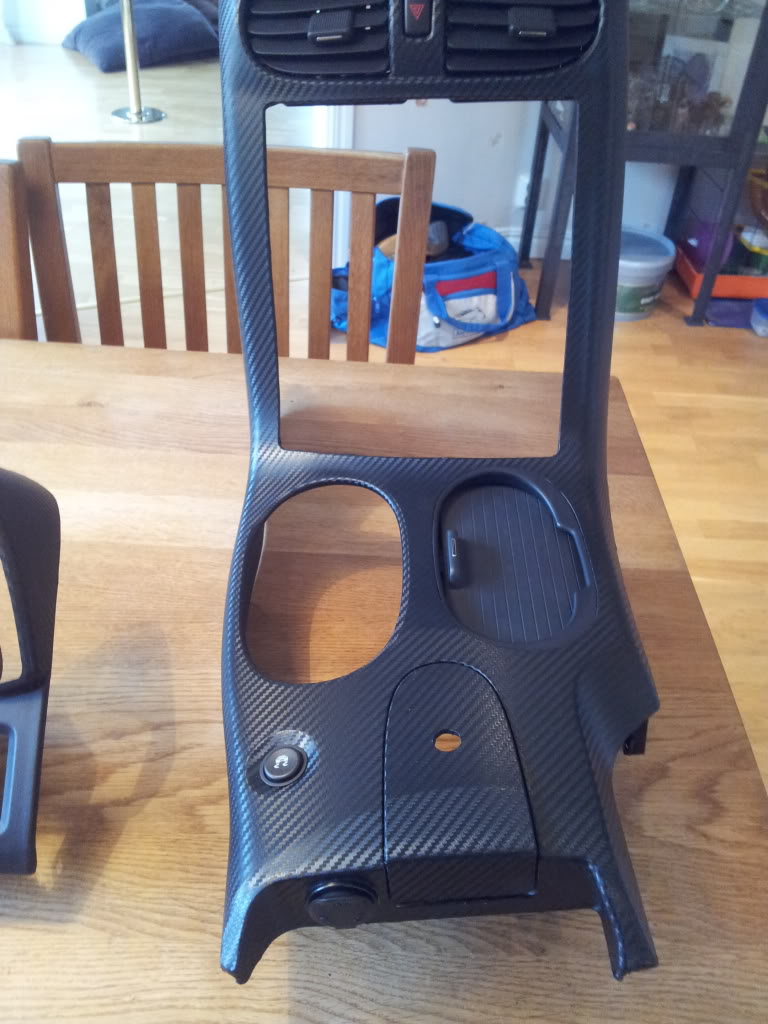
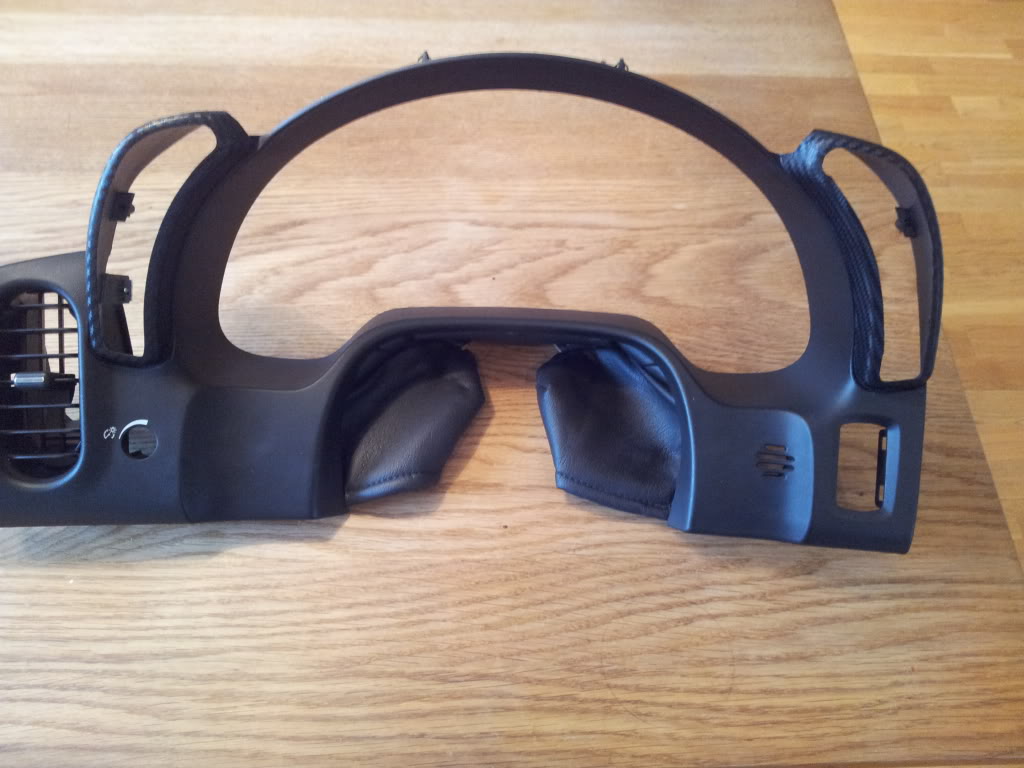
When I was in one move I also put some carbon foile on the center console and the speedo corners to have a symmetric look.
This was my first try to wrap and I quiet contempt with the result...
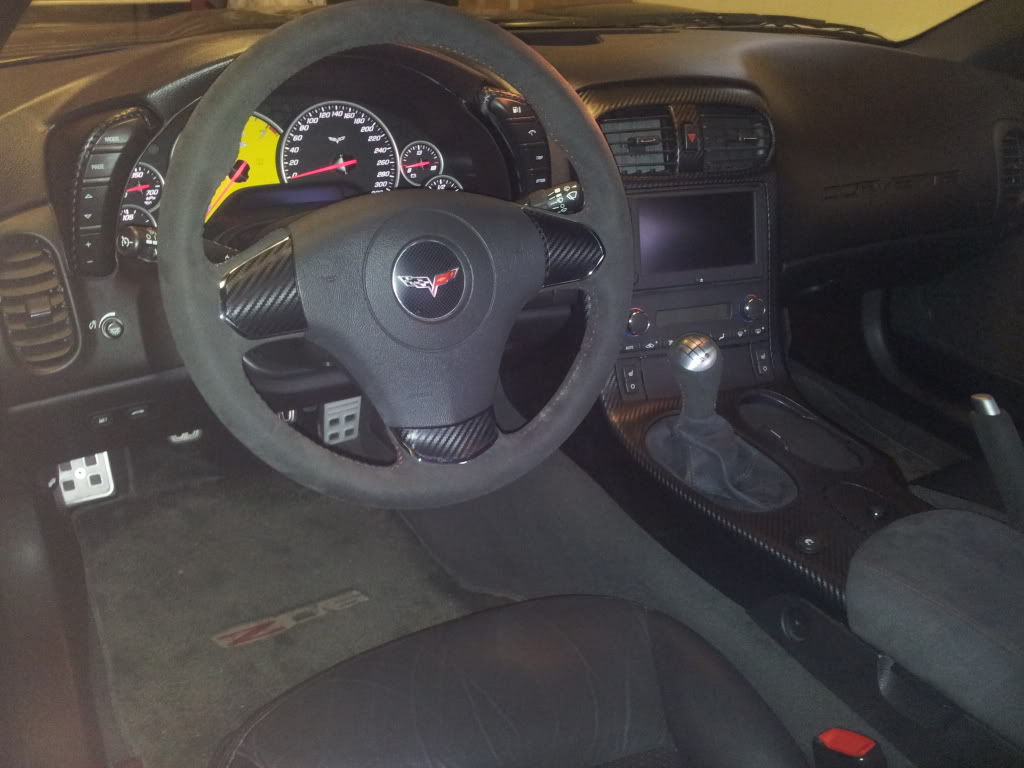
As you can see I also changed the ***** (gearshifter and handbrake centennial edition) to match the SW.
(Thx kevin@partstaxi.com)
I Hope you find this DIY helpful...
Just put the pedal to the floor and have a nice day with your Z06..
BR/ Fastashell
This is my first trial of doing a DIY thread with photos...
Please be kind with your remarks regarding spelling or the photo quality...
As you already know the 2012 steering wheel need some remodeling due there is no radio buttons on the 2006 model.
First start by removing the radio controllpanels from the new steering wheel. These are just fixed with some sticky glue. Remove the radio control buttons under the panels. (Just two screws).
Now the fun starts. First I put a layer of epoxy on the backside for stiffness.
When its hardened I put some filler on.
After 2 layers with some sanding/grinding it look like this.
I decide to go with wrapped foiled carbon (similar to Dinoc) to cover it up.
Here is the result.
Now its time to install the steering wheel in the car.
Start with removing the plus cord from the battery.
Here is the old SW
We start by removing the airbag. Just put a small screwdriver in the small holes and push gently as pictured and it will come off.
Remove the connectors (marked with different colors so you cant put it wrong then when you assembly the new SW)
Start unscrewing the big central nut, lock the SW with your knees and the just tap firmly one the left and right side of the SW and it will come right of.
Now its completely removed.(The splines have a marker 12 0�clock so you cant put the new SW on the wrong angel)
Now put the new SW on and tighten the lock nut firmley. Because the are different main connectors on the 2012 SW I dismantle the old one and used this instead. Its real simple to change and are just fitted with a big metal clip in the center of the wheel.
Now put all back in reverse order ( No pictures) and here is the finished result.
When I was in one move I also put some carbon foile on the center console and the speedo corners to have a symmetric look.
This was my first try to wrap and I quiet contempt with the result...
As you can see I also changed the ***** (gearshifter and handbrake centennial edition) to match the SW.
(Thx kevin@partstaxi.com)
I Hope you find this DIY helpful...
Just put the pedal to the floor and have a nice day with your Z06..
BR/ Fastashell
Last edited by Fastashell; 04-18-2012 at 03:10 AM.


 04-18-2012, 07:20 AM
#5

I was going to do this but I am now just going to add radio controls to the car through my aftermarket stereo. Got a new clock spring on the way soon. It will make te controls functional and make controlling the radio much nicer. Win win. Great write up though you did a great job!

 04-18-2012, 09:31 AM
#8
Safety Car

Good work and write up!


 04-18-2012, 02:32 PM
#13
Drifting

Nice job.
What was the material you used if it is not 3M Di-Noc?
3M had two versions, 600 that was 8 mils thick and the new version 1080 that is 3.5 mils thick and easier to apply to compound curves.
What was the material you used if it is not 3M Di-Noc?
3M had two versions, 600 that was 8 mils thick and the new version 1080 that is 3.5 mils thick and easier to apply to compound curves.
04-18-2012, 03:25 PM
#15
Team Owner


Damn man nice job 
 04-18-2012, 07:10 PM
#17


Genius idea with the center console piece... My tint guy across the street from me does that all day and it never even crossed my mind to wrap that.. Looks like i know what ill be getting done tommorow
