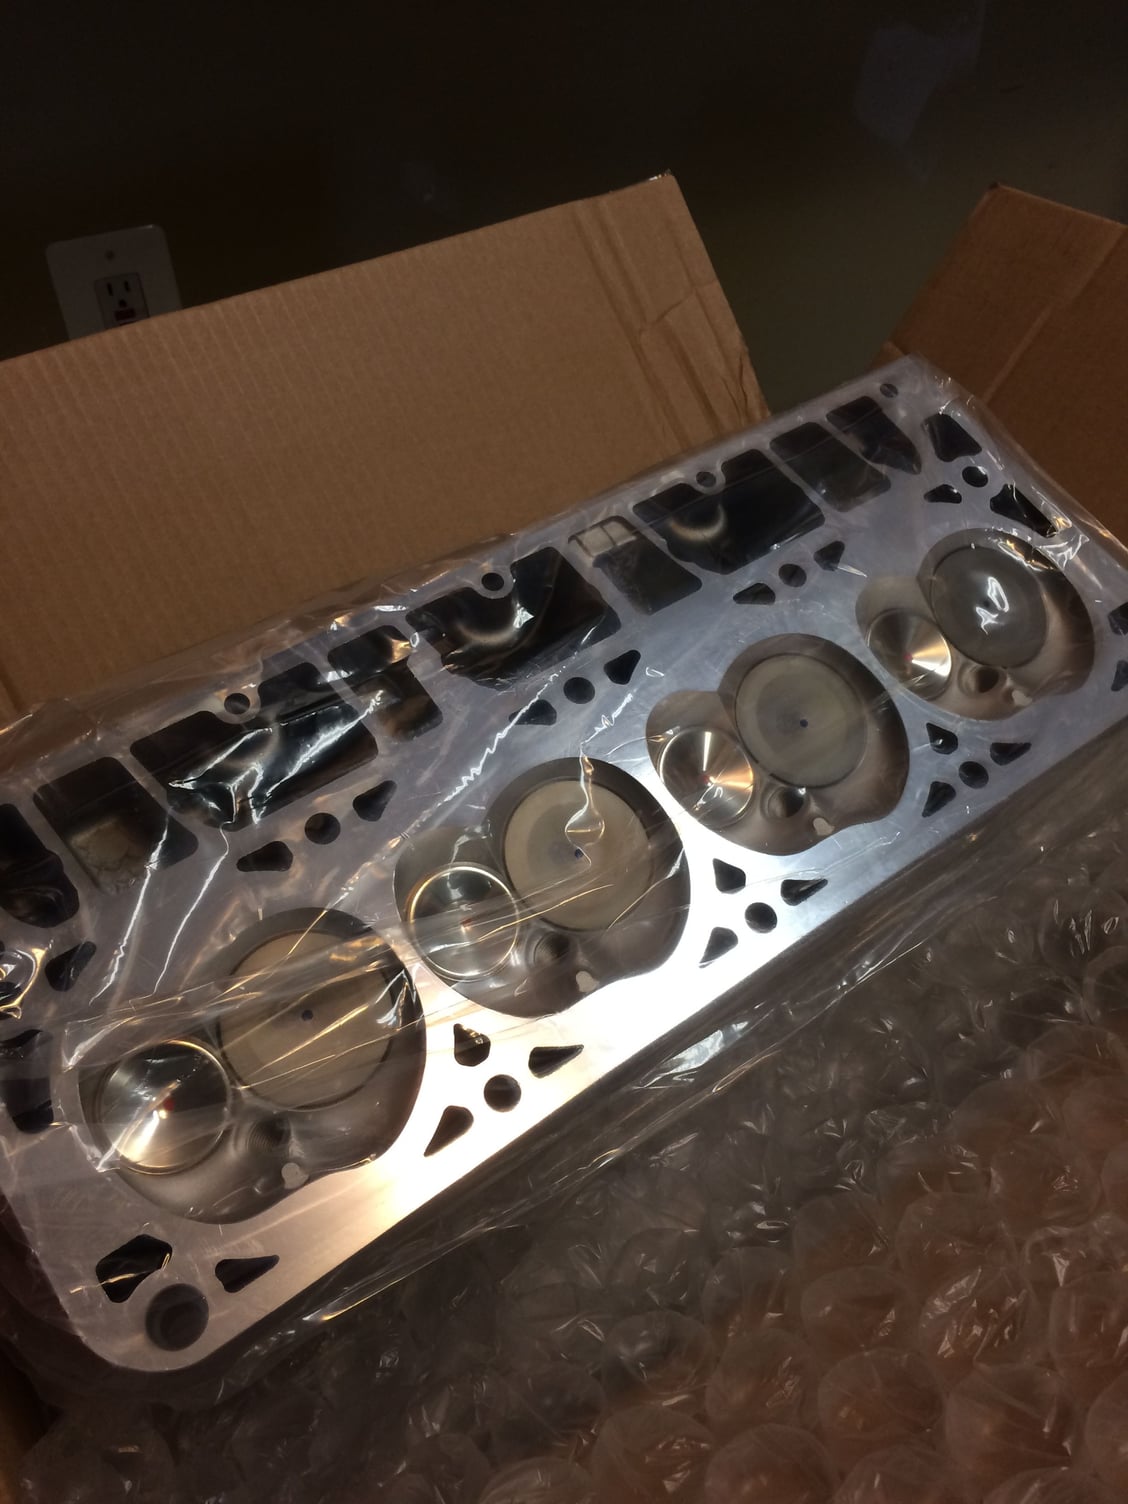
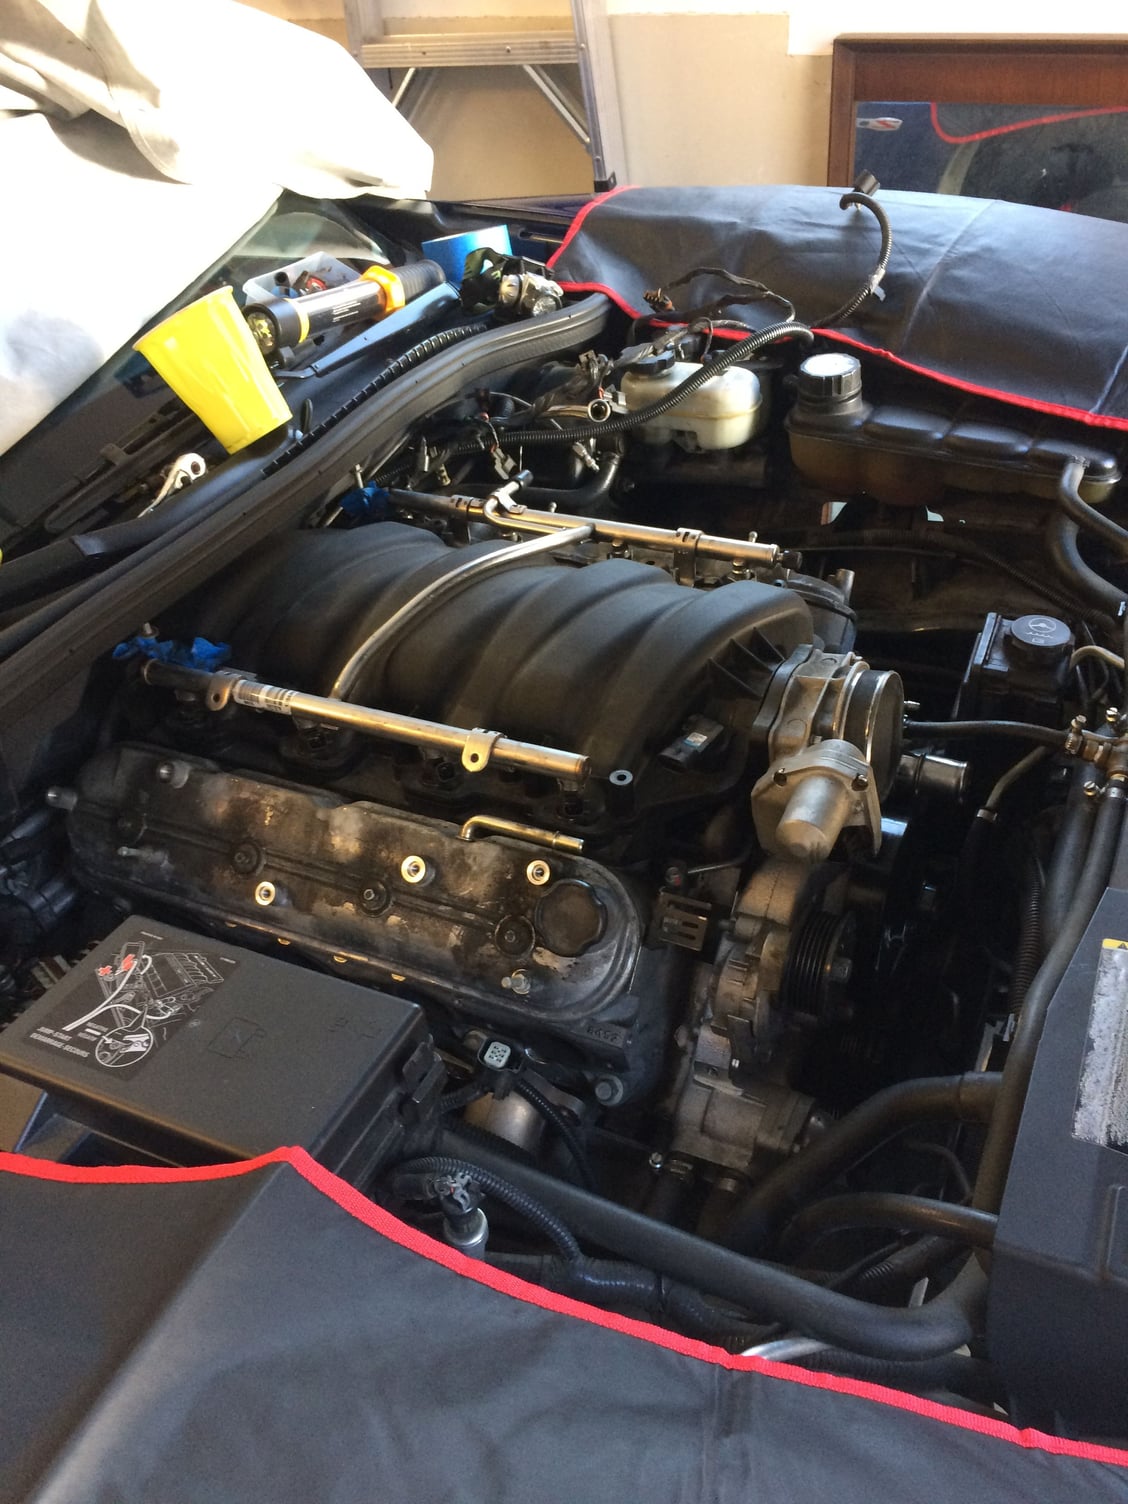
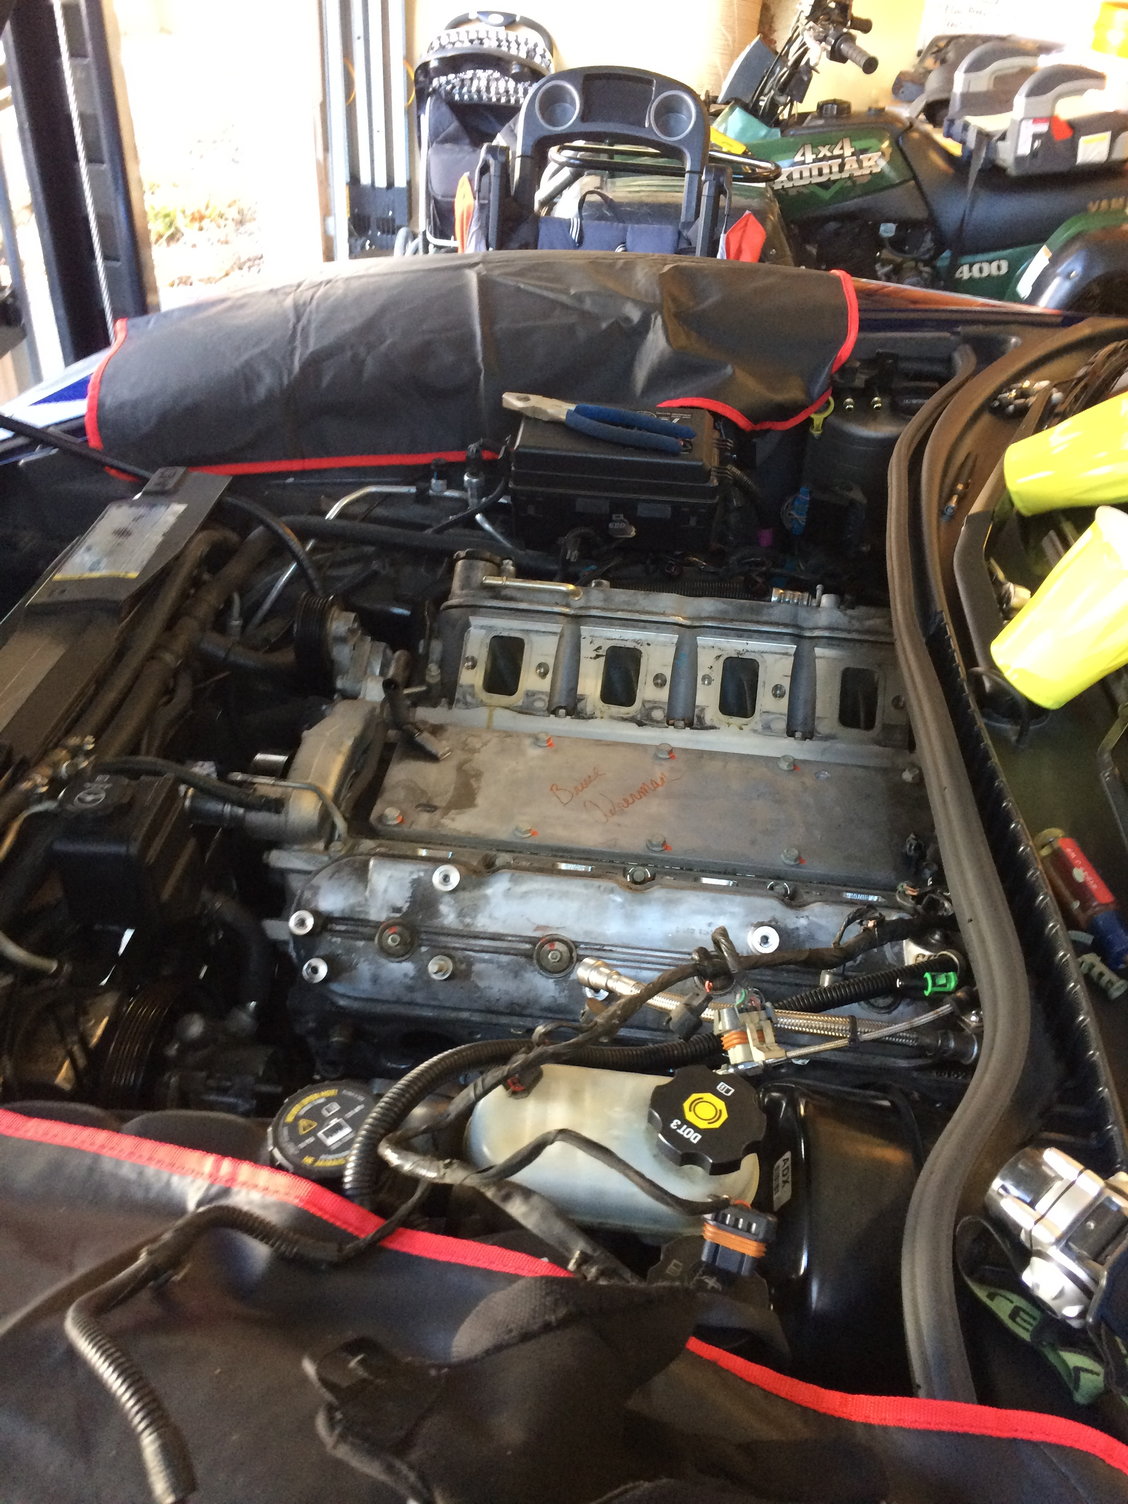
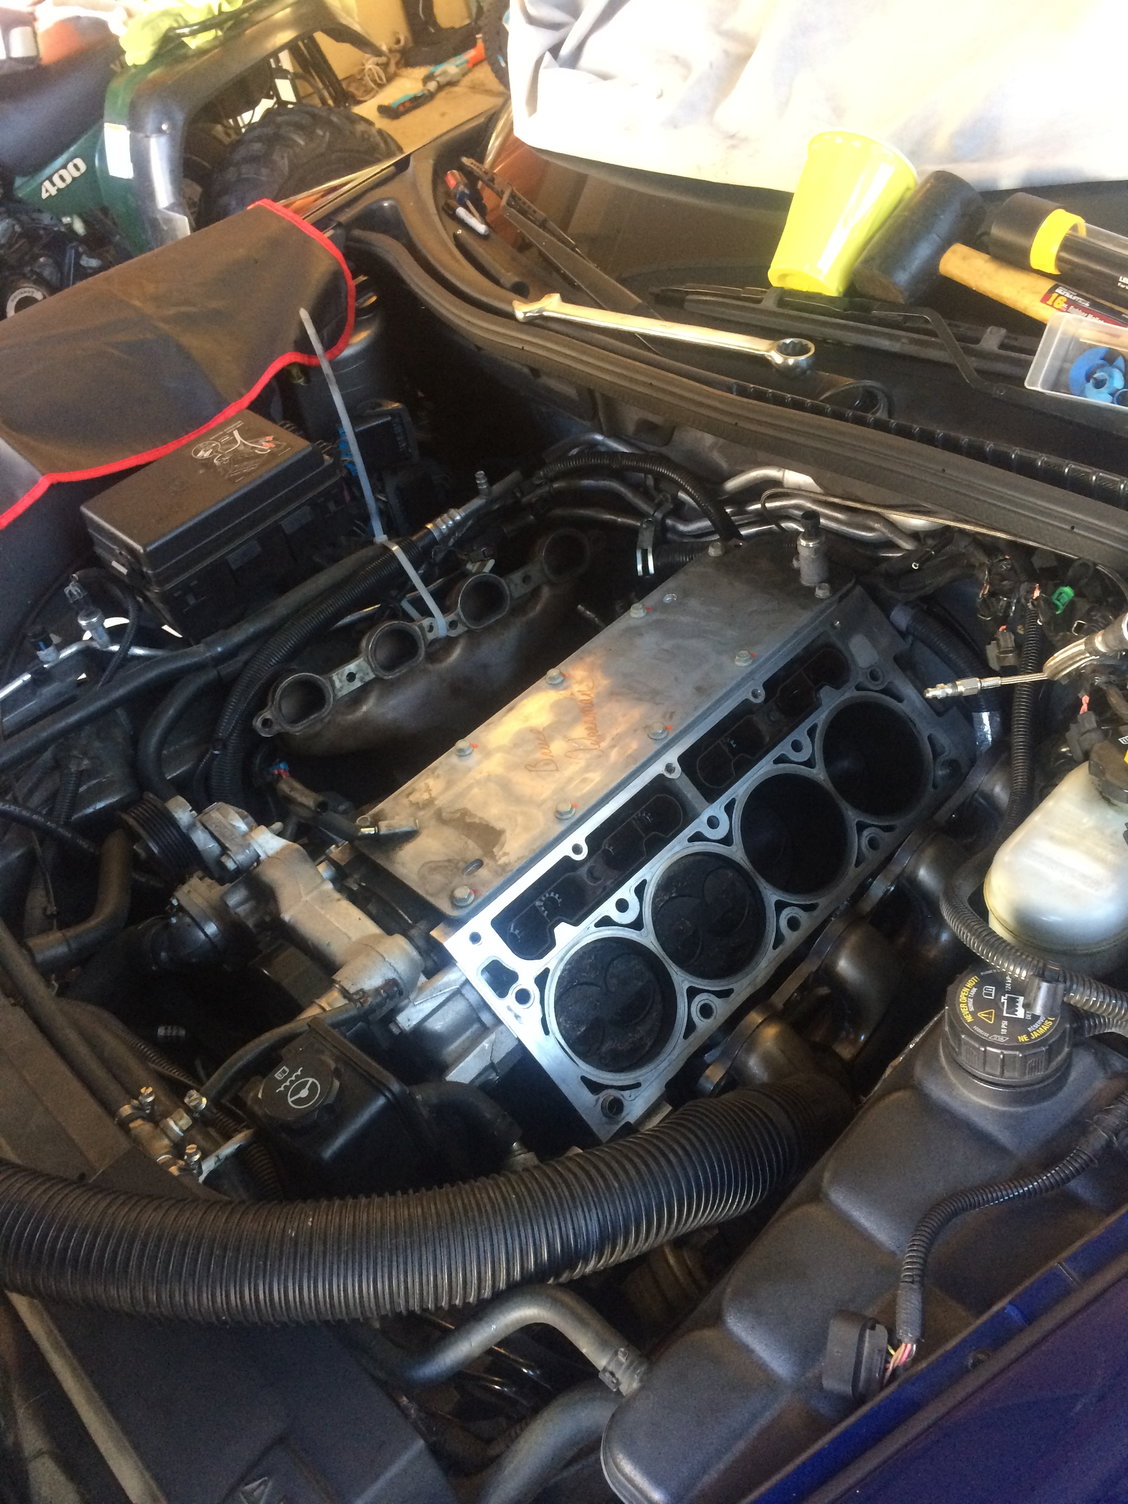
[Z06] My DIY LS7 Headswap
#161
Advanced


Just wanted to thank you for the awesome write up! I just finished my swap the other night. Couldn't have done it without the DIY!
Ken
Ken
Last edited by Quicker10u; 07-02-2016 at 08:05 AM.
#162
First I want to say that this write up has been my Bible on doing my heads. Im about to put it all back together but i have one question on parts 23A and 23B. Im confused. can you do one or the other or do they both have to be done?
Can some shed some light on the reinstalling of the heads/rockers?
Can some shed some light on the reinstalling of the heads/rockers?
#163
Safety Car


Saved this page to my favorites a long time ago lol
One or the other.
Basic or advanced. When in doubt take the long road here. Better to measure many times and cut once. When your done know your right, leave nothing to guess work.
on parts 23A and 23B. Im confused. can you do one or the other or do they both have to be done?
One or the other.
Basic or advanced. When in doubt take the long road here. Better to measure many times and cut once. When your done know your right, leave nothing to guess work.
#164
Thank you for clearing that up. But in reality, whats the actual downfall for doing it the first way over the more advanced way?
#165
Safety Car


I'm guessing The correct procedure ensures the lifter is on the base circle of the cam
#166
Safety Car


It is always a good idea to measure each rod. If the cam is on its base circle you can made sure your measurements are correct.
#167
Instructor


Awesome write up! Thanks for taking the time to do this! I used this thread to do my head swap a couple of weeks ago and it sure would have been a lot harder without your help! I studied it for a month before I even got started! Thanks again!
#168
Le Mans Master


#170
Racer


Thread Starter
Just popped over from the Camaro forums to see my DIY is still helping people to this day. That makes me feel great as I've used so many DIY's in my car enthusiast journey and without them I would have been lost.
For all those that this write-up helped, please consider helping other enthusiasts in the future with your knowledge. It may not be a full-blown DIY like this or it may be something far more complex.
It's just great to know I've been able to help so many that were willing to help themselves.
For all those that this write-up helped, please consider helping other enthusiasts in the future with your knowledge. It may not be a full-blown DIY like this or it may be something far more complex.
It's just great to know I've been able to help so many that were willing to help themselves.
The following 6 users liked this post by jeffreystar:
bd4airman11 (01-08-2017),
golfinz (01-09-2017),
Landru (11-08-2017),
SLOWRYDE (03-18-2017),
TRSCobra (11-21-2017),
and 1 others liked this post.
#171
Instructor


Only 4 "Thank you" on the original thread, good thing there are 9 pages of thanks instead 
Seriously, thank you! Even though i have a PRO helping me when i get stuck, this thread just makes life so much easier! This way i don't always have too look like a complete beginner not knowing anything about what I'm doing, but actually sounding like i know what I'm doing
Hopefully i can pay it forward later on

Seriously, thank you! Even though i have a PRO helping me when i get stuck, this thread just makes life so much easier! This way i don't always have too look like a complete beginner not knowing anything about what I'm doing, but actually sounding like i know what I'm doing

Hopefully i can pay it forward later on
#172
Drifting


Also, I'm happy with the OE LS7 cam, but I do plan on changing my springs. Is there any reason why I couldn't re-use my original GM pushrods after re-building my heads? I plan on going with the PSI 1511ML springs and Ti retainers, but I believe that retains the OE dimensions, so the pushrod length should not change, correct?
I'd also like to change my coolant while I'm in there (coming up on the five-year birthday,) is there a preferred way to go about doing that while swapping the heads?
Last edited by BigVette427; 01-12-2017 at 10:51 AM.
#173
Tech Contributor
^^^ With regard to the pushrods I reused mine when I swapped heads years ago. That said mine are after market hardened shafts.
On the coolant you are gonna drain your radiator before starting and even do you'll lose a bunch on the floor when you remove the heads. I drained my expansion tank to and filled with new fluid and called it done.
On the coolant you are gonna drain your radiator before starting and even do you'll lose a bunch on the floor when you remove the heads. I drained my expansion tank to and filled with new fluid and called it done.
#174
I'm preparing to do my head swap on my '12 LS7 sometime soon, and so I'm going over everything in this thread; thank you for the DIY and all the tips! One question that I have is why is the GM procedure in 23-b for re-installing rocker arms not required? Is this b/c of the 23 ft/lbs is a low number? (It's probably a wise idea to rotate the crank and move every piston to the bottom of the bore and make sure everything is clean anyways, right?)
Also, I'm happy with the OE LS7 cam, but I do plan on changing my springs. Is there any reason why I couldn't re-use my original GM pushrods after re-building my heads? I plan on going with the PSI 1511ML springs and Ti retainers, but I believe that retains the OE dimensions, so the pushrod length should not change, correct?
I'd also like to change my coolant while I'm in there (coming up on the five-year birthday,) is there a preferred way to go about doing that while swapping the heads?
I did this all myself using this wonderful write up DIY...and a BTR cam, springs, Ti retainers, and it runs great..... good luck....526RWHP with just a cam.......
#176
Team Owner


#177
Melting Slicks


#178
Intermediate


Member Since: Oct 2016
Location: Maryville Tennessee
Posts: 45
Likes: 0
Received 14 Likes
on
4 Posts
I just wanted to post my appreciation for this DIY. I have the factory shop manuals, but this write-up made the process much easier.
I'll also throw my experience in:
1) Take pics of the routing of all the wiring and hard/PCV lines. They can pretty much only go back one way, but good pics make it easier and faster. I put my car back together six weeks after taking it apart (machine shop wait time), so my memory was starting to fade on the finer details.
2) In step 27 on the original post, the torque spec is incorrect for the four small bolts that hold the power steering pump to the alternator bracket. It should be 18 ft/lbs.
3) I drained my cooling system the night before and let it drip into a bucket all night. When I pulled my heads, I had very little coolant run into the bolt holes or the floor.
4) I screwed up cleaning the bolt holes using the "grind a groove in an old bolt" method. I've done this before on other things and it has worked fine. It worked fine on the large head bolts. On the small 8mm ones, I ground a couple of grooves and hit the bolts with a wire wheel to remove any burrs. On the first use it threaded in fine by hand and immediately seized when trying to remove it. It must have had a reverse burr on it that caught coming out. I worked it back and forth but it eventually broke off, leaving about an inch in the block. I was able to drill it out and remove it without damaging the threads too badly (it holds the torque spec fine) but it was stressful I would recommend buying the cleaner taps (ARP 912-0001 for the 8mm bolts and ARP 912-0011 for the large bolts). The cleaner taps removed quite a bit of gunk from the larger bolt holts that the grooved bolts didn't.
5) I found the best method for cleaning the head bolt holes of oil/coolant was to blow it out with compressed air, spray full with brake cleaner (use a rag to prevent spatter onto paint), blow out, and repeat a few times.
6) Do yourself a favor and at least go back with ARP head bolts and forget all that torque to angle business. Plus they're reusable if you ever need to pull the heads again.
7) Buy yourself one of these: UView 550000 Airlift Cooling System Leak Checker/Filler. I wish I had one of these years ago. It makes refilling the coolant system a 5 minute job. You turn the ignition on and set the heater to max to open up the heater core, then pull a vacuum with this tool from the fill tank. Then attach the filler line and drop the end in a bucket of water or coolant. Open the valve and your system is completely full with no air pockets in a minute or two. No sitting there baby sitting the fill tank, waiting on coolant to drain into the system. I used it several times as I filled with water, ran it until it warmed up, and then drained before filling with antifreeze. Worked awesomely.
- Dave Disney
I'll also throw my experience in:
1) Take pics of the routing of all the wiring and hard/PCV lines. They can pretty much only go back one way, but good pics make it easier and faster. I put my car back together six weeks after taking it apart (machine shop wait time), so my memory was starting to fade on the finer details.
2) In step 27 on the original post, the torque spec is incorrect for the four small bolts that hold the power steering pump to the alternator bracket. It should be 18 ft/lbs.
3) I drained my cooling system the night before and let it drip into a bucket all night. When I pulled my heads, I had very little coolant run into the bolt holes or the floor.
4) I screwed up cleaning the bolt holes using the "grind a groove in an old bolt" method. I've done this before on other things and it has worked fine. It worked fine on the large head bolts. On the small 8mm ones, I ground a couple of grooves and hit the bolts with a wire wheel to remove any burrs. On the first use it threaded in fine by hand and immediately seized when trying to remove it. It must have had a reverse burr on it that caught coming out. I worked it back and forth but it eventually broke off, leaving about an inch in the block. I was able to drill it out and remove it without damaging the threads too badly (it holds the torque spec fine) but it was stressful
 I would recommend buying the cleaner taps (ARP 912-0001 for the 8mm bolts and ARP 912-0011 for the large bolts). The cleaner taps removed quite a bit of gunk from the larger bolt holts that the grooved bolts didn't.
5) I found the best method for cleaning the head bolt holes of oil/coolant was to blow it out with compressed air, spray full with brake cleaner (use a rag to prevent spatter onto paint), blow out, and repeat a few times.
6) Do yourself a favor and at least go back with ARP head bolts and forget all that torque to angle business. Plus they're reusable if you ever need to pull the heads again.
7) Buy yourself one of these: UView 550000 Airlift Cooling System Leak Checker/Filler. I wish I had one of these years ago. It makes refilling the coolant system a 5 minute job. You turn the ignition on and set the heater to max to open up the heater core, then pull a vacuum with this tool from the fill tank. Then attach the filler line and drop the end in a bucket of water or coolant. Open the valve and your system is completely full with no air pockets in a minute or two. No sitting there baby sitting the fill tank, waiting on coolant to drain into the system. I used it several times as I filled with water, ran it until it warmed up, and then drained before filling with antifreeze. Worked awesomely.
- Dave Disney
#179
Great tutorial! I'll be swapping out my stock heads for a set that have been reworked by American Heritage Performance, and this write up will be a serious aid for me, I do have one question, though... Step #3 says to remove the POSITIVE battery cable. I've always removed the NEGATIVE battery cable on my previous vehicles. Can someone confirm it should be the POSITIVE cable, and explain why? Two notes about me: I'm new to the Corvette scene AND -- to me -- electricity is "magic" (I just do not understand it)! Thanks in advance for any educational feedback!
#180
Burning Brakes


The reason for disconnecting the negative, is to avoid any possible chance of your metal wrench "accidentally grounding" , say by way of slipping out of your hand, which would then have lots of juice flowing through this connection.


 ...and the detail and explicit instructions have convinced me to save my pennies and pay someone to do this as it is way over my capabilities.....


