When you click on links to various merchants on this site and make a purchase, this can result in this site earning a commission. Affiliate programs and affiliations include, but are not limited to, the eBay Partner Network.
C6 Corvette ZR1 & Z06General info about GM�s Corvette Supercar, LS9 Corvette Technical Info, Performance Upgrades, Suspension Setup for Street or Track
I am making this thread into a DIY on modifying the factory Z06 NPP mufflers into full 3" tubing. The factory exhaust baffles measure 60mm, about 2.35", hardly ideal for an LS7! This project entails the removal of the factory 2.5" perforated snake bend in the factory dual mode muffler, with 3" piping and 76mm baffles as replacements. I have not confirmed if there is a performance gain with modifying the factory exhaust, but I will have dyno numbers very soon to verify this (baseline is already taken). Results will be verified on the exact same dyno (Dynojet 224x). The total cost for the project is relatively modest, about $200 in parts, figure another $40 in shop materials. I tried to do this project as cheap as possible, in the same spirit as "The Muffler Mod". I am even reusing all 4 exhaust tips, modifying the center two for 3" inlets by removing the inner wall. Reutilizing the factory tips keeps costs down!
(4) 60 degree, 3" radius, 3" 304 SS bends, $30 each
Tools:
Ear protection
Eye protection
Gloves!!
Drill
MIG welder or TIG welder
Wire brush
76mm Holesaw
Metal hacksaw
Flat file
Round file
Metal cutoff wheel
Metal chop saw
WD40
15mm Socket
18mm Socket
10mm wrench
1/8" punch
Hammer
Flat tip screwdriver
Ruler with dial gauge
DIY:
The slides below are out of order, but, it isn't hard to get an idea of how to sequence the operation. Some slides are not yet captioned, but seeing V8sten's progress made me feel super guilty about not getting my act together, so I am posting my current progress. I'll finish up my notes soon.
THIS is exactly what is wrong with this country! Some place two parents spent a ton of cash to send their child to college, he made his living designing the very best exhaust system for a Corvette money could buy. And what happens, some guy decides he is gona chop it all up and put it back together so it sounds better. Can you believe it?
And this is exactly what is right about this country, no matter how smart you think you are, there is always somebody out there just a wee bit ahead of ya, besides GM would never spend $40 apiece for the butterflies, but we sure will.
Thanks for the comments! The project is coming along very smoothly. Teardown of the 2.5" is complete, fabrication is almost complete for the 3" pipes, almost to the final welding phase. Planning on TIG for the pipe to pipe seams, MIG for pipe to can and can to can seams.
Taking my time, measuring a lot and taking pictures of all my measurements for the How To. I'm confident this could be an 8 hour job with a decent blueprint to start out with. Maybe twice as long as a muffler mod, it's really not much more intensive, just a few extra steps really.
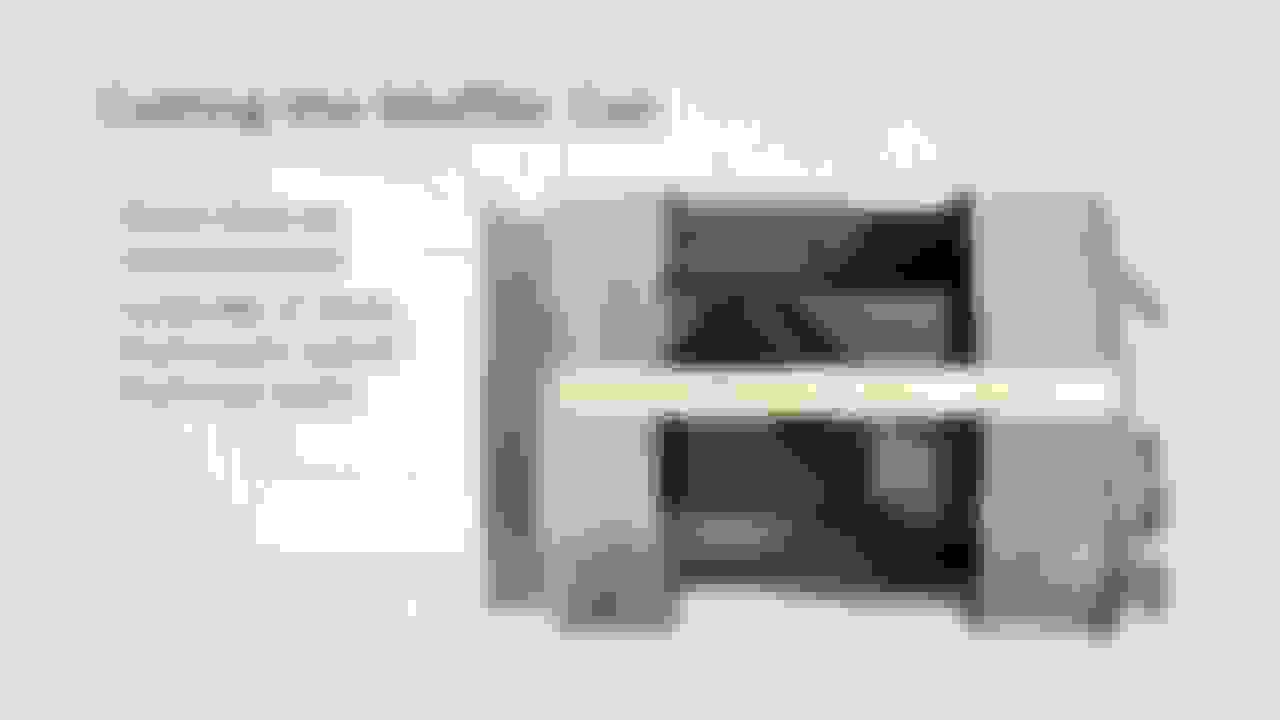
I initially planned to cut Muffler Mod access holes on each side of the muffler, but chose instead to make two cuts around the circumference of the can (2.5" from front edge, 3.5 from rear edge, same as muffler mod). I had to watch the depth of the cut to ensure I didn't slice through one of the two quiet pipes. I chose to dissect the muffler for two reasons, instead of access holes:
-Longer welds, but easier welds. I hate big gobby welds, closing an 1/8" gap with a Mig, with sheetmetal!, can be time consuming and is far from precise. By making two circumference cuts I can butt those ends together for nice clean welds with minimal filler metal, the can will shorten about 1/16"-1/8" total, imperceptible to the naked eye, fitment will be great.
-Complete access to muffler surgery, I can't even imagine trying to do this project with less access!
-Only one lateral weld. I cut right at the lateral seam running the length on the top of the can, that way the finish weld has more substrate metal to bond to, less chance of burning a hole, and filling it...
Also chose to bisect the quiet pipes so that I could get a straight shot at cutting out the 2.5" pipes as they went through the inner bulkheads. 3" Holesaw liberated those guys really quick. Also need to have the front and rear halves bisected in order to install the two bends per muffler, so it was pretty much a necessity to complete separate the mufflers. The good news is that the quiet pipes act like a passive jig, so welding those back together precisely will ensure complete alignment of the rest of the assembly.
THIS is exactly what is wrong with this country! Some place two parents spent a ton of cash to send their child to college, he made his living designing the very best exhaust system for a Corvette money could buy. And what happens, some guy decides he is gona chop it all up and put it back together so it sounds better. Can you believe it?
And this is exactly what is right about this country, no matter how smart you think you are, there is always somebody out there just a wee bit ahead of ya, besides GM would never spend $40 apiece for the butterflies, but we sure will.
I rate this thread as OUT STANDING!
Im no engineer but the gm engineers know a little more than most of us on this if I'd imagine. I'm eager to see if it helps as this would make a fun project to mimick is the gains are worth pulling the mufflers again, 20-30+HP.
It basically gives you the breakdown of exhaust flow, gases and physics stuff. Ever wonder why everybody's headers are choked down at the collector? Well this explained that and maybe GM utilizes the same technique when combined with stock manifolds and the stock exhaust.
GM had it right to work with stock components. If you want aftermarket then just buy aftermarket designed to work with more HP. Bigger is not always better but sounds as if it should lol.
Who knows why GM insisted on 60mm internals. Could be that Pierburg, the OEM for the NPP butterfly valve, does not make a valve larger than 60mm. Could be packaging, as the 3" piping comes within 1/16" of both quiet pipes as it runs diagonally past both, its a tight fit. Could be cost, cheaper to make one muffler than fits all Corvette models, as the internals are the same between base and Z06, the over the axle pipe is obviously larger on the Z06, but tapers to 60mm inside.
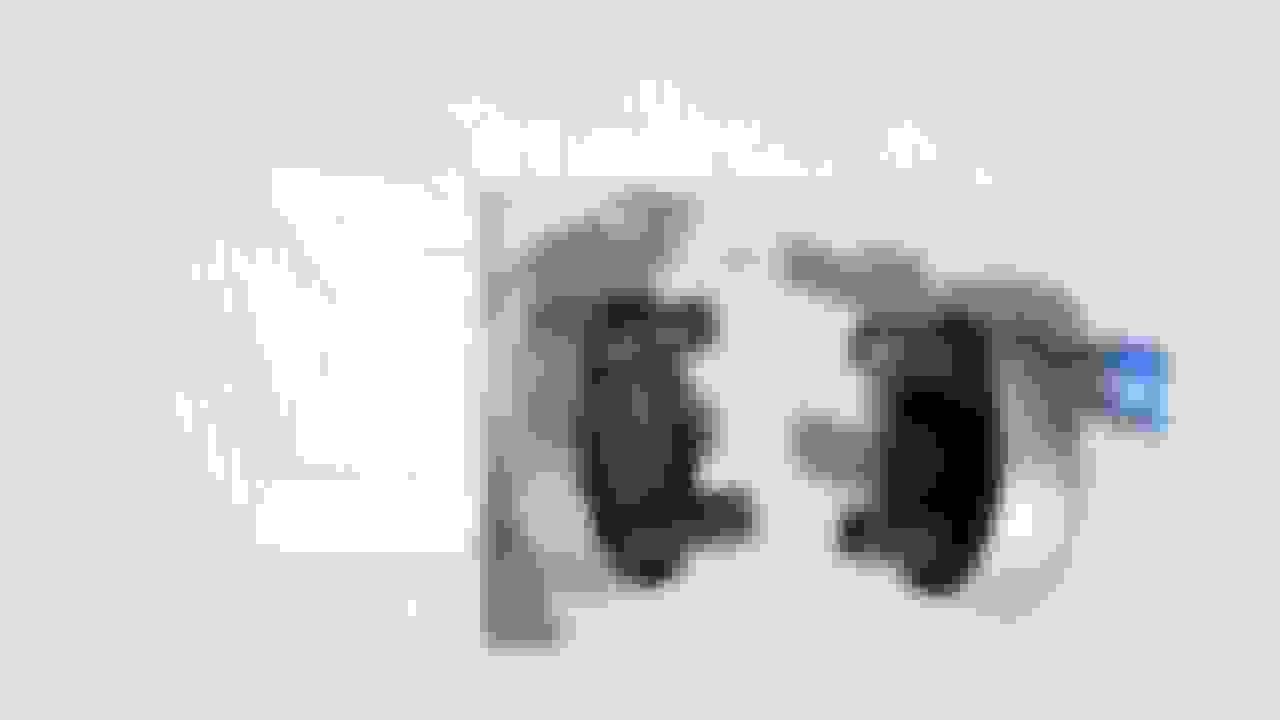
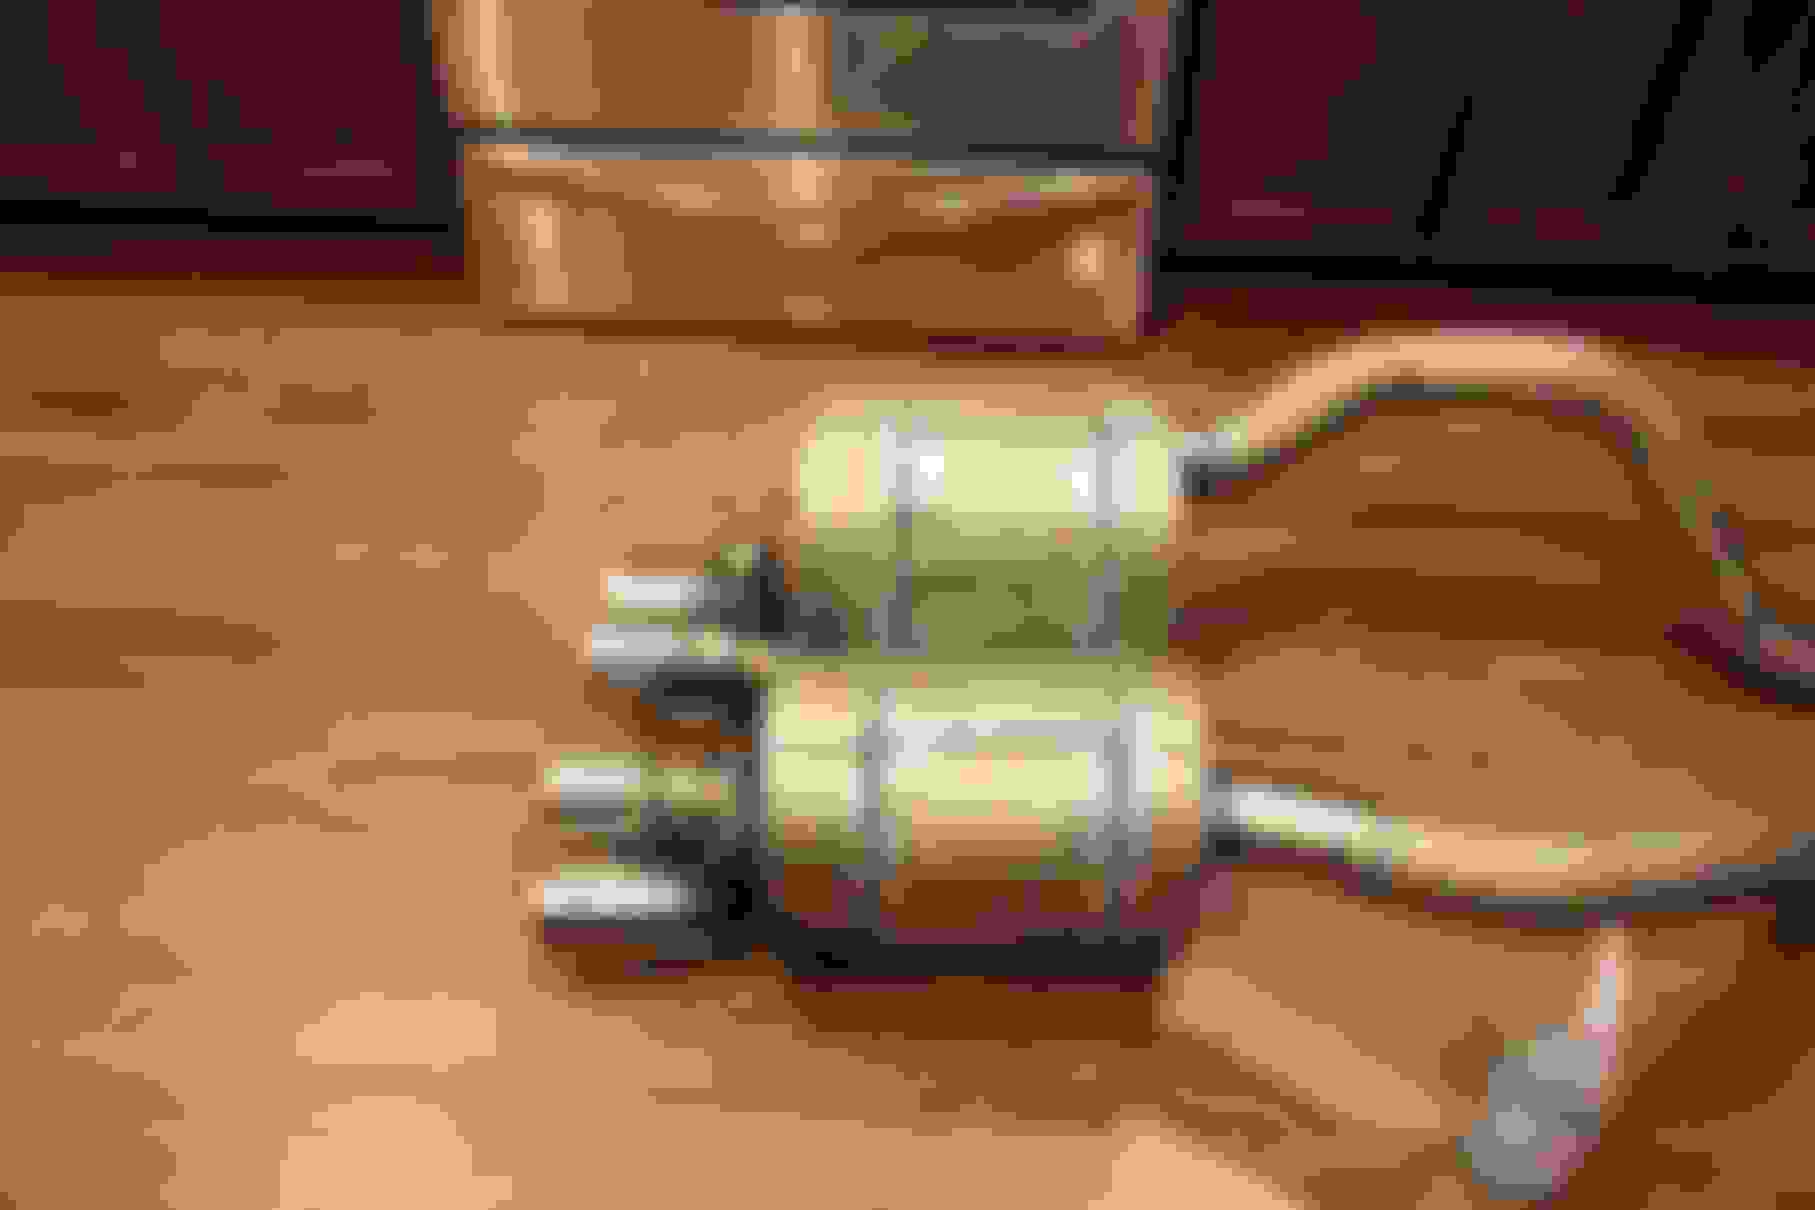
Comparison photo.
Now, the gain is to be seen, but I suspect there will be a few hp gained. My car did 581rwhp SAE on a dynojet 224x the other day. We'll see what the "after" numbers are by next weekend. But, no, GM did not have it right with a 60mm muffler. Those components do not belong on even a mild LS7. Hard to know if the increased muffler flow would show up as a power gain on factory manifolds or cats, perhaps there wouldn't be a gain, or there might. Mine is a HCI car with LG 1 7/8" headers, no cats, meziere WP, MSD/NW 102. So it breathes pretty deep and would be a good candidate to show whether or not the 60mm exhaust poses as a restriction to flow and performance.
Sound should rival a Fusion or something, I'm predicting both louder and quieter, the quiet mode should be absolutely undisturbed, as the four 3/4" bypass holes are in the exact same position when the 76mm butterfly is closed, and the quiet pipes are 99% unmodified. Open mode should be the-world-is-about-to-end loud though.
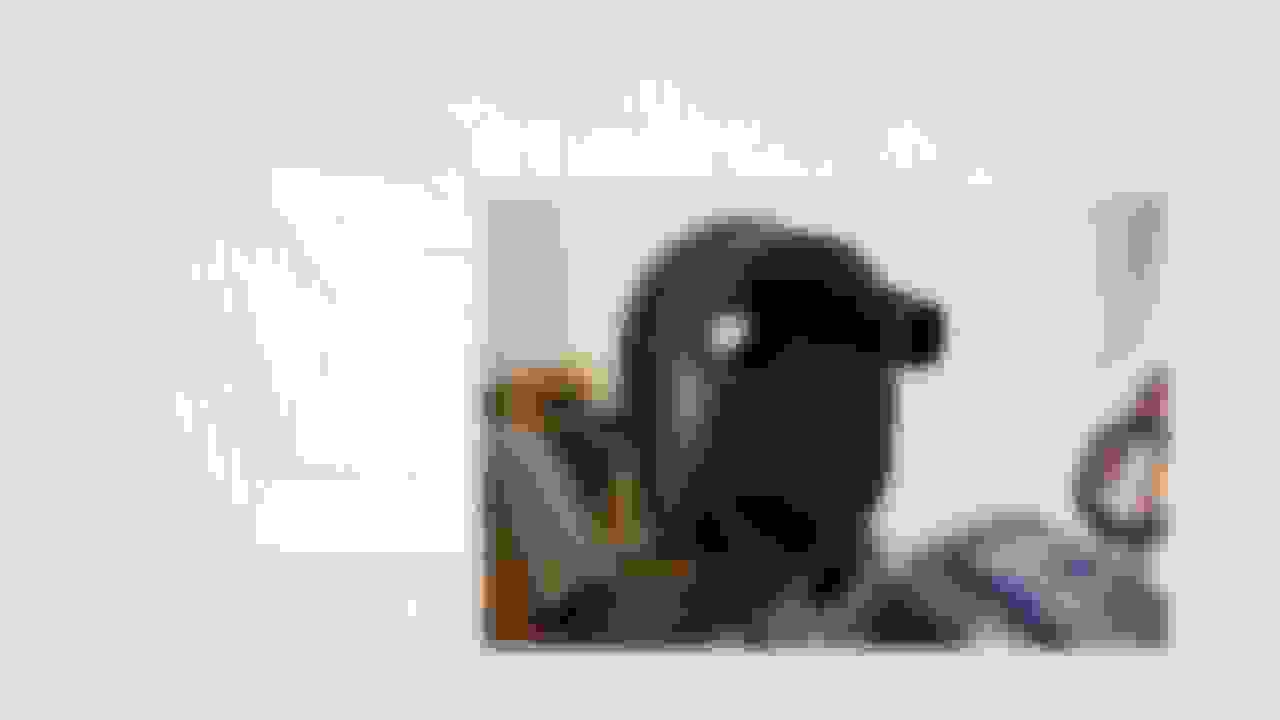
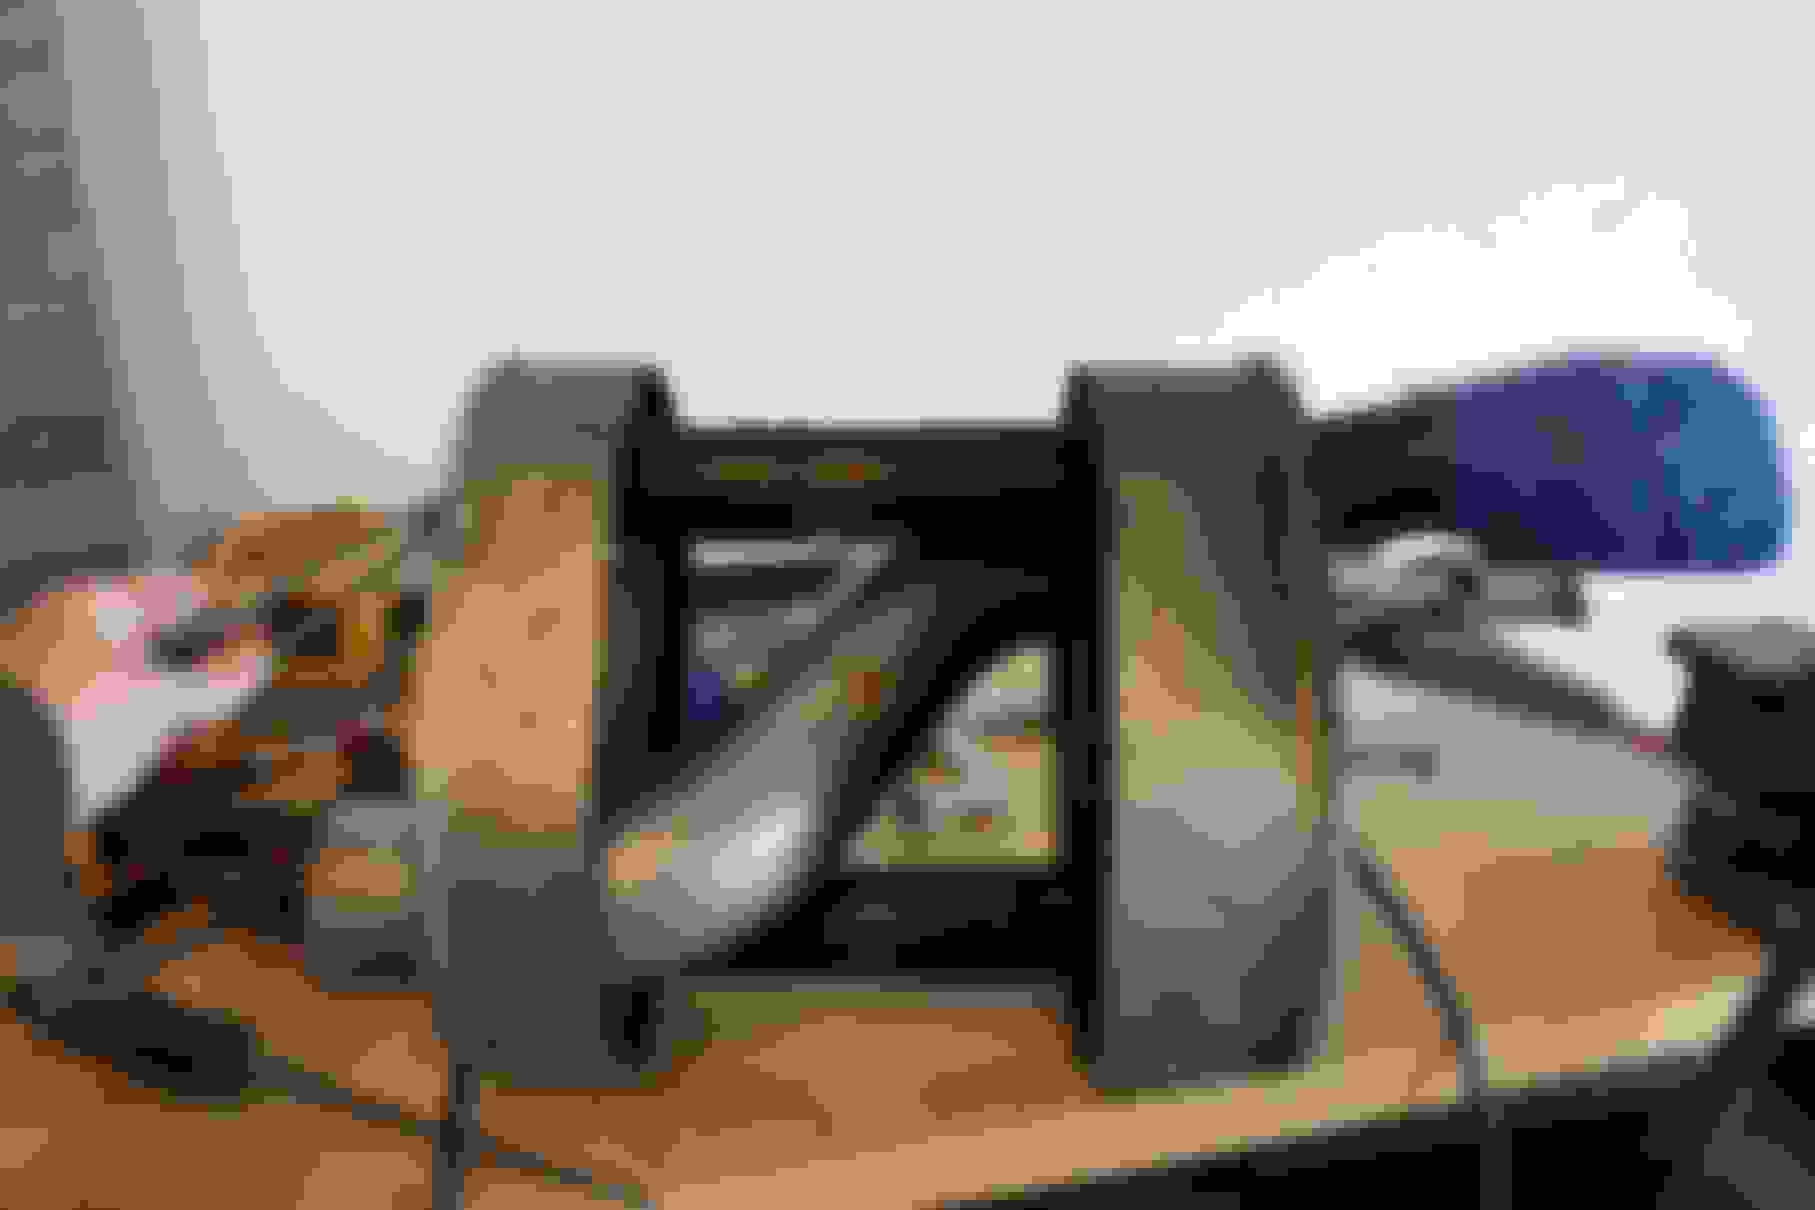
Fabrication on Pass Side is complete. No headaches, just lots of details to slow you down. I ended up using the MIG for the welding, I tried the TIG but wasn't satisfied with the geometries of the torch, it's a tight space to work in, the MIG is FAR more forgiving.
I'm a rookie welder, please bear that in mind, I know there are Yoda Master welders in the audience
Mocking up the 60 degree bends
Replacing the atrocity that GM used as a transition bend with a proper mandrel
76MM Butterfly Valve
Just need to smooth the welds, final positioning of the tips (critical, most visible part of the muffers!), repack, and close up the can welds
I am making this thread into a DIY on modifying the factory Z06 NPP mufflers into full 3" tubing. The factory exhaust baffles measure 60mm, about 2.35", hardly ideal for an LS7! This project entails the removal of the factory 2.5" perforated snake bend in the factory dual mode muffler, with 3" piping and 76mm baffles as replacements. I have not confirmed if there is a performance gain with modifying the factory exhaust, but I will have dyno numbers very soon to verify this (baseline is already taken). Results will be verified on the exact same dyno (Dynojet 224x). The total cost for the project is relatively modest, about $200 in parts, figure another $40 in shop materials. I tried to do this project as cheap as possible, in the same spirit as "The Muffler Mod". I am even reusing all 4 exhaust tips, modifying the center two for 3" inlets by removing the inner wall. Reutilizing the factory tips keeps costs down!
Cool project. Glad to see someone tackle this, as I've thought about doing this myself, but once I got it open for the muffler mod I realized how much work it'd be do it right.
Then I decided I'd rather just get a set of LG mufflers or something lol
thank you for this, now i have another project to do.
It's been fun so far, I'm happy to contribute something to the C6 Z06 brotherhood. I've done every mod on my car in my own garage, and I think that is a quality that makes the C6Z special. Engineering where it counts, without complexity where it shouldn't be. I would never be brave enough to try to pull the heads on a M5 V10 in my garage, for example. Can of worms!!
This is on track to be a $200 mod. Even if it's only worth 7-9rwhp (I'll find out on the dyno next weekend), that is still cheap horsepower per dollar. Still on track to be about twice as difficult as the muffler mod (which a complete amateur could do). Probably splits the difficulty between installing long tubes and pulling/installing heads. It's more time consuming than difficult, great winter project!
Fabrication on Pass Side is complete. No headaches, just lots of details to slow you down. I ended up using the MIG for the welding, I tried the TIG but wasn't satisfied with the geometries of the torch, it's a tight space to work in, the MIG is FAR more forgiving.
I'm a rookie welder, please bear that in mind, I know there are Yoda Master welders in the audience
Mocking up the 60 degree bends
Replacing the atrocity that GM used as a transition bend with a proper mandrel
76MM Butterfly Valve
Just need to smooth the welds, final positioning of the tips (critical, most visible part of the muffers!), repack, and close up the can welds
This picture makes it look like one could almost get away with a straight shot from outside the muffler to the final bend inside the can, and eliminate a couple curves...
I finished up the welding today. Man, I salute the fabricators who specialize in sheetmetal work. They must have the patience of an Oak tree.
The great news, NO HEADACHES! Everything went together and fit like planned.
Exhaust tone: Sounds identical to the B&B Fusion, judging by the sound clips on the internet. Slightly more noise than stock with the baffles closed, sounds like a modded Z now. Open mode is just as ungodly as one might expect 3" straight pipes to be, sounds good! The closed mode increased noise surprised me, right after I fired it up I got out to make sure the baffles were closed, they were, its just got some rumble now. Tons more popping on decal, sounds amazing. I'll post up a video soon. I had to slave this afternoon to finish the car so that I can drive it tomorrow to work. No more midnight welding for this guy, I'm sure my neighbors will be happy, they probably thought I was Dr Frankenstein with all my welding with the garage door open.
I'll draft the How To over the weekend. I have lots of pictures to incorporate.
Cost was $200 in parts, $50 in MIG wire, brushes, drill bits, cutting wheels, etc.
Total labor was about 15 hours I would say. Probably 5 of that was just getting the sheetmetal back on the can, but I'm a perfectionist, and I refused to narrow the center section so it took me inching my way forwards with successive tack welds to get it back on. A reasonable person could get it done in 2 hours, the sheetmetal that is.

 11-13-2015, 11:44 PM