When you click on links to various merchants on this site and make a purchase, this can result in this site earning a commission. Affiliate programs and affiliations include, but are not limited to, the eBay Partner Network.
C6 Corvette ZR1 & Z06General info about GM�s Corvette Supercar, LS9 Corvette Technical Info, Performance Upgrades, Suspension Setup for Street or Track
Well I am all for replacing cheap parts that might be causing a problem. But at some point you have to stop otherwise you end up replacing every part on the car at once to cure one problem (an exaggeration but you get the point). It is quick and easy to replace if you end up needing it. Can have it in 2 days and takes 20 minutes. Most guys end up not needing the harness and return it.
In NemeZ case it sounds like the harness itself was the problem. This usually happens if the harness got too close to the exhaust and the wires burned up. I've seen it happen on exhaust swaps.
I'll post up how I do the brakes shortly. Was just writing it.
copy when I pull it out I'll inspect harness for any sign of melting before I buy it.
Tools needed: 19mm socket, 21 mm socket, socket wrench, 18-24" breaker bar wrench, tube of brake lube, flat head screw driver for prying purposes, C clamp, jack, jacking pucks, jack stands (if you want to be safe), PB Blaster/WD40, Torque wrench capable of at least 130 ft-lb, gloves, rags, box, emery paper (optional).
1) Break lug nuts using 19mm socket and place jacking pucks.
2) Jack car up from jacking pucks. (or with Quickjack if you own one)
3) Place jackstands appropriately and a place a random box you have laying around under caliper (will be used later)
4) Finish removing lug nuts and then remove wheel
5) Use a wrench with a 21 mm socket on the two large bolts located at the BACK of the caliper. You can't miss them. One on top and one on the bottom going through the back of the caliper. Unbolt from BEHIND the caliper (under the car). May have to lay on your back if you can't reach. It also helps to turn the wheel so the tire turns in and it makes it easier to access the bolts. Also may need a breaker bar or long, sturdy wrench for leverage at first to get the bolts loose, as they are on very, very tight. If stuck on, use PB Blaster or WD40, put your purse down, use breaker, make sure you are turning bolt the correct way and try again. Once bolt is broke loose, just wrench it fully loose of the threads then pull it out. If you have an impact wrench with a swivel socket this can be used here too.
6) Once bolts are removed, pry caliper off rotor. May require persuasion
7) Place caliper carefully on your box from instruction 3 to support it so that brake lines don't pull off
8) Compress all pistons on each side of caliper with old pads still in. A simple $3 C clamp will suffice. Just put clamp on, tighten then loosen. Pistons will compress. This makes it easier when new pads go on as they will be thicker and may not clear the rotor due to pistons being out. You can open the brake reservoir inside the engine in case fluid is pushed back through. Place a rag around the area in case it splashes. Remove clamp.
9) Pry out/remove old pads. May need a little persuasion with a screw driver or fingers, may just fall out if caliper is turned over. Anti-rattle clips can stay in if you are careful
9a) Clean caliper thoroughly (good time to do it). Nothing fancy, just clean it up.
9b) Inspect rotors. You can do a light sand using 80-100 grit emery paper if you are feeling fancy. I will list below the factory specs on the rotors.
10) Lube up new pads with brake lube on the non-friction surfaces (sides and back). The **** gets everywhere so keep a rag handy. If you don't know how to apply the lube, don't use it. You basically just smear some of it on the backing plate and sides. DO NOT LUBE THE FRICTION SURFACE (PAD).
11) Place new pads in caliper with pad/friction side facing the correct way. If you don't know the right way, think in your brain about what is going on, then place on them the way that would make sense for the friction part of the pad to compress onto the rotor, ie., common sense. Align old anti-rattle clips as you are placing pad in caliper. It is a little tricky. The clips need to kind of be half installed as you insert the pad. Use the end of a screwdriver to "push" the clips in, being careful not to bend the clip. They will snap in snugly once done right with the pad installed. May take a few tries. You are smart and will figure out this tricky but simple task.
12) Replace caliper on rotor. It may take a little jiggling and encouragement to get it back on with the new pads in the caliper. Caliper will slide/clamp on rotor in a satisfying way once aligned and pushed back on properly.
13) Re-install both rear caliper bolts. Use some blue loctite if you feel like it. Get them started with your fingers. May have to adjust caliper slightly to get bolt holes aligned. Then crank them down and tighten to 129lb/ft using torque wrench. It will take a bit of muscle as the angle isn't that great to get the torque wrench to click to that. Put purse down and use a sturdy torque wrench and make sure you have leverage.
14) Inspect your work.
15) Place wheel back on car and tighten lugs snug.
16) Rinse/repeat for each corner
17) Lower car and torque lugs on wheels to 100lb/ft.
18) Before moving car, pump brakes until they regain pressure and feel firm. For the first "move" of the car, be very careful and slow until you are certain your brakes are working and pedal has pressure. Then take a nice slow drive to ensure all is functional.
19) Drink a beer
Rear rotors
New: 26 mm/1.02 in.
Minimum after resurface: 24.9 mm/0.980 in.
Discard: 24.5 mm/0.965 in.
Front rotors
New 32 mm/1.26 in.
Minimum after resurface: 30.6 mm/1.205 in.
Discard 30.3 mm/1.19 in.
this is awesome. Now not sure if it matters but I'll ask. Pressing the pads in. Pushing brake fluid back in lines. Would you suggest doing all this before I do the brake fluid change. Or all new brake fluid with motive. First. Maybe it doesn' matter. I'll find a cheap c clamp. Do I scuff rotors any way up down left right or should I go in the one directional motion. My rotors are oem but only have 7k miles. Probably not bad. But maybe scuff lightly
I would do the pads first and the bleed second. Don't try to do both at the same time. There is enough going on at once to confuse a person. The bleed should be the last thing you do before buttoning up the brakes.
For the C Clamp make sure you don't buy a small one. It needs to fit from the inside to the outside of the caliper. So the bigger the better. You can always make a large C-Clamp smaller by tightening it. You can't make a small one bigger. You can also use something like this: https://shop.advanceautoparts.com/p/...E&gclsrc=aw.ds but I just use a C Clamp as I have millions of them laying around.
The scuff should be short and sweet. You don't want to remove any actual material from the rotor itself or scratch it. You are removing old pad transfer material and preparing the rotors for the new pads. So it is a light circular sand and a little up and down, with a sanding block (emery paper wrapped around a flat surface) (few minutes per rotor) to clean off any old material and prepare them. You go over them multiple times, but you don't push down OVERLY HARD. Just even, firm pressure. You can also use Brakleen to clean the surface of the rotor after you lightly sand it. Be careful if you use this though as it is very toxic.
I had an issue with code as well, turns out I was torquing the gas cap down too much. I just installed an MSD intake and left it out since it was in the way of where my catch can mounts, so I just deleted it and never got a code.
I had an issue with code as well, turns out I was torquing the gas cap down too much. I just installed an MSD intake and left it out since it was in the way of where my catch can mounts, so I just deleted it and never got a code.
my new stant cap. Says only 3 clicks. So I only tighten to 3 clicks.
I gotta buy a breaker bar tomorrow for the caliper bolts. because I only got a 21mm in 1/2. And it's a torque wrench.
If they just did work make sure they doesn't leave th evap pipe disconnected at the firewall follow the purge pipe towards the back of engine and you will find it
If they just did work make sure they doesn't leave th evap pipe disconnected at the firewall follow the purge pipe towards the back of engine and you will find it
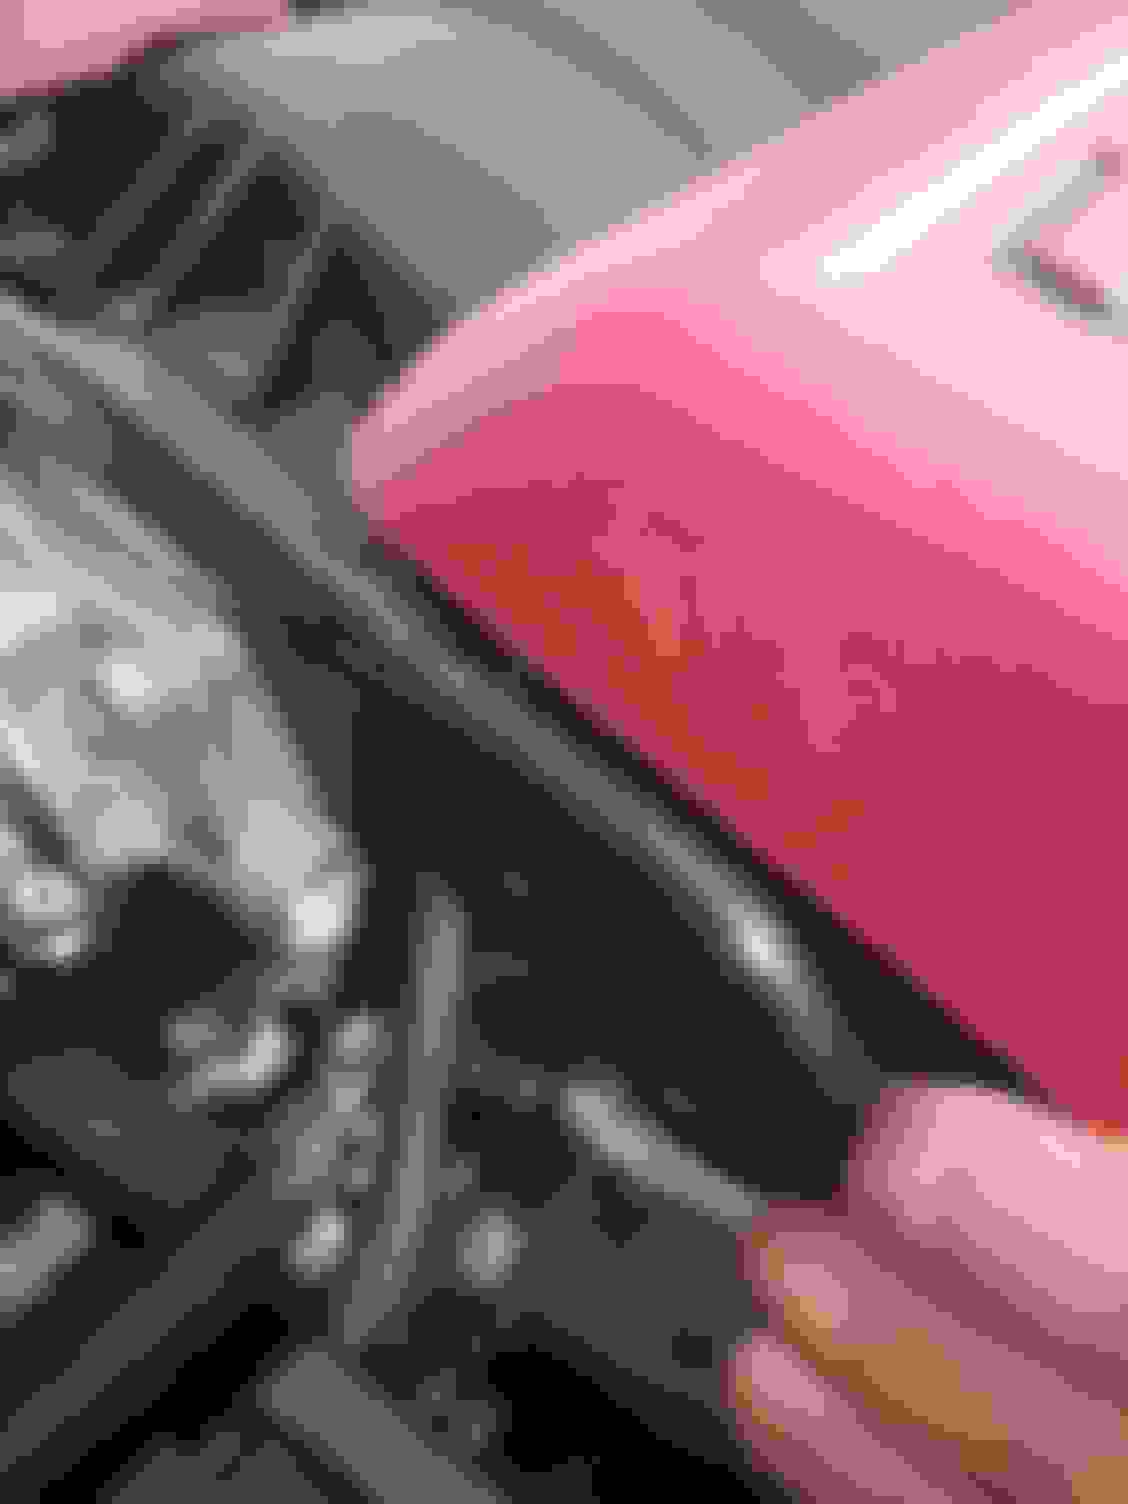
I actually decided to do a quick glance and follow the tube. Not sure if I removed it or it was always off! But on other side of throttle body on front of driver side head. Saw a loose connection completely off. I saw where it went. Clipped it right in. It snapped. I'l show a pic. Anyways. I'l start it a few times and run it see if it works. But here's a pic. .
ps. I already ordered the vent and purge solenoid. It sounds it's common so I'll just stash these parts. Not going to return them. I'l need them eventually.
The tube is basically a L shape and connects on the purge canister, then on a nipple coming from the intake manifold and then goes to the firewall and connects right next to the back of the valve cover. I guess since yours wasnt snapped in on that nipple the solenoid was triggered to read something wrong. Sad you have to double check shops work that, and this is why I do my own work on my car.
The tube is basically a L shape and connects on the purge canister, then on a nipple coming from the intake manifold and then goes to the firewall and connects right next to the back of the valve cover. I guess since yours wasnt snapped in on that nipple the solenoid was triggered to read something wrong. Sad you have to double check shops work that, and this is why I do my own work on my car.
unfortunately I didn' know what the evap tube was until I learned last night the purge solenoid. Since I took it out I woke up to your post. I followed those rubber line and bam. That was disconnected. But I'm not so sure it was always disconnected because it would be so easy to notice!!! Lol. So I snapped it in. Well see now. I'l keep the solenoids at the house for when it really goes out. IF THIS DID THE TRICK .
I have no idea why I never noticed or pulled that tube in that area. What the heck!
I just got one of these P0455. I was working on manifold and somehow the white lock clip (was off) did not hold hose on and it had popped off near the area of the throttle body. It was the hose that goes from the gas tank area up to the solenoid on front of cylinder head. Looked around a little and there it was off to the side.
That tube can be easily pulled off / vibrate lose.
What I did to prevent this was add another small rubber o-ring just inside of the fitting to keep the connection extra tight. This way the line cant wiggle off since it has the force of compressing the oring against it.

 03-20-2018, 09:43 PM


 .
.


