When you click on links to various merchants on this site and make a purchase, this can result in this site earning a commission. Affiliate programs and affiliations include, but are not limited to, the eBay Partner Network.
If you wanted to save a couple of bucks I could ship you these...
Originally Posted by schpenxel
The outlet on the x pipe is 2.5" and my axle back is 3" so I'm going to have to have that taken care of at an exhaust shop, so I figure doing it on a weekday is probably my best bet. This thing is going to be LOUD on the way to the shop
Last edited by Chiselchst; 05-07-2017 at 10:46 AM.
Looks like a 3" union would do the trick, if it's long enough. The X pipe won't have a flared end once I chop the 2.5" section off. I'm not totally sure how exhaust fittings work but it seems like something like this would work, though I'm not sure this particular one is long enough
If the x-pipe still butts against the muffler inlets when you cut off the 2.5" necked-down part of the x-pipe, then you should be able to use those 3.5 " couplers to clamp the two together, provided they're the same exact size. If not, I've seen those clamp/couplers in a 3.5" ID to 3.5" OD "adaptor/reducer" version as well.
I think I'm going to end up with a 2-3" gap between the X and muffler inlets once I chop the 2.5" section off but I'm not really sure. Since the axle back section usually goes into the X pipe an inch or so it might cancel at least some of that out.
Hoping there is some sort of union fitting or something like that that will connect the two painlessly. Worst case I'm sure an exhaust shop could knock it out in no time
I might go wander around one of the auto parts stores when I get back home and see what's available locally
I'm guessing 3, maybe 4 inches that'd need to be chopped off the end. Axleback normally goes in about an inch, so need to cover 2-3" gap that'd be left. Roughly, obviously
I would just measure the ID/OD of the Z06 mufflers, figure out what size pipe/adaptor you need to couple them to your new exhaust, and then take the two 'intermediate' pipes to a muffler shop and have them chop the smaller ends off and weld on the new connectors. That way you could then assemble the whole thing yourself and not worry about driving it to the shop with mufflers off/dangling or having the pipes welded up whilst they're on your car. I've seen welders burn up all kinds of **** on vehicles and machinery, because they can't see (or don't care) about anything else than the parts they're welding together.
Yeah I think that's what I'll do. I'll do some measuring this weekend and try to get it figured out. I was going to take a vacation day tomorrow but doesn't look like that is going to happen, too much going on at work
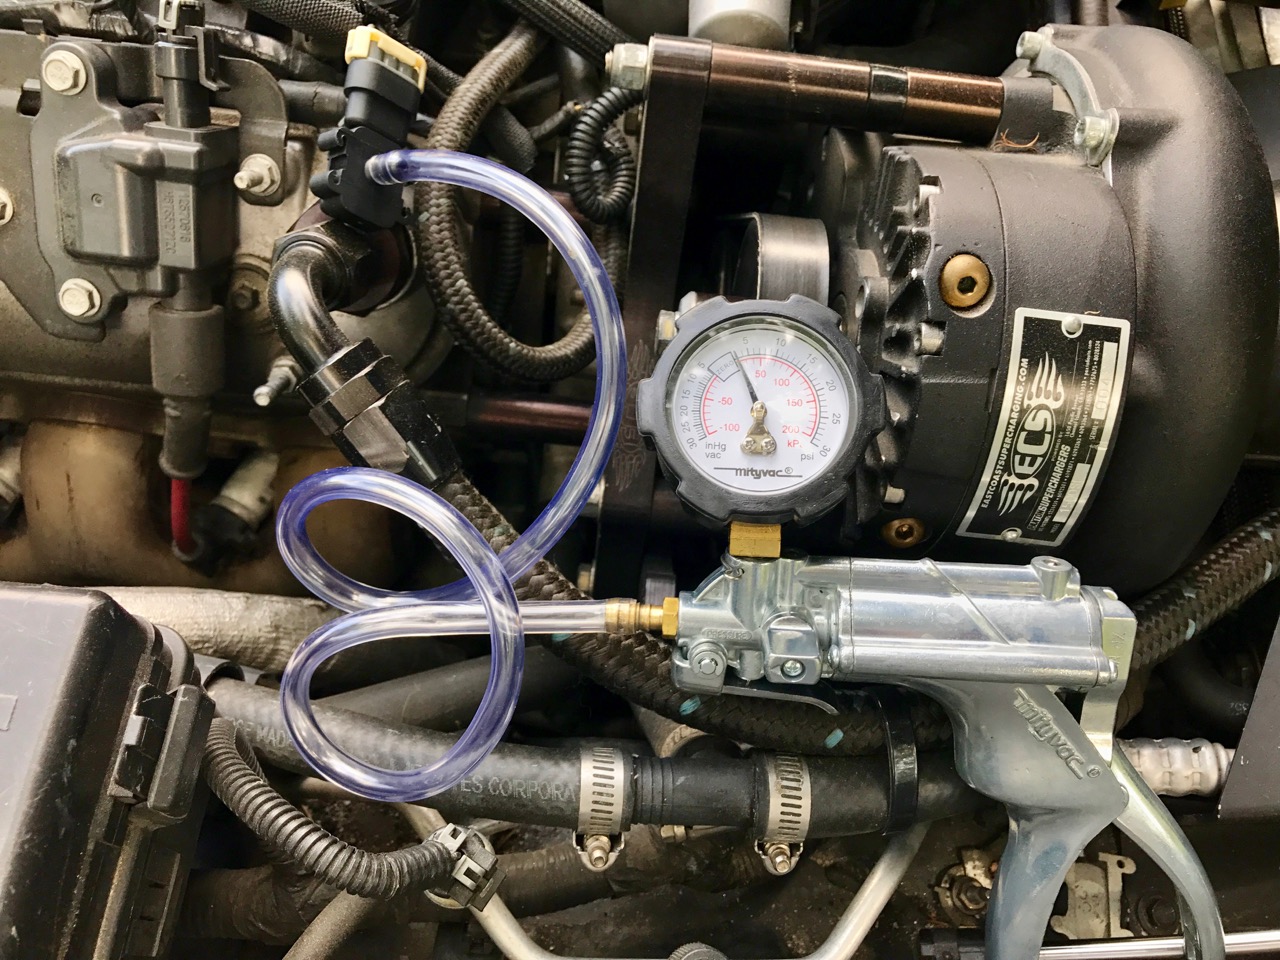
Changed to a 2 bar MAP sensor, the 2.5 bar one I had on there was made by yours truly and wasn't staying on the intake so well anymore. I was worried it was going to pop off so I bought a cobalt 2 bar one to use
I run my alky control kit off the same MAP as the engine uses, so I had to change the turn on point. Before doing this methanol would start spraying while the engine was off.. not exactly good for easy starts. I used a mityvac, hooked it to the sensor, put some pressure on it (around 5psi, though it's less in the picture) and adjusted the turn on **** on the alky box until it triggered on right around there
Then there was the whole long tubes thing to deal with. I wanted to see if there was anything else I needed to do other than chop the 2.5" section out or not..
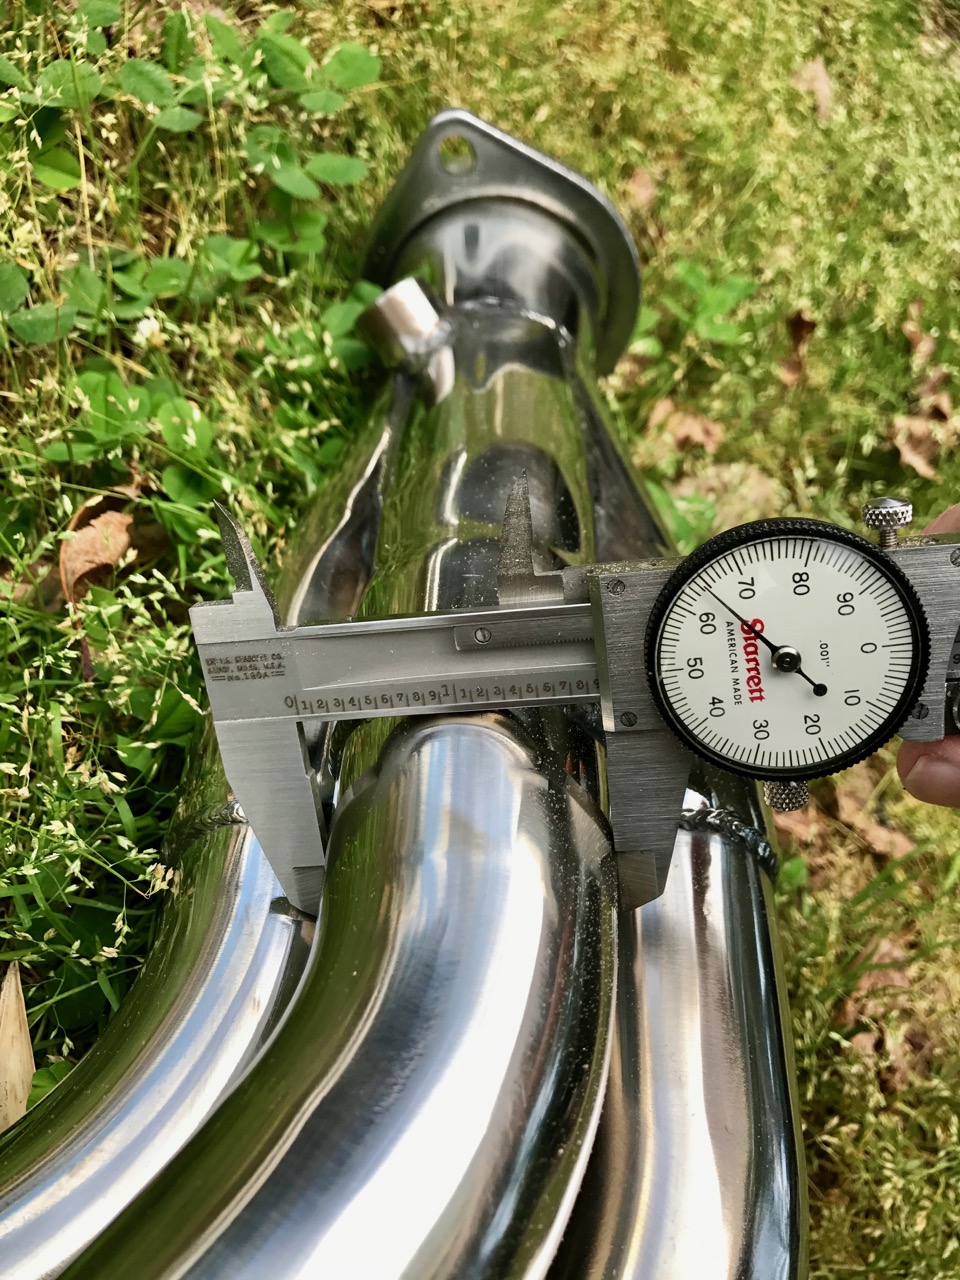
The bolts supplied for putting the manifold to the X pipe are too short first thing. Guess I need to get some new ones of those
Doesn't look half bad. I'm sure that will change after it's heated up a few times
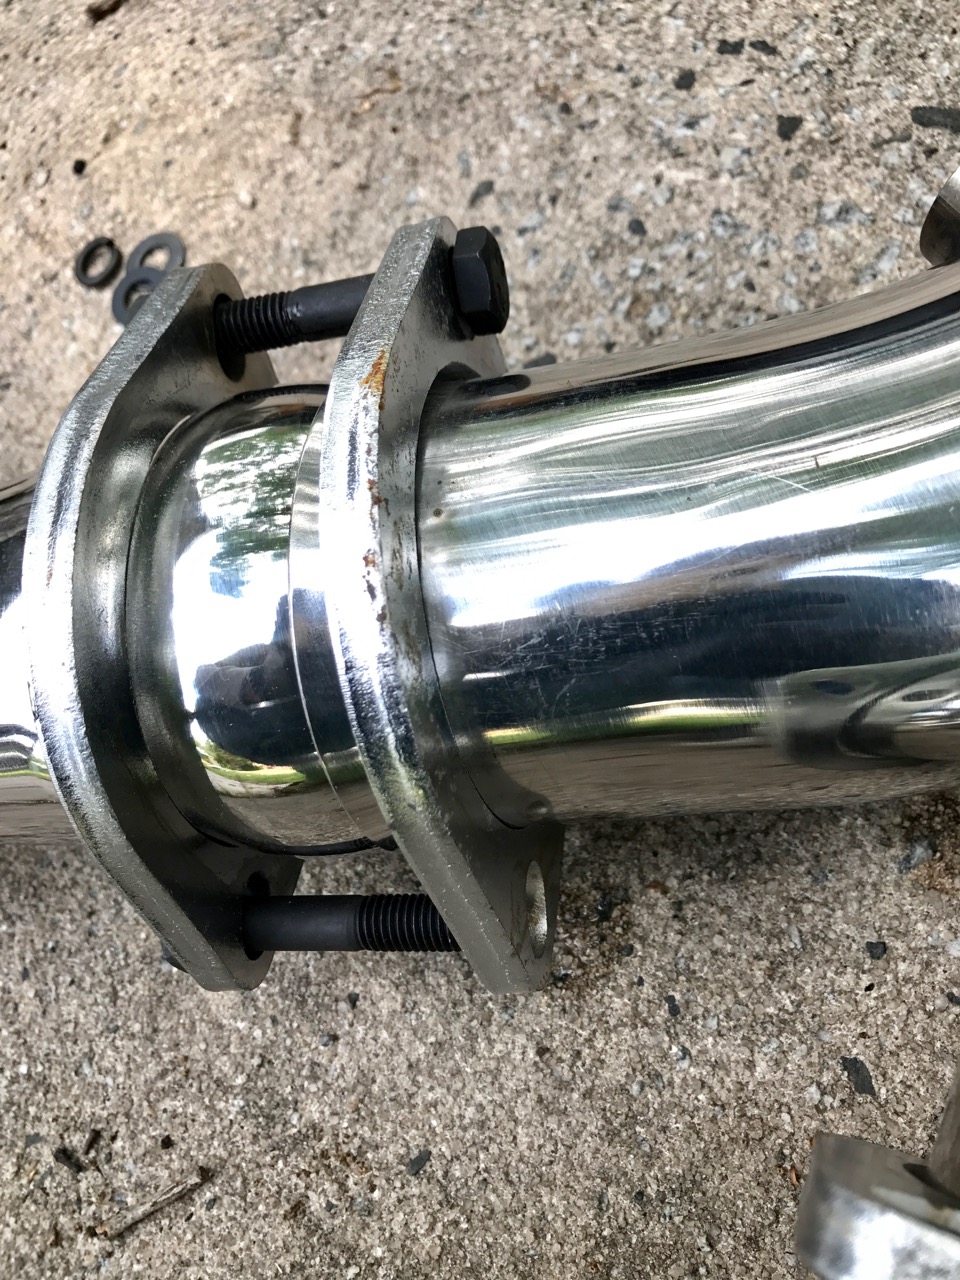
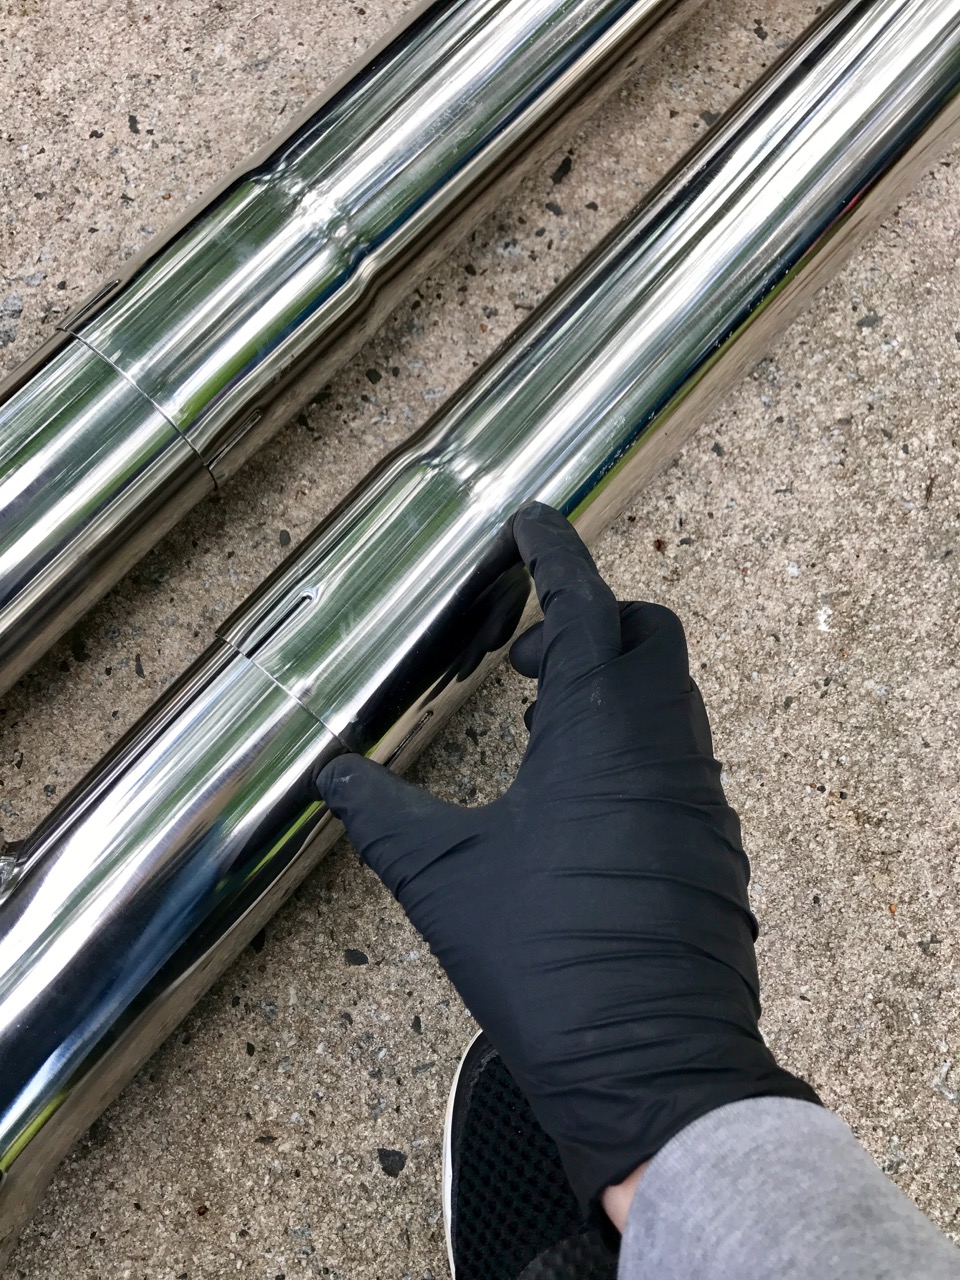
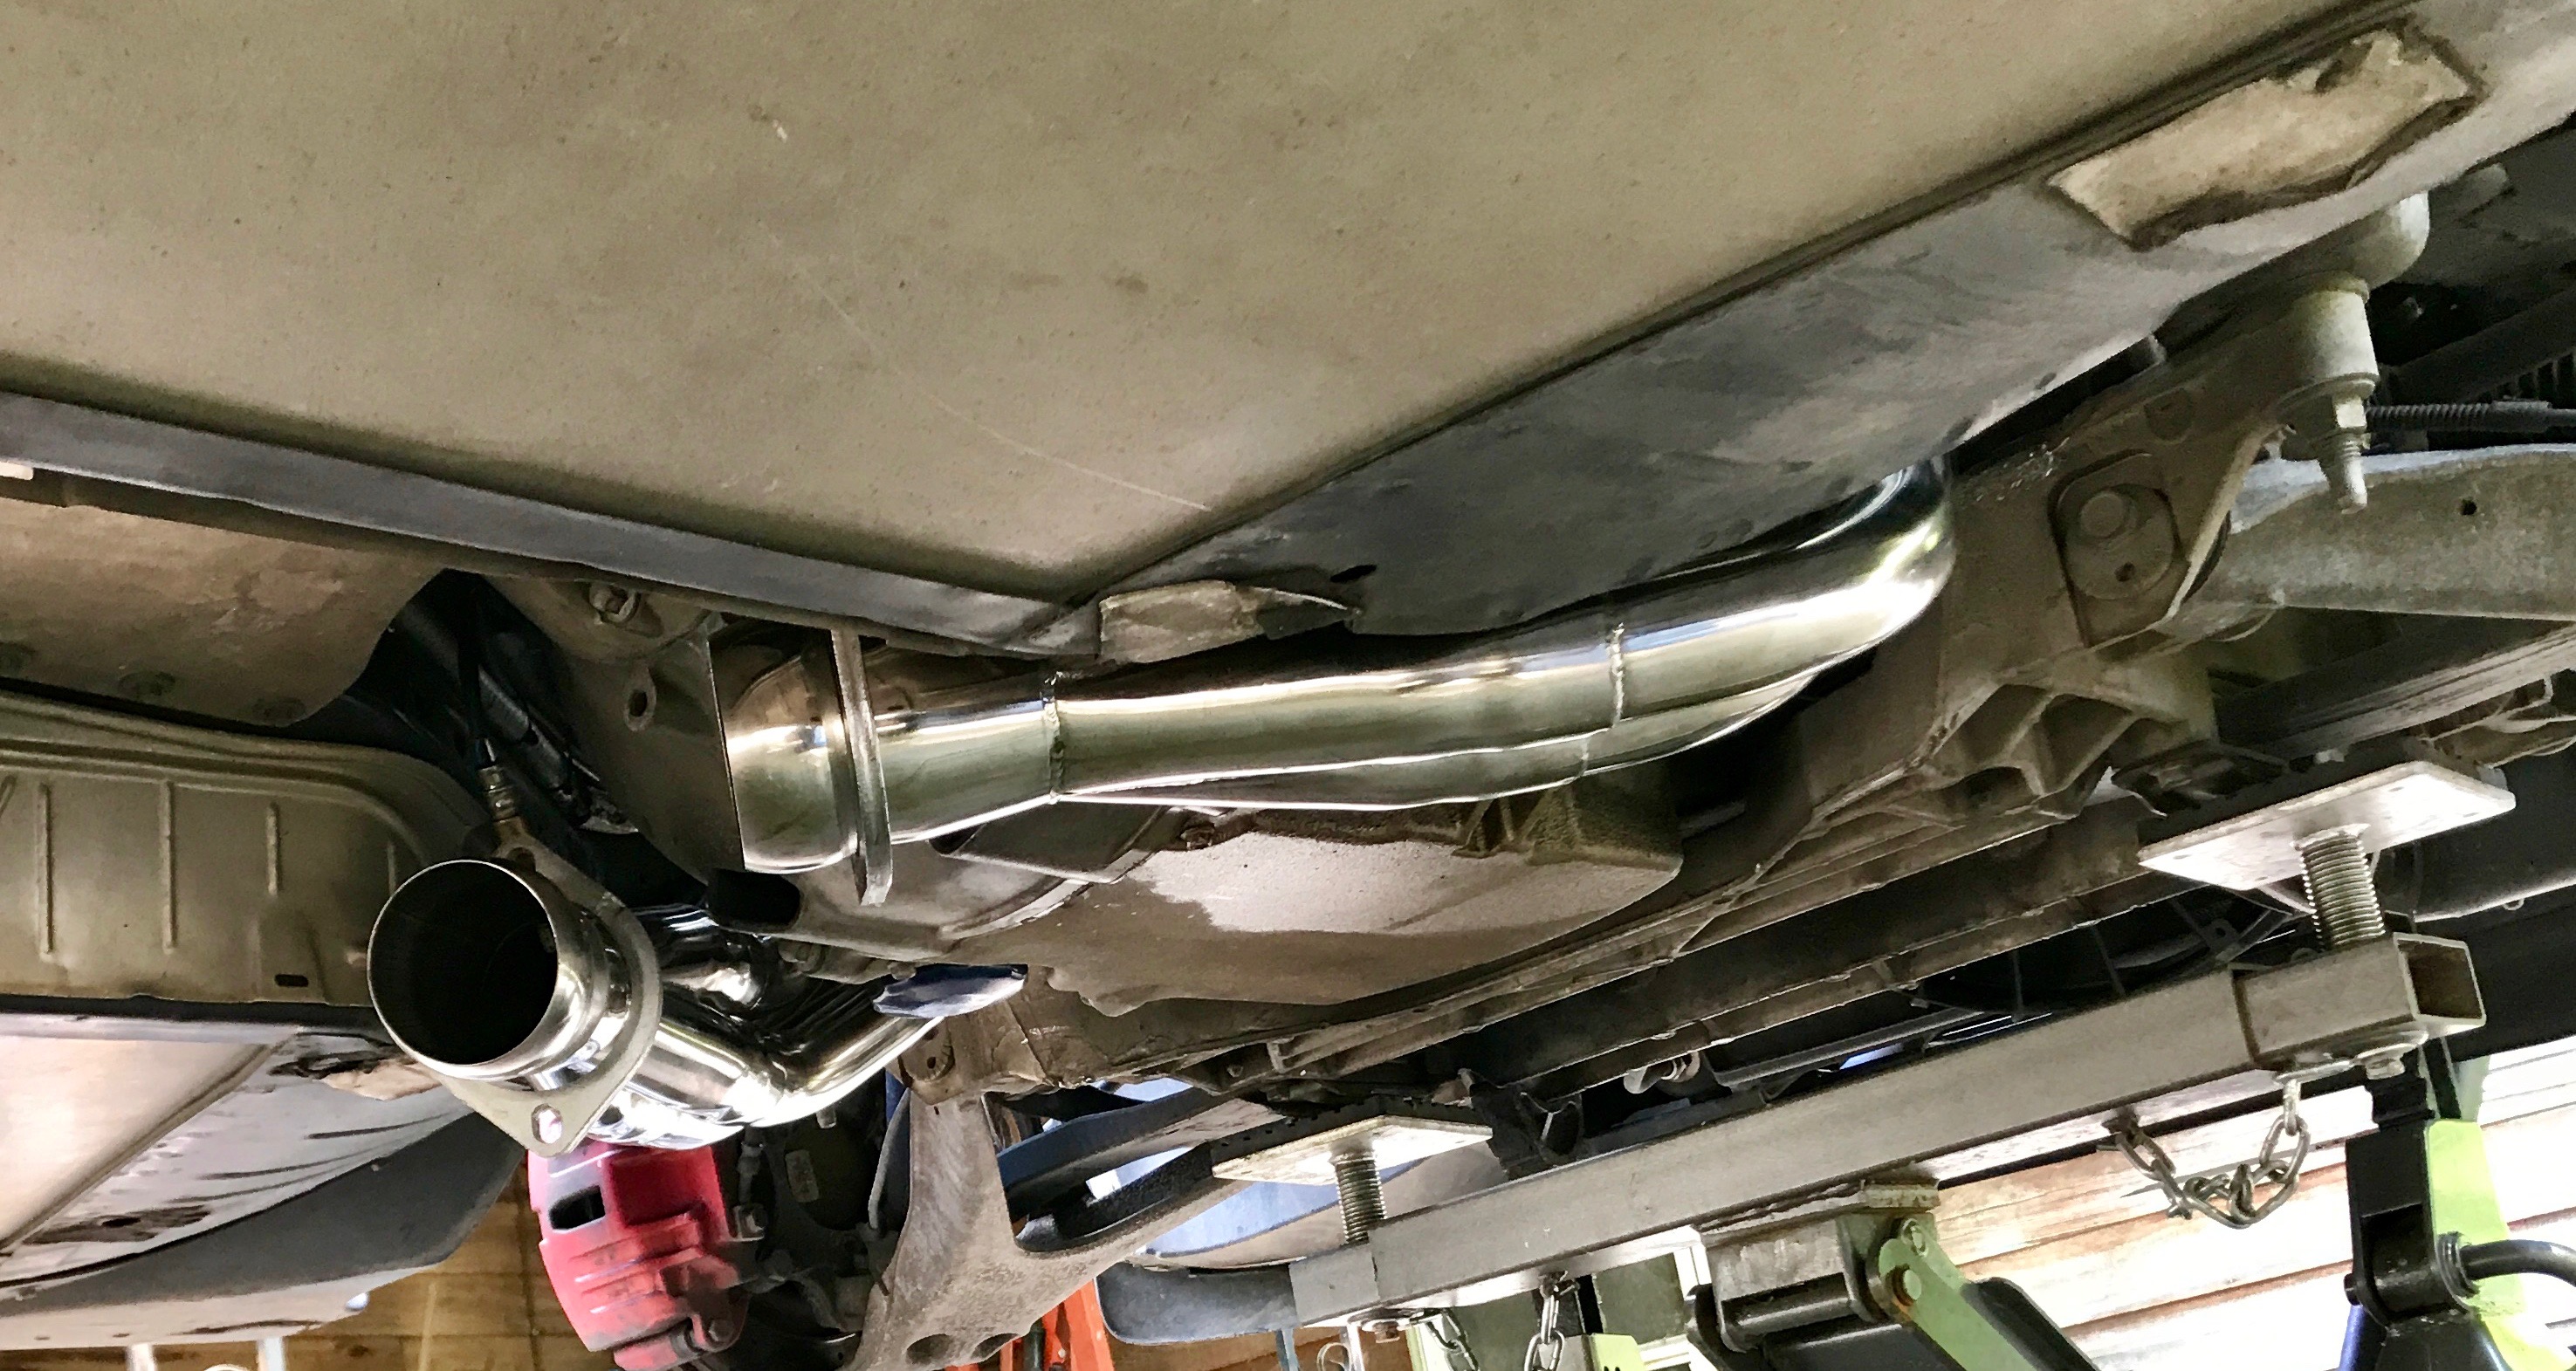
Took a little banging but I managed to get the X pipe and extension pipes (?) together. It's a slip fit but there's quite a lot of overlap which seems like a good thing
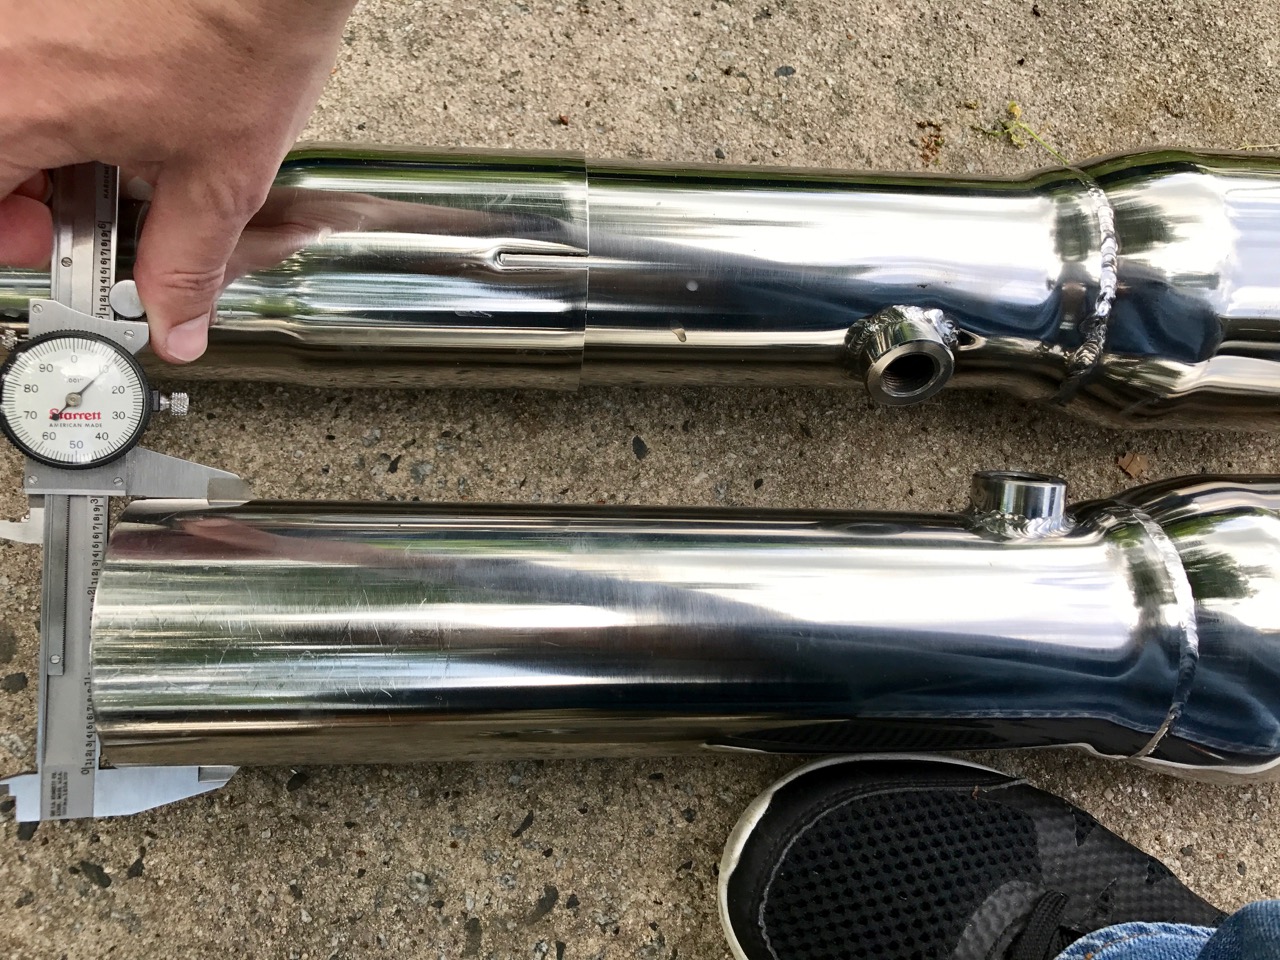
Full 3"
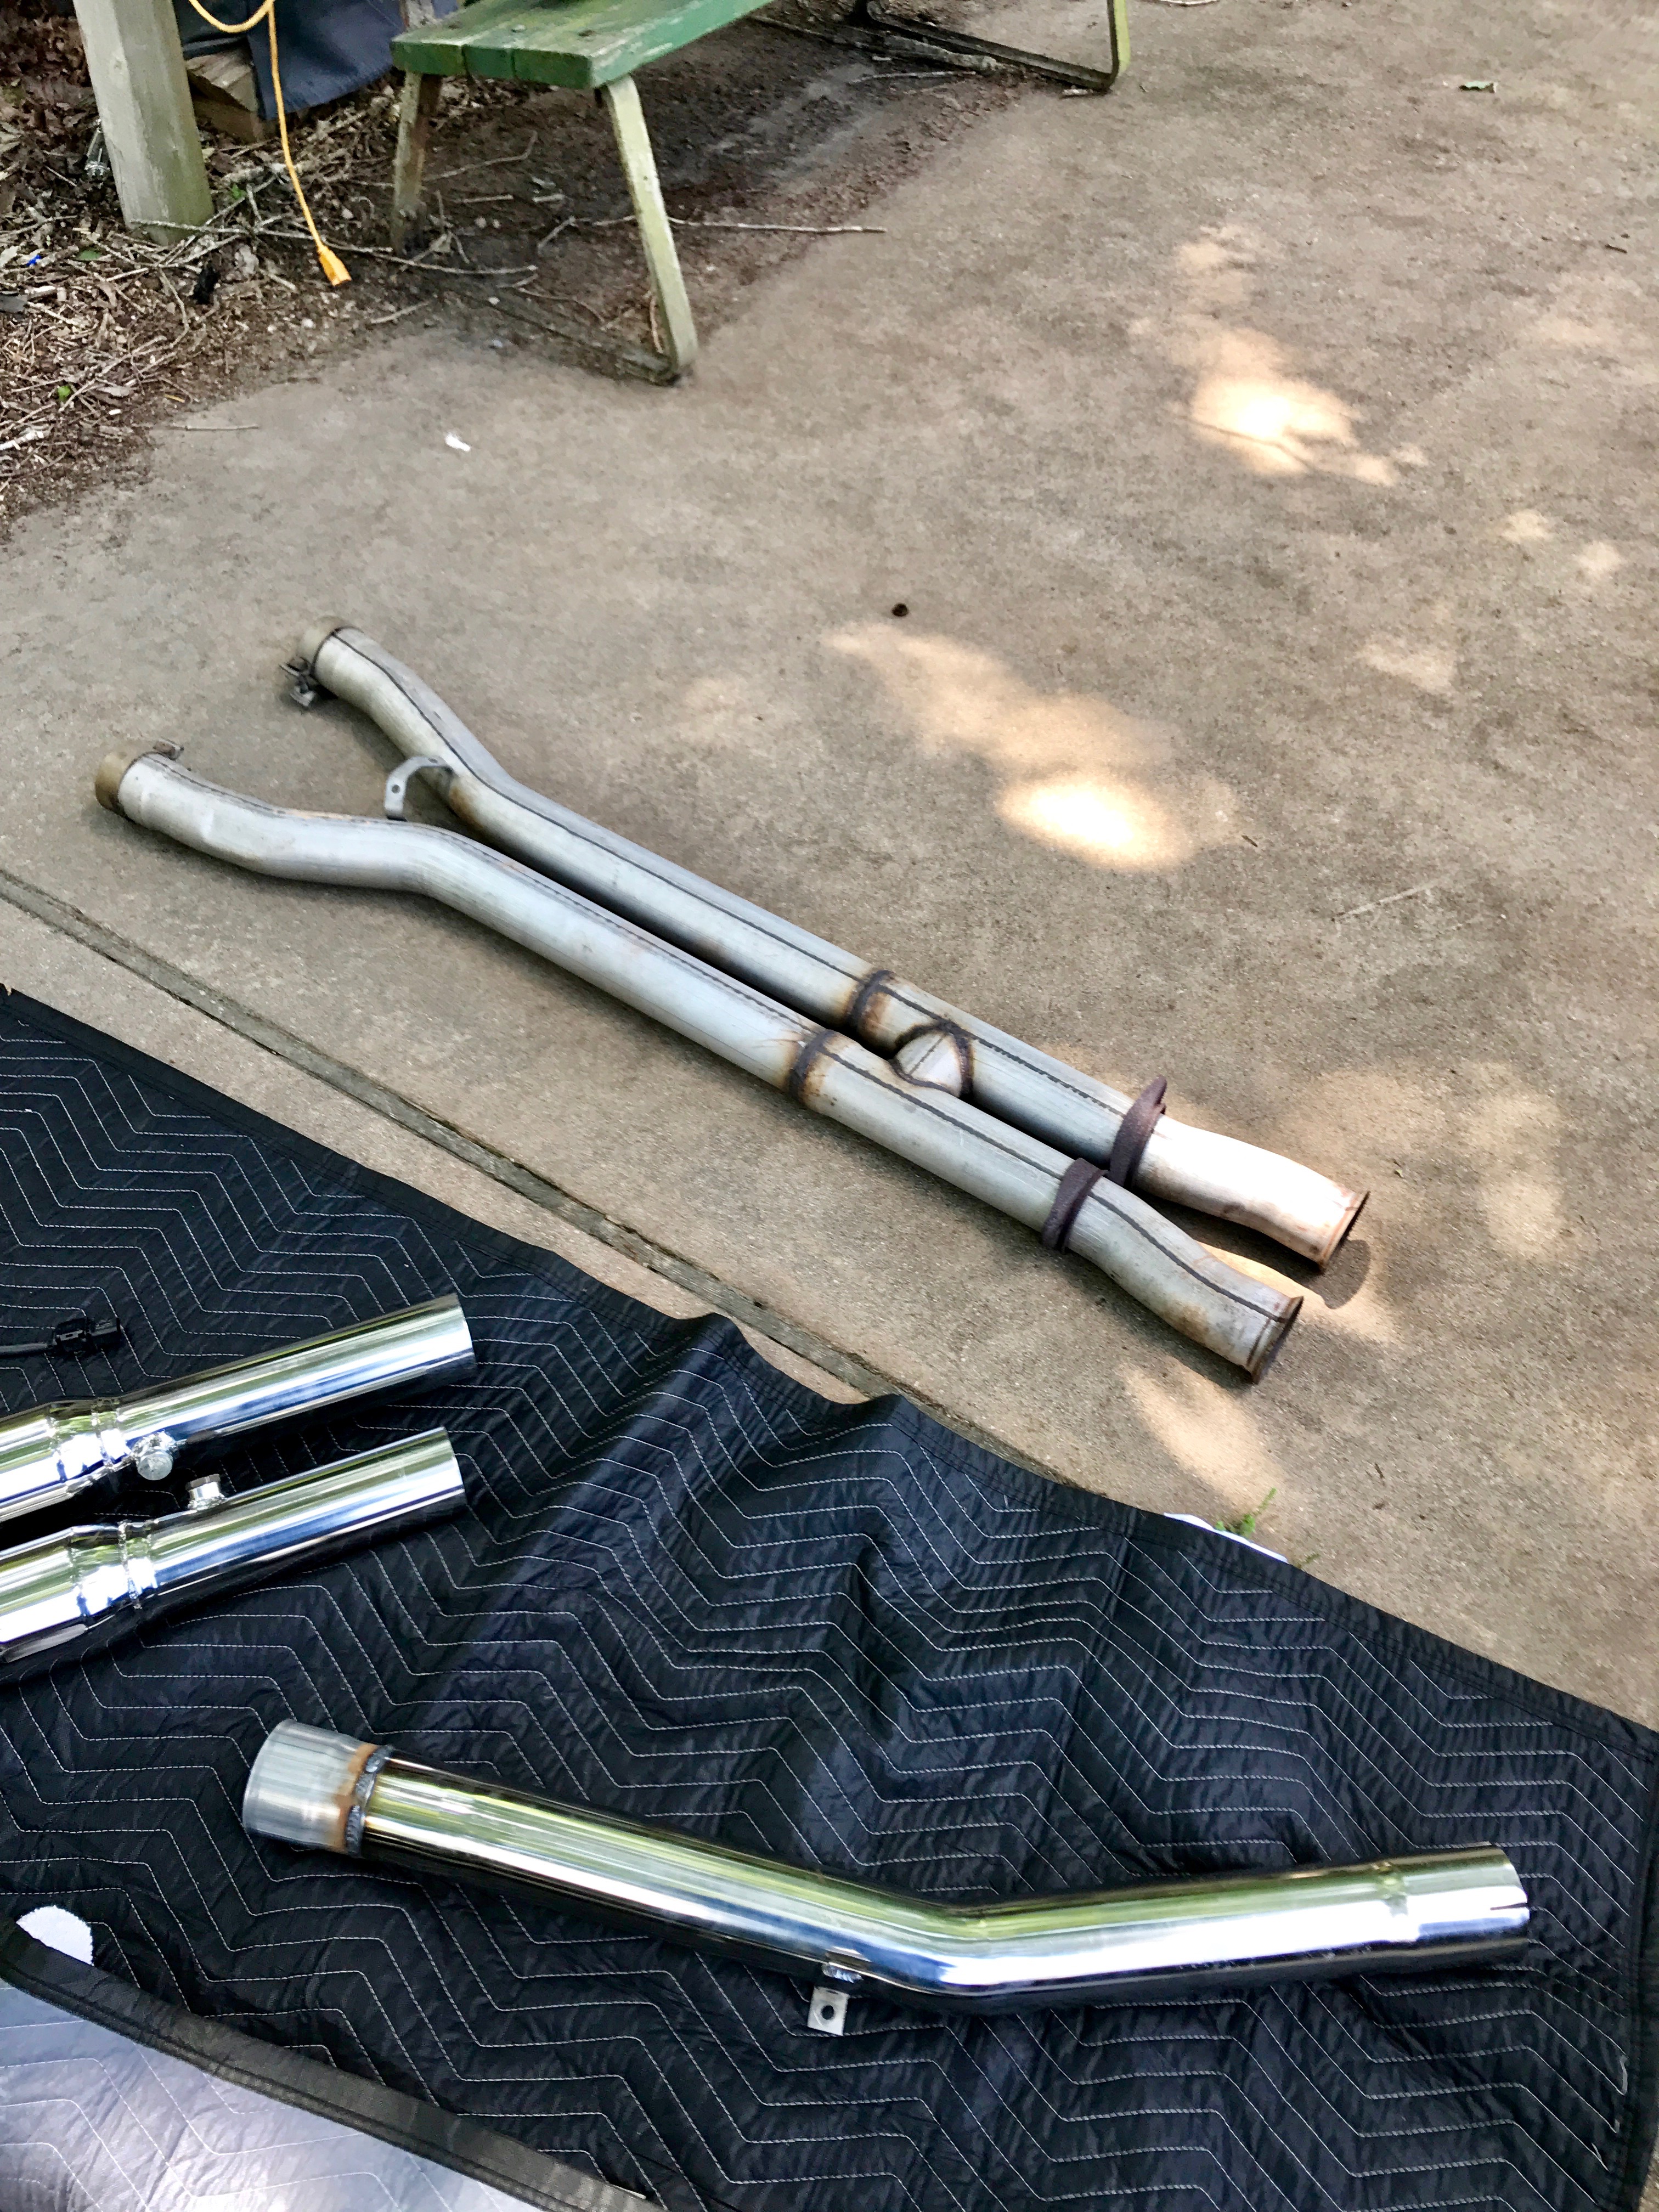
OD of these tubes looks like 1 7/8". I don't know if they're usually measured by ID or OD for headers though
Measured the Z06 axle back. It's a 3" OD, so I need to make the extension pipes 3" ID to match up (currently 2.5" ID)
While I was under there I checked on the fittings I had screwed into the tank. No signs of any leaks at all so far.
That's about it. I'm going to run the extension pipe things by an exhaust shop tomorrow and get them to chop out the 2.5" end and weld in a 3" ID section. That should make it pretty much bolt on, after I get some new bolts that actually fit.
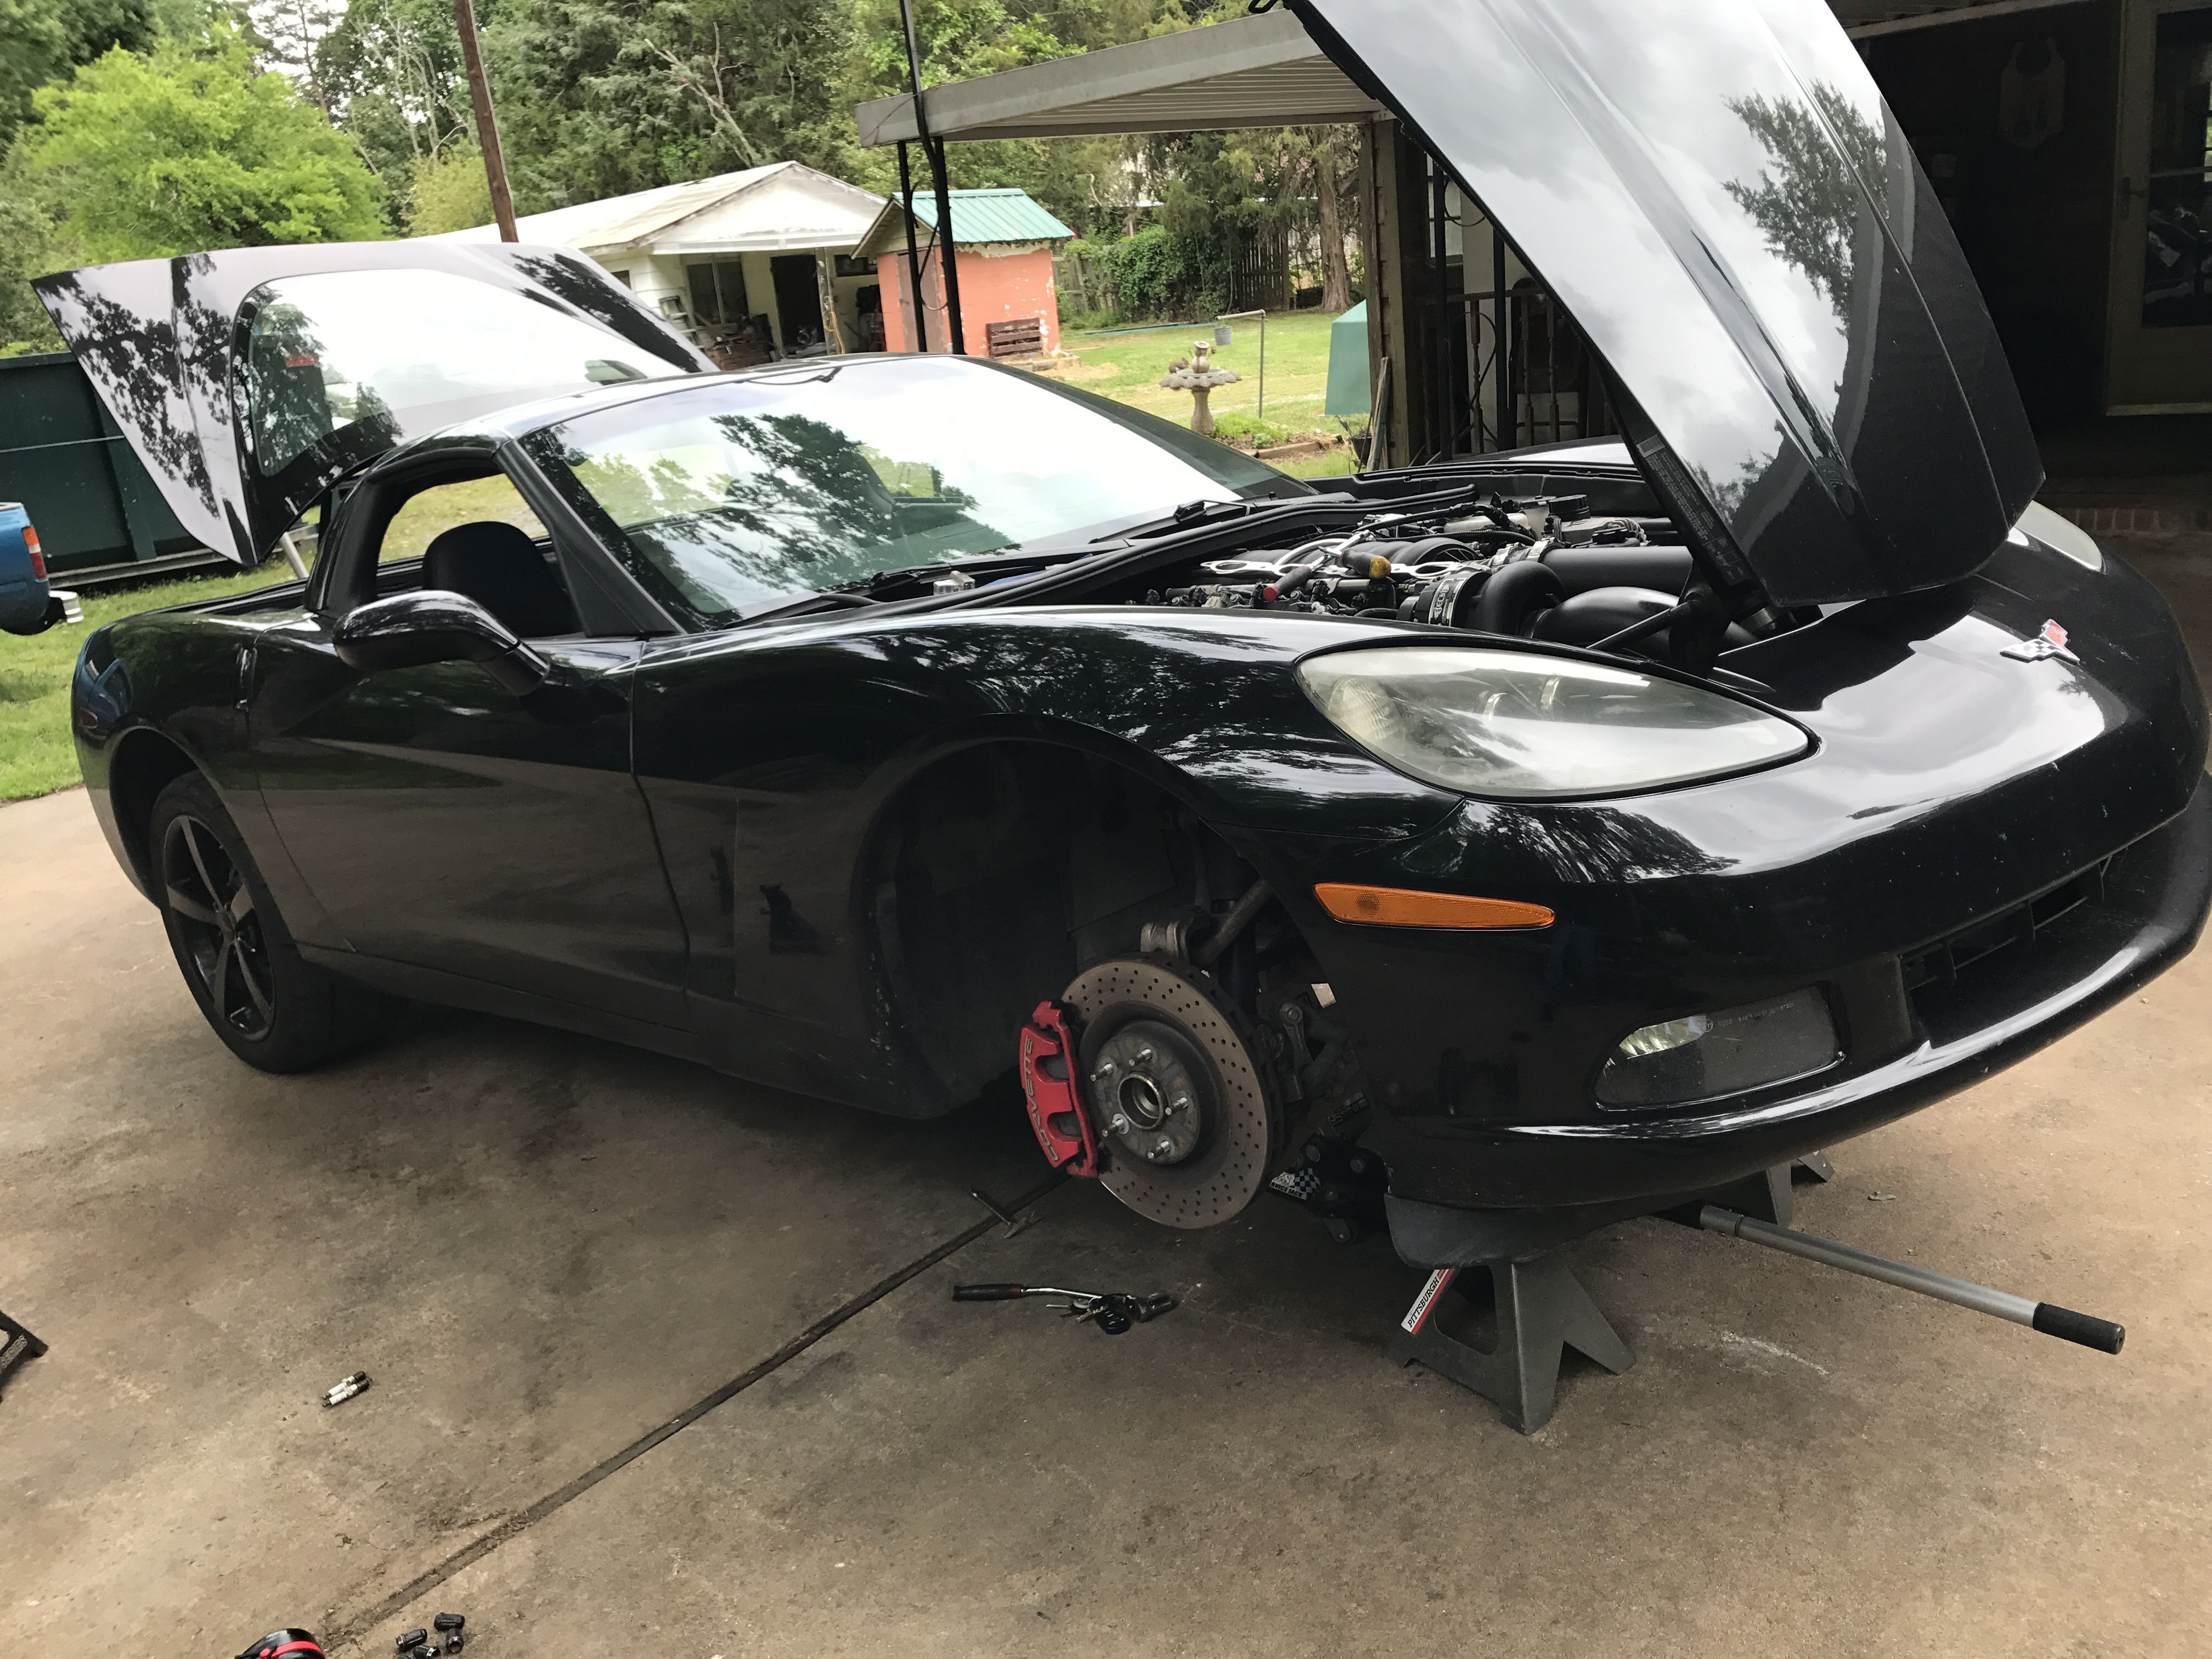
That's about it for today. Have to bleed brakes, clutch, change plugs, clean air filter and probably change supercharger belt while I'm at it over the next 2 weeks so I guess I'll be doing some work again..
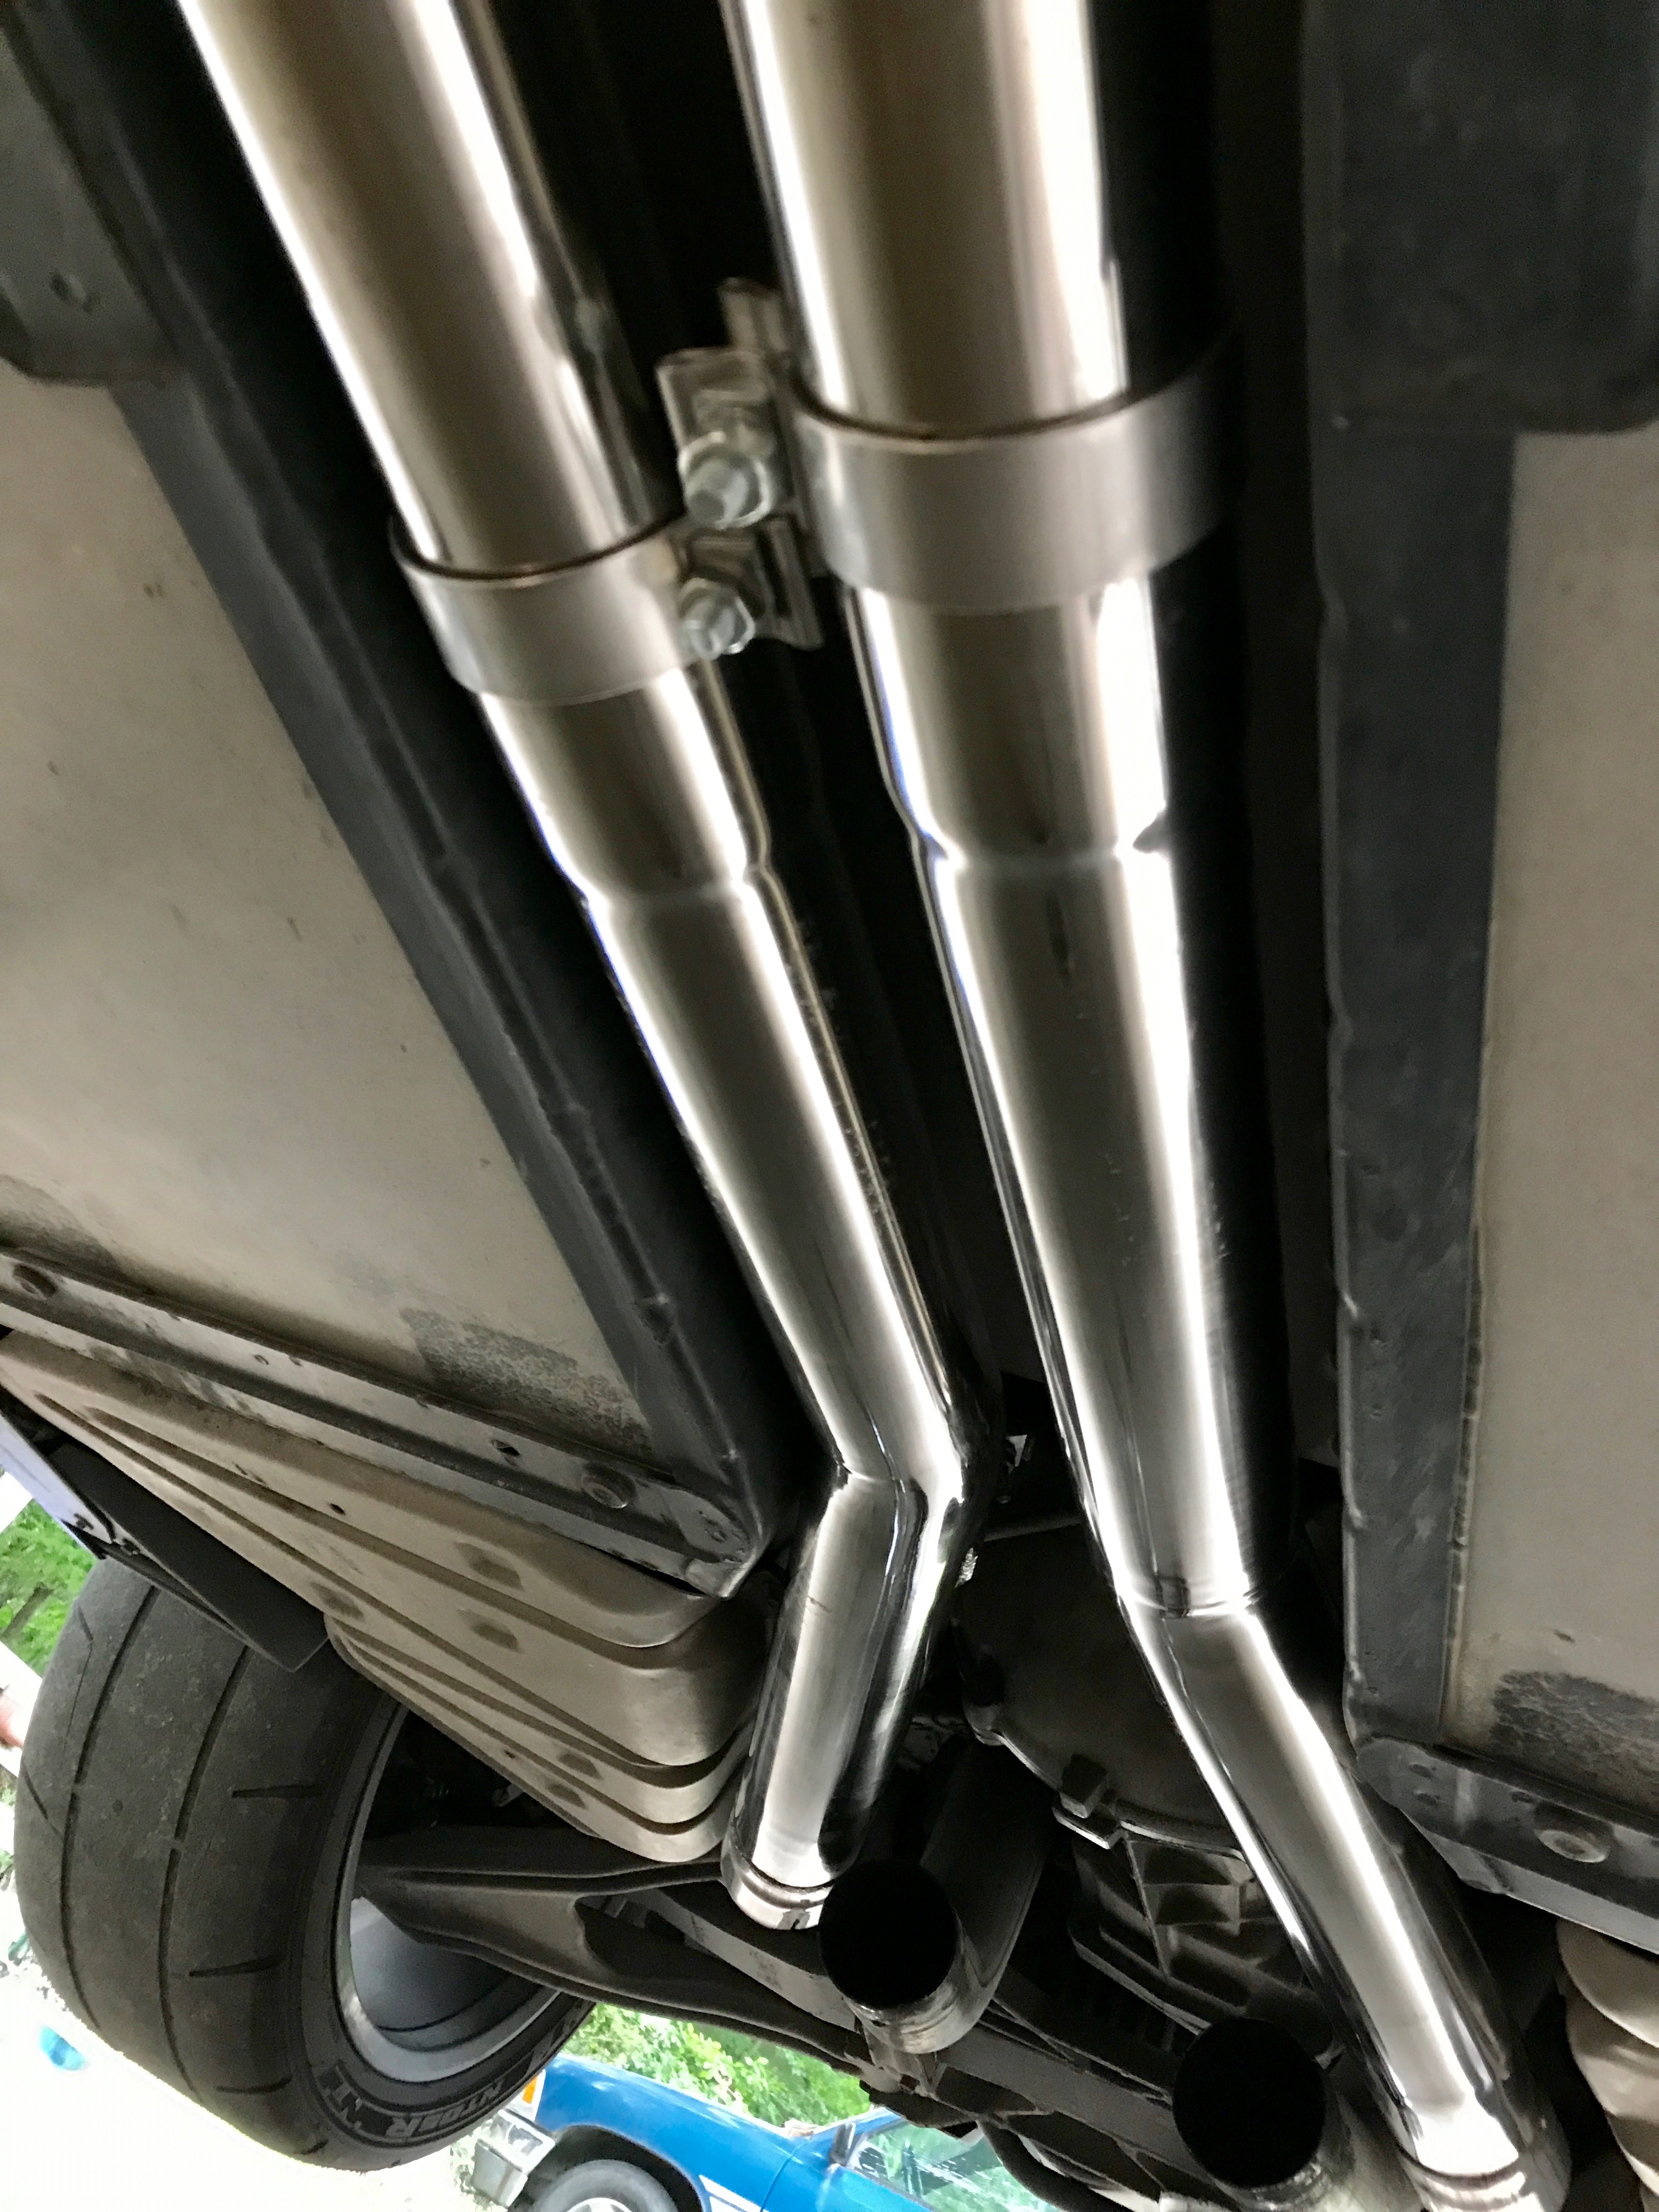
Picked up modified pipes a bit ago, looks like it'll work. Not as pretty as the original stuff but I don't really care. $20 for the work so I won't complain
Ordered some clamps, should be here tomorrow
And the weather is looking good for this weekend so I can hopefully get them put on one day this weekend
Good stuff! Hopefully they won't give you any fitment issues.
BTW: I would think you should be making well over 700whp with 14psi and E85?? At least that's what my "internet dyno" tells me...
And if your butt dyno tells you anything less, you need to fire your tuner!
I did some searching around earlier this morning and seems most people in the 14psi range are over 700rwhp pretty consistently, so very possible I'm over it too. E85 and cam can't be hurting. I do wonder if the Z06 manifolds/cats are a restriction; seems like they would be at this point but who knows. Ideally I'd do a before/after dyno but I doubt I'll have the time
I'm so used to it now that it doesn't feel all that fast anymore unless I drive the truck for a week or two first..
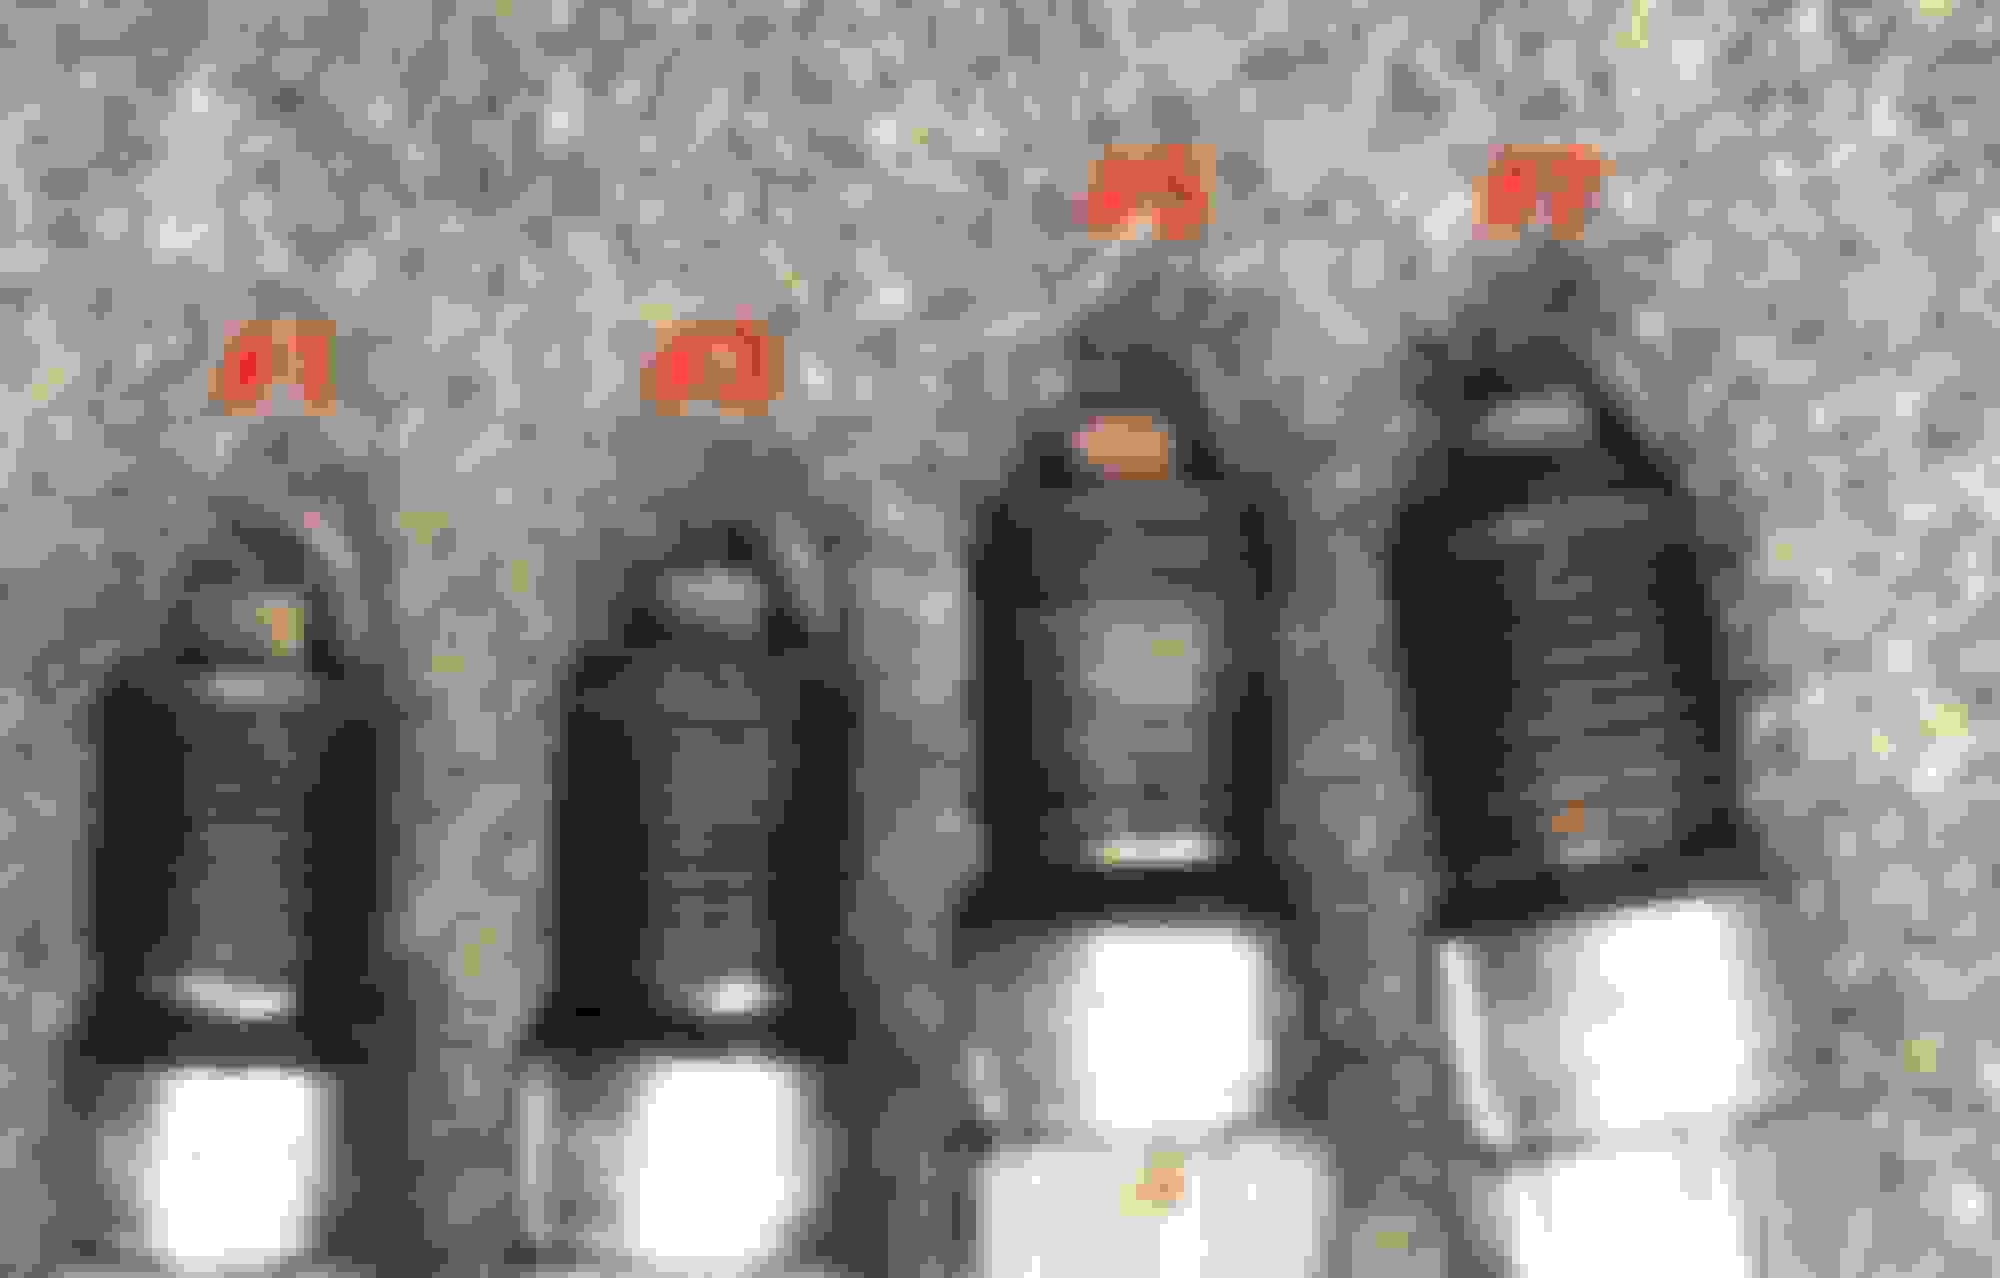
Any spark plug experts around here? I get nothing from comparing them to all the pictures I can find online.
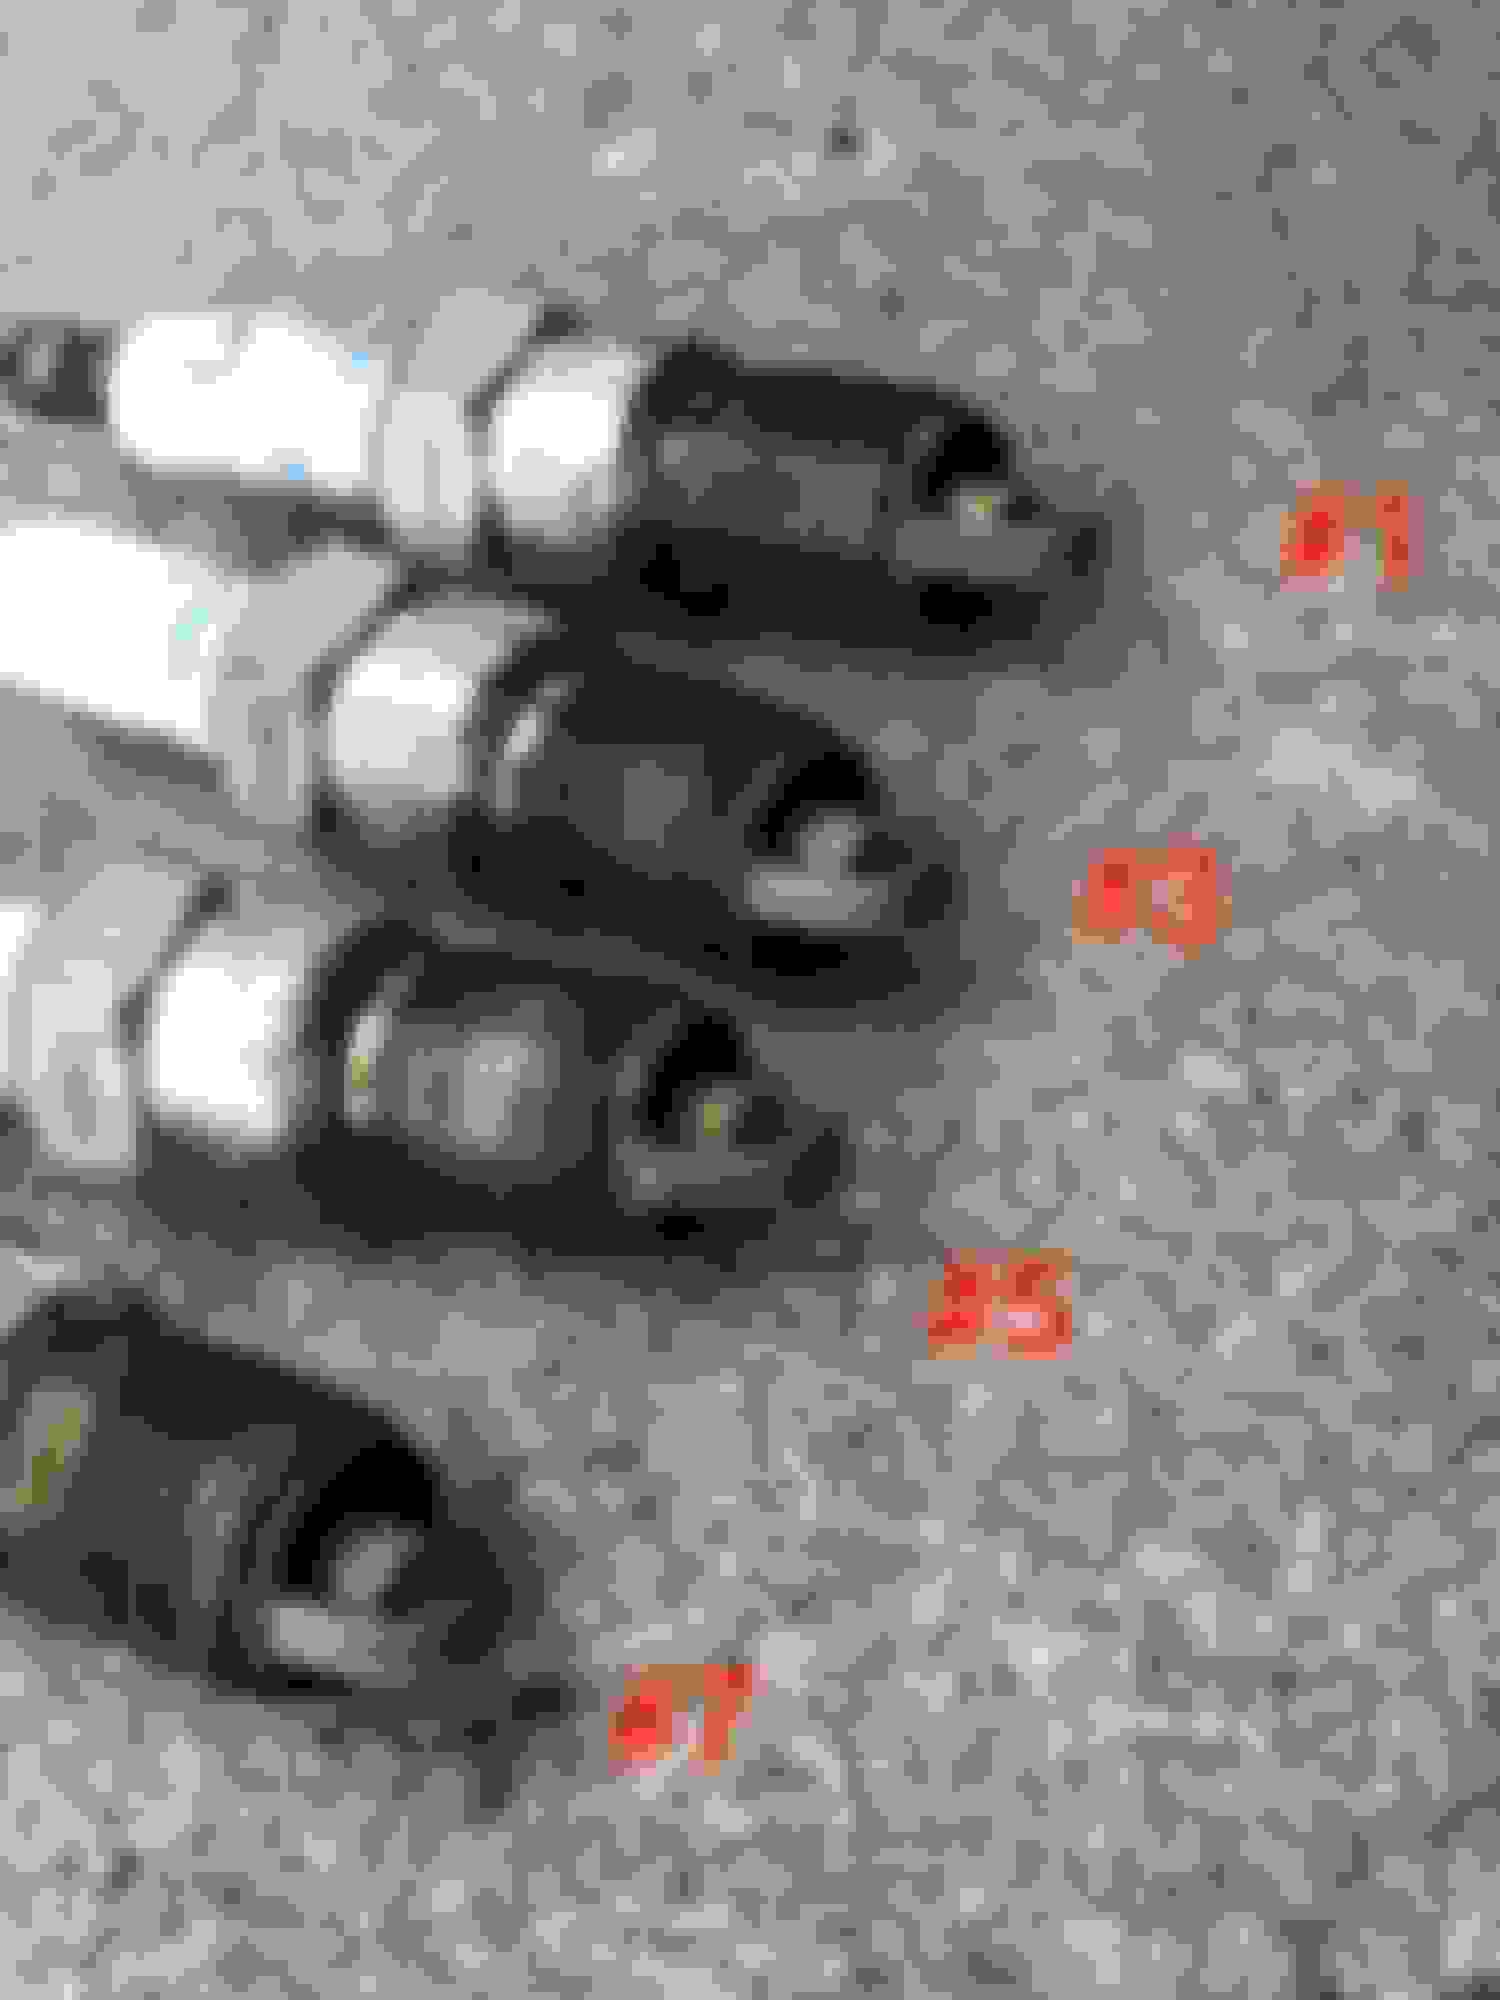
Looks to be a bit uneven front to rear?
Got long tubes on today (well, mostly). Pics later, internet is too slow here to upload them all. Extension pipe was too long so it wouldn't mate up with axle back. Going to take whole car to exhaust shop on Monday and let them finish it. It pretty much shakes the ground starting it with no mufflers... stupid loud.
edit: In hindsight I wonder if I labeled some of plugs backwards? No way to tell now I don't guess
Not that I'm an expert, and this plug reading business is more of a black art than anything, I believe, but they look pretty normal for a set well used plugs on pump gas to me. Maybe a tad rich, but that's probably you're safe tuning.
Looks like they could do with replacement now though. I can't see any signs of detonation and the only plug that loooks a tad leaner that the others is #6. As long as you don't see freckles of aluminum on them, you're good. You would see KR on your data logs then too though.
Heat range looks good from what I can see too (ground strap colour changes right on the bend).
Some of them seem to be gapped tighter than others though? Like # 3 & 4? Could be the angle they're on in the picture though.
BTW: Are those the stock ZR1 plugs? That's what I'm running too.
I would just grab another set of those and stick them in.
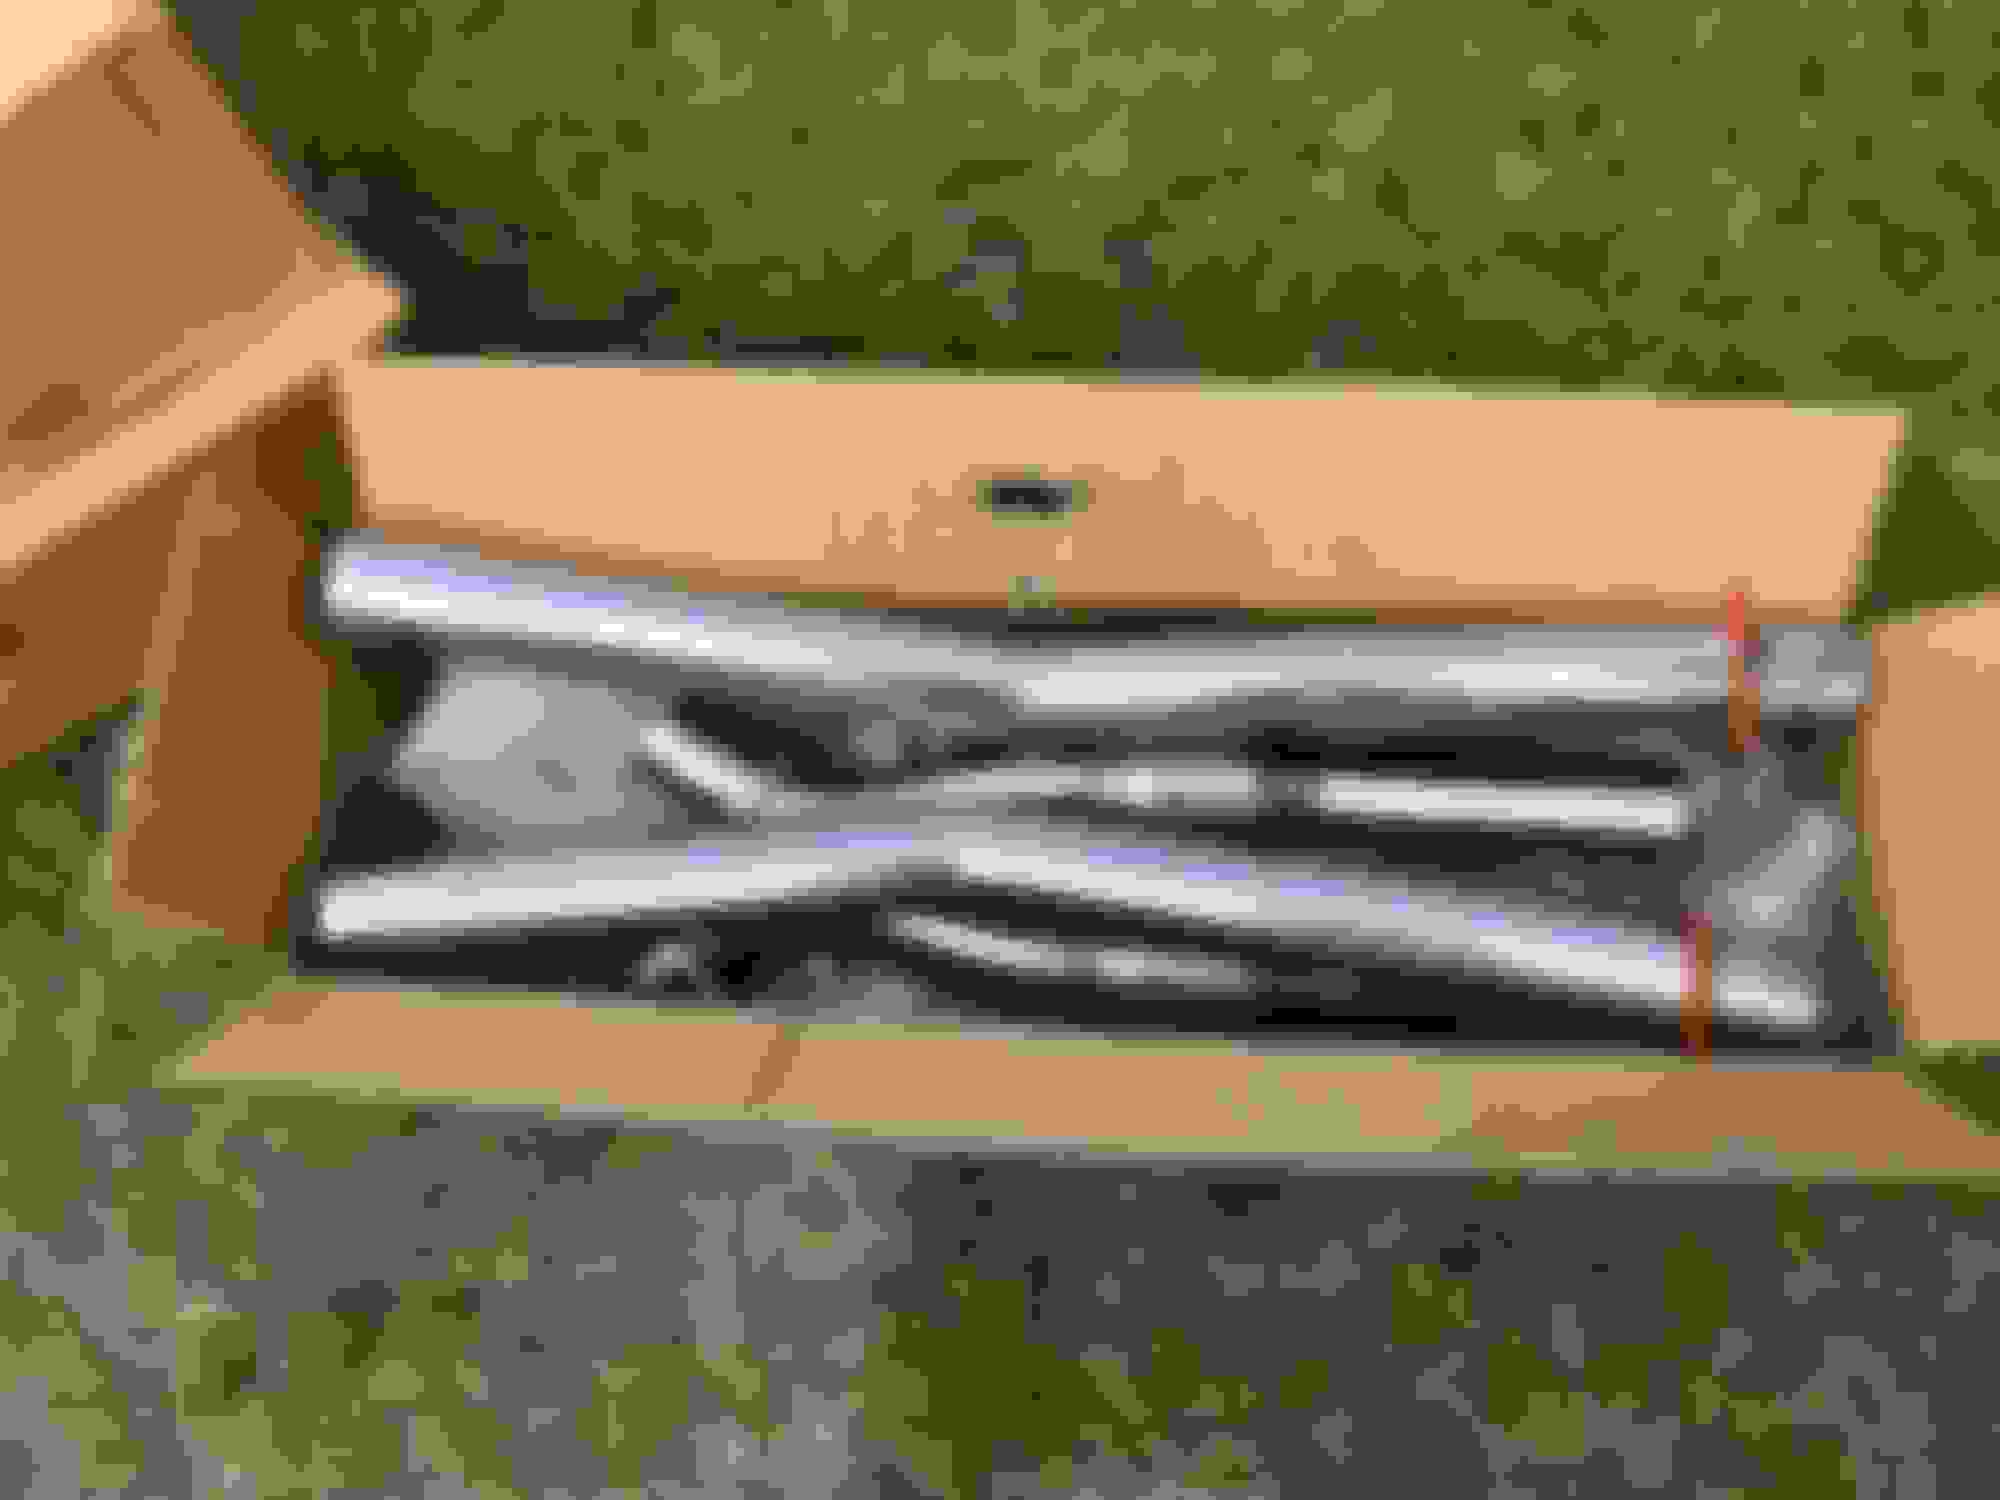
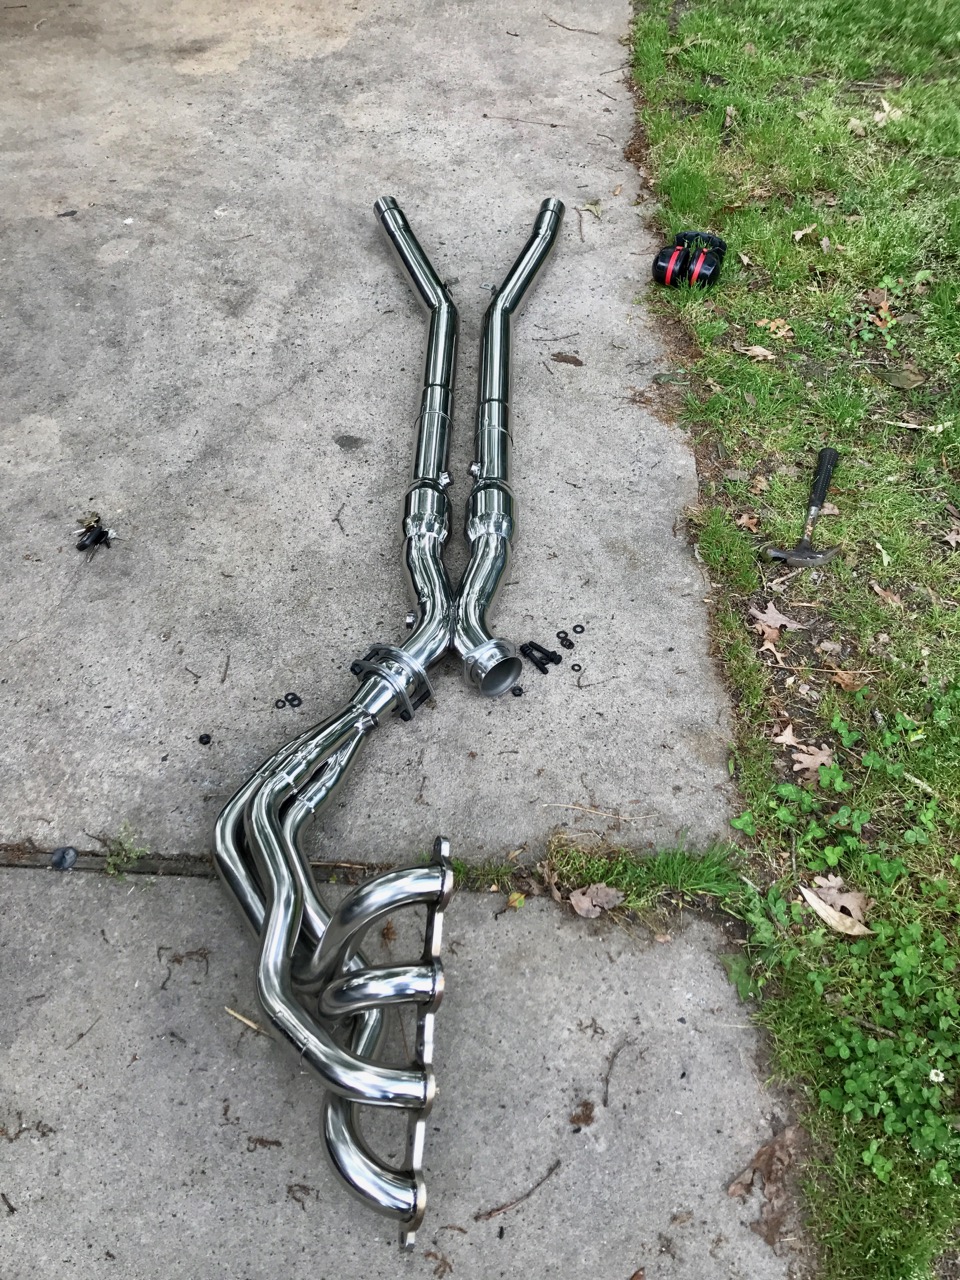
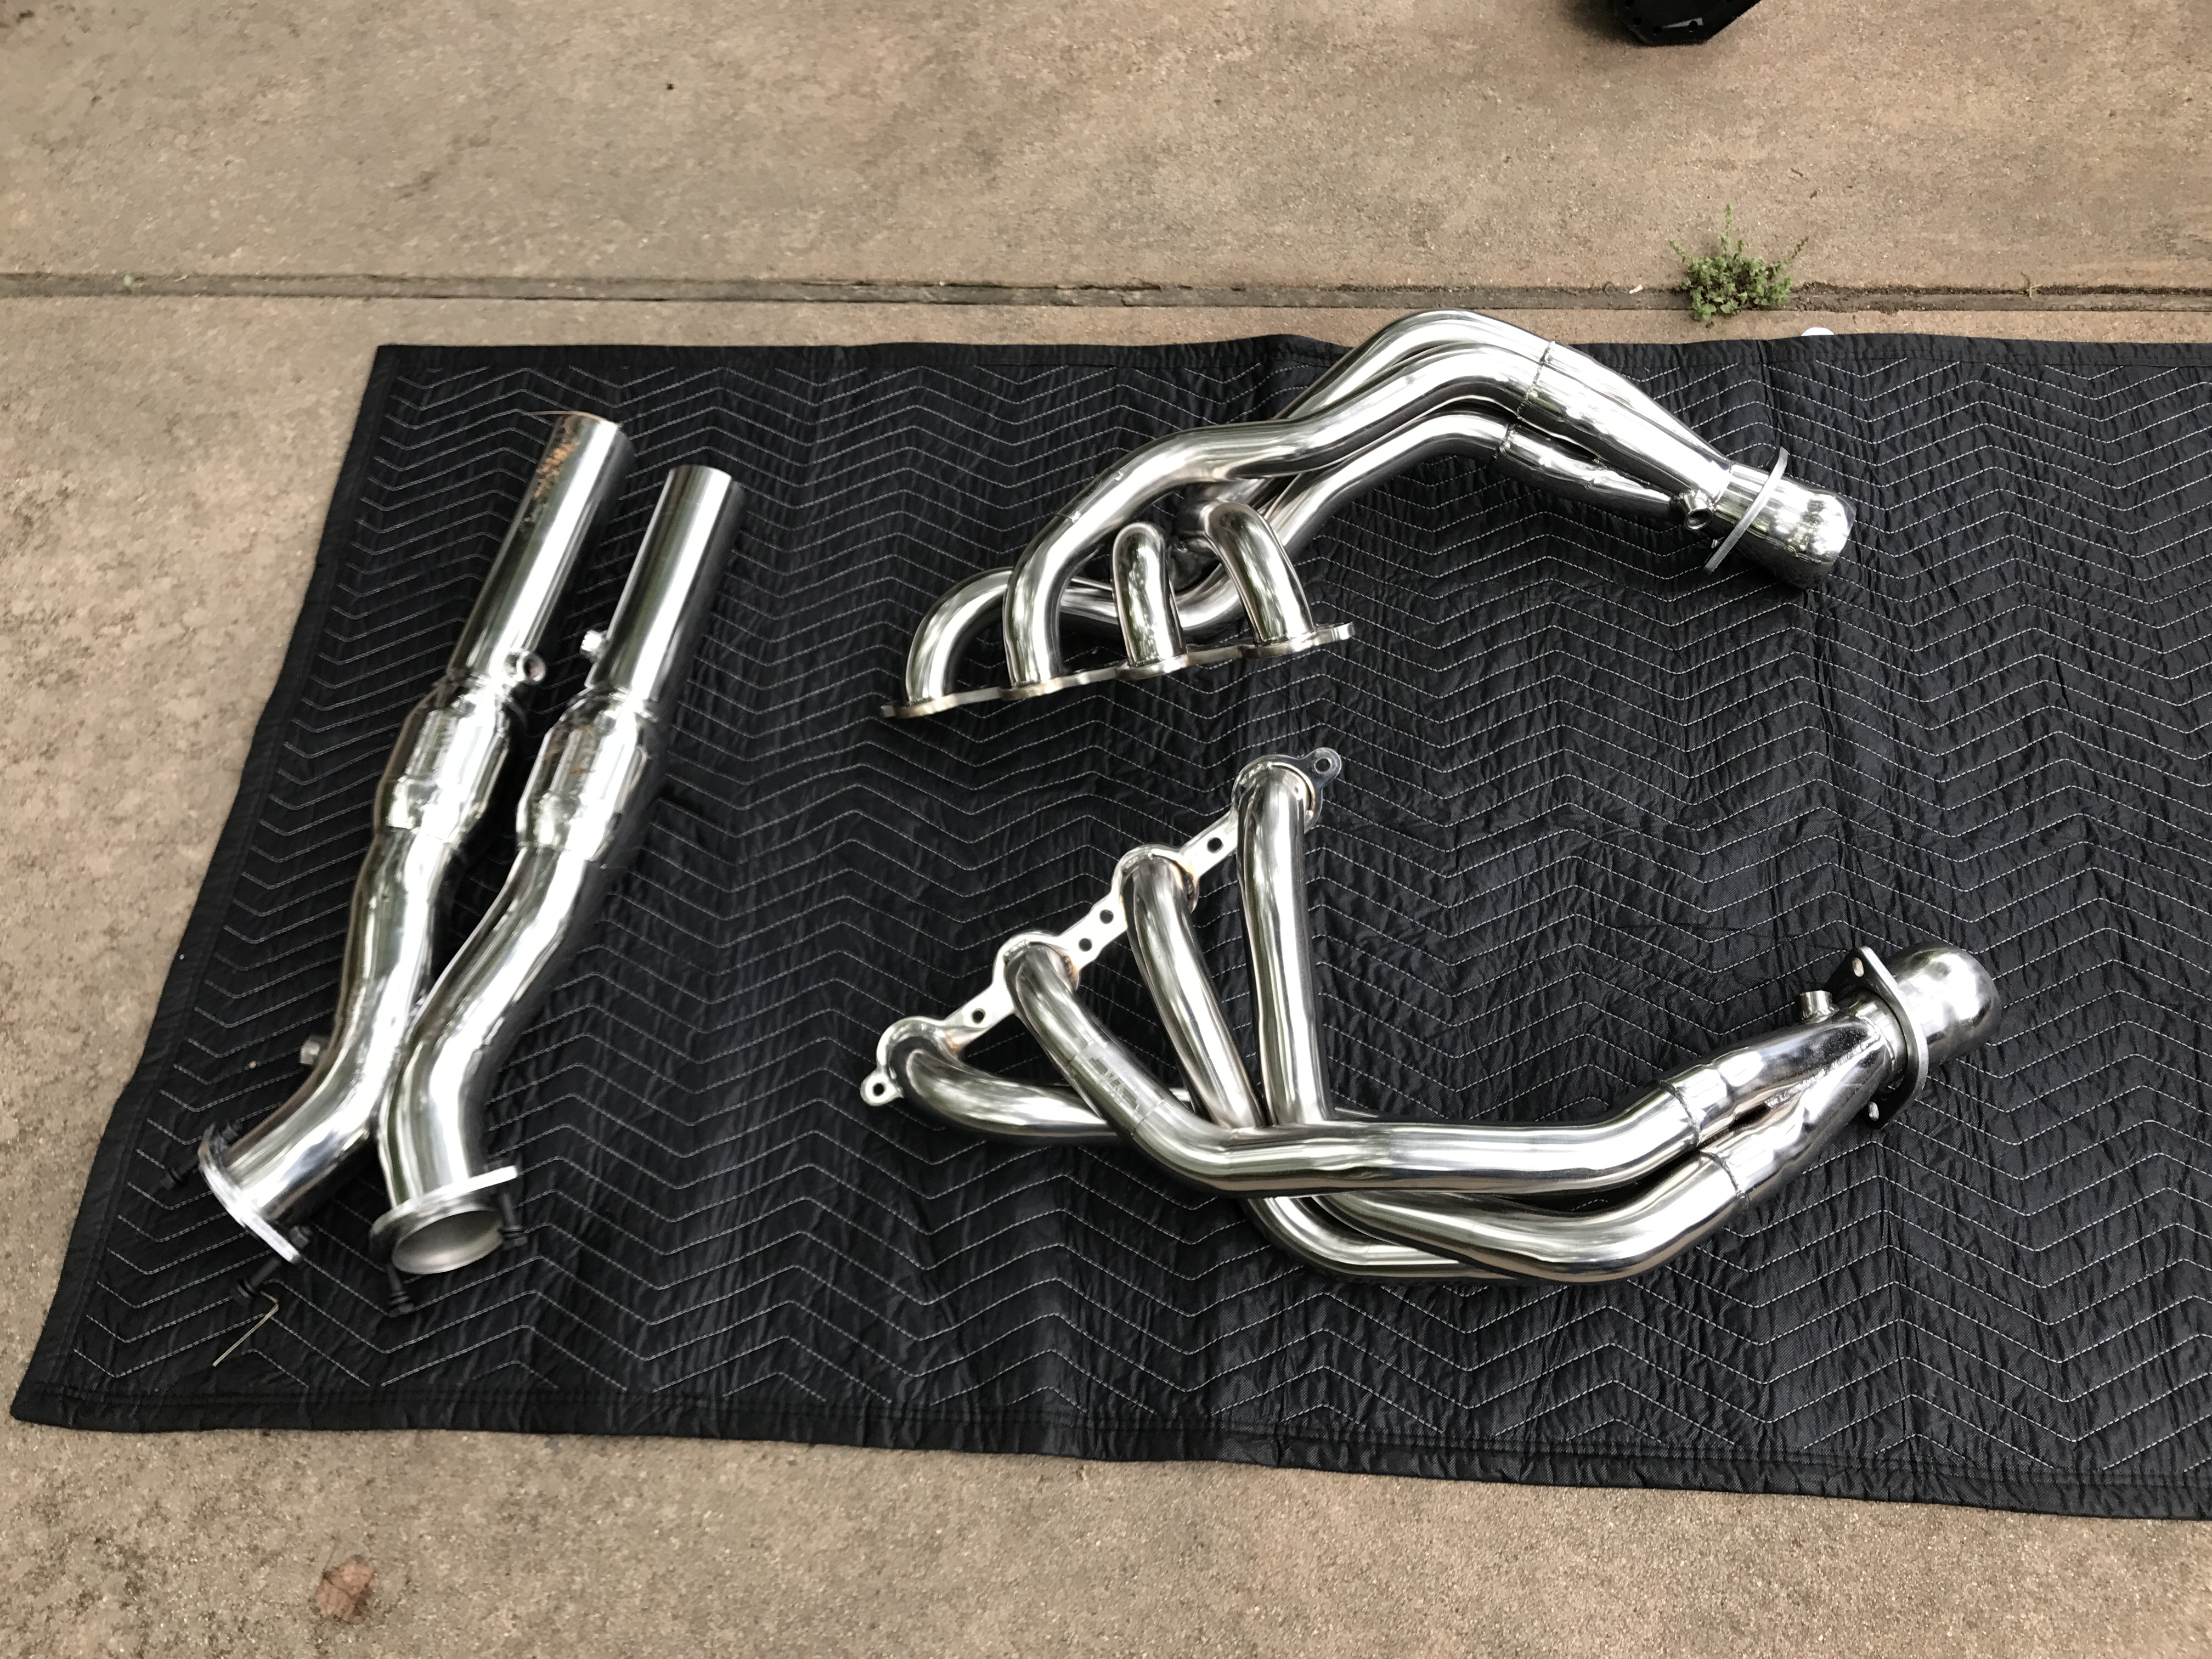
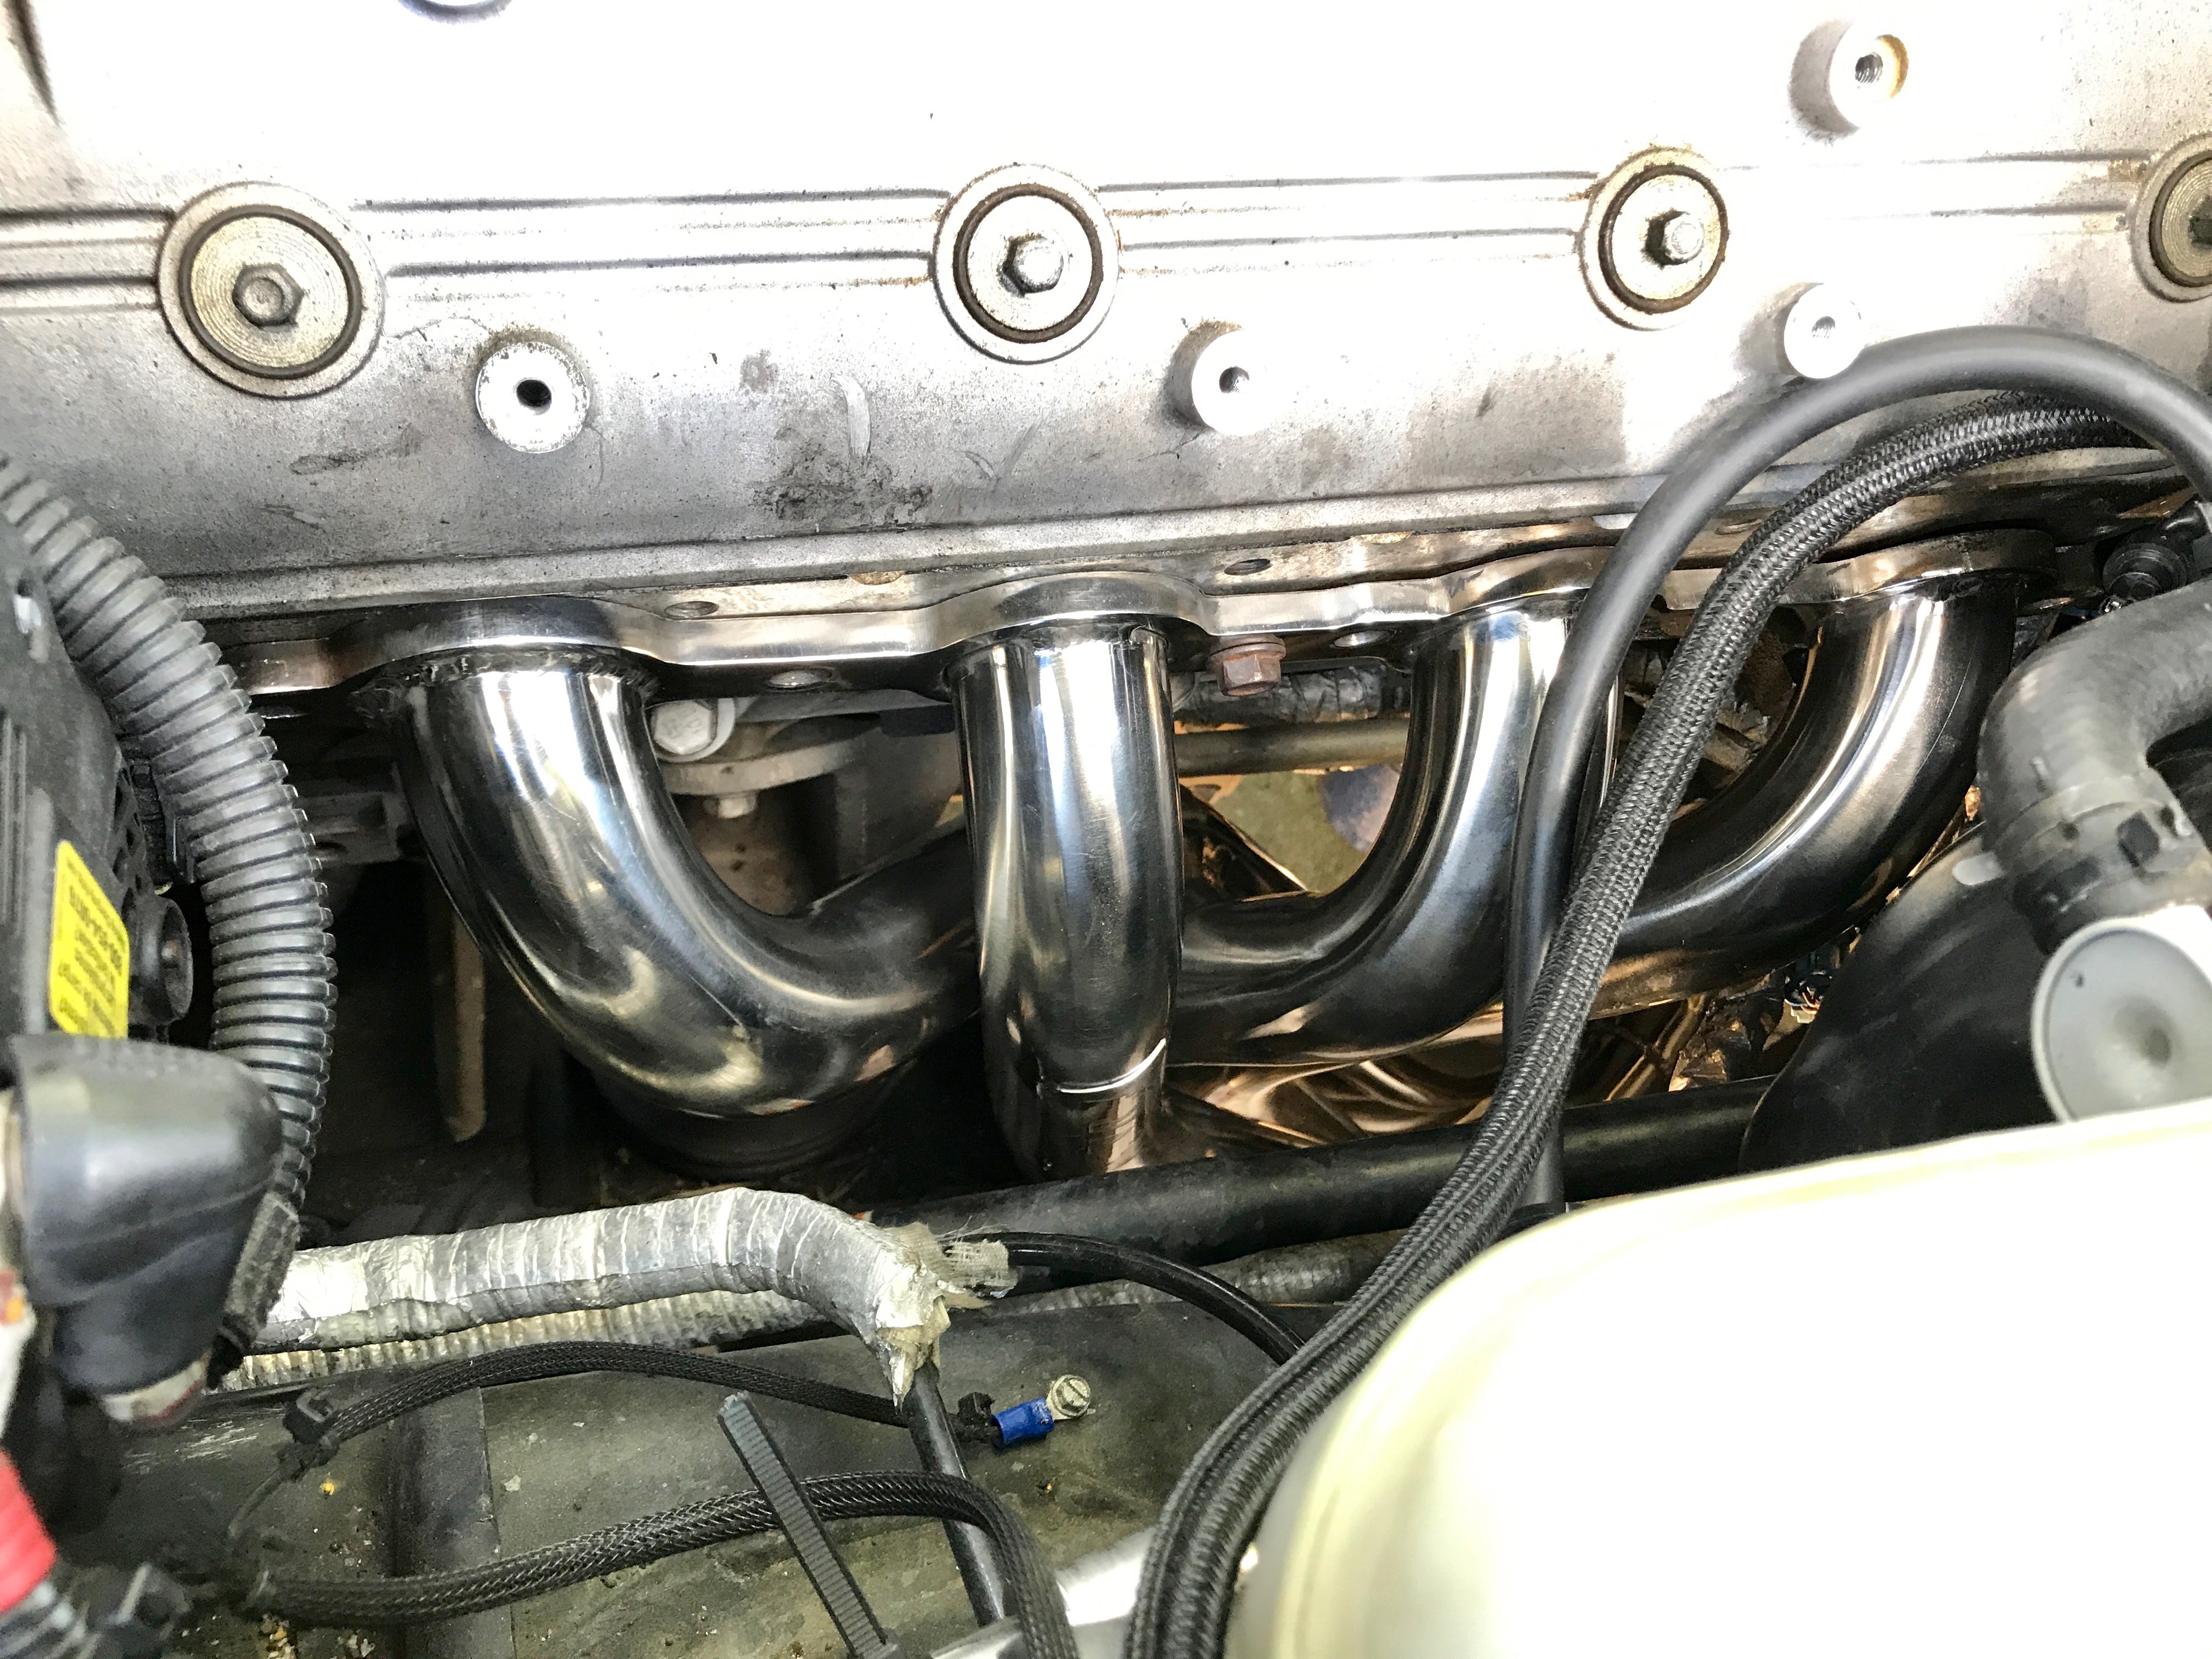
Parts before install. There are two extension pipes also not pictured here
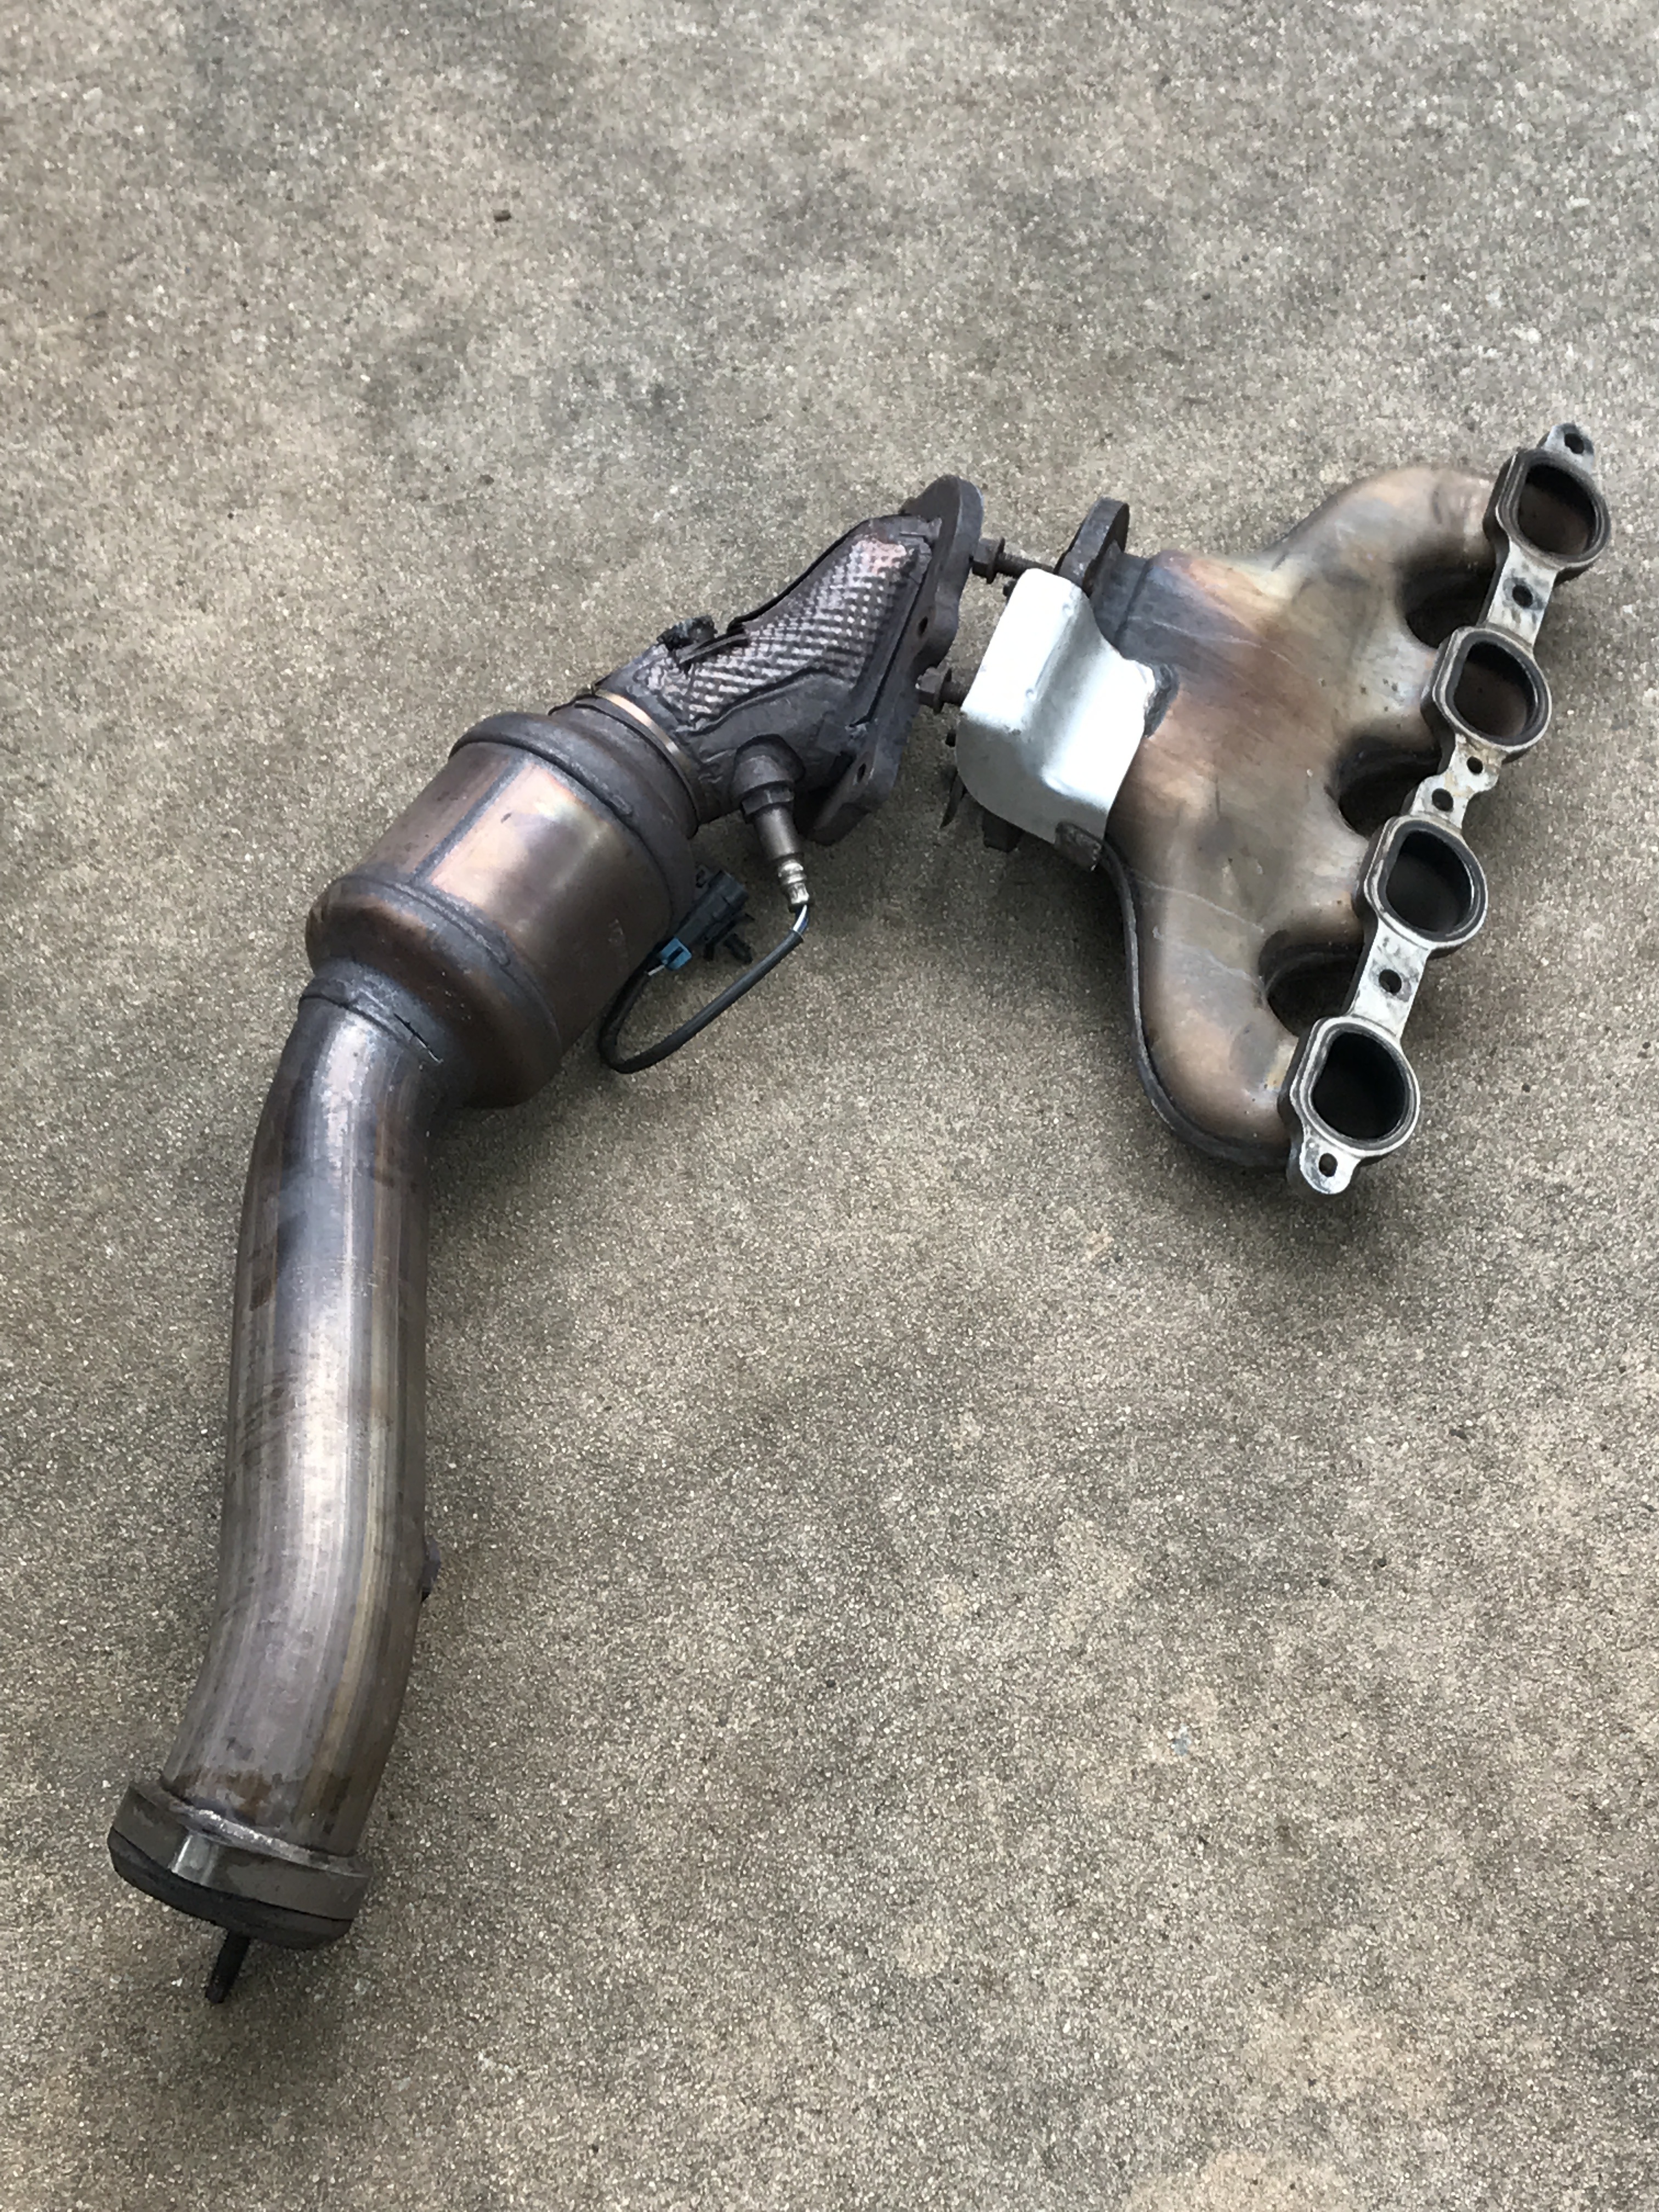
Passenger side Z06 manifold/cat is off
Driver side Z06 stuff off
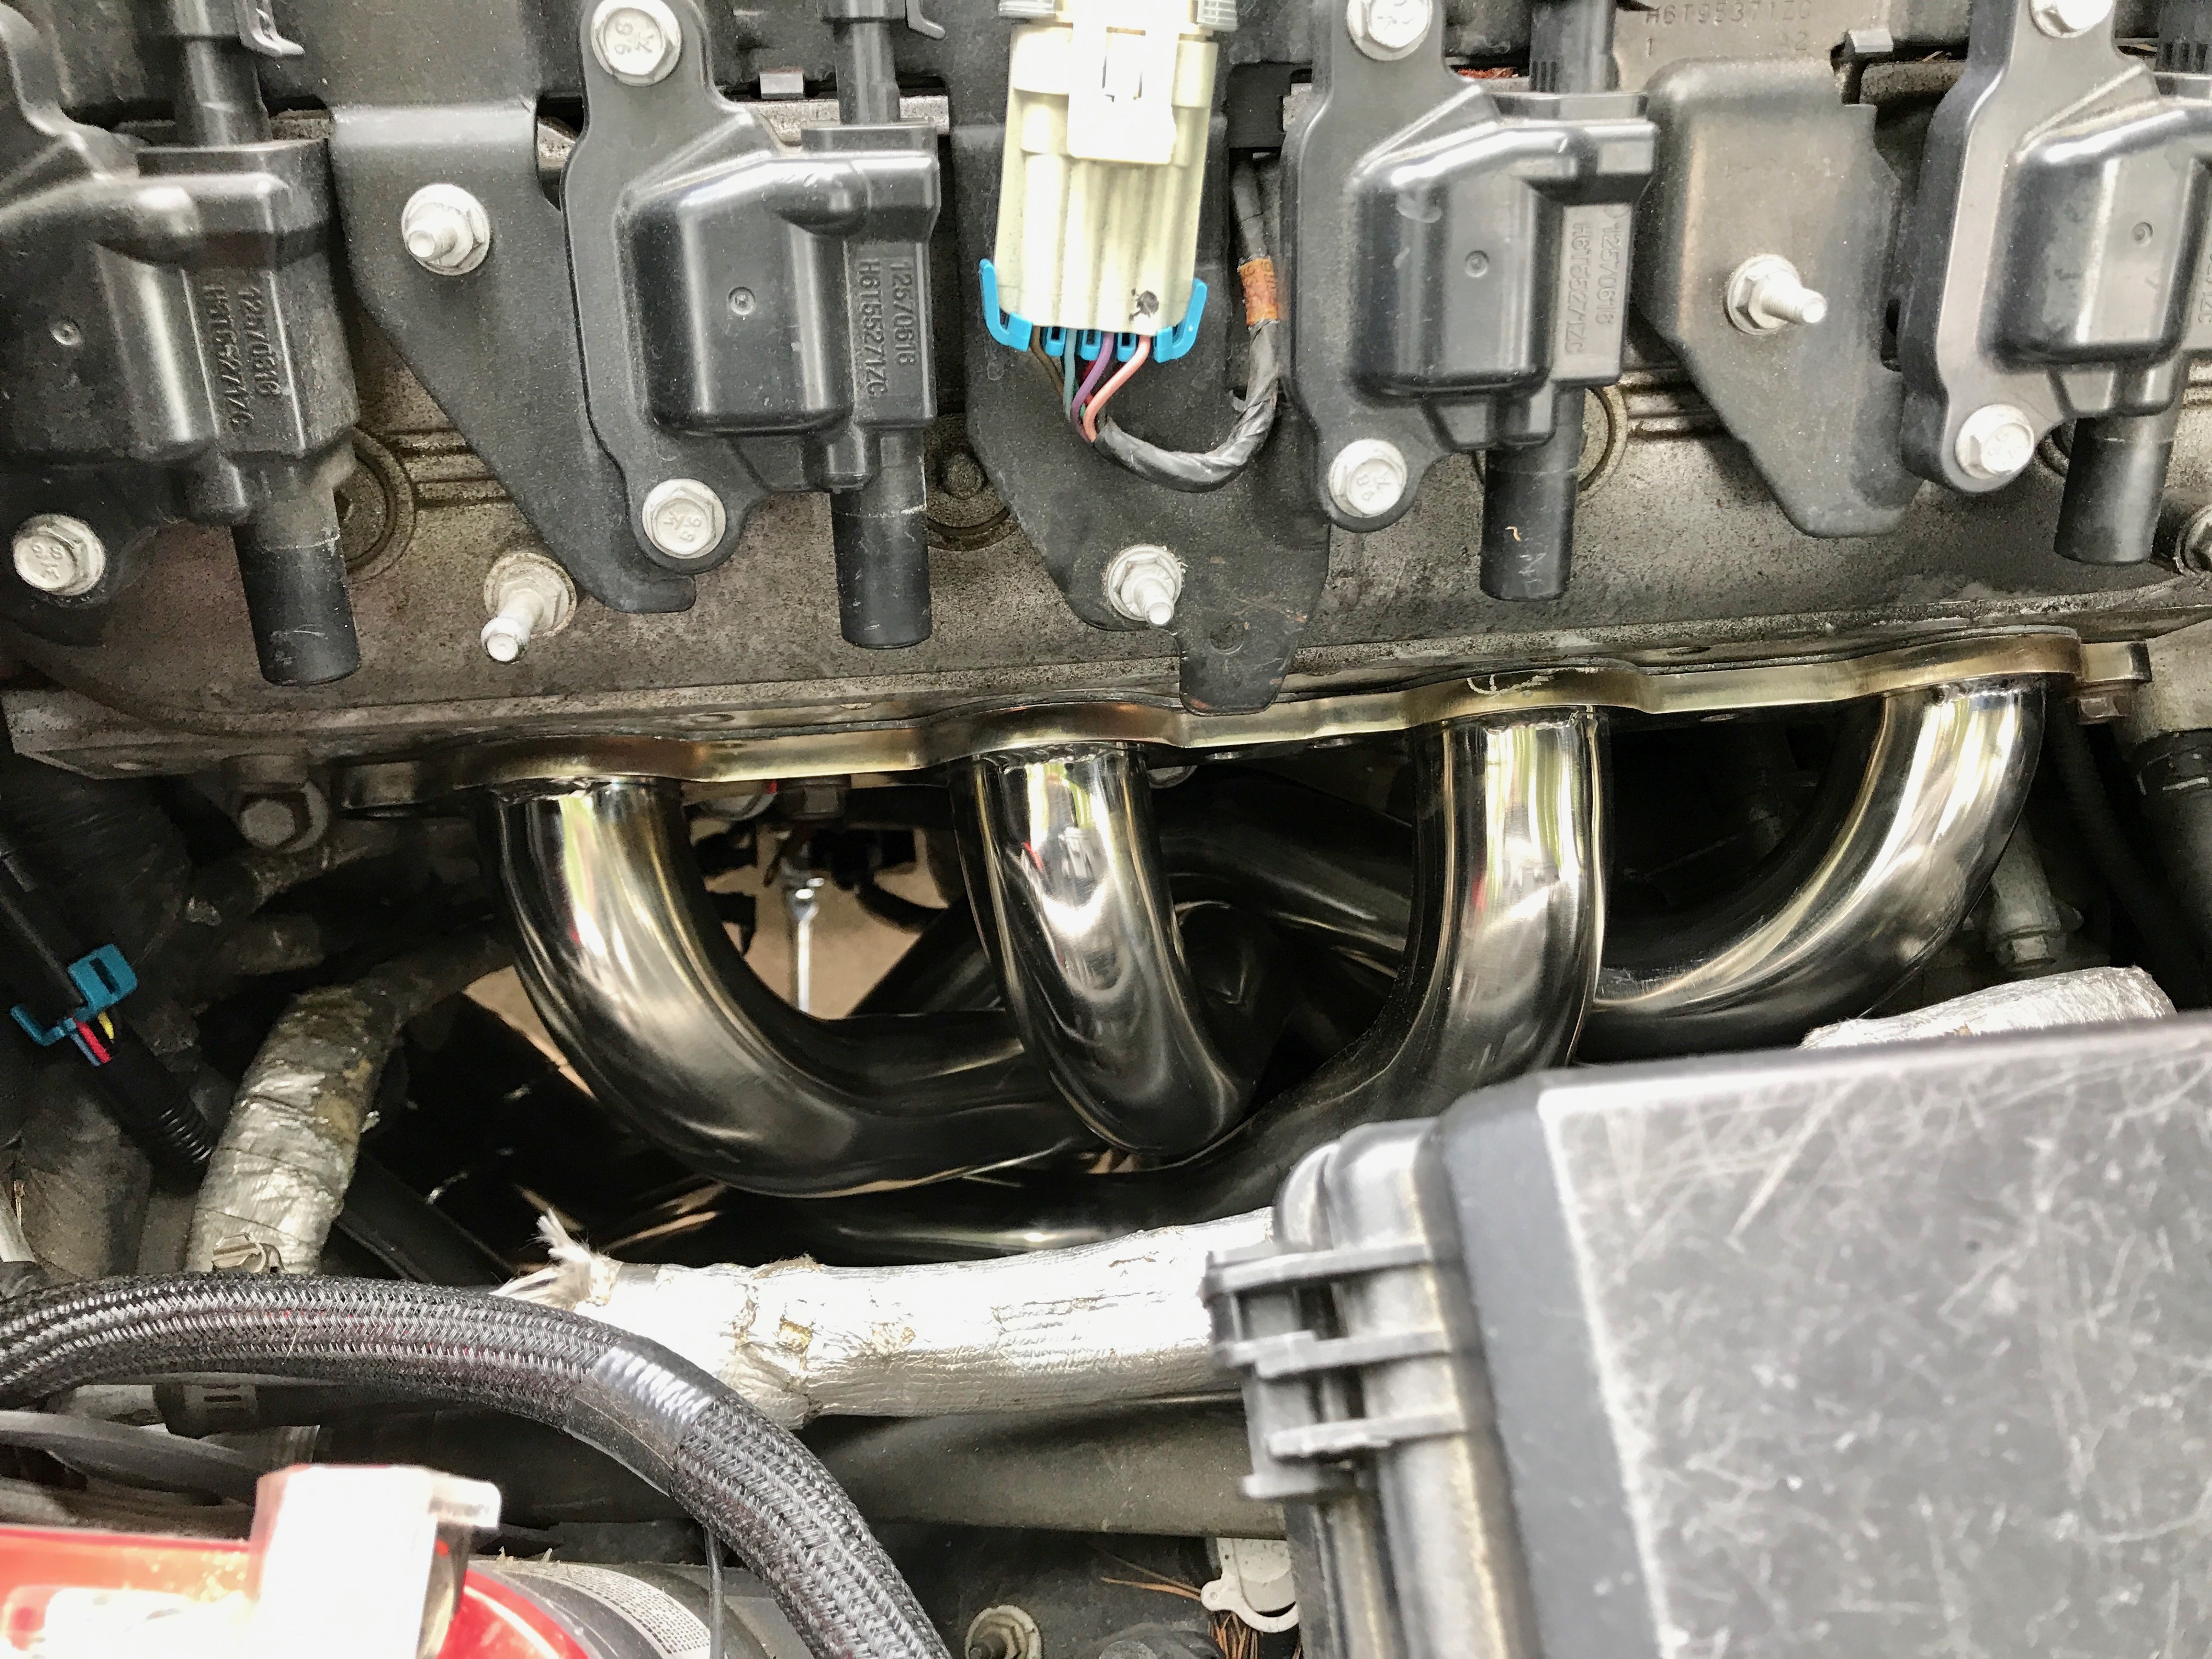
Passenger side in. With starter out of the way they went right in, no issues. In hindsight I think I could have loosened the starter instead of totally taking it off
Driver side mostly in
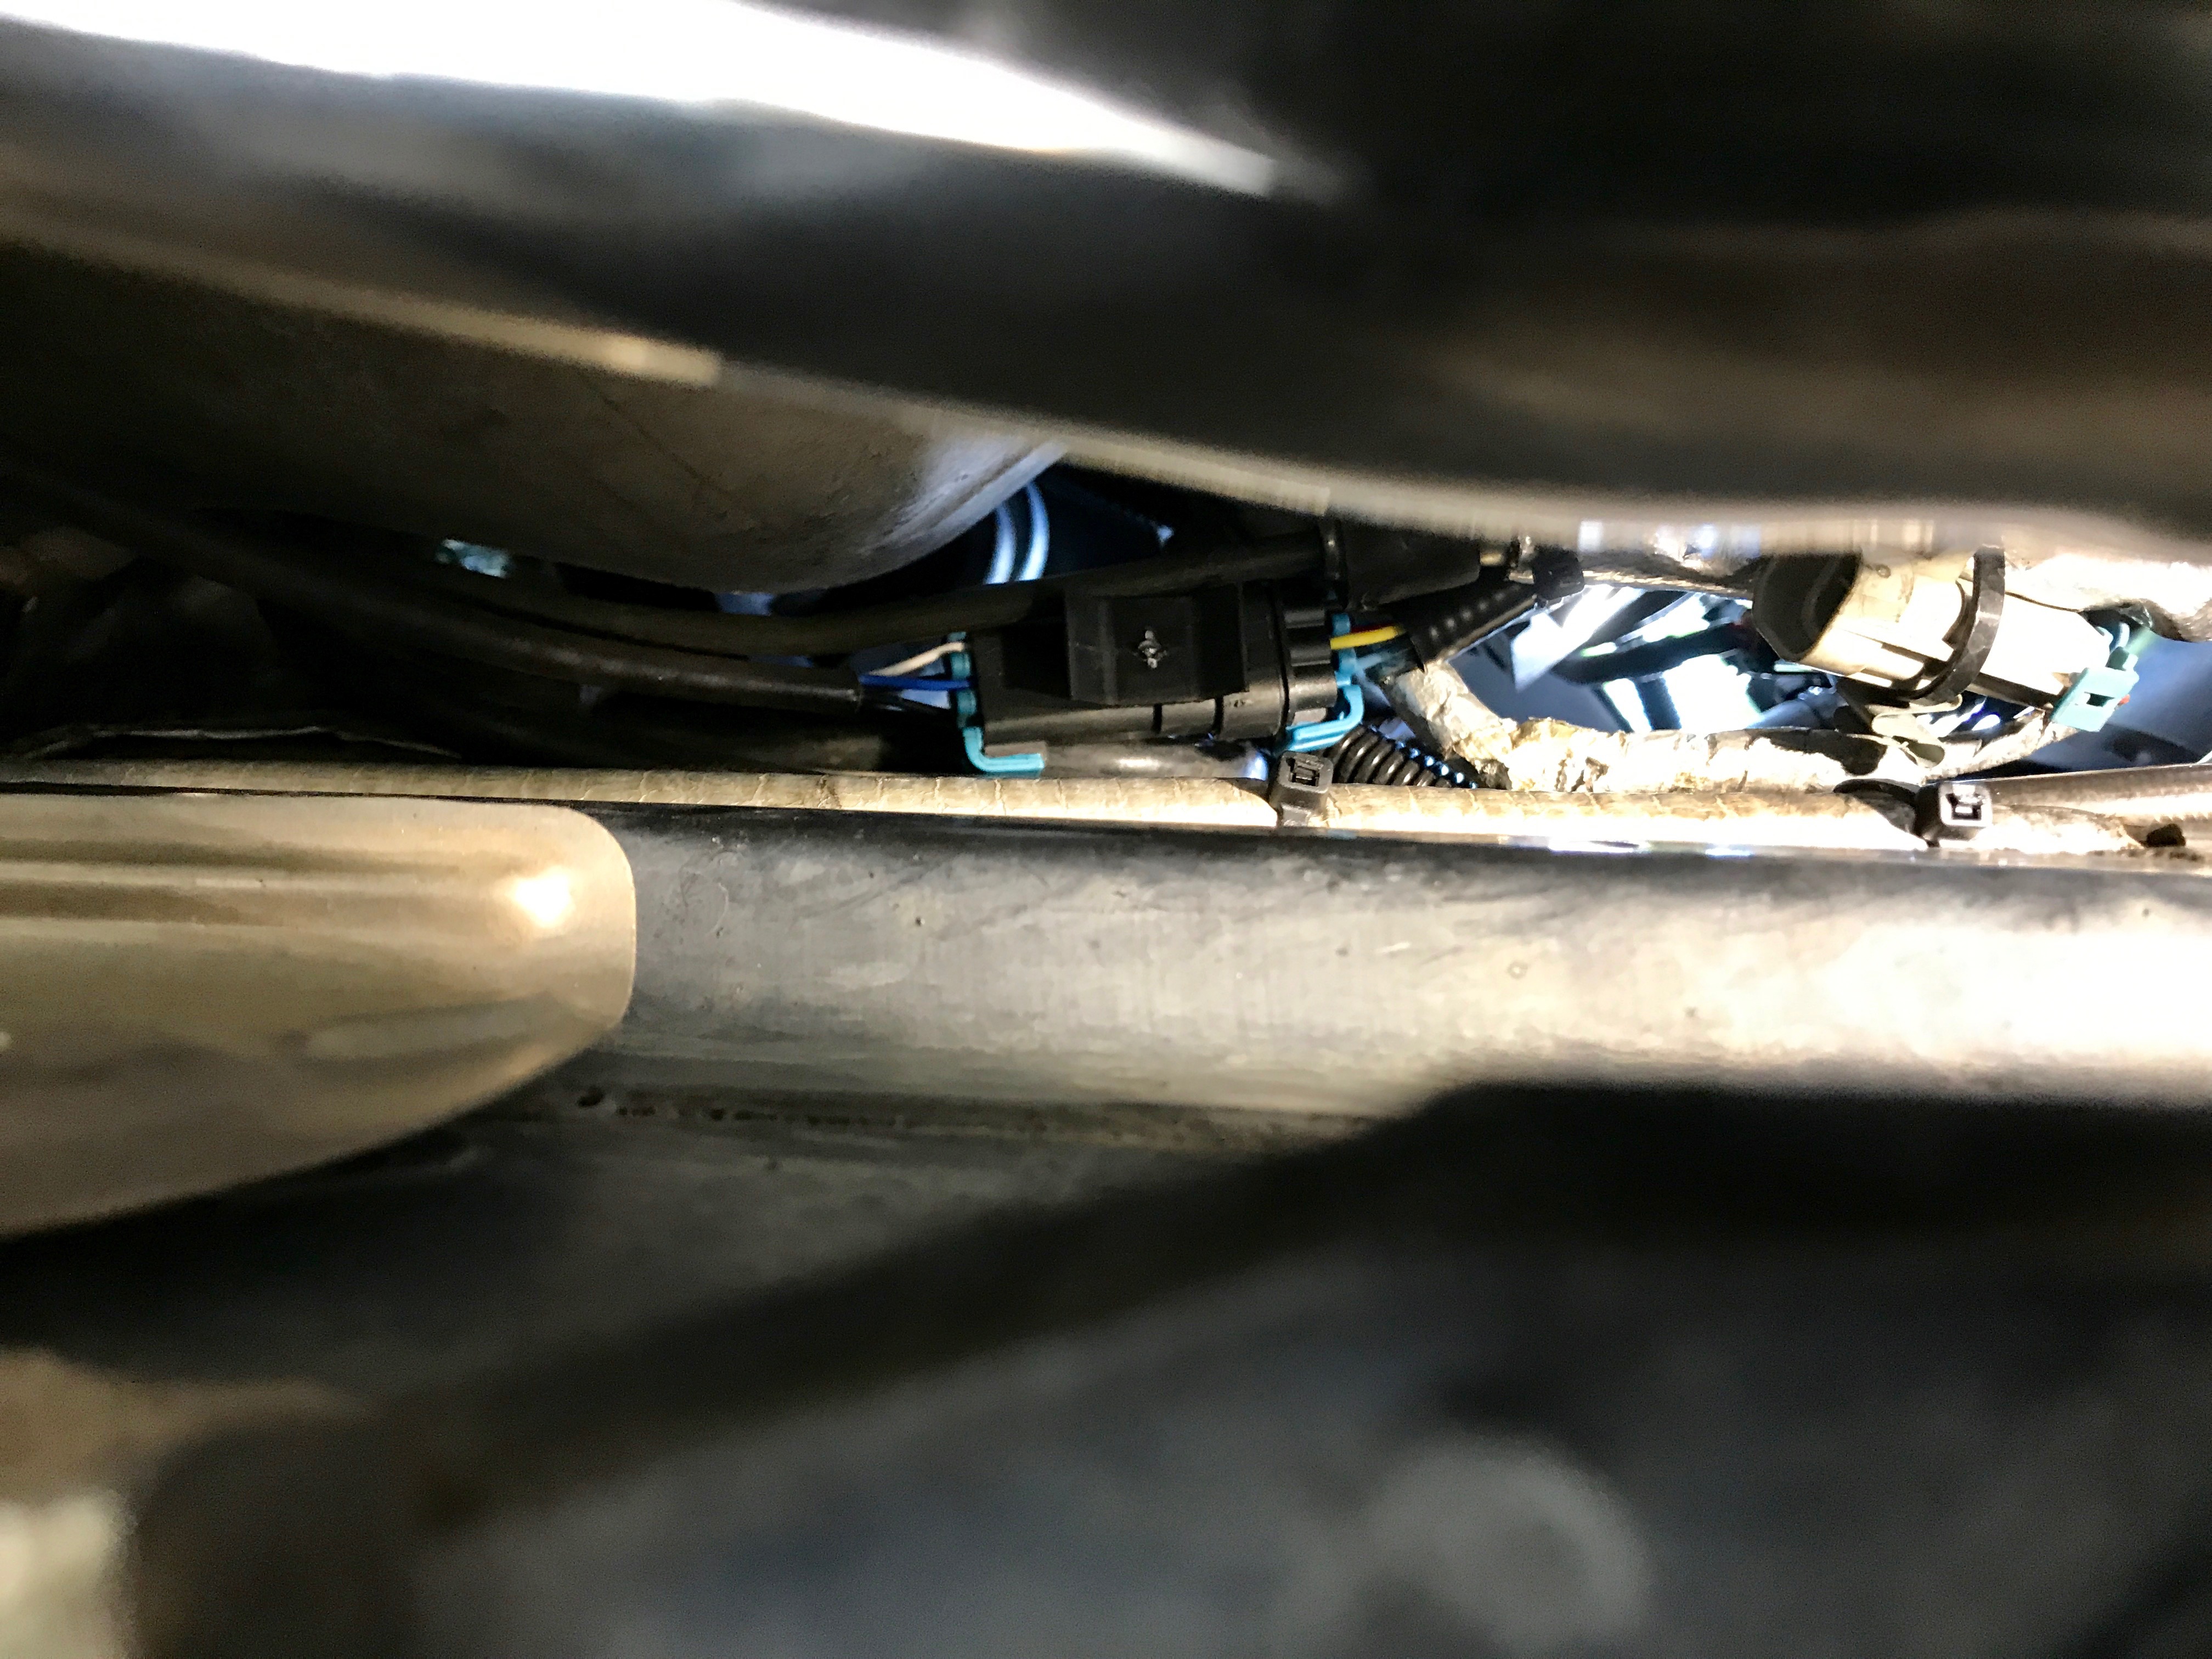
Tried to get a picture of securing all the wiring/clutch lines on the drivers side but it's pretty tough to see much of anything
Passenger side--towards the back you can see the O2 extension wiring. I originally thought they were too short but it was actually a good length that didn't leave a lot of extra flopping around. Secured to AC line.
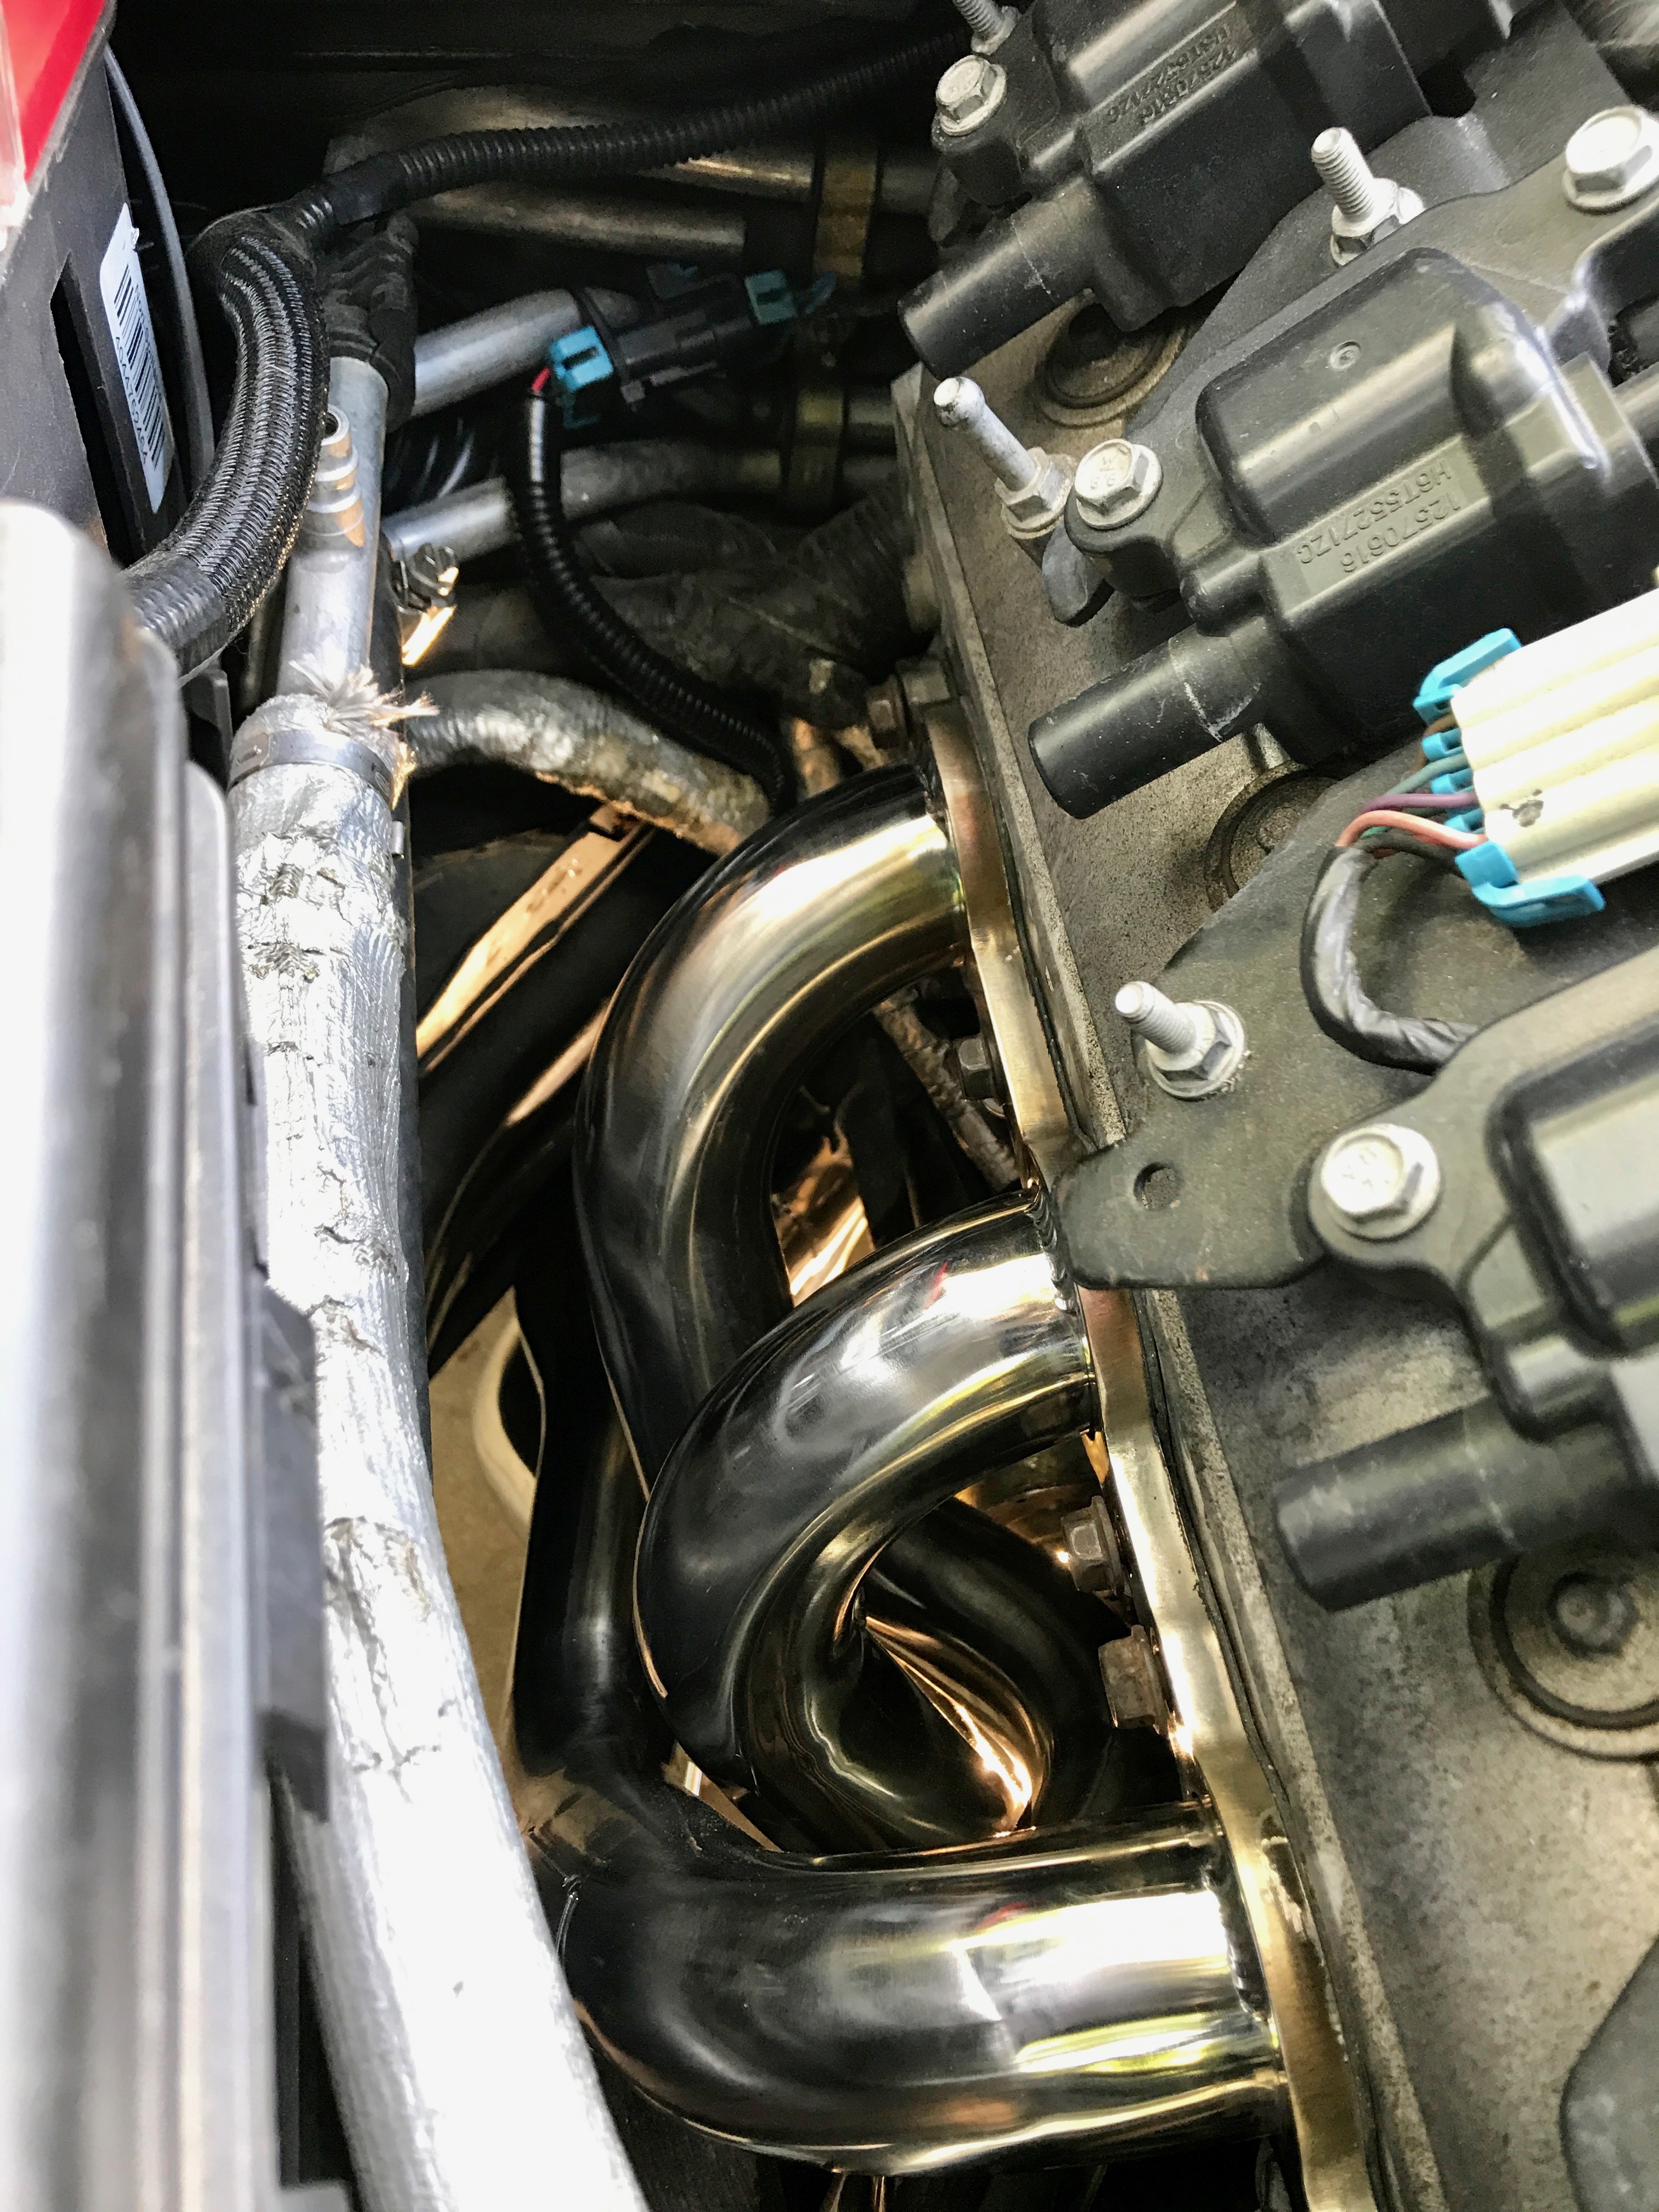
Tight fit between the steering shaft. Worried it might hit when the engine is torquing but I guess we'll see
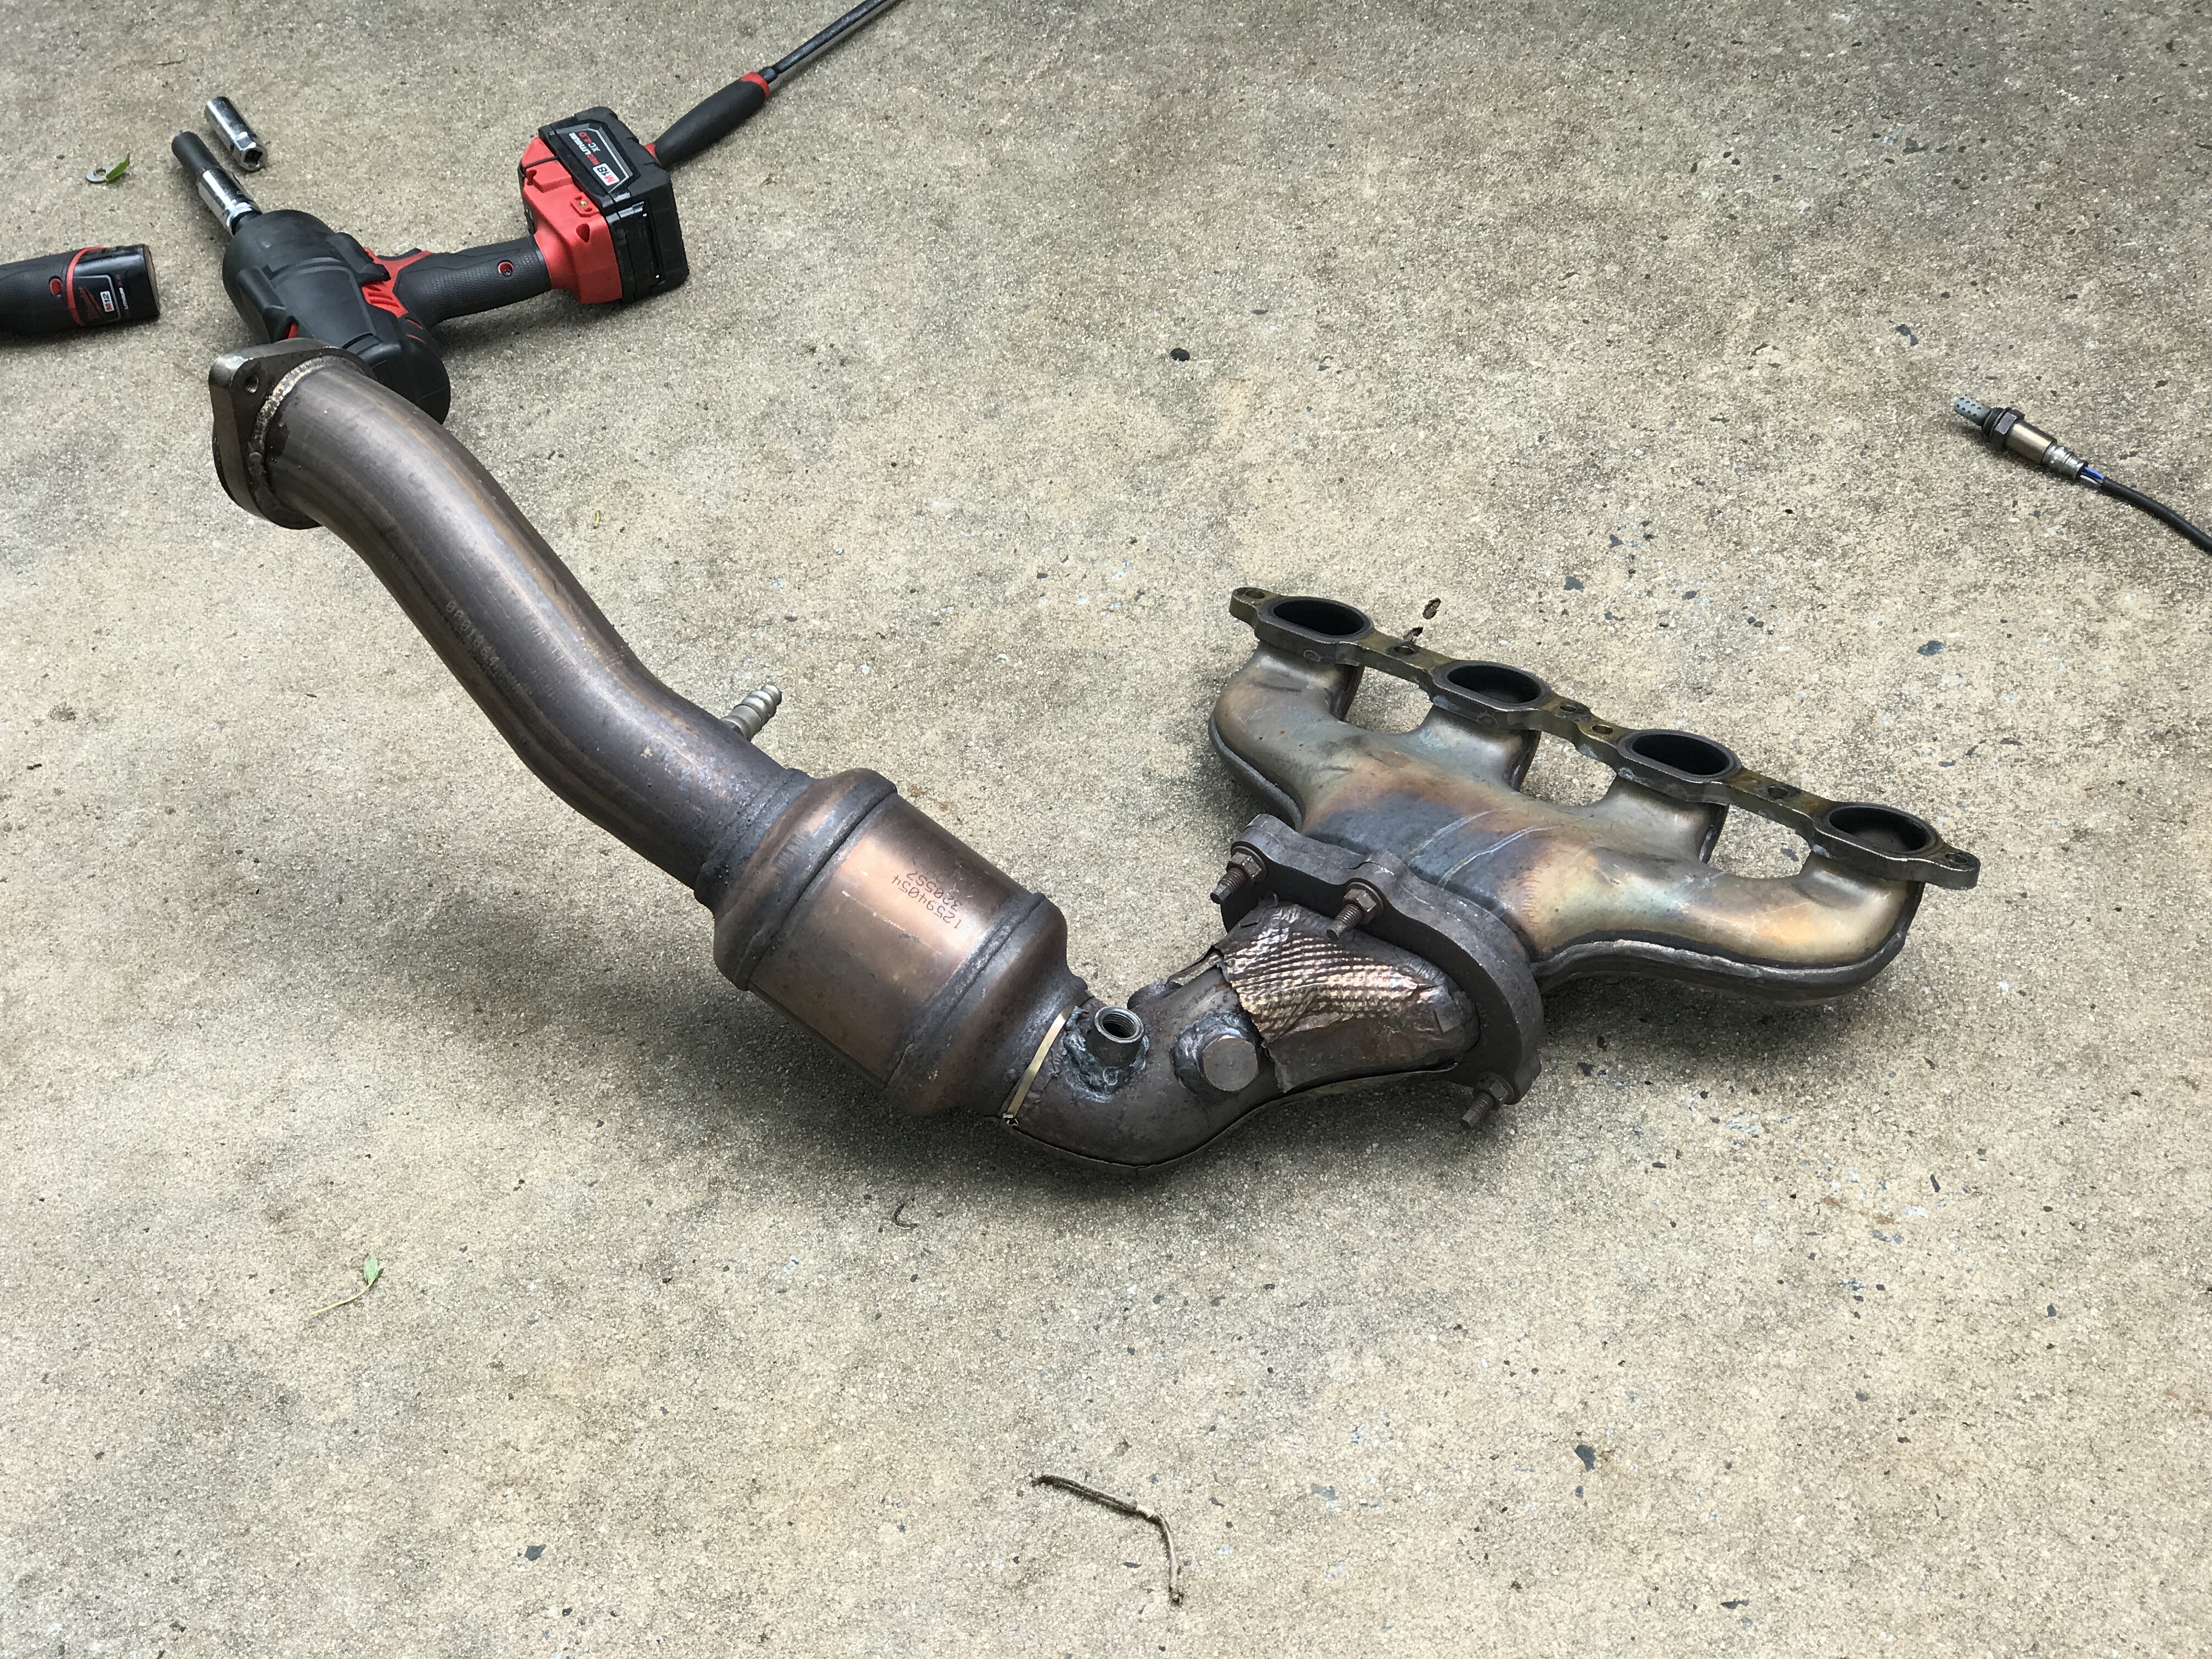
Old H pipe
View
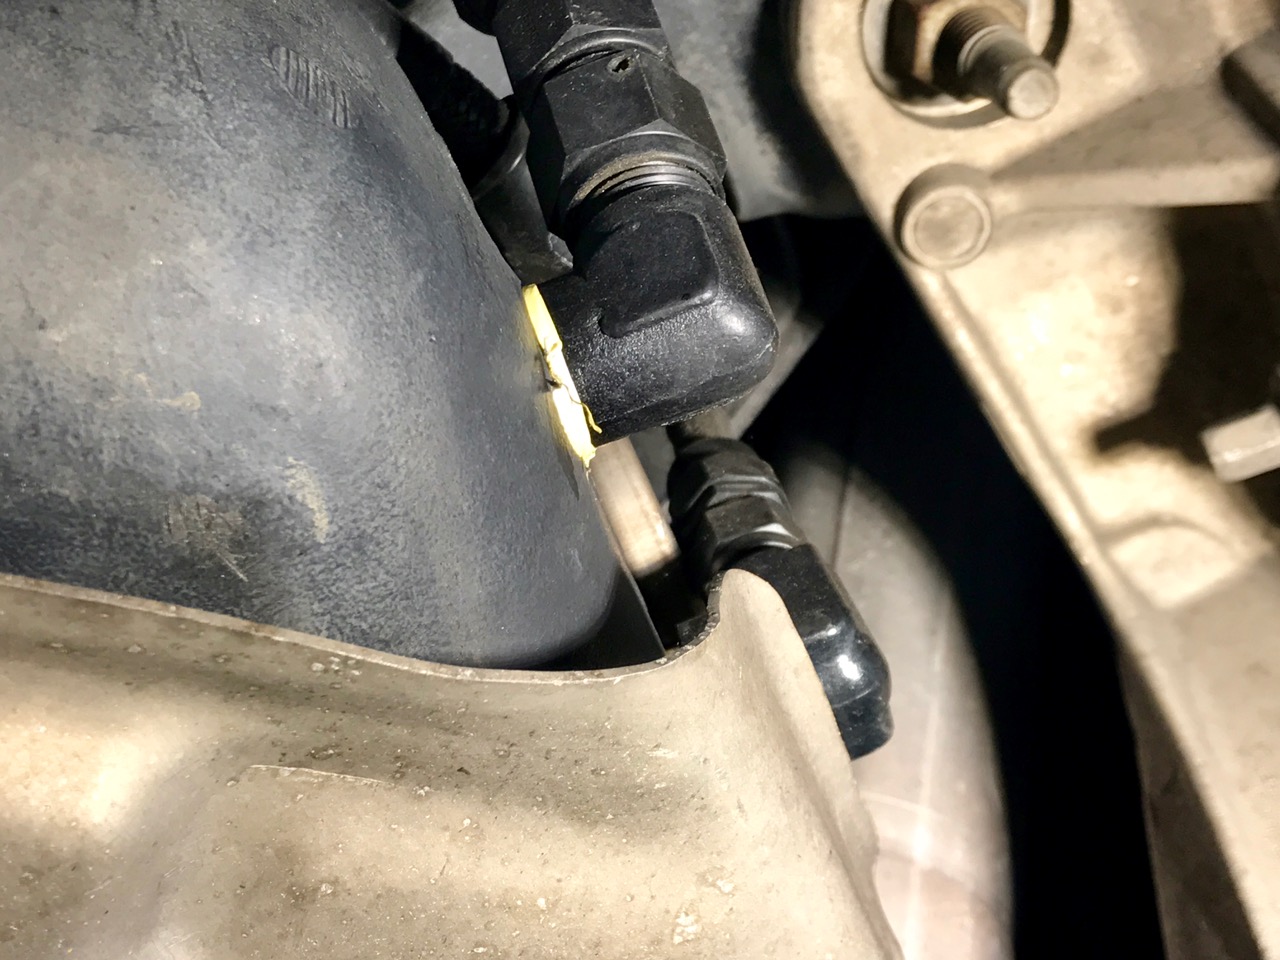
Found that #2 plug wire is touching header. The rest seem to clear.. I think if I had an angled plug on this one it would clear, the factory ones are too tall I guess
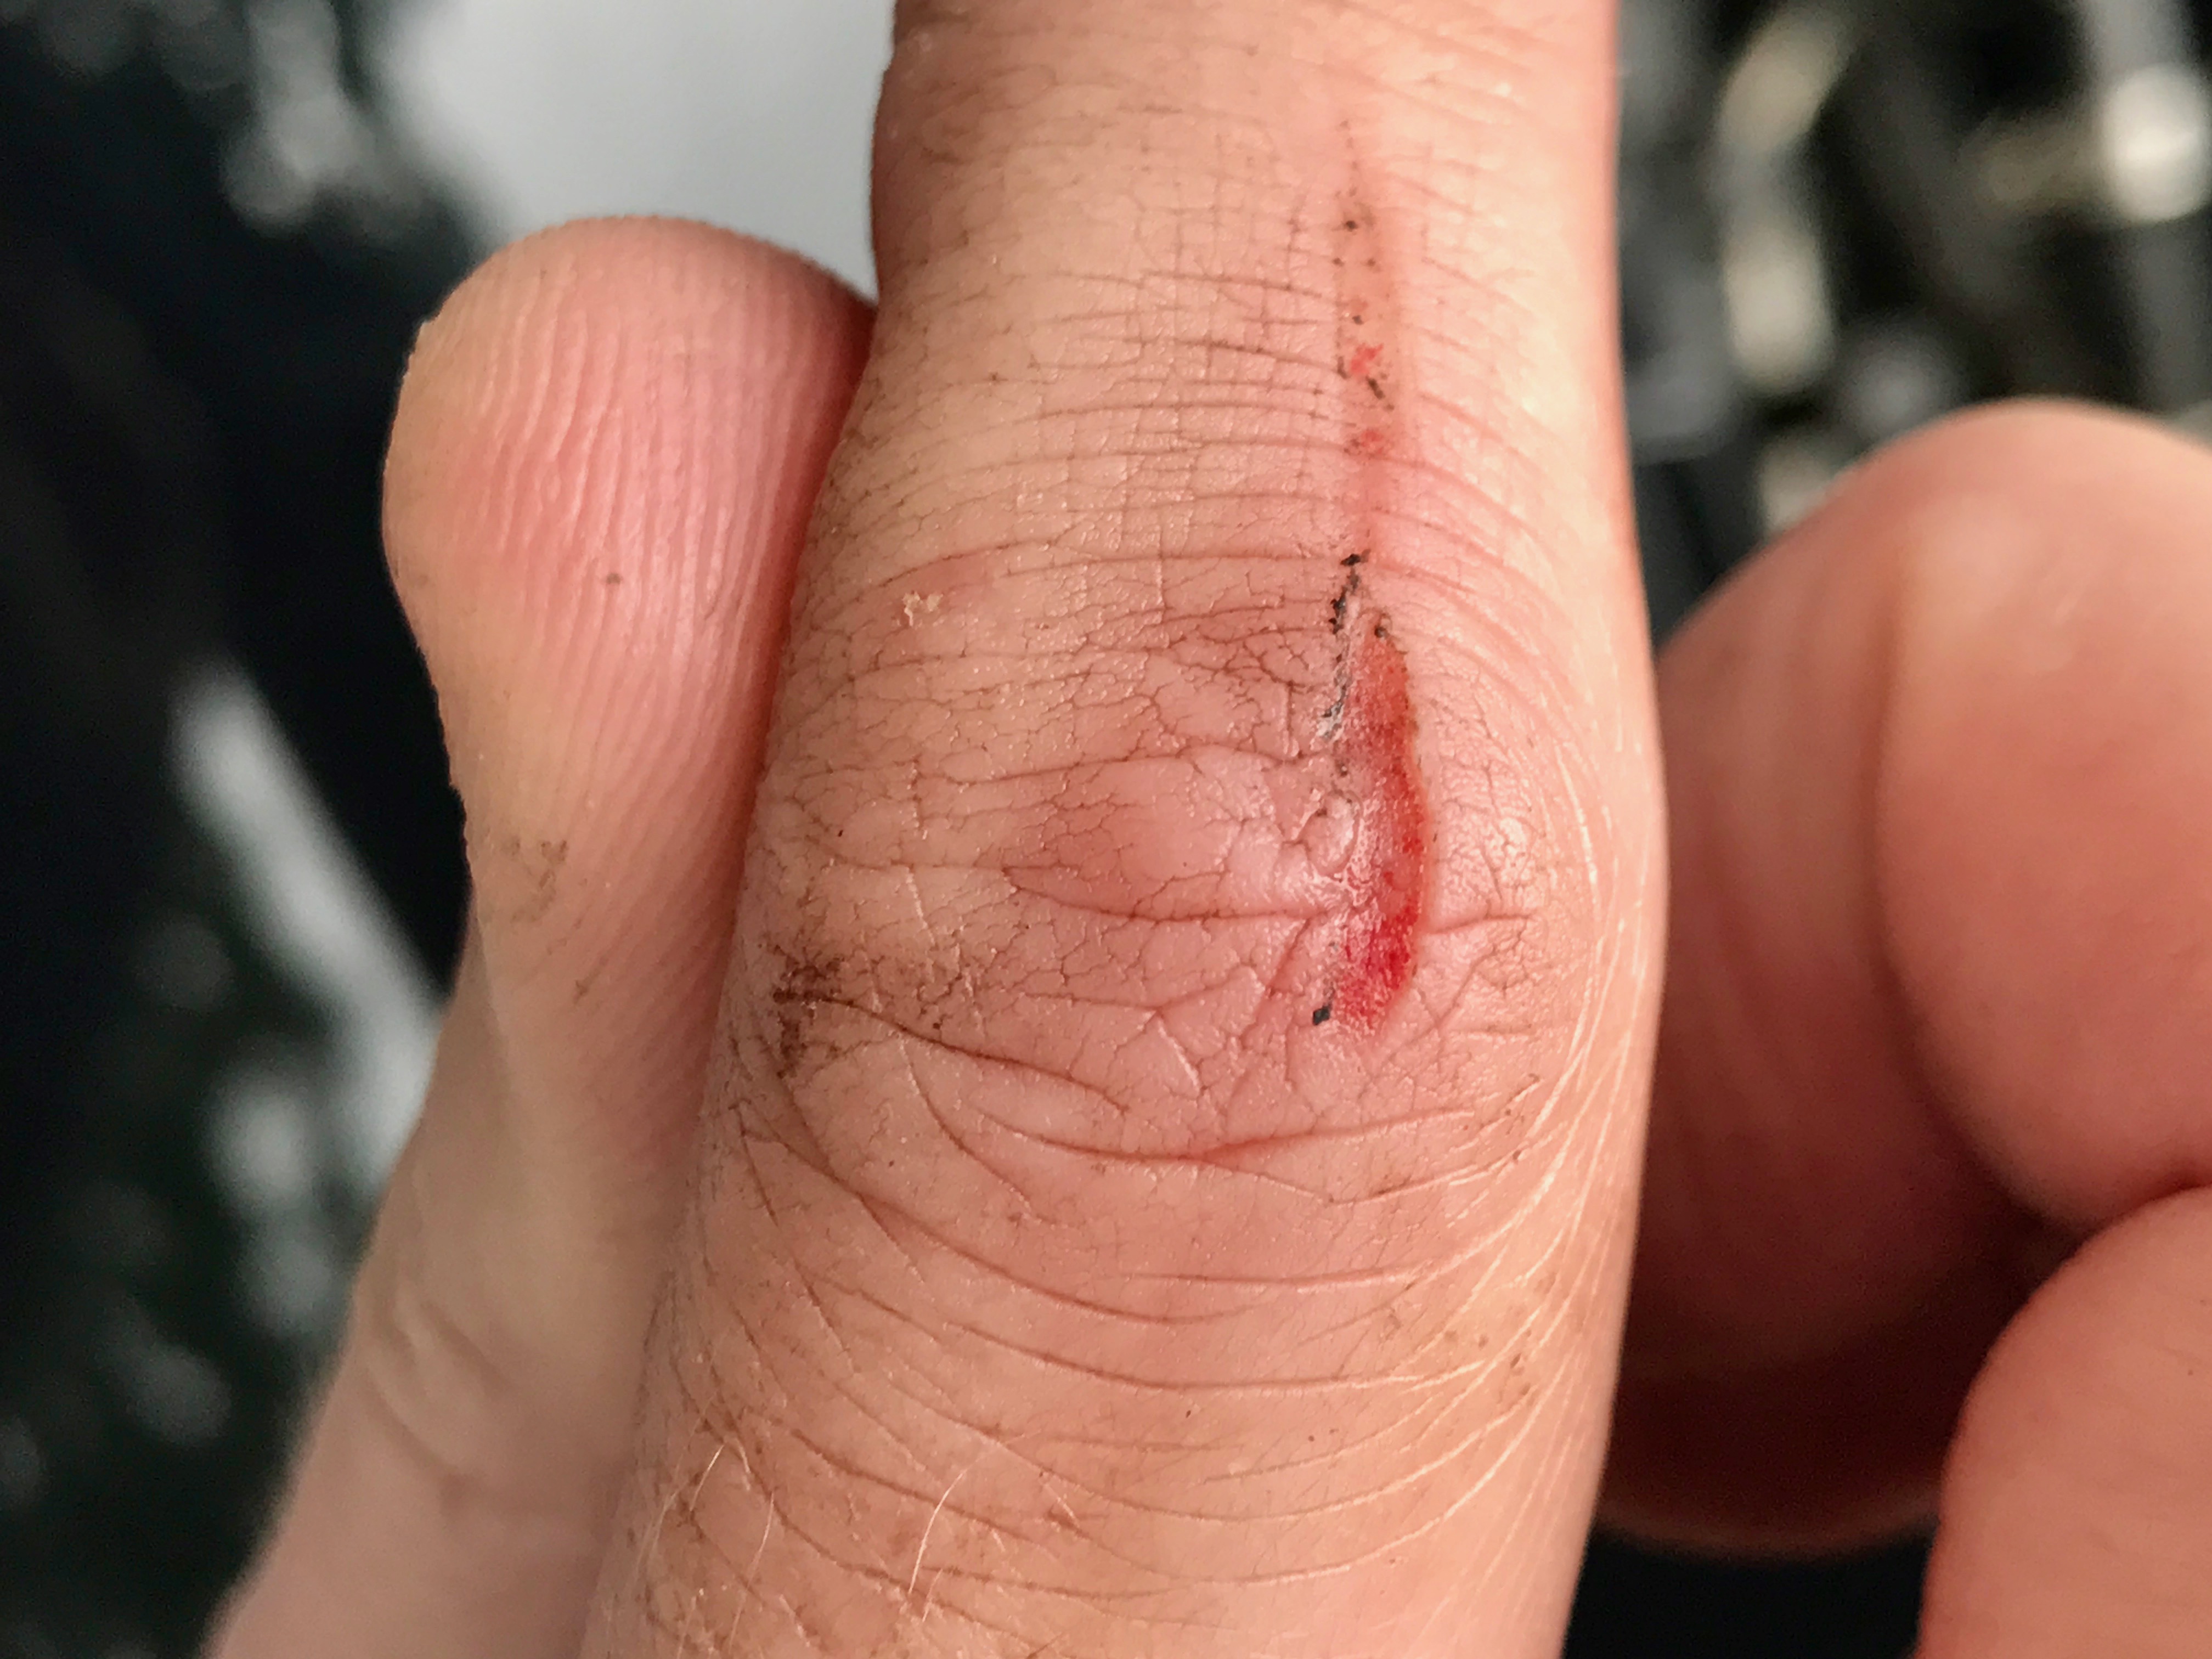
Grinder meet finger. The black specks are OJ gloves melted into my skin.
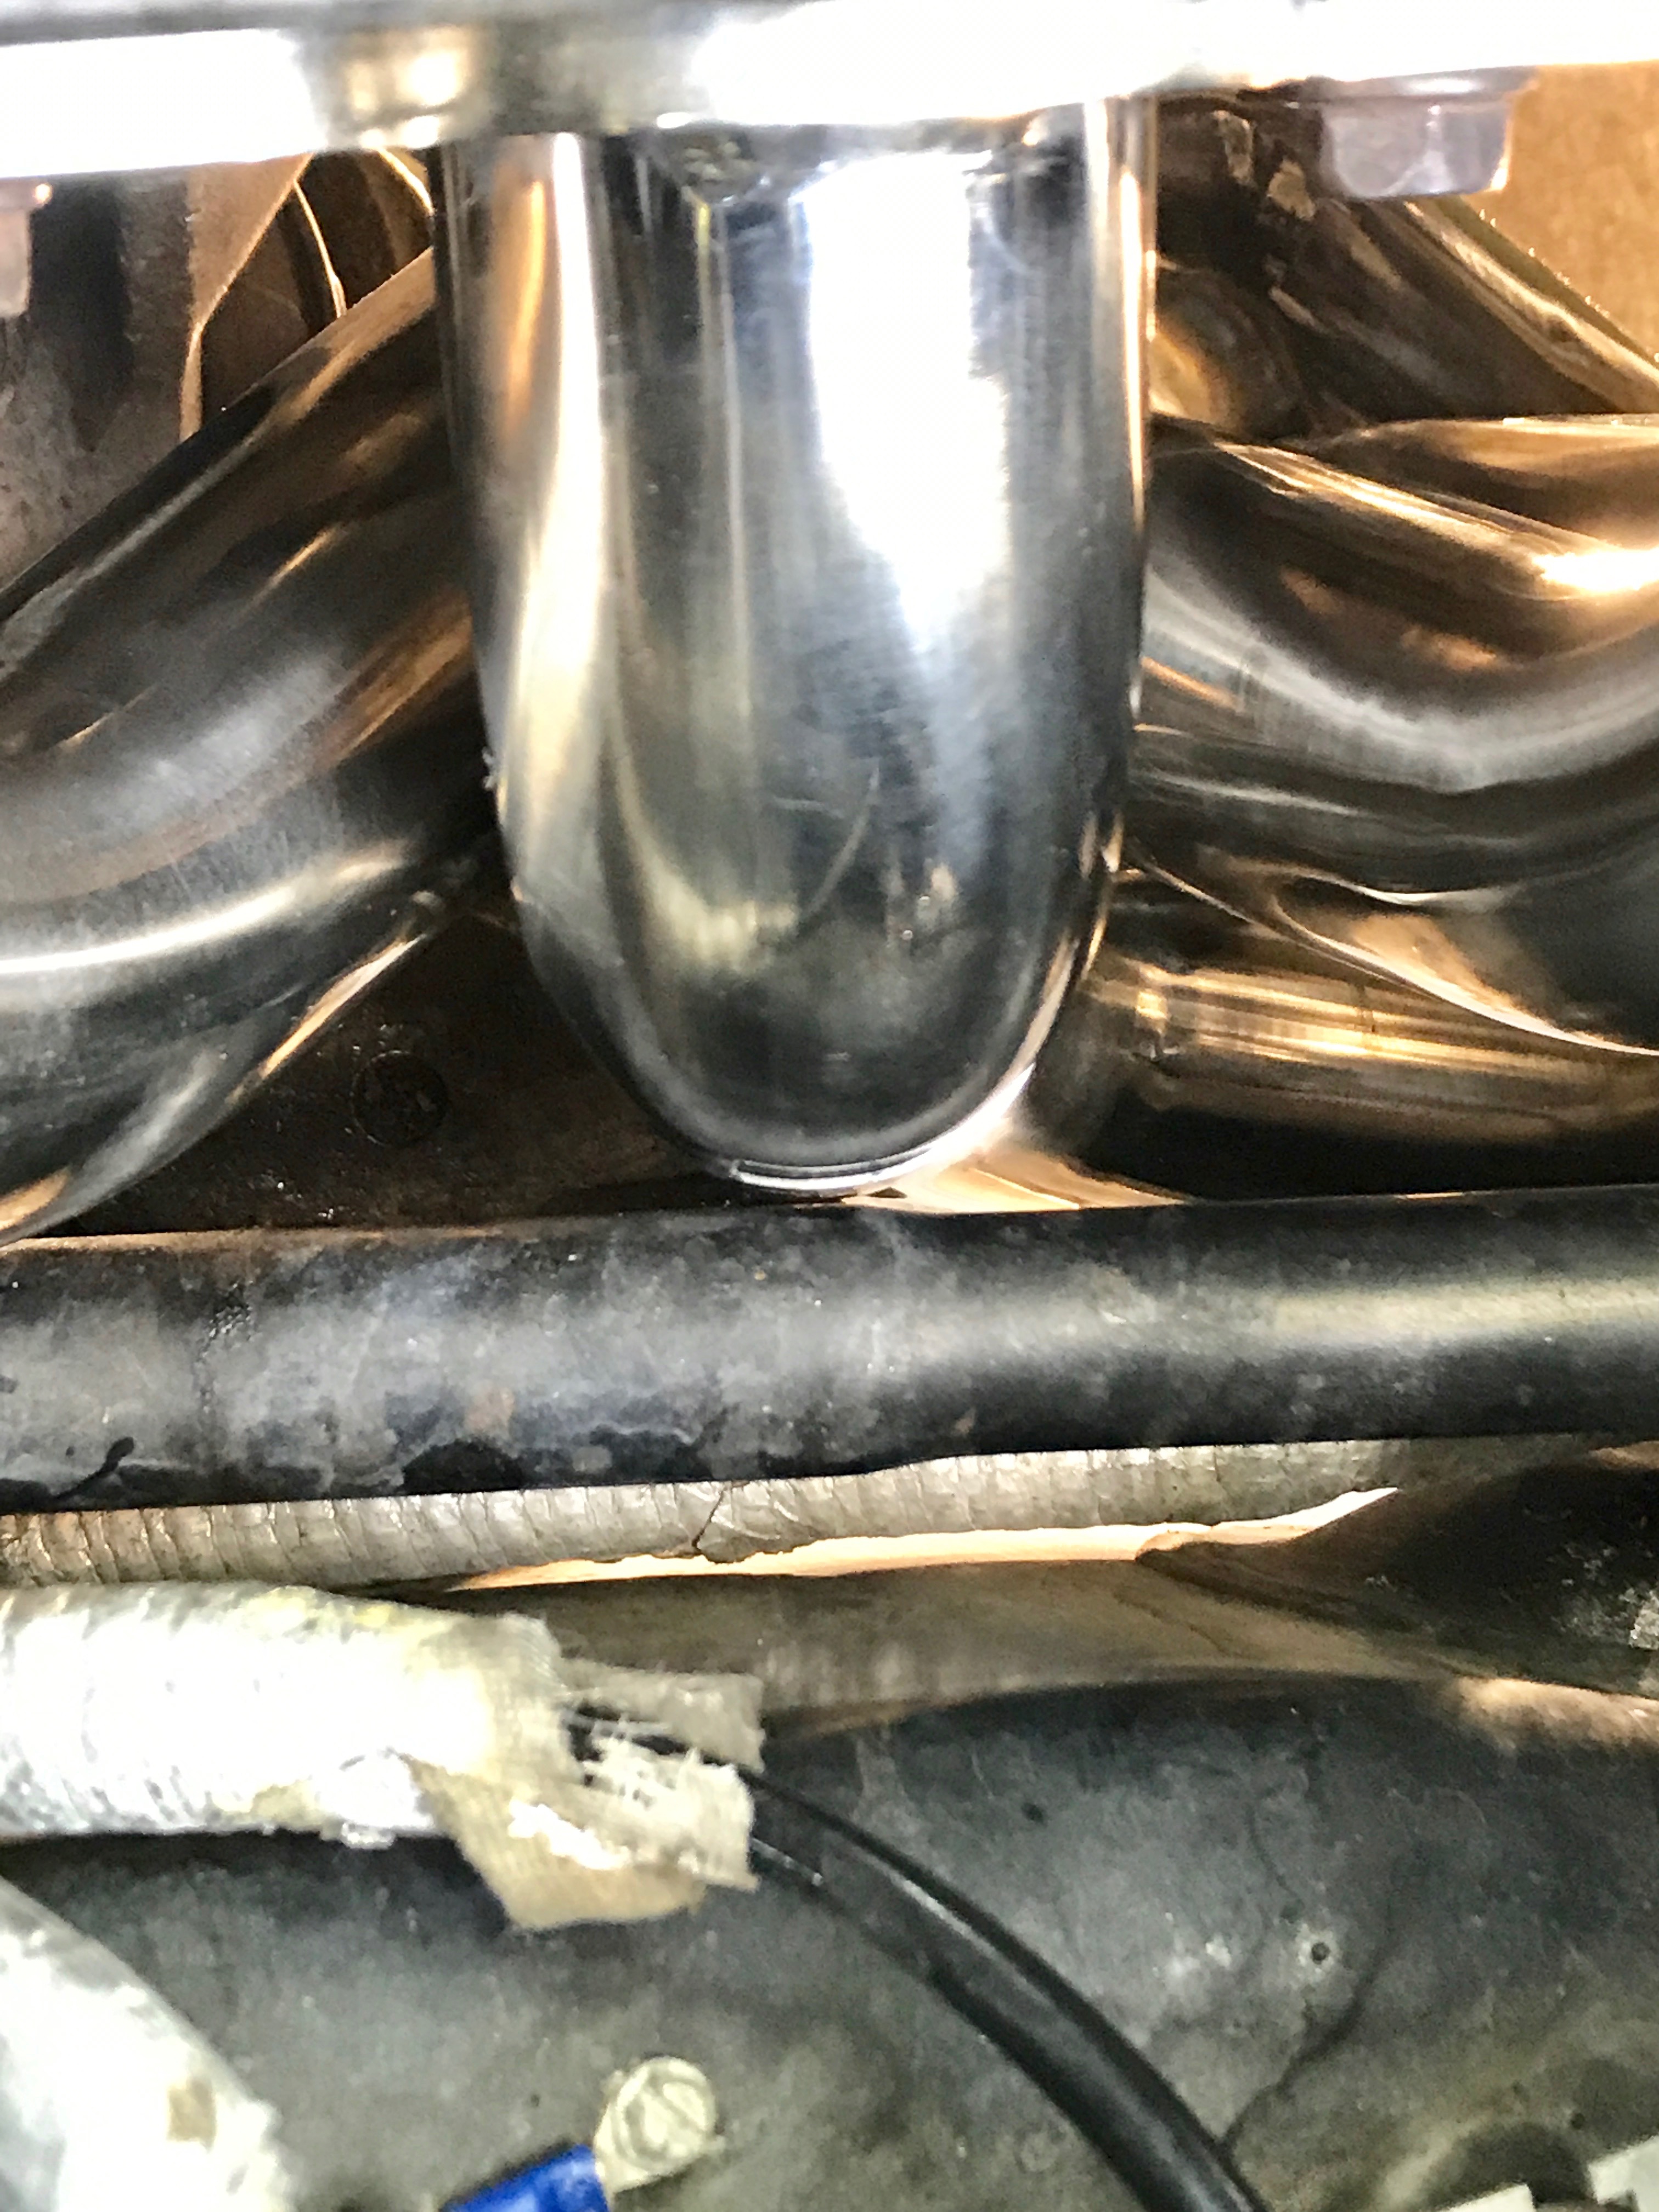
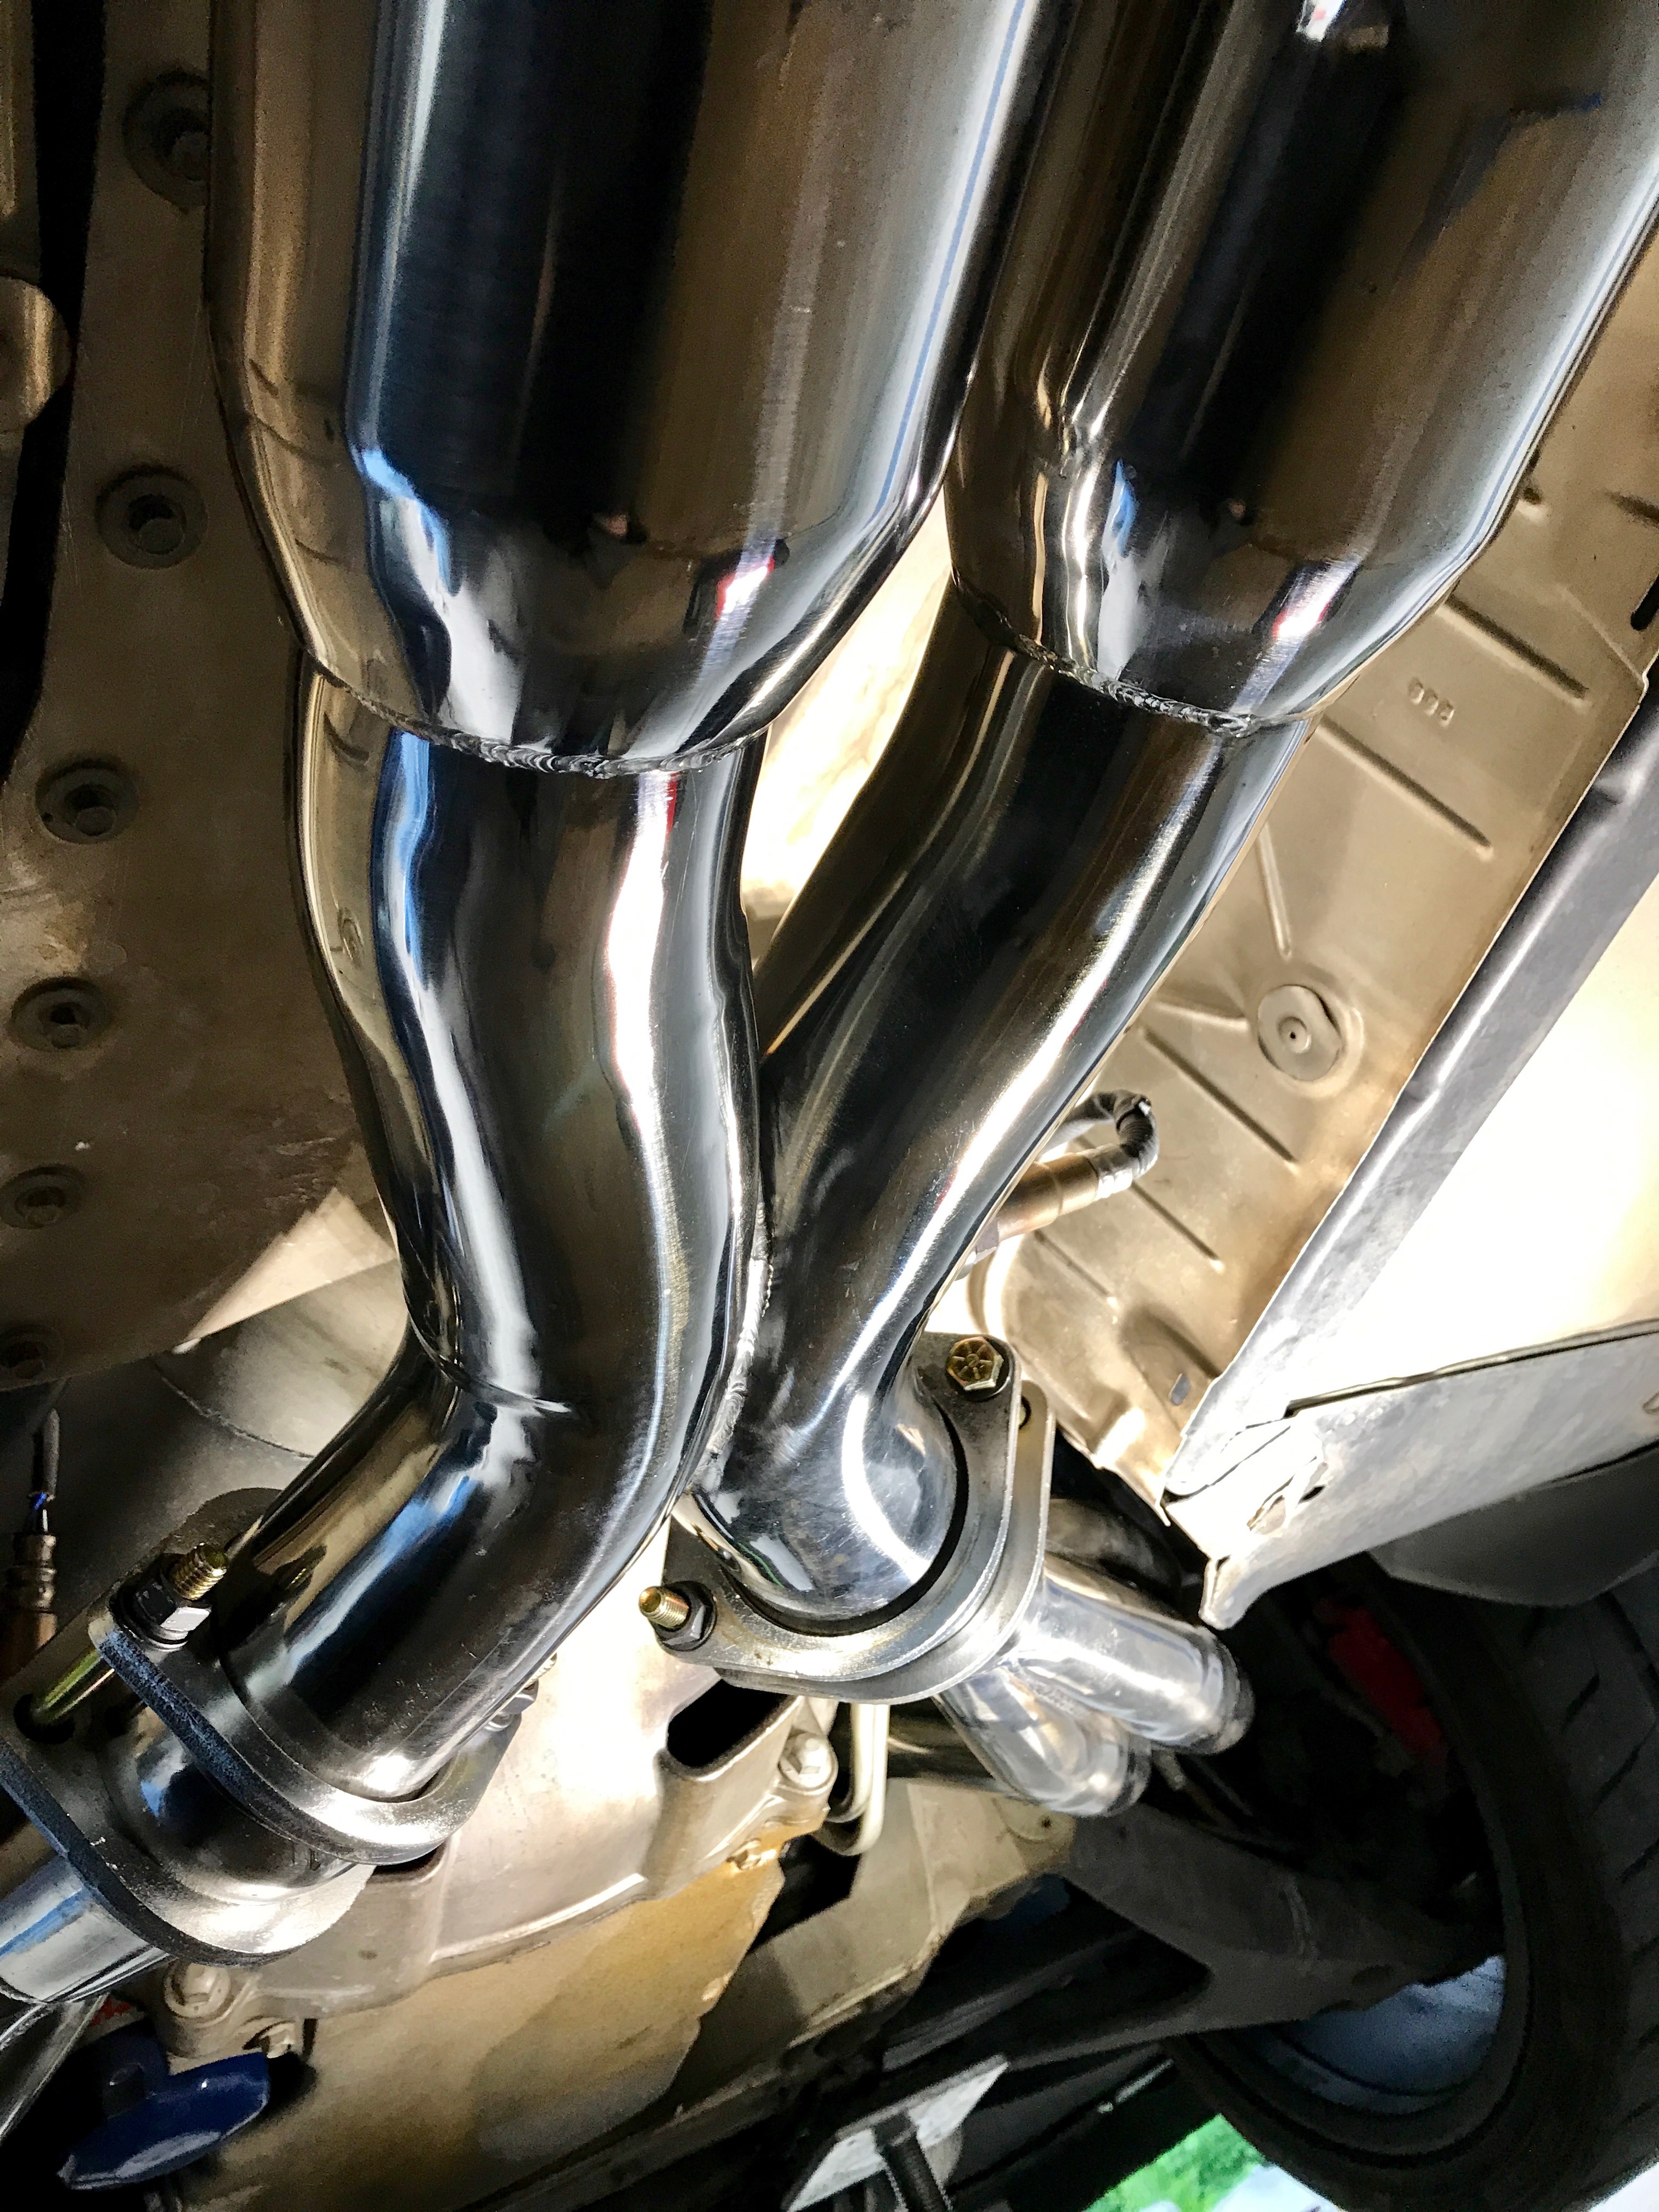
Bad picture of what it looks like with X pipe connected
Not a good picture at all but basically the extension pipes are too long to mate up with Z06 axle back. Apparently the factory 2.5" stuff is proportioned a little differently than Z06 setup.. I had assumed it was the same length from manifolds to axle back on both systems but it's slightly shorter with Z06 stuff. So, no way these two were going together. They look close in the picture but they were about 2" too close together and nothing was moving anywhere near that far.
Going to run the car by an exhaust shop tomorrow and let them finish the last bit. It's loud enough to wake the dead at the moment, hopefully I can make it to the muffler shop without getting arrested.


 04-24-2017, 03:40 PM