When you click on links to various merchants on this site and make a purchase, this can result in this site earning a commission. Affiliate programs and affiliations include, but are not limited to, the eBay Partner Network.
is the concern the rails or the intake? what about Holley fuel rails?
The "burning" comment was directed at the rails. Sounds like they've improved the mounting to make this not such an issue though? Not truly sure.
Holley's are fine AFAIK
FAST intakes had an issue at one point with some plastic part inside of them coming loose or breaking under boost, and/or leaking like crazy, so they got a bad rap for FI setups especially. I've also heard that has been fixed on the newer models but I haven't really kept up to date enough to really say that that is or isn't true...
Not just FI, it was the thin stamped metal mounts that would flex, cause the injectors to pop out, and light the bay on fire. Seen it happen on NA cars too.
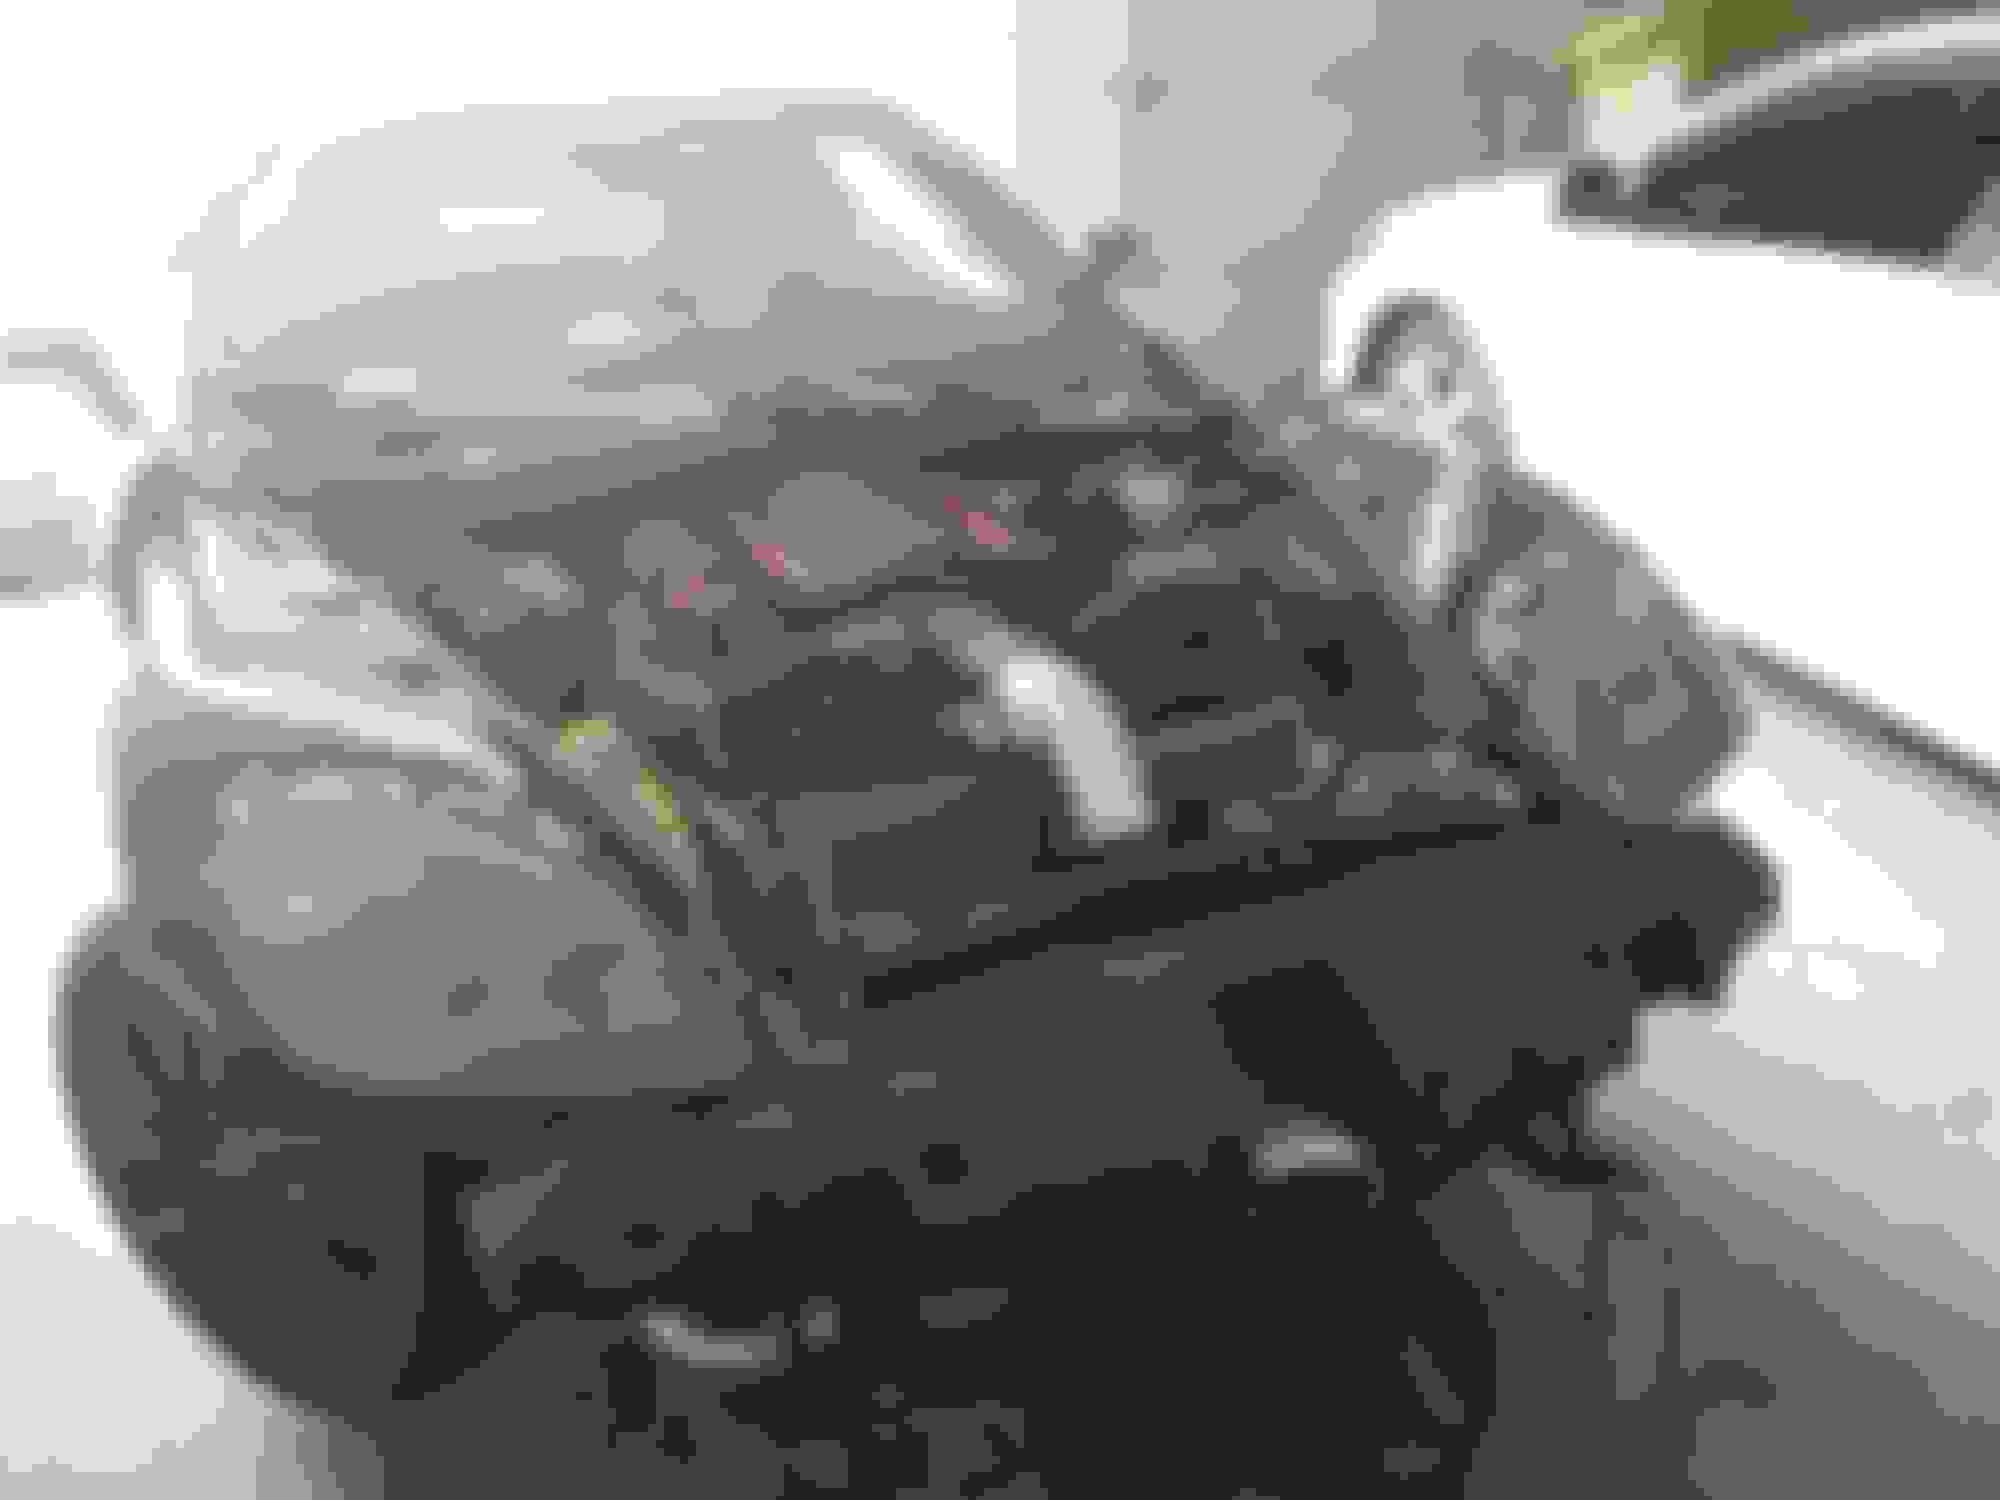
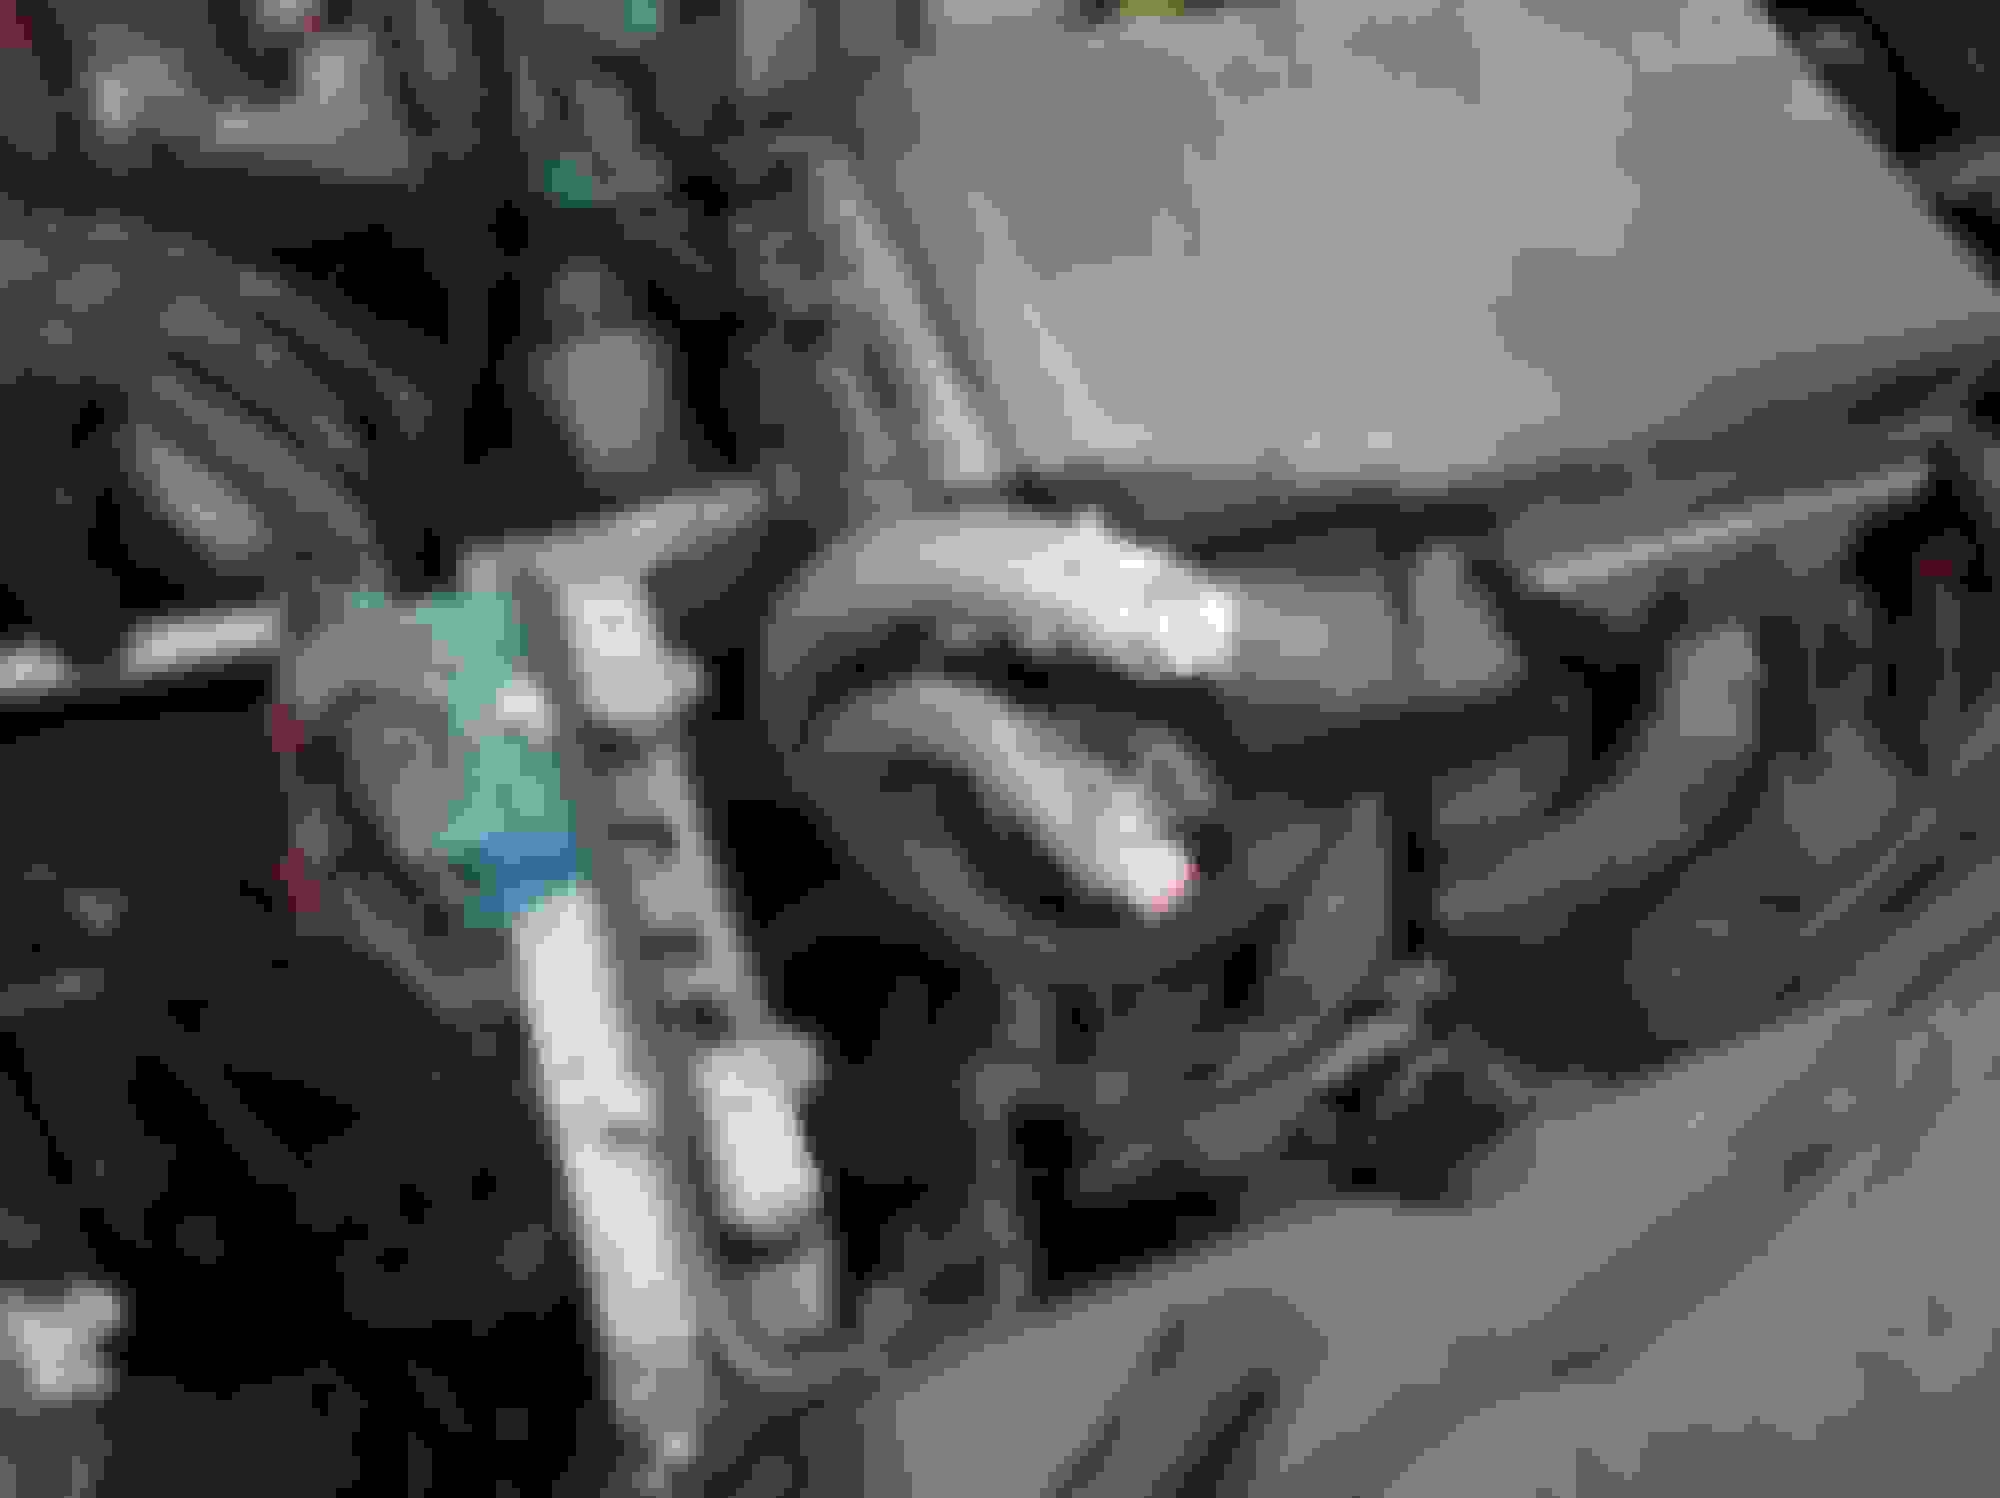
Started on the passenger side turbo yesterday, the fitment is vastly different. I though I could use some of the measurements from the drivers side but that is not the case. You have to start cutting the fender line first to get this to fit unlike the drivers side which you can fit and then cut later. Also in the install video and earlier versions of the kit you don't need to cut the mounting bracket for the ECU but in the redesign you do as I discovered by looking up some installed pics online. Clocking is also a little trickier here, there's a small margin that allows the oil drain clear passage down and I'm also finding that the compressor position changes slightly once you get the downpipe fitted. I didn't take as many pictures as I wanted to but I'll take more when I get home. On my next day off (Thursday) I'll start cutting for the intercooler piping and once everything is mocked up I'll pull it all back off and clean it (the whole car is covered in fiberglass dust at this point) and hopefully I'll have a first startup video ready this weekend.
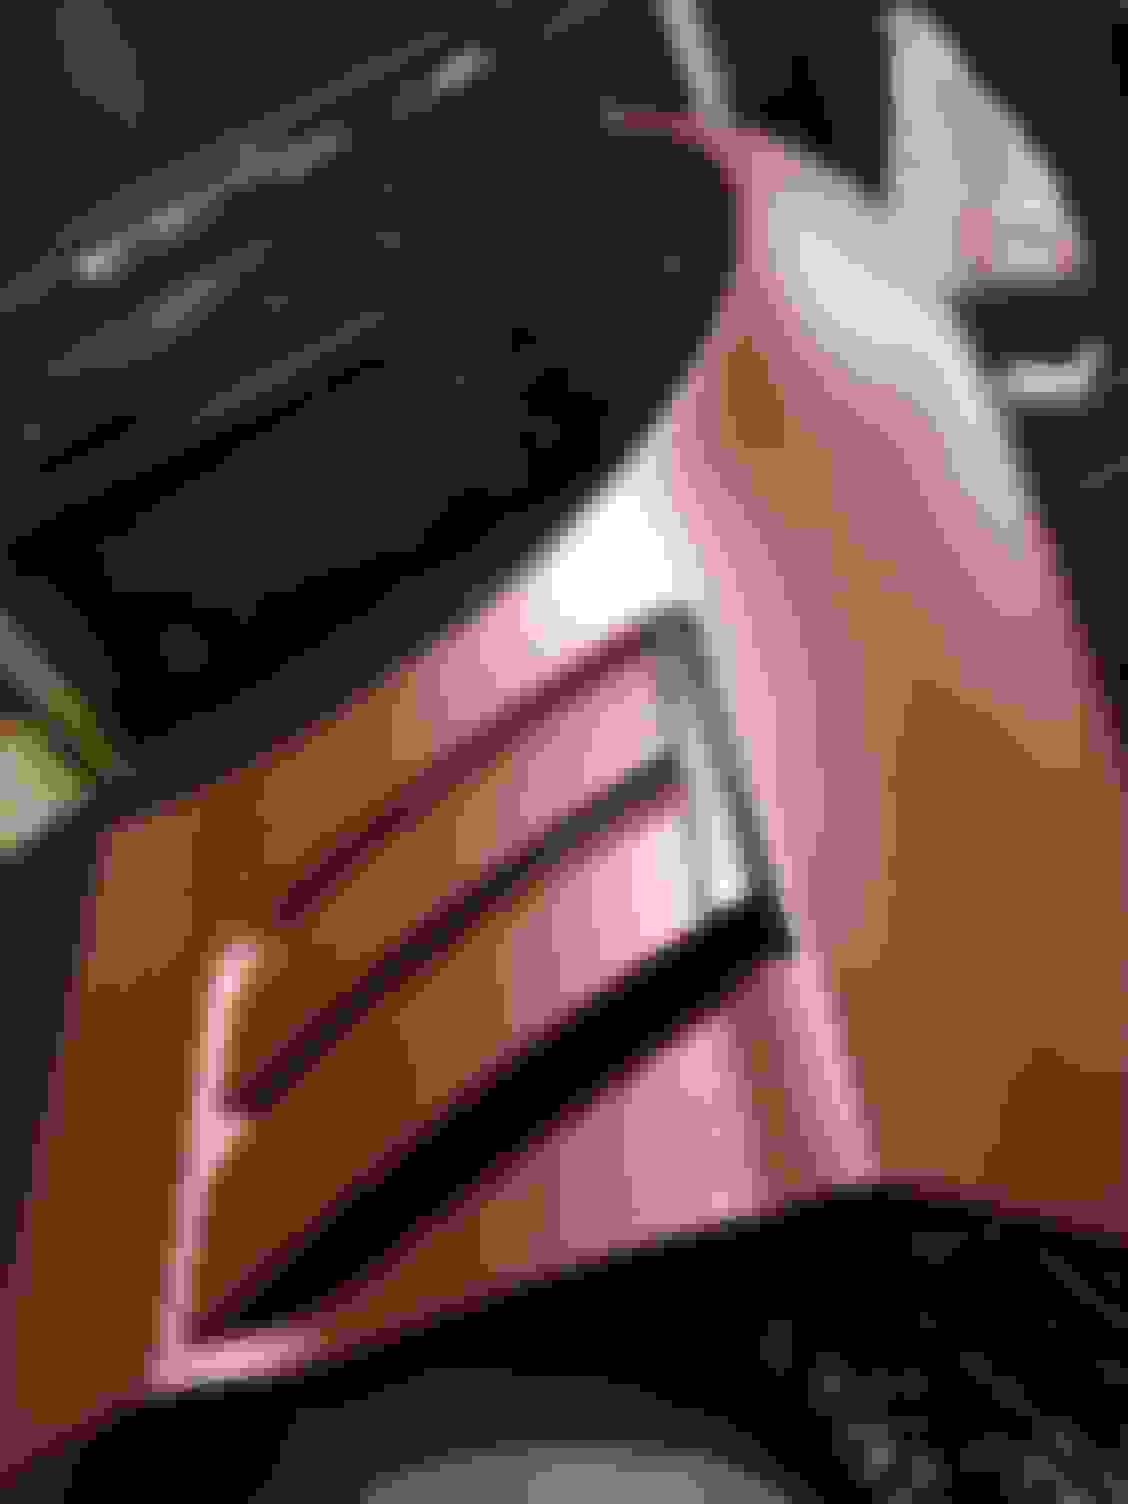
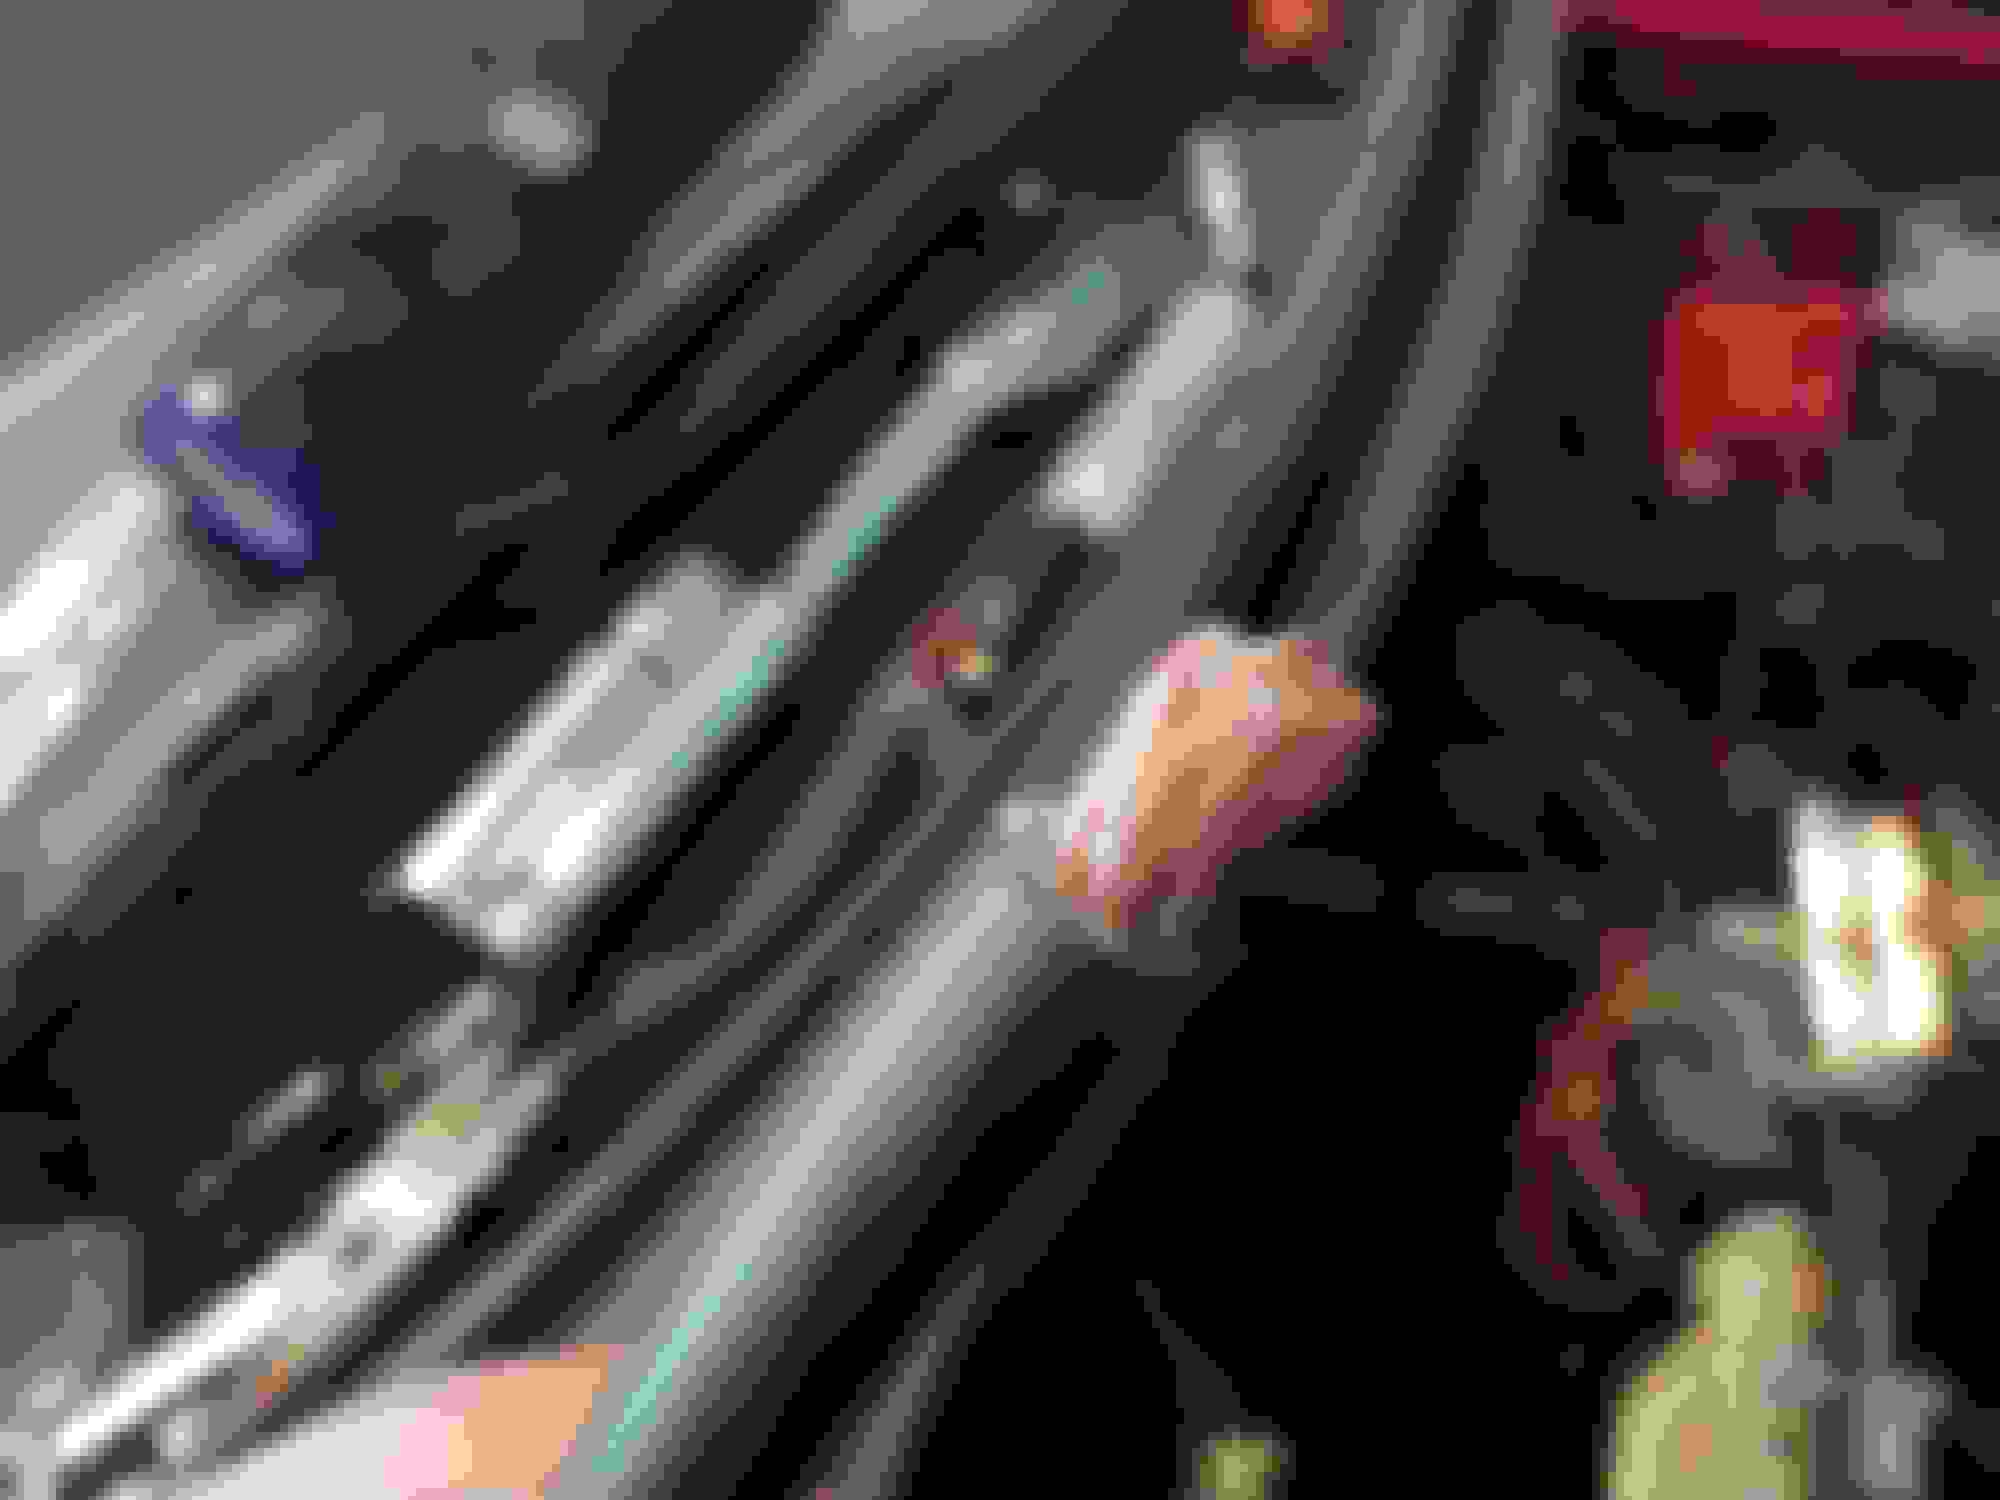
Some updates. Got the passenger side downpipe on and started on the intercooler piping. This can get a little tricky, but the process is relatively simple. The first this you will want to do is cut a recess into the fender near the headlight bucket and cut into the bracket to allows the piping to pass underneath it. Make sure you can securely fit the over fender pipe into the 30� coupler that feeds into the 90� solid elbow before lining up to make your cuts up top.
The process mirrors on the passenger side although I'm still playing with the fitment a bit due to the turbo sitting so far inward. Both sides still need a little trimming in the fenders to fit properly.
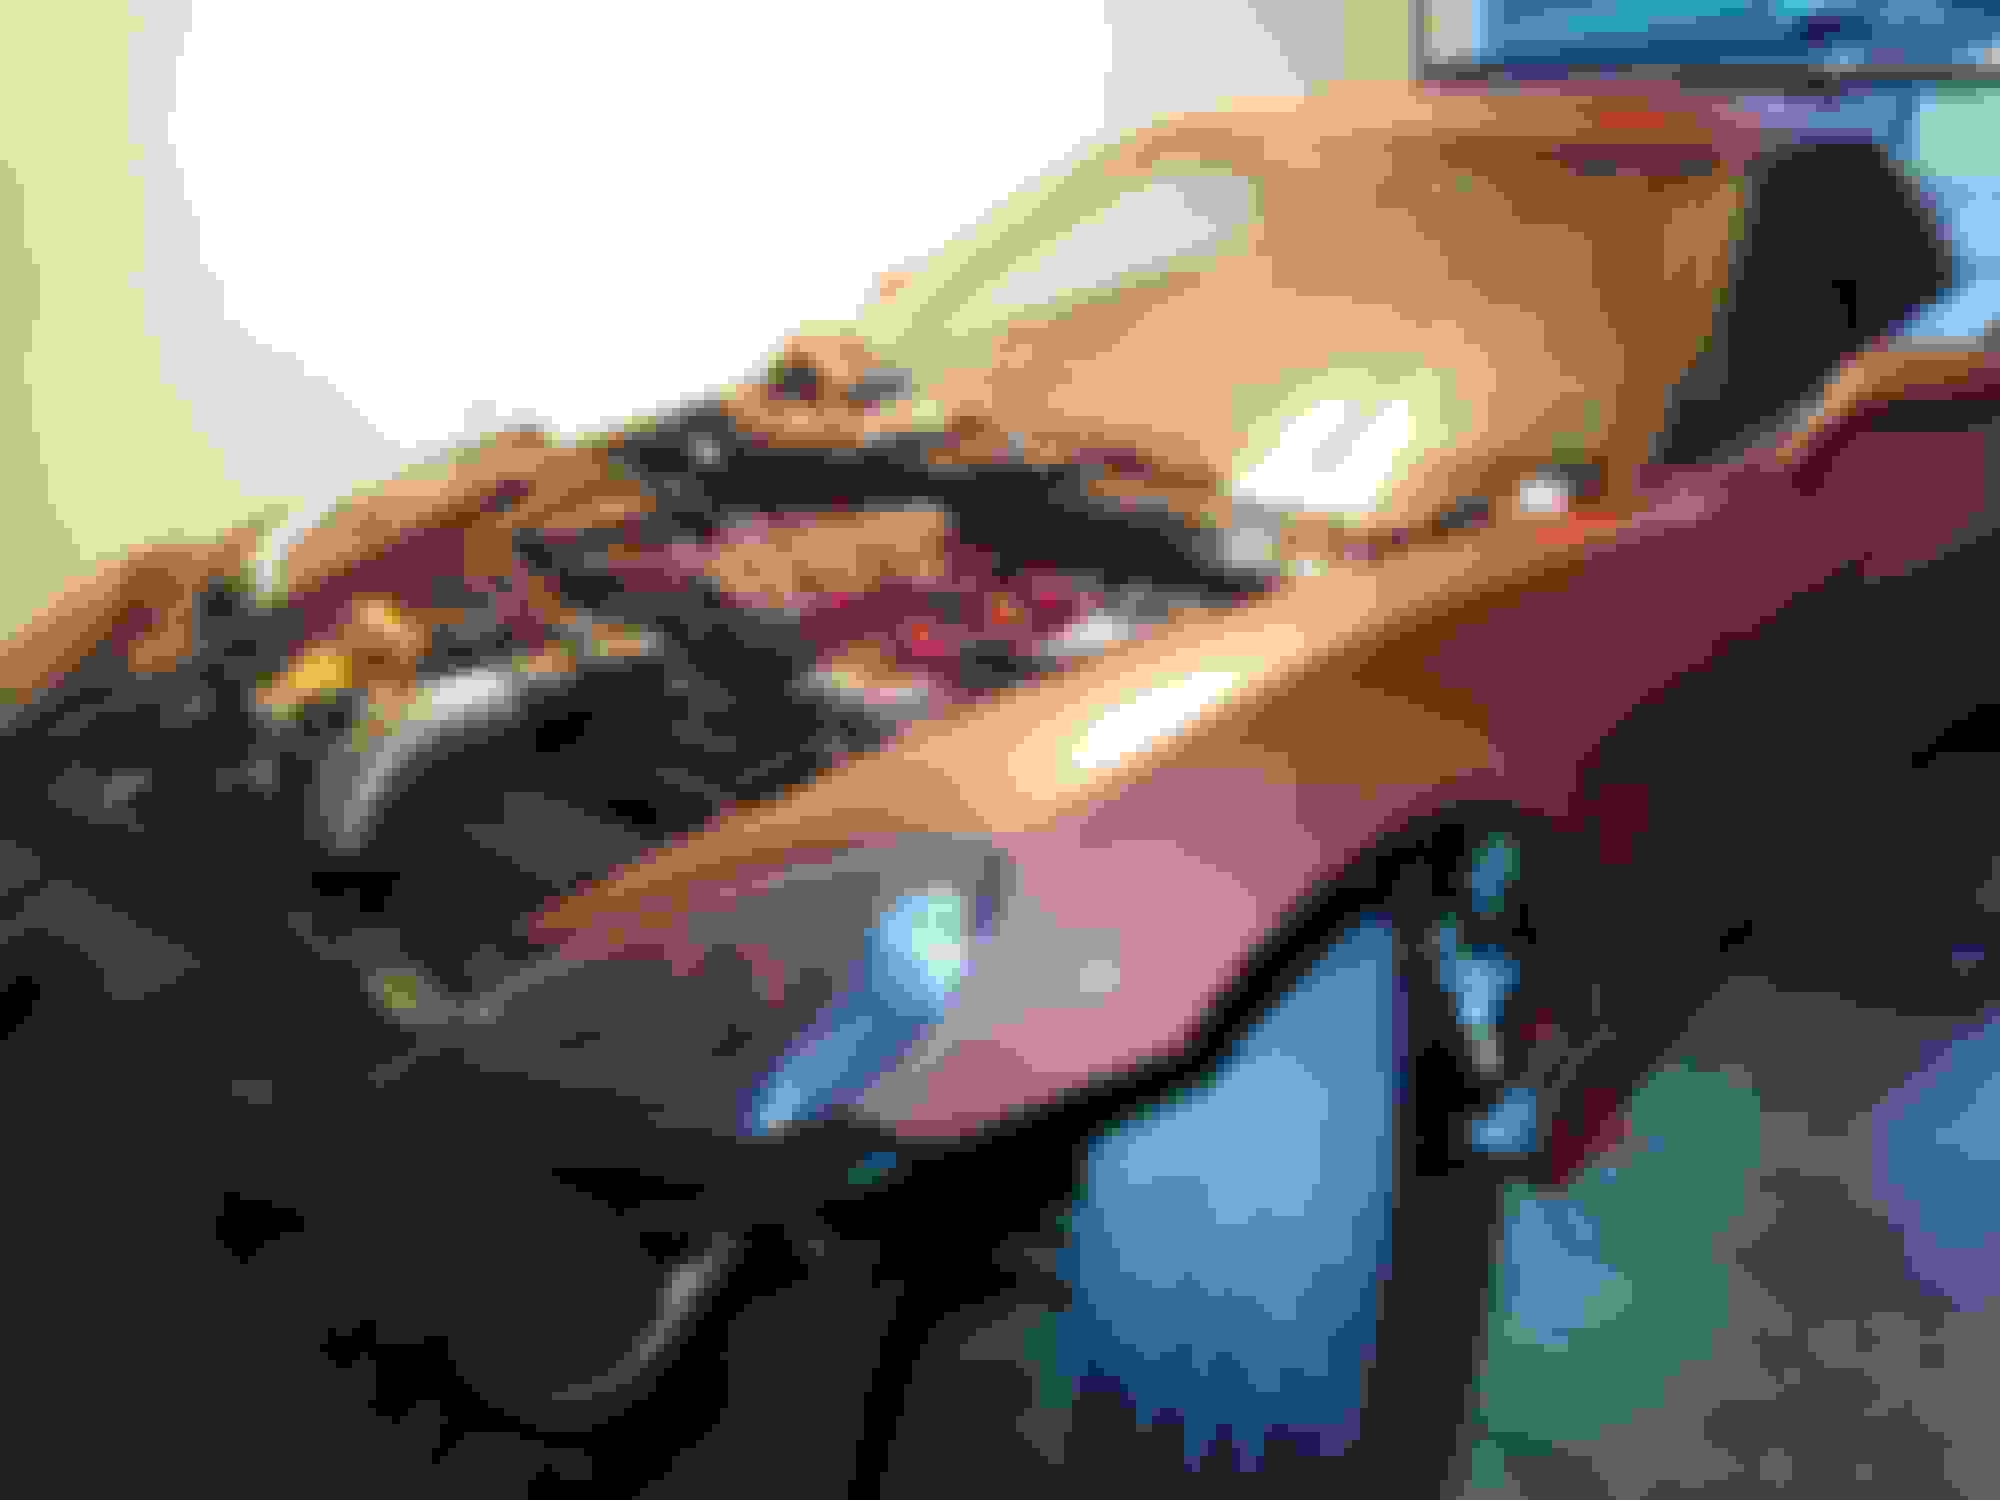
At this point the whole car is saturated in fiberglass dust so I took a break to clean up a bit. Unrelated but I picked up some badges from a totalled Grandsport. Decided to test fit the drivers side fender just to see how it's coming together so far.
I finished my UPP install a few months ago. I have to say that CK is one of the best guys to deal with when you are having trouble. He was always ready to help even when the issues aren't kit related. I'm considering selling my motor and kit though. Not a reflection of the kit at all. I am subscribing to see your finished product. Everything is coming along nicely so far for you!
Got my Mishimoto radiator today. I'm gonna finish the car this weekend (hopefully) then drive it to my shop and drop the stock radiator and the intercooler so I can blow out the condenser and improve airflow.
I finished my UPP install a few months ago. I have to say that CK is one of the best guys to deal with when you are having trouble. He was always ready to help even when the issues aren't kit related. I'm considering selling my motor and kit though. Not a reflection of the kit at all. I am subscribing to see your finished product. Everything is coming along nicely so far for you!
CK has been a pleasure to work with. I've had a few hiccups but he always points me in the right direction. My tuner is actually a supplier for UPP and he swears by them so I was pretty confident going into the install.
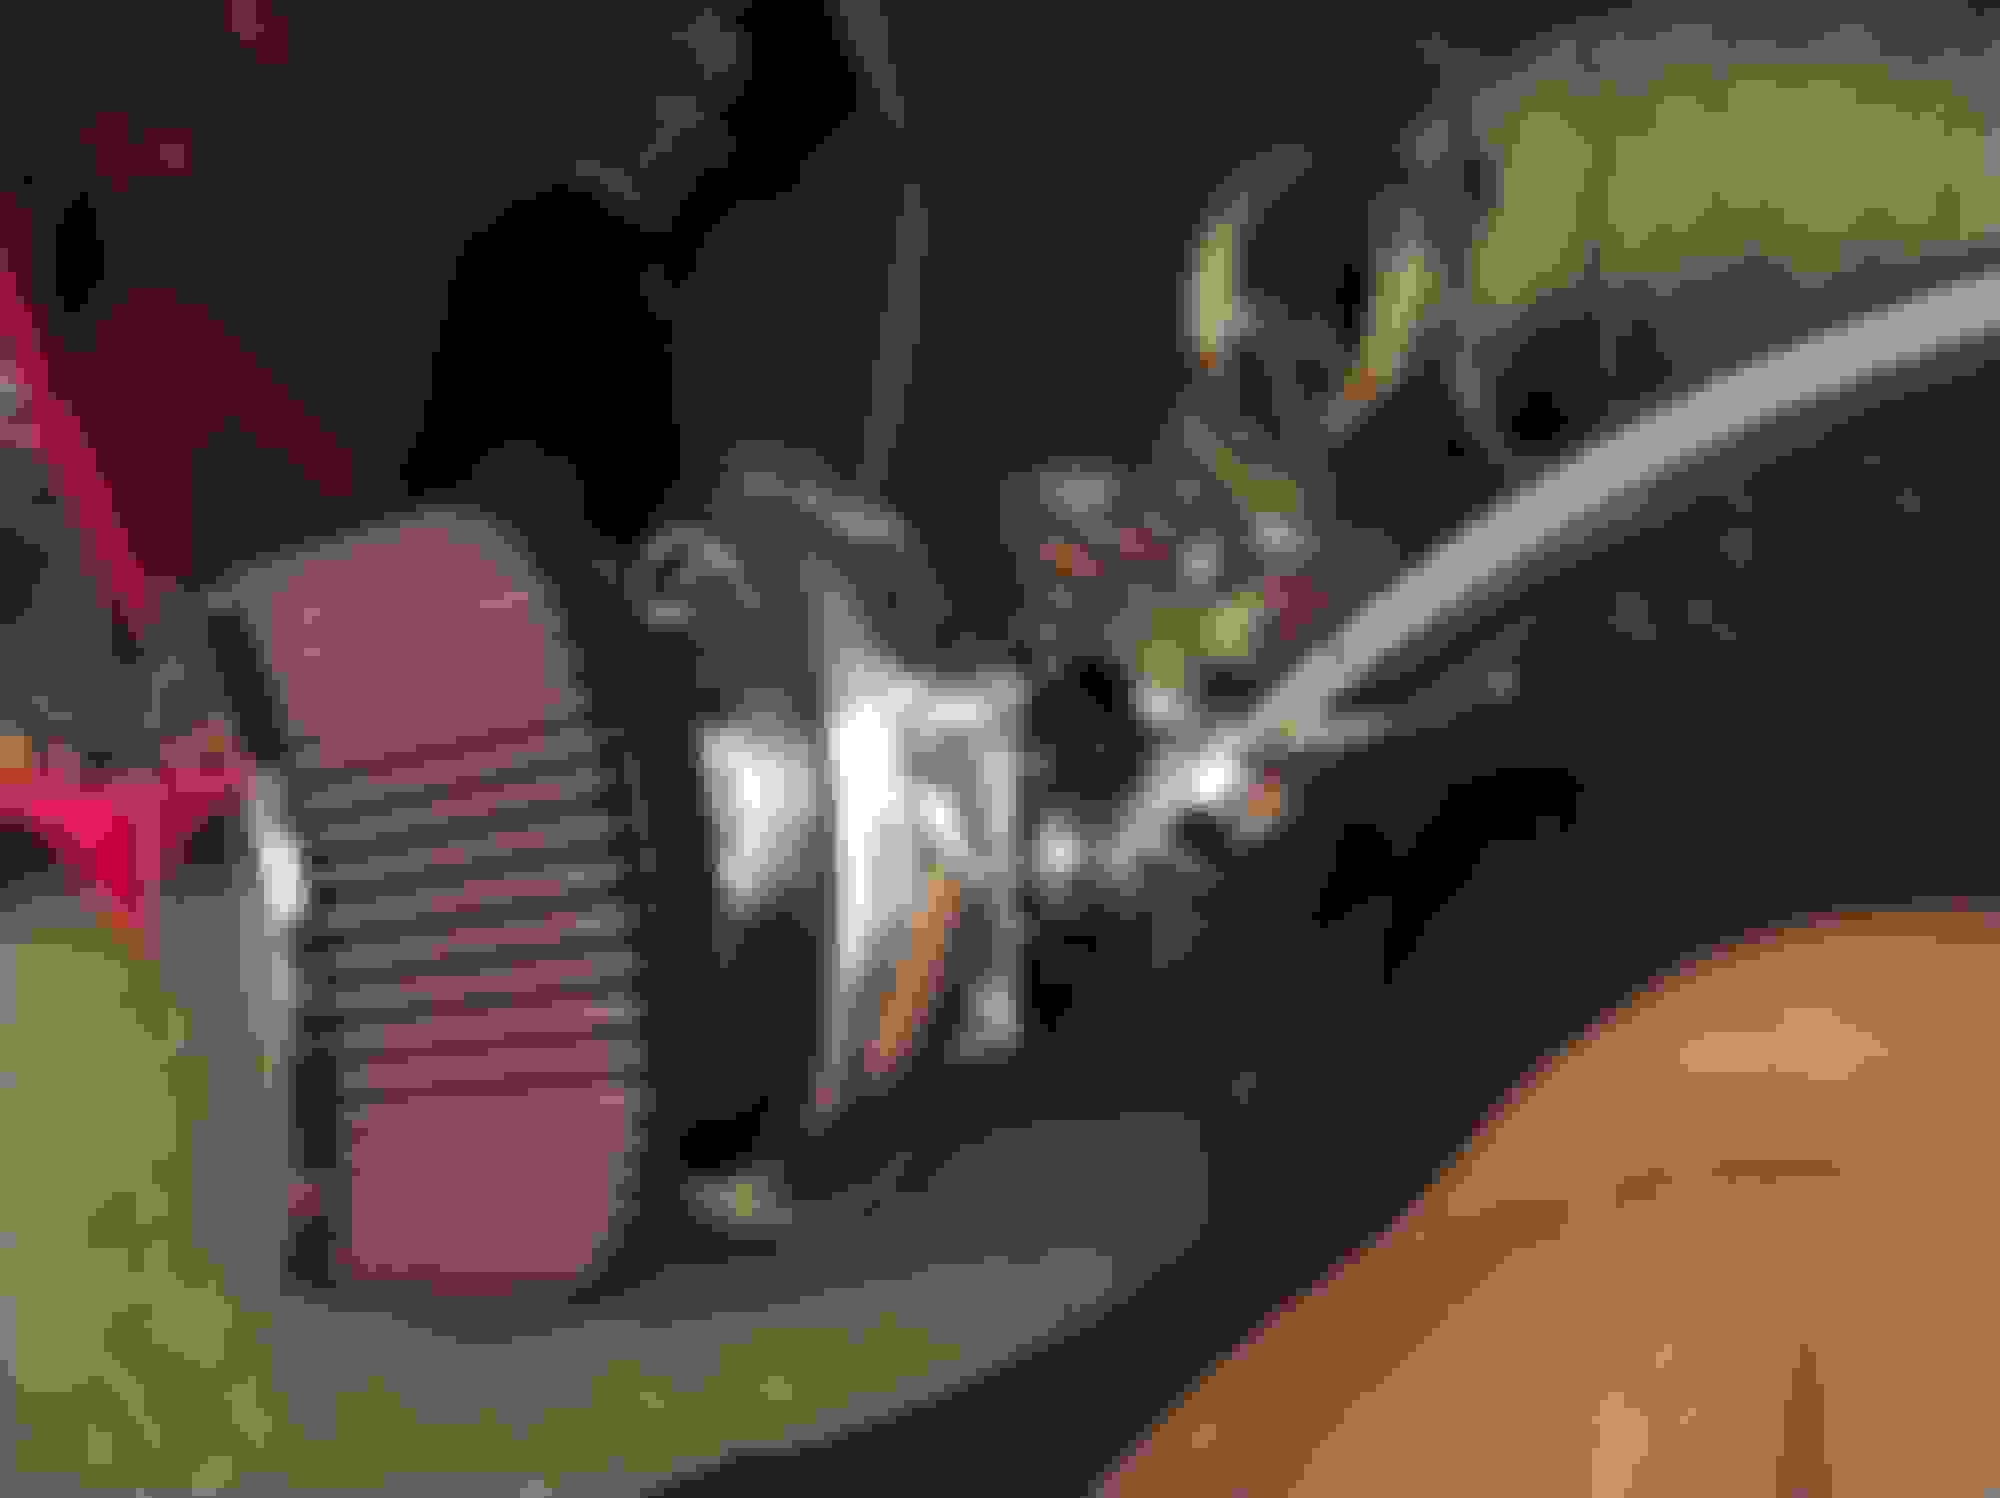
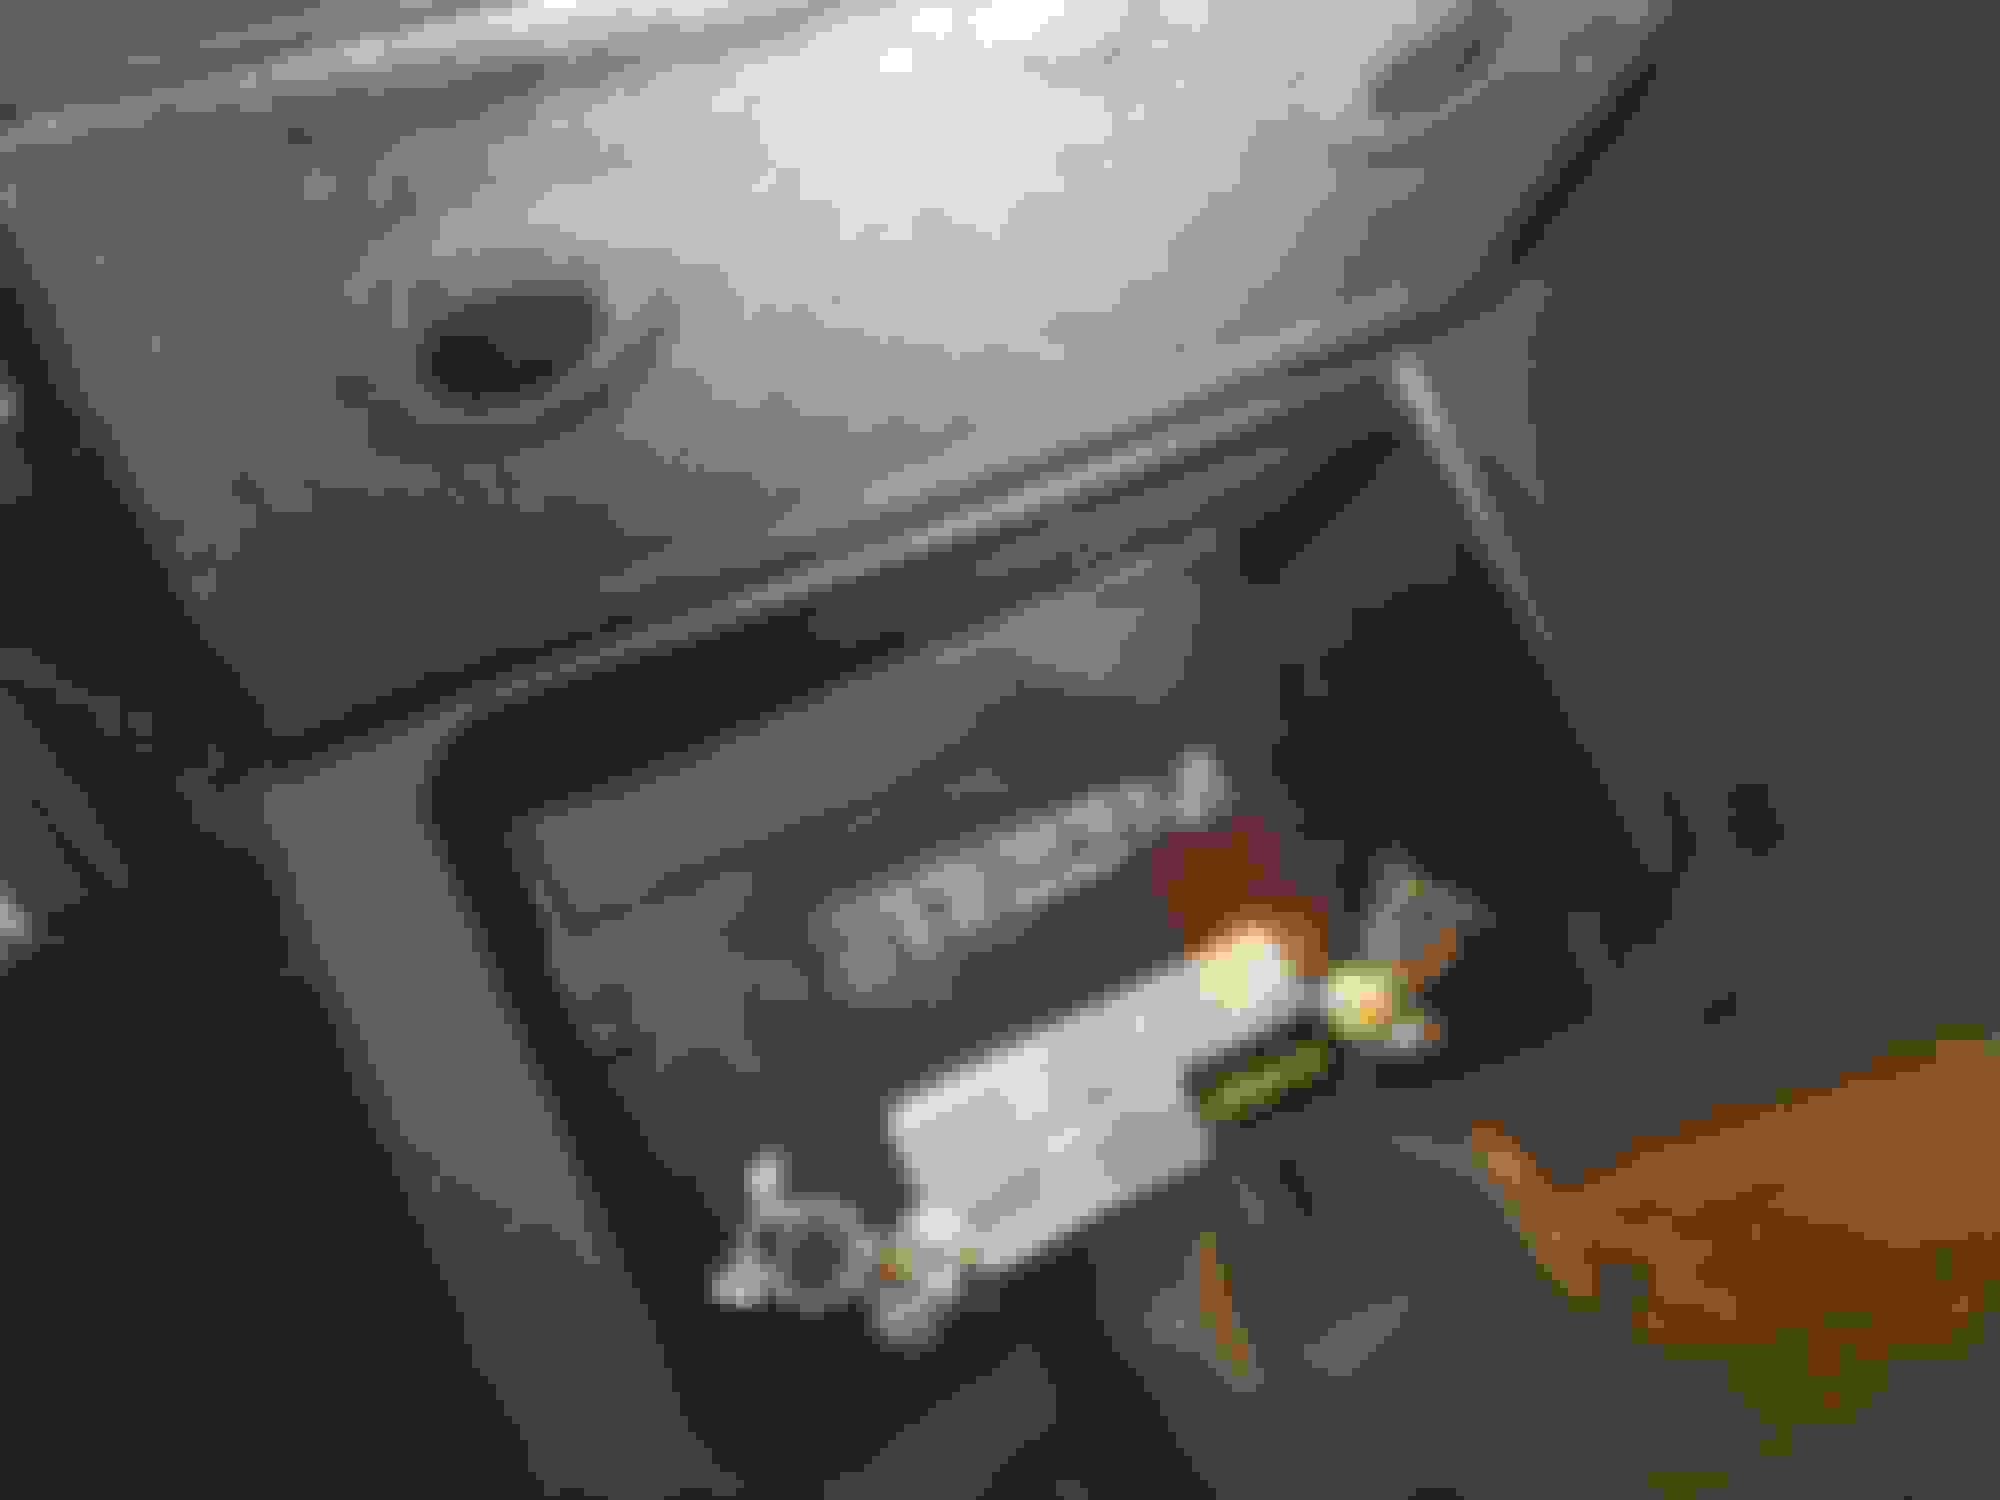
Had a late day at work but somehow wound up feeling a bit motivated so I got started on the oil lines. The pressure lines can be installed with the turbos on the car. The returns, not so much. I dropped the return fittings off the drivers side and snugged the oil return and tightened it back up. I had to remove the passenger side turbo and change the clocking position again to get the oil lines to fit lol. I would definitely recommend this step before sealing the turbo to the Up pipe but it was a minor setback. At this time all oil lines are installed on the turbos and tomorrow morning I start on the oil pump install and battery relocation.
Battery relocation is done. Cut off the positive terminal and installed the junction box with the positive 0 gauge wire. Ran the positive wire through the passenger rear frame well, still needs to be secured but you can see the general position. Wire runs through the passenger rocker panel, it's easier to feed from the rear of the car going forward. Drilled two holes in the passenger side storage bin, ran the positive and negative cables through it and installed the battery. The negative is grounded by a stud next near where the positive wire is ran. I hope your horns are still unplugged because at this point the alarm is probably gonna go off haha. I figured that would happen so I had my key ready to disarm.
CK makes ultra-quality parts and he�s a real stand-up guy - runs a professional shop and knows what he is doing. He did an LS7 swap into my �11 Grand Sport after my LS3 was blown after a failed oil change.
I got quite a bit done in my spare time this week and I apologise for forgetting to update this thread.
Ran into a few hiccups, my power steering cooler is in the way of the oil return pump so I'm looking into possible places to relocate it.

 09-21-2018, 05:59 PM