C6 Forced Induction/Nitrous C6 Corvette Turbochargers, Superchargers, Pulley Upgrades, Intercoolers, Wet and Dry Nitrous Injection, Meth
Sponsored by:
Sponsored by:

Sloppyish Homemade Turbo Build

Thread Tools
 
Search this Thread
 
Old 04-18-2019, 09:38 AM
  #21  
CHR89
Instructor
Thread Starter
 
CHR89's Avatar
 
Member Since: Apr 2017
Location: Fort Worth, TX
Posts: 151
Received 60 Likes on 40 Posts
Default

Originally Posted by MTBSully
Looks good to me but what do I know. What tig do you have? The new vulcan pro tig from harbor freight has been getting really good reviews I was thinking of picking that up as my first rig.
I use the AHP Alphatig, it has been a good machine so far. I went ahead and bought a new pedal and a dual flow regulator so I could backpurge but other then that haven’t had any issues.
Old 04-19-2019, 09:10 PM
  #22  
CHR89
Instructor
Thread Starter
 
CHR89's Avatar
 
Member Since: Apr 2017
Location: Fort Worth, TX
Posts: 151
Received 60 Likes on 40 Posts
Default

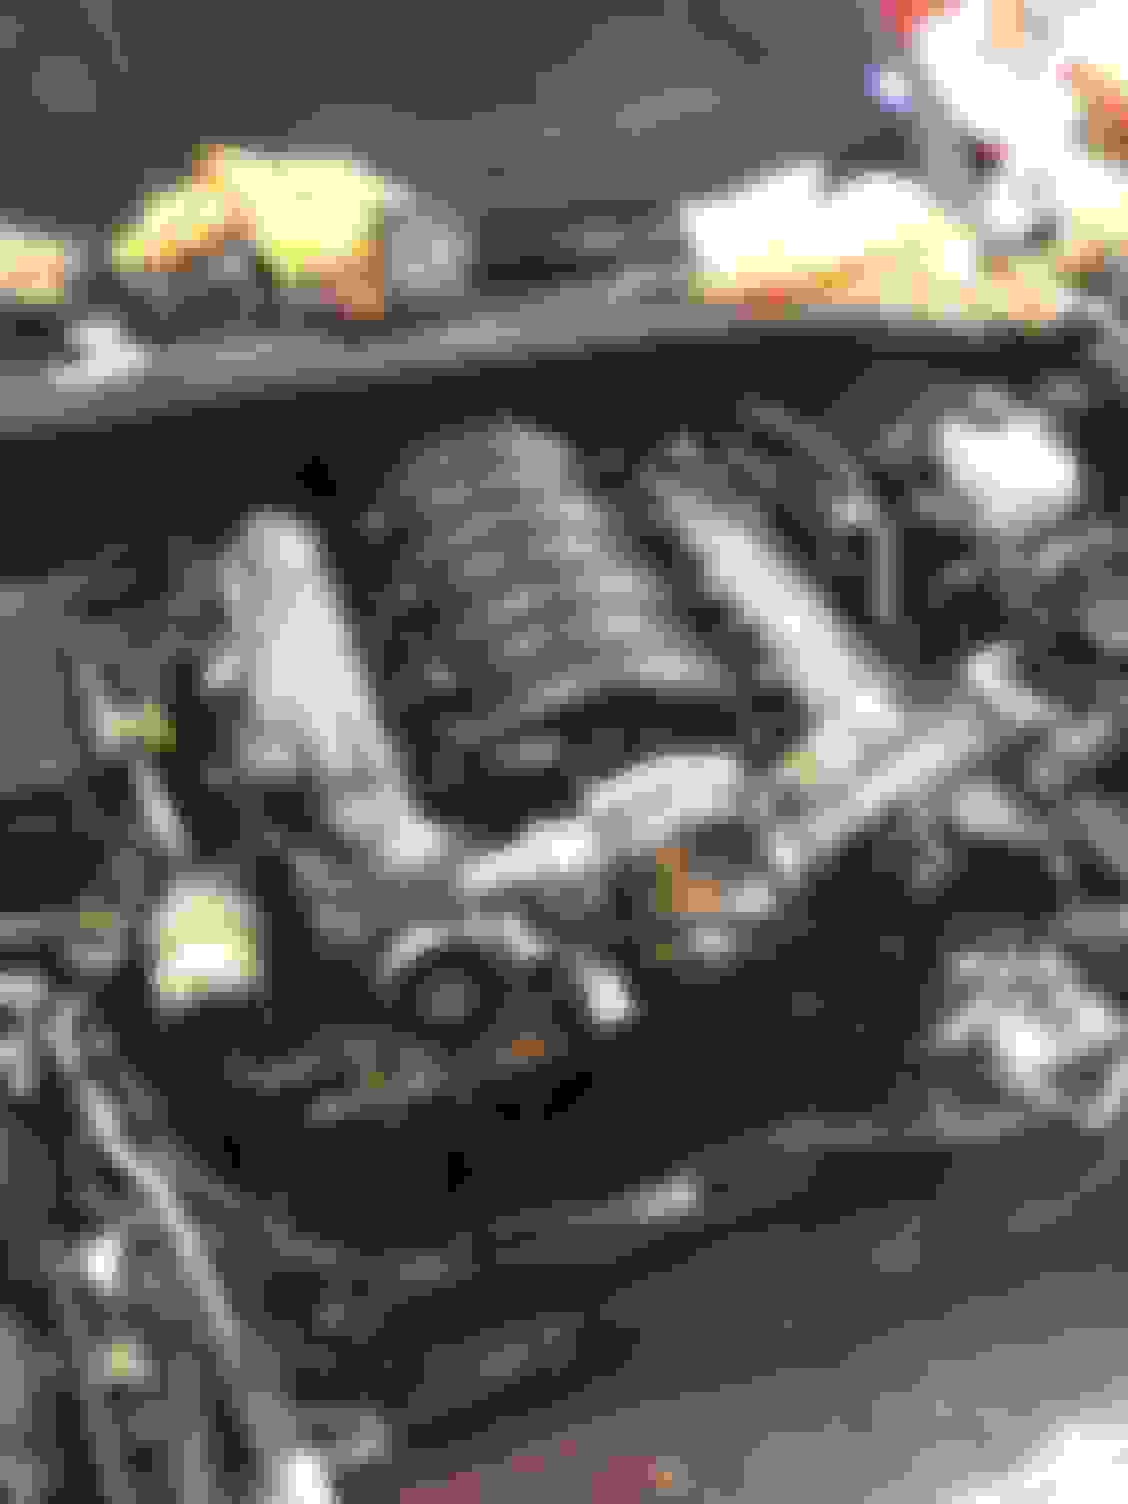
Got the manifold in the car today. Not really surprised but glad the stock dipstick still fits. Got the turbo put in the car as well so I can get an idea of what I want to do for this last section.


Need to get under it again tomorrow and set up the crossover pipe, that should hopefully be pretty easy and then I’ll have to figure out how I want to brace the turbo. The plan is to get it braced and then finish the manifold to it instead of winging it like I have with everything else 😂
Old 04-20-2019, 03:37 AM
  #23  
SteveSierra
Racer
 
SteveSierra's Avatar
 
Member Since: Jun 2017
Posts: 358
Likes: 0
Received 18 Likes on 17 Posts
Default

Great work, looks awesome.
Min suprised how much spaced you’ve managed to make in there.
Mine was extremely tight even with my small turbo, I suppose I have used the stock z51 radiator, fan and coolers so they take up more space.
Old 04-21-2019, 10:48 AM
  #24  
CHR89
Instructor
Thread Starter
 
CHR89's Avatar
 
Member Since: Apr 2017
Location: Fort Worth, TX
Posts: 151
Received 60 Likes on 40 Posts
Default

Got the manifold built out the rest of the way. Just need to finish weld it now along with adding the wastegate to it then it’ll be time to finish the crossover. Once that’s done everything will be getting coated and I’ll hold the engine up with a hoist so I can drop the subframe and get the oil pan out so I can weld a bung to it.

Pretty happy with how the manifold has turned out so far though.


Old 04-21-2019, 11:20 AM
  #25  
jayyyw
Le Mans Master
 
jayyyw's Avatar
 
Member Since: Jun 2015
Location: Austin Tx
Posts: 5,586
Received 897 Likes on 686 Posts
Default

I used the same thing to hold my turbo up for mock-up, lol. Paint cans ftw.

Most people I talked to upgraded the fans in the CX Racing kit. I went with some Spal fans. Are you going to notch the crash beam to get more flow?
Old 04-21-2019, 12:08 PM
  #26  
CHR89
Instructor
Thread Starter
 
CHR89's Avatar
 
Member Since: Apr 2017
Location: Fort Worth, TX
Posts: 151
Received 60 Likes on 40 Posts
Default

Originally Posted by jayyyw
I used the same thing to hold my turbo up for mock-up, lol. Paint cans ftw.

Most people I talked to upgraded the fans in the CX Racing kit. I went with some Spal fans. Are you going to notch the crash beam to get more flow?
The CX racing fans are just Hayden fans, I’ve ran them with a decent amount of success so I’ll leave them on for now and see how they do. But yeah I plan on notching the crash beam to try to get a little more air in there. Plus all of the hot side pieces will be coated to help bring heat down a bit. Bracing the turbo flange to the subframe today so hopefully it won’t need the paint cans anymore lol.
Old 04-22-2019, 09:01 AM
  #27  
MTBSully
Melting Slicks
 
MTBSully's Avatar
 
Member Since: May 2011
Location: Portsmouth, NH
Posts: 2,215
Received 649 Likes on 328 Posts

Default

looks good man. Are you keeping AC? I was reading on the CX racing website that if you use their radiator/intercooler setup you cant keep AC?
Old 04-22-2019, 09:17 AM
  #28  
CHR89
Instructor
Thread Starter
 
CHR89's Avatar
 
Member Since: Apr 2017
Location: Fort Worth, TX
Posts: 151
Received 60 Likes on 40 Posts
Default

Originally Posted by MTBSully
looks good man. Are you keeping AC? I was reading on the CX racing website that if you use their radiator/intercooler setup you cant keep AC?
Yeah I am keeping AC, I am dumping the exhaust out the front bumper. You only have to delete AC with the CX racing kit if running a full exhaust because the down pipe takes the space of your compressor. I am not a fan of their full kit though, I don't like how their driver side exhaust manifold/cross over section is routed which is why I went ahead and made my own.
Old 04-22-2019, 09:59 AM
  #29  
RapidC84B
Team Owner
 
RapidC84B's Avatar
 
Member Since: Feb 2013
Posts: 20,199
Received 13,153 Likes on 5,984 Posts

Default

Why does the manifold have a pipe going down toward the rear? Does the driver side come around behind the motor and connect to that? I don't know jack about turbo LS builds.
Old 04-22-2019, 10:39 AM
  #30  
CHR89
Instructor
Thread Starter
 
CHR89's Avatar
 
Member Since: Apr 2017
Location: Fort Worth, TX
Posts: 151
Received 60 Likes on 40 Posts
Default

Originally Posted by Tool Hoarder
Why does the manifold have a pipe going down toward the rear? Does the driver side come around behind the motor and connect to that? I don't know jack about turbo LS builds.
Exactly, using an OEM manifold on the driver side at this time that has a 2.5" tube that will connect both sides behind the bell housing. I'm currently working on the crossover now so I'll be posting pictures of it soon.
The following users liked this post:
RapidC84B (04-22-2019)
Old 04-22-2019, 10:48 AM
  #31  
MTBSully
Melting Slicks
 
MTBSully's Avatar
 
Member Since: May 2011
Location: Portsmouth, NH
Posts: 2,215
Received 649 Likes on 328 Posts

Default

Originally Posted by CHR89
Yeah I am keeping AC, I am dumping the exhaust out the front bumper. You only have to delete AC with the CX racing kit if running a full exhaust because the down pipe takes the space of your compressor. I am not a fan of their full kit though, I don't like how their driver side exhaust manifold/cross over section is routed which is why I went ahead and made my own.
Gotcha, i plan to do a hood, fender or bumper exit as well, so good to know I can keep AC
Old 06-12-2019, 10:42 AM
  #32  
CHR89
Instructor
Thread Starter
 
CHR89's Avatar
 
Member Since: Apr 2017
Location: Fort Worth, TX
Posts: 151
Received 60 Likes on 40 Posts
Default

No real updates as of now, been too busy remodeling my garage and all of my friends decided June 2019 was a great time to get married so a bunch of weddings to travel for this month.

got the manifold finished, wastegate mounted, removed and tapped my oil pan for the turbo return line, and finally started on the bumper exit downpipe.


Old 06-12-2019, 10:59 AM
  #33  
MTBSully
Melting Slicks
 
MTBSully's Avatar
 
Member Since: May 2011
Location: Portsmouth, NH
Posts: 2,215
Received 649 Likes on 328 Posts

Default

Nice! Was waiting for some updates on this build. Have you made the crossover yet? Did you v-band the drivers side manifold or what?
Old 06-12-2019, 01:58 PM
  #34  
CHR89
Instructor
Thread Starter
 
CHR89's Avatar
 
Member Since: Apr 2017
Location: Fort Worth, TX
Posts: 151
Received 60 Likes on 40 Posts
Default

Yeah crossover is done, I'll try to post some pictures of it this week. Took the studs out of the stock manifold and welded a vband to the opening.
The following users liked this post:
MTBSully (06-12-2019)
Old 06-12-2019, 02:15 PM
  #35  
MTBSully
Melting Slicks
 
MTBSully's Avatar
 
Member Since: May 2011
Location: Portsmouth, NH
Posts: 2,215
Received 649 Likes on 328 Posts

Default

Originally Posted by CHR89
Yeah crossover is done, I'll try to post some pictures of it this week. Took the studs out of the stock manifold and welded a vband to the opening.
Arent they cast iron? Any problems welding to it?
The following users liked this post:
Kingtal0n (08-14-2019)
Old 06-12-2019, 02:21 PM
  #36  
CHR89
Instructor
Thread Starter
 
CHR89's Avatar
 
Member Since: Apr 2017
Location: Fort Worth, TX
Posts: 151
Received 60 Likes on 40 Posts
Default

Cast steel, no issues at all though, outside of being a terrible welder. I heated the surface up and it flowed a bit easier but other than that no problems.
Old 06-12-2019, 02:48 PM
  #37  
VVVROOMTX
Racer
 
VVVROOMTX's Avatar
 
Member Since: Aug 2018
Posts: 458
Received 94 Likes on 78 Posts
Default

subd for another cool build!

also why, and this might already be answered, but why such thick walled pipe for the manifolds and piping?

Last edited by VVVROOMTX; 06-12-2019 at 02:53 PM.

Get notified of new replies

To Sloppyish Homemade Turbo Build

Old 06-12-2019, 10:12 PM
  #38  
Midnightc6
Instructor
 
Midnightc6's Avatar
 
Member Since: Nov 2017
Posts: 136
Likes: 0
Received 4 Likes on 4 Posts
Default

Sub’d
Old 06-13-2019, 09:44 AM
  #39  
SteveSierra
Racer
 
SteveSierra's Avatar
 
Member Since: Jun 2017
Posts: 358
Likes: 0
Received 18 Likes on 17 Posts
Default

Very nice work.
I’m a little concerned as my turbo isn’t braced. The kit I bought just had it connected to the header, Is this sufficient?
Old 06-13-2019, 11:17 AM
  #40  
Tokuzumi
Pro
 
Tokuzumi's Avatar
 
Member Since: Oct 2000
Location: Alpharetta GA
Posts: 604
Received 114 Likes on 81 Posts

Default

Originally Posted by CHR89

I can't imagine how long it took to put together the bottom half of that pipe.


Quick Reply: Sloppyish Homemade Turbo Build


All times are GMT -4. The time now is 01:17 PM.