When you click on links to various merchants on this site and make a purchase, this can result in this site earning a commission. Affiliate programs and affiliations include, but are not limited to, the eBay Partner Network.
I have loved my AHP so far, works great. Did you get the Nova foot pedal with yours? Makes a huge difference IMO.
Havent touched it yet, though I hear this one has an updated pedal since everyone seemed to complain about the pedal on the alphatig 200. Havent even opened the accessories box yet lol. I'll grab some argon this weekend maybe and start playing around with it soon
Subbing. Nice to hear another Cobra guy with the same roots as I have.
Are you going to race/compete with this car at all? The answer to that question really determines recommendations for parts. For starters, the words "budget" and "turbo setup" do not belong together in the same sentence. LOL! But you should know that already coming out of the turbo cobra realm. I had well over $25K in my turbo setup.
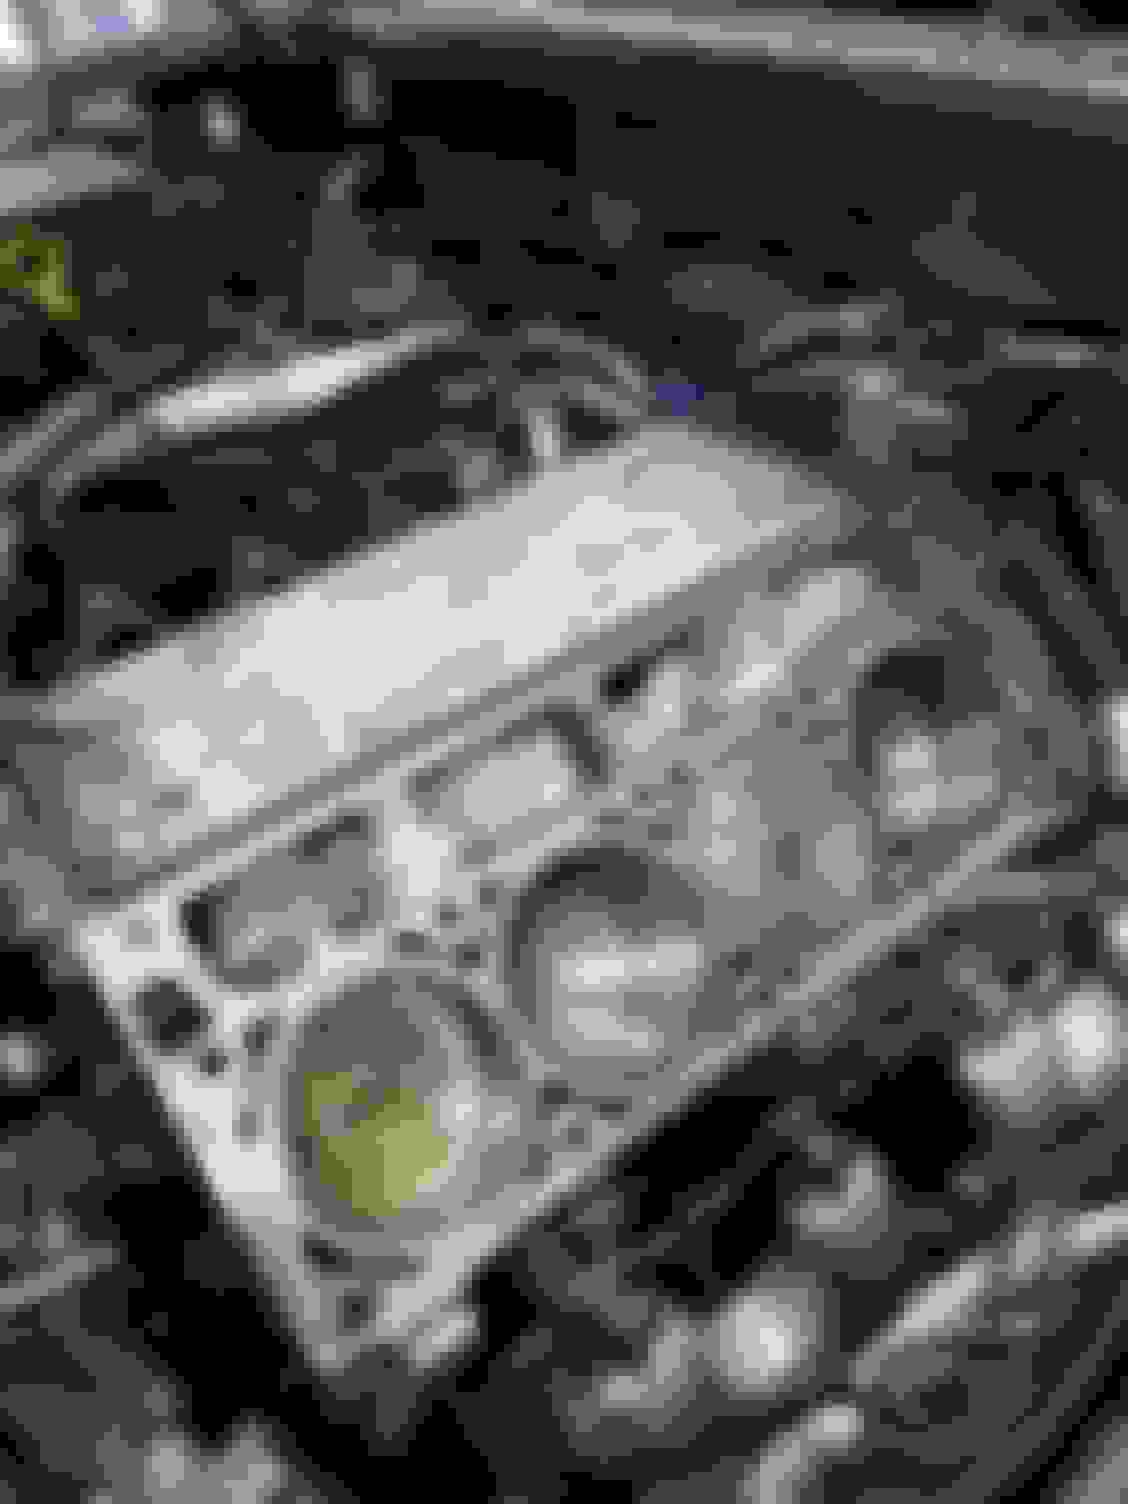
Went to remove the balancer bolt last night. Bolt was finger tight, yikes. Which is weird because the balancer was replaced about 7 months ago according to previous owner (and carfax) at the chevy dealership because the old one failed. Looks like the tech didnt give that bolt enough ugga duggas on the old impact. Good thing those things are pressed on there so good. 3 jaw puller and I got it off without too much hassle. Timing cover can come off and then we are off and running on the cam swap. Anyone know what this wire on the drivers side of the timing cover is? I could be crazy but i don't remember seeing that on my LS7 when i did the cam. Something to do with cam position sensor?
Also, where is everyone going with their turbo drain? I saw a youtube video where a guy used the timing cover and welded the AN fittings onto it, but it appears that may interfere with the balancer
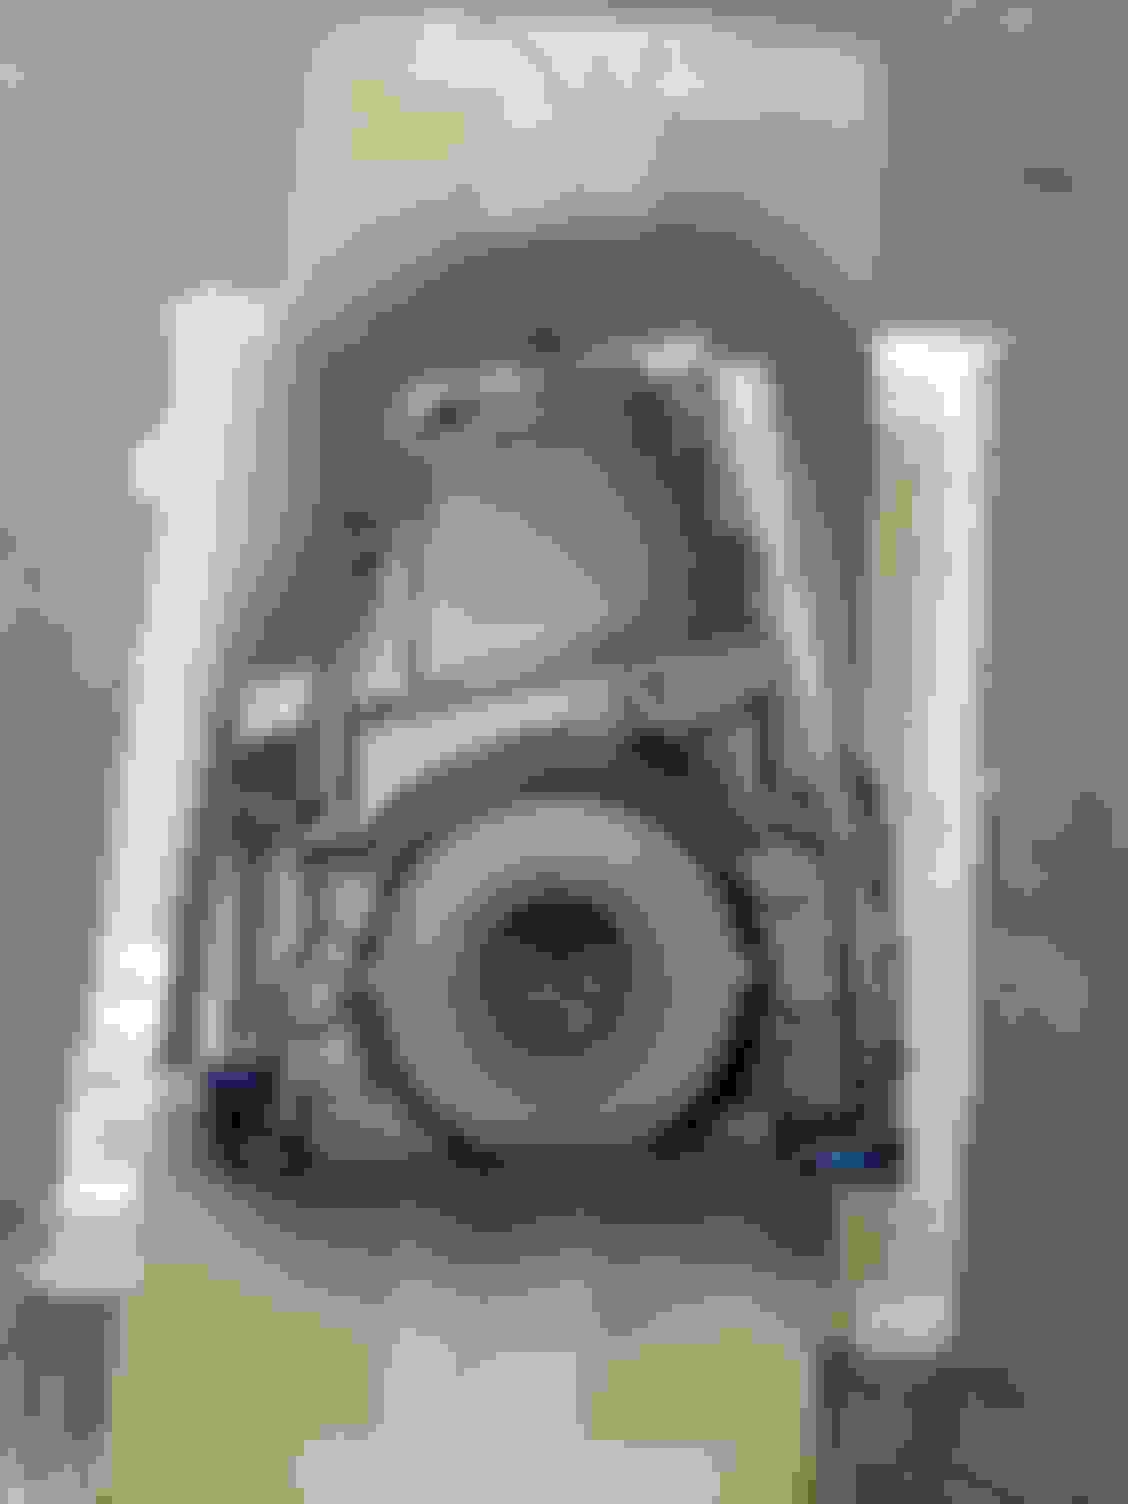
I do not believe that using the timing cover for a return works on corvettes I looked at it when mine was apart. It works with things like truck balancers. My return is in the side of the pan somewhere on my build thread there is for sure a pic ill see if i can dig it up. So far works great for where my turbo is.
*edit here it is
Last edited by Shortpersonbk; 06-13-2019 at 10:05 AM.
Spent an hour or so last night cleaning the deck surface. Just need to make a thread chaser out of one of the old head bolts and clean those up and then the heads are ready to go back on. New LS7 lifters are currently soaking in oil.
Before
After
Timing cover off.
Any of you guys doing aftermarket timing chain or leaving stock? I only looked at it quickly but damn its kind of tough to see the timing marks on the crank sprocket. My LS7 was clear as day when the dots were lined up.
Got back from a sales meeting late thursday night and had a bachelor party saturday so I only had a couple hours to work on the car in between this weekend.
Oil pump back on with new pickup seal
Timing cover back on. Installed the balancer using my home-made installation rod and nuts, ARP crank bolt torqued to 235ft/lbs. Steering rack back in and power steering lines back on. Water pump cleaned and re-installed with new gaskets.
Got the pressure washer out and took advantage of the nice weather to clean up the sandy intake manifold and grimey valve covers (even though I will likely end up replacing valve covers with smooth onces since the coils will be going in the fenders.
Coat of flat black on the alternator bracket. Will likely end up painting the alternator as well.
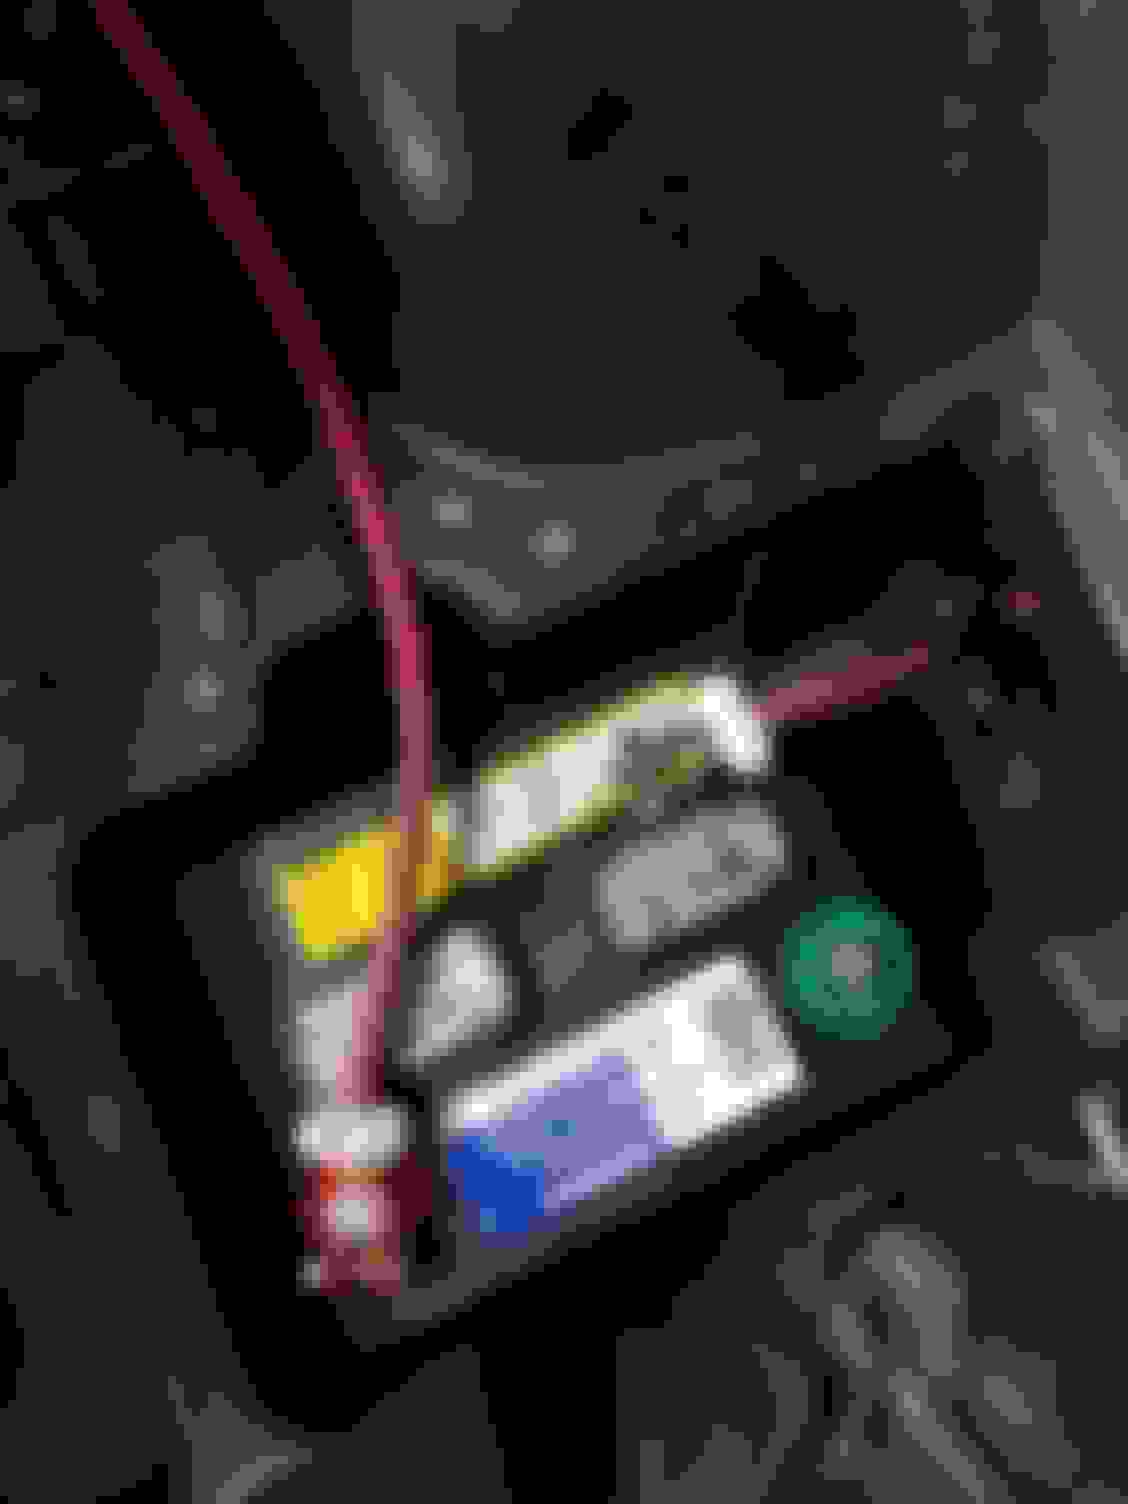
Started the battery relocation as well. Ran the power wire from the trunk, down the rockers, up into passengers footwell and through grommet into the engine bay.
Also cut out the old battery box mount to make room for my 4" downpipe lol
Heads are back from the machine shop. Removed .005". They were slightly warped. Same thing happened to my ls7 heads. Neither car had a head gasket issue. I guess with aluminum heads you really do need to loosen them in a similar fashion to torquing them down. That is the only reason I can think of that the would have been warped, is me breaking them loose in no particular order
I installed the ARP studs last night. Tonight I will give the block a final wipe down, toss the ls9 gaskets on there and torque down the heads. See how much time I have after that. Probably first start up later this week after I return from a work trip on thursday.
Chuggin along. Finished up the battery relocation. Made all new cables using 1/0 gauge welding wire. Came out very nice and I was able to steal a lot of parts and heat reflective tape from the original harness.
Starter connections. Peep those ARP studs
Power wire from trunk to positive post a fuse box, positive post to starter. Engine block ground in there grounded to the frame as well.
Final wipe down of the block before the heads go on. LS9 gaskets installed
Torquing....
And the other side
Done.
And tested the battery relocation. All lights came on as normal. Should be good to go.
Stock battery fit in the trunk just fine.
Need to swap on my BTR .660 springs, install pushrods and rockers, finish reassembly, built plug wires and mount coils in the fenders and we should be ready to fire. Hoping by friday if I have enough time to work on it.
Welp I had a half hour or so to work on the car on Friday at lunch. Then I had a bachelor party all weekend and was too hungover on sunday when I got home to do anything. Anyways, managed to get the alternator and PS pump assy back on, button up the battery relocation and start installing my BTR springs.
Is it normal for the valve seals to not fully seat down like the stock style "hat" ones do? I pressed them on with a 12pt 12mm socket and they simply would not go any farther. It seems to be normal and everything went together smooth, I have just never swapped valve springs before.
Was going to work more last night but I finished mowing my lawn and decided it was a perfect night to wash up the Z and take here for a spin around town.
Tonight I am planning to polish and seal my new truck (long overdue). Doubt I will have time after to work on it, and then tomorrow after work is the start of a 4 day weekend where I will be away. More progress coming soon I guess haha

 06-12-2019, 11:01 AM