When you click on links to various merchants on this site and make a purchase, this can result in this site earning a commission. Affiliate programs and affiliations include, but are not limited to, the eBay Partner Network.
Replacing 13' C6 Low Beam Headlights...easy as apple pie (WITH PICTURES)
So my passenger low beam went out last week on a road trip. No biggy as HID headlights will do this like any bulb will at some point in its life. Yes I know there is a recall on some models and mine would be covered under the customer satisfaction policy...but I am not that satisfied with having mechanics at the dealer dig into my rigs. So I stopped by O'Reilly Auto and picked up an upgraded Sylvania OEM set ($75/ea). Decided today was to nice of a day to work so I took the morning and replaced them.
My surprise today was when I started looking to see if there were any additional gotcha's on replacement issues, only to find that the best thread advised on taking the car into the dealer because of these bulbs and how scary they can be to replace!!! Okay, this is just silly, these are just HID bulbs...not brain surgery. I have been replacing and installing HID's for over a decade on cars, trucks, and bikes and there is nothing difficult, you just have to follow some rules.
Rule 1: DO NOT TOUCH THE BULB WITH THE SKIN OF YOUR FINGERS.
Rule 2: If you break rule one, clean with alcohol and dry cotton rag and wear surgical gloves.
Rule 3: Don't break the bulbs as they are under pressure and you really don't want to have one go off in your face.
Rule 4: Don't stick metal objects in the connector of the bulbs as these have capacitors.
With the rules out of the way, this task took less then 30 minutes and they work just perfect.
There are a couple videos out there on YouTube that discuss cocking the wheel to access the panel to the bulb...don't do it, take the 5 minutes to pull your tire so you have total access (it makes it soooo much easier)!
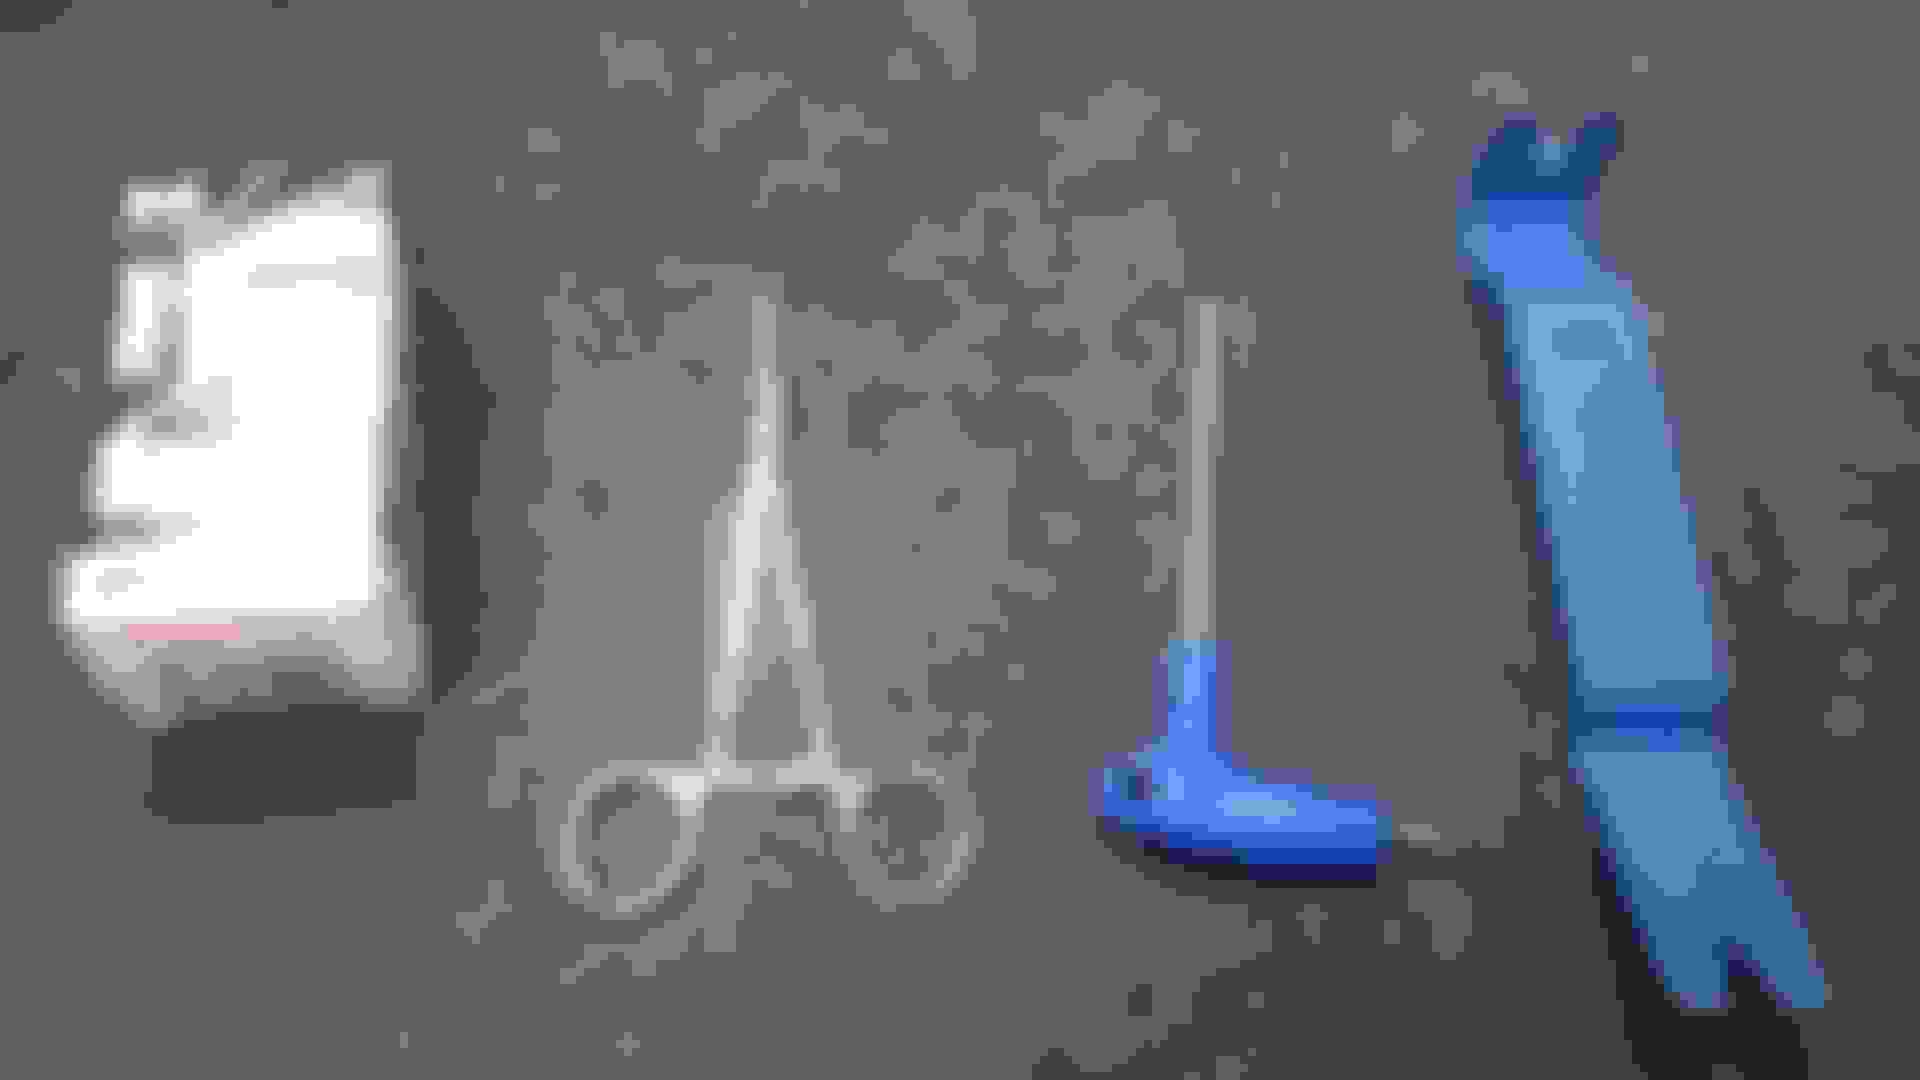
All you will need is a torx wrench, shop cloth, plastic rivet tool, replacement bulb(s) and medical tweezers (optional).
Once your wheel is removed you will find a small rubber panel in the wheel well being held in place by 7 plastic rivets.
Remove 5 of the 7 rivets as you only need to access the low beam. You can take and tuck the rubber cover into the opening to keep it out of your way.
With the cover out of the way, remove the rubber housing covering the low beam bulb.
There is a seal that runs around the house so it is best to start and the bottom and lift out.
Upon removing the cover you will see your bulb, its power connector and if you look at the plate that holds your bulb in, you will see two small torx screws that keep the bulb in place in the ceramic housing.
With the seal out of the way, take and place the clean shop rag around your bulb making sure to push the edges of the rag behind the bulb. You may be asking why??? If you drop one of these little torx head screws you will be spending quite a bit of time searching for it or having to buy new ones. The rag will catch anything that drops and you can use your tweezers to simply pick them up.
With the bulb now free from the housing simply pull the power connector from the bulb. Remember to only hold the connector and the ballast as you do not want to grab or hold the bulb (even if it is cool).
With the bulb out, you will need to remove the attachment plate for the bulb from the old one and slide it on to the new one. It is just press fit on the rubber seal and it may be a bit snug but it will slide right off. Maintain proper orientation of your bulb and replace on to the new bulb.
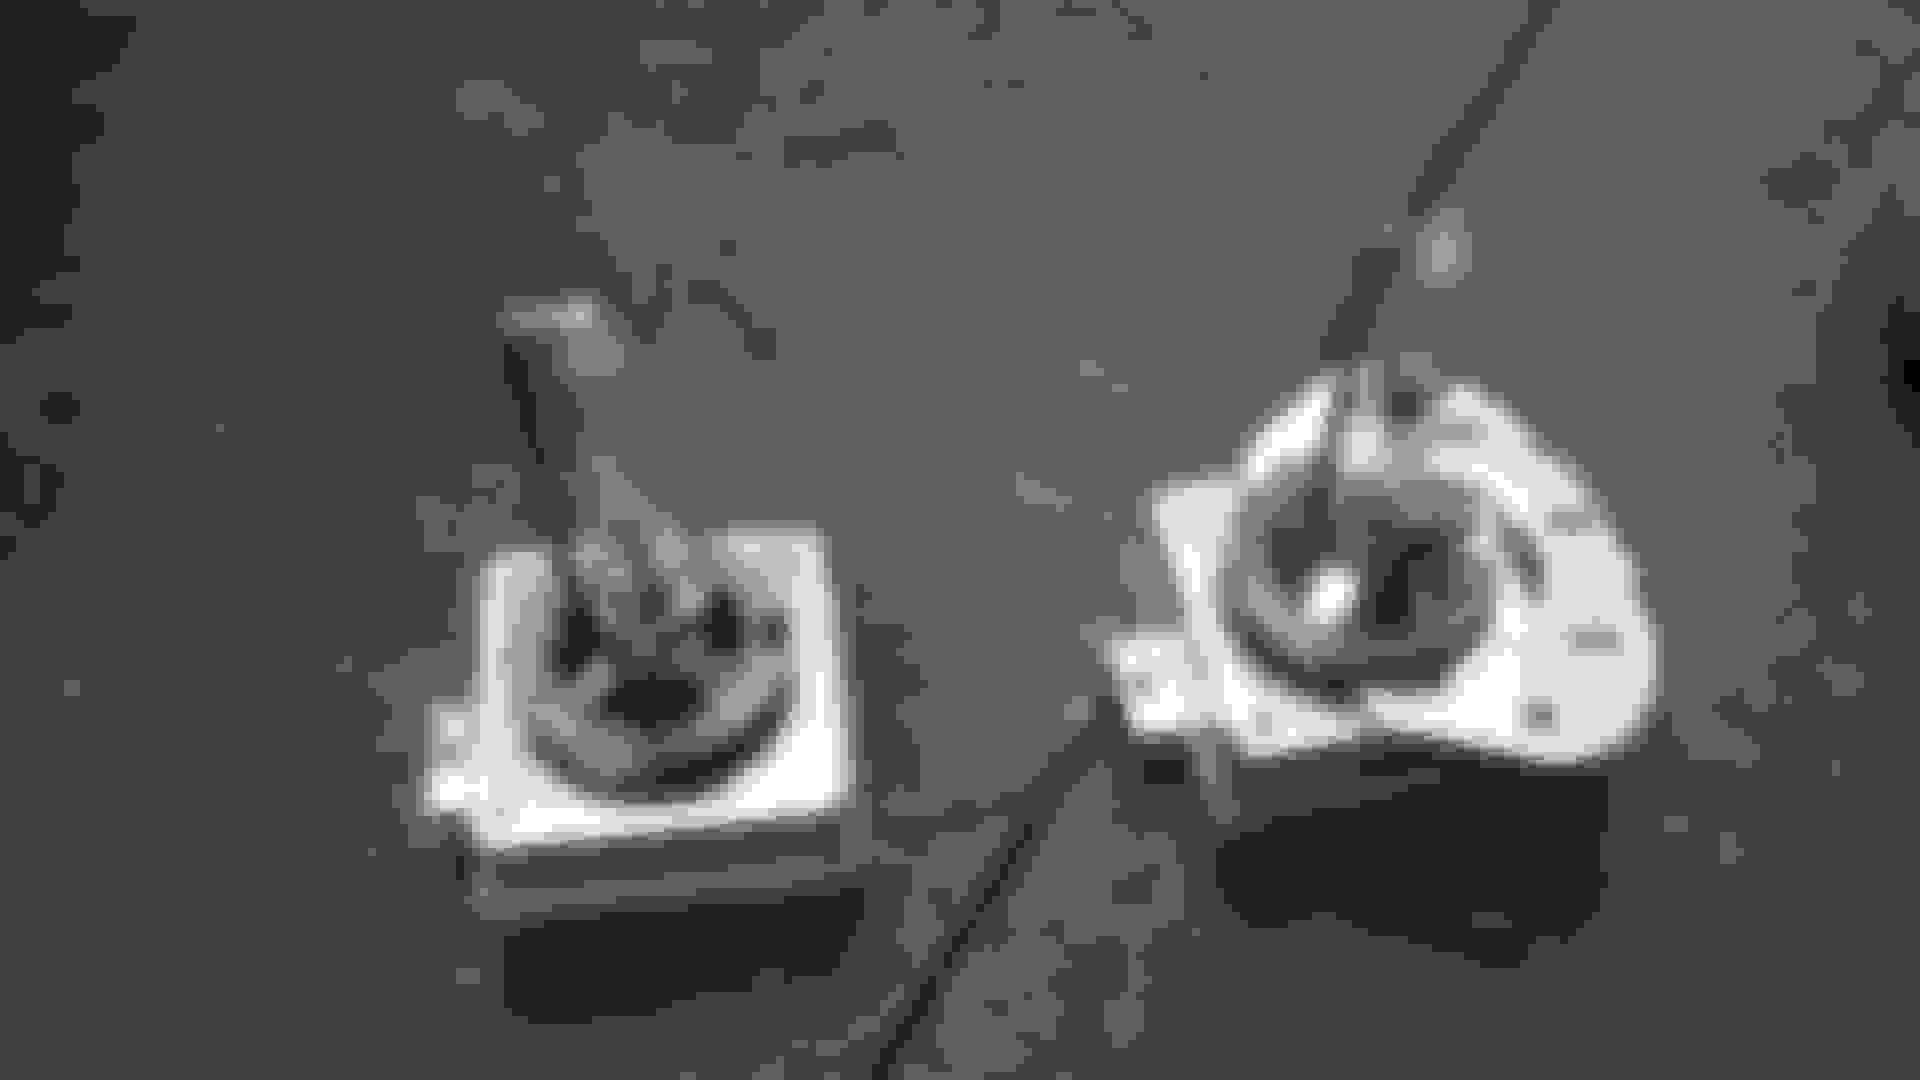
Old bulb with plate coming off.
Old bulb free of plate.
New bulb with plate attached in proper orientation.
Make sure your shop rag is in place and reverse the process of installing the bulb. Now some people have indicated using magnetic tools or an adhesive to keep the screw on the torx tool. If you simply keep the screw on the tool angled up and then place directly into the mounting hole, you are good to go and remember with the rag there if for any reason you drop it you are still golden to try again. I did not use anything on mine.
Replace your low beam housing, press to make sure the seal is good and then position the rubber flap and insert your plastic pop rivets. You may find that the rubber seal has a bit of a warped appearance around the edges. Just tug on the flap (after riveted back in place) and it will flatten itself back out.
Do the exact same steps for the other side and you have replaced your low beam lights. As I said, total time was about 30 minutes to replace.
When done, turn your lights on to verify everything works.
NOTE: Some may take issue that I did not remove the negative terminal from my battery. This is an optional step you can take if you are worried about shorting out anything, but following the common sense rules above will prevent that from happening... but go with what your comfortable with. In all the years of replacing these types of bulbs, I have never had an issue that dictated I remove the negative terminal. That is not to say that other may have. Your car, your judgement so go with what you feel comfortable with.
Thank you for posting...EXACTLY what I was looking for...and your suggesting to stuff a rag in there saved my ***!!! One of the low beam screws fell and I had the rag stuffed in there. I changed the low beams and the fogs...first side took me an 45 minutes, second side about 15 minutes. Once you do it, it's super easy. No need to remove the entire front fender liner like I did on the first one.
BTW, I lifted the car and removed the font wheels...I would hate to do this with the wheel in the way...I had to get INSIDE the wheel well to see the tiny hole for the low beam screws when re-installing.

 06-20-2016, 03:52 PM

 they can be to replace!!! Okay, this is just silly, these are just HID bulbs...not brain surgery. I have been replacing and installing HID's for over a decade on cars, trucks, and bikes and there is nothing difficult, you just have to follow some rules.