When you click on links to various merchants on this site and make a purchase, this can result in this site earning a commission. Affiliate programs and affiliations include, but are not limited to, the eBay Partner Network.
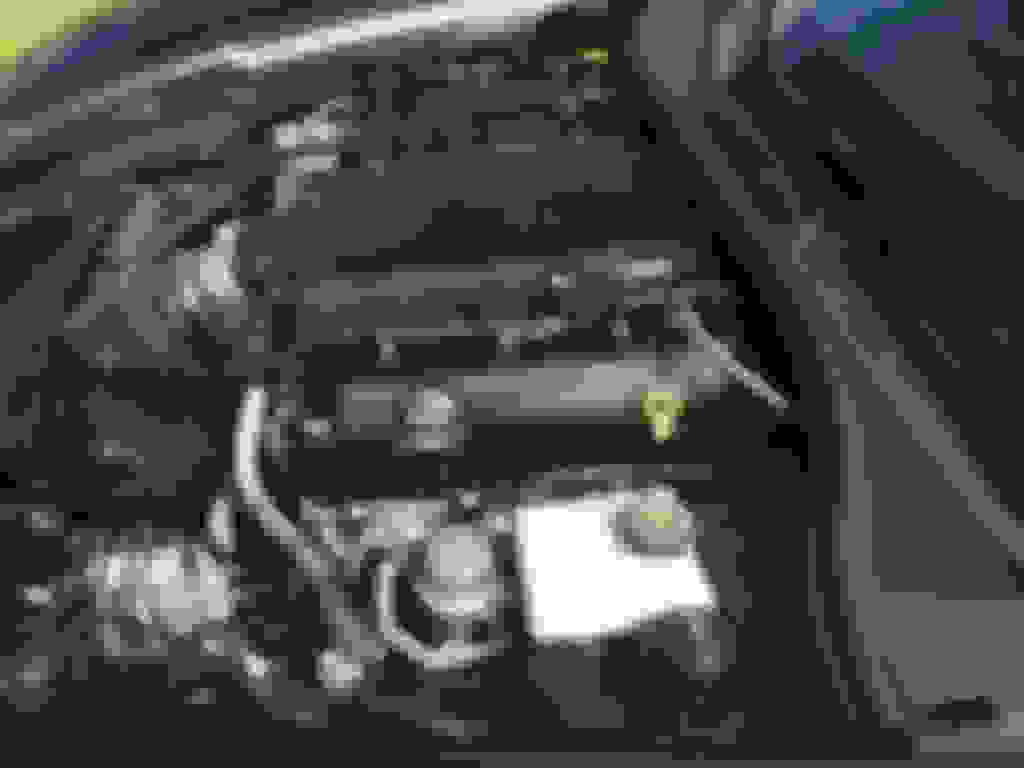
So I decided to paint my engine covers yesterday. The plan:
- paint the fuse box cover Cabon Flash Metallic
- paint the lower covers Carbon Flash Metallic
- paint the plenum Carbon Flash Metallic
- paint the fuel rail covers Cyber Grey Metallic with Carbon Flash Corvette lettering.
I planned to paint them as is, not sanding them down to make them smooth. I didn't know how good it would look, so I figured i'd do the fuse box first, assess how it looks, then if its good I could do the lower covers, then the plenum. In short, I am quite happy with how they turned out but I didnt have as much Carbon Flash as i'd hoped. So I only got the fuse box cover and the lower covers done. I ordered more paint from automotivetouchup.com which should be here by next weekend and I can finish it up.
First step, clean clean clean. If it ain't clean it ain't gonna stick too well.
I chose to use an adhesion promoter since its plastic. It worked out quite well.
Two coats base, three coats clear.
And the result..
Since I am lazy.. Lol, I am just gonna leave the plenum cover and fuel rail covers off for the next week while I wait for more paint to come.
Ok so I got more paint in and got to working on the rest. Pics below.
Since the "Corvette" lettering is so smooth, I sanded it down with 600 grit just enough to remove the red paint and scuff it up.
Two coats Cyber Grey Metallic on the furl rail covers, no clear yet. On the plenum, two coats CFM and four coats clear.
Ok here I did two layers of hand laid CFM with a small brush on the "Corvette" lettering, then four coats clear.
I chose to do four coats clear to try to build up the clear coat as a smooth layer since I did not smooth down the pieces first. It did smooth them out a lot. I do have a few small imperfections in the clear (small bubbles) so I may try to sand them down with like 3000 grit and re-clear 1 coat. Thoughts on that??
update:
Ok so I did what I said I was gonna try. First, the plenum was quite rough still even after four coats clear. That being said I wet sanded it down with 2000 grit and then with 3000 grit so its as smooth as can be. This pic is after wet sanding:
At this point i put on 1 "wet" coat of clear and now this thing is really smooth. Here is a pic:
For the fuel rails, I just put one more coat of clear on them to give them some extra pop. 5 total coats of clear at this point. Since they are textured and I did them in Cyber Grey, they almost have a carbon fiber look to them in person. Pic:
Going to let them dry till Saturday and then put them on the car and polish/seal them up.
I always wondered how long paint really holds up to engine heat on these covers?
Oh well, can't paint mine anyway since I got it autographed by the Stingray design team.
Tadge Joechter, Harlan Charles, Ryan Vaughan, Kirk Bennion, and Tom Peters.
These pics don't really do it justice.. I'll get a few good ones when I charge up the good camera.
Originally Posted by Glen e
Very nice, coil covers are all I have left to do, debating color, prob cyber gray...
actually, your build thread was the inspiration to start painting in the first place Glen! Lol
Originally Posted by Trackaholic
Looks very nice IMO. Great paint job, relatively simple to do. Gives the engine bay an understated but much improved look.
-T
Since my car is "murdered out" that's exactly what I am going for..
Originally Posted by Zymurgy
Added link to this thread in the DIY Sticky thread.
Well that's really cool. Never been added to a sticky before :-)
Originally Posted by TEXHAWK0
I always wondered how long paint really holds up to engine heat on these covers?
Oh well, can't paint mine anyway since I got it autographed by the Stingray design team.
Tadge Joechter, Harlan Charles, Ryan Vaughan, Kirk Bennion, and Tom Peters.
Why not at least add a clear coat? Would protect it so it lasts longer for sure!
I always wondered how long paint really holds up to engine heat on these covers?
Oh well, can't paint mine anyway since I got it autographed by the Stingray design team.
Tadge Joechter, Harlan Charles, Ryan Vaughan, Kirk Bennion, and Tom Peters.
I decided to take off and also do the plastic cover on the underside of the hood, as well as the radiator cowl piece. Also did the tube for the Halltech Stinger intake that just came in too. Pics below, These look pretty good to me
two coats base..
Four coats clear, then wetsand with 1000, 2000, then 3000 sponge pad.
Now I hit it with a buff pad using Mcguiars 205 Polish, then followed up with Mcguiars 7 Show Car Glaze. After 30-45 days, I will hit it with some Mcguiars 26 Yellow Wax.. but even now it looks soooo smooth..
very nice ...but start using a sealant, at that temp, wax won't last...if you like Meg's, use their NXT2.0....
automotivetouchup loves you!
hahaha I bet!!
Good advice on the sealant. Should I seal first, then wax? Never used sealer before. To be honest, this car was the first time I have decided to teach myself to really paint parts so I'm learning as I go along.
Good advice on the sealant. Should I seal first, then wax? Never used sealer before. To be honest, this car was the first time I have decided to teach myself to really paint parts so I'm learning as I go along.
you def got the bug, I know the feeling....sealant goes against bare paint....forget the wax altogether....
That looks fantastic! Had a similar desire to up the under-hood pop. Automotive Touchup paints in: Arctic White, Carbon Flash and Torch Red.
Nice!
Originally Posted by Glen e
you def got the bug, I know the feeling....sealant goes against bare paint....forget the wax altogether....
So I use that instead of the glaze? Or in the list of things I have already done it would be next in line?
Originally Posted by FCCCVPMan
Question??
How hard to take them off?
Cake. Fuel rail covers pull right off, its only two bolts for each lower cover and the plenum has 4 bolts and a handful of plastic wiring holders to pull.
So I use that instead of the glaze? Or in the list of things I have already done it would be next in line?
forget the glaze...just do a sealant after you are done polishing...wipe down with alcohol and put on two coats of NXT or Nu finish, if oyu want to buy local
If you want to order, Opti Seal and Blackfire Crystal seal are a few great ones...

 09-01-2014, 04:36 PM