When you click on links to various merchants on this site and make a purchase, this can result in this site earning a commission. Affiliate programs and affiliations include, but are not limited to, the eBay Partner Network.
From talking to a local body shop that has done some work directly for LPE and GM he said the rockers are tricky because the amount of bonding agent determines their fitment.
I know that sounds simple but for them to fit properly it has to be done exactly right. Not like you can have some extra and squeeze it out.
Great project! Is this a bolt on conversion or is there panel bonding involved?
Only the aperture panel has to be bonded to the frame, the fenders and quarter panels simply clip and screw into place, and they are all GM parts for the Z06. My friend at the body shop who did the painting is getting me the epoxy and loaning me his two barrelled applicator gun. Here is a picture of the new Z06 aperture panel next to the original before I start removal.
Originally Posted by senah
jet vet, this is the most wonderful, astounding diy thread related to cars that i have ever seen anywhere, ever! i am amazed at the depth and breadth of what you have done and are doing. as someone who has done many projects over many decades, your skill and talent make me feel like a rank amateur. running across this one thread by itself is worth dealing with the hundreds of hours of nonsense that is so prevalent on some of the ego baiting and totally waste of time and energy threads that sometimes show up here. it never crossed my mind that you could buy the parts as reasonably as you did. kudos to what you have shown here. replacing the transmission cooler with a better one and then using the original as a secondary with an installation that looks like it was oem design and installation....what talent and dedication to perfection! i look forward to seeing your finished product. i started in 1951 by replacing broken spring centerbolts and fuel pumps (often) and rebuilding the carburetor on a 47 ford, and still do some of my own work. how do you like your coilovers? i'd be interested in any comments you have about them including ride quality, handling difference from stock and anything else you'd care to comment on. thanks for the details that you have shared with all of us.
Well thanks! That comment certainly made my day . Growing up I learned to love working on sports cars by changing oil and spark plugs on my dad's Porsche 356 B and 912. Then later on my own 356 B, 240Z, Alpha Spyder Veloce, etc. I got rid of the two SU side draft carburetors on the 240Z and replaced them with three Webers. Then I added a cam and Abarth exhaust. What a car for a 22 year old Navy pilot!
The coilovers are only necessary if you drive hard on a road course, then they are almost a must. There is a wide range of adjustment on mine so they can provide anything from a slightly more solid ride on the street to rock steady cornering at the track.
Originally Posted by DAFFYDRUNK
This is definitely gonna be one of those threads I check every time it gets bumped. Cool to read about, but the OP probably needs a wheel barrel to haul his ***** around.
Thanks, but according to my wife its more like I only need a thimble to carry my brain around.
Originally Posted by C6 MoneyPit
How much do you charge for this service?
I can't hide the purchase of a new GS from the wife but a little modification of my existing ride....she would never notice the difference
Several people have asked why I didn't just upgrade. Part of the explanation is contained in my original post, but additionally my wife is resigned to the fact that I'm an incorrigible tinkerer and modifier, but if I said anything about a new vette only 18 months after buying this one, she'd absolutely freak!
Originally Posted by NoOne
I am interested in the rockers too. From talking to a local body shop that has done some work directly for LPE and GM he said the rockers are tricky because the amount of bonding agent determines their fitment.
I know that sounds simple but for them to fit properly it has to be done exactly right. Not like you can have some extra and squeeze it out.
Exactly correct. I realized that point when studying this project and looking closely at the existing apertures. I have carefully marked the edges of the current panel, as well as the panel-to-frame measurements all around so I can duplicate it with the new one. I'll make shims to put at various points around the perimeter in order to put the new panel in the correct position.
Holy Shamoly Batman, you are talented man. I would be terrified of trying that and I'm pretty good with a wrench.
Same here! Tell you what, if I can't get it all put back together, everybody who is subscribed to this thread is invited over to my house for a 'static display' party. I'll mount the stripped down body on a pedestal in my front yard...
Cool side note: The A-7 below was in one of my sister squadrons (the VA-105 'Gunslingers') at NAS Cecil Field, Jacksonville, FL when I was one of the 'Golden Warriors' of VA-87 in the mid '70s. It is now on display at the 'Big Daddy' Don Garlits Drag Racing Museum in Ocala, FL. Here's how it got there:
First, THANK YOU FOR YOUR SERVICE TO OUR COUNTRY, Second, thank you for the amazing thread. One of the truly useful threads on this board, and so unlike what most of the corvette forum has become... Kudos, you remind me of the guys back in the "old days", that used to come here to share valuable information and stories as opposed to the trolls and in-fighting and pointless posts (C7 Jake and numerous others), I will follow your thread with admiration...
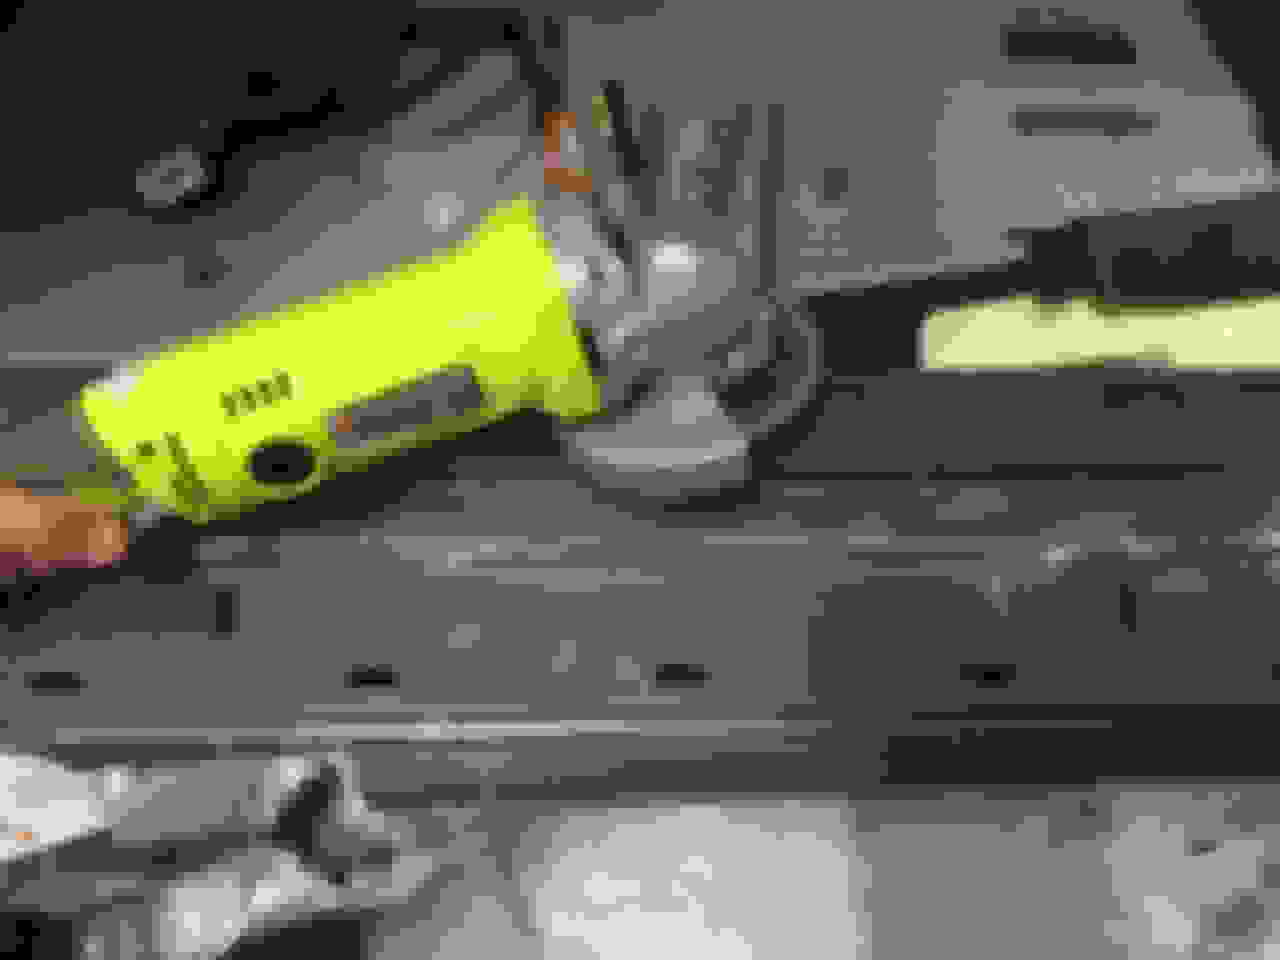
My last post showed the beginning of my attack on the aperture panels. Since then I have found a much more efficient way to go about it, and that requires these tools: heat gun (the stronger the better, a blow drier won't get it), 4 1/2" power grinder with cutting blades, wide blade wood chisel (I found 2 1/2" to be the best), shop vac, pliers, 12" carpenters pry bar and a heavy duty hammer. First I used the wood chisel and hammer to pry loose the entire length of the flange that wraps under the frame by driving it through several individual spots of epoxy. Then I used the cutting tool and shop vac to make a long incision on the middle of the top, from the door latch in the rear to the lower door hinge in the front. The aperture does not sit on the frame, but rather about 1/4" away on a thick bead of epoxy. So I could cut all the way through the fiberglass without cutting into the frame. I then made several cuts perpendicular to that long one and used the heat gun to dissolve the bond. When each section was good and hot I grabbed the end of it with the pliers and pulled it away from the frame. This process was repeated, sometimes with very small sections like near the quarter window, until I had it all removed. Next I'll go about getting rid of the old epoxy. I have an idea, however, to leave several small sections of it as a shim, or bumper, to position the new panel at the proper distance from the frame.
Important note: The cutting tool creates lots of fiberglass dust, so I held the shop vac hose end right next to the wheel as I cut. I still needed to wear a wet mask, shop glasses and drape/cover the open area of the car to keep the mess manageable.
JV
The five small squares of rubber along the door frame in this picture are permanent, and they sit over the holes that the trim panel clips fit into. See you again after I finish removing the other aperture. Then comes the critical step of epoxying the new apertures to the frame. They sit at the center of this project, and the front fenders and rear quarter panels have to align with, and gap fit, to them properly. I'm half way home...
I'm wondering if a multipurpose tool would have worked better than the grinder. Less dust maybe? Also might have been able to just cut the epoxy blobs rather than beat on them with a chisel?
This is gonna be good!
I'm wondering if a multipurpose tool would have worked better than the grinder. Less dust maybe? Also might have been able to just cut the epoxy blobs rather than beat on them with a chisel?
This is gonna be good!
I'm sure there are several ways to approach this part. Heat is the best way, but a massive amount is required to make it anywhere near easy, and a body shop probably has commercial grade units that can put tremendous amounts of heat on the entire panel at one time. The problem with only cutting the epoxy blobs is that its almost impossible to know where they are because they are under the panel. The wood chisel I used has a very wide, very thin business end which was easy to slide under that under-body flange. That area was not heavily epoxied so it was fairly easy to break it loose. After that, however, on the upper areas there was so much epoxy that it was useless to do anything except apply enough heat to allow each piece to be pulled free. It took me almost three hours to get the lion's share of the drivers side done because I was working slowly, trying to find what worked best. I'm confidant I can cut that time in half on the other side.
Its Sunday morning but I managed to get in about 30 minutes of work cleaning out the last bit of aperture panel in the upper forward corner, just under the windshield. This is a very tough area to work in because it is tucked away under the weather stripping, and in order to get to it I had to partially remove the windshield side trim piece. That only requires pulling the large rubber strip out of its channel from the lower corner to almost the upper corner. I didn't want to dislocate too much so that it would be easier to put it back in place. Then I removed the torx screws and rotated the trim up and out of the way only enough to have clear access to the upper edge of the aperture. The same reasoning applies here, only move/remove as little as necessary to get at the area you need to work on. Then I put the heat gun back to work to soften the fiberglass and adhesive enough to pull away piece after piece, strip after strip of fiberglass. It seemed at times like I was removing one strand at a time, but it didn't take all that long. The white areas you see in the pictures are thin layers of fiberglass 'skin' only a strand or two thick, which will strip away with the adhesive removal. Next I have to remove the old adhesive, and there are several options: chemicals, heat and freezing. I'll try them all to see how effective each is. The more I look at how to position the new panel when bonding it in place, the more I like my idea of leaving a handful of strategically placed 1" segments of the old adhesive to act as natural shims. That way I can epoxy around them and simply press against them. Meanwhile, I'm off to HD to get supplies. I'll also need to spray some black Rust-Oleum on the scratches I put in the frame to inhibit corrosion.
wow...that is a lot of work! Someday I might be interested in doing something like this but I think these rocker panels are too much for me! You clearly have a handle on this! I bet it will be awesome when you are finished!
I replied to the post you have in the 'paint and body' section.
DUB
For the benefit of those following this thread, here's that Q&A:
Originally Posted by Jet Vet
Hello,
I'm doing a wide body conversion on my '15 Z51 by replacing the body panels with Z06 parts, including the front fenders, aperture panels, rear quarters and rear bumper cover https://www.corvetteforum.com/forums...n-project.html and I have two questions. First, after cutting away the old apertures, what is the best way to remove the old adhesive from the frame? Second, what specific adhesive product should I use when reinstalling the aperture panels? Thanks for any help.
JV
A heat gun will soften the adhesive so it can come off....BUT.....you have to know what you are doing in some areas where the thickness of the adhesive makes replacing parts EASIER....because GM had already set up the thickness so gaps of panels are PERFECT. SO...removing ALL the adhesive on some panels is a BIG NO-NO!!!!! Or it will make it harder for you when you go and set-up a new panel.
AS for the specific product will depend on the metal of the frame where bonding adhesive is applied.
Many companies offer the adhesives...such as LORD FUSOR, SEM, ASHLAND CHEMICALS "Pliogrip"...and each of them have requirements on the type of finish their product gets applied to.
Some manufacturers want bare steel and you make sure the bare steel is covered with their product...some want an epoxy primer and lightly scuff it. SO...it depends.
I do not yet have a C7 service manual. But I can look in my C6 Corvette service manuals and see if they specify anything specific for the rocker panels. I do know GM does usually spell out a specific product..but also add "or equivalent".
You REALLY need to watch HOW you prep on these panels and DO exactly what the manufactures states. If they say 'scuff' then scuff it....if they say grind...then grind it. because it has been a long time since I have had to write this...but REMEMBER it is that 1/1,000,000th of an inch of crap on the surface...or improper surface prep that will cause for a product to loose adhesion.

 07-29-2016, 04:42 PM


 . Growing up I learned to love working on sports cars by changing oil and spark plugs on my dad's Porsche 356 B and 912. Then later on my own 356 B, 240Z, Alpha Spyder Veloce, etc. I got rid of the two SU side draft carburetors on the 240Z and replaced them with three Webers. Then I added a cam and Abarth exhaust. What a car for a 22 year old Navy pilot!


 but it didn't take all that long. The white areas you see in the pictures are thin layers of fiberglass 'skin' only a strand or two thick, which will strip away with the adhesive removal. Next I have to remove the old adhesive, and there are several options: chemicals, heat and freezing. I'll try them all to see how effective each is. The more I look at how to position the new panel when bonding it in place, the more I like my idea of leaving a handful of strategically placed 1" segments of the old adhesive to act as natural shims. That way I can epoxy around them and simply press against them. Meanwhile, I'm off to HD to get supplies. I'll also need to spray some black Rust-Oleum on the scratches I put in the frame to inhibit corrosion.