C7 General Discussion General C7 Corvette Discussion not covered in Tech
Sponsored by:
Sponsored by:

DIY wide body conversion project

Thread Tools
 
Search this Thread
 
Old 08-11-2016, 05:36 PM
  #141  
Jet Vet
Pro
Thread Starter
 
Jet Vet's Avatar
 
Member Since: Jun 2015
Location: New Orleans LA
Posts: 696
Received 191 Likes on 116 Posts
St. Jude Donor '15-'16
Default Re-Hanging Doors

I got the passenger door re-hung today, and thankfully everything went smoothly. I used the floor jack to hold it up while my wife kept it from falling over, and that way I could roll it into place and install the hinge bolts and hold-open rod bolt. I had to make several adjustments in height at the rear of the door to align the latch properly, but it was simple enough to loosen the hinge bolts slightly to get it right. I'll do the driver's door tomorrow.

JV


Attached Files
File Type: mov
door hang6 video.MOV (1.05 MB, 162 views)
The following users liked this post:
matt3310 (08-11-2016)
Old 08-11-2016, 05:39 PM
  #142  
jagamajajaran
Race Director
Support Corvetteforum!
 
jagamajajaran's Avatar
 
Member Since: Jun 2006
Location: Lawton, OK
Posts: 10,297
Received 9,512 Likes on 2,317 Posts
C7 & C8 Events Correspondent
Tech Contributor
2020 C8 of the Year Finalist - Unmodified
2020 Corvette of the Year (track prepared)
2020 Corvette of the Year Finalist (appearance mods)
C7 of Year Winner (appearance mods) 2019
2017 C7 of Year Finalist
2015 C7 of the Year
St. Jude Donor '14-'15-'16-'17-'18-'19

Default

You're doing a great job and it's fun watching your progress!
The following users liked this post:
Jet Vet (08-11-2016)
Old 08-11-2016, 05:42 PM
  #143  
robert miller
Team Owner
 
robert miller's Avatar
 
Member Since: Jan 2007
Location: cookeville tennessee
Posts: 28,846
Received 1,762 Likes on 1,529 Posts

Default ttt

Looking good man, Getting close to the end now from what it was.. Putting all the parts back on her will not be that bad at all. Now that you have all the new parts glued back on & in place.
The following users liked this post:
Jet Vet (08-11-2016)
Old 08-11-2016, 05:46 PM
  #144  
Jet Vet
Pro
Thread Starter
 
Jet Vet's Avatar
 
Member Since: Jun 2015
Location: New Orleans LA
Posts: 696
Received 191 Likes on 116 Posts
St. Jude Donor '15-'16
Default

Originally Posted by jagamajajaran
You're doing a great job and it's fun watching your progress!
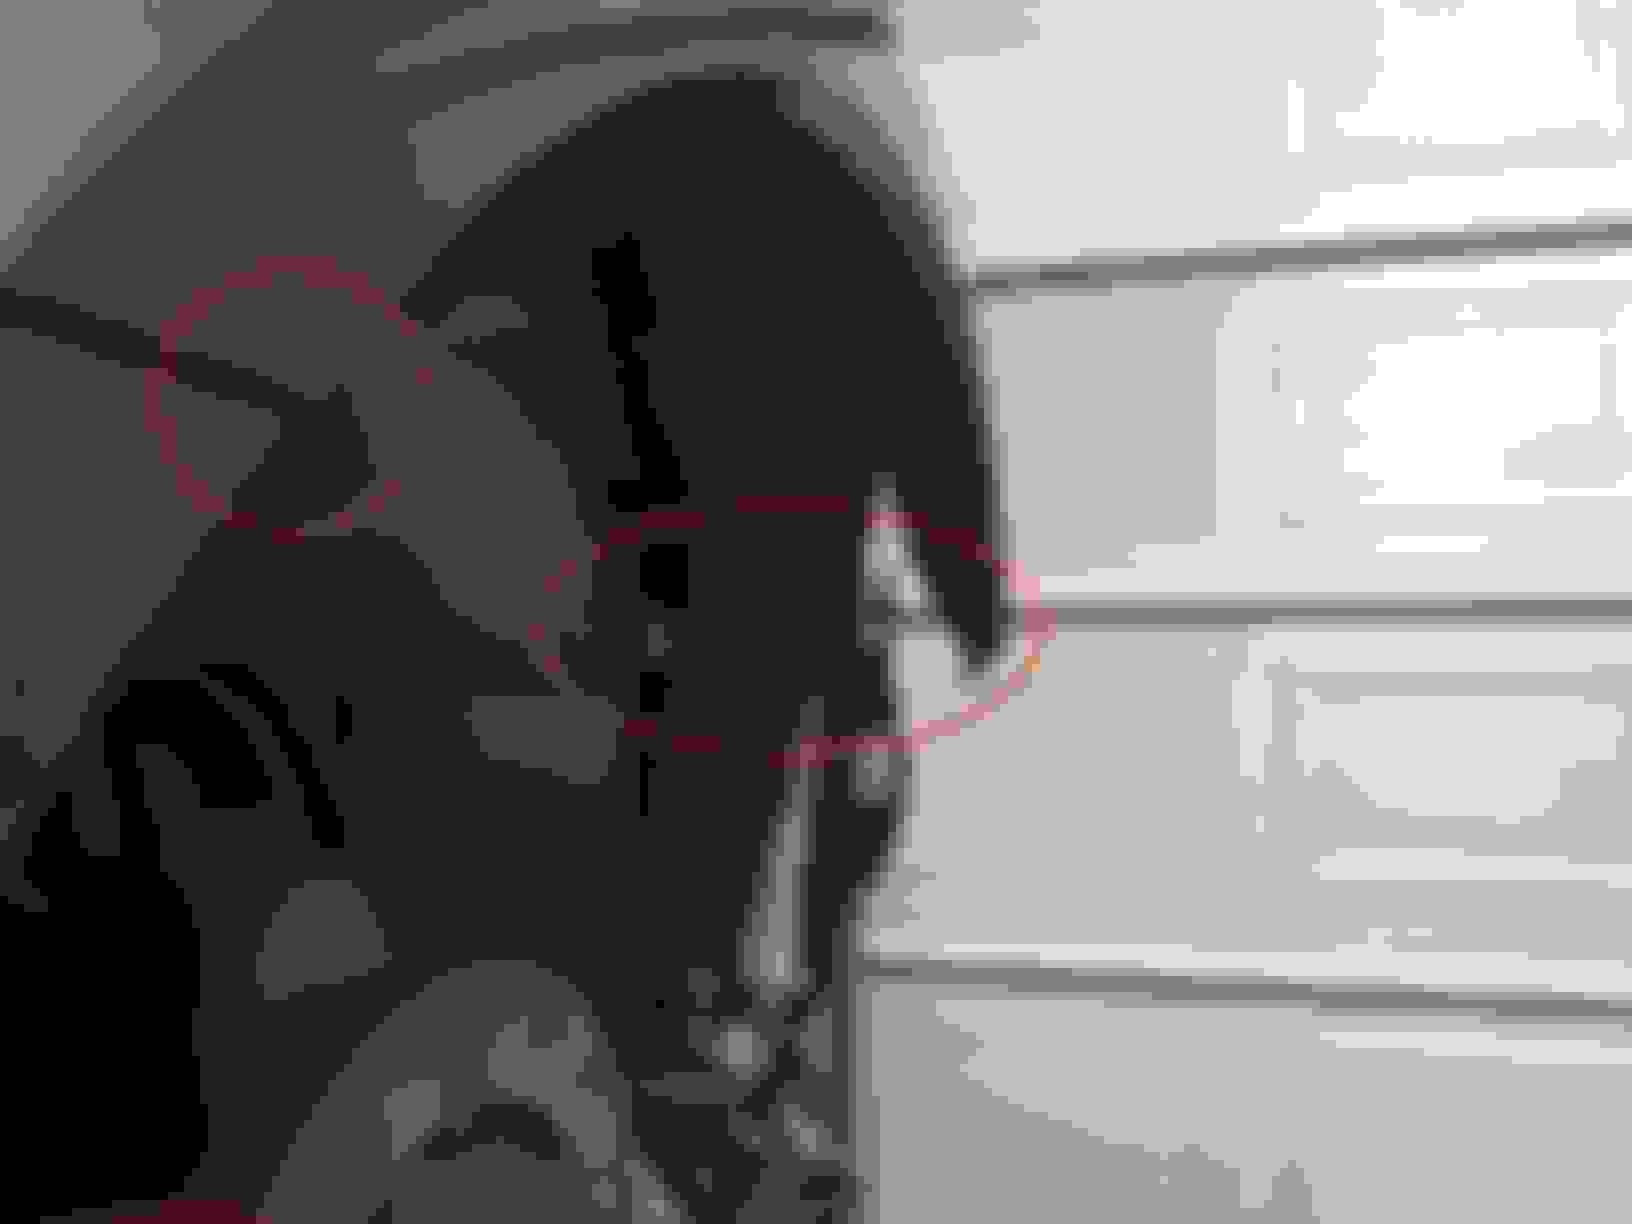
I was really sweating this part, knowing that if the apertures aren't positioned just right the door gaps won't line up properly. It sure was music to my ears when I heard that 'bank vault' thunk as the door closed. You can hear it in the video after the last picture.

JV
The following users liked this post:
jagamajajaran (08-11-2016)
Old 08-11-2016, 06:52 PM
  #145  
DUB
Race Director
 
DUB's Avatar
 
Member Since: Apr 2009
Location: Charlotte NC
Posts: 19,294
Received 2,713 Likes on 2,321 Posts

Default

Not that this may matter...because I can not see where you have the car supported....BUT...rule of thumb in the body industry is that when hanging body panels it is BEST to have the car on the ground and settled so ANY flex that may be occurring in the frame while it is supported DOES NOT close in on you and you PINCH a panel edge when it does go back on the ground.

WHEN you lower the car and get it back on the ground...I would HIGHLY advise you have the doors OPEN!!!!!!!!!!!!

I am fully aware that the frame on this car is 'state of the art' and stout as all get out...because I have repaired several of them....but it still would be worth it to have the doors open.

DUB
The following users liked this post:
Jet Vet (08-12-2016)
Old 08-11-2016, 07:05 PM
  #146  
Jet Vet
Pro
Thread Starter
 
Jet Vet's Avatar
 
Member Since: Jun 2015
Location: New Orleans LA
Posts: 696
Received 191 Likes on 116 Posts
St. Jude Donor '15-'16
Default

Originally Posted by DUB
Not that this may matter...because I can not see where you have the car supported....BUT...rule of thumb in the body industry is that when hanging body panels it is BEST to have the car on the ground and settled so ANY flex that may be occurring in the frame while it is supported DOES NOT close in on you and you PINCH a panel edge when it does go back on the ground.

WHEN you lower the car and get it back on the ground...I would HIGHLY advise you have the doors OPEN!!!!!!!!!!!!

I am fully aware that the frame on this car is 'state of the art' and stout as all get out...because I have repaired several of them....but it still would be worth it to have the doors open.

DUB
Excellent point, thanks!

JV
Old 08-11-2016, 07:22 PM
  #147  
graj6
Burning Brakes
 
graj6's Avatar
 
Member Since: May 2015
Posts: 1,168
Received 353 Likes on 259 Posts
Default

I'll admit I went the 'easy' route for the widebody by ordering a GS. But you, sir, have my respect.

I wouldn't have the guts (and I definitely don't have the facilities or skills) to undertake this extensive a transformation on a car. Amazing work!
The following 3 users liked this post by graj6:
B&BVettes (08-11-2016), Jet Vet (08-12-2016), oldC5 (08-14-2016)
Old 08-11-2016, 09:12 PM
  #148  
7LitreC5
Le Mans Master
Support Corvetteforum!
 
7LitreC5's Avatar
 
Member Since: Apr 2001
Location: Black Forest CO
Posts: 5,356
Received 646 Likes on 388 Posts

Default

Very nice work! The gaps look great from the pictures.
The following users liked this post:
Jet Vet (08-12-2016)
Old 08-11-2016, 09:19 PM
  #149  
chefcg1
Melting Slicks
 
chefcg1's Avatar
 
Member Since: Dec 2008
Location: Mount Airy NC
Posts: 2,073
Received 560 Likes on 379 Posts
C7 of Year Finalist (performance mods) 2019

Default

Fantastic job! An inspiration to all us mod happy viewers.
The following users liked this post:
Jet Vet (08-12-2016)
Old 08-11-2016, 10:58 PM
  #150  
gwalsh88
Burning Brakes
 
gwalsh88's Avatar
 
Member Since: Sep 2001
Location: Mount Dora, FL
Posts: 1,199
Received 803 Likes on 163 Posts

Default

Almost done! Outstanding!
The following users liked this post:
Jet Vet (08-12-2016)
Old 08-14-2016, 07:48 PM
  #151  
ryryokeefe
Racer
 
ryryokeefe's Avatar
 
Member Since: Sep 2015
Location: NYC
Posts: 257
Received 113 Likes on 49 Posts
Default

Hope the conversion is coming along smoothly. Any updates?
Old 08-14-2016, 08:03 PM
  #152  
Rave
Burning Brakes
Support Corvetteforum!
 
Rave's Avatar
 
Member Since: Jul 2011
Location: NC
Posts: 834
Received 72 Likes on 57 Posts

Default

Wow! You must really want a wide body bad! I'm looking forward to seeing the finished product.

Heck... I've been hesitant just to pop the back of my mirror casing off to connect my radar detector power lead!
Old 08-14-2016, 09:21 PM
  #153  
Jet Vet
Pro
Thread Starter
 
Jet Vet's Avatar
 
Member Since: Jun 2015
Location: New Orleans LA
Posts: 696
Received 191 Likes on 116 Posts
St. Jude Donor '15-'16
Default

Originally Posted by ryryokeefe
Hope the conversion is coming along smoothly. Any updates?
I've been progressing even slower than usual lately for several reasons not related to the project, but I have gotten a few things done. Both doors have been hung, and I installed both rear quarter panels. But I also found out that I needed to order several new Z06 parts that are different from their Stingray and/or Z51 predecessors. The fuel door is different due to the new angle of curvature in the quarter panel. Luckily the other fuel compartment components are the same, the new door simply has a modified railing by which it attaches to the swing arm. That was $95. The exaggerated curvature of the rear quarter also requires new, longer braces which attach the rear of the quarter panel to the frame, and the brackets which hold the three orange clips that the rear bumper cover attaches to and aligns with. While awaiting parts I'm going to rebuild the brake calipers after a year and a half of track use.

JV

Here's the different fuel door geometry shown with my old door and the new quarter...


...and the fuel compartment with the fuel door removed...


The misalignment of the fit between the quarter panel and the aperture will be corrected when the new longer brace is installed...


The back edge of the Z06 quarter panel has an 's' curvature, while the old Z51 brackets with the orange clips for the rear bumper attachment are simply convex...


Last edited by Jet Vet; 08-19-2016 at 05:14 PM.
The following users liked this post:
matt3310 (08-15-2016)
Old 08-17-2016, 07:56 PM
  #154  
matt3310
Support St Jude!!
Support Corvetteforum!
 
matt3310's Avatar
 
Member Since: Nov 2005
Location: Memphis Tn
Posts: 1,917
Received 93 Likes on 57 Posts
2016 C7 of the Year Finalist
2015 C6 of the Year Finalist
Cruise-In X Veteran
St. Jude Co-Organizer
St. Jude Donor '09-'10
1st St. Jude Donor '11-'12-'13-'14-'15-'16-'17-'18-'19


Default

Great job so far! My hats off to ya!
The following users liked this post:
Jet Vet (08-17-2016)
Old 08-17-2016, 08:20 PM
  #155  
Larry/car
Race Director
 
Larry/car's Avatar
 
Member Since: May 2008
Location: Manheim Pennsylvania
Posts: 10,742
Received 621 Likes on 423 Posts

Default

Your first post was 7/27/16, amazing progress. The big question comes when the project is completed. Would you do it again?????
Old 08-17-2016, 09:29 PM
  #156  
Jet Vet
Pro
Thread Starter
 
Jet Vet's Avatar
 
Member Since: Jun 2015
Location: New Orleans LA
Posts: 696
Received 191 Likes on 116 Posts
St. Jude Donor '15-'16
Default

Originally Posted by Larry/car
Your first post was 7/27/16, amazing progress. The big question comes when the project is completed. Would you do it again?????
Thanks, I'm really marking time right now until I get the Z06 parts I ordered. As for doing it again, I would never have to, so the real question is, Do I regret having done it, and so far the answer is no, not at all. All large scale projects that involve unknown areas like this one are frightening until you get in there and find out for yourself that it can be done. At any rate, the car is beginning to look normal again, with the seats and interior trim back in place and cleaned up.

JV


Old 08-17-2016, 10:50 PM
  #157  
Foosh
Team Owner
 
Foosh's Avatar
 
Member Since: Oct 2004
Posts: 25,434
Received 16,668 Likes on 8,311 Posts

Default

Congrats, you're on the home stretch now. Well done!
The following users liked this post:
Jet Vet (08-19-2016)

Get notified of new replies

To DIY wide body conversion project

Old 08-18-2016, 12:38 AM
  #158  
T/A KID
Drifting
 
T/A KID's Avatar
 
Member Since: Jul 2005
Posts: 1,626
Received 175 Likes on 141 Posts

Default

Jet, been away from the forums brother...
About to start doing m WB swap in the next week or so
If it's cool with you I may post up in this thread!!

You have the part numbers handy for this extra parts needed.. (Rear brackets, fuel door/arm)

Thanks again brother, awesome job
Old 08-18-2016, 12:52 PM
  #159  
Jet Vet
Pro
Thread Starter
 
Jet Vet's Avatar
 
Member Since: Jun 2015
Location: New Orleans LA
Posts: 696
Received 191 Likes on 116 Posts
St. Jude Donor '15-'16
Default

Originally Posted by T/A KID
Jet, been away from the forums brother...
About to start doing m WB swap in the next week or so
If it's cool with you I may post up in this thread!!

You have the part numbers handy for this extra parts needed.. (Rear brackets, fuel door/arm)

Thanks again brother, awesome job
No problem my friend, glad to hear you are getting close. I have several items you'll need that I can let you have cheap if you don't have them already, I'll PM you on those. Here are the part numbers for the extra things I discovered I needed.

Rear Side Retainers 23366039 and 23366040 (I believe the large orange clips from the old part will transfer to the new one. These are what the rear bumper cover locks into on the quarter panel)

Rear Quarter Panel Braces 20980050 and 20980051

Fuel Compartment Door 22911933 (Everything else in that area stays the same)

It turns out the rear bumper wiring harness is the same, so I didn't need a new one.

If you look at the original post with the part numbers, it shows the two front fender side vents and the nuts & bolts which attach them to the fender. The vents come with the three bolts already installed, but you need to order all the nuts, for a total of six. I'll change that in the earlier post.

Be sure to get in touch directly if you need any help along the way, and best of luck with it!

JV

Last edited by Jet Vet; 08-19-2016 at 05:17 PM.
Old 08-18-2016, 04:33 PM
  #160  
Jet Vet
Pro
Thread Starter
 
Jet Vet's Avatar
 
Member Since: Jun 2015
Location: New Orleans LA
Posts: 696
Received 191 Likes on 116 Posts
St. Jude Donor '15-'16
Default

Originally Posted by chefcg1
Fantastic job! An inspiration to all us mod happy viewers.
The SCCA has a name for it: Sports Car Upgrade Disorder!

http://www.scca.com/articles/2001768...grade-disorder

JV

Last edited by Jet Vet; 08-18-2016 at 04:35 PM.


Quick Reply: DIY wide body conversion project


All times are GMT -4. The time now is 05:35 AM.