When you click on links to various merchants on this site and make a purchase, this can result in this site earning a commission. Affiliate programs and affiliations include, but are not limited to, the eBay Partner Network.
And looking at my list to get those noticed I ordered two left rocker scoops and don't have a right one. Probably take a month to get one in Canada, damn
Hey everyone, can we please move past the CF fuel door? I appreciate that you may have differing opinions, but the car is a work in progress. I had a real carbon fiber door on it before, with the oem body panels, and it had a deep, lustrous polished finish, much more attractive than this flat finish example, matching both the exterior mirrors and the exposed CF top, so I'm still experimenting. I track the car extensively, and the guys I run with like it as much as I do, so again I appreciate your input, but the project at hand is the widebody conversion. Thanks.
P.S. - I just got my Z06 wicker bill rear spoiler and I'm in the process of drilling the bumper cover to mount it. Pics should be up later this evening.
I'm almost finished buttoning up the rear end. I got the holes drilled in the top of the rear bumper cover for the spoiler mounting bolts and then pulled the bumper away from the car again to have access to the nuts underneath. Its also necessary to remove the tail lights in order to reach several of the nuts, so I had to take them out again and replace them afterward. Moral of the story is don't install the tail lights in the new bumper cover until you have your spoiler mounted and are ready to install the bumper cover permanently.
First is a look at accessing two of the four tail light mounting screws from below. The other two are on top and accessed from above.
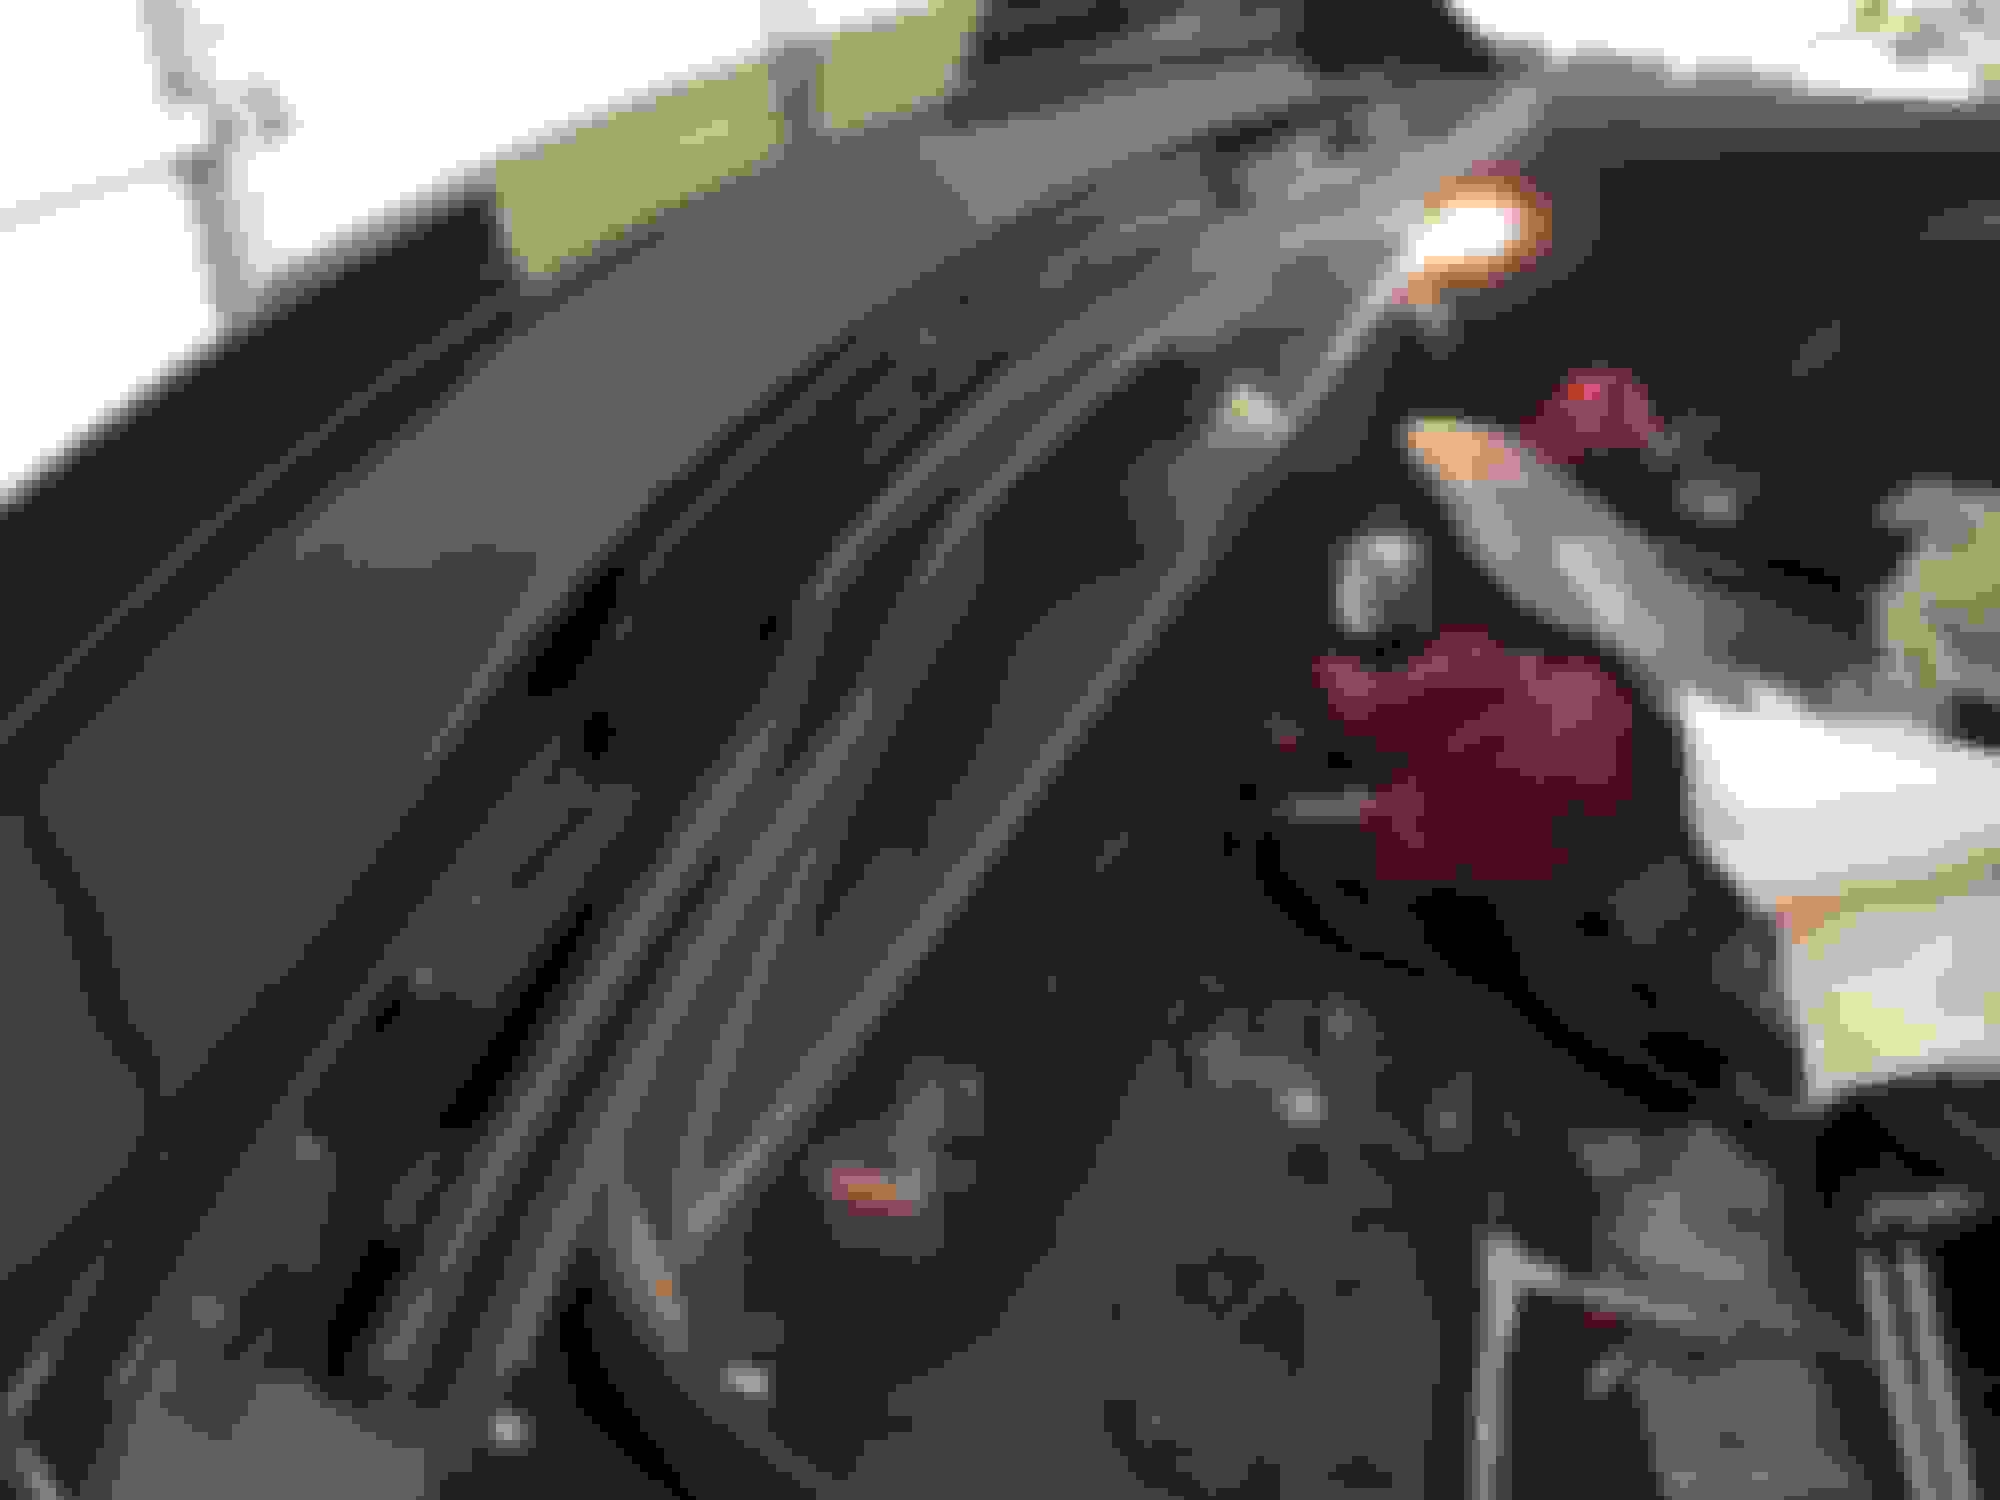
Here is one of the side markers, installed in the bumper cover and connected to the last plug in the end of the wiring harness.
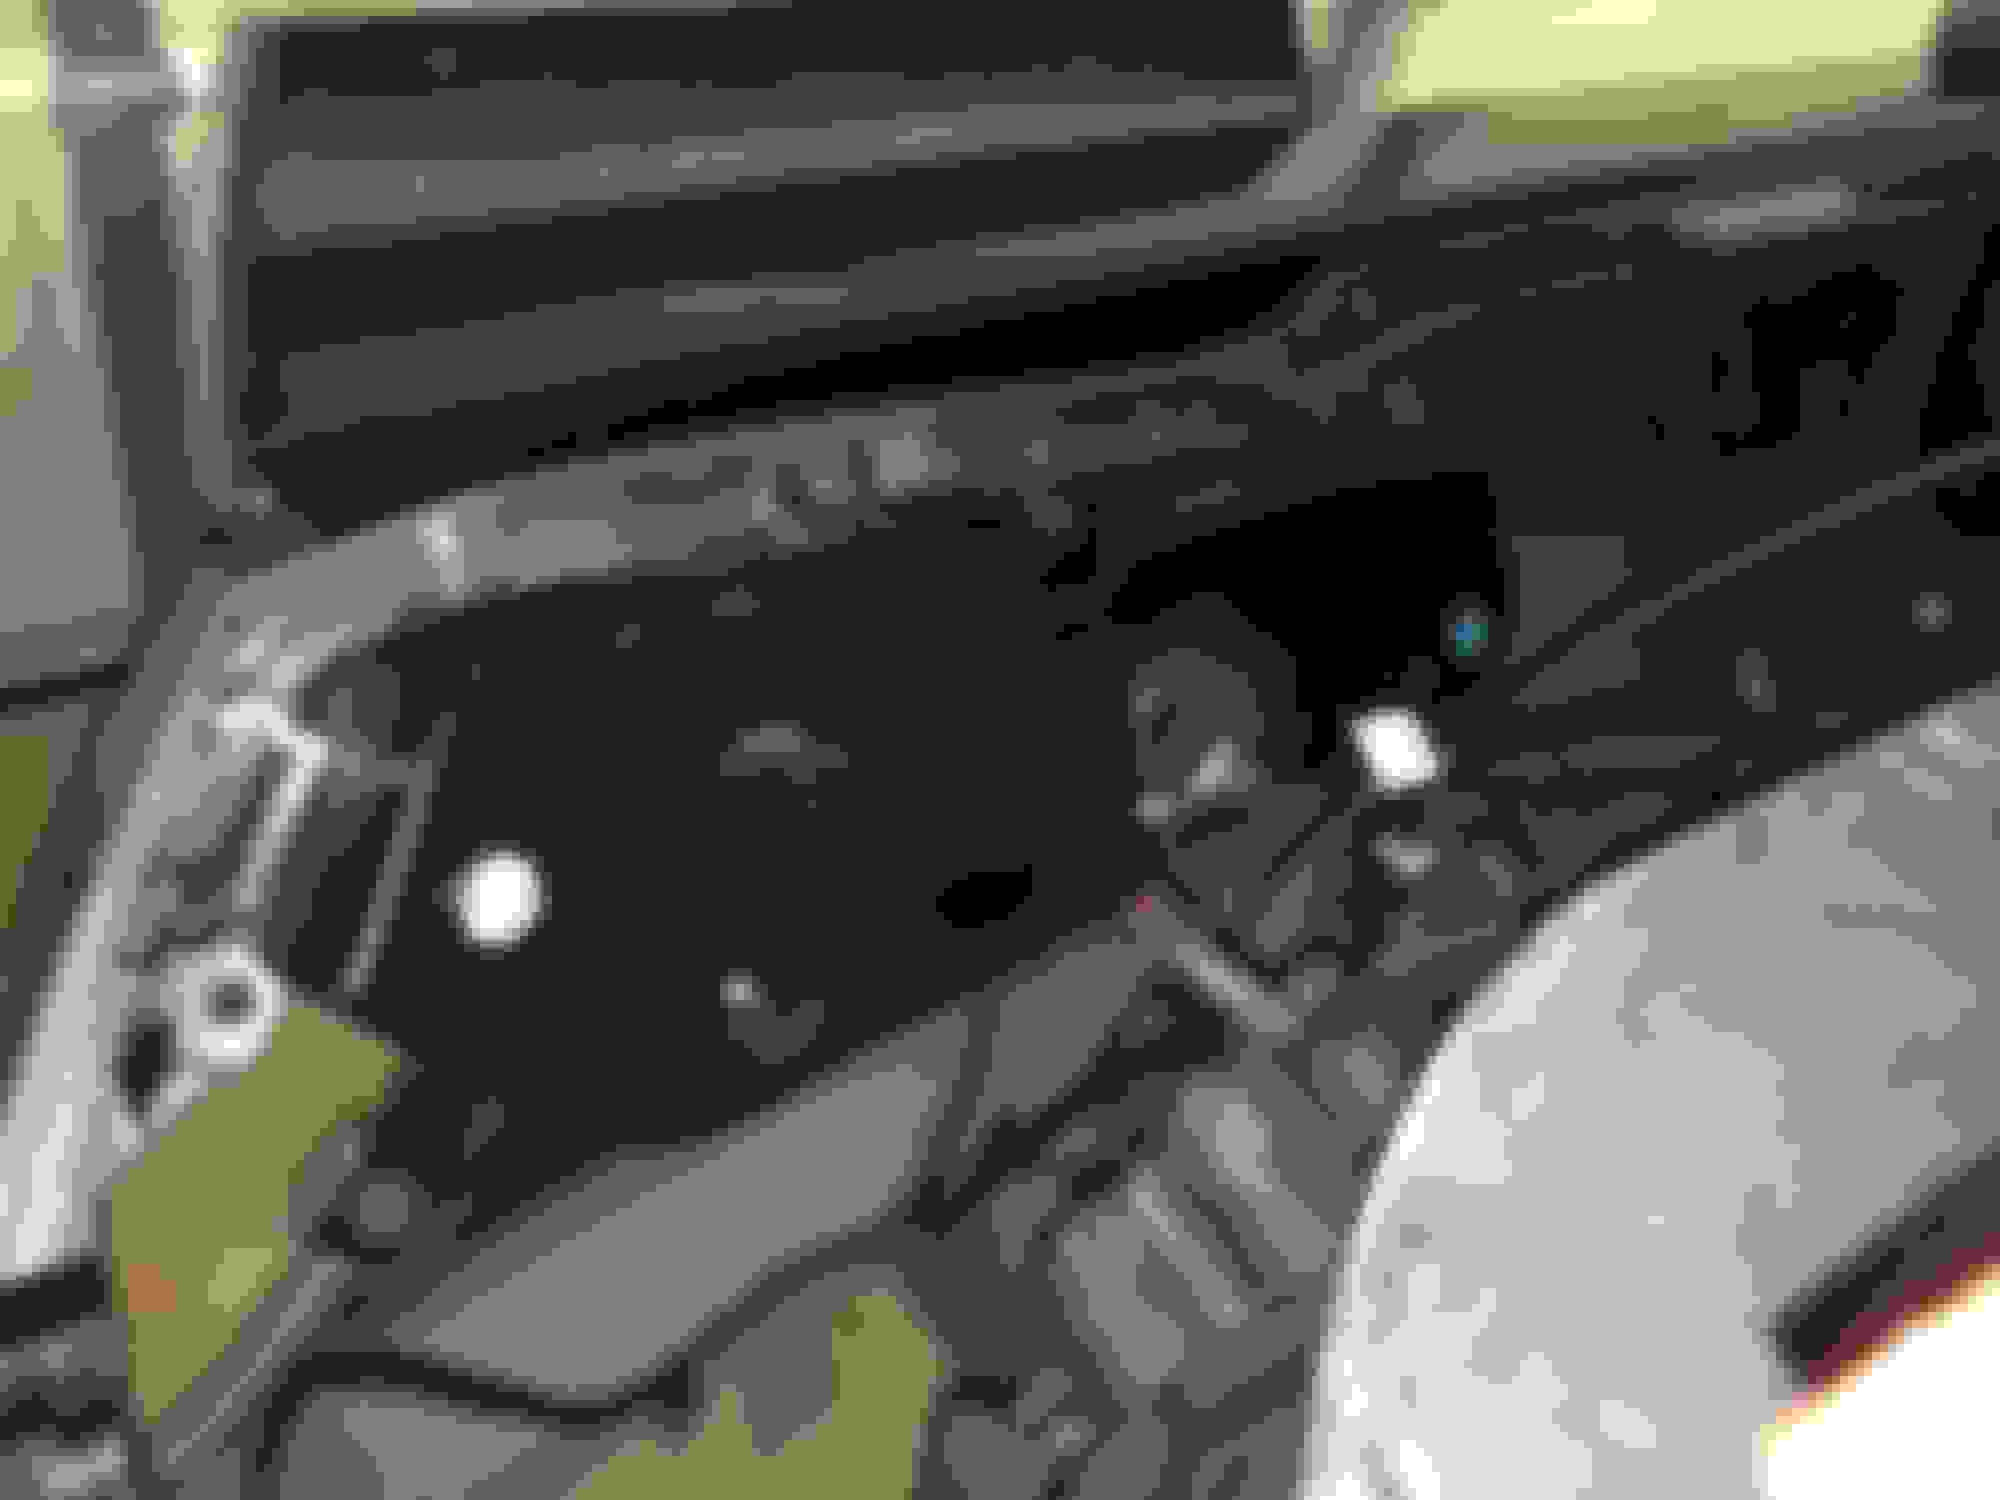
Here is the view straight down at the bottom center of the bumper cover. I have it supported with a padded cushion on top of my shop vac so I can let it rest against my legs while I connect the wiring harness to the supply lines coming from the frame. The small components along the bottom from left to right are L license plate lamp, back-up camera, hatch release button, R license plate lamp and hatch key lock (round unit). The main harness connection is at the right center.
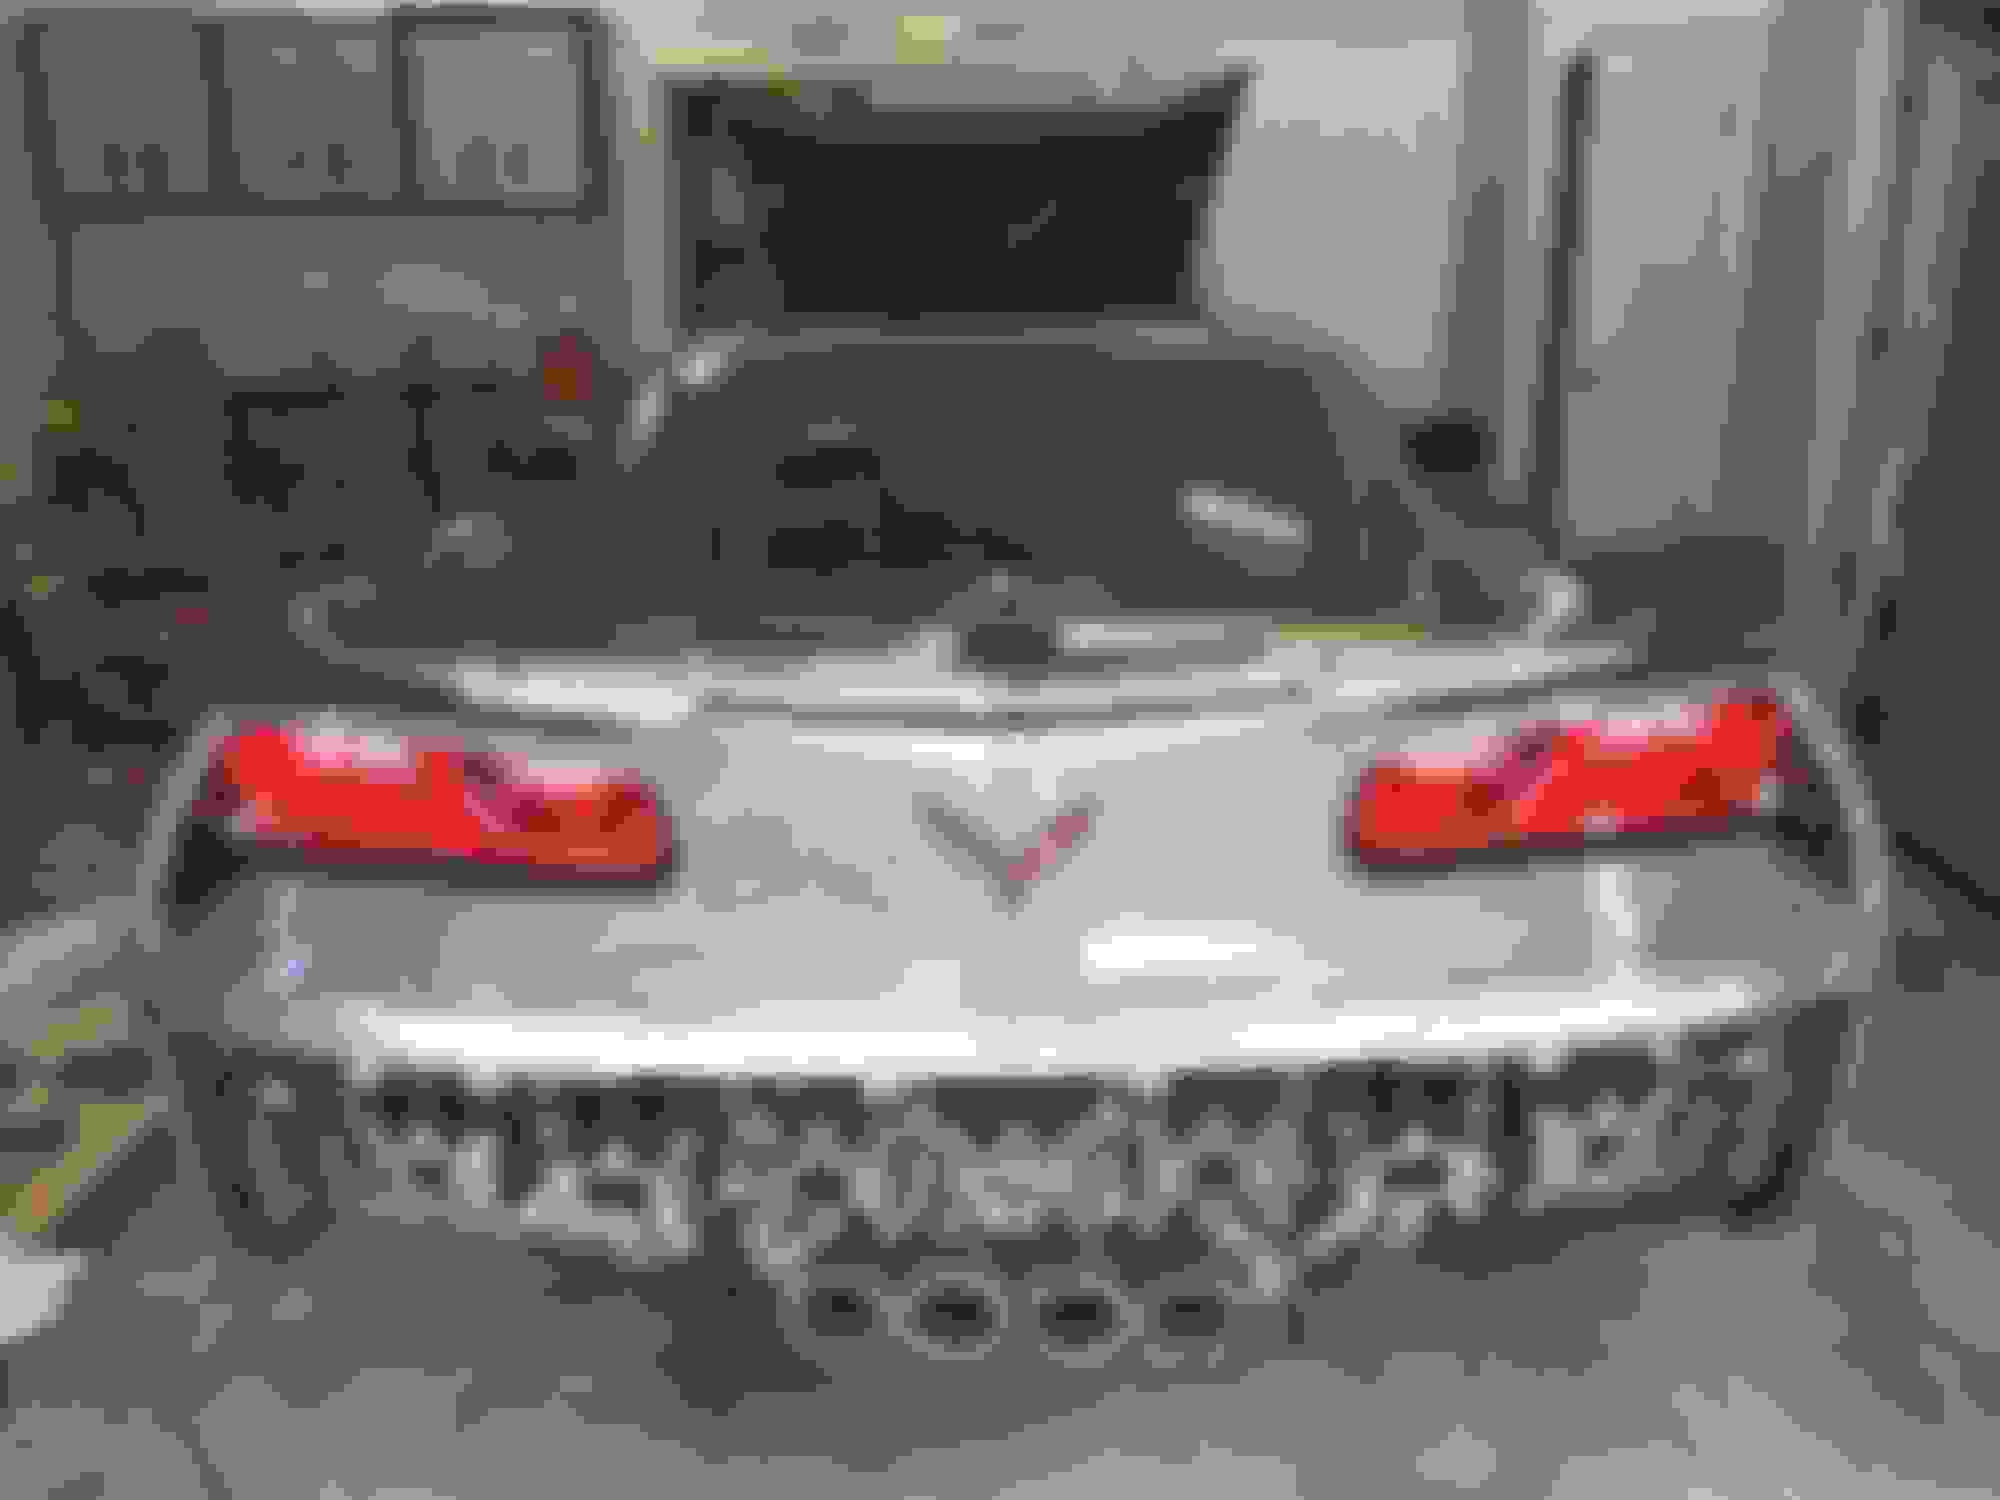
Here is a view of the tail light area after the spoiler installation. You can see one of the spoiler mounting bolts and nut.
I decided to get the carbon fiber adjustable wicker bill spoiler to match the roof panel.
The screws along the rear of the hatch area hold the bumper cover to the body, and in the second picture the weather stripping has been put back in place, covering those screws.
Back in the wheel wells, don't forget the torx screw holding the quarter panel to the aperture. This is at the front of each wheel well.
Here is the final torx screw, in the upper recess to the outboard of each tail light. You can also see here two of the three orange clips on each side which lock the bumper cover to the quarter panel.
Here's the rear lower fascia attached to, and under, the bumper cover. I'll be back tomorrow with more...
Had several errands to run today, but I got the left front fender and headlight installed. First thing to do is transfer everything usable from the old fender to the new one. That would be all the clips, both U shaped and plug type, and the sound-proofing batt along the rear of the fender, held in by plastic push plugs. Then its just the reverse of what we did to remove the fender, finished off with the rubber molding panel at the upper rear, which fits against the windshield. Then the headlight can be installed, being very careful not to snag or scratch anything. Almost finished, tomorrow or this weekend for sure...
This has to be one of the most, if not the most, ambitious projects I have ever seen on a car forum.
I did a minor conversion of a 370Z to a Nismo front end, and it was a major pain running down all the little parts, but nothing like what you have accomplished.
This is just outstanding!
Thank you so much for taking the time to fully document the progress.
New paint is a little lighter.... you going to live with it or blend?
Its the lighting in the garage. I've looked at it with a very critical eye from up close and farther away, sunlight and shade, from every angle, and It looks the same to me. I've also have several friends over and they agree. I think it'll be fine.
Its the lighting in the garage. I've looked at it with a very critical eye from up close and farther away, sunlight and shade, from every angle, and It looks the same to me. I've also have several friends over and they agree. I think it'll be fine.
JV
If you're happy with it that's all that matters. Fluorescent lighting is the least forgiving of all. I used to be an insurance adjuster and have a stupid picky eye for paint variance.... it's a curse.


 08-30-2016, 12:59 AM