When you click on links to various merchants on this site and make a purchase, this can result in this site earning a commission. Affiliate programs and affiliations include, but are not limited to, the eBay Partner Network.
These questions are for those of you who have painted their fuel rail covers. Thanks in advance for your replies.
1. Is a high temp paint needed?
2. Are they smoothed by a build up of primer, paint, top coat, or sanding?
3. Is a "flexible " primer required?
4. Is there an online store that sells quarts of paint in GM colors at discounted prices? Specifically Carbon Flash?
5. Did you paint or buy tape for the "CORVETTE" on the covers?
my advise would be to check out Steve Ray at Airbrush Inc. out of Owensboro, Kentucky. He has done both of my cars - one is 2007 C6 and still looks like new. The second one is a 2014 and still looks fantastic.
I painted mine. I used rattle cans from automotivetouchup.com. No high heat paint, and they've held up fine for 8 months now. I didn't smooth mine out, you can go high build primer or sand them, it's too much for just paint or clear.
I started with a brush, but got a tip here to buy a paint pen for the lettering, that worked great. Then I clear coated them. There are more threads here about painting underhood parts if you search for it. It was a fun project for me, but I like stuff like that.
High temp paint is not needed. After prepping the covers (cleaning thoroughly, sanding if you want "smoothies", etc. use a plastic adhesion promoter, then base coats, then clear. Automotivetouchup.com is a great source for all the different paints you need (plastic adhesion promoter, color matched base coat and clear coat).
High temp paint is not needed. After prepping the covers (cleaning thoroughly, sanding if you want "smoothies", etc. use a plastic adhesion promoter, then base coats, then clear. Automotivetouchup.com is a great source for all the different paints you need (plastic adhesion promoter, color matched base coat and clear coat).
Totally. the above are the correct steps.
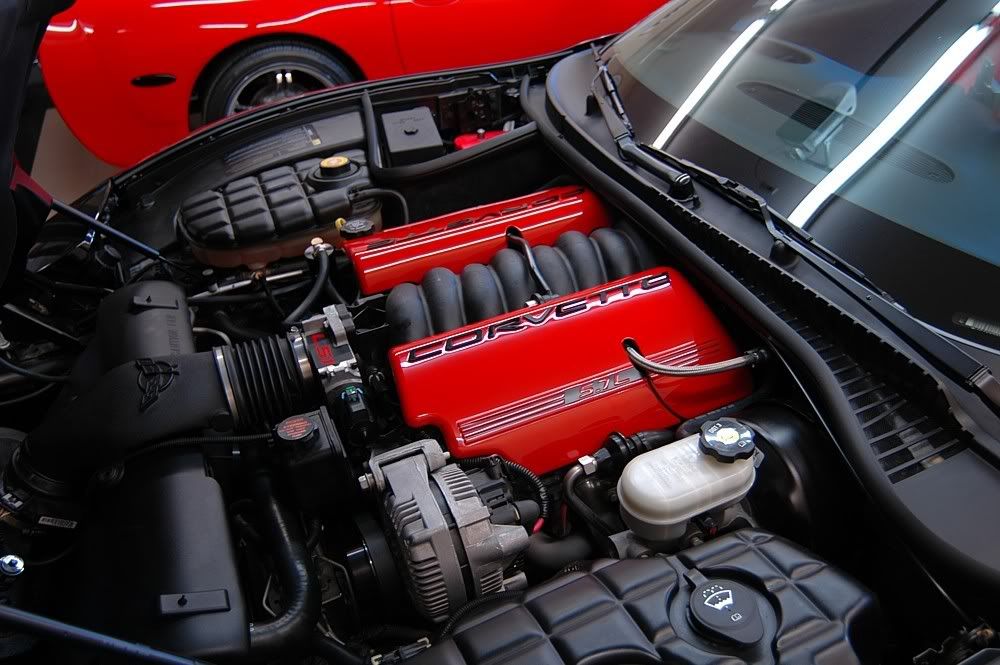
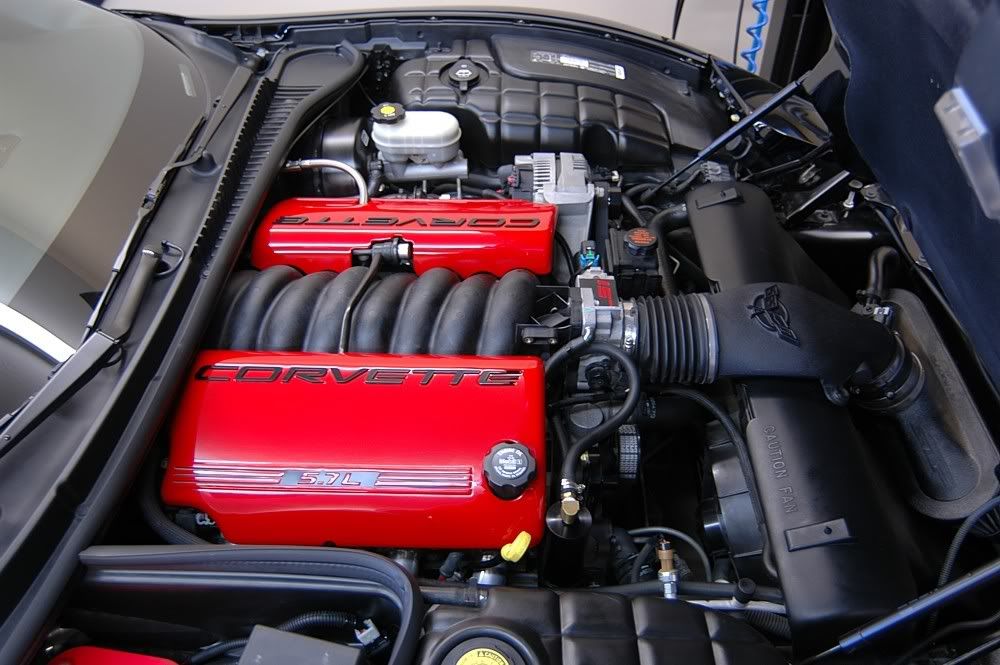
I painted mine Torch Red with White lettering.
I have done many of these for other C7 owners. Also AW w Black letters.
You also use a Duplicolor product sold at Autozone. Cost is about $8.00 per can vs automotivetouchip.com @ $19.95 plus shipping costs.
St. Jude Donor '03-'04-'05-'06-'07-'08-'09-'10-'11-'12-'13-'14-'15-'16-'17-'18-'19-
'20-'21-'22-'23-'24
NCM Sinkhole Donor
CI 5, 8 & 11 Veteran
Originally Posted by Zymurgy
High temp paint is not needed. After prepping the covers (cleaning thoroughly, sanding if you want "smoothies", etc. use a plastic adhesion promoter, then base coats, then clear. Automotivetouchup.com is a great source for all the different paints you need (plastic adhesion promoter, color matched base coat and clear coat).
I agree. I had my nephew paint mine (works in a body shop). He did sand mine smooth then painted them with primer/base coat/clear coat.
I spent the money (think it was RPI) and had them done professionally. They are stunning and really complement the engine compartment. Try it yourself and see how they turn out. If you are not satisfied spend the $300 and you will be happy you did,
I painted mine. I used rattle cans from automotivetouchup.com. No high heat paint, and they've held up fine for 8 months now. I didn't smooth mine out, you can go high build primer or sand them, it's too much for just paint or clear.
I started with a brush, but got a tip here to buy a paint pen for the lettering, that worked great. Then I clear coated them. There are more threads here about painting underhood parts if you search for it. It was a fun project for me, but I like stuff like that.
what brand paint pen did you use? Where did you buy it? Yours look nice.
Did mine a couple months ago and still holding up fine.
First soaked them in Dove soap overnight in the bath tub.
cleaned, dried, and wiped with alcohol.
Used Dupli-color automotive Adhesion promoter primer.
Painted with 3 coats of Rustoleum Acrylic Enamel spray paint
and finished with 3 Matte clear coats.
Didn't want a smooth shiny finish...
Cost about $18
Edit update: Didn't realize this "OP" post was so old...guess my suggestions didn't help him.
Last edited by agapsdiver; 12-31-2018 at 11:10 AM.
Did mine a couple months ago and still holding up fine.
First soaked them in Dove soap overnight in the bath tub.
cleaned, dried, and wiped with alcohol.
Used Dupli-color automotive Adhesion promoter primer.
Painted with 3 coats of Rustoleum Acrylic Enamel spray paint
and finished with 3 Matte clear coats.
Didn't want a smooth shiny finish...
Cost about $18
Edit update: Didn't realize this "OP" post was so old...guess my suggestions didn't help him.
No, no, don't worry. Your post just helped me. There's nothing like an inexpensive raining day project. I'm off to the store.
I did a set years ago on my C5 using Ford Red high-temp engine paint. I sanded them for a few hours with my pneumatic random orbital sander and got them smooth enough to where the first coat of primer made them smooth as a baby's behind. I primered them and sanded a couple more times after that then gave them a few coats of base color and cleared them with a few more coats. I wet-sanded between coats. Finally, I sanded them with increasingly finer sand paper and finished up with 2000 grit and polish.
How did you guys do the lettering? Paint the cover first, then mask and do the letters or did you use a paint pen? Seems like it would be hard to get the lettering perfect.
How did you guys do the lettering? Paint the cover first, then mask and do the letters or did you use a paint pen? Seems like it would be hard to get the lettering perfect.
I figure an oil base paint pen would be the easiest way J. They're cheap enough.

 08-03-2016, 09:49 PM


 Totally. the above are the correct steps.