C7 Sound Deadening Install – A Few Insights
#1
Instructor


Thread Starter
Fair warning, many words follow!
Installed Crazy Cowboy's Extreme Kit in a 2016 Z06. The cost was $315 (+$35 shipping), but he was running a special $40 off when I purchased. I read that the total weight is 15lbs, 12lbs for the Memphis Audio "Mojo Mat" and the rest is the foam. Seems about right. There are 5pc Mojo Mat, 18" x 32". The foam is cut to approximate size and there is an install diagram. Some observations:
Results?!? It is much quieter, especially up front. Most of the road noise still comes from the very back, amplified by the cone-shaped hatch area. But it is definitely better for conversation and makes the stereo sound better (which is not an easy task). The people that think this is about quieting down the exhaust couldn't be more wrong. I love that sound, but not the road and the tires.
We are taking a 1k+ mile trip soon, which hopefully includes the Tail of the Dragon. This will be the real test.
Would I do it again?!? Yes, but only because we hope to do a lot of miles and keep the car for many years. Remove either from the equation and maybe not. Would like to upgrade the stereo and glad that I didn't try to do these both at the same time. If I go back in, I may get some more foam and cover the rest of the hatch area and see if that provides further improvement.
If you are considering this, hope it helps. Save the wave/manuals! Murica!
Z
Installed Crazy Cowboy's Extreme Kit in a 2016 Z06. The cost was $315 (+$35 shipping), but he was running a special $40 off when I purchased. I read that the total weight is 15lbs, 12lbs for the Memphis Audio "Mojo Mat" and the rest is the foam. Seems about right. There are 5pc Mojo Mat, 18" x 32". The foam is cut to approximate size and there is an install diagram. Some observations:
- If you have not yet taken apart your interior, this may take a while. I took my time and breaks but it was about 10 hours. My OCD helped the install but hurt my finish time.
- The provided instructions were decent, but not as detailed as they could be for someone who is not familiar. The last time I removed an entire car interior was an 89 Cavalier Z24.

- There were not specific instructions for placement of all the Mojo Mat so I improvised. See pics in the next post for location.
- There are MANY types of clips in the trim pieces. Most pull out directly, but the yellow ones are intended to remain in the metal body of the car, meaning the trim pieces have to slide out of them from the side. I learned this after breaking 3 of them in the upper trim piece (behind the removable top). I called about getting replacements and there are 9 different types and many have an MOQ. Decided to just put it back together and hope it doesn't rattle. It doesn't, so screw it.
- The Mojo Mat has film on one side covering an adhesive layer. A good trick is to peel back a small portion of the film from one end first, place it, push it into the contours, then peel back the film from below, working the product in as you go. This was MUCH easier than removing the entire film and trying to place a large piece. Cuts easily with a utility knife.
- The foam is mostly a bit oversize and requires trimming. They give the option of a buying and using a spray foam adhesive but I did not. The foam mostly stayed put very easily. A suggestion was made to cut through both pieces at once for seams. I found that without the adhesive it doesn't stay in the corners so best to cut one piece at a time for the cleanest seam. The Al tape I bought at HDPO was easy to work with.
- Two posts I read had issues with the wire harness on the passenger side being damaged on the metal plate and shorting. So I wrapped that portion with 1" wire loom. Worked like a charm.
- WOW was it a tight fit putting it all back together. Was very difficult getting the carpet tucked into the passenger compartment and locating the screws for the emergency door release. Used a half case of elbow grease in the process.

- Put it back together and amazingly everything worked. The only issue is the driver's seat adjustment is a little finicky. I think it is the sensor behind the seat is pushed a bit too close. But it hasn't been a real problem.
Results?!? It is much quieter, especially up front. Most of the road noise still comes from the very back, amplified by the cone-shaped hatch area. But it is definitely better for conversation and makes the stereo sound better (which is not an easy task). The people that think this is about quieting down the exhaust couldn't be more wrong. I love that sound, but not the road and the tires.
We are taking a 1k+ mile trip soon, which hopefully includes the Tail of the Dragon. This will be the real test.
Would I do it again?!? Yes, but only because we hope to do a lot of miles and keep the car for many years. Remove either from the equation and maybe not. Would like to upgrade the stereo and glad that I didn't try to do these both at the same time. If I go back in, I may get some more foam and cover the rest of the hatch area and see if that provides further improvement.
If you are considering this, hope it helps. Save the wave/manuals! Murica!
Z
The following users liked this post:
JerryU (05-25-2017)

Popular Reply
05-24-2017, 08:27 PM
Instructor


Thread Starter
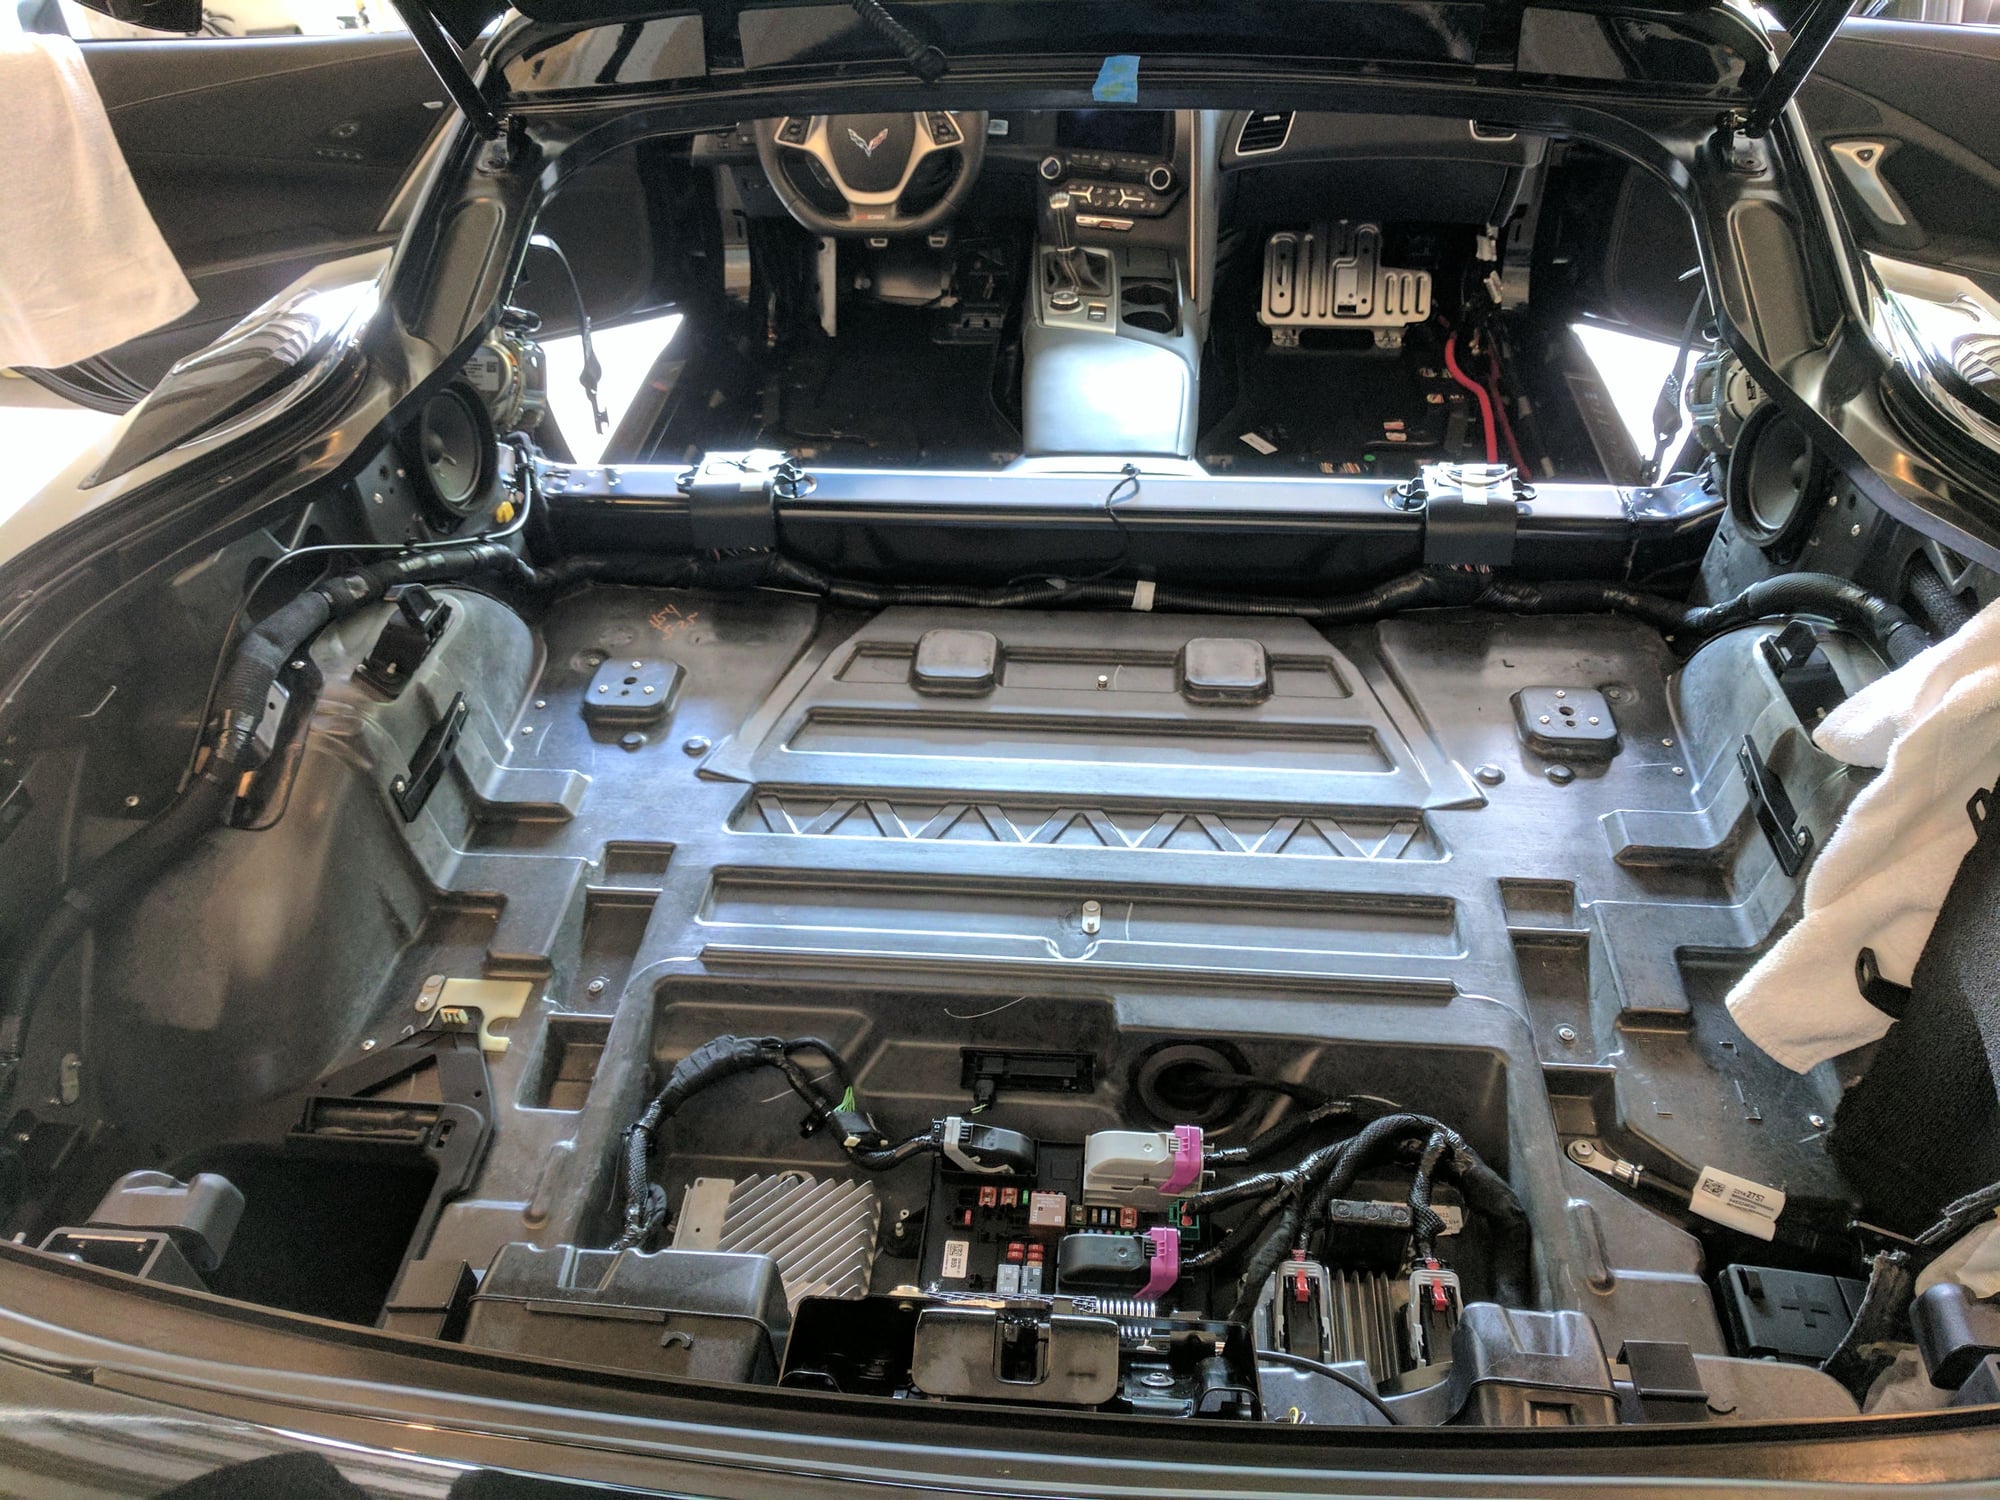
Hatch with Interior Removed
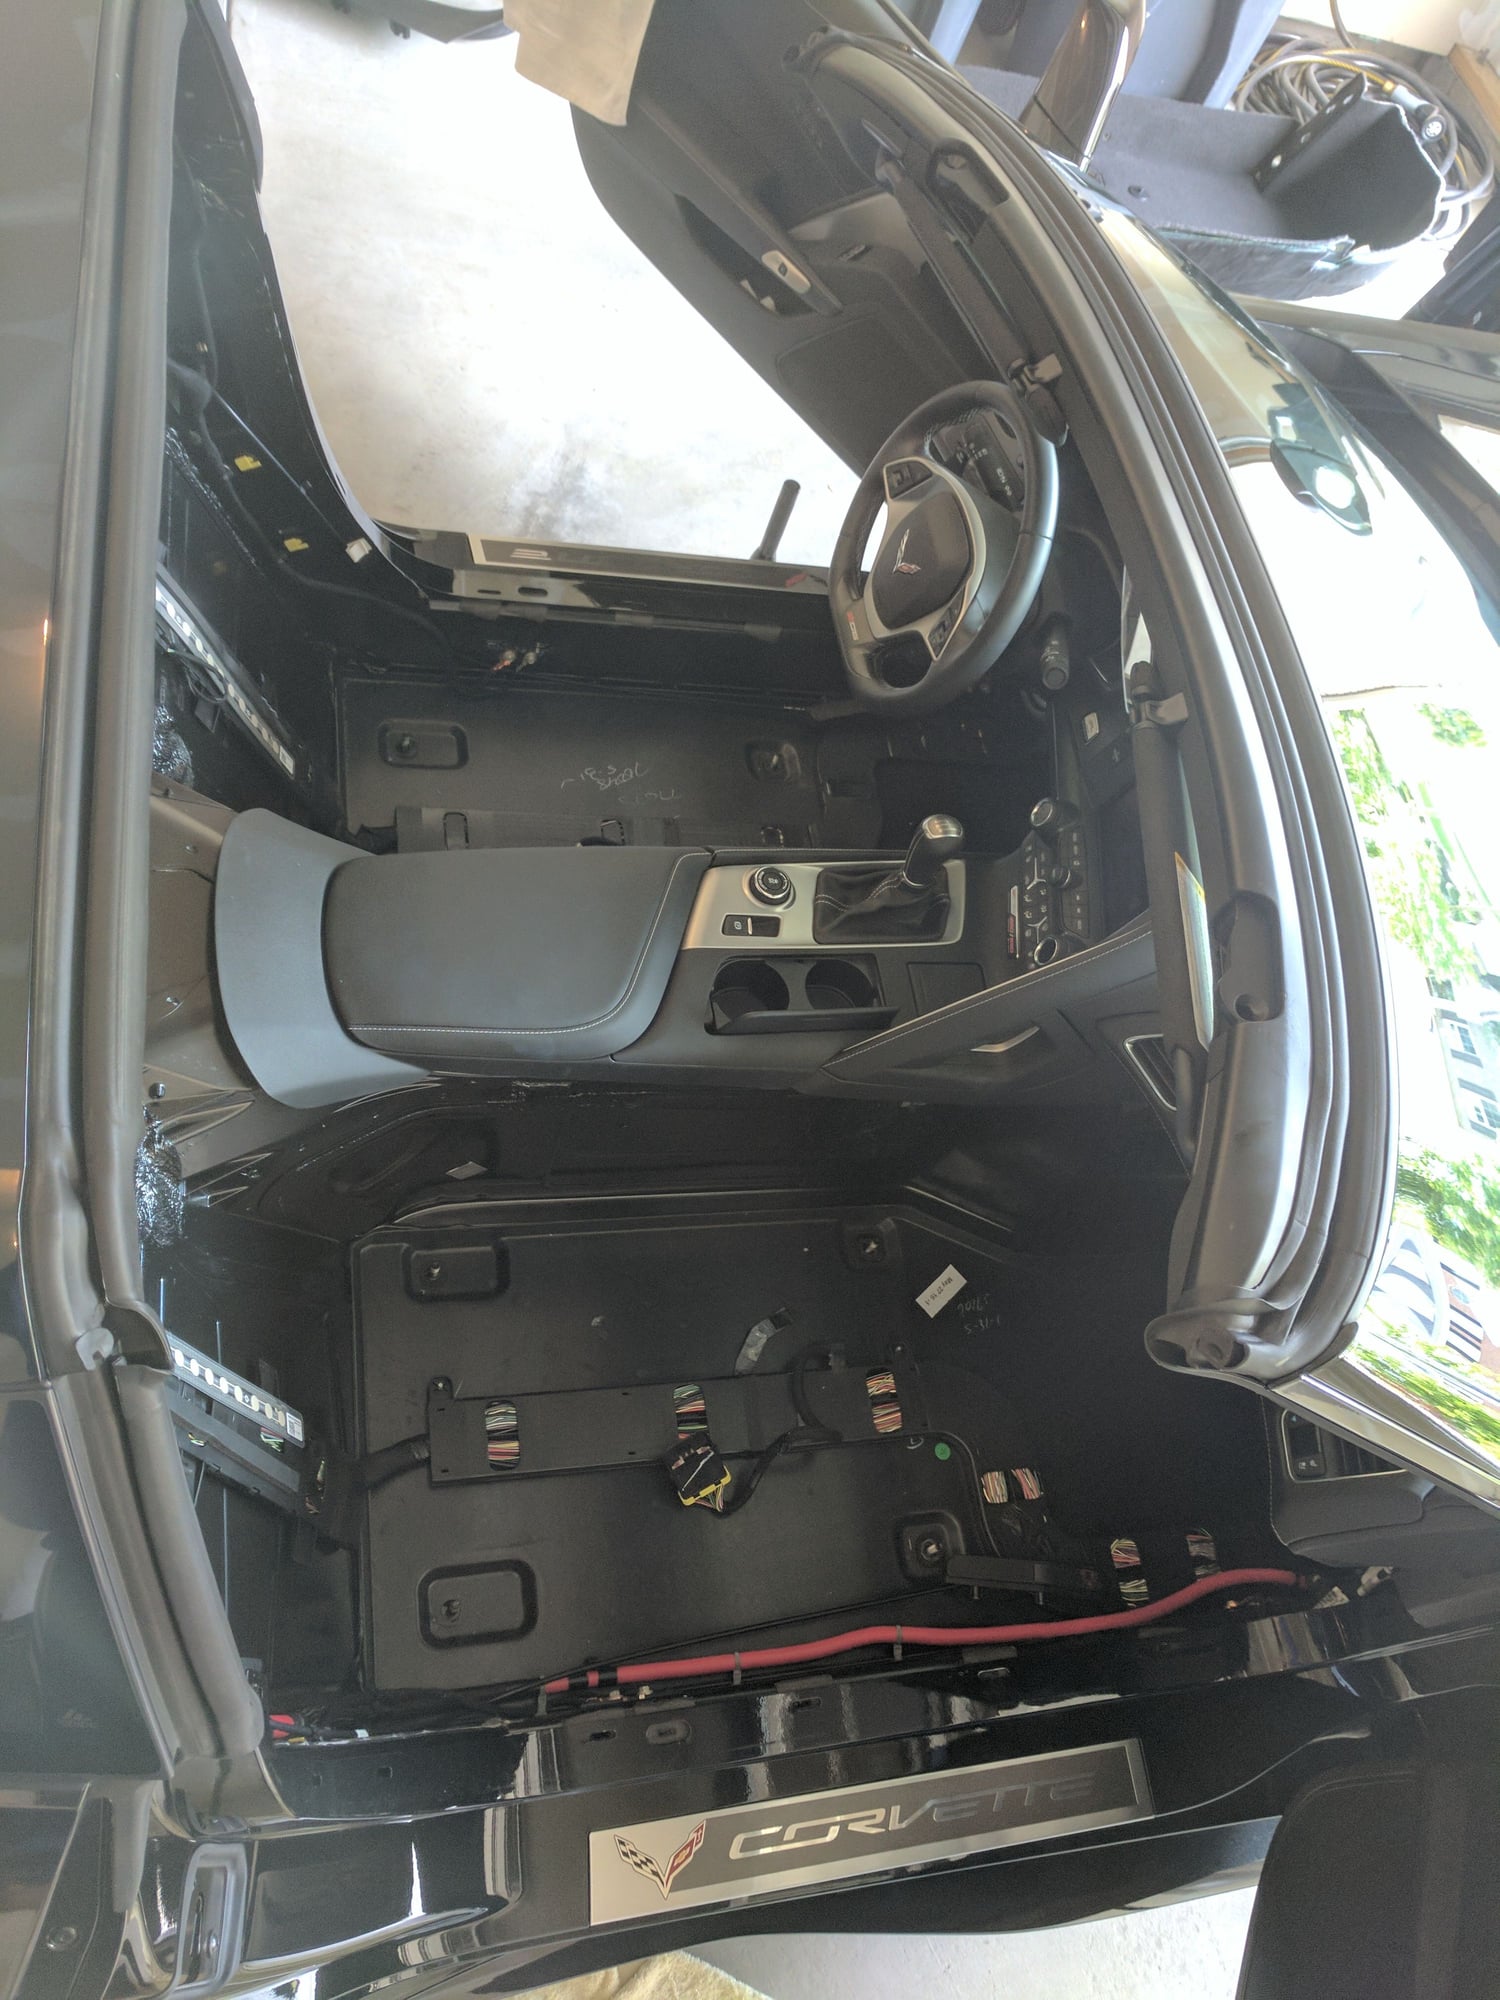
Passenger Compartment With Interior Removed.
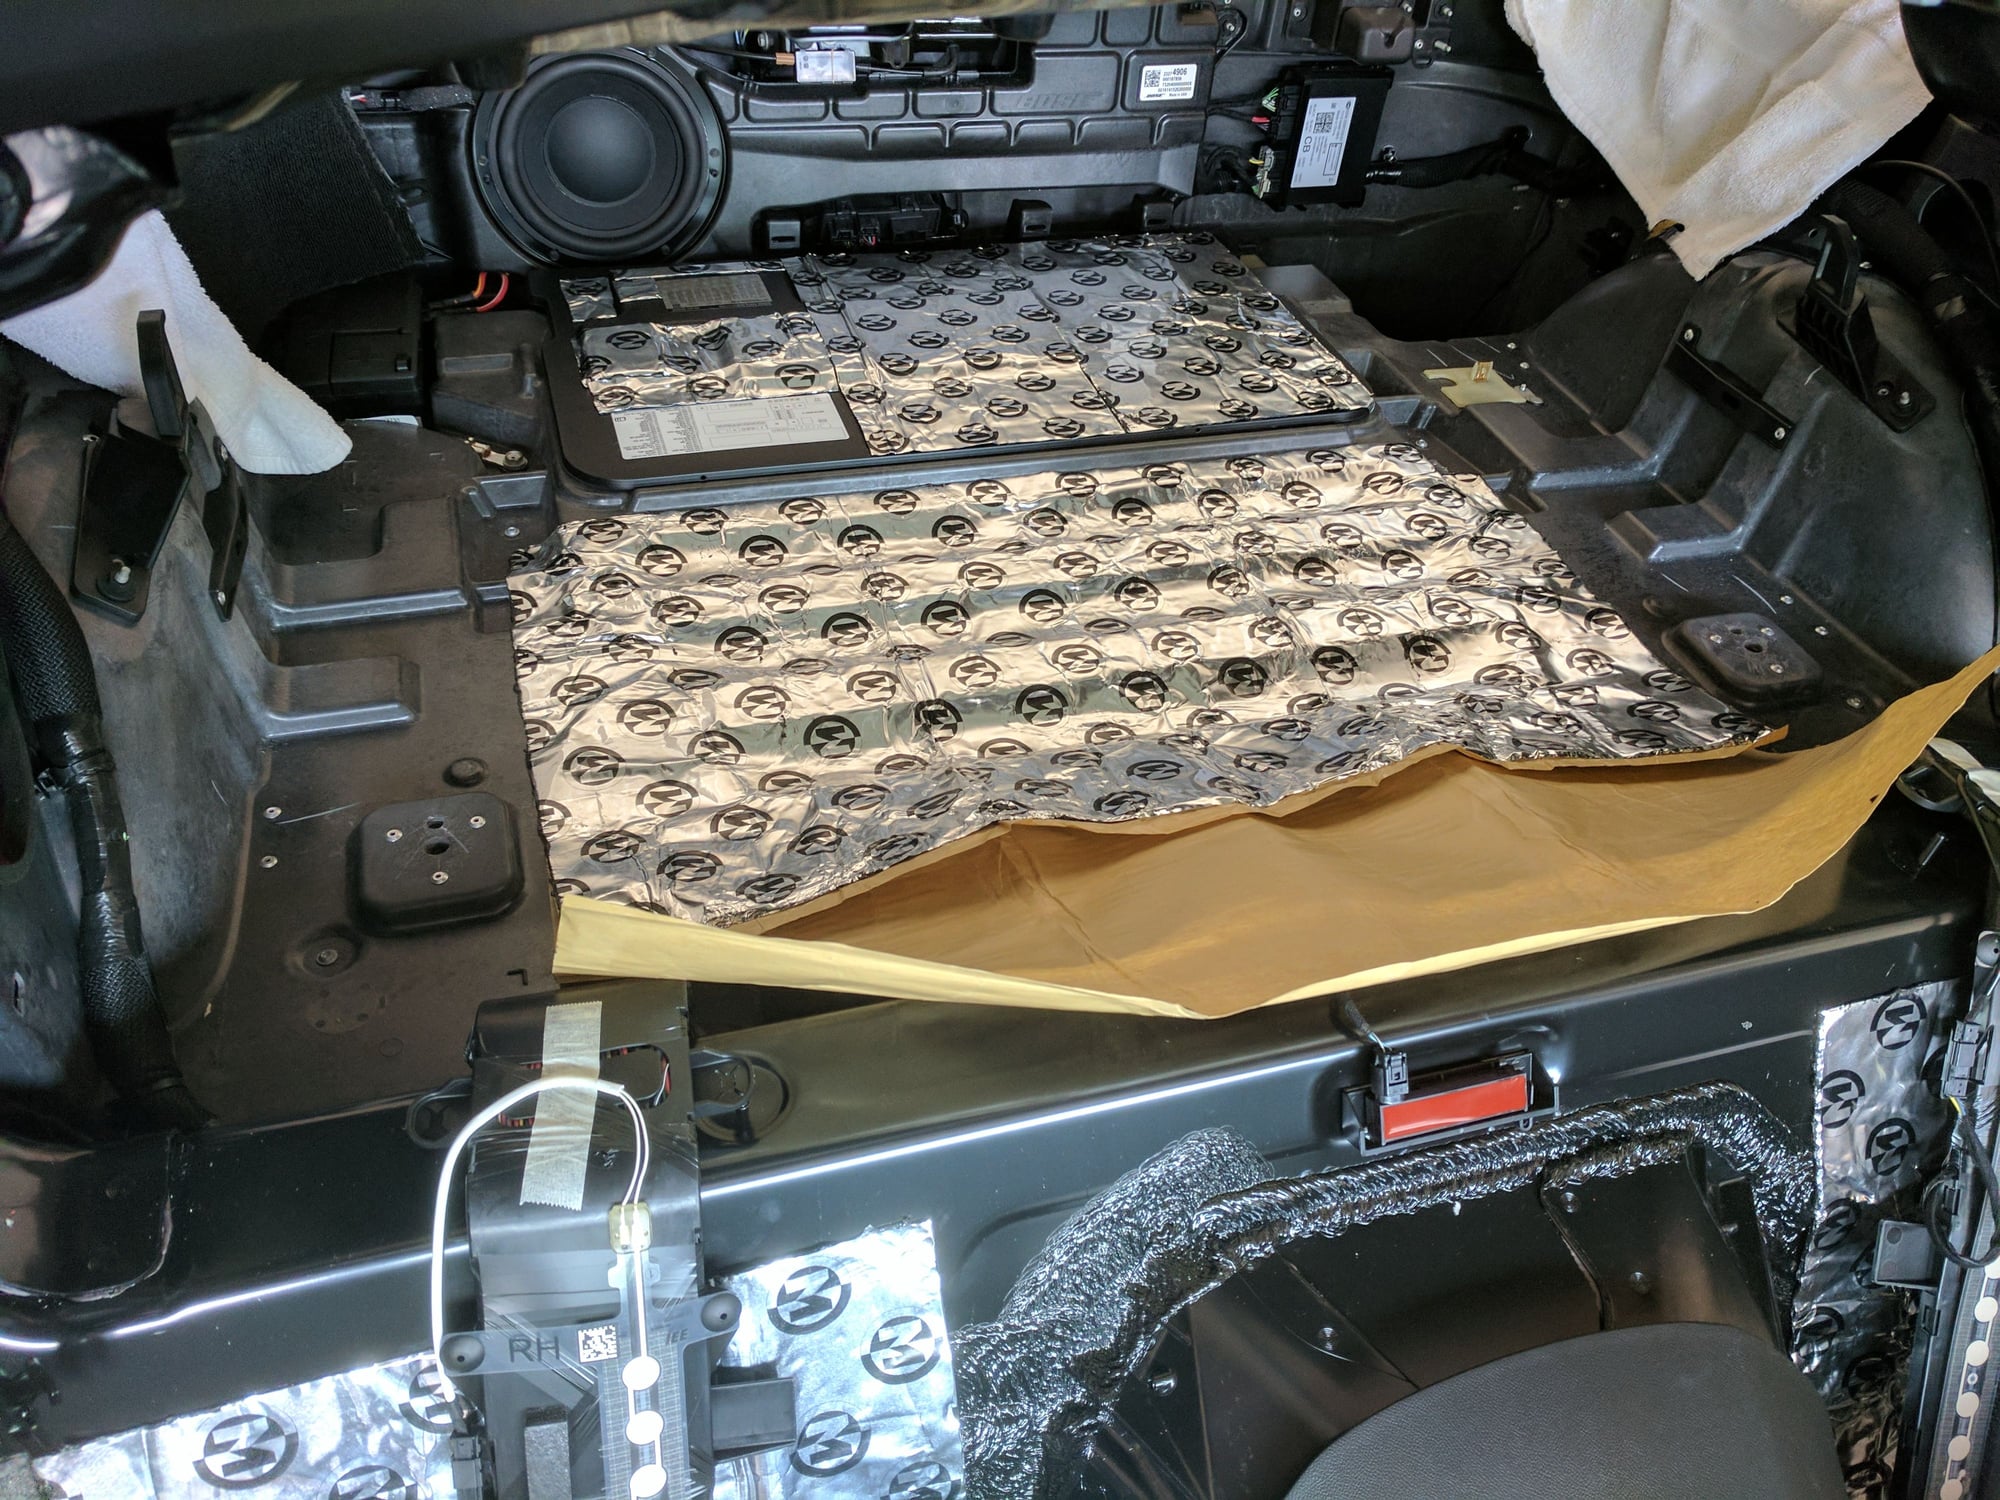
Mojo Mat in hatch showing the peel method.

Another peel shot on the wheel well.
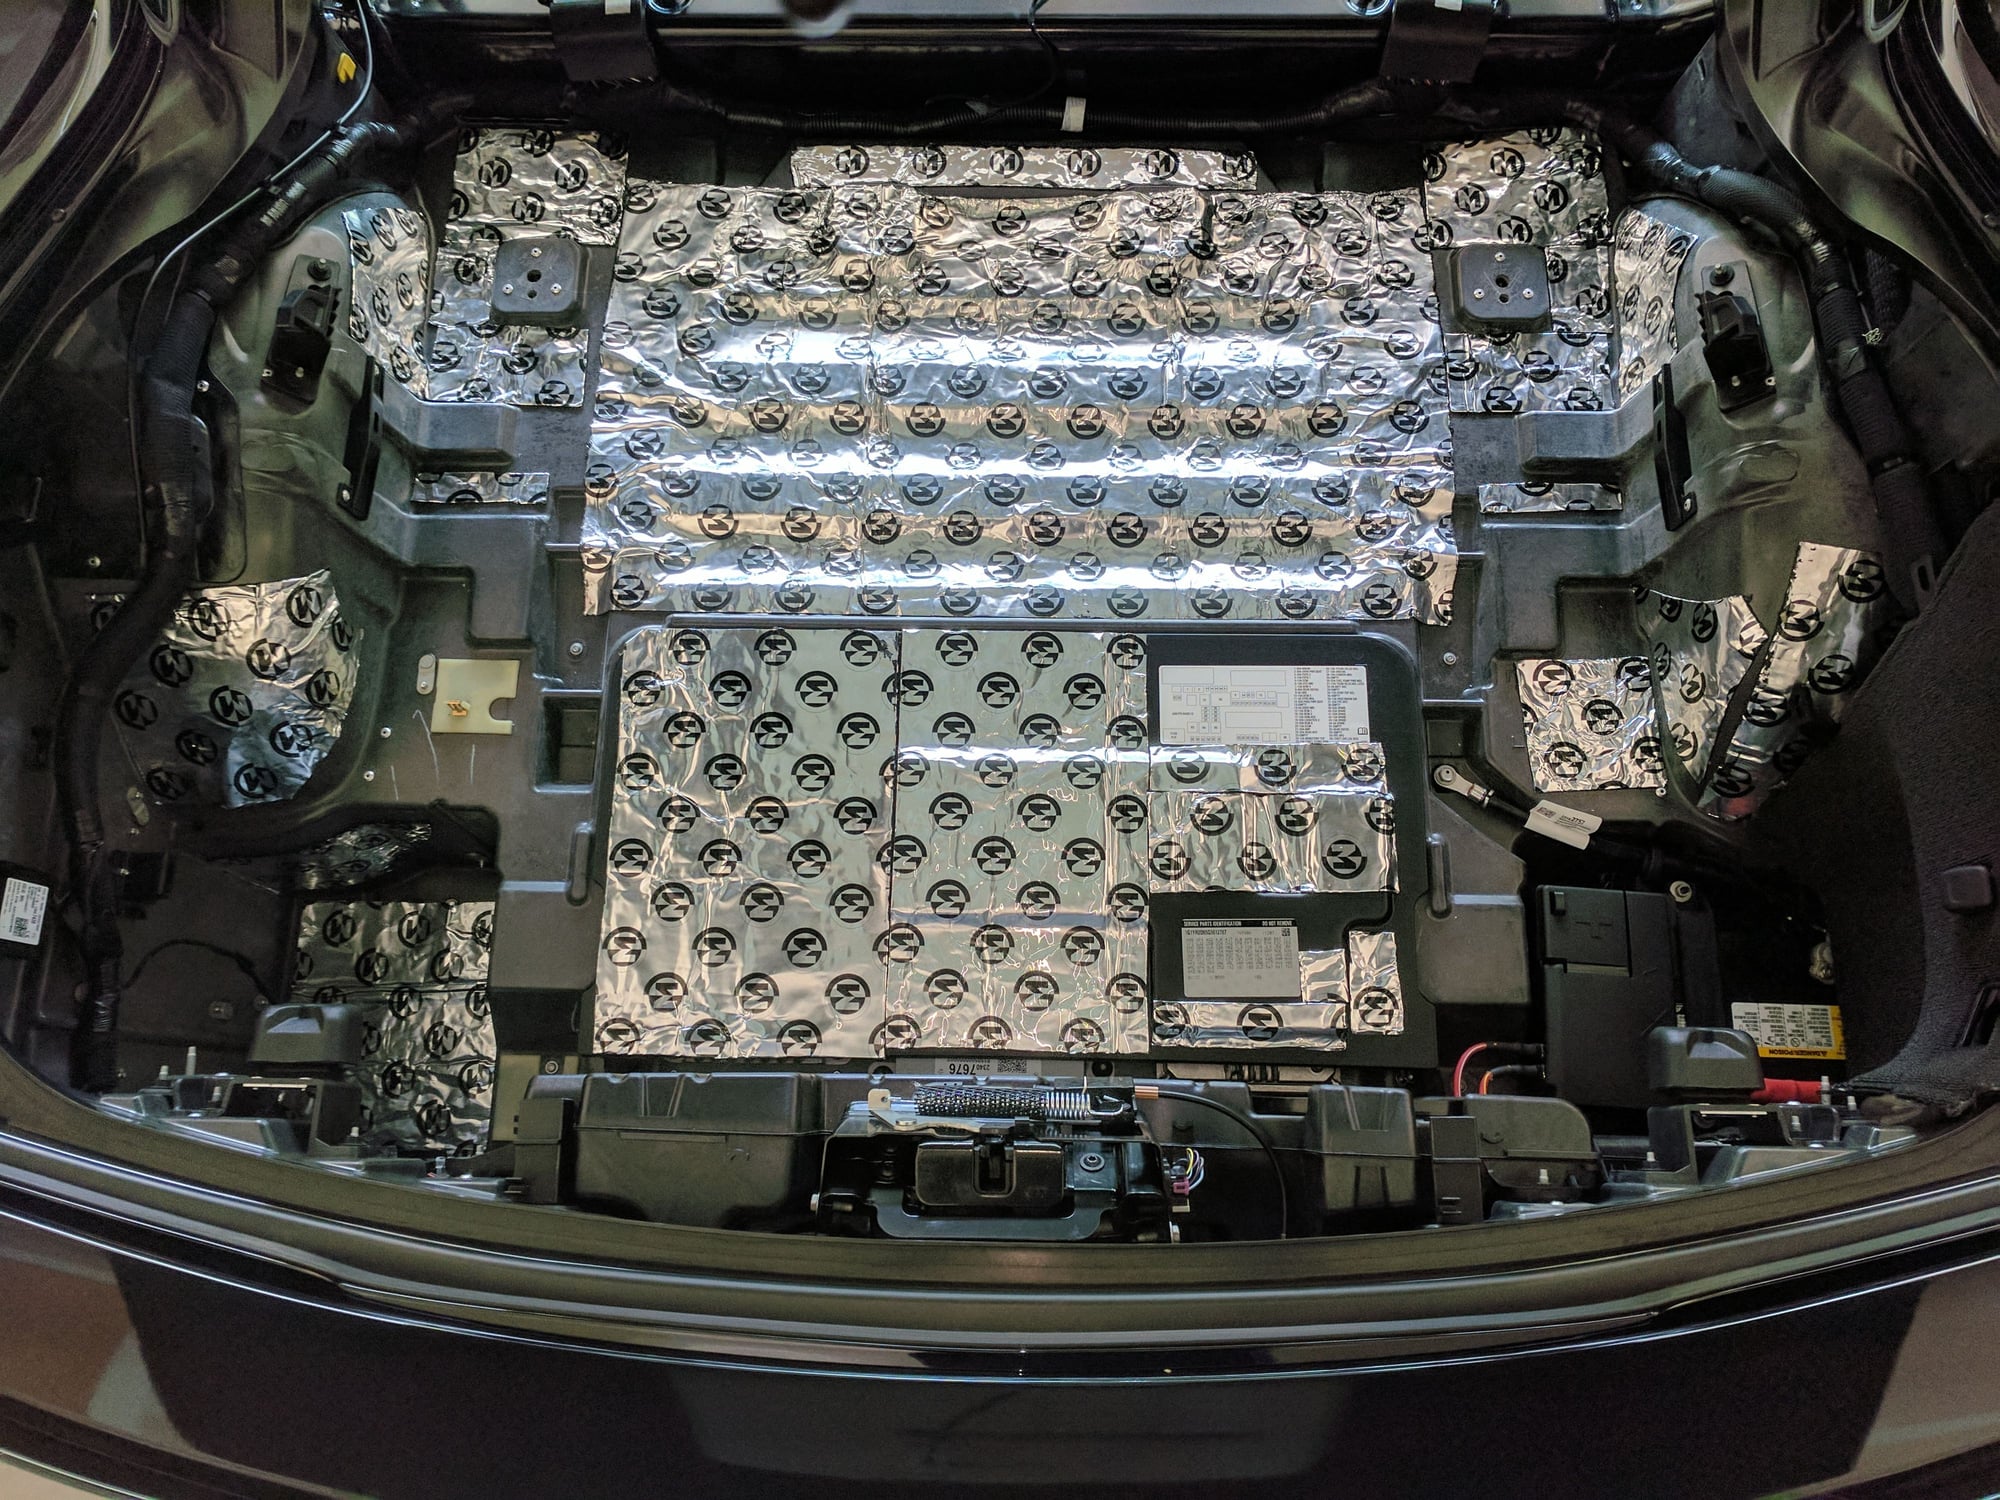
Mojo Mat in the hatch, done.
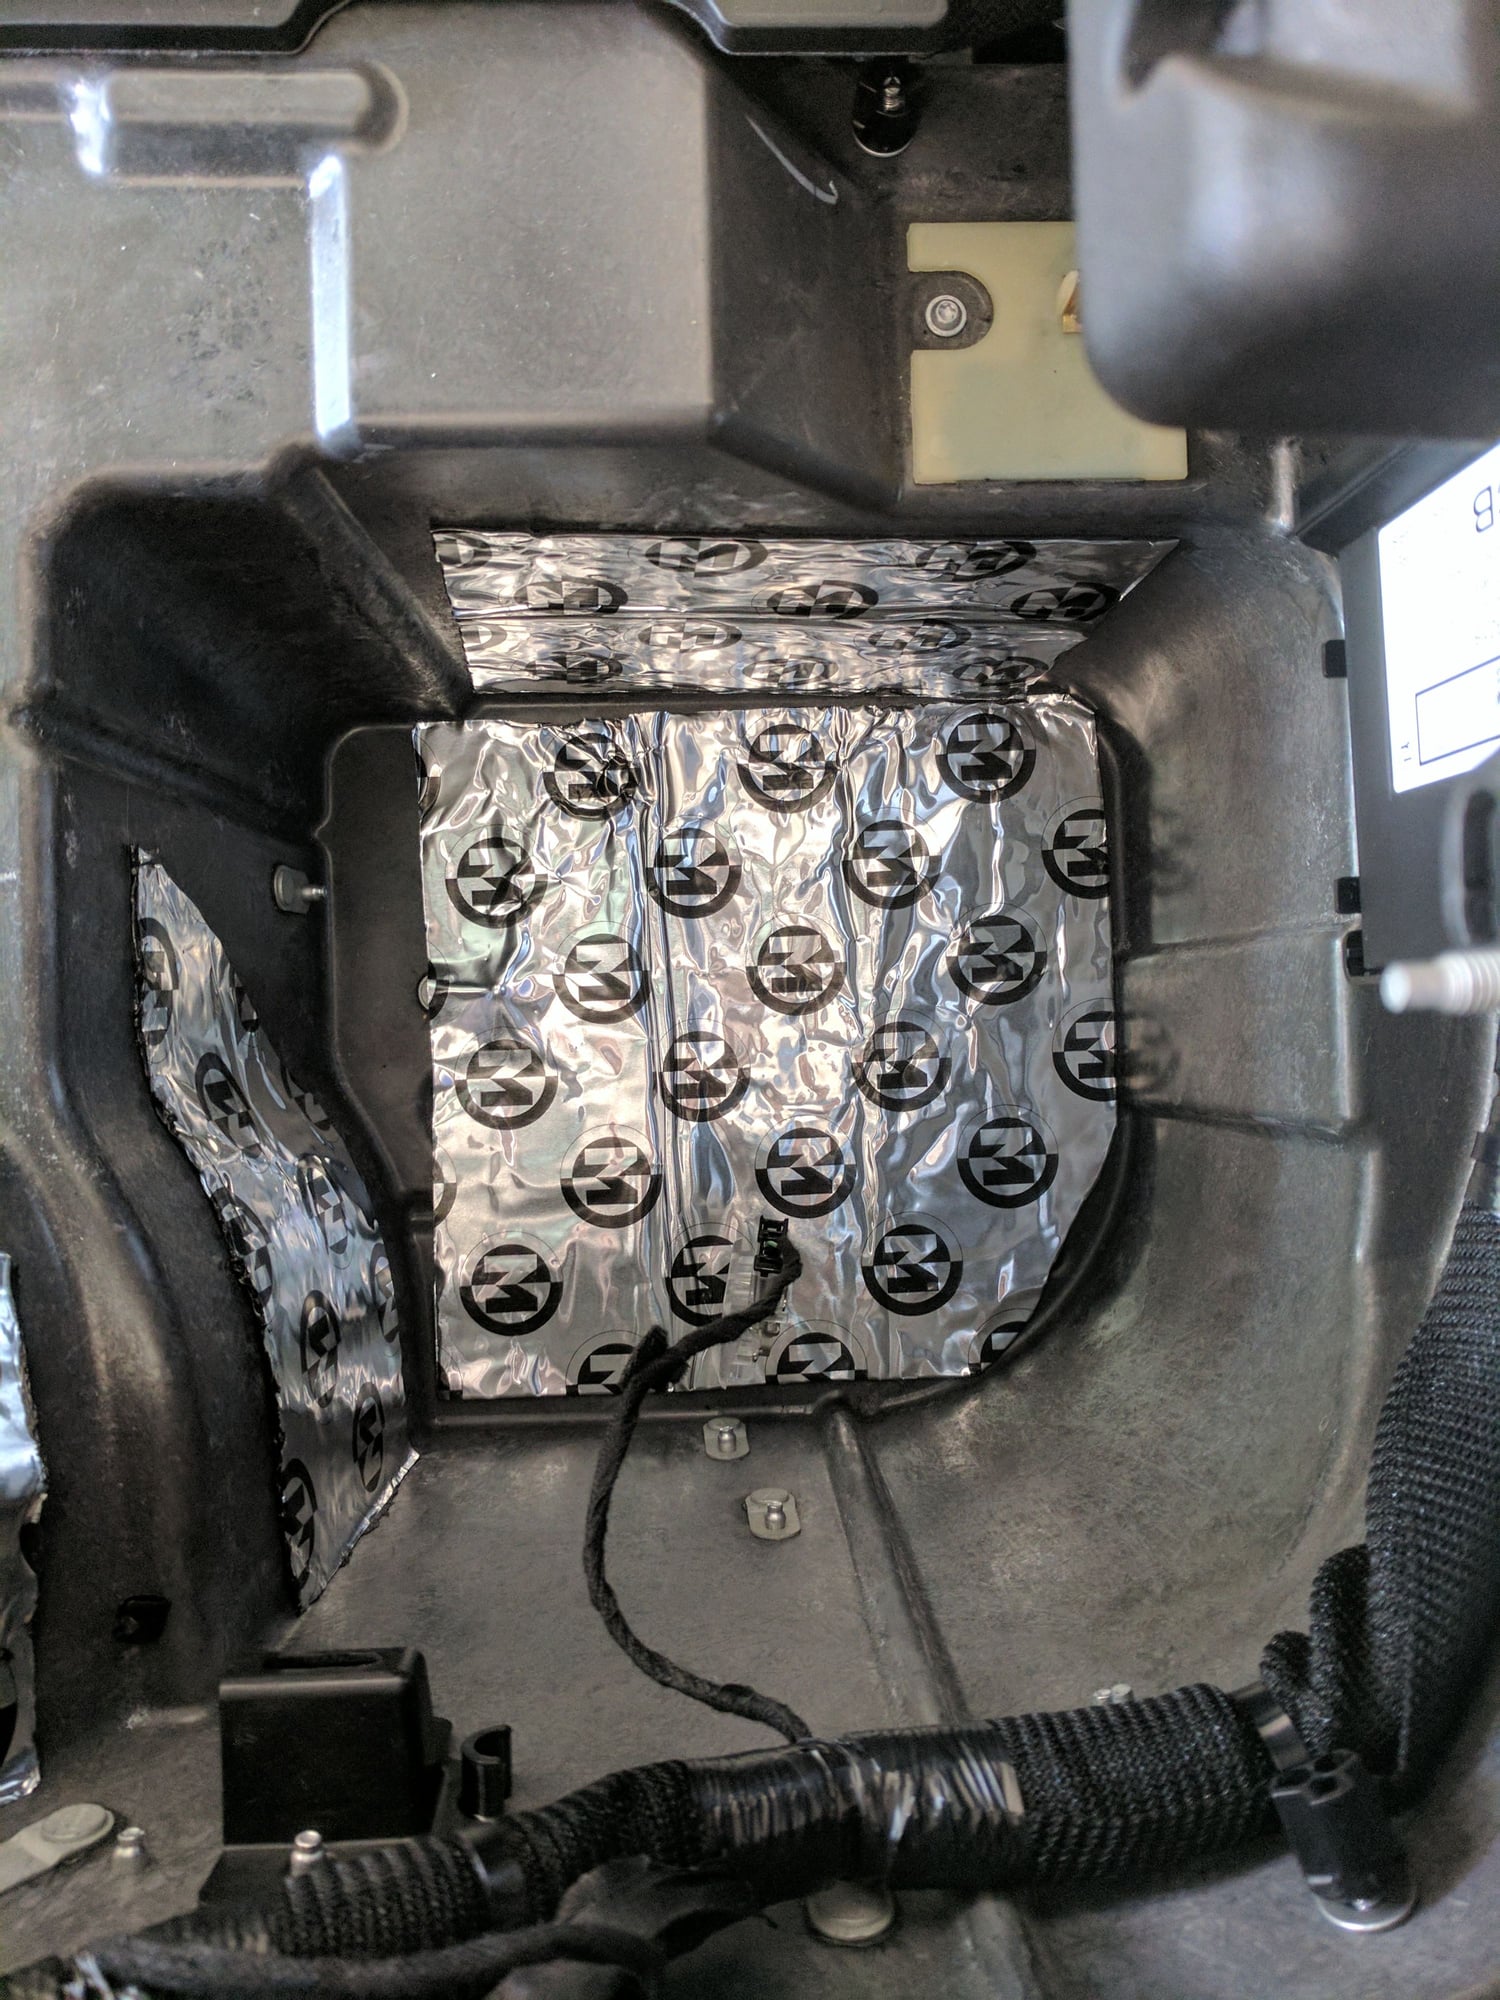
Mojo Mat in the storage area.
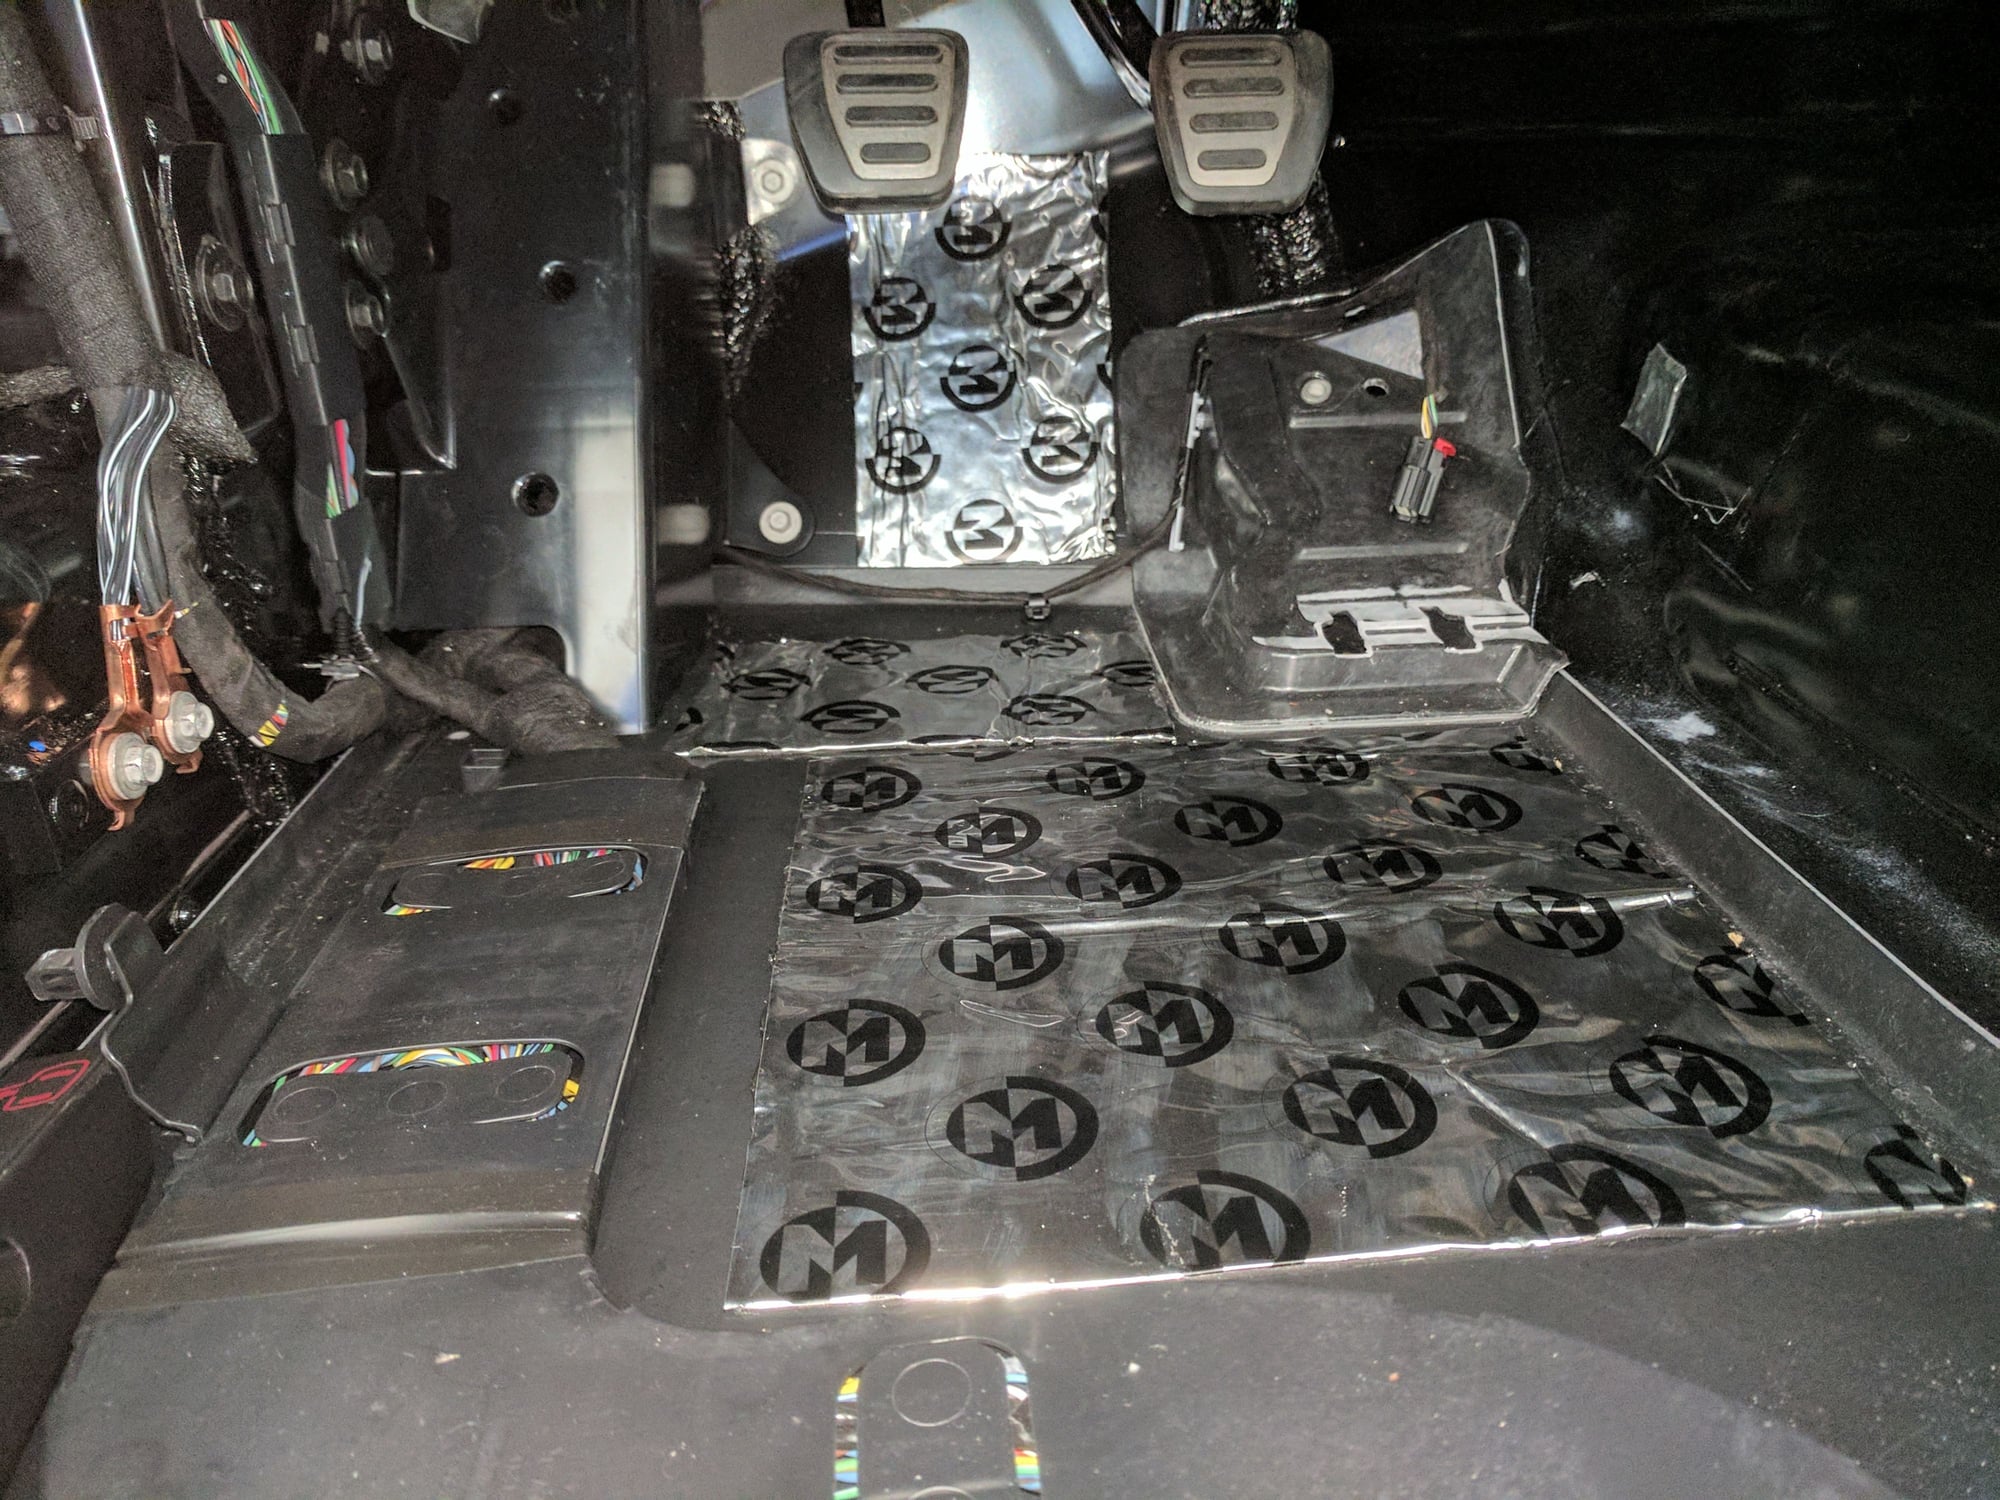
MM in drivers footwell.
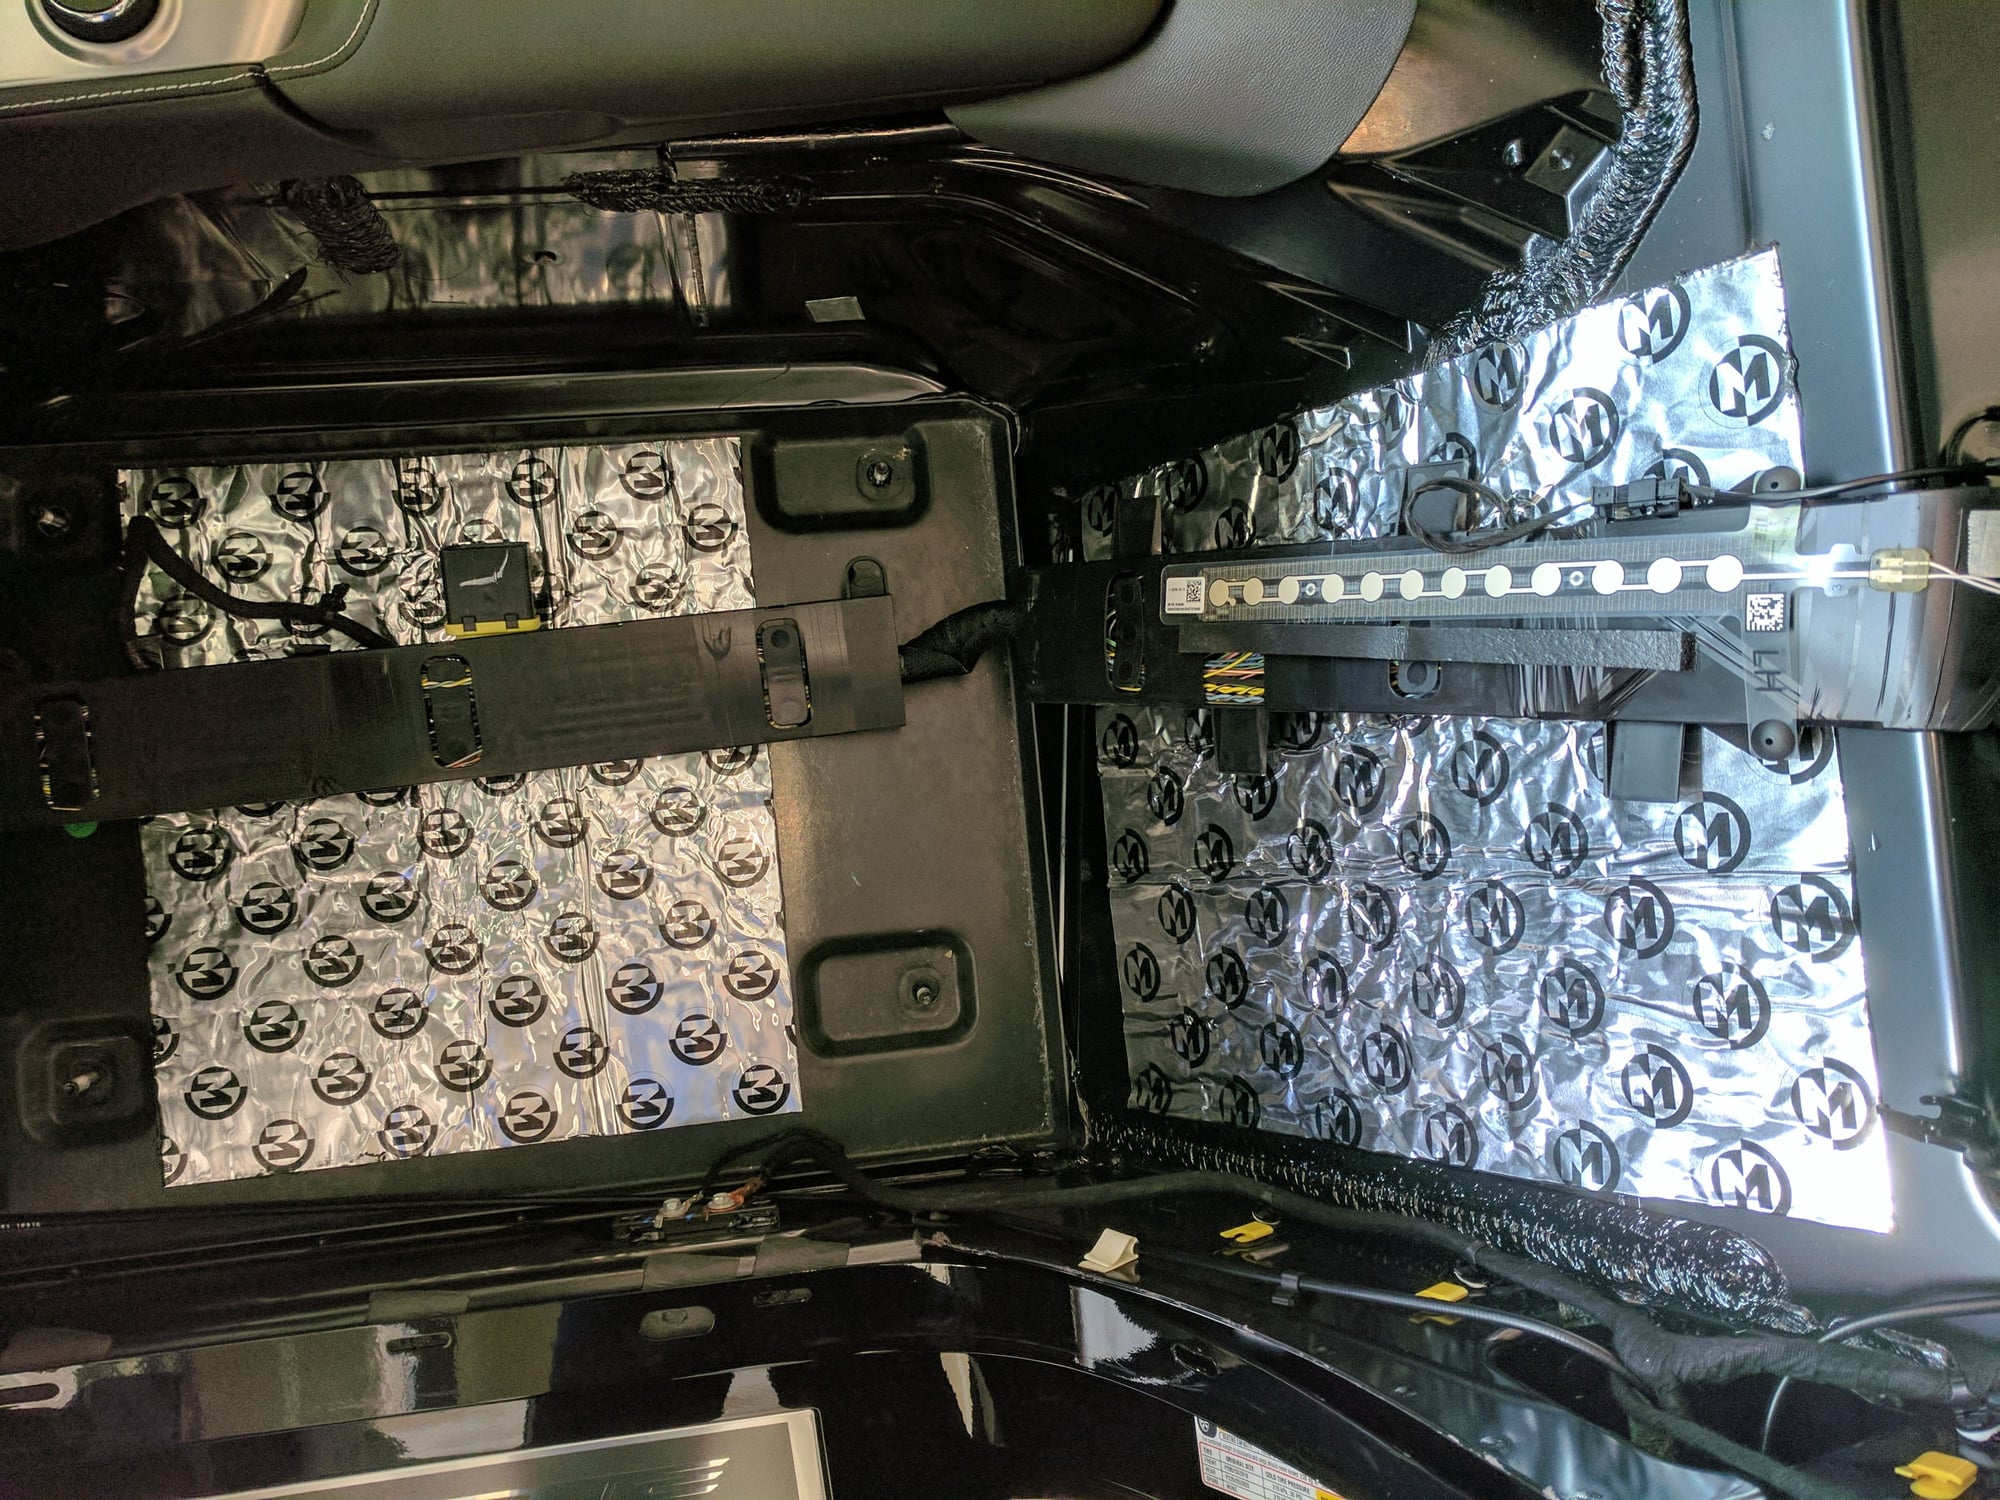
Driver's seatback.
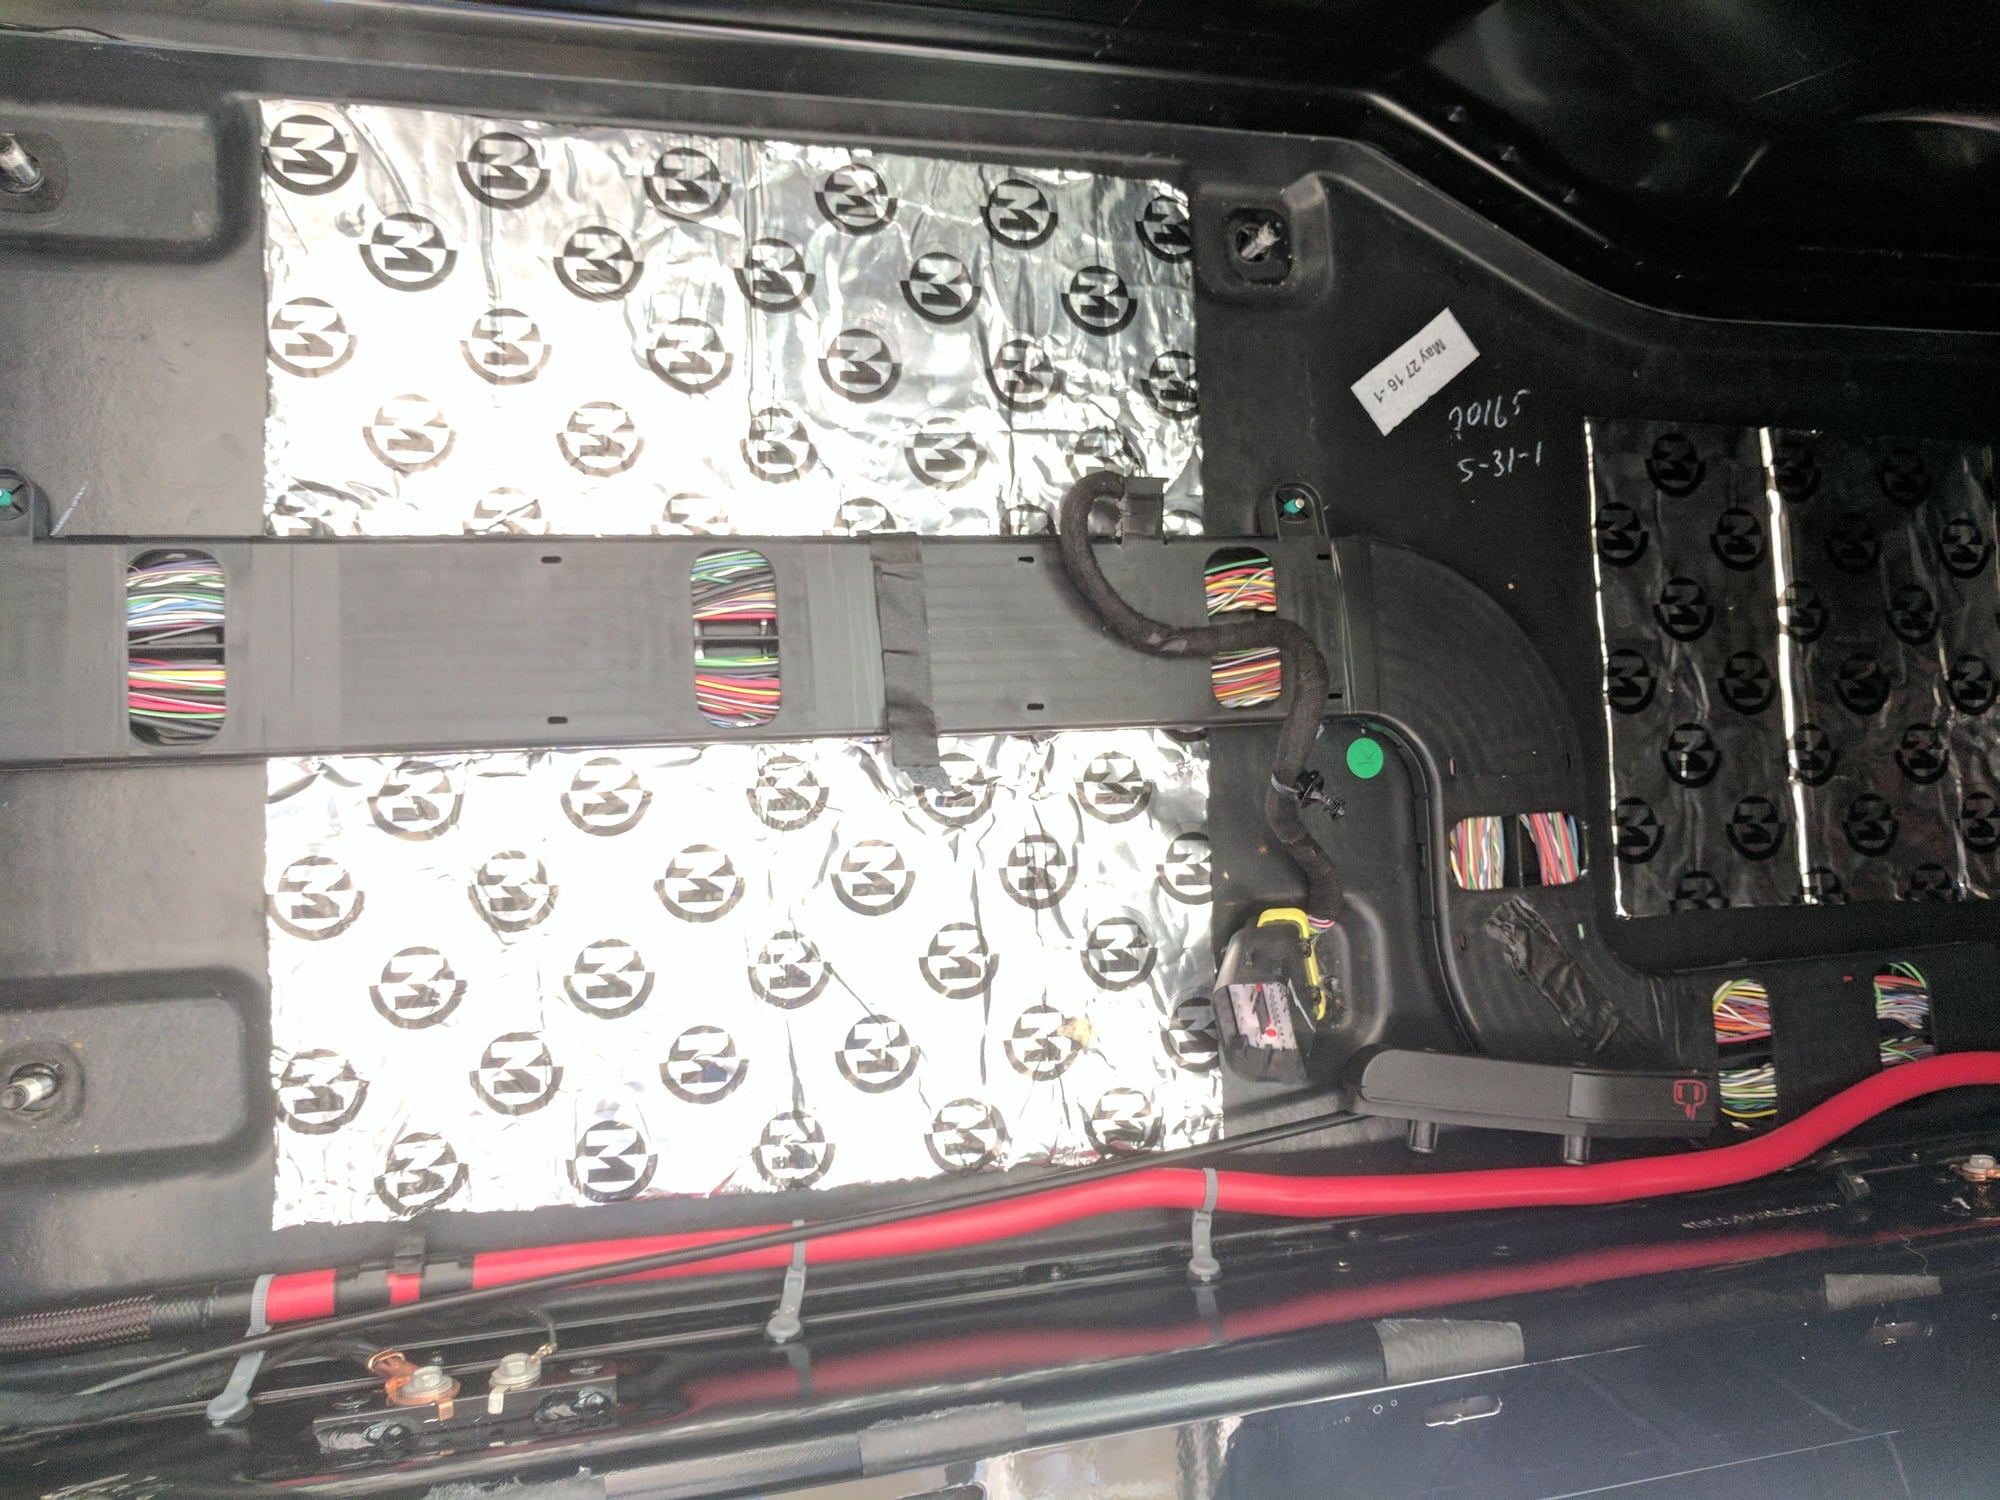
Passenger footwell.

The wire that can be damaged is in the black on the left, the black loom is too short to prevent it being pushed up by foam from underneath.

1" wire loom

A little extra protection never hurts

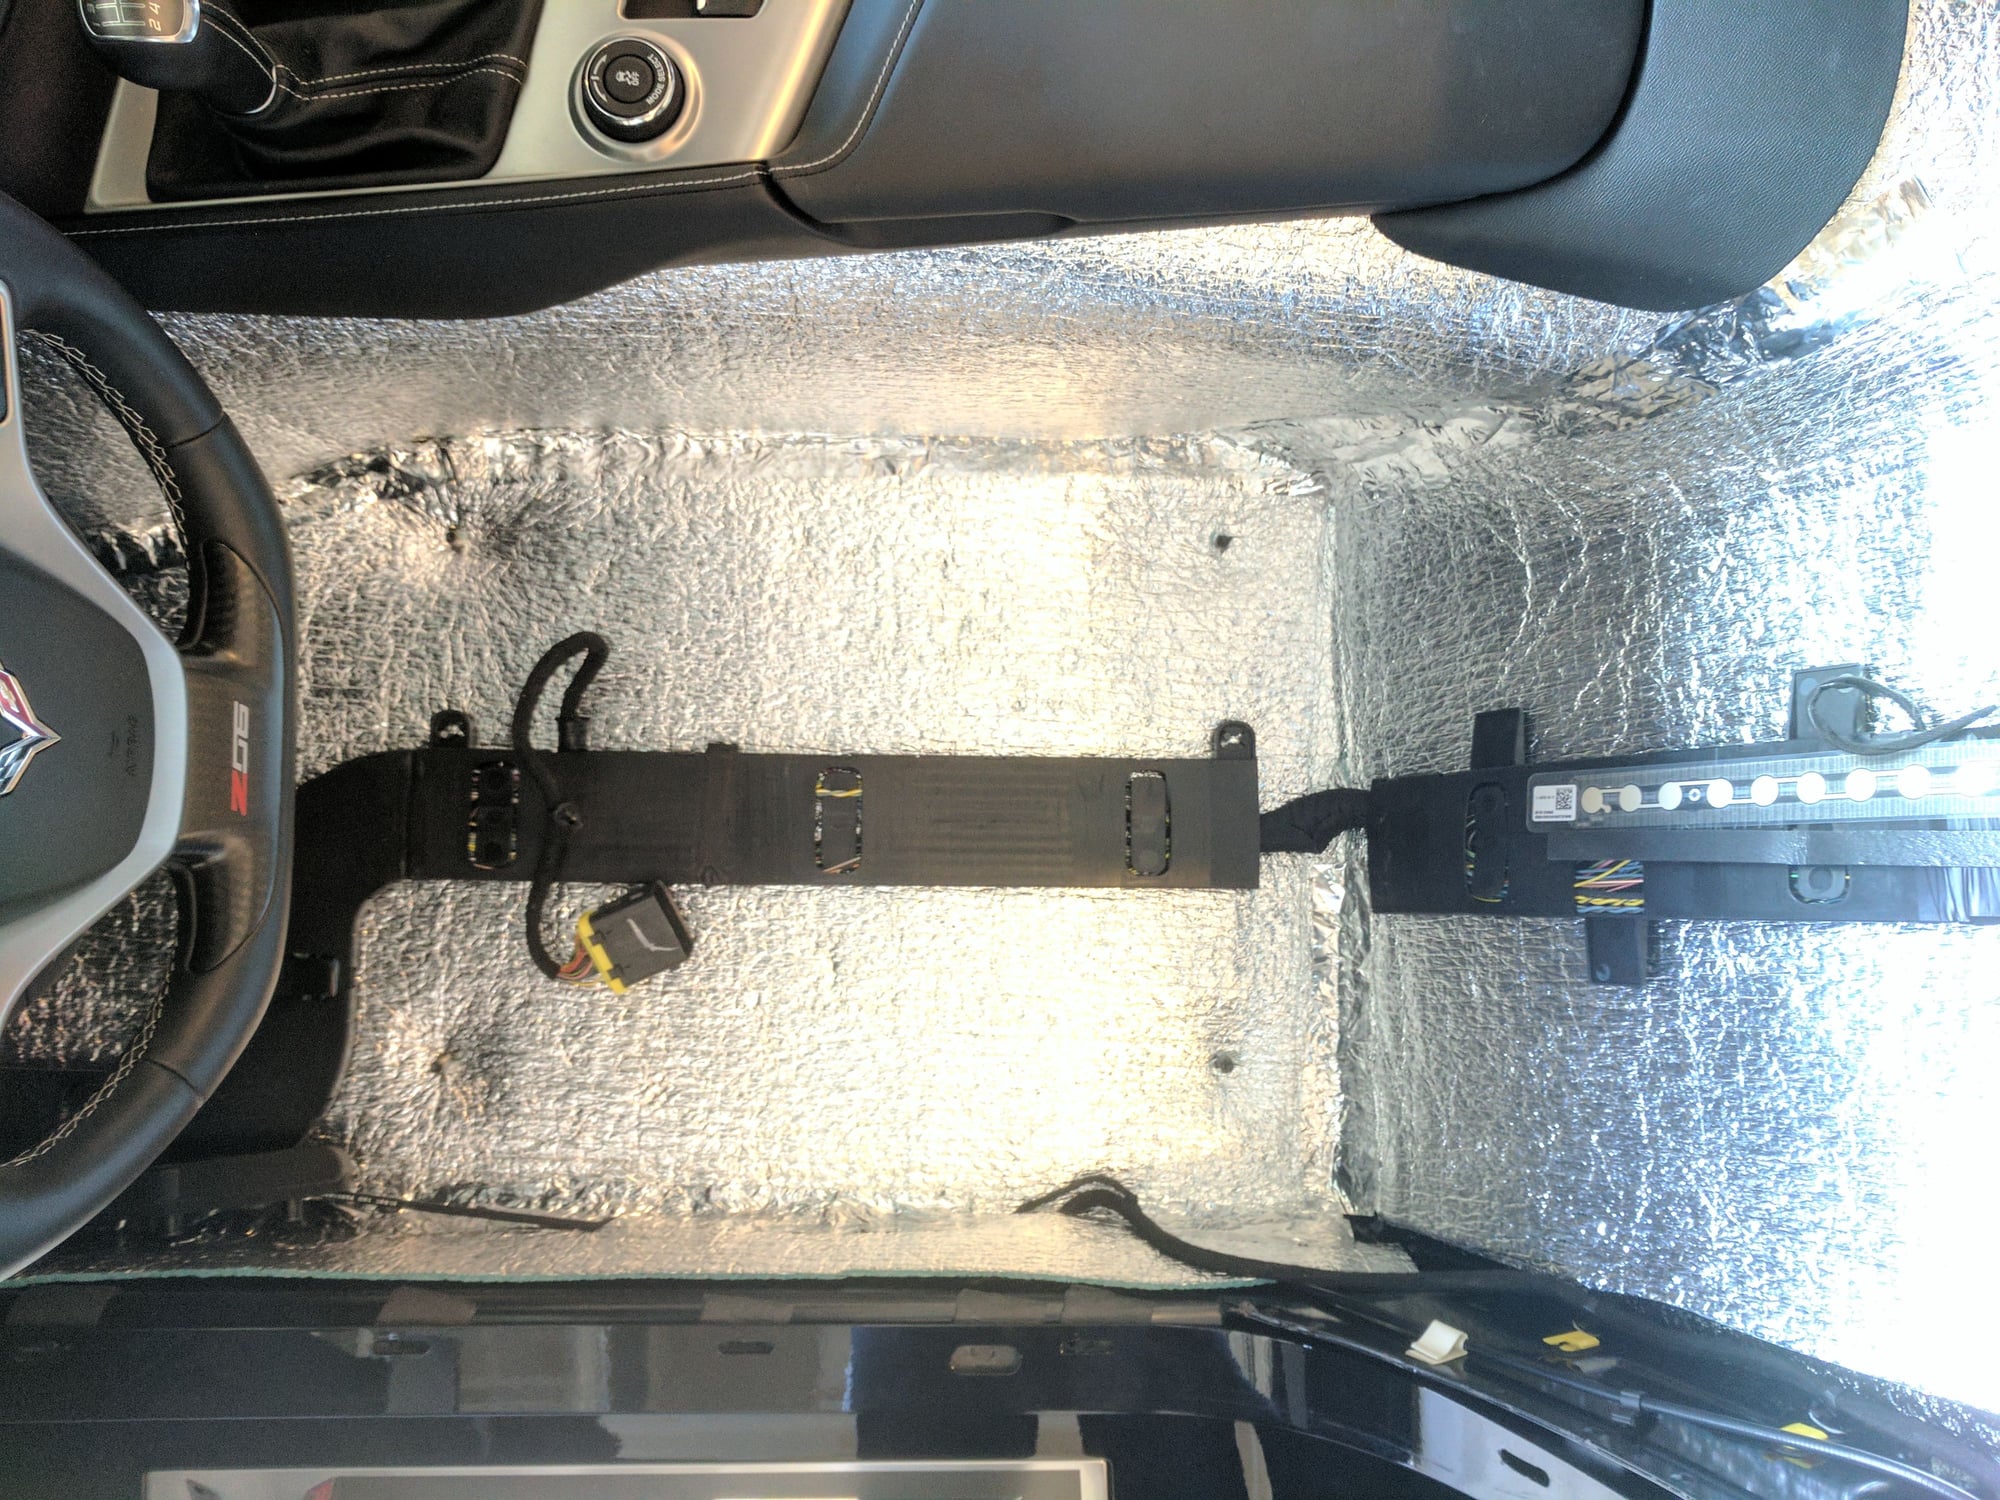
Drivers compartment with foam.
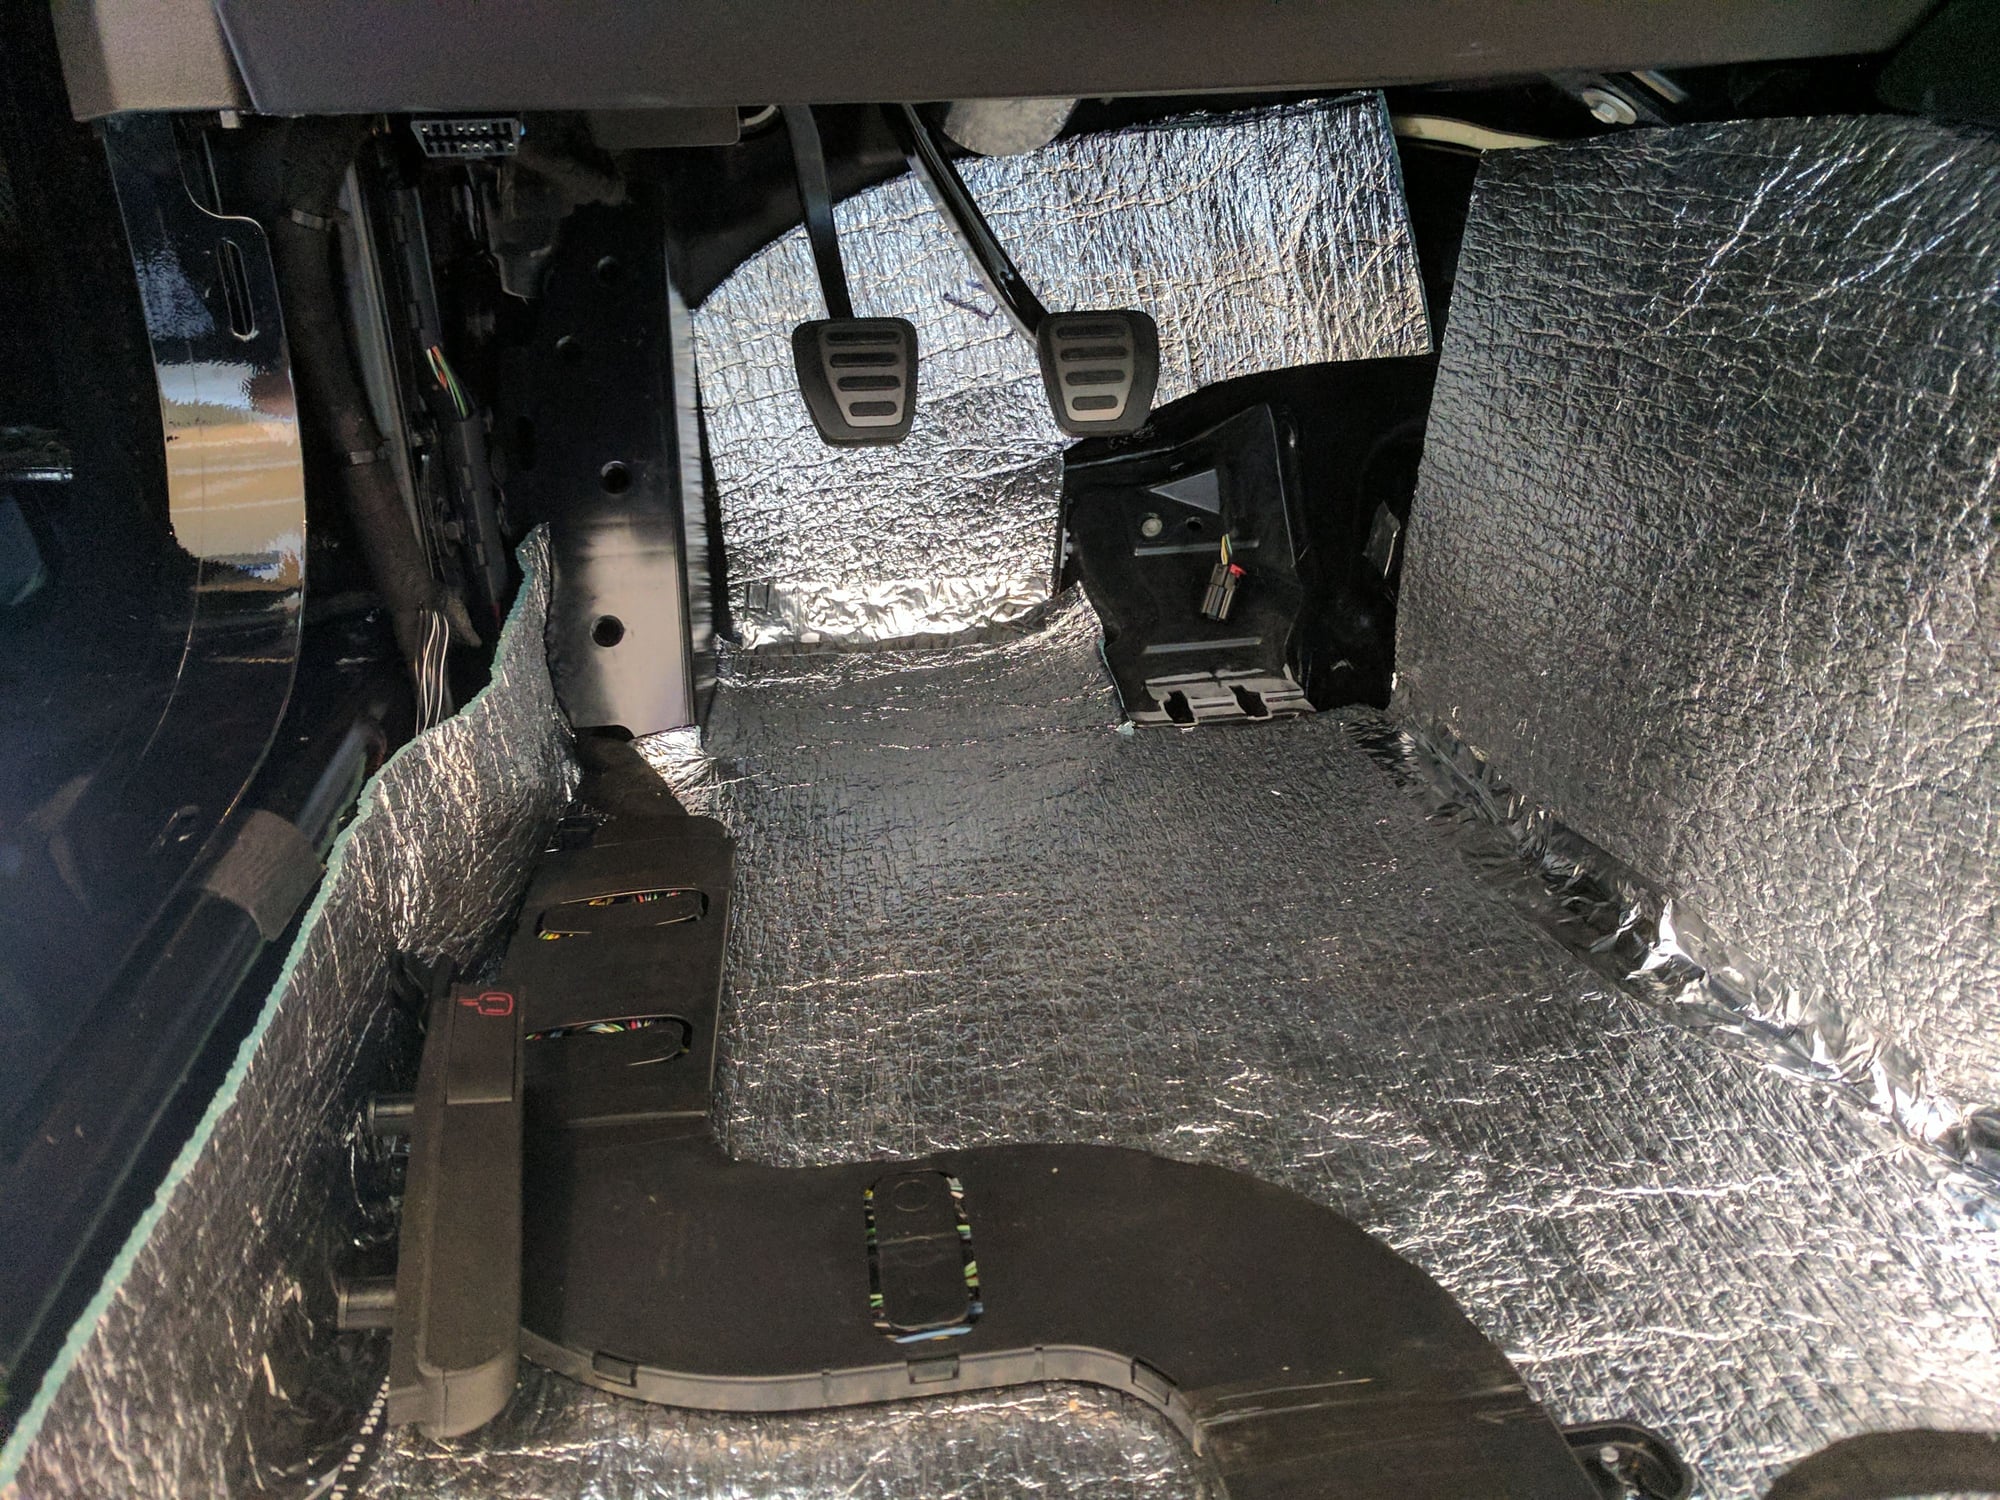
Driver's footwell with foam.
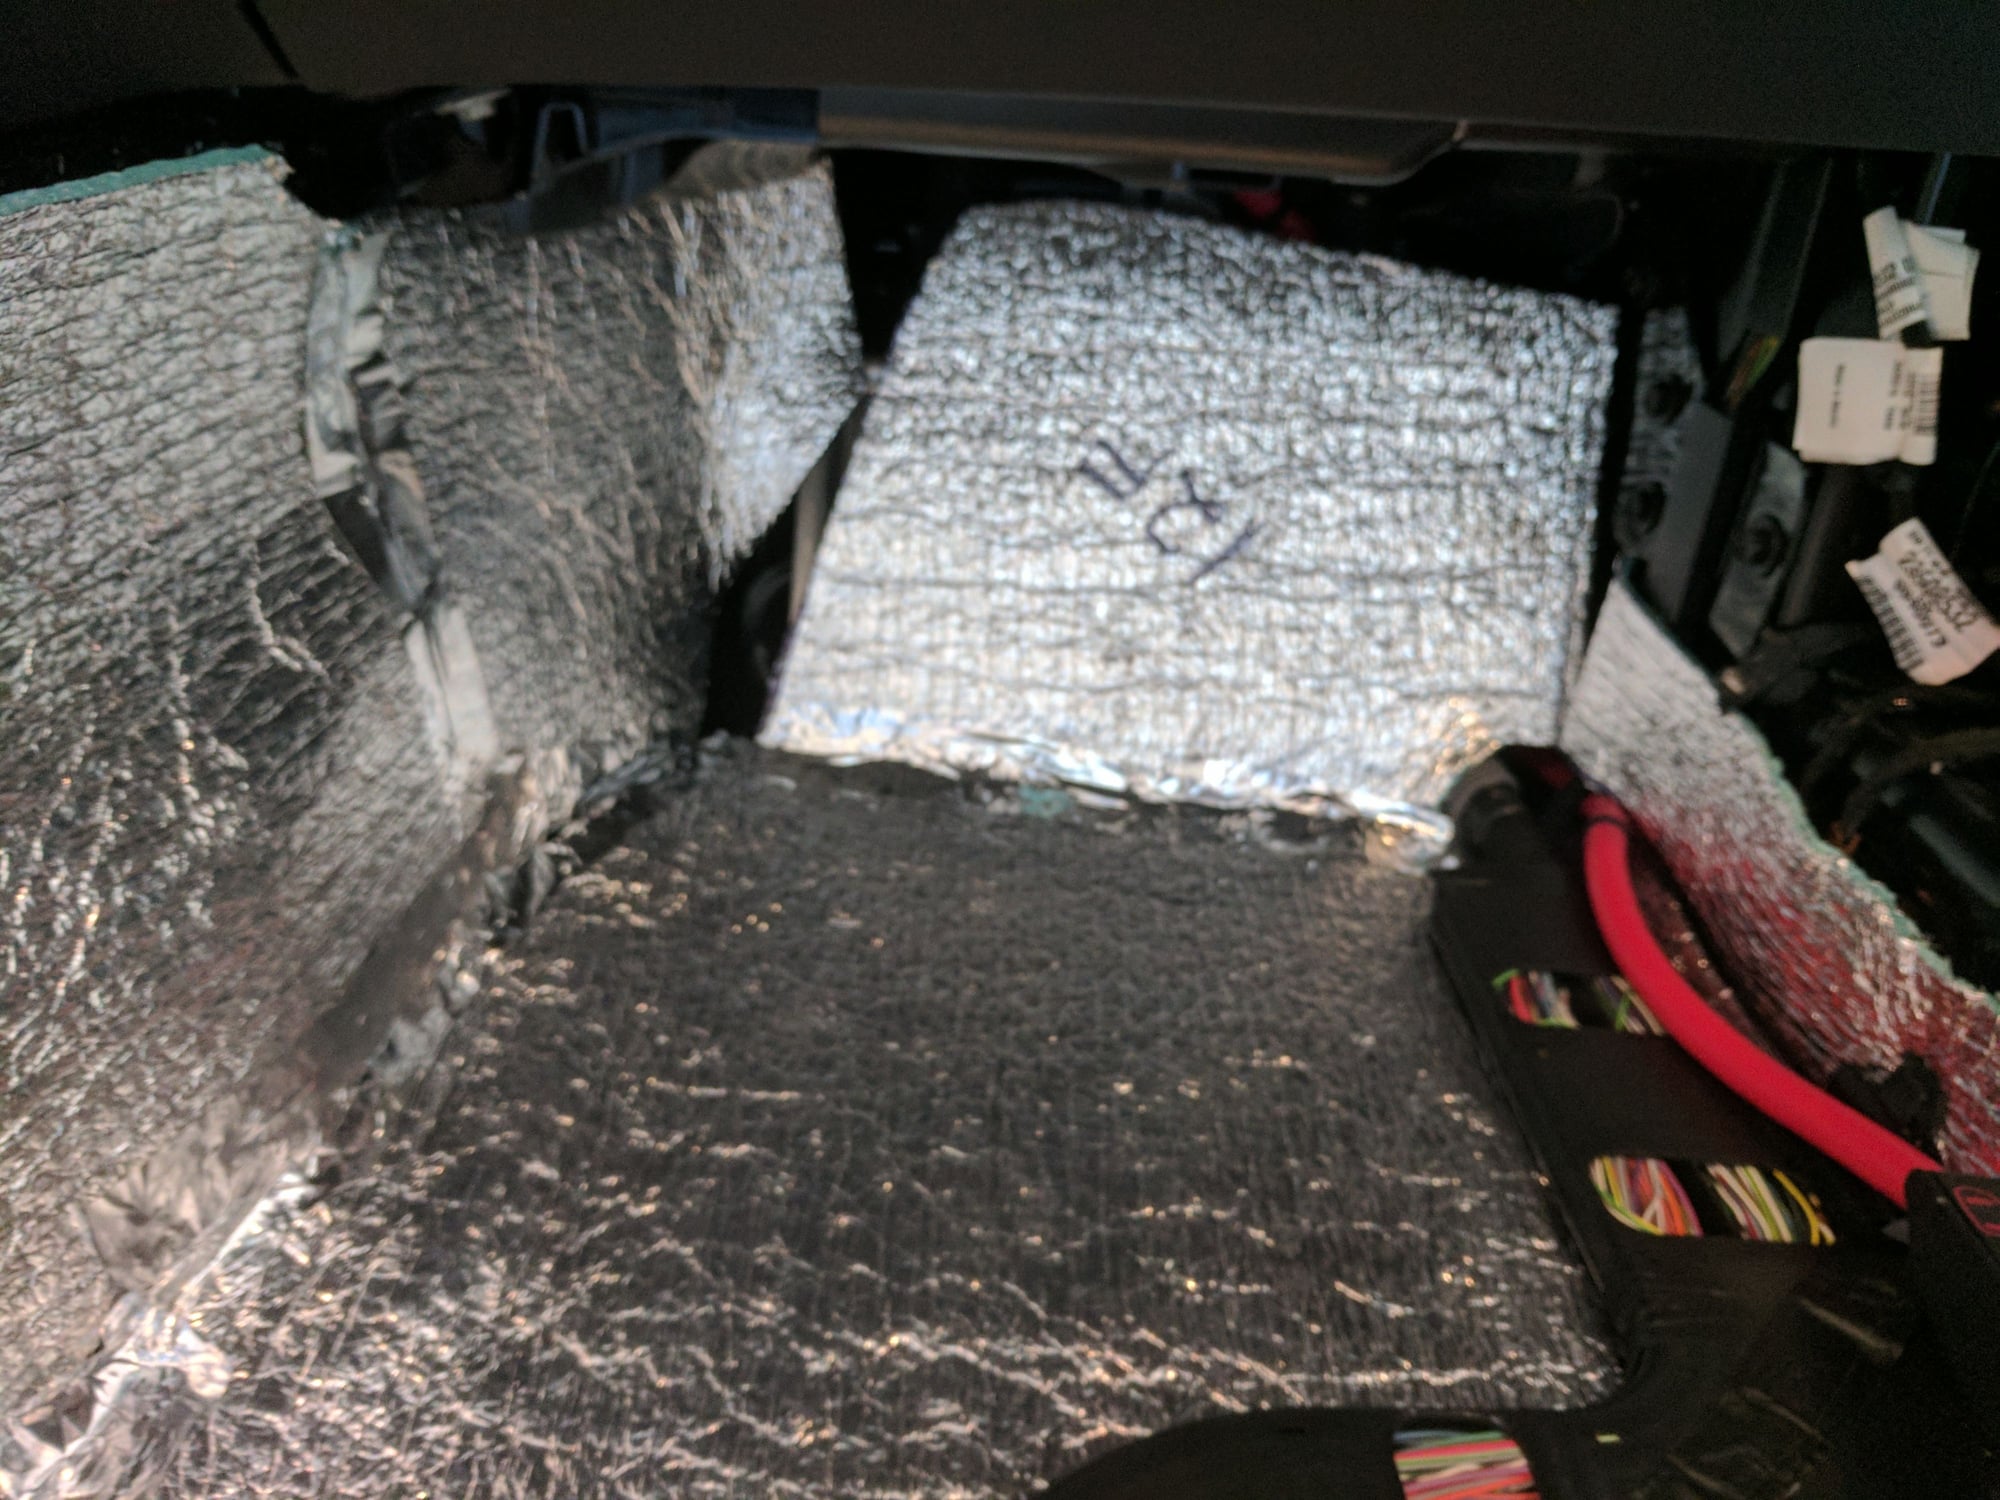
Passenger footwell, was easy to run the foam under and to the sides of the wire harness and tubes.

Passenger seatback with foam.

Hatch area finished, maybe I should have covered the fuse compartment top with more foam?

This is the upper trim piece where I broke the 3 yellow clips.
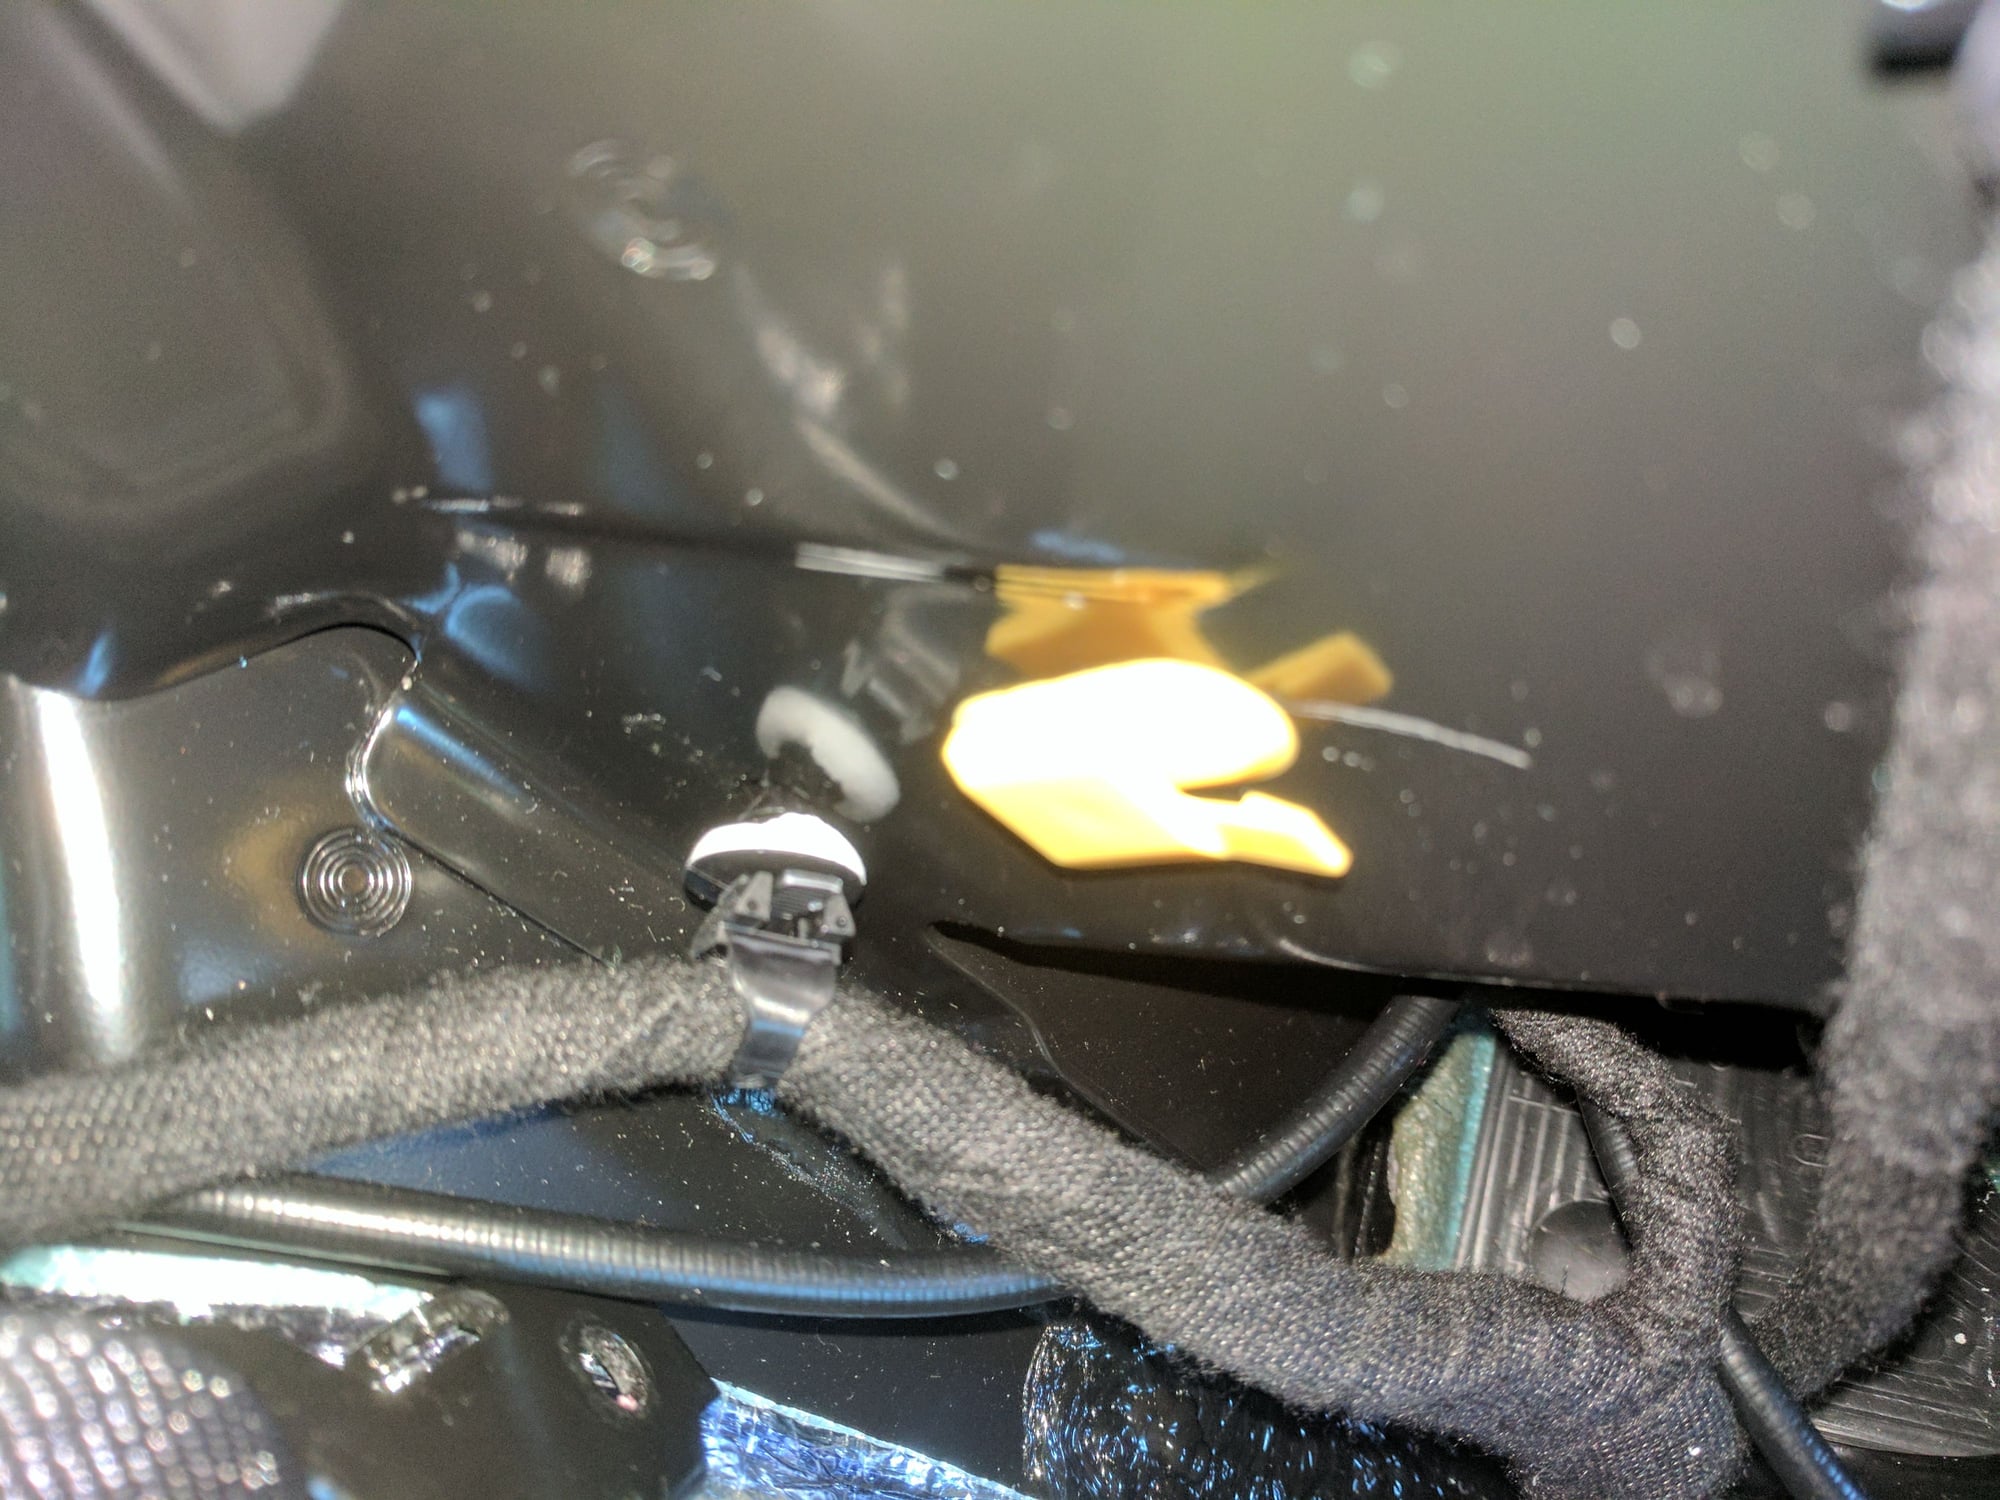
The yellow clips are supposed to remain in the car like this and the trim slides out from the side.
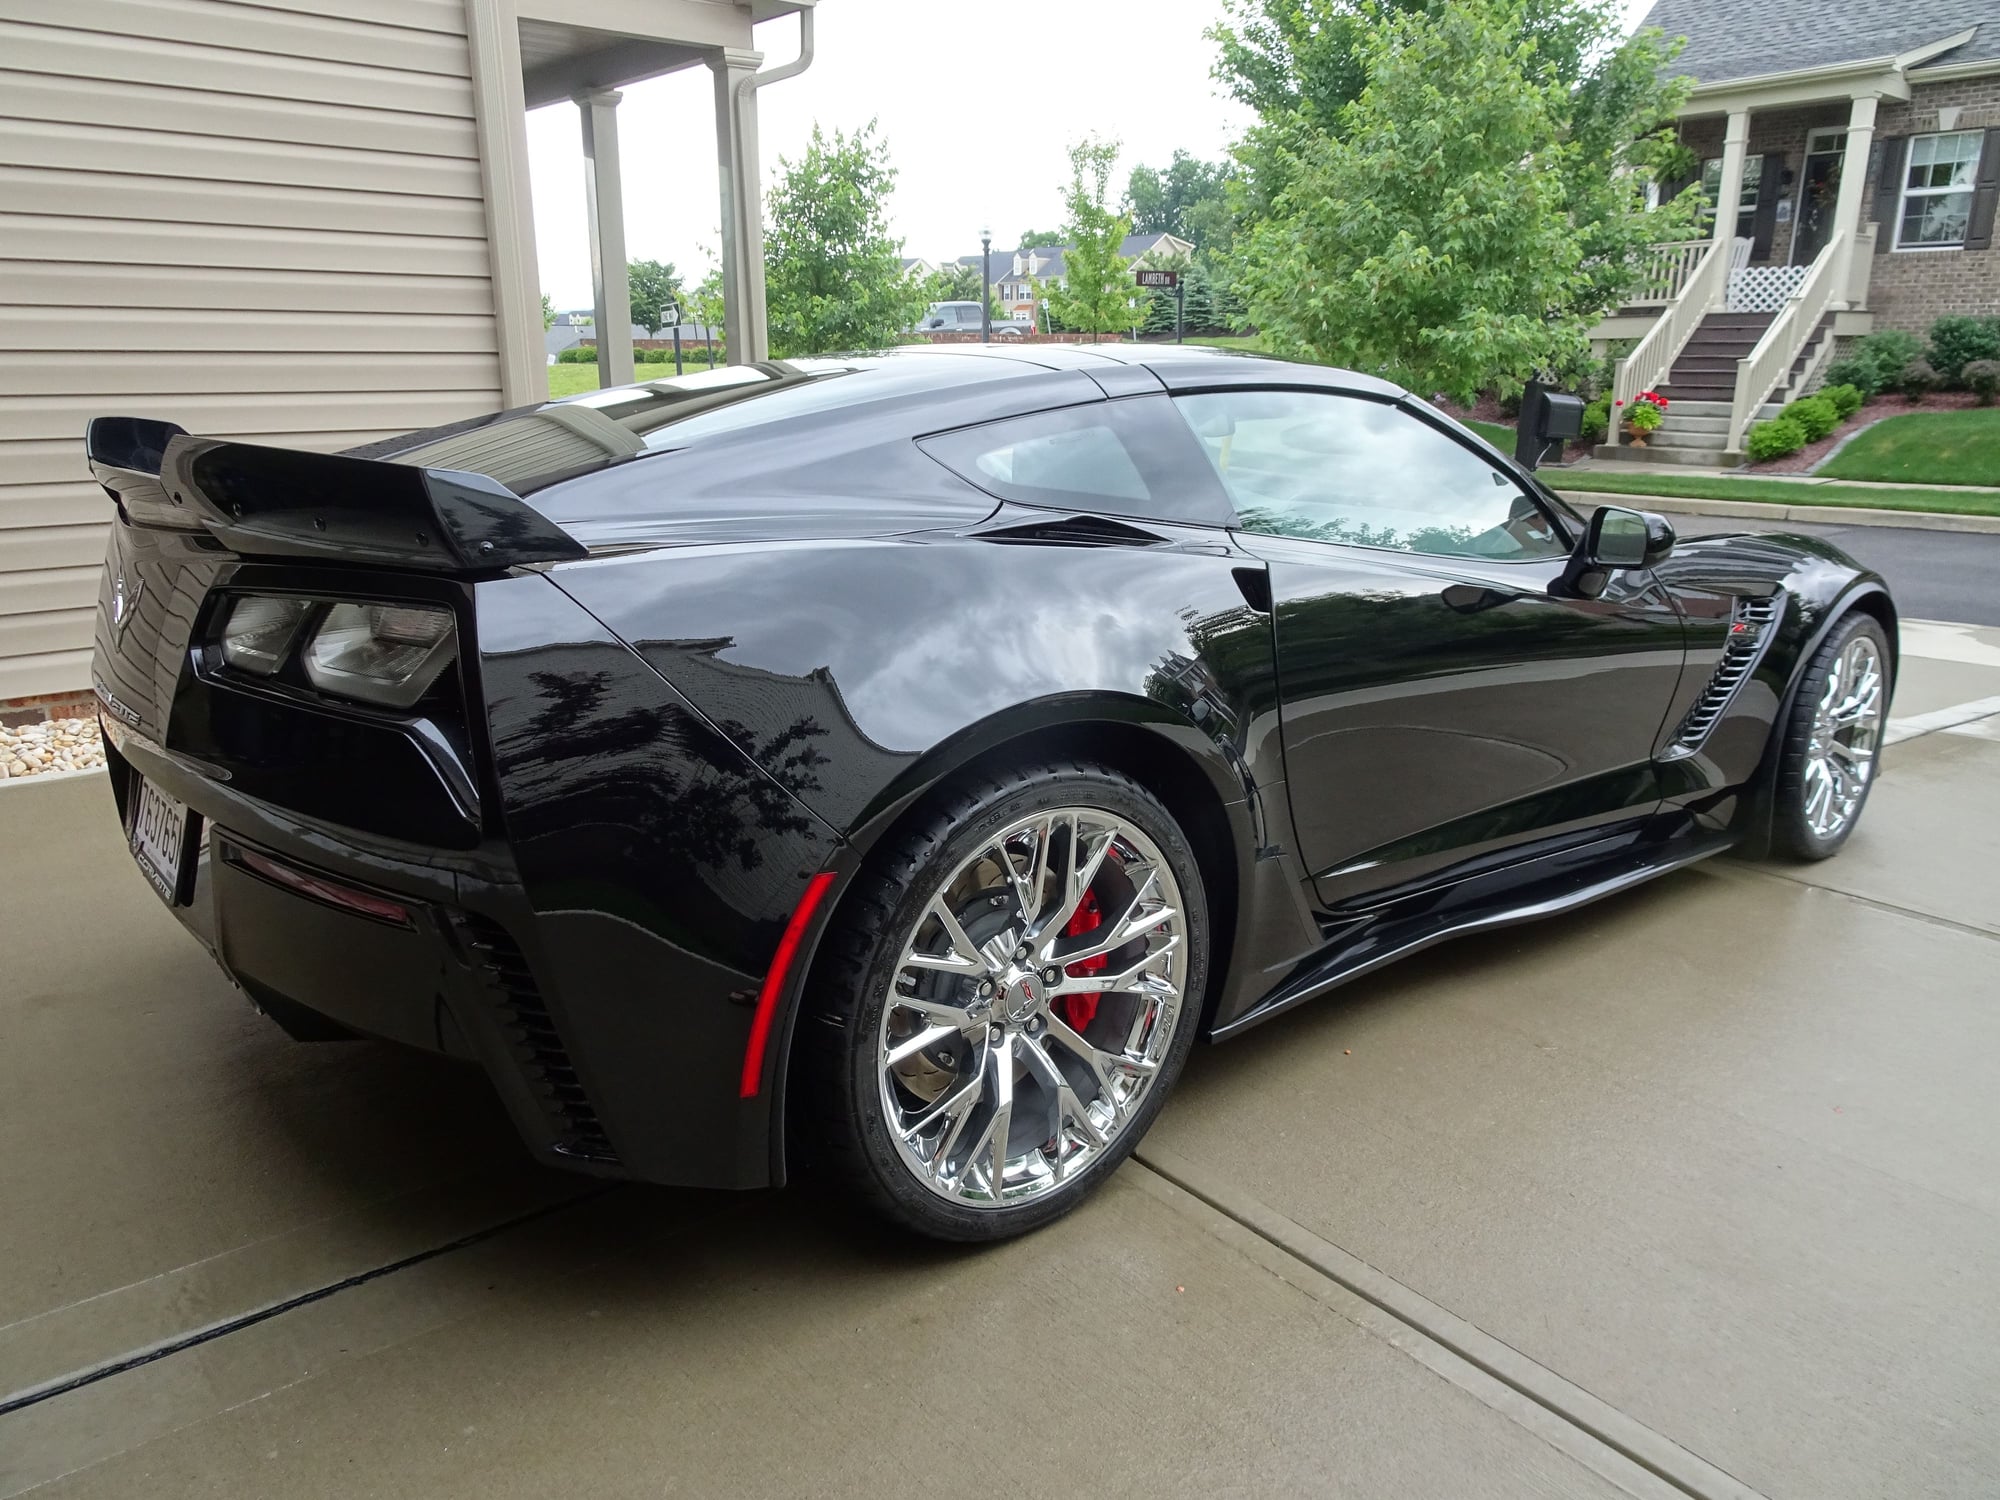
My Z!

Wrong gen and not my car or girl, but you've gotta love the leg kick.
#2
Instructor


Thread Starter

Hatch with Interior Removed

Passenger Compartment With Interior Removed.

Mojo Mat in hatch showing the peel method.

Another peel shot on the wheel well.

Mojo Mat in the hatch, done.

Mojo Mat in the storage area.

MM in drivers footwell.

Driver's seatback.

Passenger footwell.

The wire that can be damaged is in the black on the left, the black loom is too short to prevent it being pushed up by foam from underneath.

1" wire loom

A little extra protection never hurts


Drivers compartment with foam.

Driver's footwell with foam.

Passenger footwell, was easy to run the foam under and to the sides of the wire harness and tubes.

Passenger seatback with foam.

Hatch area finished, maybe I should have covered the fuse compartment top with more foam?

This is the upper trim piece where I broke the 3 yellow clips.

The yellow clips are supposed to remain in the car like this and the trim slides out from the side.

My Z!

Wrong gen and not my car or girl, but you've gotta love the leg kick.
Last edited by RonBurgAM; 05-24-2017 at 08:58 PM. Reason: Adding photos
The following 8 users liked this post by RonBurgAM:
bigblock427 (05-25-2017),
blkvet6 (06-05-2017),
Boucherman (05-25-2017),
Clifftrail (05-24-2017),
fourmat (05-25-2017),
and 3 others liked this post.
#7
Le Mans Master


I upgraded my audio system and the installer put in deadening material and it is definitely much better.
#8
Le Mans Master


Member Since: Jul 2015
Location: Northern California
Posts: 6,223
Received 1,694 Likes
on
1,240 Posts
St. Jude Donor '15
Nicely done! 

#9
How hard is it to get the seats out? I did the back of my car and was pleased with the results, but I did not do the front as I was a bit apprehensive about taking the seats out.
#10
Instructor


Thread Starter
Thill, I'd be interested in any info on your audio upgrade if you posted it.
#11
Instructor


Thread Starter
- Tilt the seatback all the way forward.
- Adjust the seat all the way forward and remove two bolts from the rear.
- Adjust the seat all the way back and remove two bolts from the front.
- Have someone rock the seat back, raising the front to access the wire harness and unplug.
- Lift out, helps to have assistance.
All the work is removing the trip pieces to finally get to the carpet in the footwells. And trying to get everything back together. But the seats are not anything to be concerned with, very straightforward.
There is a lot of bang for the buck with deadening below and behind the seats.
#12
Le Mans Master


https://www.corvetteforum.com/forums...o-upgrade.html
Feel free to PM me with any questions you have.
#13
I dropped in those $250 Block it mats and the road noise emanating mostly from the rear hatch area (which seems to act as a speaker box to amplify tire road noise) and the noise levels are notably lower.
GM seriously needs to address that on this car, it wouldn't cost much or add much weight either.
GM seriously needs to address that on this car, it wouldn't cost much or add much weight either.
The following users liked this post:
RonBurgAM (05-25-2017)
#15
Racer


Ron,
I plan on doing this,but will be using a regular non precut sheet of dynomat. Do remember what approximate thickness the mat was.Also when you refer to foam can you describe what kind of foam or how thick/ dense it was and where you put it.
I can easily go off the pics of the mojo mat you poated but not the foam.
I will probably just do the deck for now, unless it comes to "since im this far into it..."
Thanks..
#18
Instructor


Thread Starter
Ron,
I plan on doing this,but will be using a regular non precut sheet of dynomat. Do remember what approximate thickness the mat was.Also when you refer to foam can you describe what kind of foam or how thick/ dense it was and where you put it.
I can easily go off the pics of the mojo mat you poated but not the foam.
I will probably just do the deck for now, unless it comes to "since im this far into it..."
Thanks..
I plan on doing this,but will be using a regular non precut sheet of dynomat. Do remember what approximate thickness the mat was.Also when you refer to foam can you describe what kind of foam or how thick/ dense it was and where you put it.
I can easily go off the pics of the mojo mat you poated but not the foam.
I will probably just do the deck for now, unless it comes to "since im this far into it..."
Thanks..
The next layer is the foam. It is ~1/8" thick, foil both sides. Not sure the brand but I believe that stuff is available most everywhere. The factory foam/carpet etc goes over the top of that.
Hope that helps.
#19
Burning Brakes


I did something similar on my C6, and I too had trouble getting all of the trim to fit back properly since the deadening material takes up a fair bit of space. For the C7, I just did the drop-in mat and a bit of insulation behind the seats. Not as effective but took only 30 minutes versus 8 hours. Nice job with the photos and write-up, OP!


