When you click on links to various merchants on this site and make a purchase, this can result in this site earning a commission. Affiliate programs and affiliations include, but are not limited to, the eBay Partner Network.
HOW TO: Installing JW Motorsports Side Skirts on a C7
Over the Black Friday weekend, I decided to pick up a set of carbon fiber side skirts from JW Motorsports during their Black Friday sale. Today I’ll go over how to install them properly on your Stingray or Z51 (non-Z06).
When these arrive, they will come in a large tube to protect them during shipping. Once the tube is opened, you’ll need to take the skirts out and start unwrapping them:
Once you get them unwrapped, take a moment to look over your skirts to make sure there is no damage and to appreciate the carbon fiber weave up close and personal
The skirts come with holes already in them for mounting which makes installation a breeze. Below, you’ll see that I have highlighted the holes with two different colors, Blue and Yellow.
The Blue circles indicate the holes that will use existing bolts under the bottom of the car. The Yellow circles indicate holes in the skirts that you will use as markers to drill and install self-tapping screws, which will be included with the skirts.
Time to head out to the garage. First things first. Go ahead, jack up the car, and put it on jack stands. My personal recommendation is to elevate the front and the back to provide you with enough room to properly work. This will require four jack stands total though.
Once you have the car all jacked up and safely sitting on the jack stands, I’d recommend cleaning the area that the skirts will cover, as it’s likely you won’t see this part of the car for quite some time!
After that’s done, we need to start removing the 7MM bolts that we will re-use to mount the skirts up. There are three in the front, and one in the rear. First, let’s look at the three in the front:
Go ahead and remove these three bolts and put them aside, you’ll need them in a few minutes. Now let’s look at the rear. You’ll notice here that there are two bolts circled. The Blue one is the one you’ll want to remove. The Red one can be removed, or left in place, as the skirts do not have a hole drilled for that bolt. I chose to leave this bolt in place and my skirts had no issue mounting up.
Now comes the tricky part; mounting the skirts up. I’d recommend that you have someone help you by holding the skirt up in place while you start installing screws. I did not have anyone available to help when I did mine so I chose to use a 4x4 piece of wood to hold the skirt up in the rear while I installed the 7MM screws in the front back in their place with the side skirt attached.
The 7MM screws in the front and rear can be used to hold the skirt in place while you install the rest of the self-tapping screws, just don’t tighten the 7MM bolts just yet.
You’ll want to line up the skirt to make it fit perfectly before tightening anything down. To do that, Go to the back wheel well area, and line up the skirt so that it follows the wheel well bodyline perfectly like this:
Once you have it lined up, tighten down the 7MM factory bolts to hold the skirt firmly in place. (Don’t overtighten though!)
With the 7MM bolts in place, you can now start installing the self-tapping screws. Just to point out, the self-tap screw size is #8 x ľ”. If you have a Z51, you may need to look into shorter bolts such as #8 x 1/2", this is because you could puncture the cooling lines that run to the back of the car as pointed out by Dale#3 in post #11 below if you use too long of a screw. To install the self-taps, you’ll need to either use an impact driver which is what I chose to do, or, you’ll need to pre-drill your holes. Using an impact driver is the simplest and quickest way in my opinion.
In order to get a great fit, I would recommend starting at the middle of the skirt, and working your way outwards. What I mean by that is to do the self-tap’s like this:
<Front of car< 10 8 6 4 2 1 3 5 7 9 11 <Rear of car<
Doing it this way will help to distribute the clamping force properly. Here are a couple shots of getting the self-tap screws installed and where they will be located from the underside. Note: all three of these pictures are from the underside of the DRIVERS side of the car, just from different angles:
(Below pic is looking towards the front)
(Below pic is looking towards the back)
Once you get all the bolts and screws in (Four 7MM bolts and Eleven self-tapping screws), you’re all done! Time to go and do the other side! Repeat the same procedure for the passenger side of the car.
Once you have them both done, you can lower the car down off the jack stands and the job is complete. You can now enjoy your new side skirts!
Here is a before and after pic:
Hope this guide has helped you install yours!
This guide will be added to the How To sticky thread at the top of the C7 General section for easy reference.
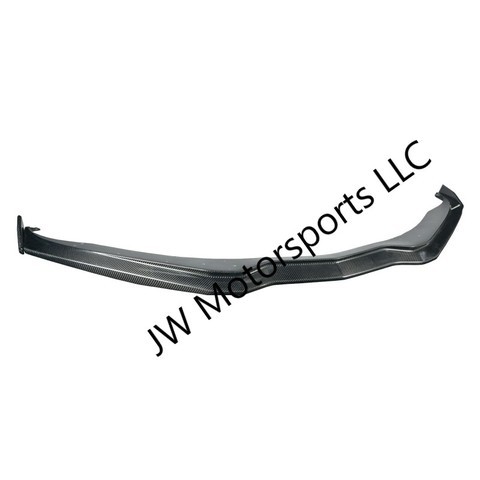
also, if you are installing the JW Motorsports Stage 2 Front Splitter, the guide for that install is here:
Great write up. Cant wait to see the pics. But as for the side skirts, dont see them on the website or remember a black friday sale on them. How much were they? Do you like them so far?
St. Jude Donor '09-'10-'11-'12-'13-'14-'15-'16-'17,'19,'22
Originally Posted by George88
Great write up. Cant wait to see the pics. But as for the side skirts, dont see them on the website or remember a black friday sale on them. How much were they? Do you like them so far?
Pm us if interested in these. I do not have them on the site yet. Price is $365 shipped for the Stingray version.
Last edited by JW Motorsports; 12-04-2017 at 11:00 AM.
We have more on the way and will get them listed once they arrive.
Anyone that wants to be contacted when they touch down just pm me
Our everyday price will be somewhere around $400 shipped.
Cant believe I missed that. Got the z06 grille on order, so will install that, if all goes well skirts might be next. Cant wait to see everyones pics and comments
St. Jude Donor '09-'10-'11-'12-'13-'14-'15-'16-'17,'19,'22
Originally Posted by George88
Cant believe I missed that. Got the z06 grille on order, so will install that, if all goes well skirts might be next. Cant wait to see everyones pics and comments
We have this version in stock. $365 shipped. I will get them on the site tomorrow. Anybody that wants a set just pm me
Thank you for pointing this out. I have a base M7 so I do not have cooling lines going to the back of the car on mine. For those that do, they should be able to use #8x1/2" screws for that side of the car. 12mm is about 1/2" so with the added thickness of the skirt itself it should be fine.

 12-03-2017, 11:33 PM