When you click on links to various merchants on this site and make a purchase, this can result in this site earning a commission. Affiliate programs and affiliations include, but are not limited to, the eBay Partner Network.
This year's winter mods! (large post with lots of pictures!)
As the winter modding season comes to an end, I have completed most of the things I wanted to do to my car.
Here is a rundown of what I did!
Project #1: Painted the Black OEM Calipers white.
This was my big project. I looked into having them removed, powder coated, reinstalled, and then having the brakes bled....it was a 1500.00 cost....so...I decided to go the less expensive way and see how it would turn out. I figured that I could always have them powder coated if I did not like the way they turned out.
I bought the G2 Caliper Paint kit. It was around 40.00 on Amazon...There are a bunch of videos on YouTube on how to apply the paint and prep the calipers....The most important thing to remember is that the Calipers need to be super clean! Depending on how dirty your calipers are it mat take some time to get them clean. The kit does come with a can of Brake cleaner to help with that process...I washed my calipers with soapy Dawn water and then sprayed them down with the brake cleaner. I would also recommend that you buy a set of fine artist brushes from Amazon (8.99)
It is important to scuff up the existing calipers if they are painted so the new paint will adhere better. I used 180 grit sandpaper. I then masked off any areas of the rotor, pads, and caliper that I did not want paint to get on.
Once you mix the catalyst into the epoxy paint you will have about four hours to get the job done. It took me all four hours to apply six coats of paint to each caliper. This will allow about 15-20 min between coats...the paint is self leveling so much of the brush marks will disappear...You have to be careful to watch out for drips and runs...
I let the paint dry overnight and then I applied the "Corvette" decals. I ordered the decals from Tower Decals.
I think they really turned out great!!
Project #2: Install ACS Rear Fascia Extentions.
I received an email from ACS about these new items and I ordered them 5 minutes after getting the email! I think they are very subtle, but carry the line of the splitter and sideskirts to the rear of the car. They were very easy to install..
Here's a before picture....
And the install was very straight forward....Two existing screws and two additional rivets.
Two 1/2" deep holes needed to be drilled....I used some masking tape on the drill bit to measure the 1/2"
Final result tuned out great!
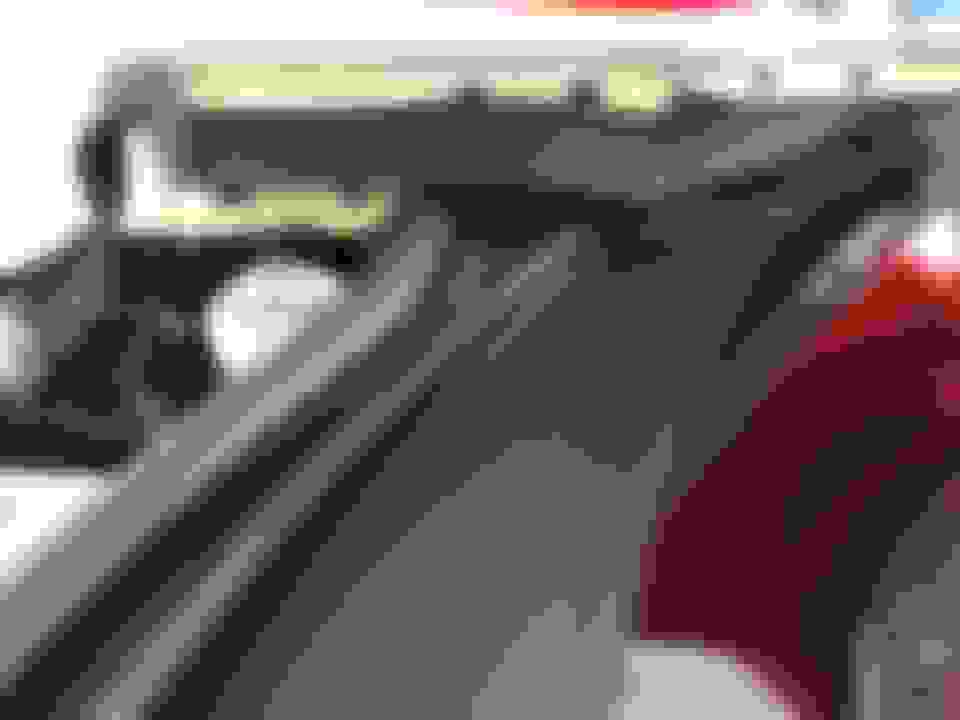
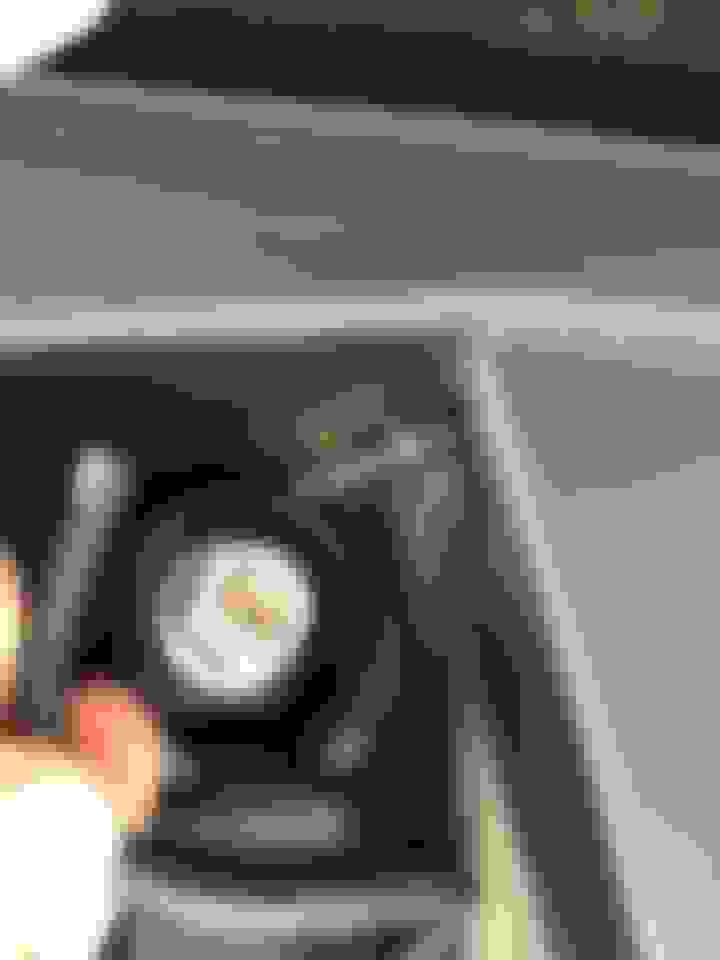
Project #3: Add new painted supercharger cover.
The details are important so I painted the cover bolts gloss black!
Before:
After:
Project #4: Install new Painted splash guards....
Before:
After:
Project #5: Install new Arctic White Cowl.
I always have wanted to do this ever since I saw Jeremy Welborn (jagamajajaran) do it on his Velocity yellow vette! I followed his install video and it was super simple! Thanks Jeremy!
First step was to remove the old cowl....that involved first removing the windshield wipers and the trim pieces on either side of the car...
Side trim pieces removed
Nut covers on wipers removed
Remove 4 push pins on the cowl
Disconnect the windshield washer fluid tubes
Remove wipers by removing the 15mm nut...then Remove the cowl...(Note you will need to remove the tube from under the cowl and re attach on the new cowl.)
Install the new cowl!
and then the wipers!
Project #6: Install new kalahari upper trim molding batwing and grab handle! (A.K.A Kalahari 2.5!)
A few years ago I saw a few threads that were called Kalahari 2.5...where some people had a 2LT Kalahari interior and wanted a few more accents of Kalahari trim, built not the full blown 3LT look....
I decided to add the Kalahari batwing and grab handle....The swap out only took 10 minutes!!
Before:
Using a small trim tool, the cover piece for the grab handle is removed to expose two screws holding the batwing in place..
Once the screws are out, the trim piece just pops out and the new pieces pop in! Simple!
Project #7: Install Carbon flash Spear!
Another very simple project....Spear vinyl was bought from Vettestripes.com. Once again a very subtle change, but I like it!
Before:
After:
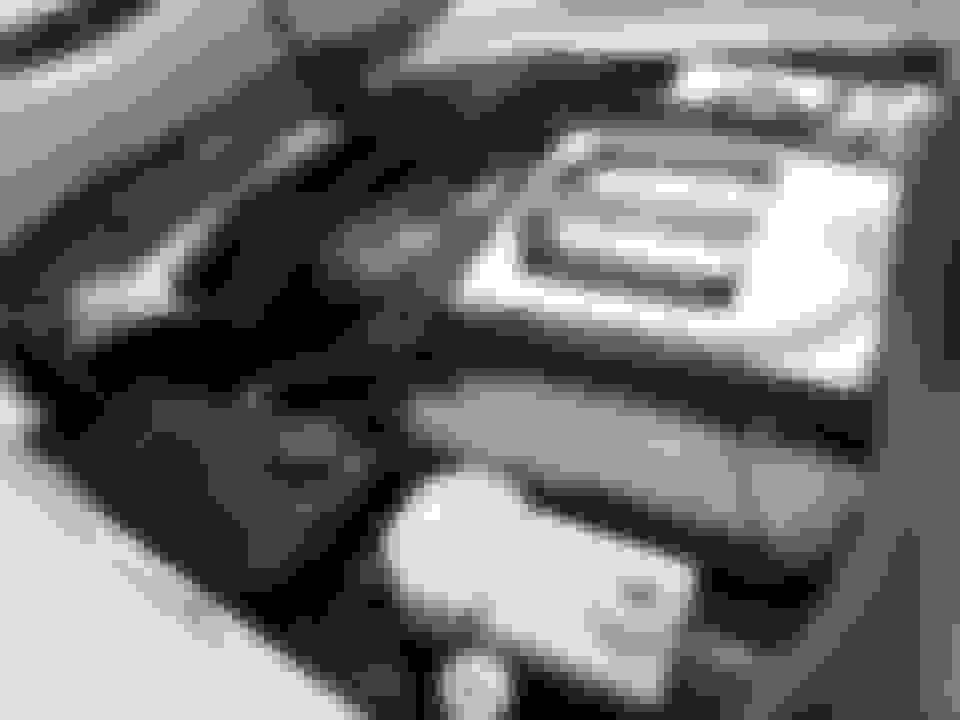
Project #8: Upgraded engine components!
Went back down to my favorite shop! Weapon X Motorsports!
Changes made:
1. Upgraded Brian Tooley Valve springs
2. New upgraded spark plugs
3. new updated tune
4. New supercharger expansion tank!
The upgrades smoothed out the power delivery and the car is more responsive along with a more linear power curve! Very happy with the results!
Once the upgrades were made it was time for the dyno!!
Very nice work and I like the theme although I do not envy your need to clean all that white lol, especially in the brake and engine areas. Maybe its the picture but is the Z51 badge a little crooked?
Very nice work and I like the theme although I do not envy your need to clean all that white lol, especially in the brake and engine areas. Maybe its the picture but is the Z51 badge a little crooked?
Thanks....Badge is a little crooked...but I did it on purpose to follow the upper body line instead of the lower body line...I actually tried to match the old stingray badge line exactly....I am good with it for now. And yes...white is a pain to keep clean, but I enjoy detailing!
I love everything except the crooked Z51 badges get my OCD going. I mean at least they look crooked to me. Personally I would level them out but its your car and you are free to do what you please!

 03-14-2018, 09:33 AM