When you click on links to various merchants on this site and make a purchase, this can result in this site earning a commission. Affiliate programs and affiliations include, but are not limited to, the eBay Partner Network.
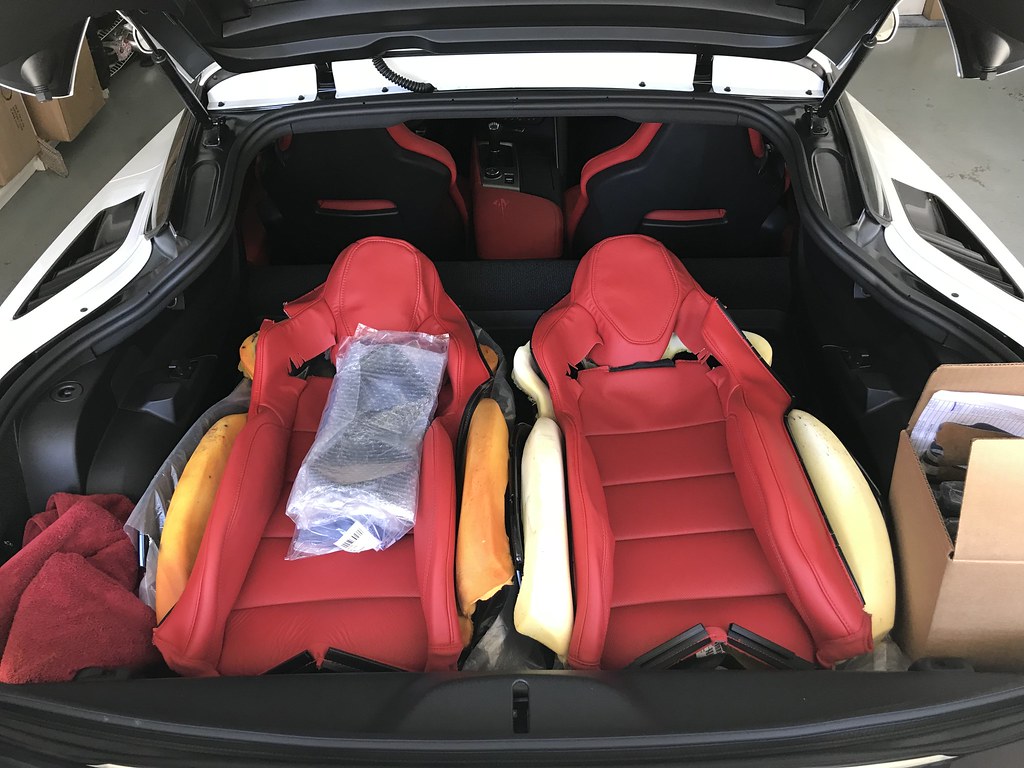
Ready to go. Bumping this up to locate the thread easier. I'll pull the seats tomorrow most likely, set up shop in the basement and designate an empty jar as my new swear jar for this project. The end result will be well worth it though, can't wait until it's over
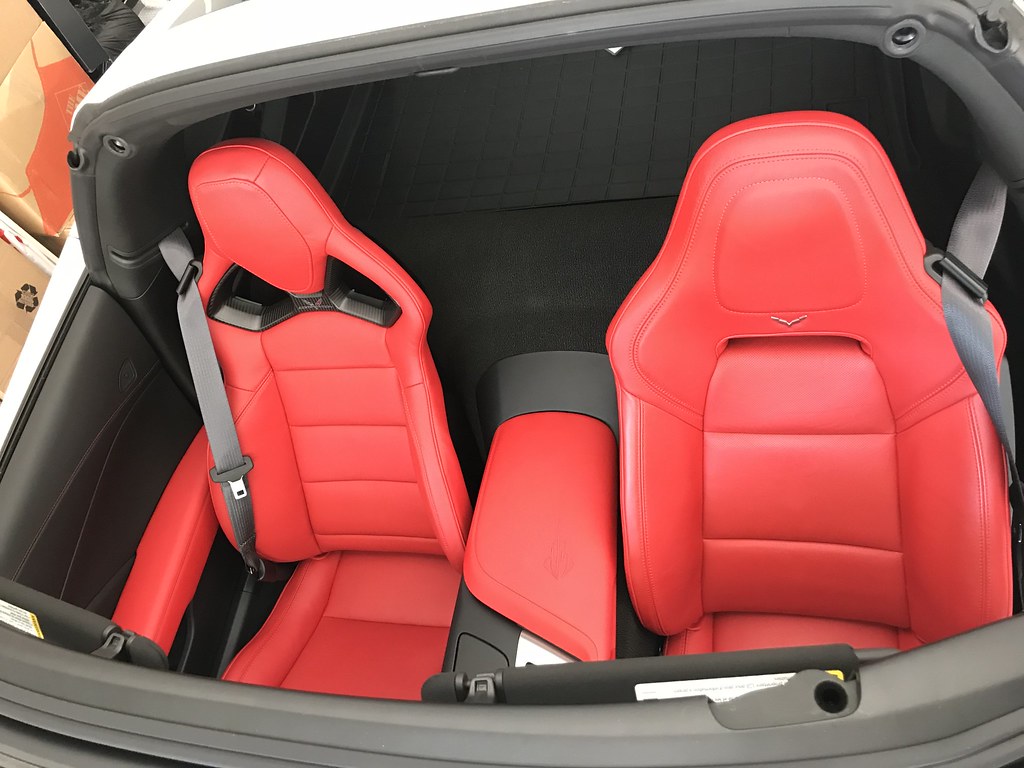
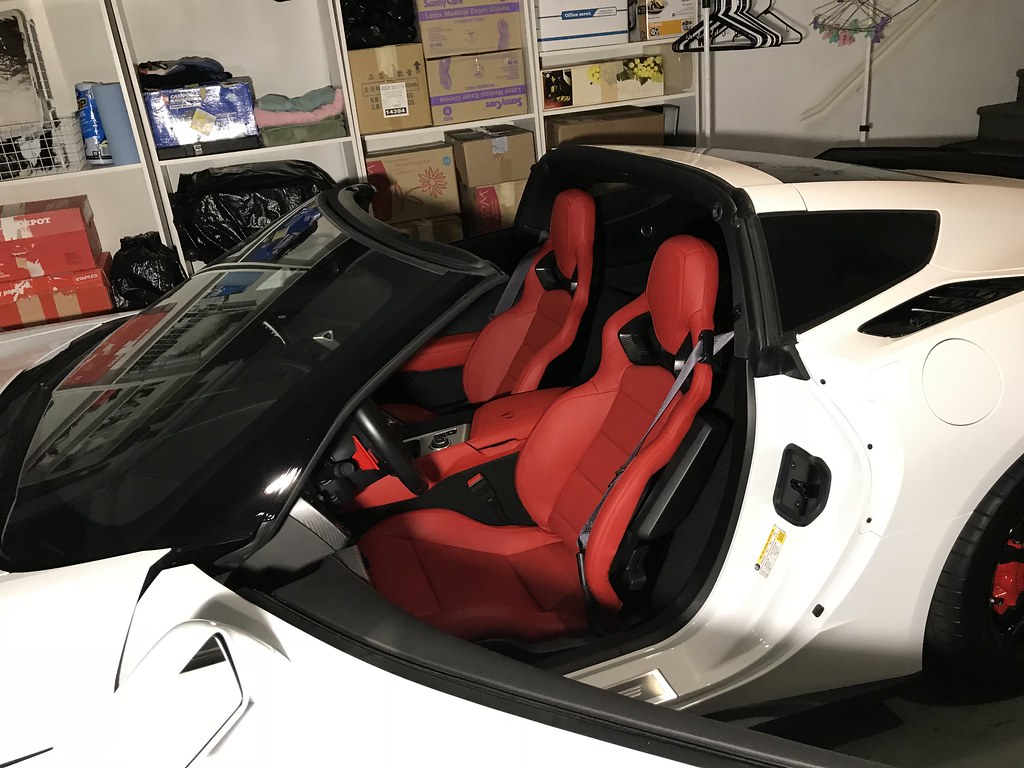
Quick question. Due to my garage being full for winter storage, I have a slight issue with opening the doors all the way. Seats and seatbelts are unbolted, but I haven't pulled the battery cables yet. I can open my doors most of the way, just not all the way. Any advice on seat position for easier removal out of the car? OP says slide them back all the way. I did that. I can bring the seatbacks forward, but I Imagine that will be a problem later when installing the comp foam and covers. Would removing roof help at all for better clearance? If you've done this and have helpful hints, please share. Thanks
It is a lot easier in my opinion to remove the top and then have a second set of hands to assist you with lifting the seats out as they are really heavy for one person. This will help you avoid accidentally scraping or nicking interior. I do think in the back position will be best to maneuver lifting the seats out and dropping back in.
Originally Posted by ls3zob
Quick question. Due to my garage being full for winter storage, I have a slight issue with opening the doors all the way. Seats and seatbelts are unbolted, but I haven't pulled the battery cables yet. I can open my doors most of the way, just not all the way. Any advice on seat position for easier removal out of the car? OP says slide them back all the way. I did that. I can bring the seatbacks forward, but I Imagine that will be a problem later when installing the comp foam and covers. Would removing roof help at all for better clearance? If you've done this and have helpful hints, please share. Thanks
Thank you much KGrant. Any thoughts on the seat back position itself? In hindsight, would there be a position that would have been easier to work with?
ls3zob:
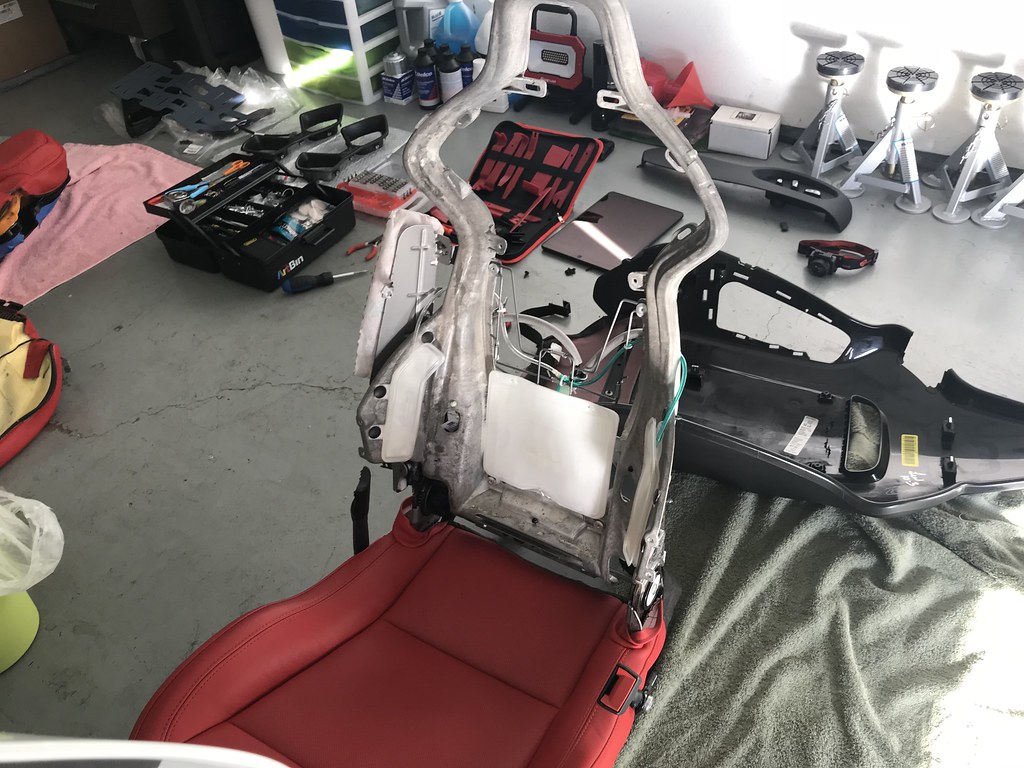
That�s a good question because I recall They I had wished I had alittle incline in the seat when I starting working on them but I remember because I removed the seats by myself it was easier to have them straight up without any incline. However, if you have someone to assist you then I would recommend having a 2 position incline. Hope this helps!
Originally Posted by ls3zob
Thank you much KGrant. Any thoughts on the seat back position itself? In hindsight, would there be a position that would have been easier to work with?
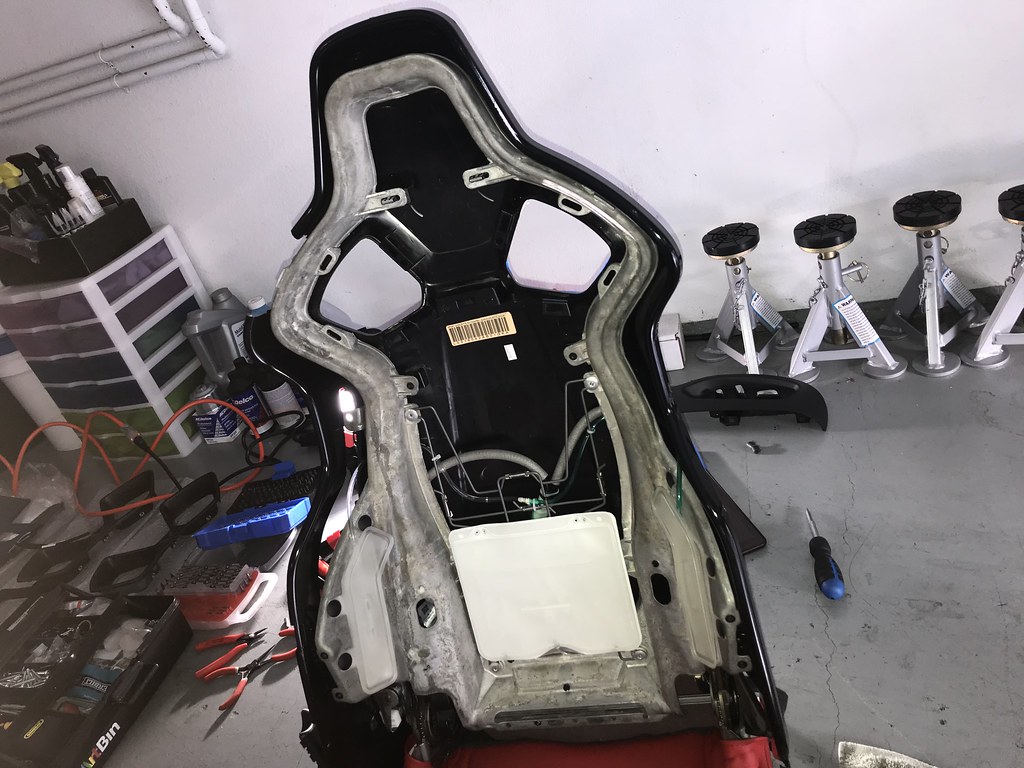
A huge Thanks to the OP, Gene at Cultrag and ALL who have contributed to this thread. Without the help of this thread, I would have never been able to get mine done. (May have gone a bit overboard, but machine polished and ceramic coated the gloss black shells too)
A huge Thanks to the OP, Gene at Cultrag and ALL who have contributed to this thread. Without the help of this thread, I would have never been able to get mine done. (May have gone a bit overboard, but machine polished and ceramic coated the gloss black shells too)
Those look jam up dude! What specifically did you use to polish them?
ls3zob:Nice Job on the conversion they look nicely done. Do you have 2LT/2LZ or 3LT/3LZ? Looks like the Nappa leather? I only ask because my buddy has 3LZ black and won�t do the conversion because the seat back only comes in Mulan and not Nappa and didn�t want to different leathers. Again, good job and share feedback in the threads of any nuances or helpful hints as everyone benefits from different tricks.
Originally Posted by ls3zob
A huge Thanks to the OP, Gene at Cultrag and ALL who have contributed to this thread. Without the help of this thread, I would have never been able to get mine done. (May have gone a bit overboard, but machine polished and ceramic coated the gloss black shells too)
Hi Ant. I would have thought you’d have yours by now. Backorder? Anyway buddy, the shells come looking good, but can always be improved. With no major issues, I simply used 3M glaze with a high speed polisher. Then used Pinnacle Black Label ceramic I used on the rest of my car when I picked it up last fall. Keep in mind when you start yours, masking tape is your friend around the edges when your installing the leather cover. The gloss black is not forgiving so avoid any contact with tools
Hi Ant. I would have thought you�d have yours by now. Backorder? Anyway buddy, the shells come looking good, but can always be improved. With no major issues, I simply used 3M glaze with a high speed polisher. Then used Pinnacle Black Label ceramic I used on the rest of my car when I picked it up last fall. Keep in mind when you start yours, masking tape is your friend around the edges when your installing the leather cover. The gloss black is not forgiving so avoid any contact with tools
Yep me too. I called and they advised soon and that they are only waiting for like 1 piece. I think it is the actual leathers that were on backorder. Everything else is ready to ship they said. Thanks for the masking tape advice! I'll probably polish my backs up too before putting them on. Did you polish them after assembly or before?
Polish pre assembly, wrap in plastic, tape the edges. Much cleaner that way, no splattered polish to clean up.
KGrant, mine is a 1LT. Thank you btw for your seat position help. I laid the seat backs down just a bit before removing them. Made slipping off the old and slipping on the new covers much easier.
Do you know if the 2LT comp seats had the same type of leather on your 1LT GT seats? The order guide says those 2 comparisons are both Mulan perforated leather seats surfaces, but I am unsure about the outer leather surfaces. I would search the forum for threads that compare the 1Lt and 2Lt packages and I am sure you find your answer. I know the 2lt had the flag emblem on the seat, but we dont care about that with the comp seats. Also, are your 1lt seats not heated and not cooled? Once we know that they are the same types of leather, the conversion can be done. It will be a tricky parts order, but I have a great parts guy that can sort this out without screwing it up. Some of these parts are special order and usually non-returnable so we must get it right the first time.
I got as far as here reading.
I also have non heated/cooled seats and would like to do the conversion on mine...in red
Thank you 48supertruck for the in depth DIY. If it wasn't for your DIY I probably wouldn't have attempted this.
Some tips I'd like to share:
1. No need to slide the seat all the way back before removing. Slide it back just enough so that the seat is centered with the front and rear edges of the seat rail. That way you have no seat rail overhang which makes removing the seat easier and less susceptible to scratching the interior.
3. Recline the seat back a bit instead of having it straight up, enough so that the bottom edges of the side bolsters aren't touching the bottom cushion bolsters. This makes the install easier.
4. Start tucking from the center of the headrest and work your way down each side.
5. Use a heatgun about 6" away to heat up the leather/vinyl. About 30 seconds moving back and forth in a small area will do it. This will make tucking the edges alot easier and it'll remove wrinkles.
@pineapple WOW what an amazing job. How much you charge me to assist lol. I will buy the kit and haul the seats over in my truck if that makes it easier. LOL
I am sort of serious. I cancelled my order on these because I was concerned with the install. I am in Tracy
Does anyone have any updated tips for snapping in the competition seat bezel? I can get all clips snapped in individually. However, the pressure from the foam cushion pops the clips out as I am attempting to snap in other clips.
^^^ In hindsight, that was a painful experience. Swearing, kicking things helped me tremendously. Nothing other than brute force helped. Word of advice, please be careful not to damage the leather with the bezel when forcing it all together.
The hardest part is getting the bezels snapped in so that's great that you are able to do that. I didn't have enough clips and the side bolsters wouldn't stay tucked. My solution was I went to home depot and bought some stiff bendable wiring that had a plastic sheeting or covering. As I snapped the clips in I then wedged the wiring tight using plastic tools so not to rip anything. To this day, everything has stayed tucked and in place. I think there is a post by me somewhere that shows the wiring that I used. When I get a minute I will try and find it!
I wedged this wiring after tucking and wedging in the seat backs. I inserted the wiring from the bottom all the way up vertically to make sure the seat fabric would not move.while snapping in the bezels and this worked for me!
Good Luck!
Originally Posted by TheSter
Does anyone have any updated tips for snapping in the competition seat bezel? I can get all clips snapped in individually. However, the pressure from the foam cushion pops the clips out as I am attempting to snap in other clips.
Before posting my question I used a couple of tactical belts to help hold the bezel in place once I had it snapped - to keep the cushion and leather from popping the snaps out. I released the belts after close to a day. The clips have stayed seated! The time the belts have been compressing things together has really helped. I put the belts back in place to take a photo so others can see what I did to help get the bezel clips to stay seated.
Belts used to help settle the cushion and cover so the bezels snaps do not keep popping out.
Add another successful swap to the list. Thanks to everyone who contributed information to this. I've wanted these seats since before I bought the car I'm thrilled with how it turned out.

 12-09-2017, 06:08 PM


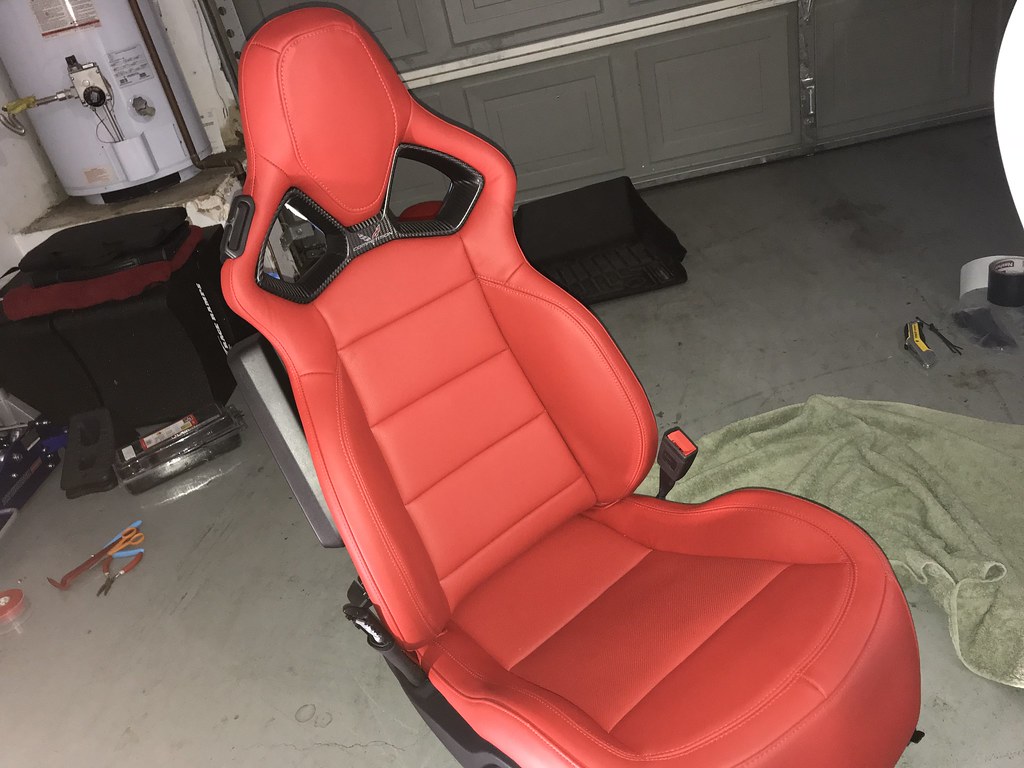


 I'm thrilled with how it turned out.
