When you click on links to various merchants on this site and make a purchase, this can result in this site earning a commission. Affiliate programs and affiliations include, but are not limited to, the eBay Partner Network.
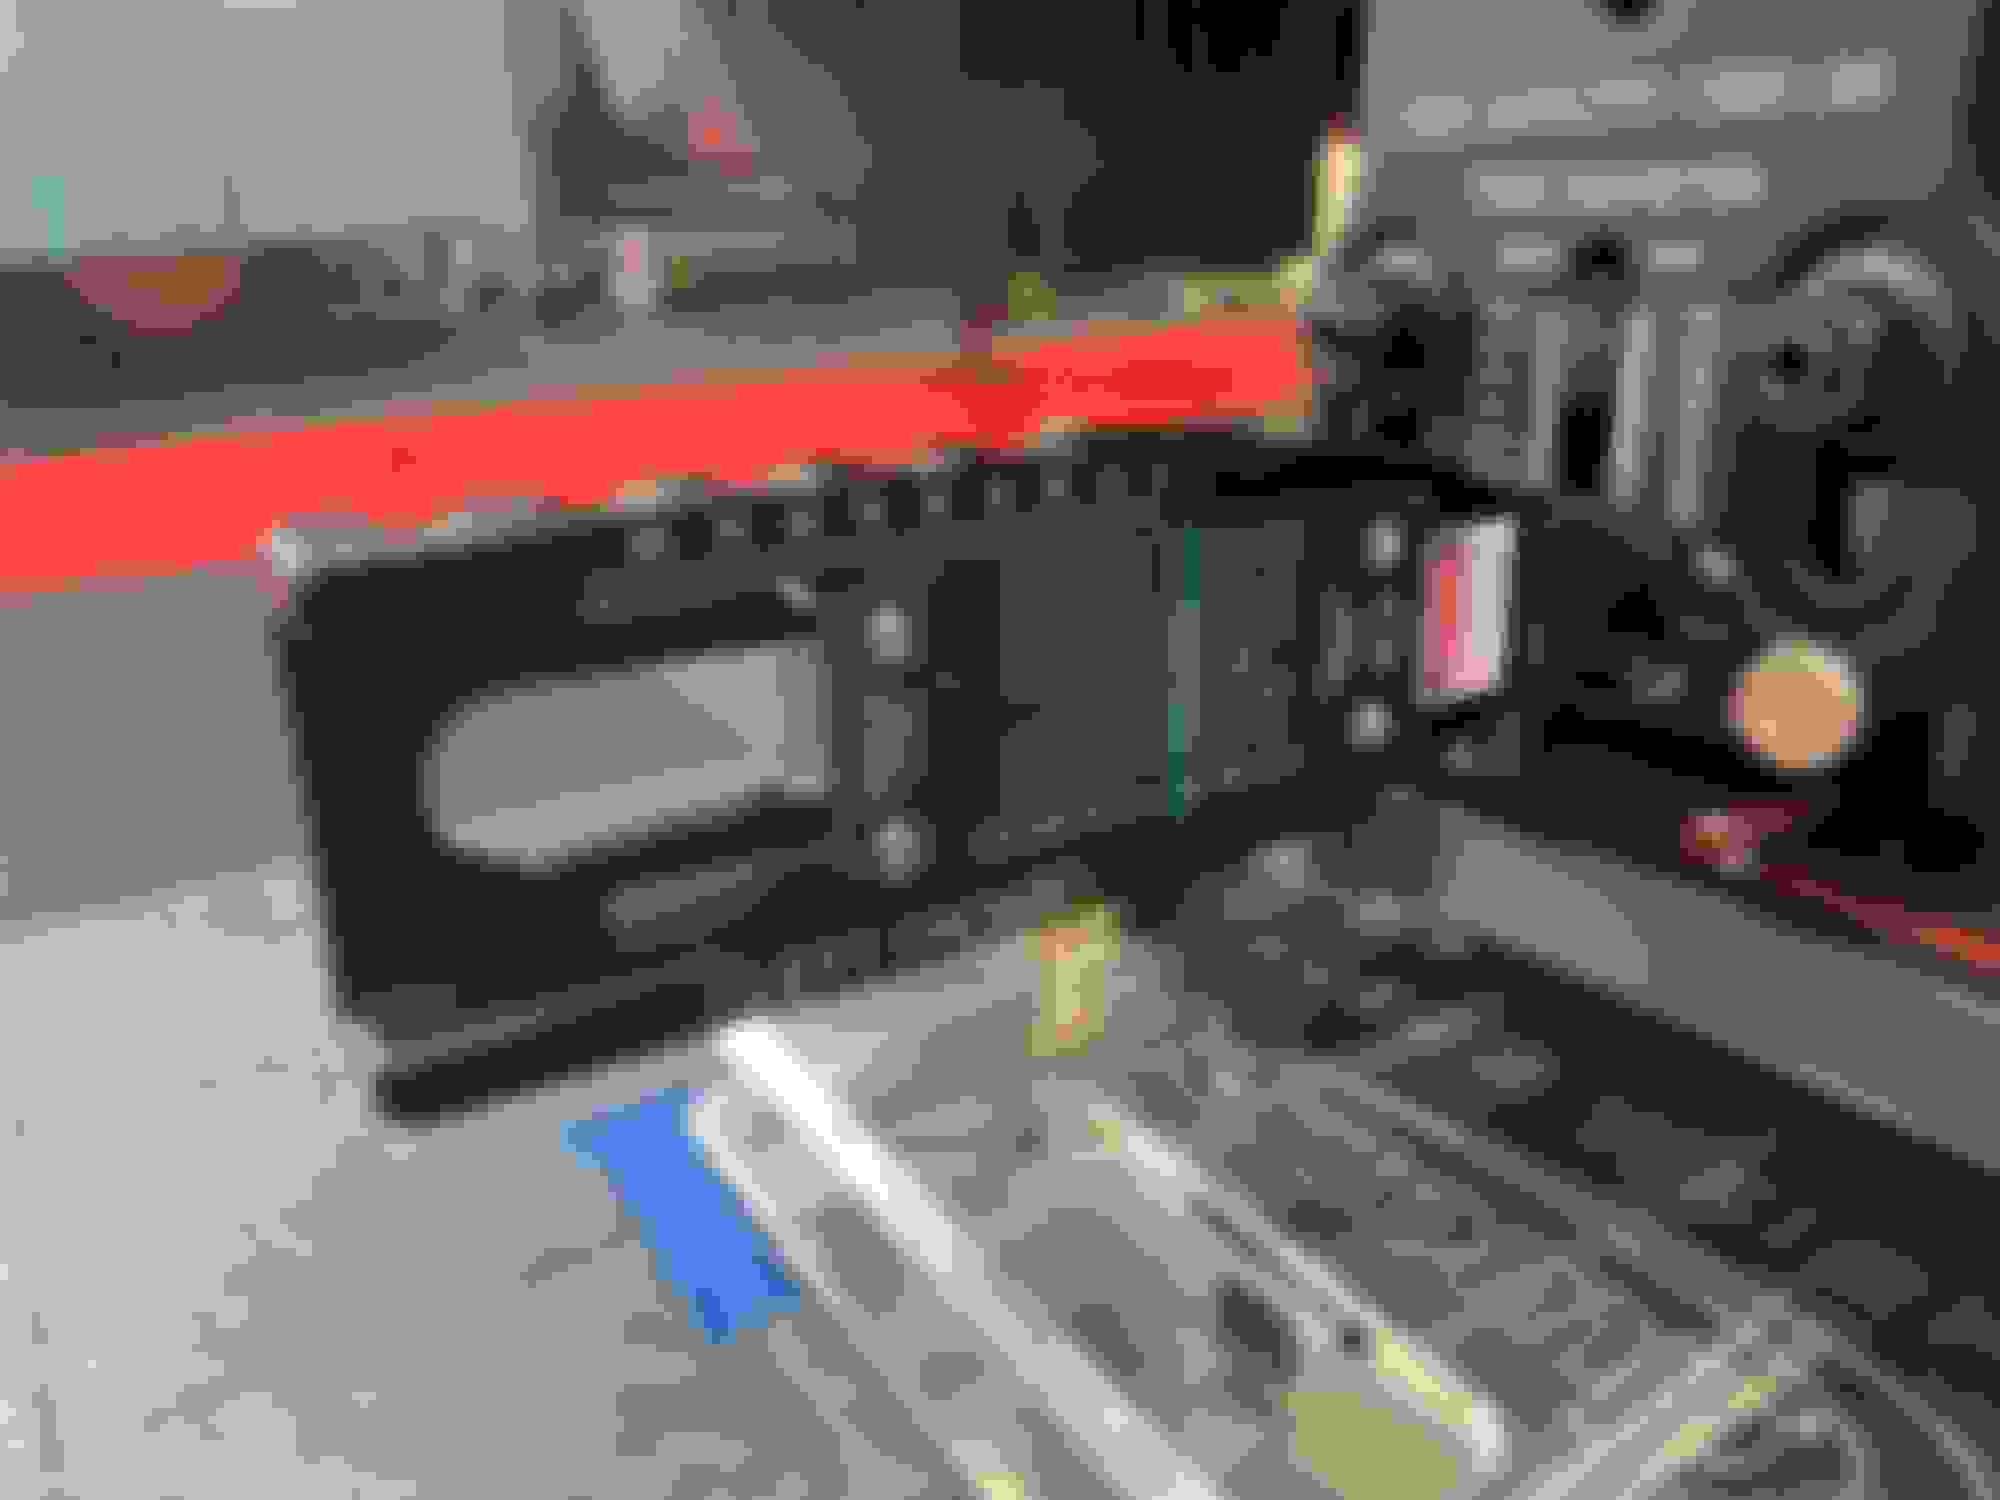
I am not enough of a mechanic to ever do my own alignments, and therefore my question is only out of curiousity. Your tool supports the weight of the car at the wheel mounting face on the hub. But when the car is sitting on its wheels and tires, the vertical force supporting the hub is at the center of the tire, which is somewhat inboard of this mounting face. Thus the bending loads on the front suspension would be different in the two cases. Wouldn't this introduce an error in setting alignment, especially camber?
I am not enough of a mechanic to ever do my own alignments, and therefore my question is only out of curiousity. Your tool supports the weight of the car at the wheel mounting face on the hub. But when the car is sitting on its wheels and tires, the vertical force supporting the hub is at the center of the tire, which is somewhat inboard of this mounting face. Thus the bending loads on the front suspension would be different in the two cases. Wouldn't this introduce an error in setting alignment, especially camber?
Absolutely an awesome question!
For this case we can reasonably assume that the tire evenly support the load across its surface which means the load can be estimated to occur at the center of the tire tread as you stated above. (Reference: I have read studies where this isn't the case, especially during dynamic loading but for static loading we say it's reasonable). We'll take the C7Z06 front wheel/tire and look at it. It's 10" wide wheel with a +43mm offset which means the hub face is 43mm (or ~1.7" we'll continue in inches) towards the outside of the wheel. This causes the center loading of the tire/wheel to be offset 1.7'' from the Wheel Hub Mounting Surface. Which as stated above creates a bending load (or sometimes referred to as a moment) onto the Wheel Hub and therefore onto the suspension components (especially the bushings). We'll estimate that the front wheel statically supports around 900lbs. So the bending moment that this creates onto the hub face can be found by multiplying the offset by the supported load. 1.7" * 900 lbs -> 1530 in-lbs, in more standard terms -> 127.5 ft-lbs of bending moment onto the hub and suspension components. We can then state that this puts the lower control arm into a compression load and the upper control arm into a tension load. (If the offset was negative the load directions would flip.) I'll now assume (I don't have a steering knuckle and control arm set for a C7Z06 in front of me) that the hub is placed centrally between the two ball joints, or in other words, evenly between the two control arms. Lets also assume the ball joints have 6" of vertical separation (3'' from center of hub to upper ball joint/control arm, and 3'' from center of hub to lower ball joint/control arm). So, to roughly figure out how much load this puts on the control arm bushing we made the assumption that the hub to control arm distances are the same which correlates to the upper and lower control arms seeing the same load, just in opposite directions. So to resist the 127.5 ft-lb bending moment the equation will look something like this:
127.5 ft-lb = (0.25 ft)*(Reaction Force Upper CA) + (0.25 ft)*(Reaction Force Lower CA)
&
(Reaction Force Upper CA) = (Reaction Force Lower CA)
The reason both are positive is that I am utilize the hub as the center of the moments (It's transfer to the hub through the tire/wheel)
This results in a total force applies to the each control arm of -> 255 lbs, split between two control arm bushing -> 127.5 lbs on each bushing
(The numbers only worked out nicely due to the assumption and the estimated distances made)
In summary, you are correct that the offset of the wheel does change how the hub is loaded versus the loading when on the Hub Stands. This progressively worsens the greater the wheel offset, whether it be positive or negative. But, 127.5 lbs is very small in comparison to the stiffness of the bushings, so this will have minimal effects on the alignment measurements. Please note again: quite a few assumptions (ones that weren't mentioned as well, like control arm angle) were made to generalize the math and make it easy to explain. Hopefully this given a little clarity to your question. My apologizes if I went crazy with the answer ! If you have any questions or would like to see the Free Body Diagrams of the basics, I can put that together and post it.
Thanks!
Colton @ CSM Performance LLC
Wow! Thanks for the excellent and comprehensive reply. Obviously you had considered the issue in your design. Looks like a great system.
Widgeon
Wow! Thanks for the excellent and comprehensive reply. Obviously you had considered the issue in your design. Looks like a great system.
Widgeon
Anytime!
Doing your own alignment is pretty straightforward when done in a step-by-step process with the right tools. If you decide someday to take it on yourself, give us a call !
We want to give a shout out to all of the CorvetteForum members! You all have been vital to our success with your support and constant feedback we wouldn't be where we are today without you.
Happy 4th Weekend!
We've released a number of updates over the past three years, engineering one of the premier alignment solutions on the market.
The Corvette Community's support has had an enormous impact on our success and we're incredibly grateful.
We've recently transitioned our product line to feature Hardcoat Anodizing as the standard option.
Hardcoat creates a surface hardness equivalent to tool steel for superior wear resistance and longevity along with high contrast aesthetics.
Released Early By Customer Request! Our Black Friday Sale goes live tomorrow thru Cyber Monday with 5% off all of our products. We only run one sale a year and this is it!
How do you take advantage of the sale? - Reach out to us on here, Instagram, our website, or through the phone. - We'll tailor a package specific to your needs with everything you need and nothing you don't.
Make alignments simple, repeatable, precise, and stress-free. The perfect time to setup for 2024


 08-27-2018, 08:01 PM


 ! If you have any questions or would like to see the Free Body Diagrams of the basics, I can put that together and post it.
 !
!