When you click on links to various merchants on this site and make a purchase, this can result in this site earning a commission. Affiliate programs and affiliations include, but are not limited to, the eBay Partner Network.
How to remove your rear lower fascia / bumper cover for exhaust removal - w/pics
Installed the Magnaflow 19236 and took pics for anyone who is interested in the step-by-step procedure:
I lifted the entire car because I also replaced the X-pipe. To swap the mufflers, you do not need to have the front in the air. I went with 2 - 3 ton Arcan jacks and 2 - 6 ton jack stands.
Notes are directly below each picture.
First thing you should do is take off your rear tires... No pics of that - If you don't know how to take off your tires...proceed to your nearest muffler shop and let them do it. lol
If you're like me... get organized. I hate losing bolts, or having orphans left over... so I try to stay pretty organized any time I'm tearing into something.
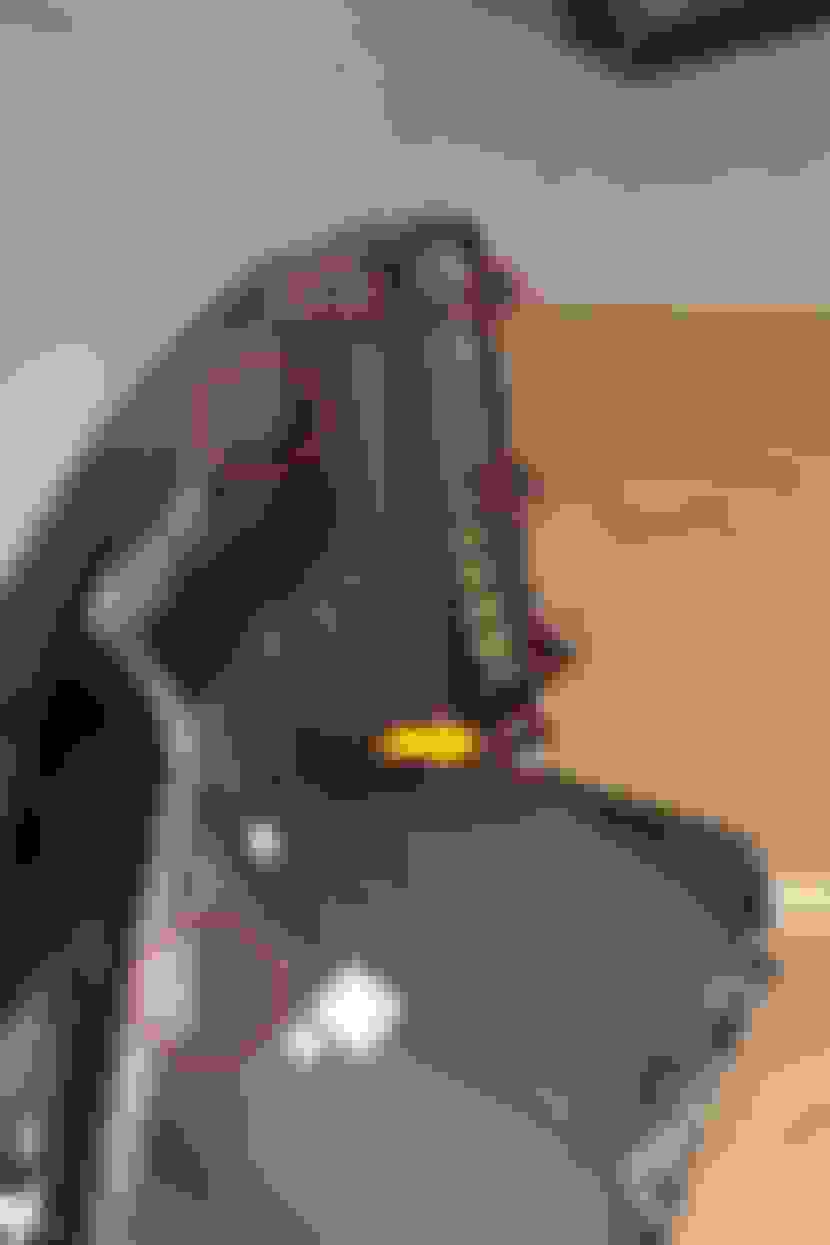
The bolts circled in red are for the fascia, and need to be removed. The bolt circled in yellow is for the mudflap, and can be removed now also.
The upper portion of the mudflap clips in, and simply pulls straight out. There is one bolt on the underside of the flap. If you didn't remove that bolt in the previous step, do so now.
Once the mudflap is off, it will reveal these two Torx screws that need to be removed.
2 bolts behind your license plate need to be removed.
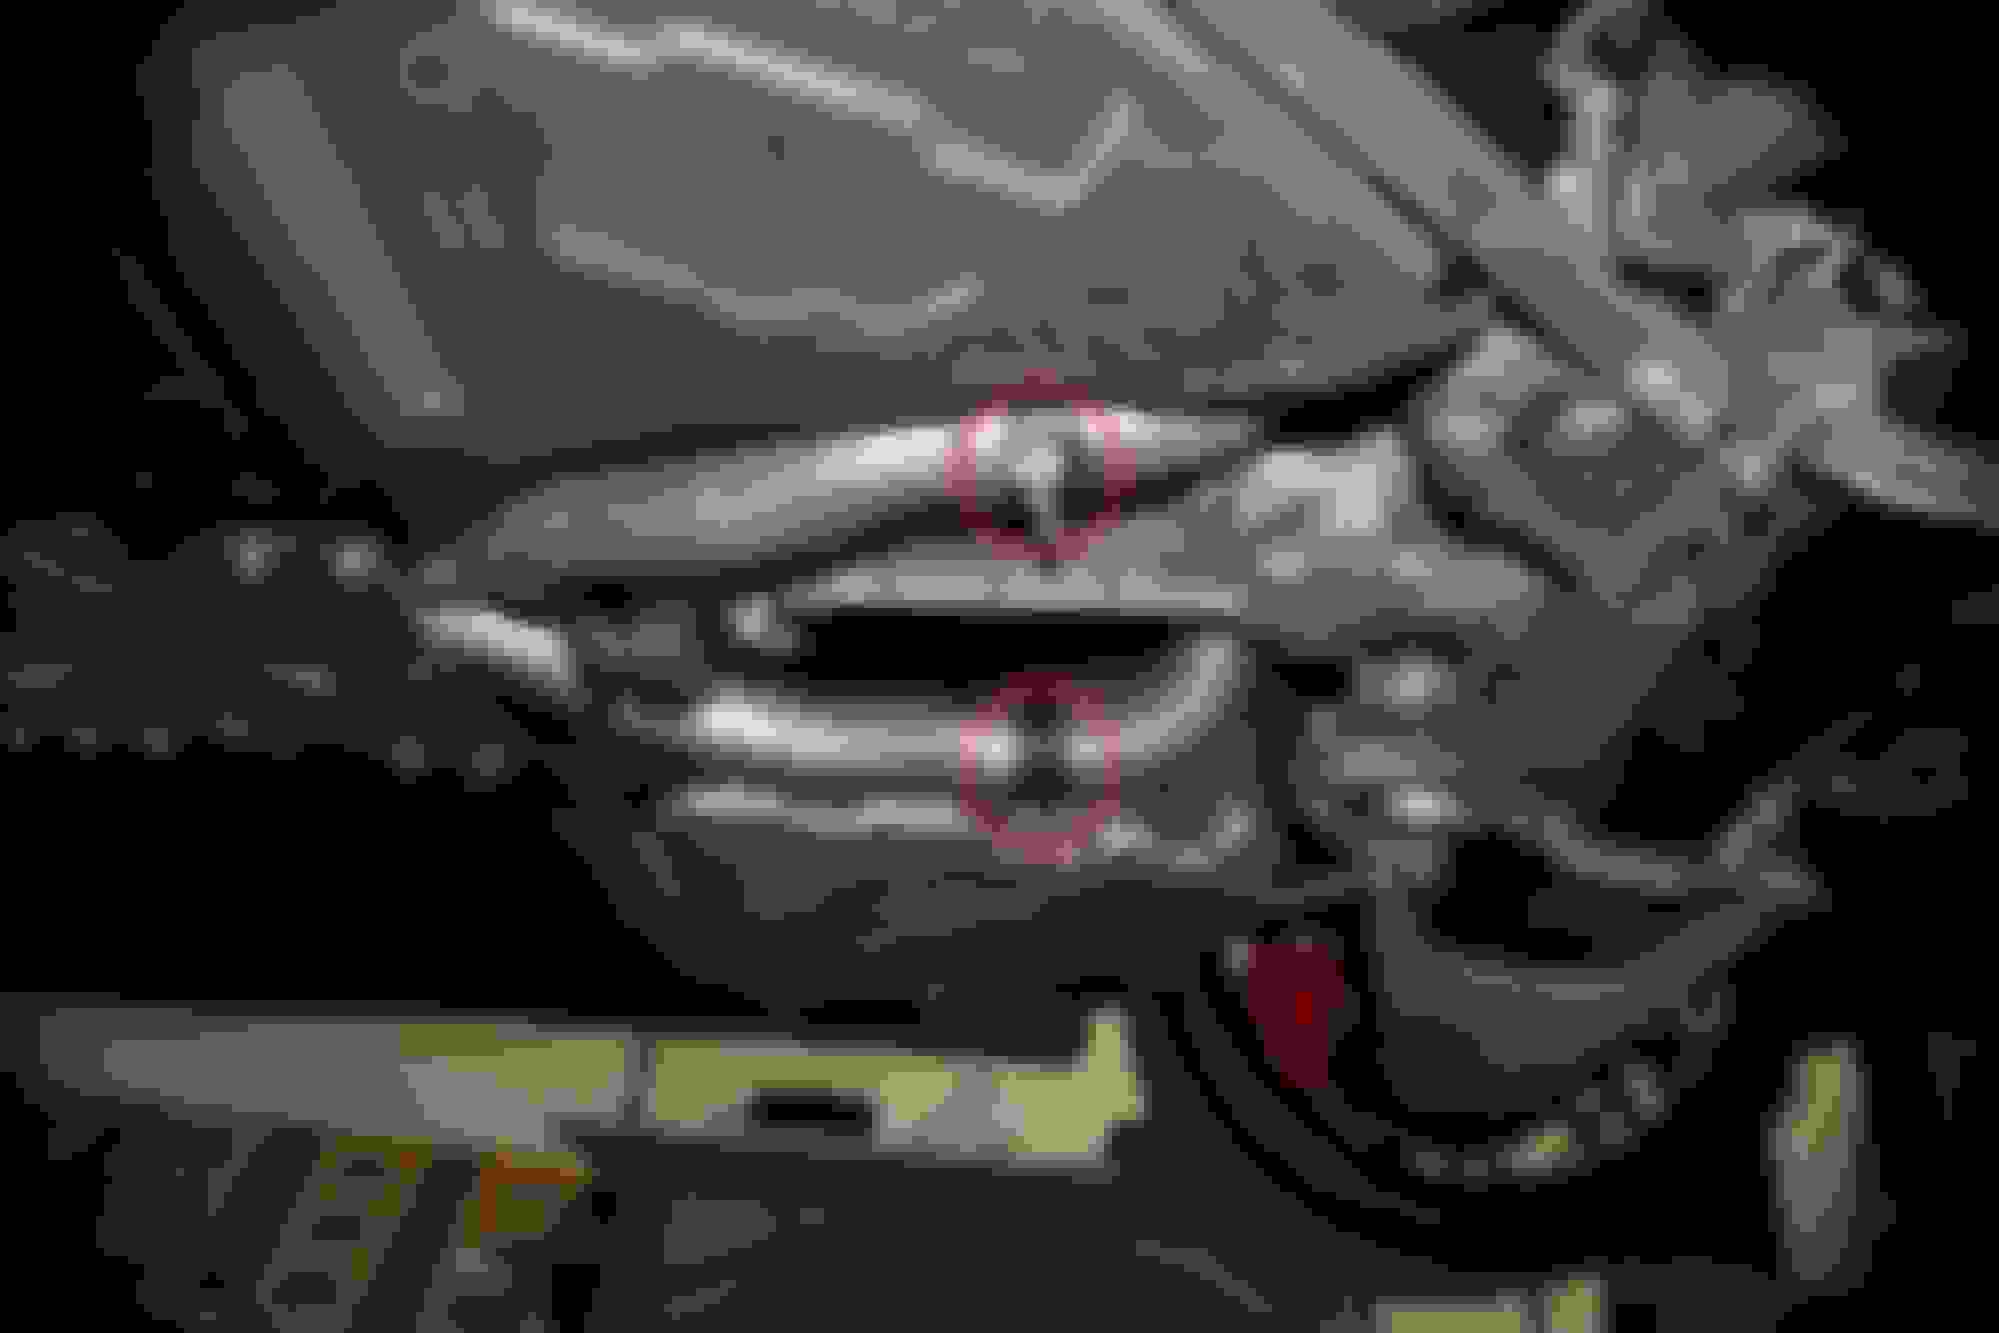
This is a little dark, but the red circles indicate two bolts that need removed for the fascia removal. The yellow oval is showing 2 bolts that bolt the two mufflers together. You'll need to remove those once the fascia is off.
Getting the reflectors out is really the only thing you have to do blind. At this point, the only thing holding the fascia on securely are the bolts behind the reflectors. Your fascia should be fairly loose on the corners. You'll need to find a position where you can get your arm up in there to release the tabs on the reflectors.
This is a shot of the removed reflector, so you'll have an idea of what you're feeling around for up inside the fascia. Note they do not all release in the same direction. As soon as you press it, it releases very easily.
Here, the red circles are the 2 bolts behind the reflector. The yellow circles indicate the holes for the reflector tabs.
Once you remove the bolts behind the reflectors, there is no more hardware holding your fascia on. Just a handful of clips and tabs that are in the next pics.
This pic shows the various slides and tabs that are on the fascia that need to be released. The tab with the arrow pointing to it is the most "positive locking" tab. The others release very easily with the push of your fingers.
If you're doing this by yourself, either get someone to hold the fascia in place while you release the tabs, or temporarily re-install the bolts above the license plate, to hold the fascia while you release the tabs. When the tabs are released, the fascia will be fully free from the car.
A close-up of the most difficult of the tabs. This is the same tab the arrow was pointing at on the previous pic.
After some wiggling and shifting of the fascia, it should come away free and clear. And this will be your view! One lower fascia removed!
You can see the silver tabs where you removed all the bolts. Behind the reflectors, behind the license plate, above the exhaust.
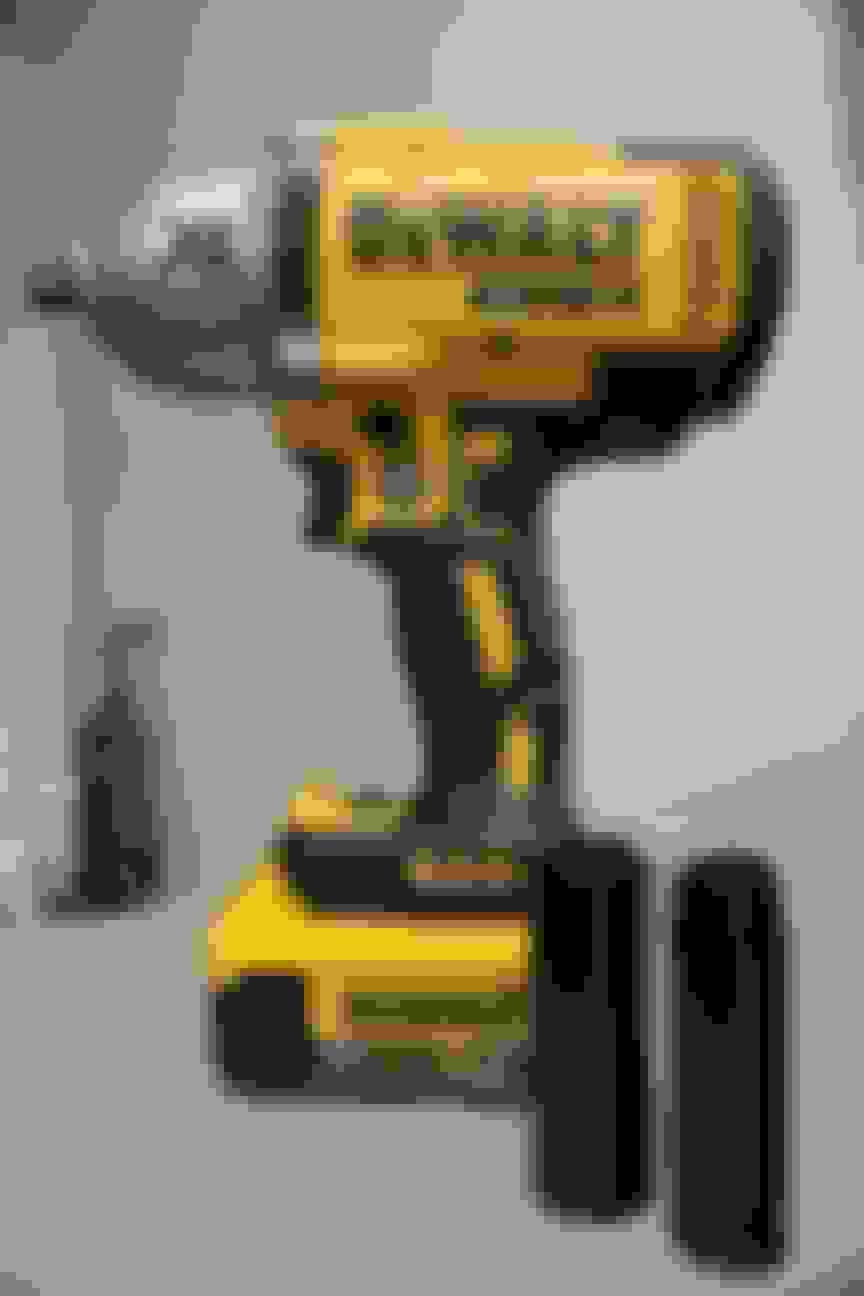
Now just loosen the exhaust clamps, unbolt the two mufflers from each other, and unbolt the hangers one at a time. I Strongly recommend getting a cordless impact driver. This one has 3 settings: 0-400 rpm, 0-1200 rpm, 0-1900 rpm. This is the DCF899, and has a max 700 ft/lbs torque. More than enough for any bolt on your car.
Hit each muffler clamp with the impact...
You will need to beat on these joints a few times with a rubber mallet to break the two pipes loose. They tend to bake themselves together and hold tight even after the clamps are off.
The bolts in the yellow oval will separate the two mufflers so you can remove them one at a time.
(the red circles were for removing the fascia)
Unlock the connector by pulling the grey tab, then unplug the connector.
The red circles show the bolts holding the valve to the pipe. There are actually 3 bolts, but one is hidden. Wait to take the valve off until the mufflers are off - it's much easier.
The final bolts to remove are the muffler hanger bolts. Hold on tight to the muffler with your hand or place something under the pipes/muffler to brace it. When you remove the hanger bolts, it will simply drop.
You do need sufficient space under the vehicle to rotate and manipulate the muffler and pipe to get it out.
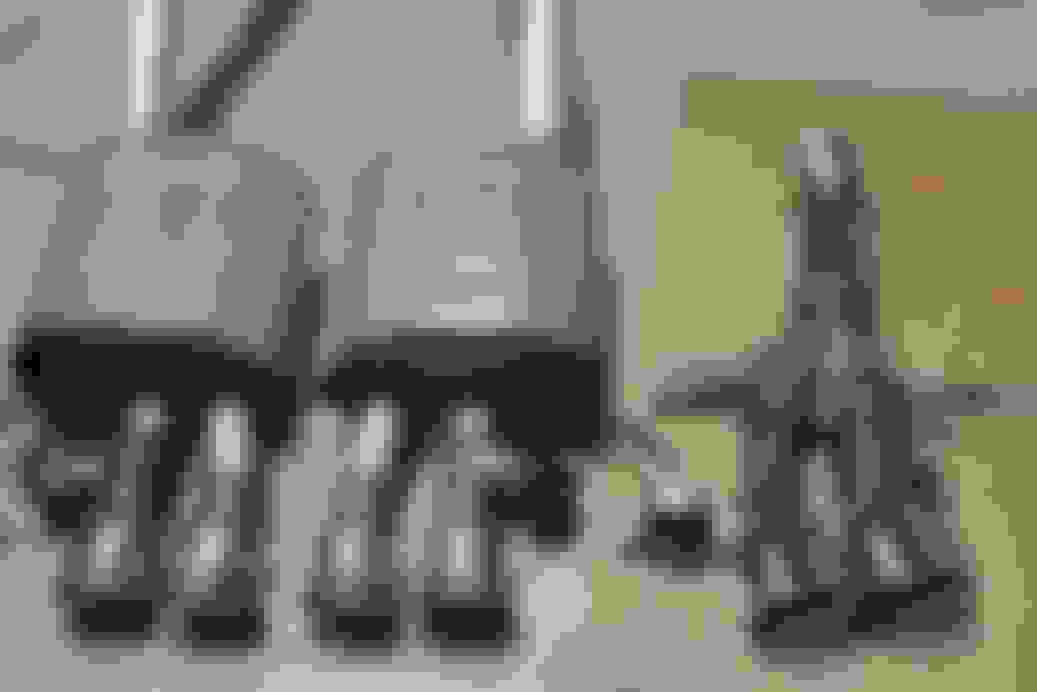
And just like that... stock exhaust removed, and the replacement Magnaflow is ready to go!
I was shocked at the size difference.
For those who are interested:
Stock muffler/pipe weight: 23.6 lbs (x2) = 47.2 lbs.
Magnaflow 19236: 17.2 lbs (x2) = 34.4 lbs.
Total weight savings: 12.8 lbs.
I hope this helped anyone looking to replace their exhaust themselves. If you have any questions, or something isn't clear, please let me know. I've got about 300 pics of this little project and just used the ones I thought were applicable.
I also will do a write-up for the X-pipe. The X-pipe is incredible easy, and if you're doing the exhaust I'd strongly suggest doing the X-pipe as well. Besides the power increase and sound improvement... changing from the stock X-pipe to the Borla X-pipe saved me another 9.0 lbs!
Thanks for checking out the step-by step fascia / exhaust removal, and let me know what you thought!
You have no idea how I work but that is the exact response I expected. The fact remains that if you think this is a difficult job then you are not a talented auto tech.
I don�t have much of my work posted online but here is one link I posted 17 years ago.
Sir, with all due respect, I didn't post this "how-to" for "talented auto techs". I posted it for home garage warriors like myself.
If a job like this is a piece of cake for you, great. Pretty obvious that there are quite a few people who find it useful.
I don't think you need to remove the mudflaps or the 4 Torx behind them.
While the mudflaps aren't connected to the fascia, you have to remove the mudflaps and the Torx screws so you can pull back the well liner to get your hand up in there to release the reflectors, and the tabs on the fascia.
Excellent writeup. I wish every car part I've ever bought came with instructions this clear and organized
Aftermarket manufacturers love posting instructions with a single, grainy black-and-white photo with an arrow pointing to blurry parts you can't even make out and a huge written list of instructions beneath it.
Sometimes I wear and belt and suspenders so forgive me for cringing at two jacks and 2 extended jack stands holding the whole car up. Next time pm me and drive 20 minutes south and use my 4 post lift.
Yea I wish I had this info before doing the Akrapovic exhaust, I am lucky and have the corvette service techs cell phone, and he told us what to remove, the warmer the temp the easier it will be as well. Thanks for posting this
Great stuff! I was lamenting how complicated this particular task was and got flamed that it was a super easy job here on the forum... glad to see some documentation to the contrary!
But I'm not a real man like you folks that can just rip apart a new car without a manual and knowing where the fasteners are.
I'm one of those losers who's gotta take his time, read the pages, know where the fasteners are, take them out, bag and tag them. I take my time and do it right.
Or you can do whatever it is that you do. I guess that works for you.
B&B Performance Exhaust did mine last October and videotaped it for an ad w/o removing the rear fascia. Their Bullet system was installed in about one hour.Check it out....
Did you ever see how a quality body shop works? Do you think they have manuals for every car they work on?
I already know your answer. If they don’t do it exactly as you do then it is wrong. Anyone who feels that swapping mufflers is a difficult job is not a skilled tech.
And I know how you work. You rush and break **** and put it back together with N-1 fasteners. I wouldn't let you or anyone who works like you near my stuff. So we agree entirely.
And my favorite shop has about 500 service manuals in the front entrance!
You have no idea how I work but that is the exact response I expected. The fact remains that if you think this is a difficult job then you are not a talented auto tech.
I don�t have much of my work posted online but here is one link I posted 17 years ago.
Sir, with all due respect, I didn't post this "how-to" for "talented auto techs". I posted it for home garage warriors like myself.
If a job like this is a piece of cake for you, great. Pretty obvious that there are quite a few people who find it useful.
But I'm not a real man like you folks that can just rip apart a new car without a manual and knowing where the fasteners are.
I'm one of those losers who's gotta take his time, read the pages, know where the fasteners are, take them out, bag and tag them. I take my time and do it right.
Or you can do whatever it is that you do. I guess that works for you.

 01-20-2018, 01:20 AM


