
A few cosmetic mods....
 02-01-2019, 08:24 PM
#21
Drifting


I'm a bit odd I'm sure. I'm pretty cheap when it comes to cosmetic mods, but I have no problem spending $5K on forged racing wheels and road racing tires. LOL I've seen the Apsis stuff and actually had a few of their pieces on my 2016 Callaway Z06. Given a choice I'll spend the big bucks on performance and racing parts and stay with stick on C/F.
 02-01-2019, 09:00 PM
#22
Melting Slicks

Thread Starter

Agreed. Forged wheels for road racing are kind of a must. They run over $3K a set. I'm hitting 165mph on the back straight at VIR, so a wheel failure would be a really bad day at that speed.
That's not that odd. Nothing wrong with favoring performance over cosmetics. Just throwing it out there, although I consider wheels cosmetic as well. Maybe I'm odd too. I just got some new wheels too and spent $1600 on them and would NEVER spend more than about $3k on wheels, and that's a stretch. I guess if you got carbon fiber wheels, that would be both cosmetic AND performance, but who wants to spend like $12k on wheels???
02-01-2019, 11:59 PM
#23


Center console - https://www.amazon.com/gp/product/B0...?ie=UTF8&psc=1
Steering wheel trim upper - https://www.amazon.com/gp/product/B0...?ie=UTF8&psc=1
Steering wheel trim lower - https://www.amazon.com/gp/product/B0...?ie=UTF8&psc=1
Door locks - https://www.amazon.com/gp/product/B0...?ie=UTF8&psc=1
Door pockets - https://www.amazon.com/gp/product/B0...?ie=UTF8&psc=1
Seat belt tenders - https://www.amazon.com/gp/product/B0...?ie=UTF8&psc=1
02-02-2019, 02:08 PM
#24
Melting Slicks
Thread Starter
Just finished:
1) Dealer installed CAI. Notice nothing. Not even more sound. But hey, it looks cool. Would've done it myself, but a dealer install ensures no warranty issues.
2) Lowered all 4 corners on factory bolts. No change in ride, but definitely sitting about an inch lower up front. Takes about 15 minutes per side. Should've done it sooner.
3) Figured I'd add the DEI heat sheilds (4) while I was under there any way. Covered both CATs (driver's side adjacent to cooler/passenger side adjacent to lines). Transmission tunnel, both sides. This took about 15 minutes per shield. More time wrestling with the metal retaining bands than anything else.
The following users liked this post:
Mikec7z (03-27-2019)
02-02-2019, 08:45 PM
#25
Burning Brakes


Pictures unfortunately don't do it justice, but anything is better (to me) than the bright aluminum. When you're sitting in the car the finish appears less glossy and more just dark. I want the cabin as dark as possible. Each piece takes about 3 minutes.
1) 30 seconds to wipe down he area with alcohol
2) 30 seconds to removed the tape backing
3) 30 seconds of heat gun on the part to be installed
4) 30 seconds of heat gun on the receiving surface
5) 60 seconds of pressing like heck to ensure the piece is fully adhered.
1) 30 seconds to wipe down he area with alcohol
2) 30 seconds to removed the tape backing
3) 30 seconds of heat gun on the part to be installed
4) 30 seconds of heat gun on the receiving surface
5) 60 seconds of pressing like heck to ensure the piece is fully adhered.
Thanks.
02-02-2019, 09:42 PM
#26
Melting Slicks
Thread Starter
Those are the right questions. Ideally you'd want to be as hot as possible, inside and outside of the car to make the adhesion easier and give you a millimeter of flex before you push like hell. I used the heat gun to make this work. Got the part and the receiving surface hot to the touch.....not warm, HOT.
The shifter surround - I started at the back and worked forward. 2 reasons. The selector **** for the suspension really dictates your attack angle. Started at the back makes this a non-issue. Also, think about your view angle. If your going to mess this up, do it at the front where you can't see. Remember that you'll always be looking at this part back to front so lining up the plate at the back is ideal both cosmetically and from an ease of install perspective.
The shifter surround - I started at the back and worked forward. 2 reasons. The selector **** for the suspension really dictates your attack angle. Started at the back makes this a non-issue. Also, think about your view angle. If your going to mess this up, do it at the front where you can't see. Remember that you'll always be looking at this part back to front so lining up the plate at the back is ideal both cosmetically and from an ease of install perspective.
02-03-2019, 07:24 AM
#27
Burning Brakes
Those are the right questions. Ideally you'd want to be as hot as possible, inside and outside of the car to make the adhesion easier and give you a millimeter of flex before you push like hell. I used the heat gun to make this work. Got the part and the receiving surface hot to the touch.....not warm, HOT.
The shifter surround - I started at the back and worked forward. 2 reasons. The selector **** for the suspension really dictates your attack angle. Started at the back makes this a non-issue. Also, think about your view angle. If your going to mess this up, do it at the front where you can't see. Remember that you'll always be looking at this part back to front so lining up the plate at the back is ideal both cosmetically and from an ease of install perspective.
The shifter surround - I started at the back and worked forward. 2 reasons. The selector **** for the suspension really dictates your attack angle. Started at the back makes this a non-issue. Also, think about your view angle. If your going to mess this up, do it at the front where you can't see. Remember that you'll always be looking at this part back to front so lining up the plate at the back is ideal both cosmetically and from an ease of install perspective.
02-08-2019, 10:47 PM
#28
Melting Slicks
Thread Starter
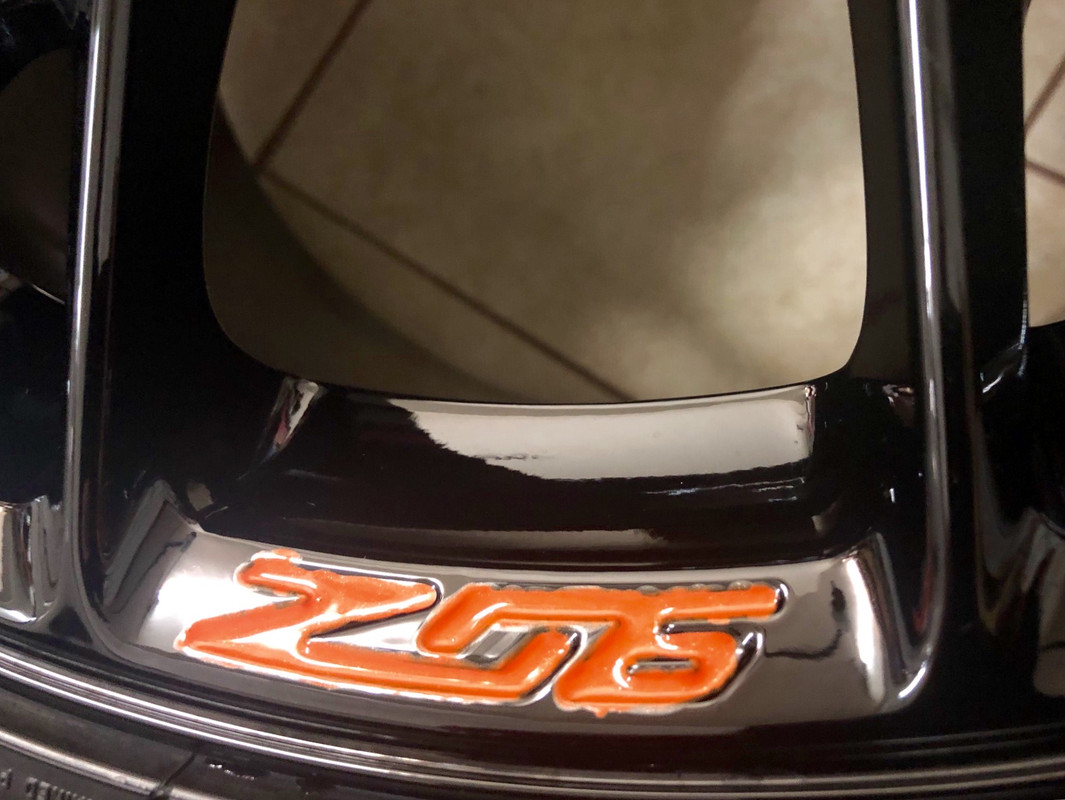
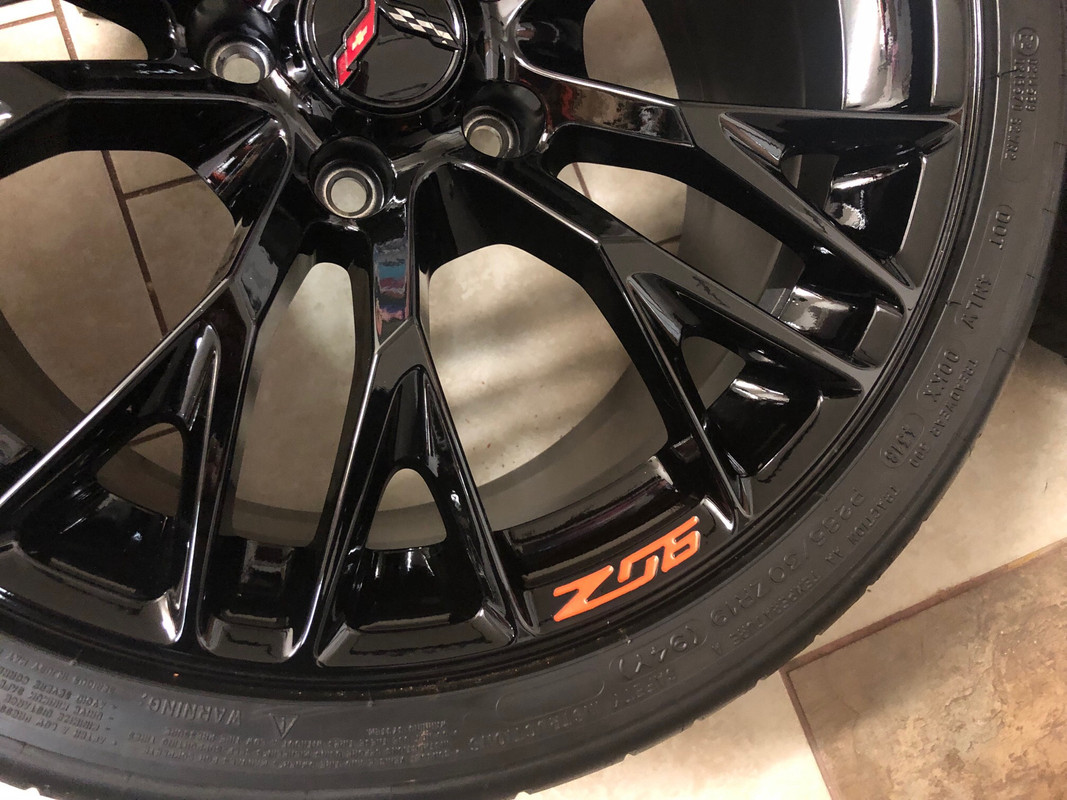
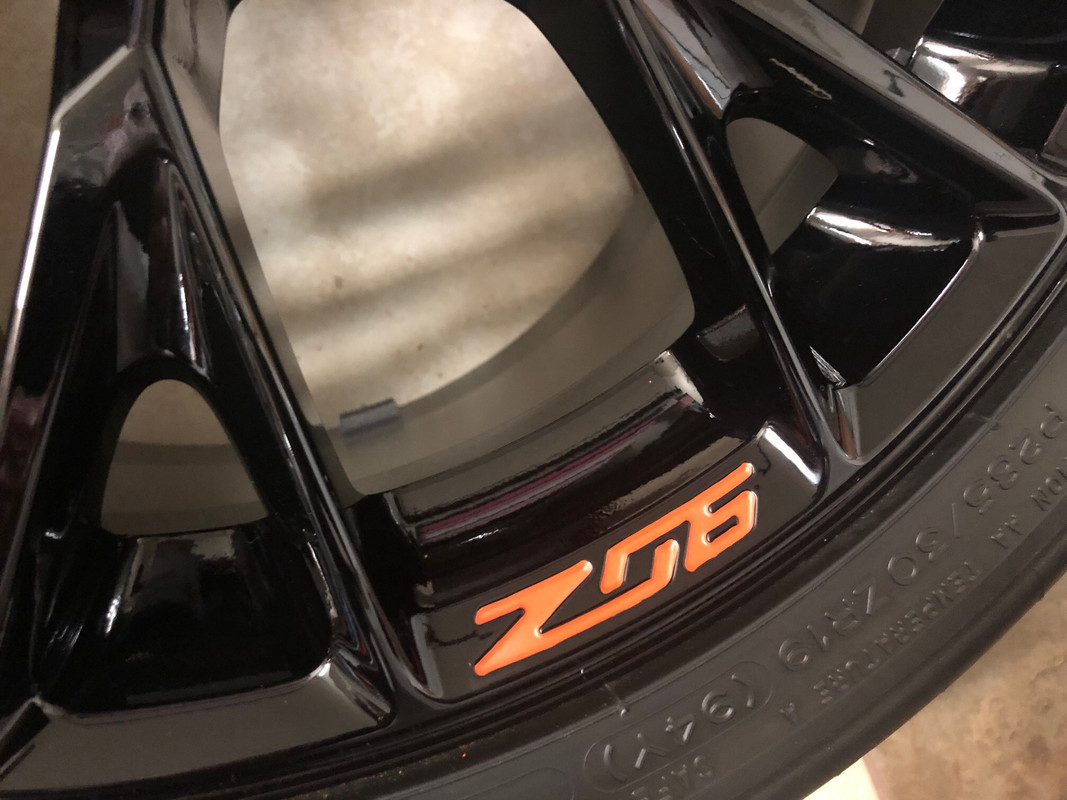
More pretty shiz. Filled in the embossed wheels with Sebring orange touch up paint.
1) Clean wheels with Sonax and hot soapy water
2) Towel dry
3) Apply touch up paint liberally
4) Remove excess with Mr Clean eraser
5) Apply 2 coats of armor all wheel protector


1) Clean wheels with Sonax and hot soapy water
2) Towel dry
3) Apply touch up paint liberally
4) Remove excess with Mr Clean eraser
5) Apply 2 coats of armor all wheel protector
Last edited by cvp33; 02-08-2019 at 10:53 PM.
02-10-2019, 06:39 PM
#29
Melting Slicks
Thread Starter
What's next? Car gets dropped off tonight at the body shop to add the following:
- Carbon Fiber Stage 3 front splitter and winglets
- Carbon Fiber Full Side Skirts
- Carbon Fiber Hood Vent
- Carbon Fiber front wheel spats
- Stinger stripe
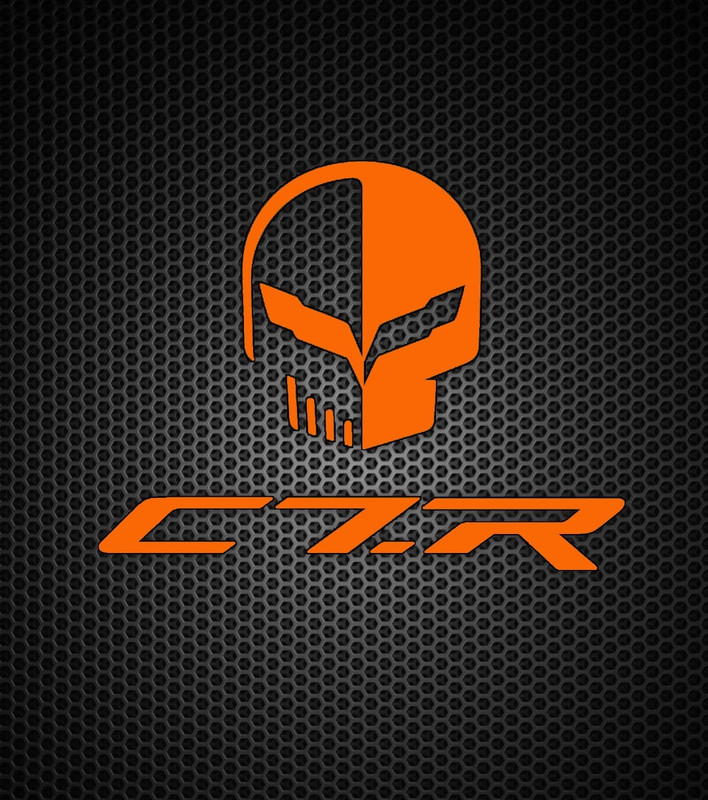
Final ORANGE-IFICATION of my Z:
- Custom made wheel centers with Orange Jake Racing logo
- Custom painted orange shift paddles
- Custom painted orange tow hooks
When it's done it will look like the rendering.....only faster. LOL
Using this file for my center caps.
- Carbon Fiber Stage 3 front splitter and winglets
- Carbon Fiber Full Side Skirts
- Carbon Fiber Hood Vent
- Carbon Fiber front wheel spats
- Stinger stripe
Final ORANGE-IFICATION of my Z:
- Custom made wheel centers with Orange Jake Racing logo
- Custom painted orange shift paddles
- Custom painted orange tow hooks
When it's done it will look like the rendering.....only faster. LOL
Using this file for my center caps.
Last edited by cvp33; 02-10-2019 at 06:44 PM.

 02-13-2019, 12:44 PM
#32
Pro


A few things:
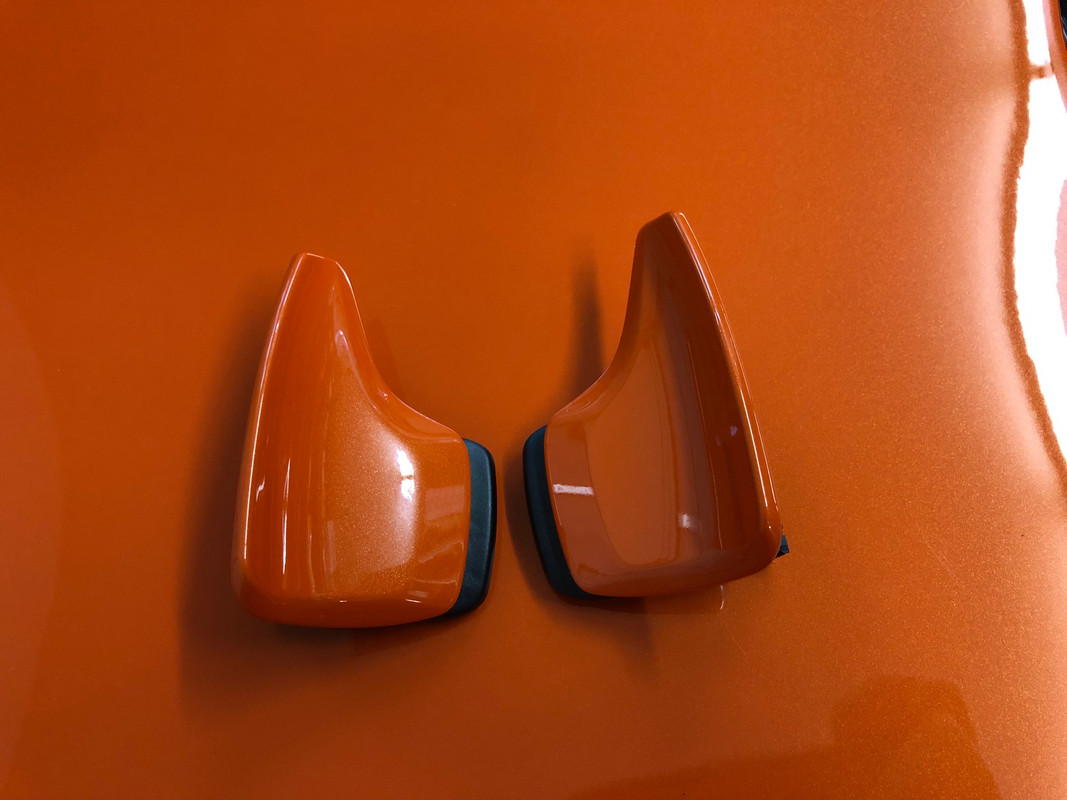
1) My dad had an Orange 1976 Corvette when I was a kid. I knew if I ever had a chance I would own one. The Sebring Orange will fool you. In pictures it looks like a flat orange. In person it has metal flake in it and it's just stunning.
2) The carbon parts are just overlays that go on with 3M tape. If you heat up the receiving surface and the part itself you're going to have a good install experience.
3) The steering wheel overlay necessitates removing the horn/airbag. Not a big deal for me as I've actually gotten pretty good at it and I needed to for the paddle shifter install.
4) I've got a set of orange Z06 emblems coming for the steering wheel to take the place of the covered emblem. I'm also replacing the red Z on the fender with orange. Thankfully the brake calipers are black.
Heres the link to the seller on Amazon - Just Auto Trim. They have a few more products, but I didn't care for the way they looked.
https://www.amazon.com/s/ref=bl_dp_s...s=Justautotrim
02-13-2019, 08:17 PM
#35
Pro

 02-14-2019, 11:13 AM
#36
Le Mans Master


Looks good!
02-16-2019, 12:51 PM
#38
Melting Slicks
Thread Starter
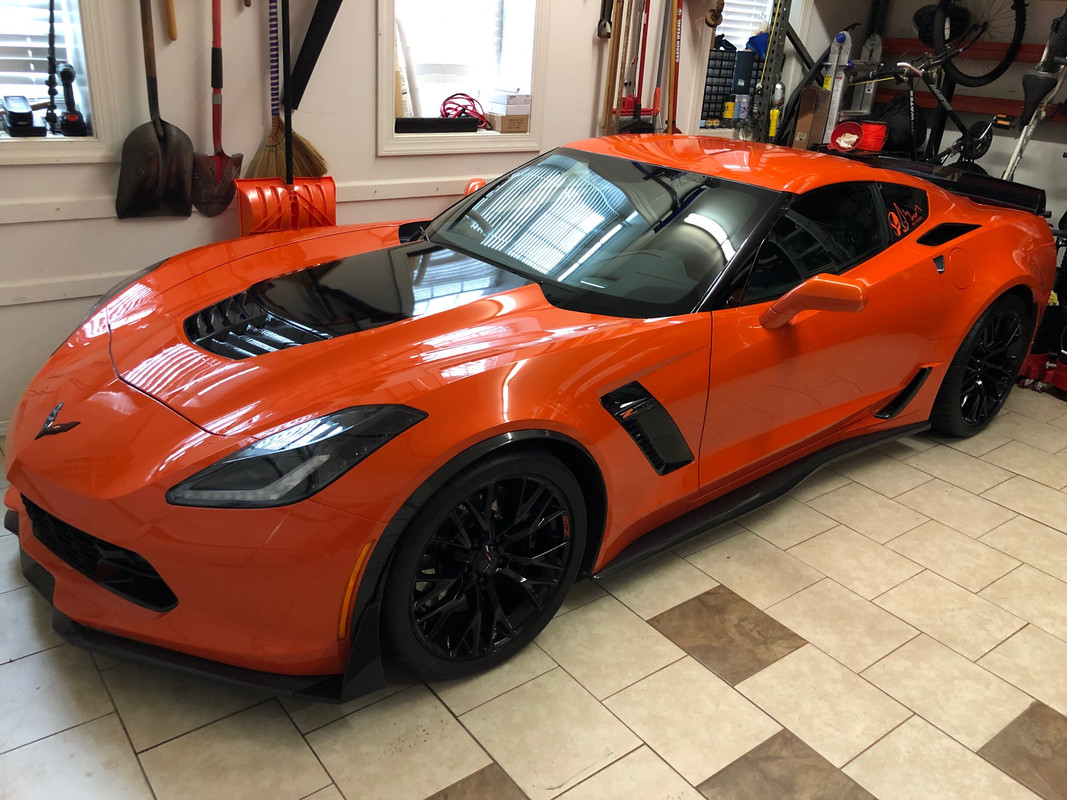
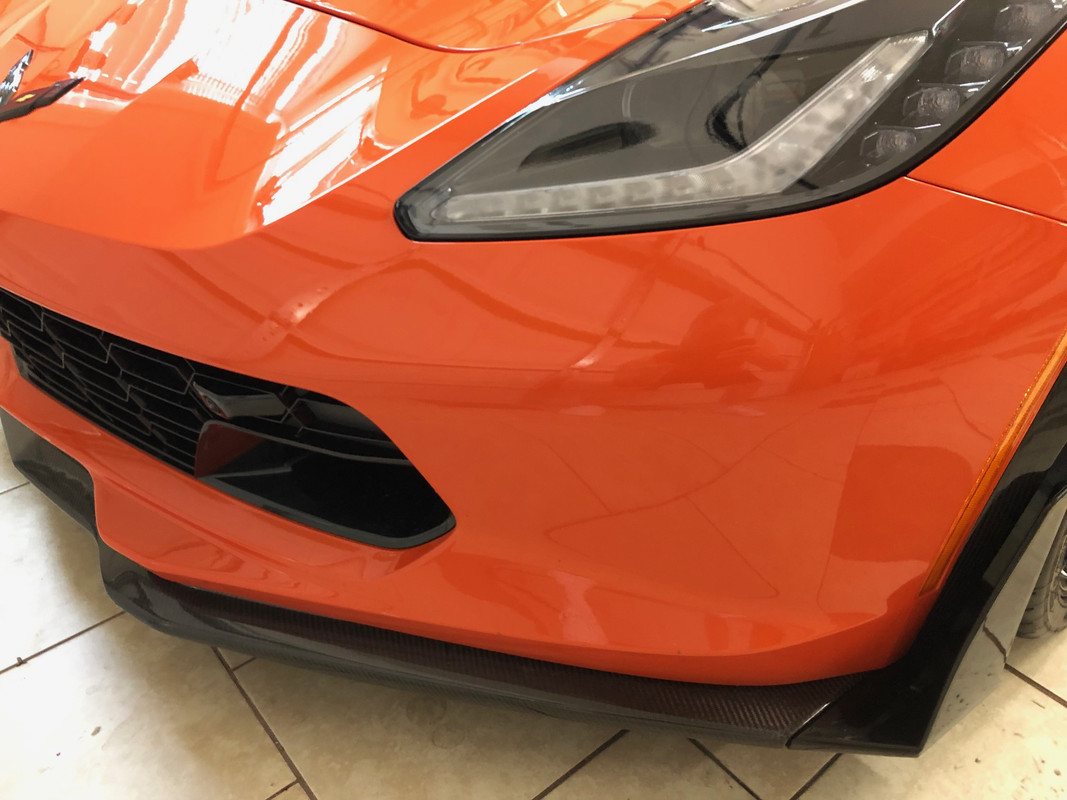
THE ORANGE-IFICATION continues. As well as carbon fiber. LOL
1) Carbon Fiber EOS front splitter
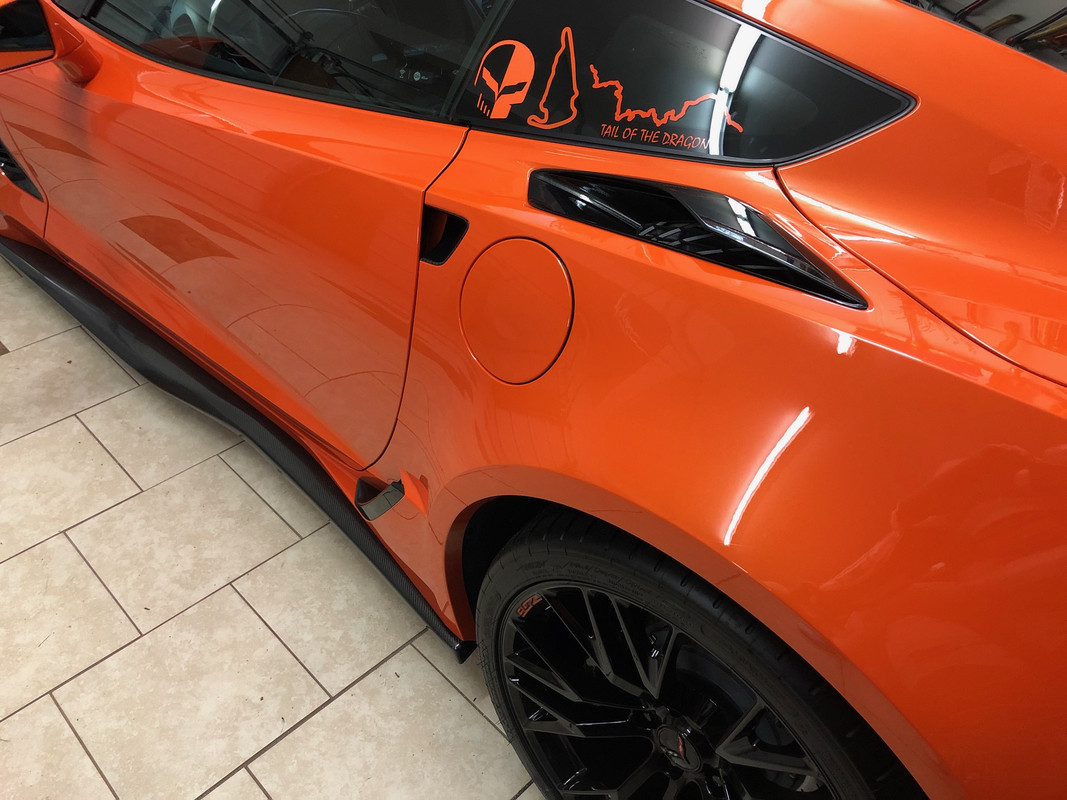
2) Carbon Fiber EOS side skirts
3) Carbon Fiber APR wheel spats
4) Carbon Fiber APR hood vent
5) Custom Vinyl Stinger stripe
6) Shifter Paddles ORANGE color matched (now to find die cut "rev match" decals (have to wait 30 days for paint to fully cure).
7) ORANGE VIR and TotD decals
8) ORANGE C7R custom wheel center caps inbound
*Dealer did a great job with the installs and a remarkable job color-matching the shift paddles.
**I even color-matched my snow shovel

1) Carbon Fiber EOS front splitter
2) Carbon Fiber EOS side skirts
3) Carbon Fiber APR wheel spats
4) Carbon Fiber APR hood vent
5) Custom Vinyl Stinger stripe
6) Shifter Paddles ORANGE color matched (now to find die cut "rev match" decals (have to wait 30 days for paint to fully cure).
7) ORANGE VIR and TotD decals
8) ORANGE C7R custom wheel center caps inbound
*Dealer did a great job with the installs and a remarkable job color-matching the shift paddles.
**I even color-matched my snow shovel
Last edited by cvp33; 02-16-2019 at 02:04 PM.
The following users liked this post:
Mikec7z (03-27-2019)
 02-16-2019, 03:06 PM
#40
Melting Slicks
Thread Starter
https://www.ebay.com/itm/292501347574
UPDATE - Same seller, MVB.vinyl has agreed to take a run at producing the "REV MATCH" decals. Stay tuned. Also switching out my dash plaque and door sills for the C7.R. Some folks get feisty on this stuff and see it as UP-badging. Oh well. I'll be changing the R's to ORANGE. Going to look badass.
Last edited by cvp33; 02-16-2019 at 03:39 PM.