Temper Camaro '69 with C5 chassis swap


 05-31-2021, 09:13 AM
#122
Racer

Thread Starter

I�m single so no worries there. They also won�t scratch the door if you open it for them. They think it�s sweet when it�s car protection lol
05-31-2021, 11:07 AM
#123
Team Owner

06-20-2021, 11:36 PM
#124
Racer
Thread Starter
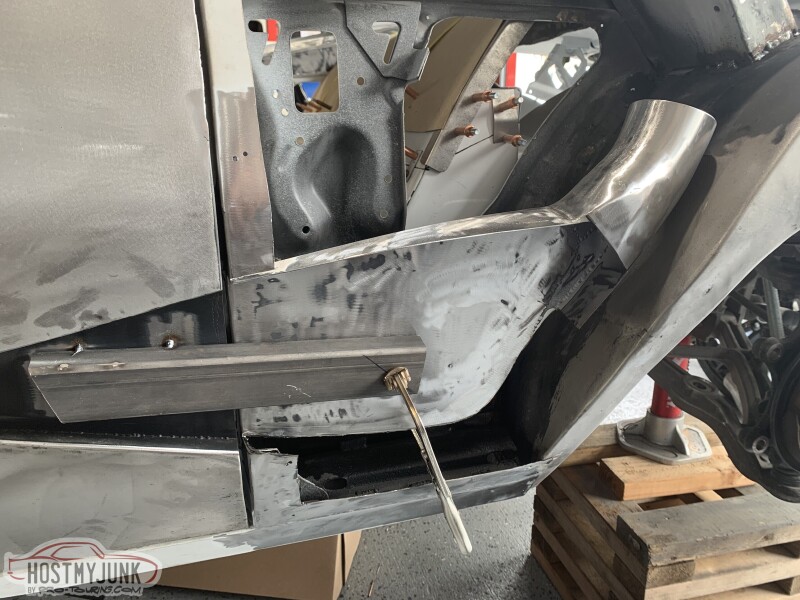
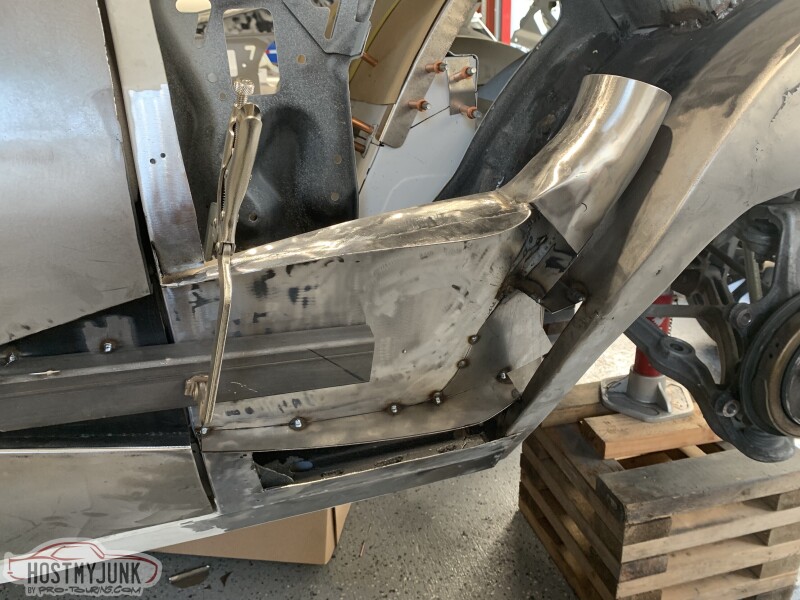
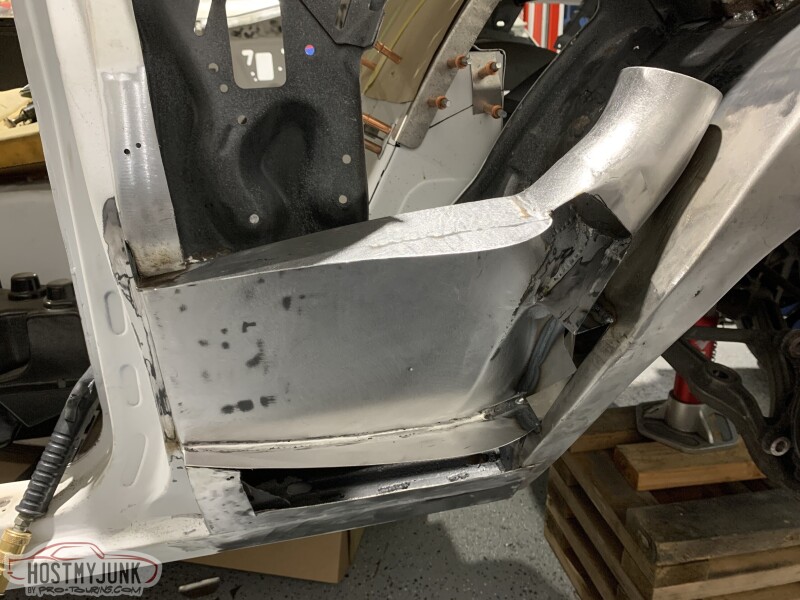
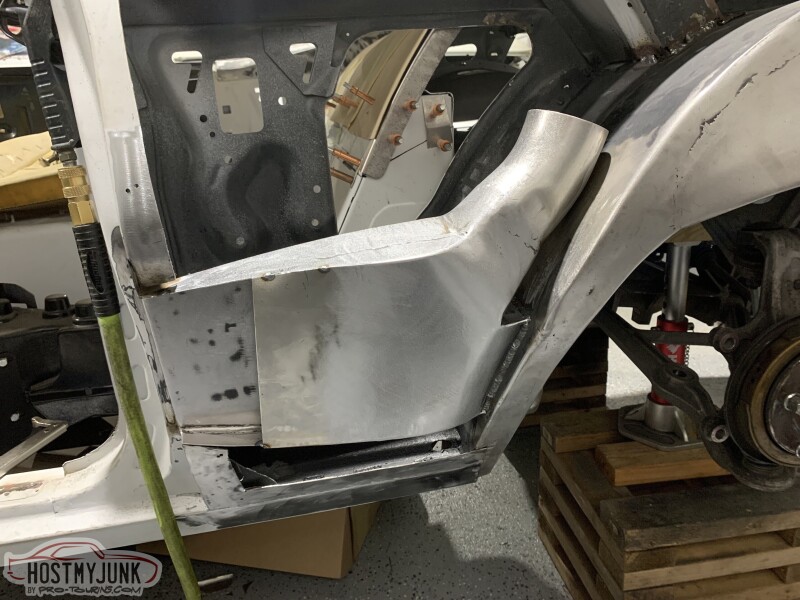
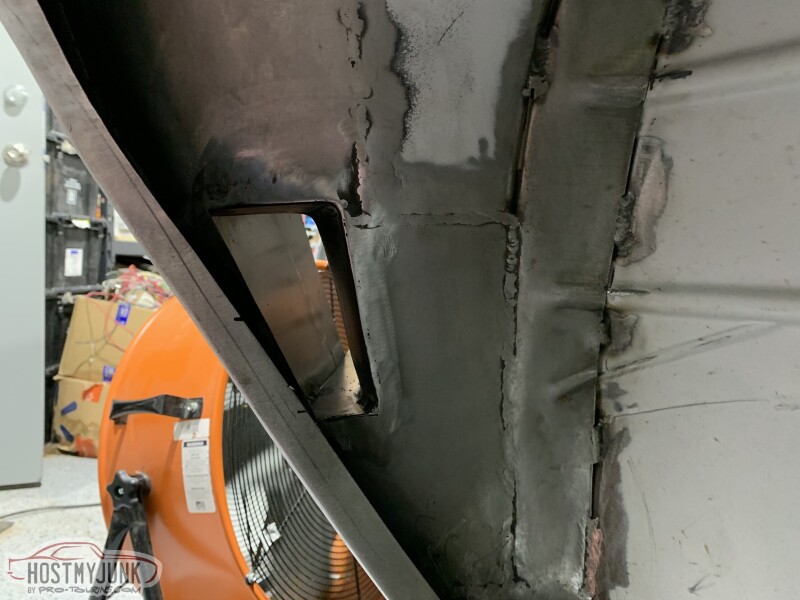
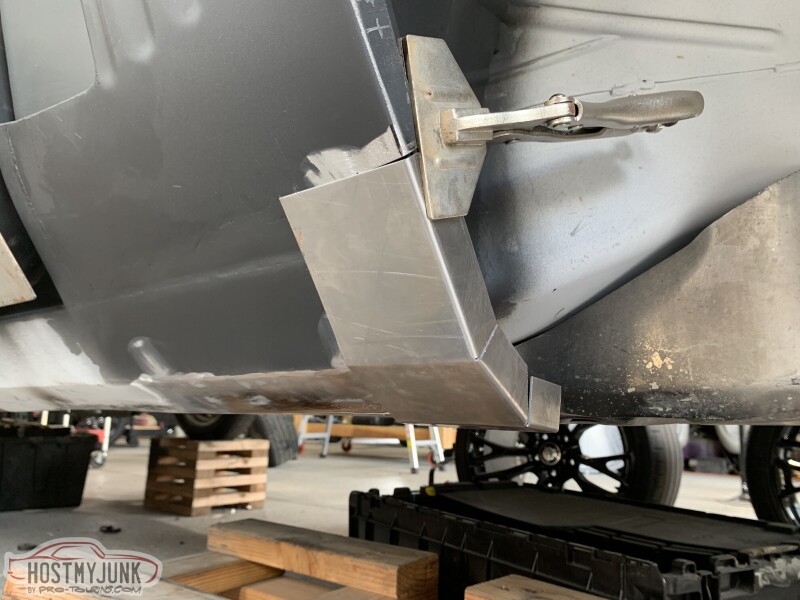
Ok lets get up to speed on the last few weeks. I finished up the driver side brake and trans cooler duct.
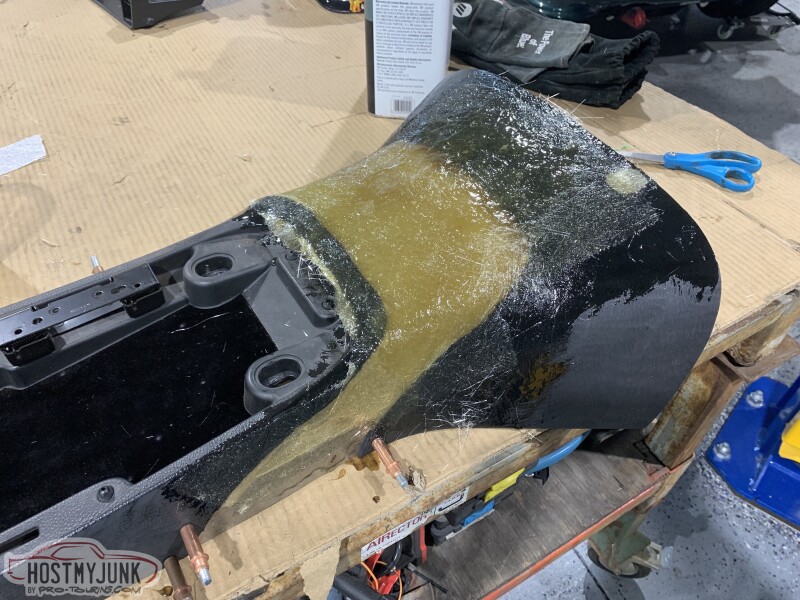
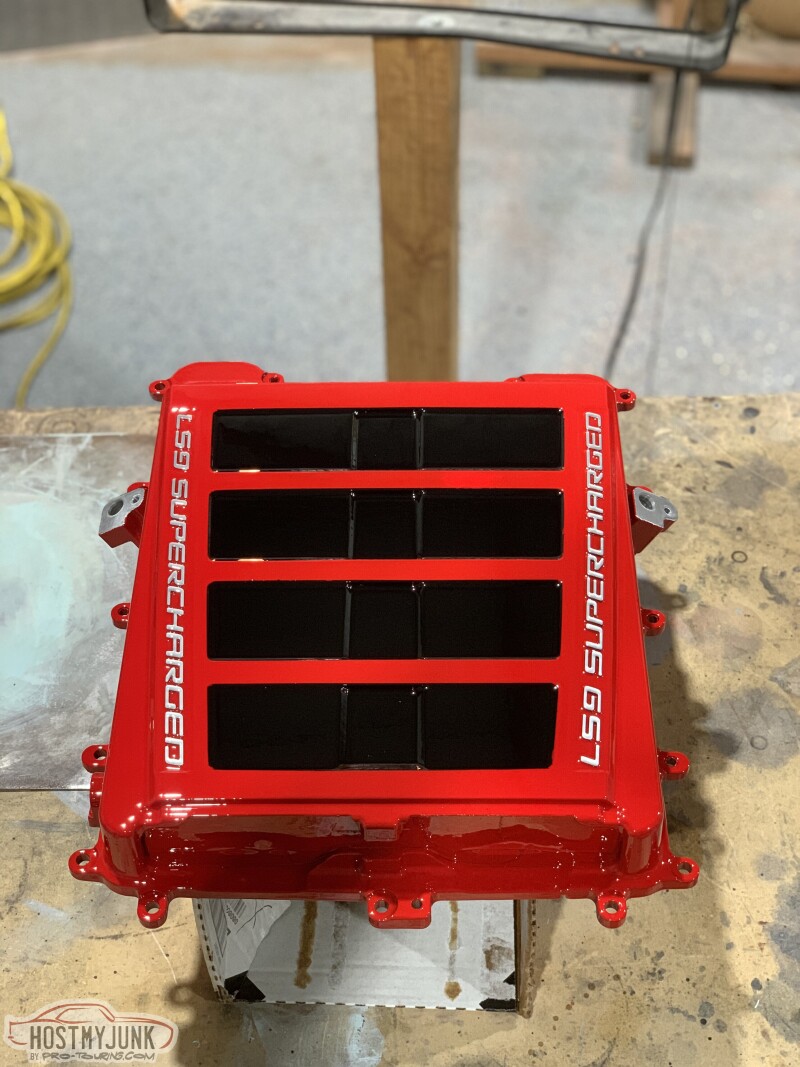
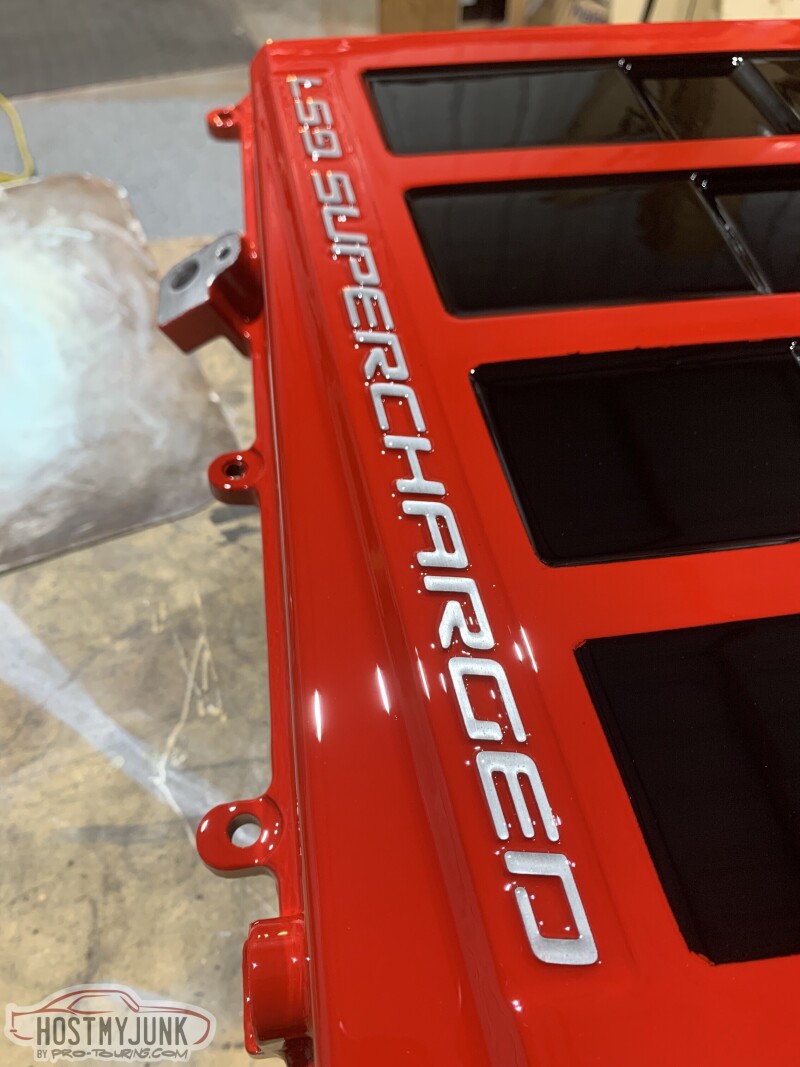
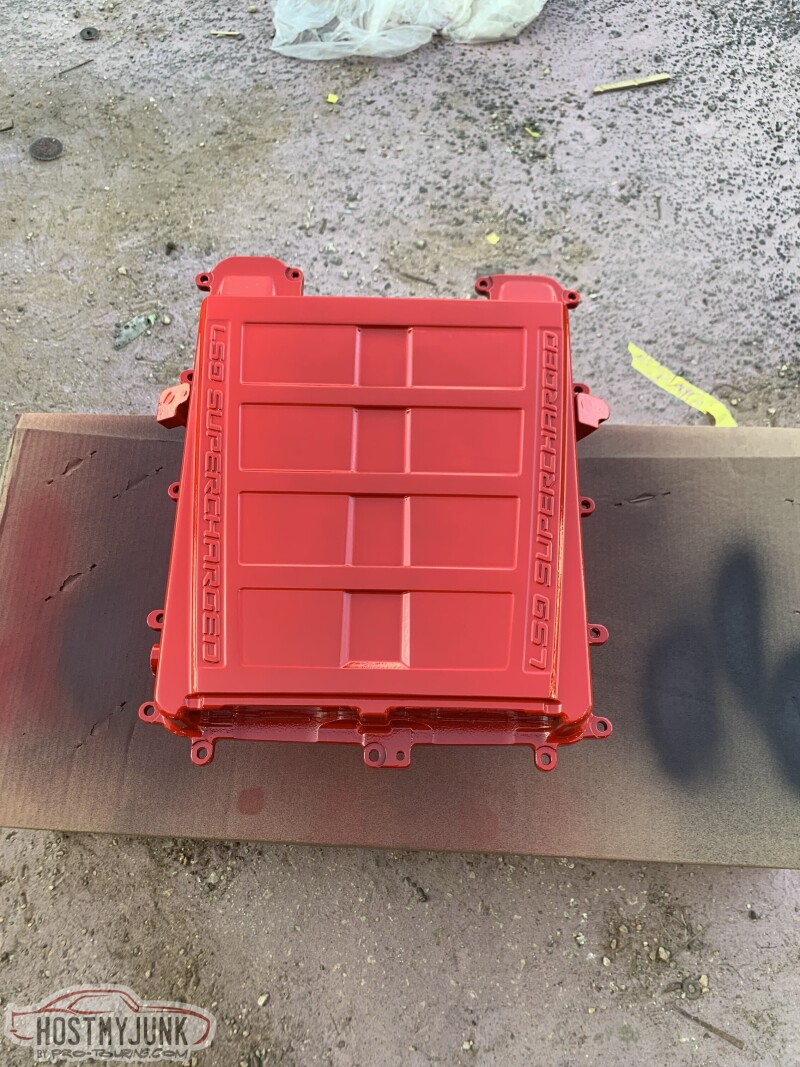
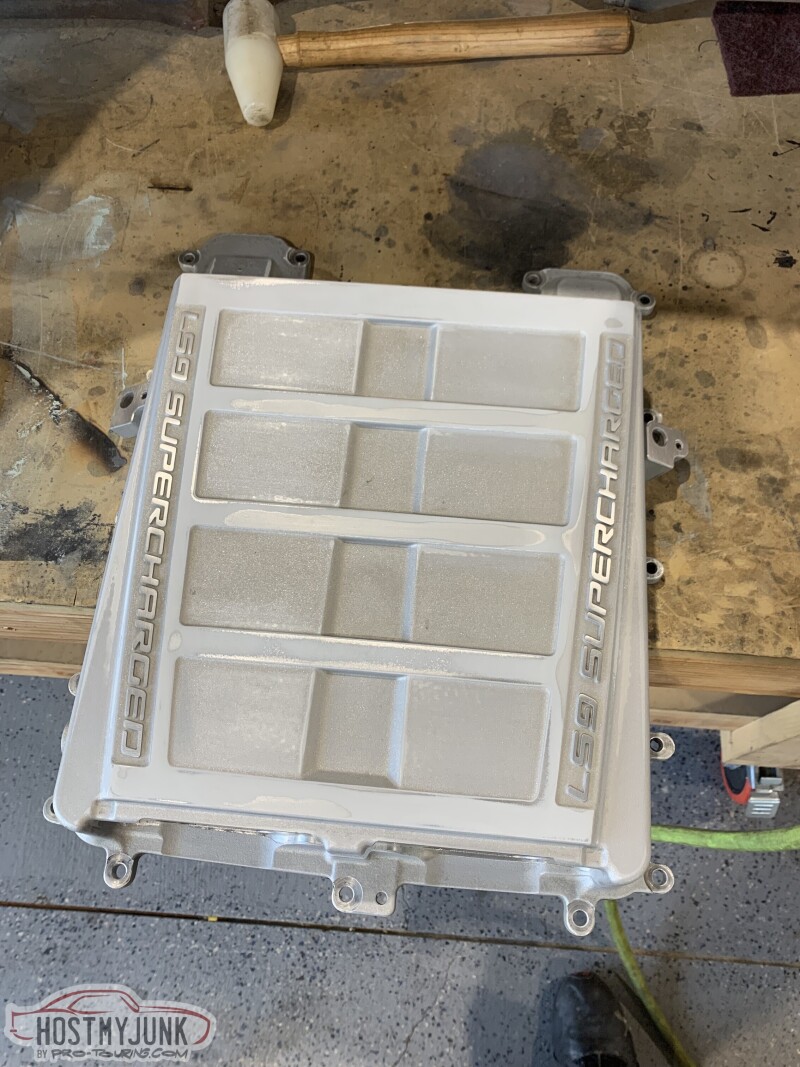
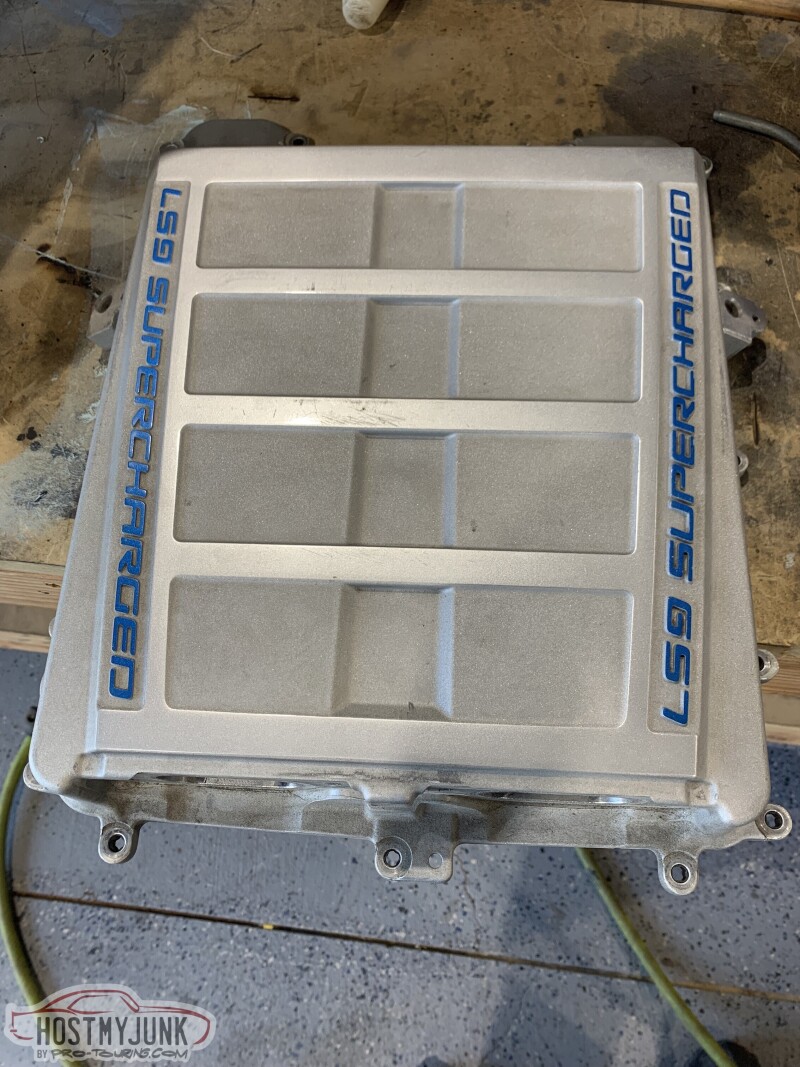
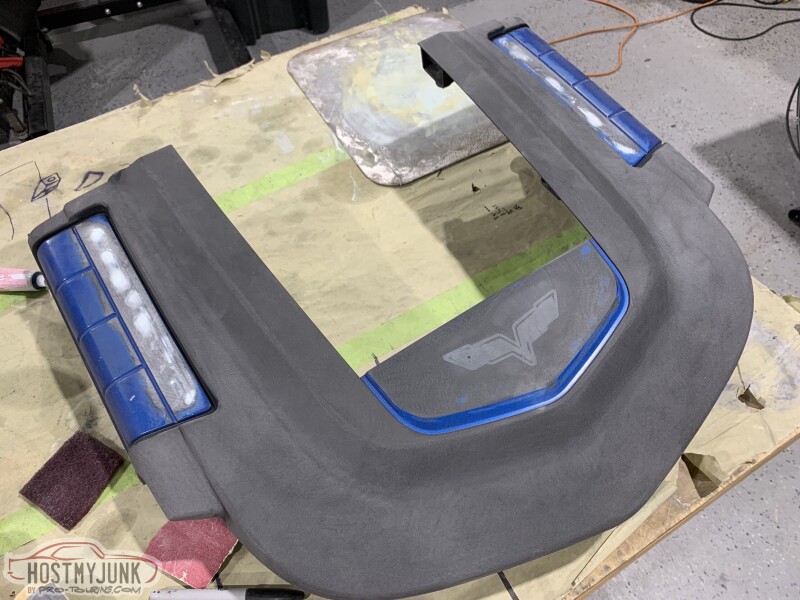
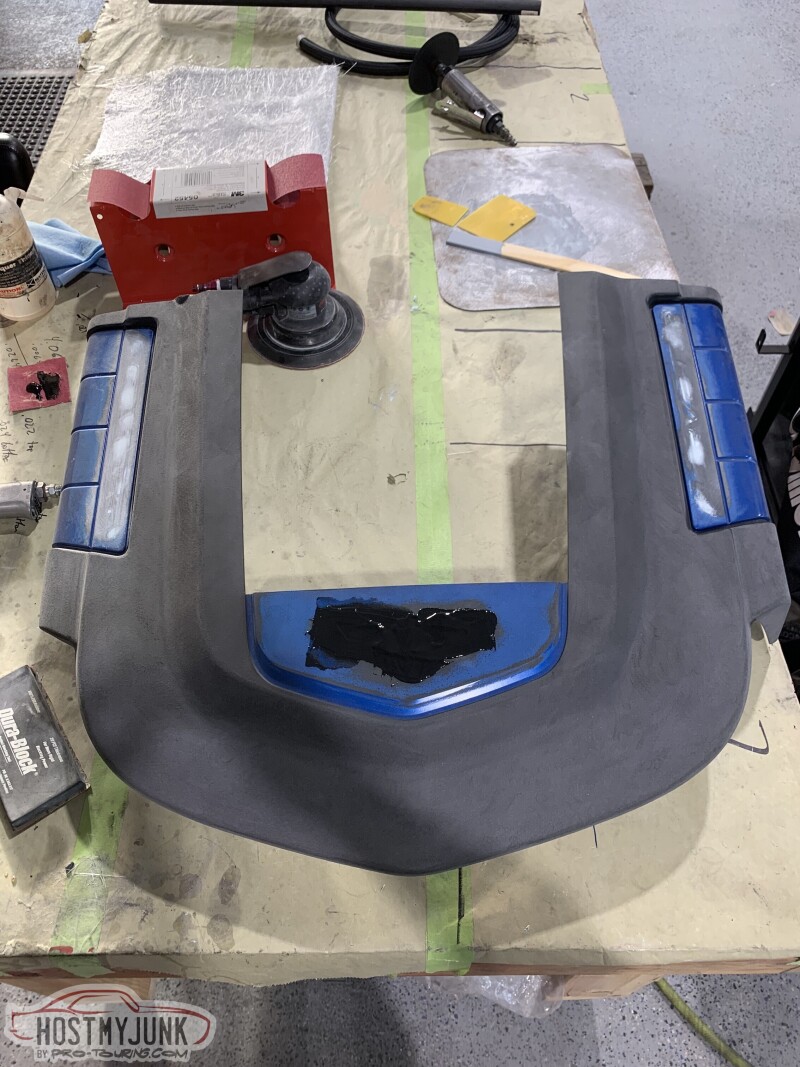
The engine came back from the machine shop and I'm ready to assemble it once I get a few more bolts and bearings ordered. I still don't know what cam I want to go with either. I started working on the supercharger cover by grinding down the Corvette letters and back filing them with panel bond. On the center console I stared to fiberglass the gap until I ran out of glass. The cover and console are coming along nicely tho.
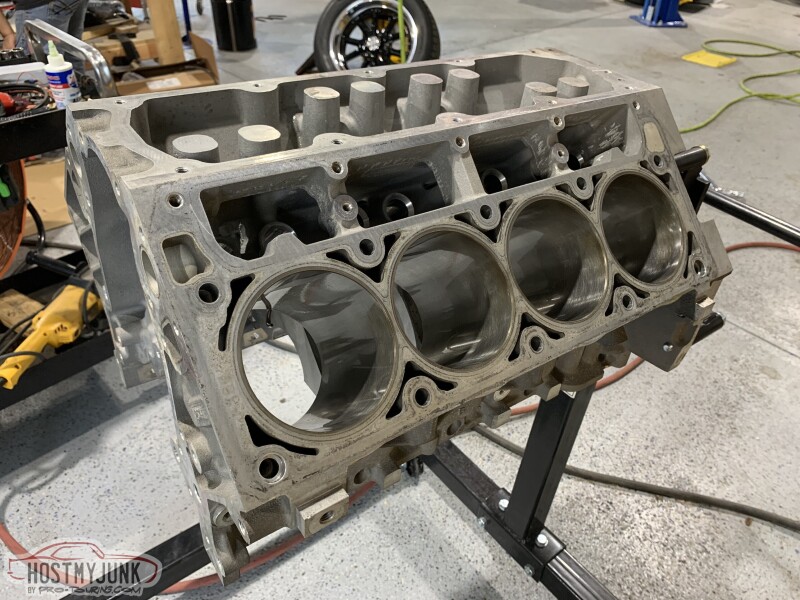
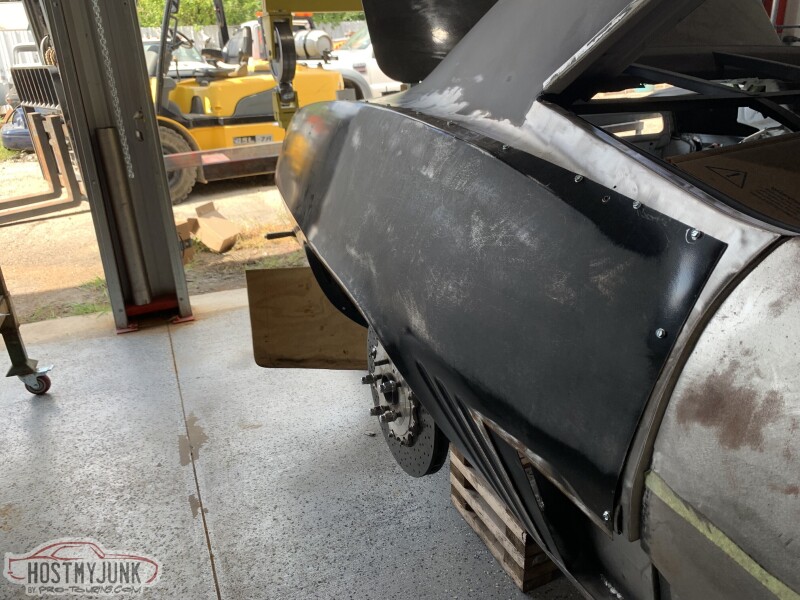
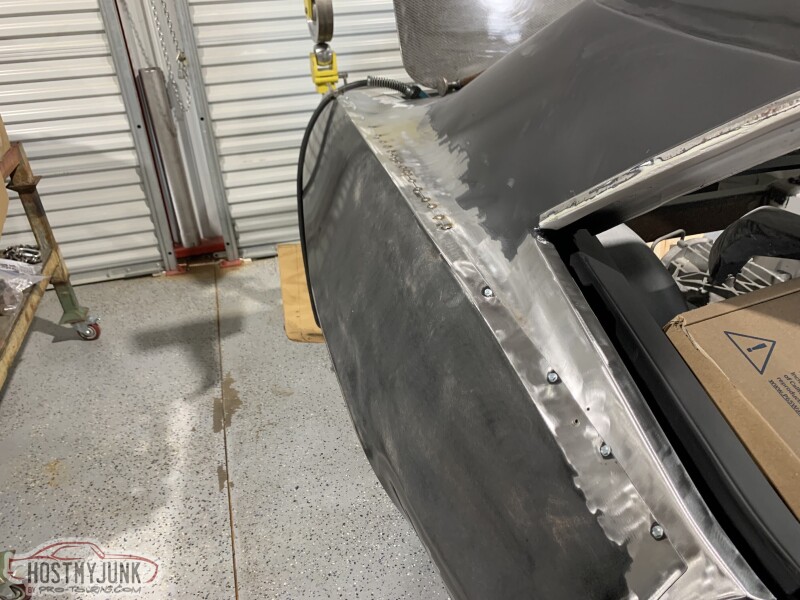
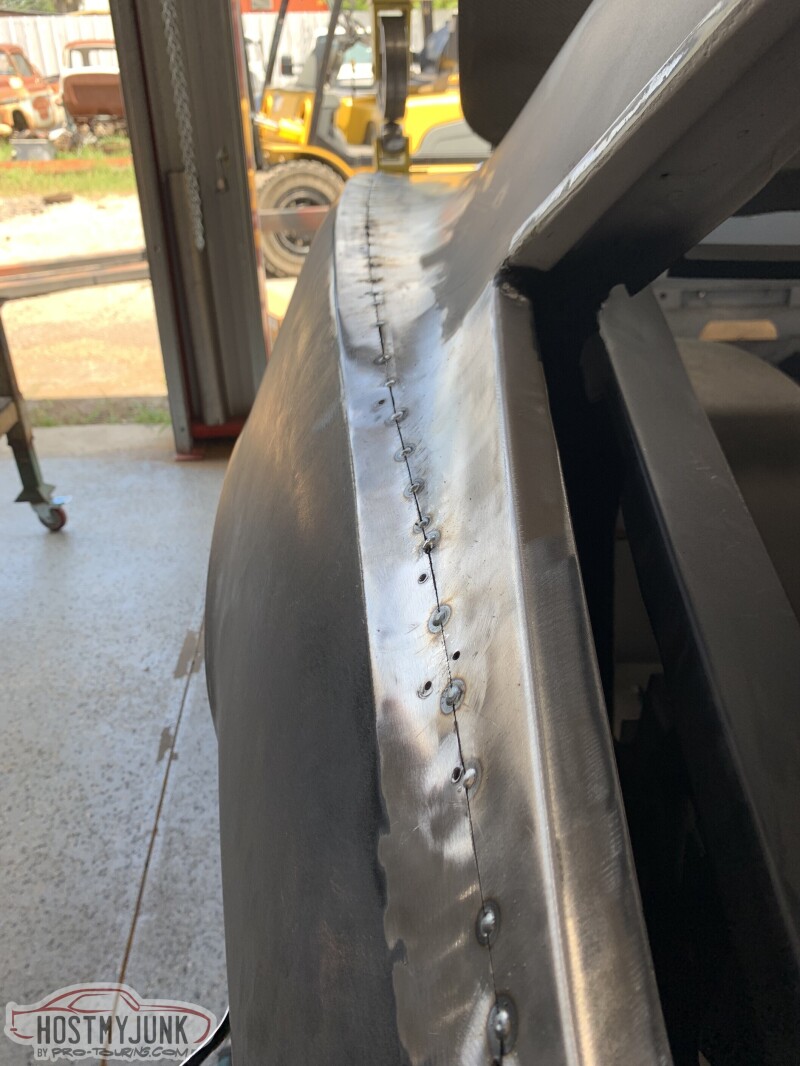
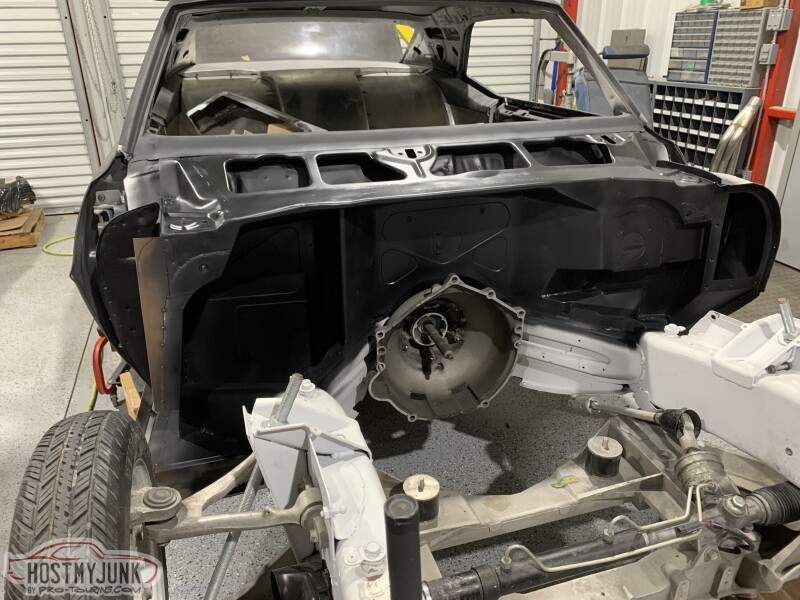
Most importantly I finally got some epoxy shot on the inner structure and have started the final fitment and welding of the quarters. It took a lot longer then I figured it would to get everything fit and mostly welded up. I still have more welding to do across the top and back before I can grind the welds and start the hammer and dolly process. Big step forward to having a whole car again tho.
The engine came back from the machine shop and I'm ready to assemble it once I get a few more bolts and bearings ordered. I still don't know what cam I want to go with either. I started working on the supercharger cover by grinding down the Corvette letters and back filing them with panel bond. On the center console I stared to fiberglass the gap until I ran out of glass. The cover and console are coming along nicely tho.
Most importantly I finally got some epoxy shot on the inner structure and have started the final fitment and welding of the quarters. It took a lot longer then I figured it would to get everything fit and mostly welded up. I still have more welding to do across the top and back before I can grind the welds and start the hammer and dolly process. Big step forward to having a whole car again tho.
08-15-2021, 11:46 PM
#125
Racer
Thread Starter
Ok guys, I kinda slack with the updated on the car on the message boards. Its just kinda a hassle since I don't have the internet and I have to pair to my phone and transfer all the pics to the computer, resize, and convert them to a format I can upload. Anyways I've been busy so lets hop in.
Picking up where I left off last time I got the car stripped down with the craptastic epoxy that the blaster applied that was flaking off and then into sealer. Also the bare metal was sealed to stop the surface rust.

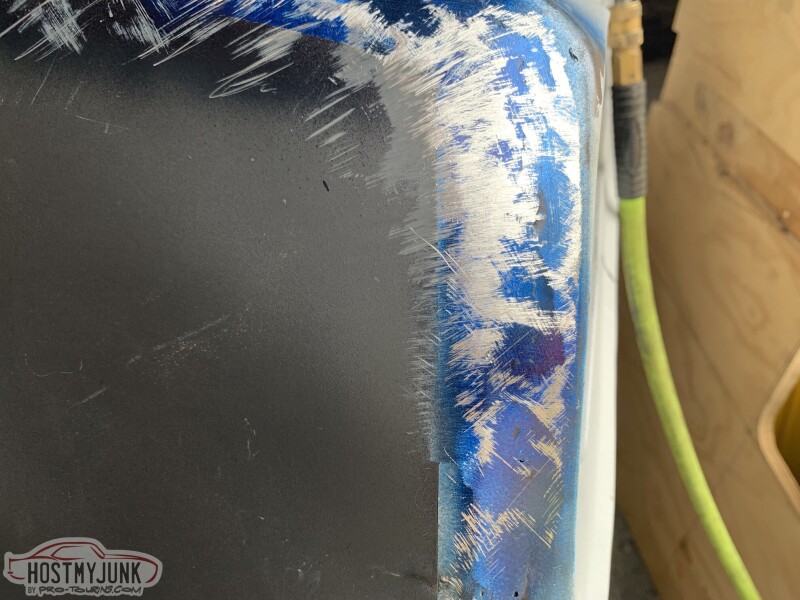
With that out of the way I was able to get the driver quarter metal finished by pick and file and with the stud gun on areas with no back access.
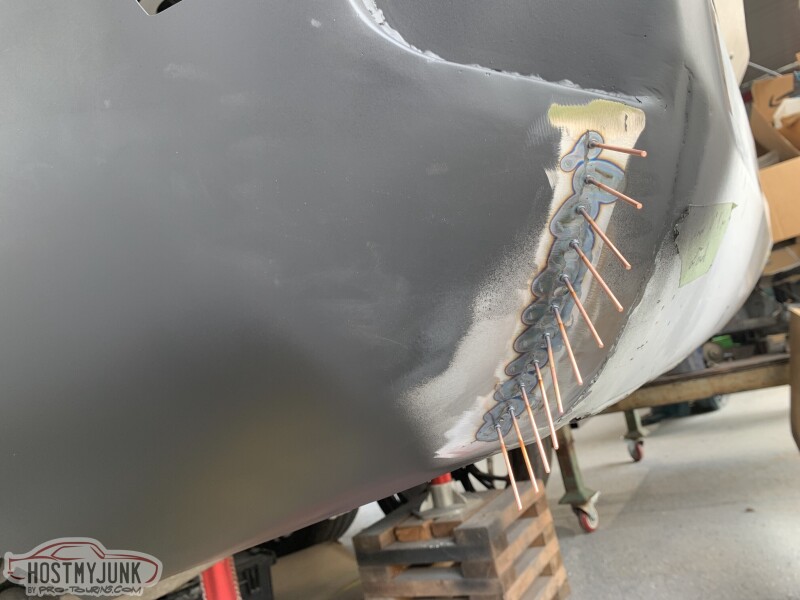
The passenger side was the same process. Final fit, zip screw, trim, weld, metal finish, seal.
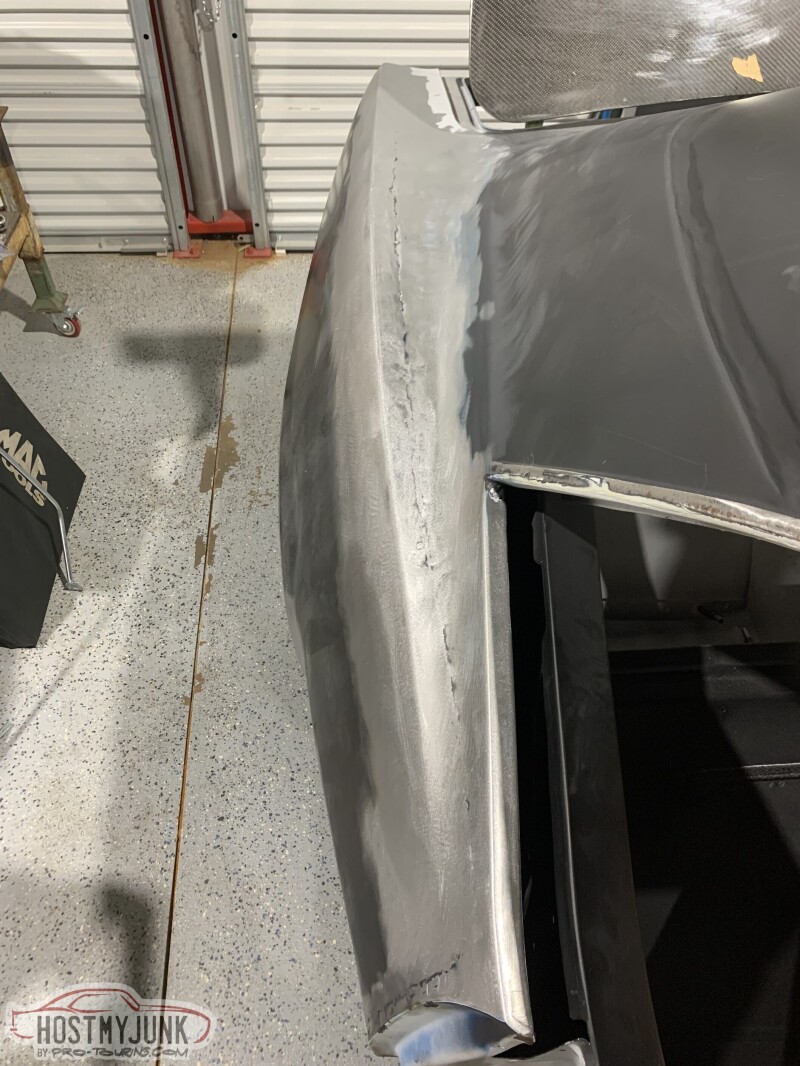

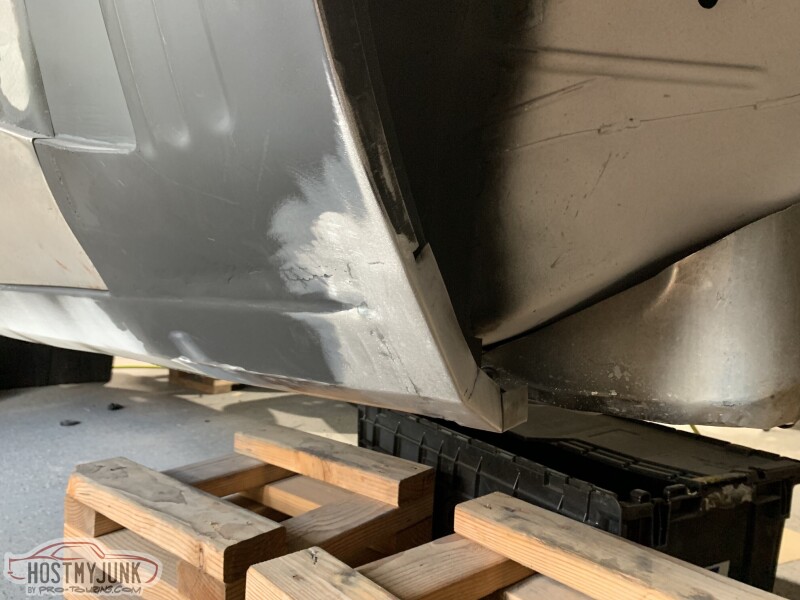
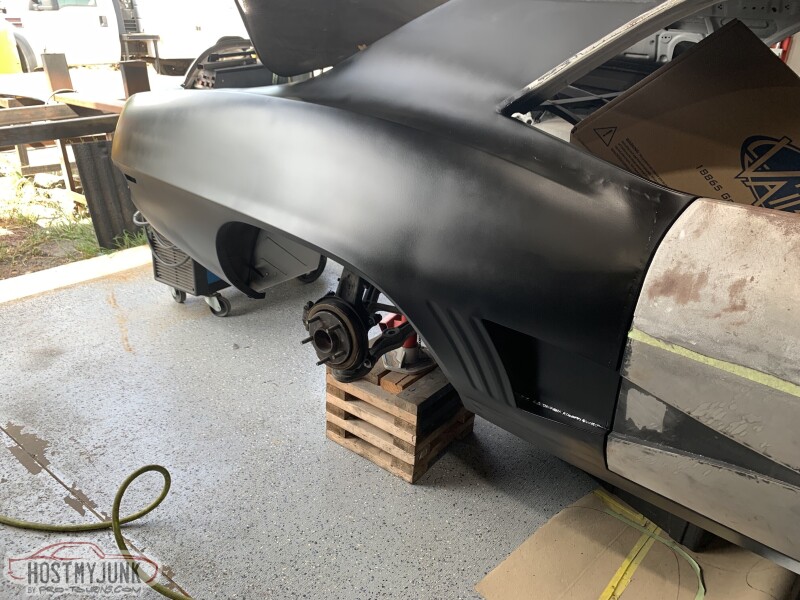
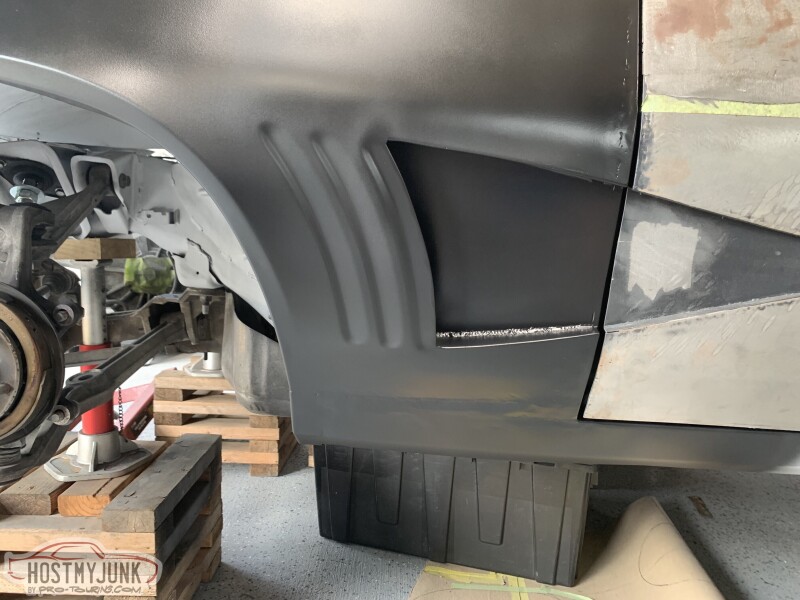
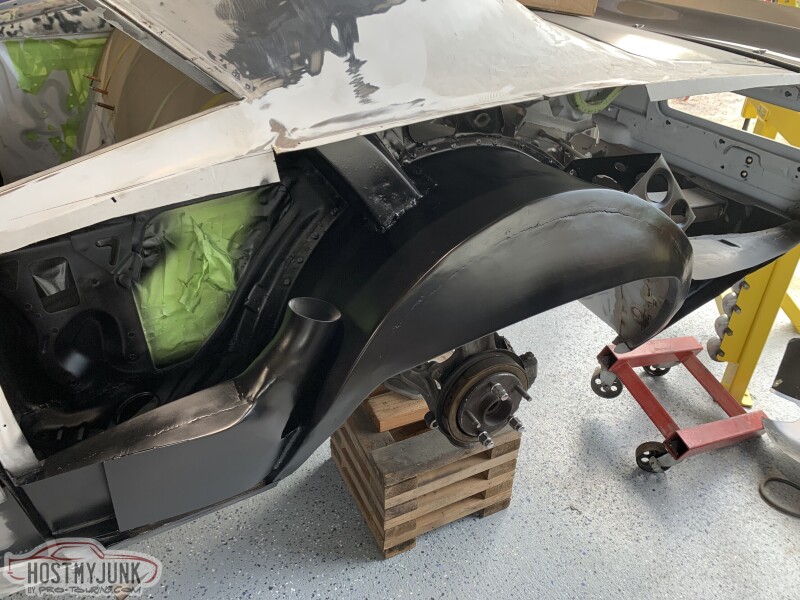
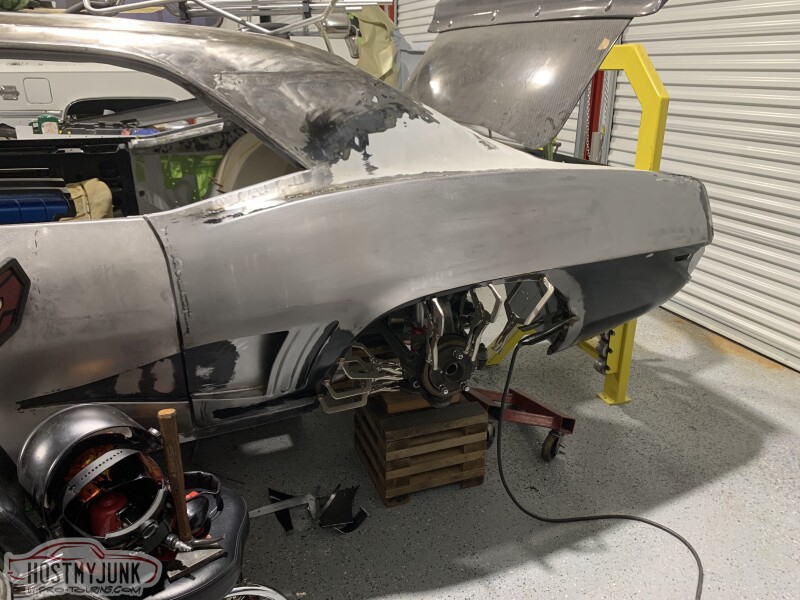
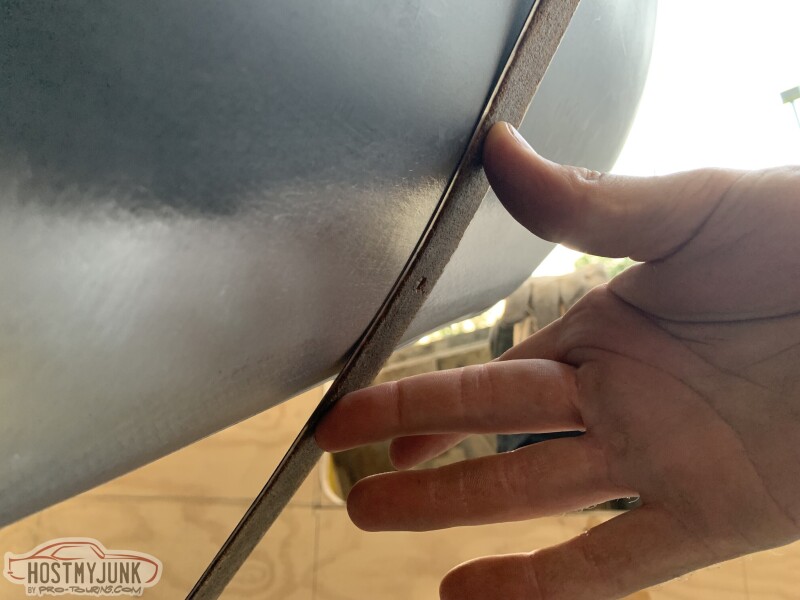
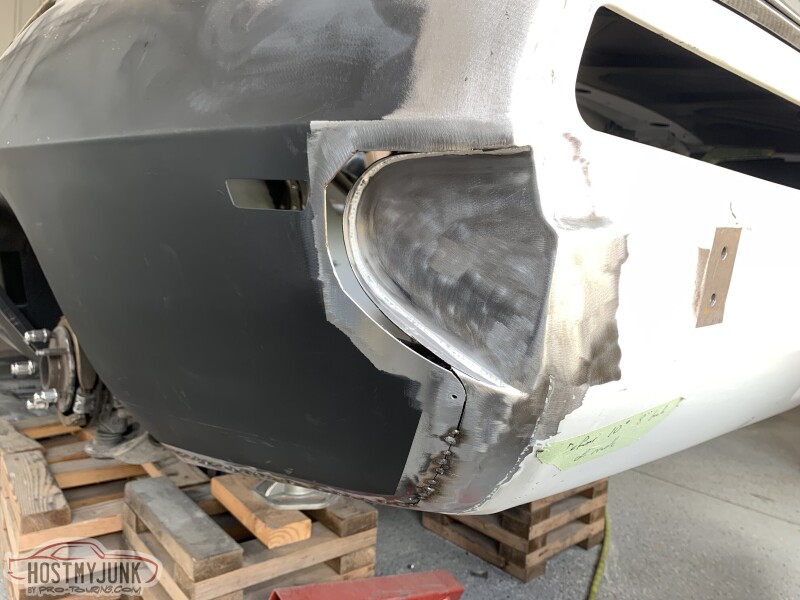
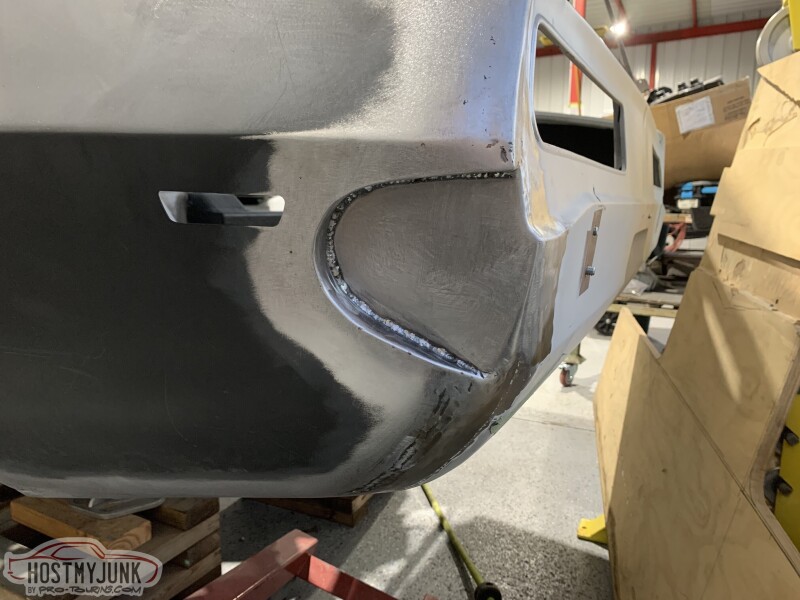
With the quarters in place I needed to finish up retucking the bumper. Since I did the wide body on the car I needed to modify the pockets to be a little deeper and trim the bumper ends accordingly. I didn't get great pictures when I did the driver side so I'll run down the passenger side. With the bumper bolted in place I tapped off the metal around to make a template. Transferring that to some sheet metal I got everything cut out and clamped into place before welding and metal finishing everything.
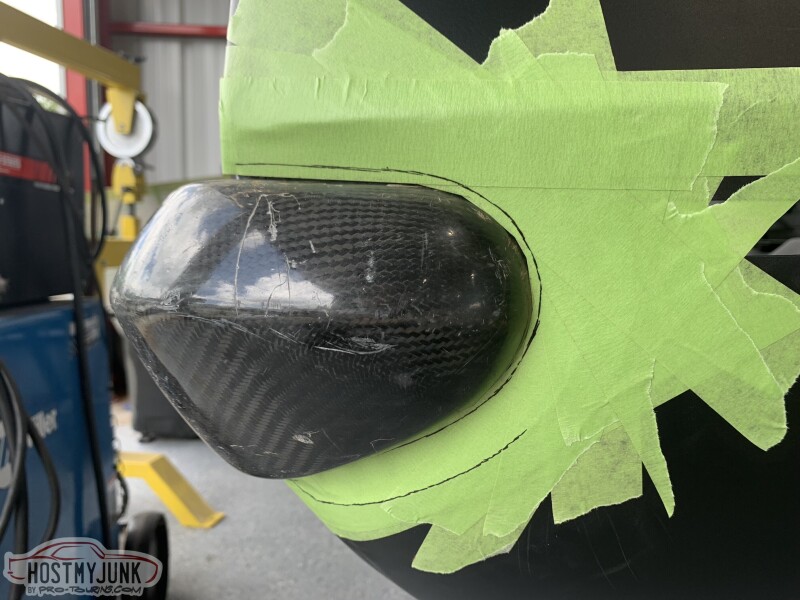
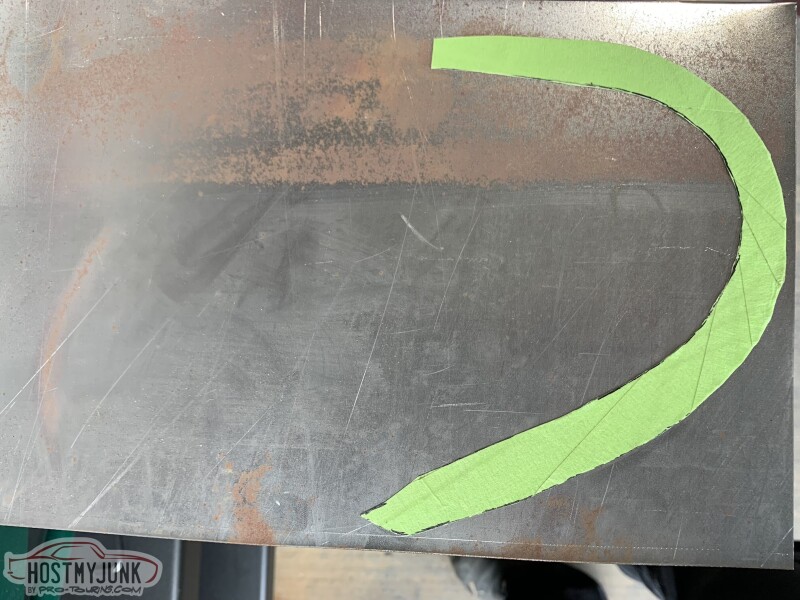
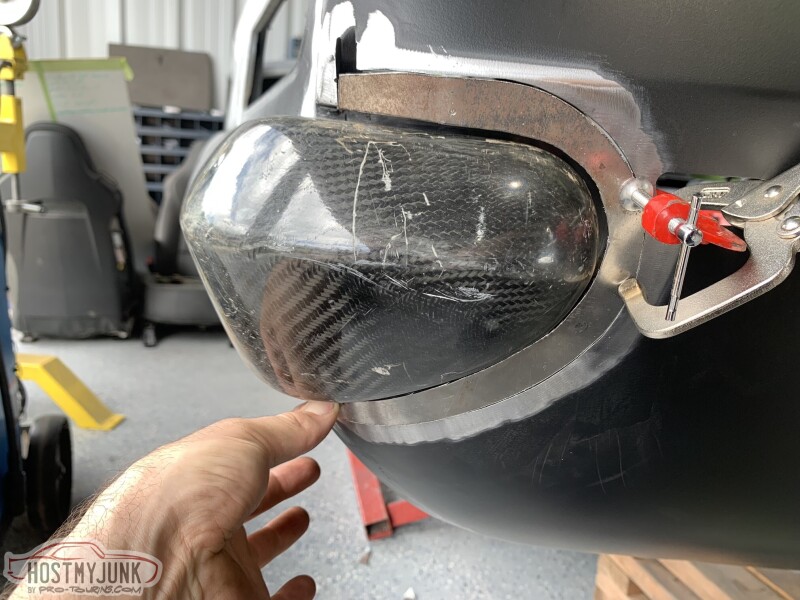
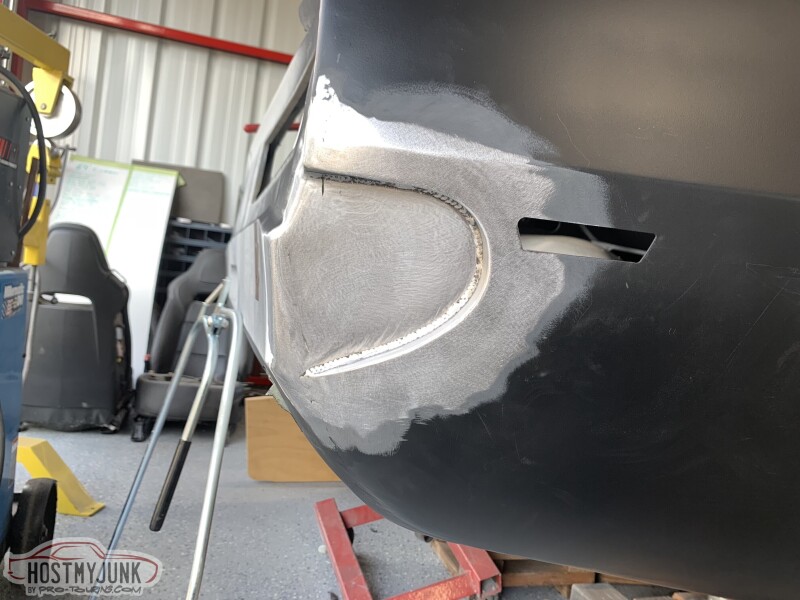
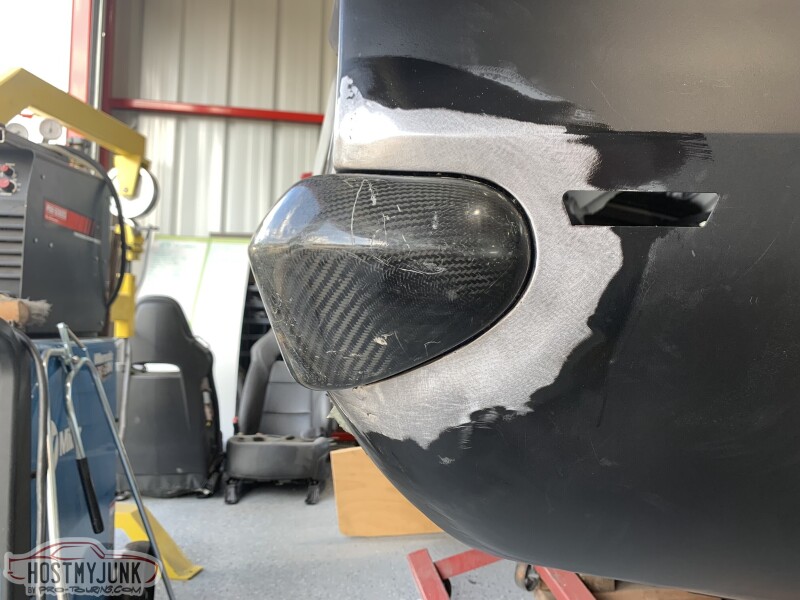
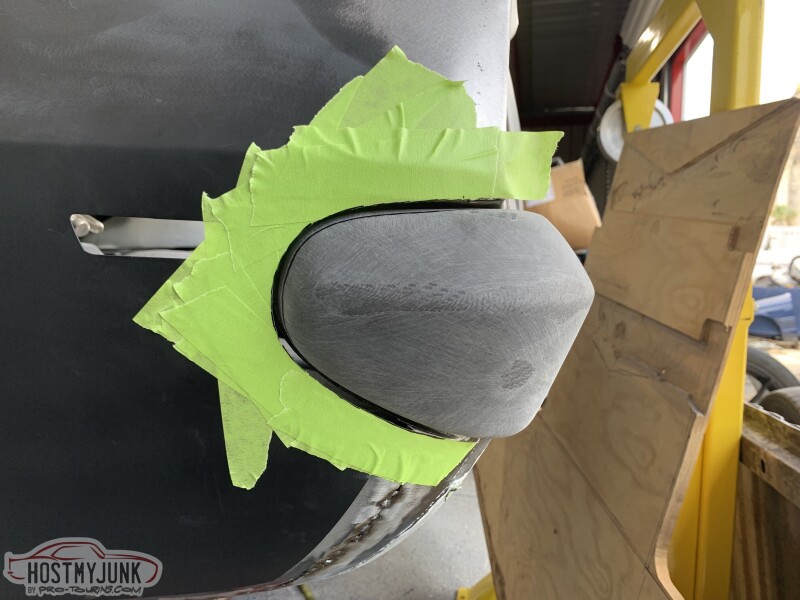
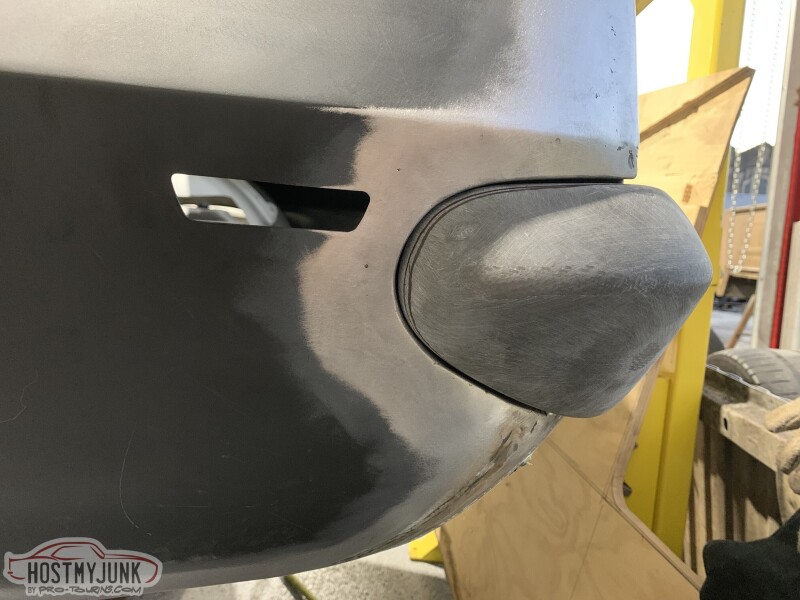
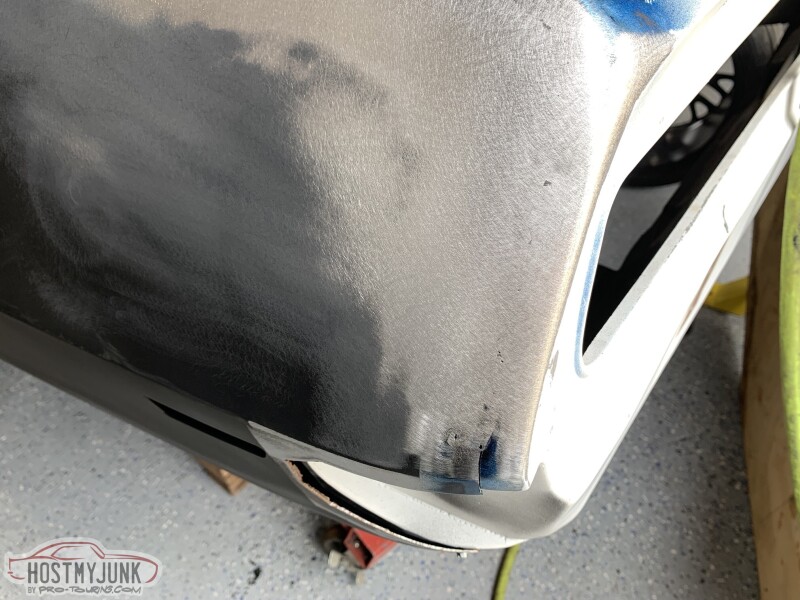
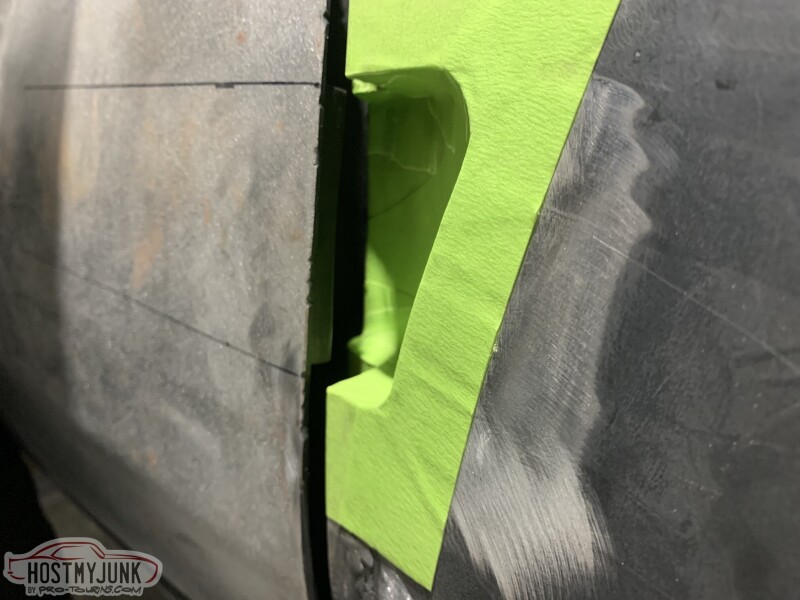
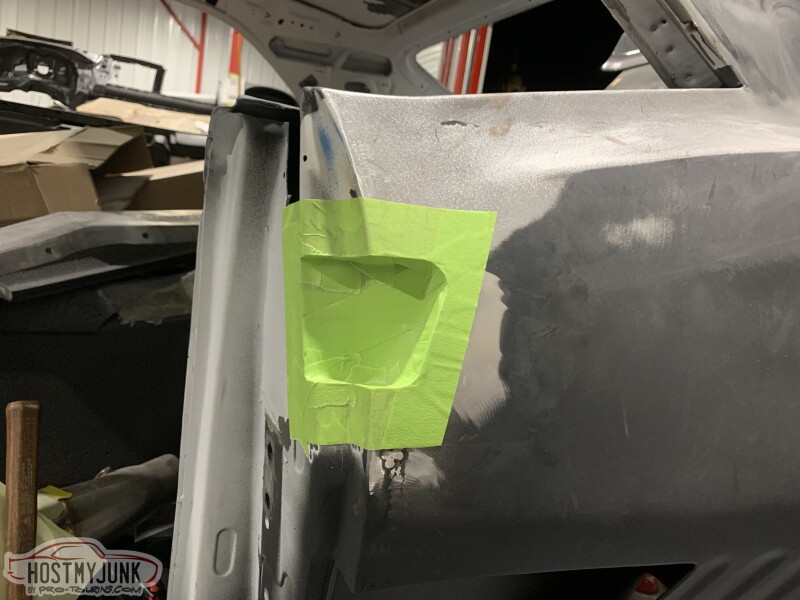
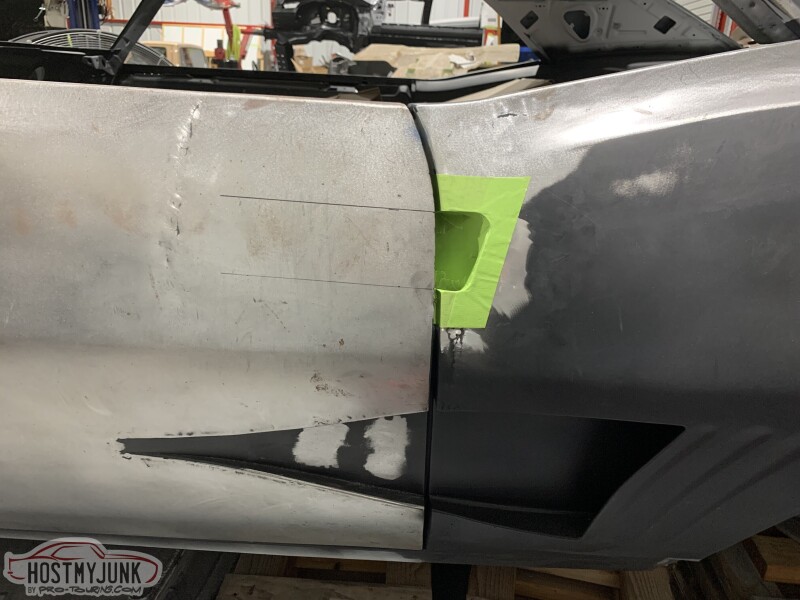
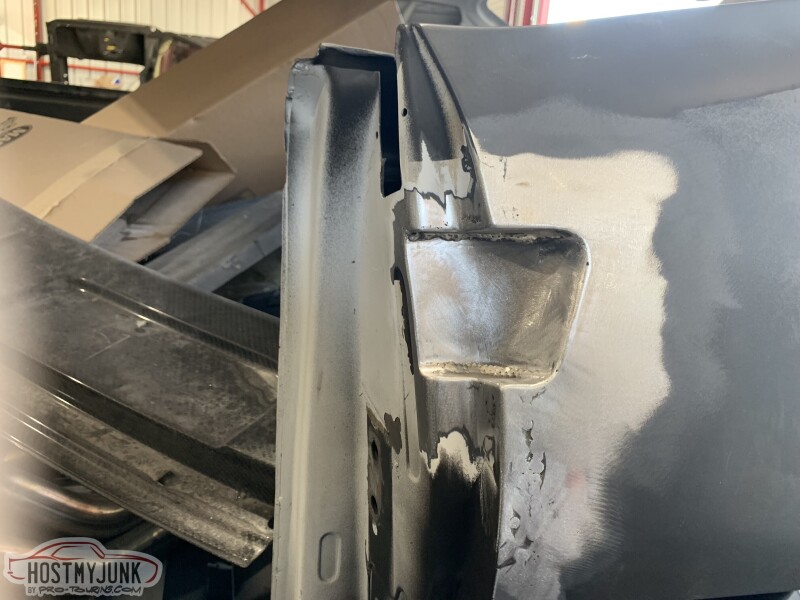
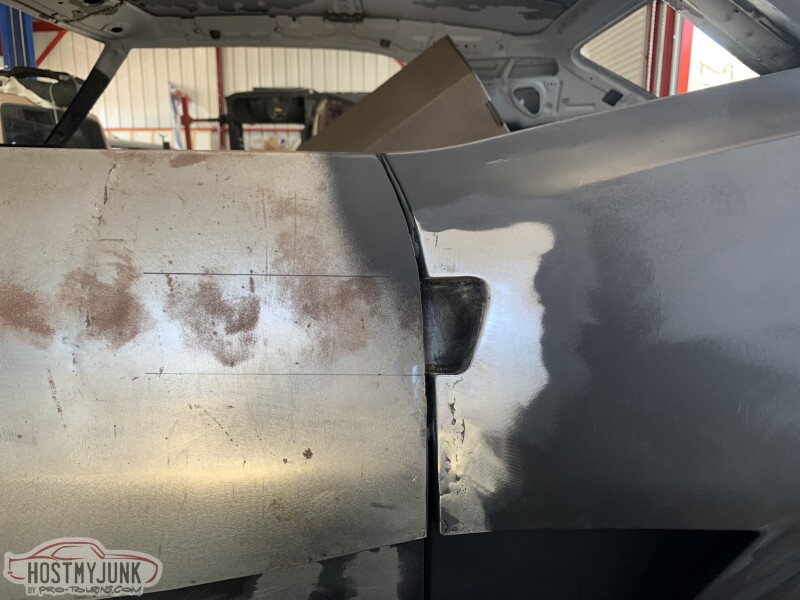
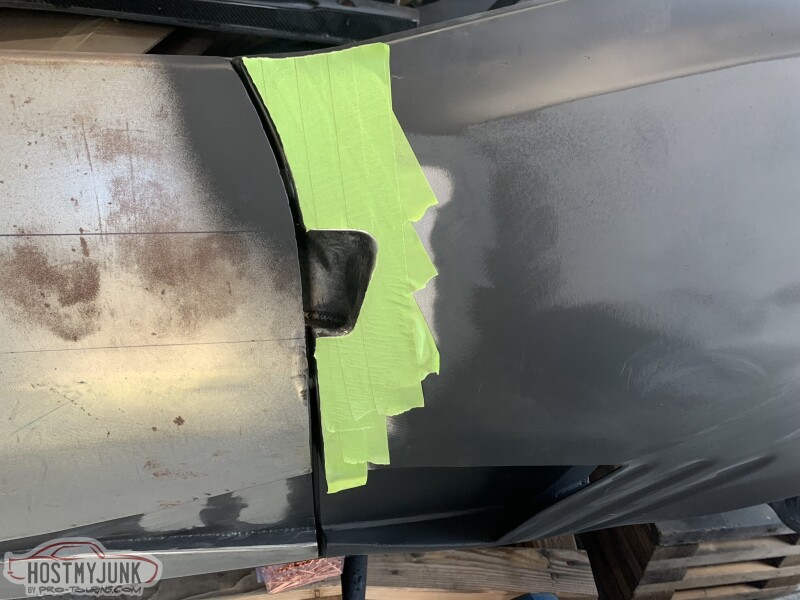
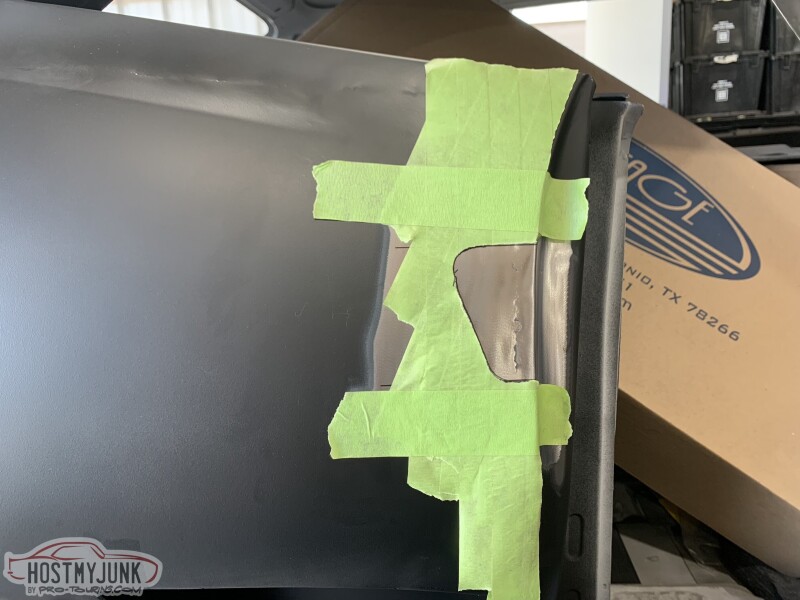
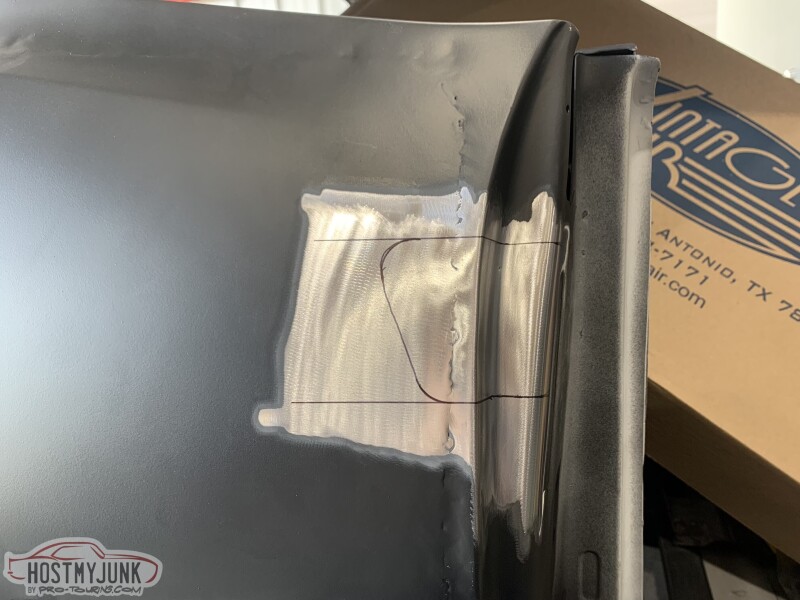
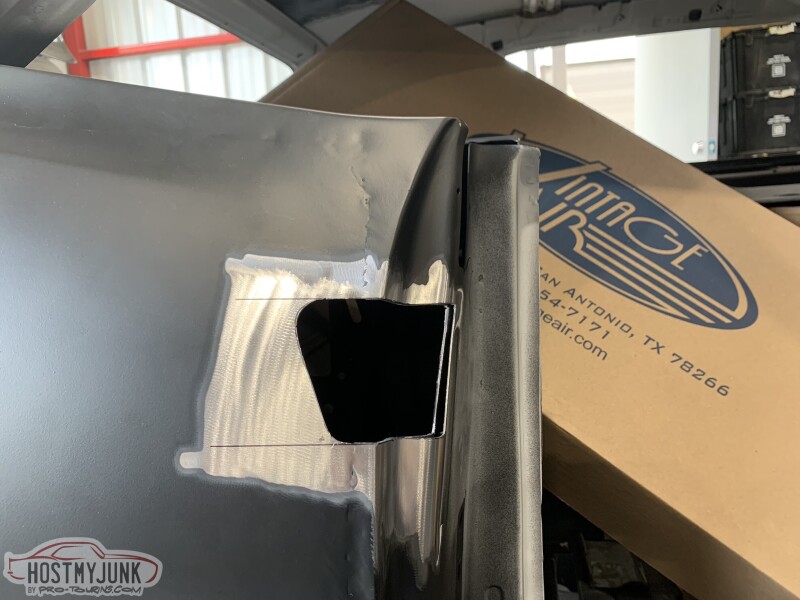
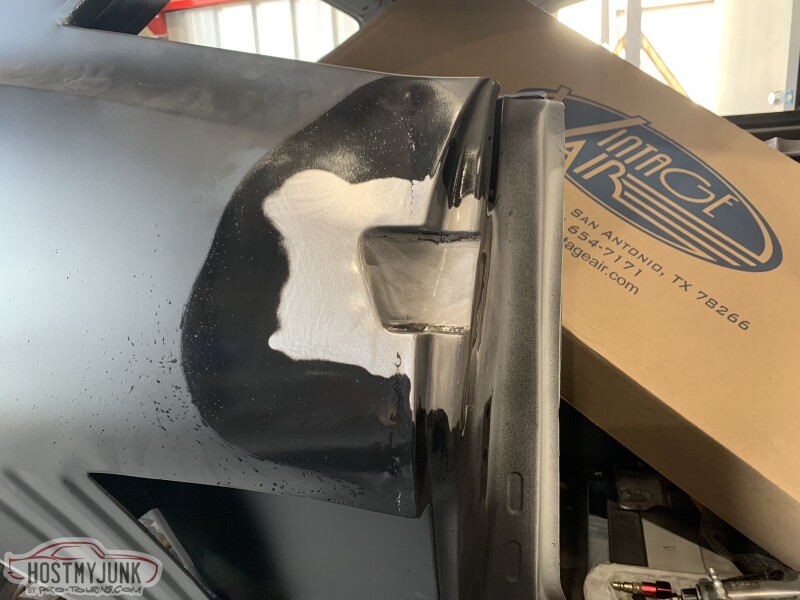
Now with the bumper squared away I moved onto the door handles. I'm running C6 style release buttons so I needed a pocket to get my fingers into. Starting with a shape the same angle as the stock gills and not the NACA duct I made a tape pattern to get me in the ball park. It took some work and time, but I like how they came out.
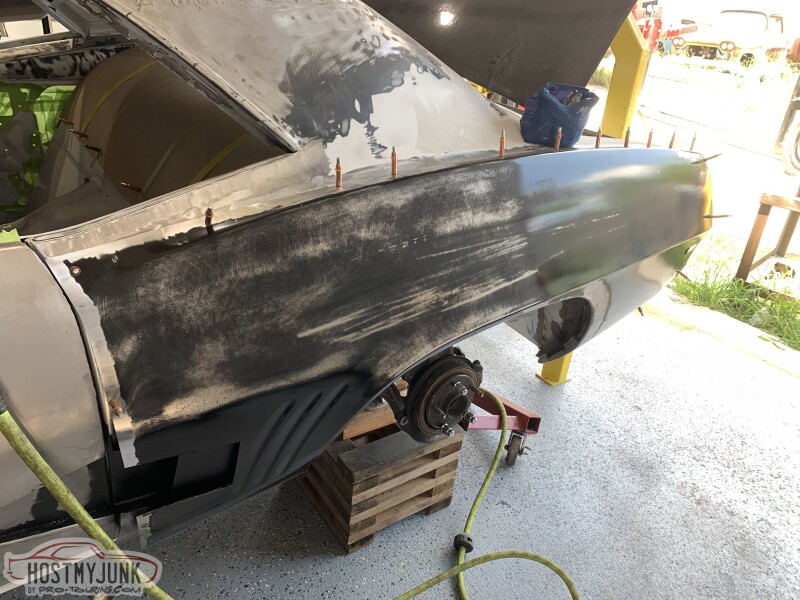
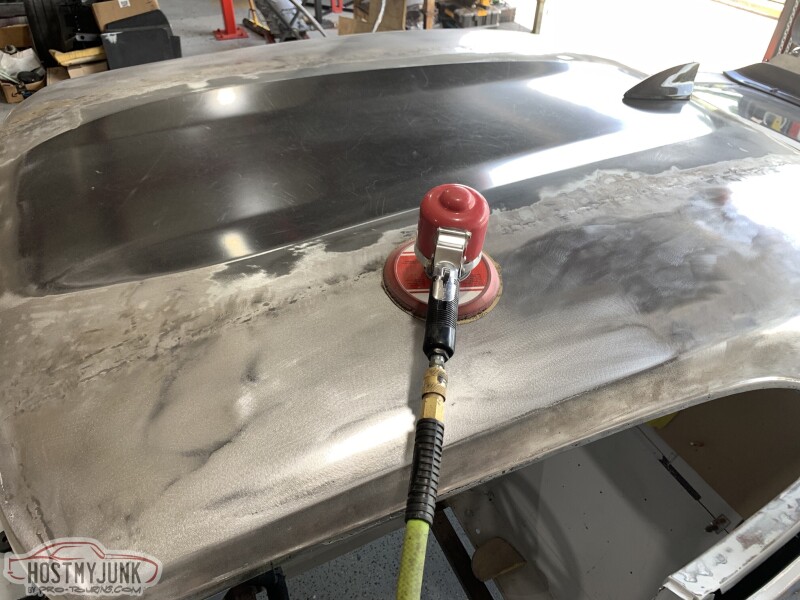
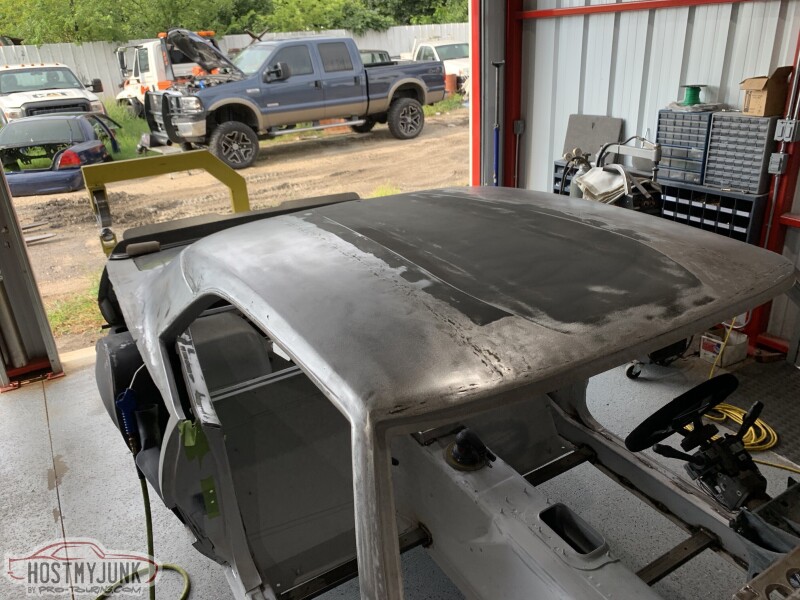
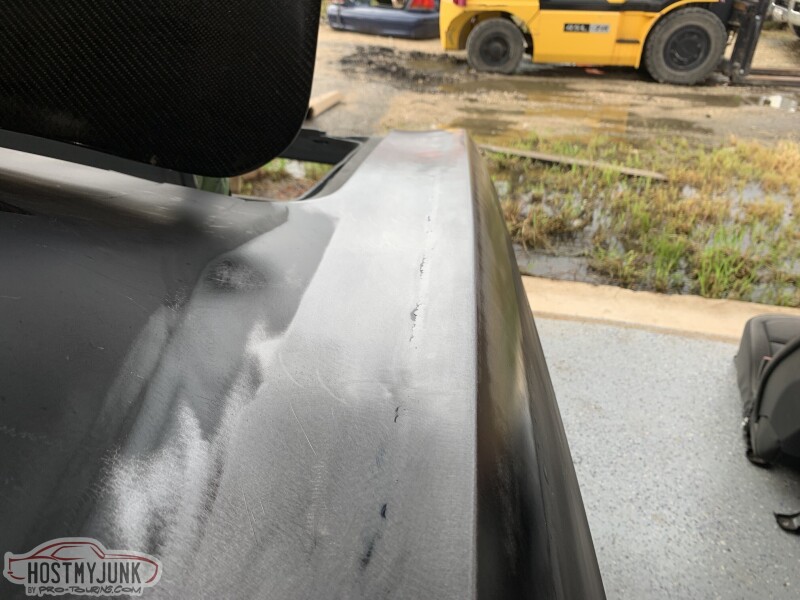
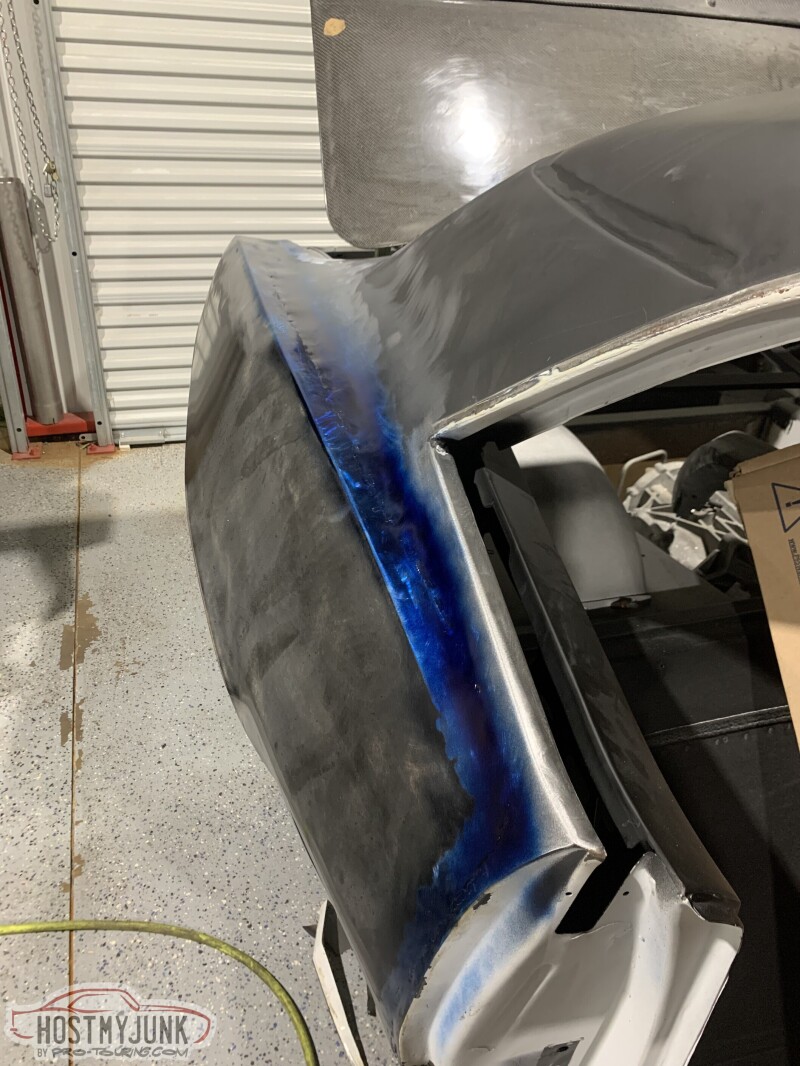
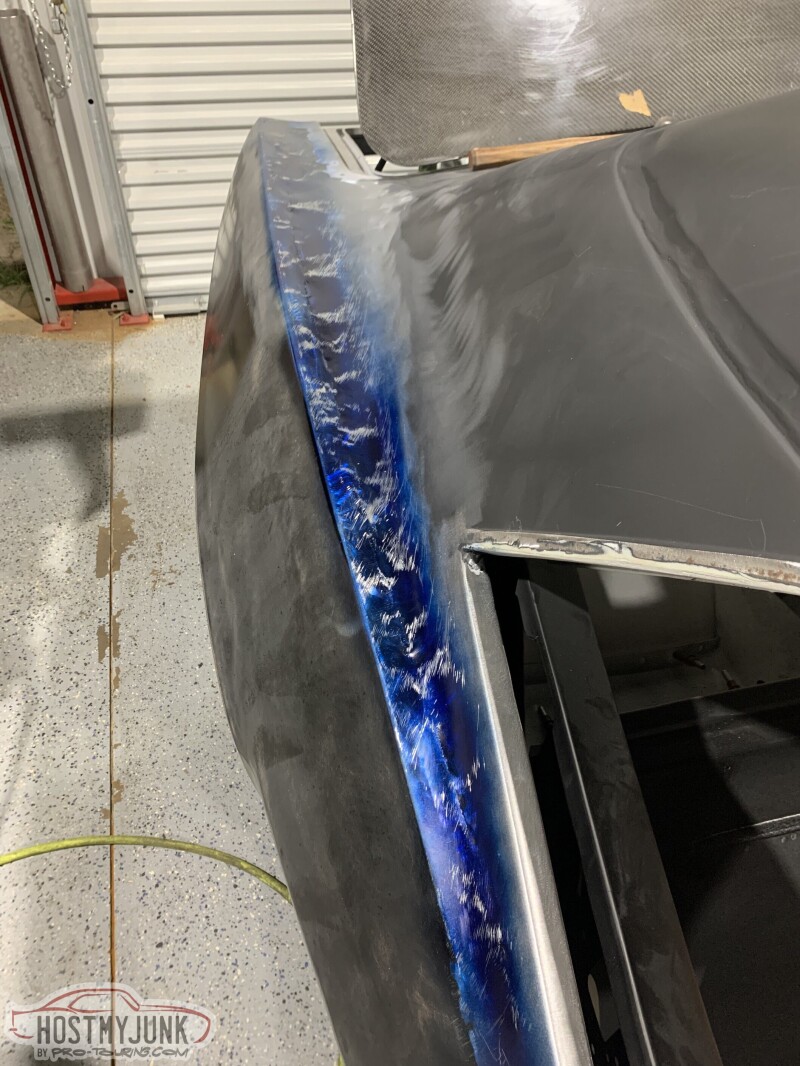
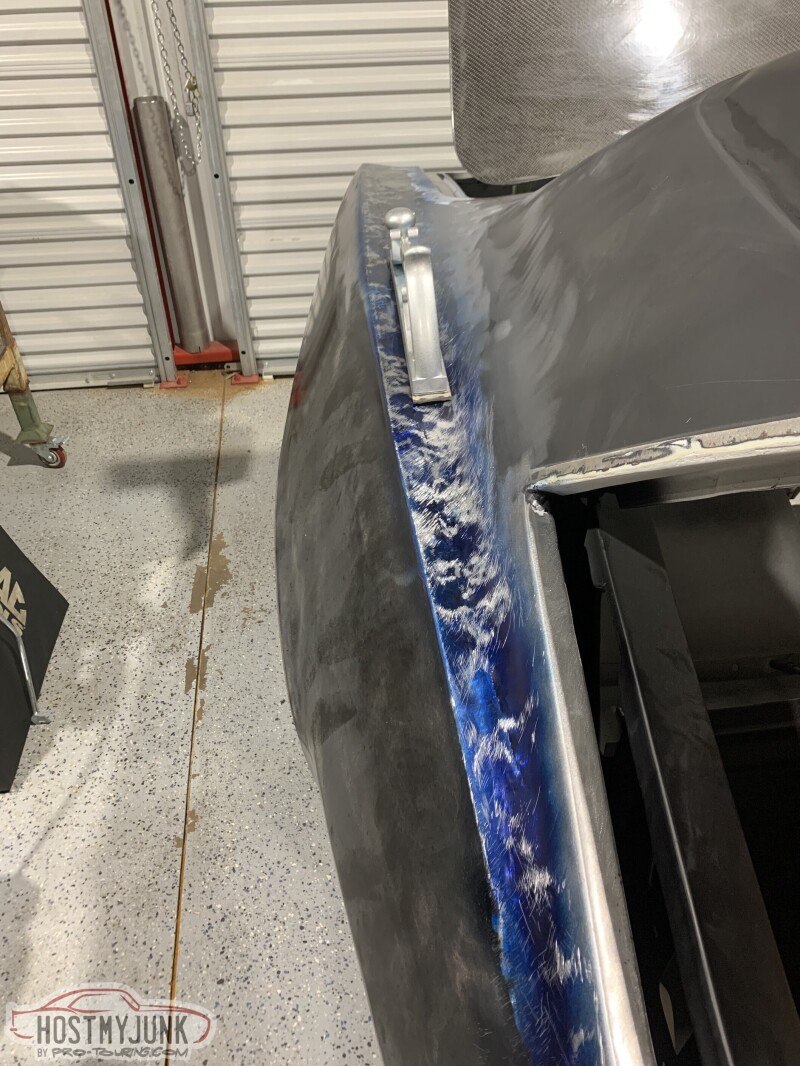
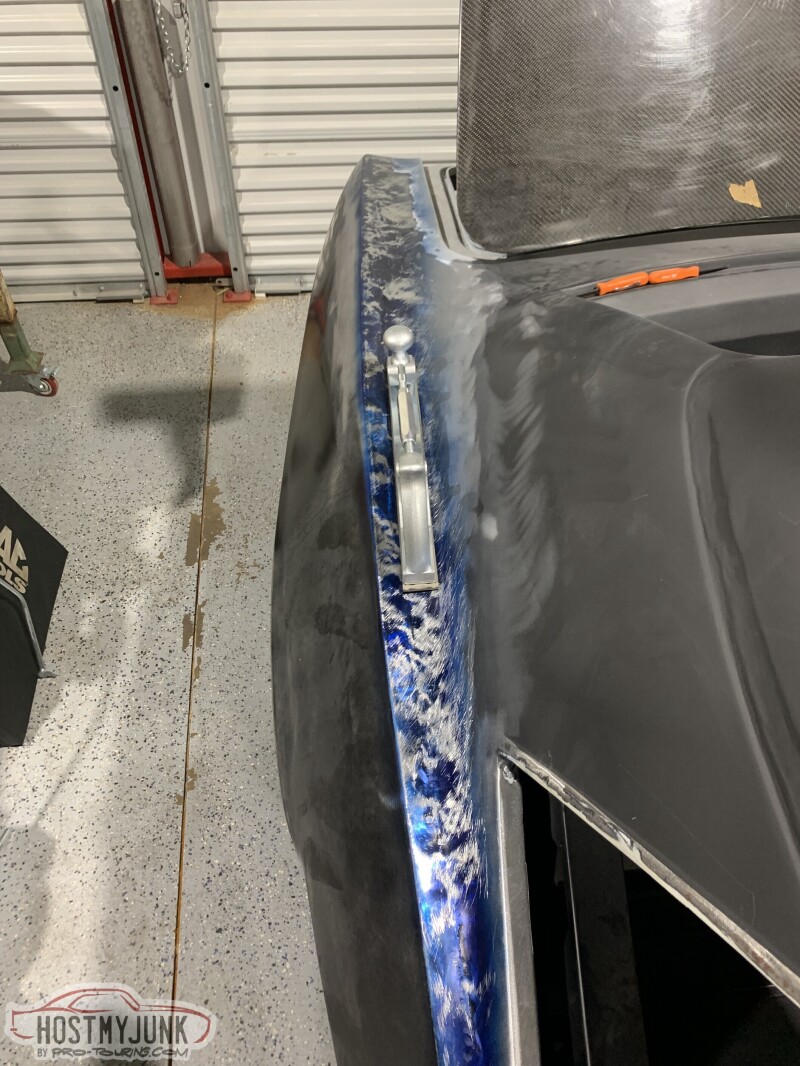
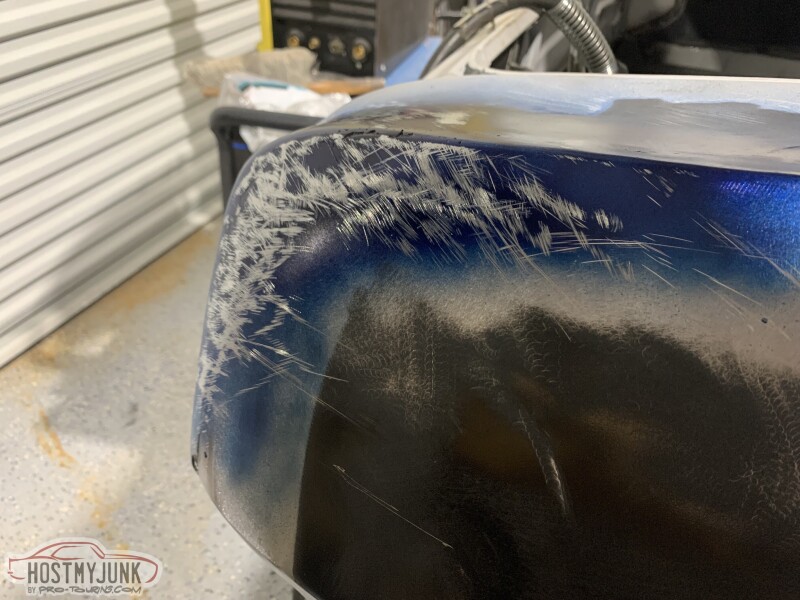
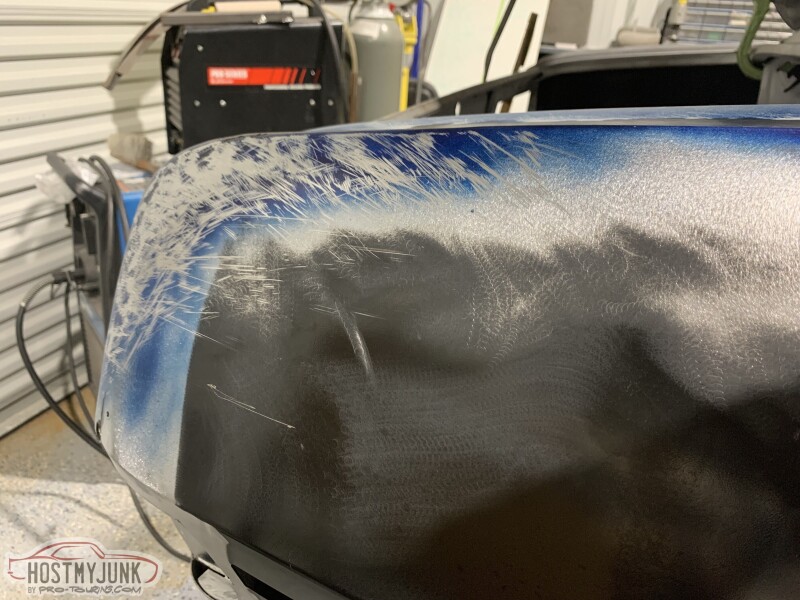
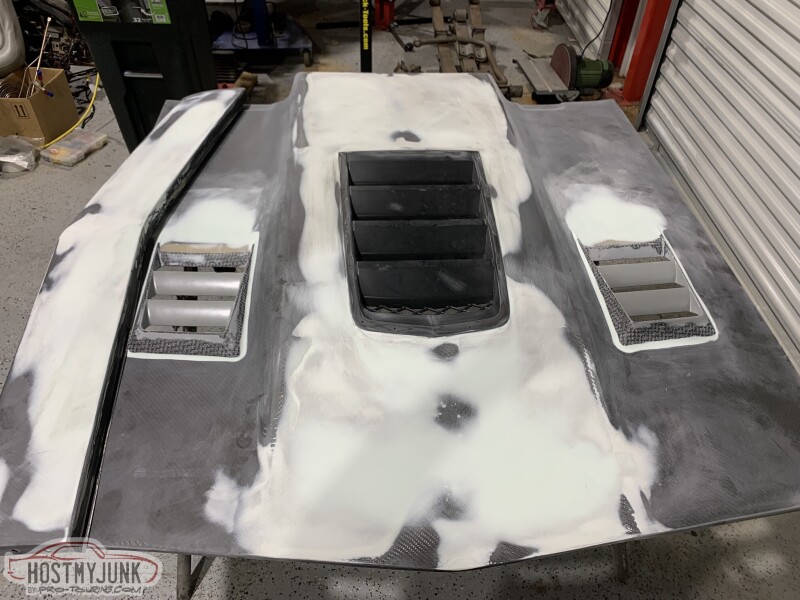
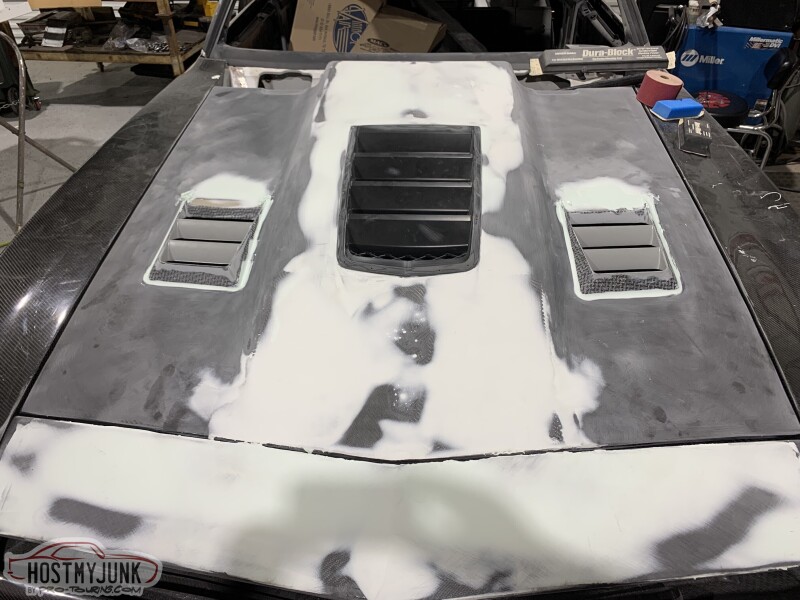
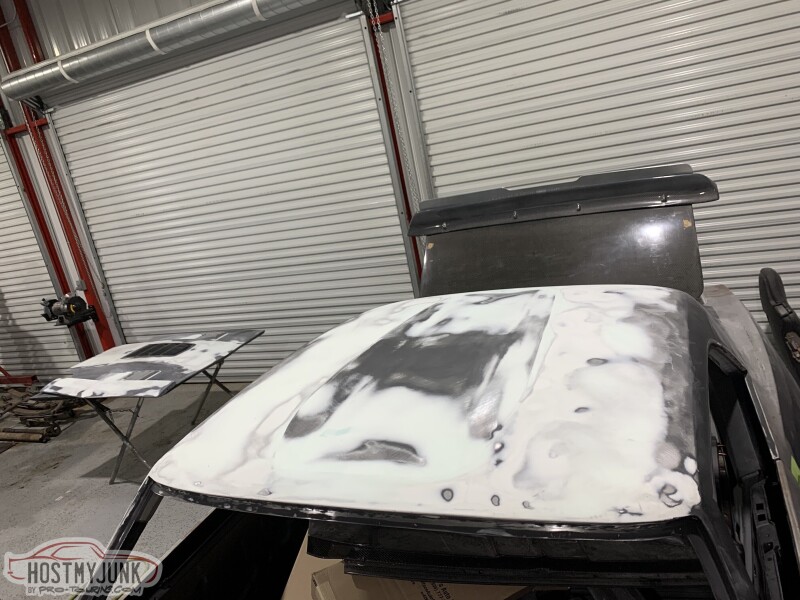
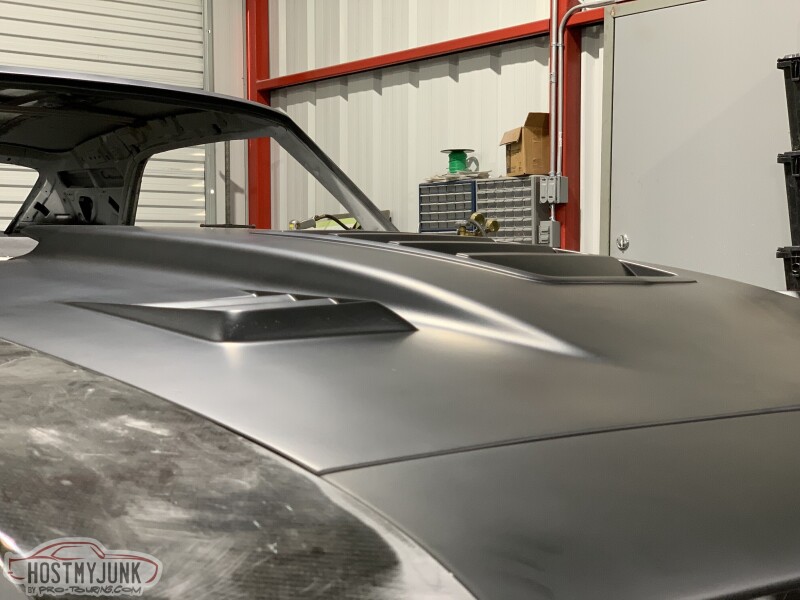
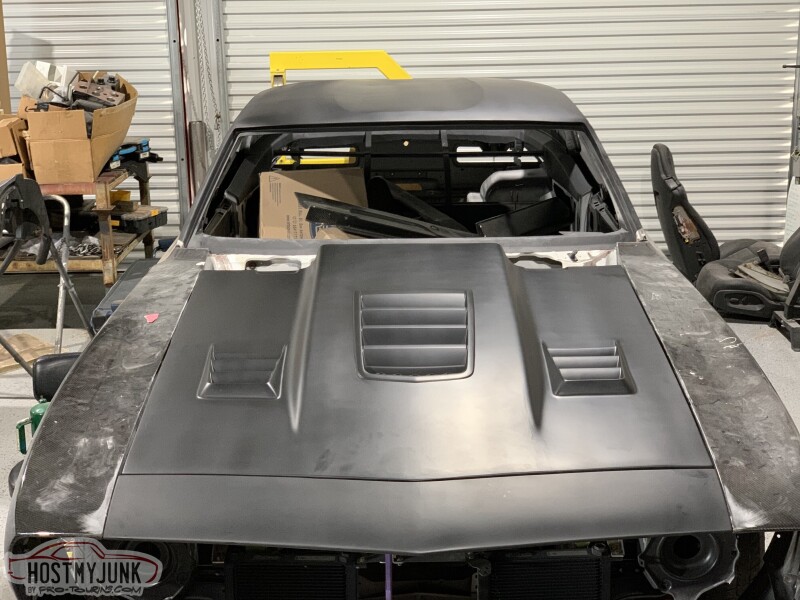
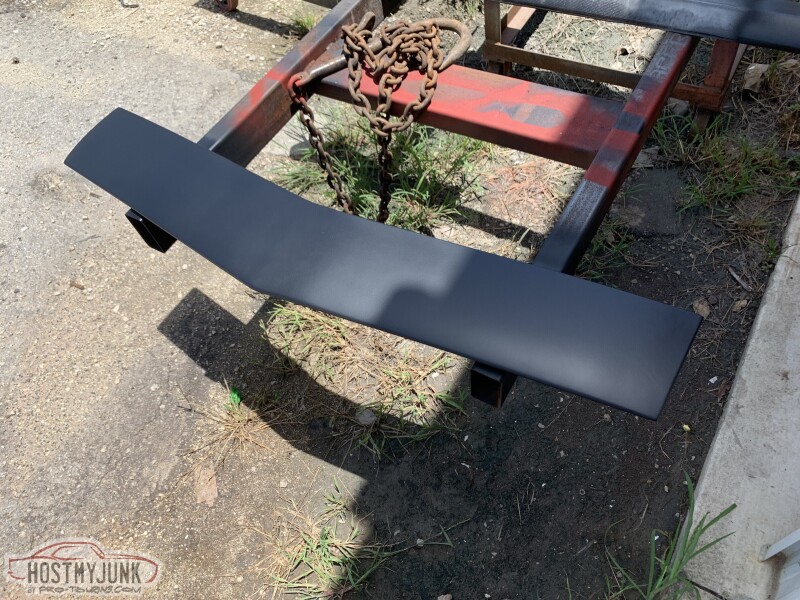
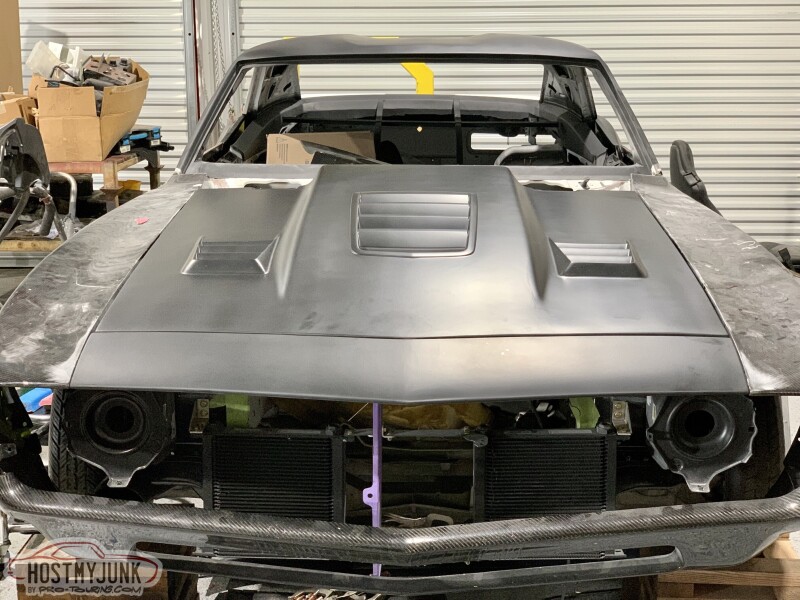
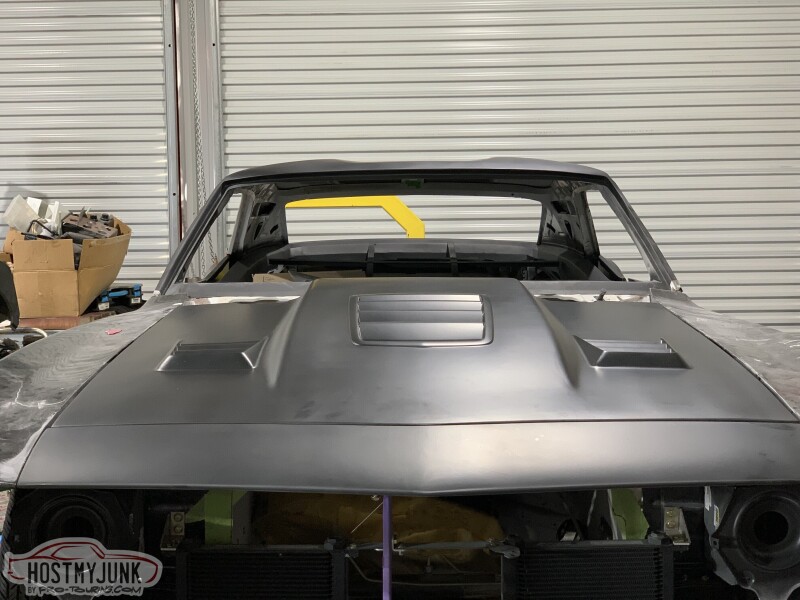
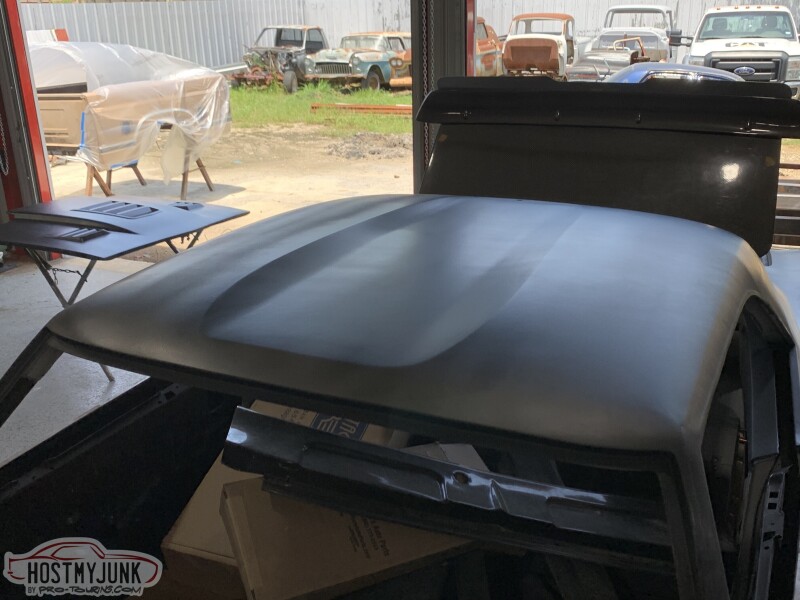
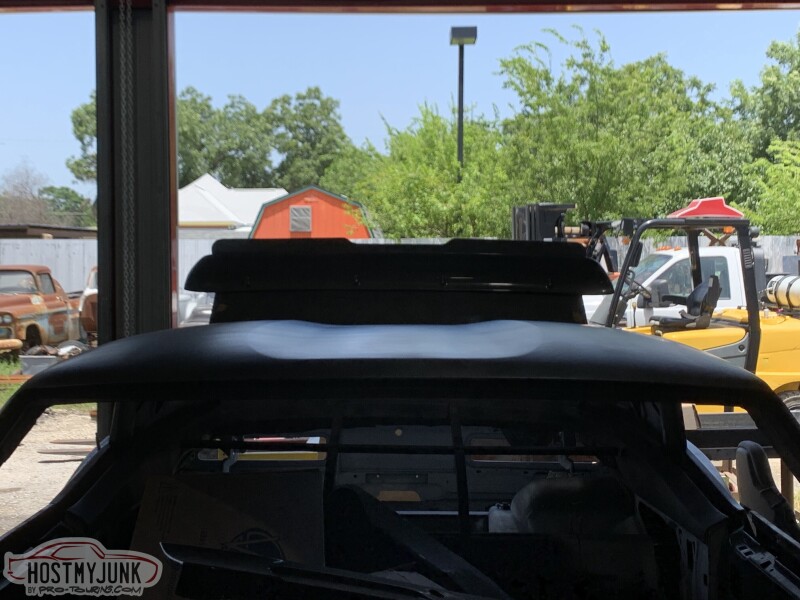
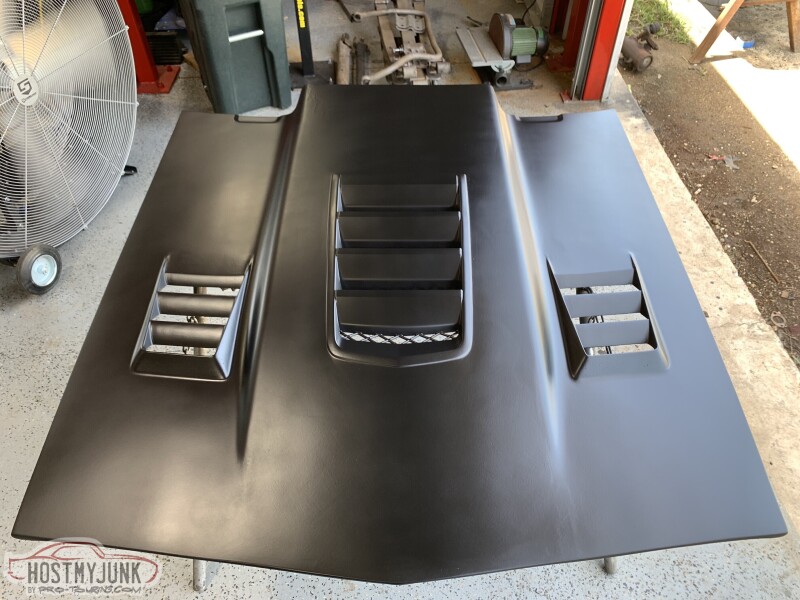
In between all of this work I've been doing some body work on the hood, upper valance and roof getting it pretty close so when its ready for a real body guy it won't be too far off and should help move things along quicker from paint jail. For not being a body guy I'm really happy with how it came out so far.
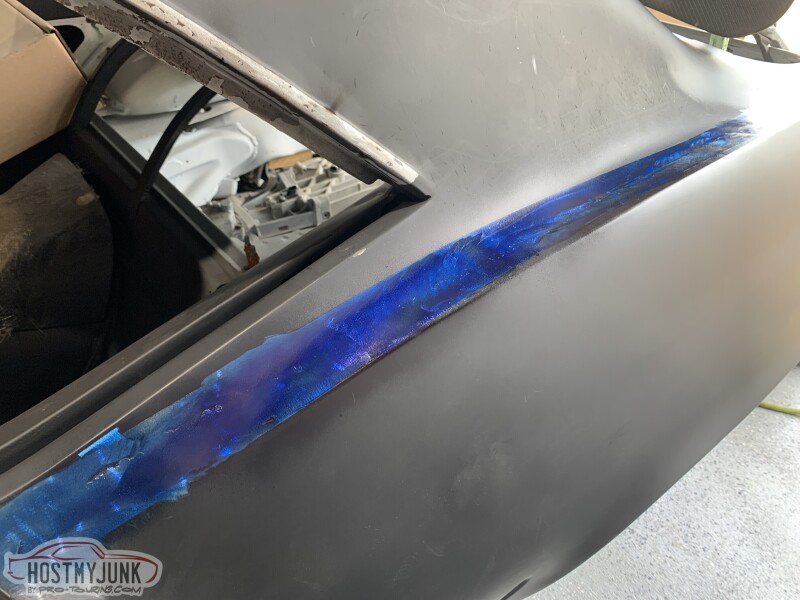
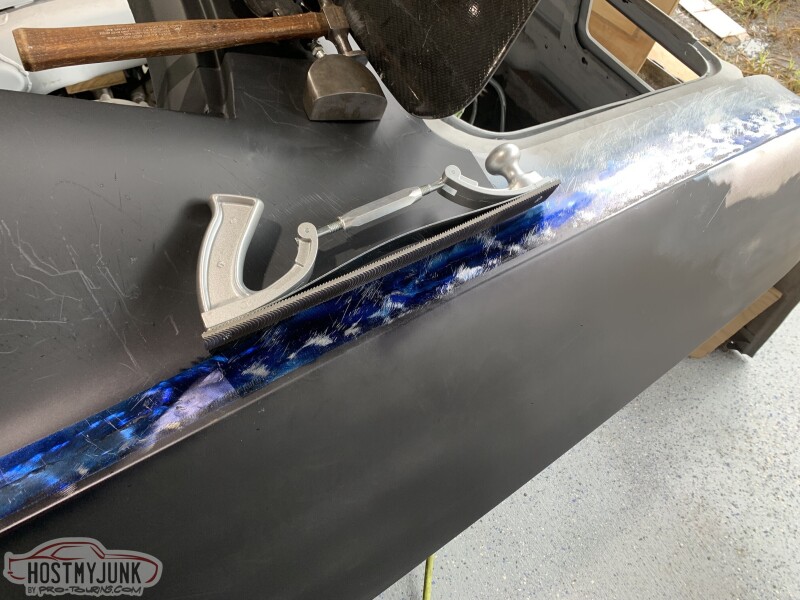
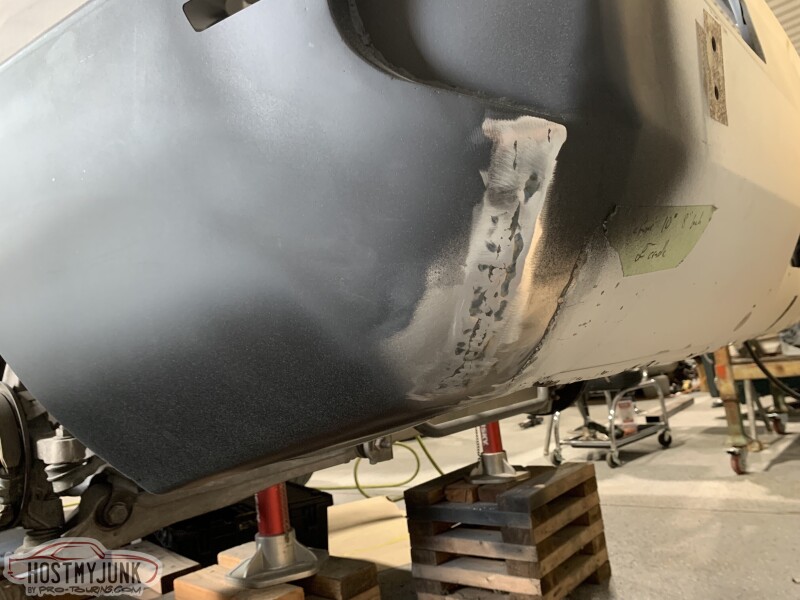
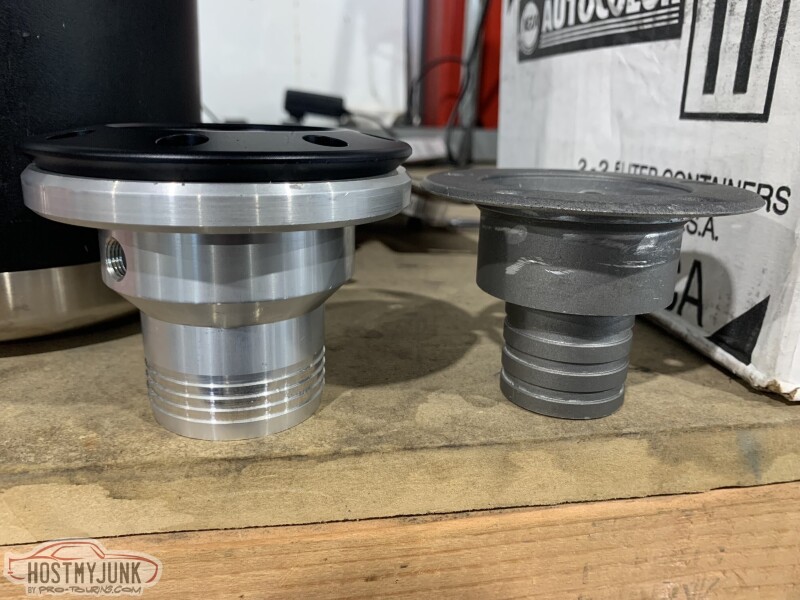
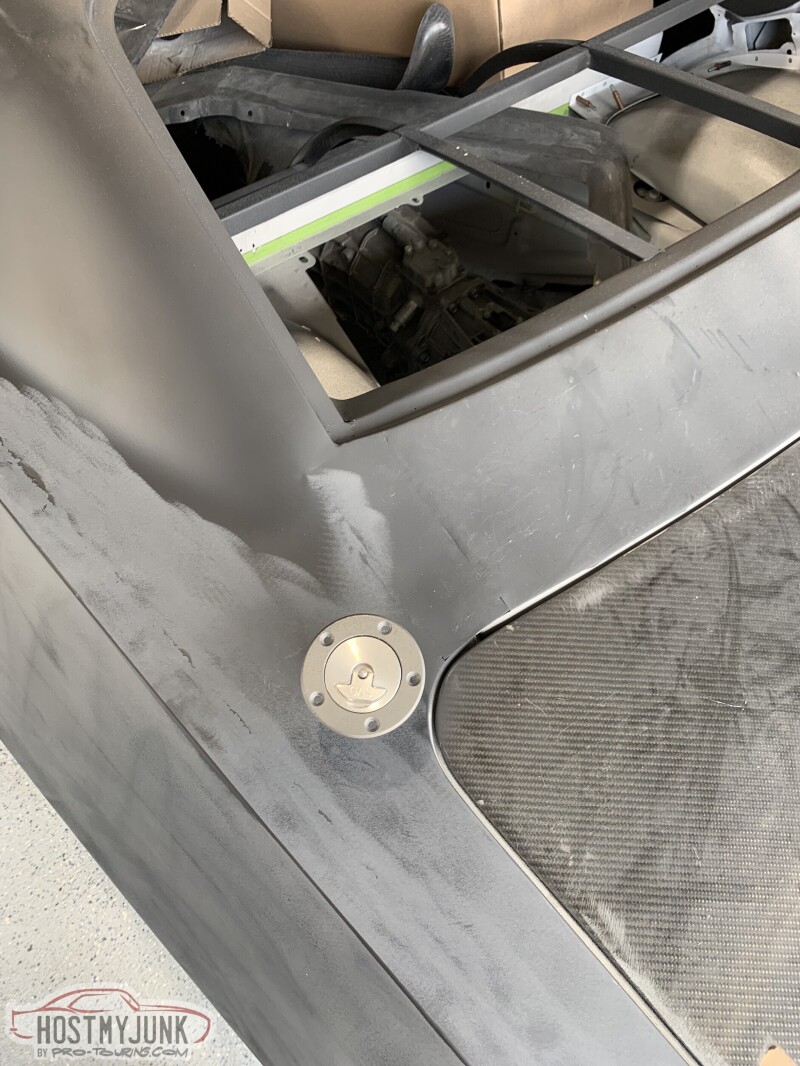
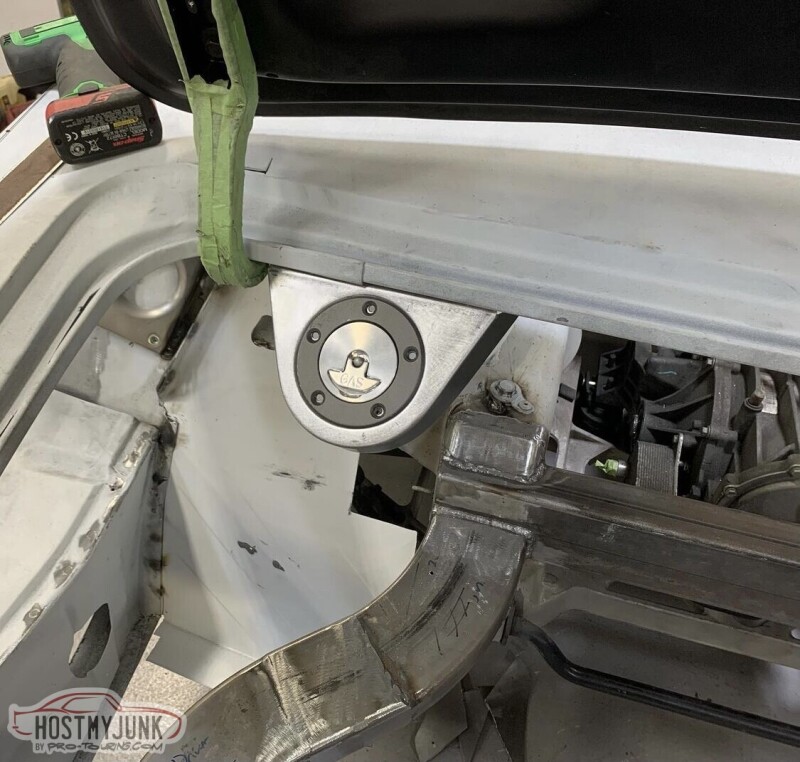
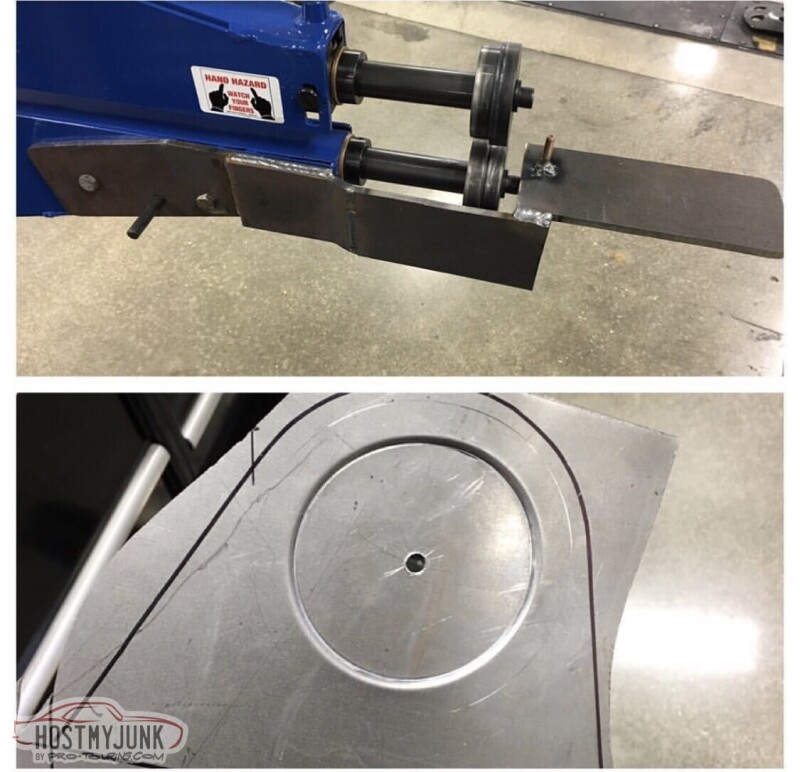
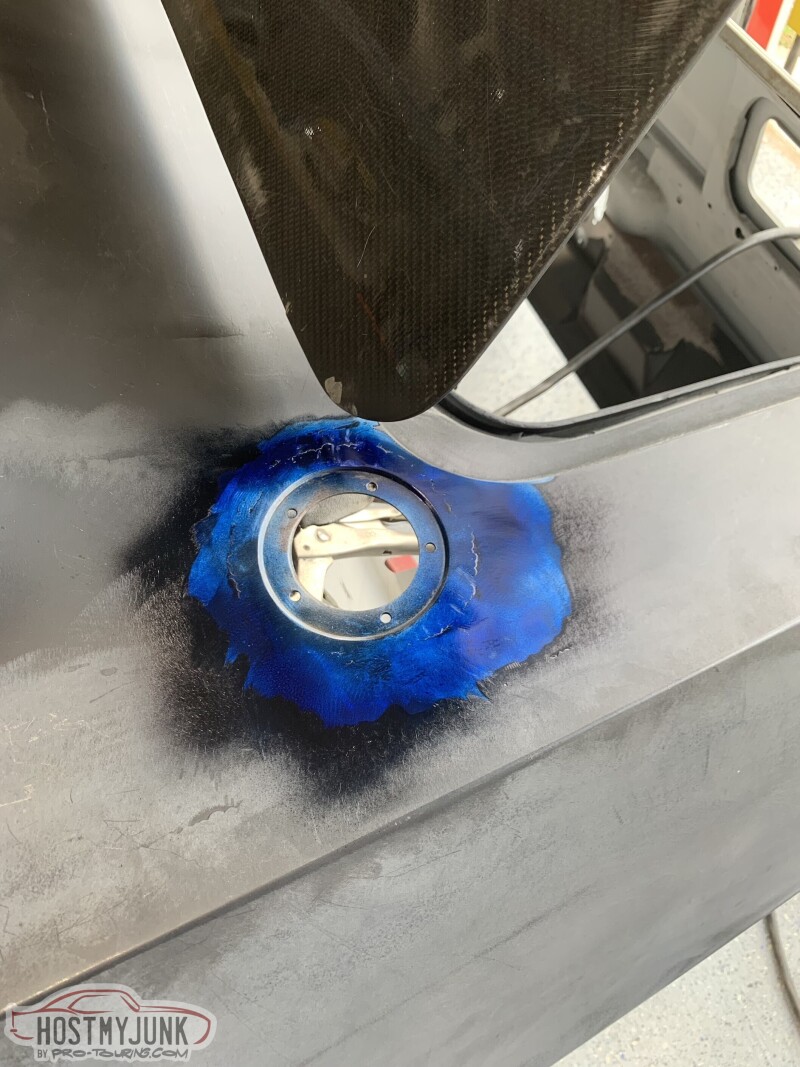
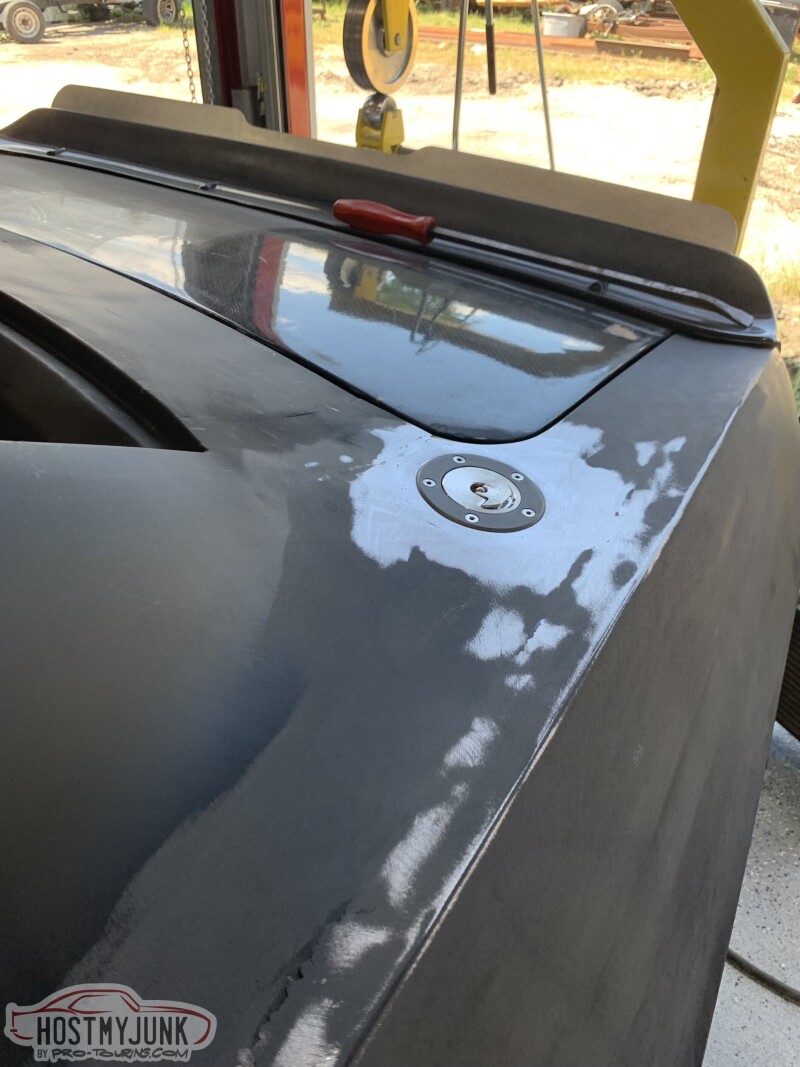
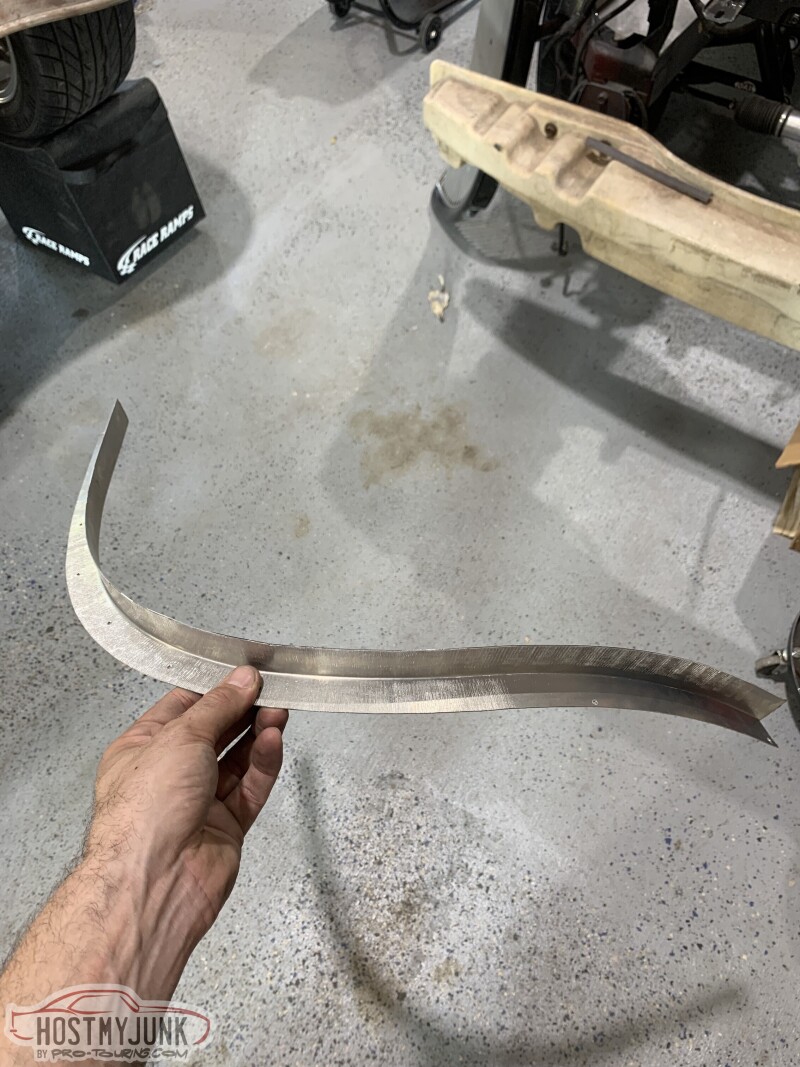
That brings us to this weekend. I've been going back and forth on where to put my fuel filler since the Vette tanks are kinda high behind the driver seat. I didn't want to have an external filler, but thats what worked the best for me. I had an EMI filler, but I wanted a locking one so I ordered the RideTech unit. Safe to call it a unit as its huge and heavy. On the scale it was over a pound and twice as much as the EMI that I ended up using, because of the weight and size. Mostly the weight lol. With a modification to my bead roller a few years ago I made a perfect circle to recess the filler cap. I cut that up from version 1.0 and welded it into the driver quarter. And as with the rest of the metal if was pick and filed to fix the warping.

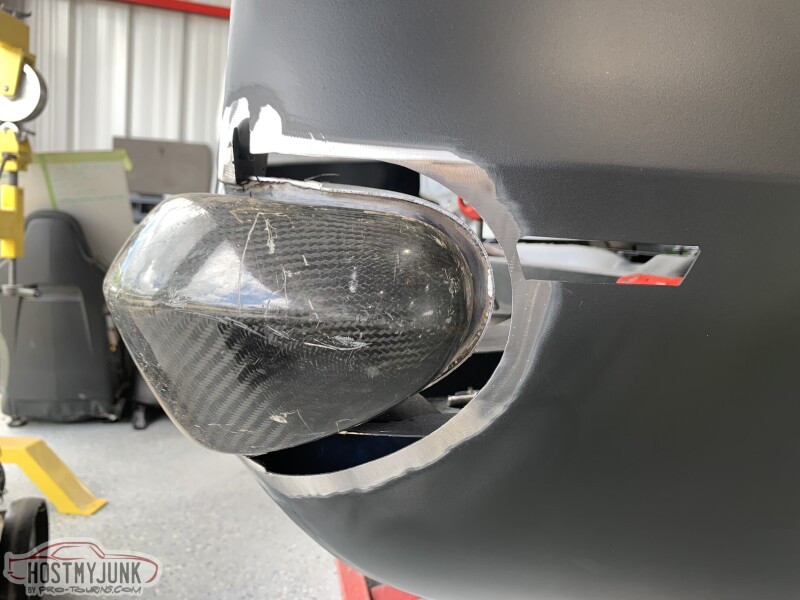
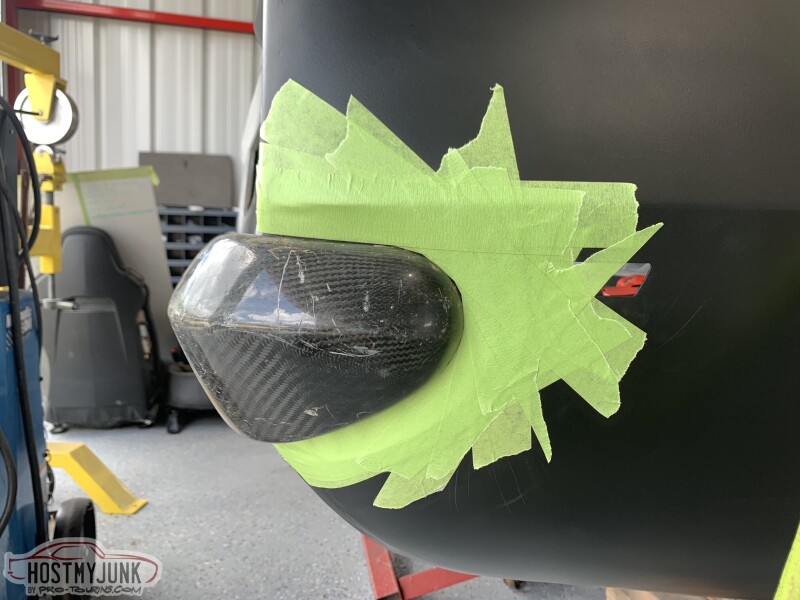
I also received my LED headlamps, so I got those test fit then boxed back up.
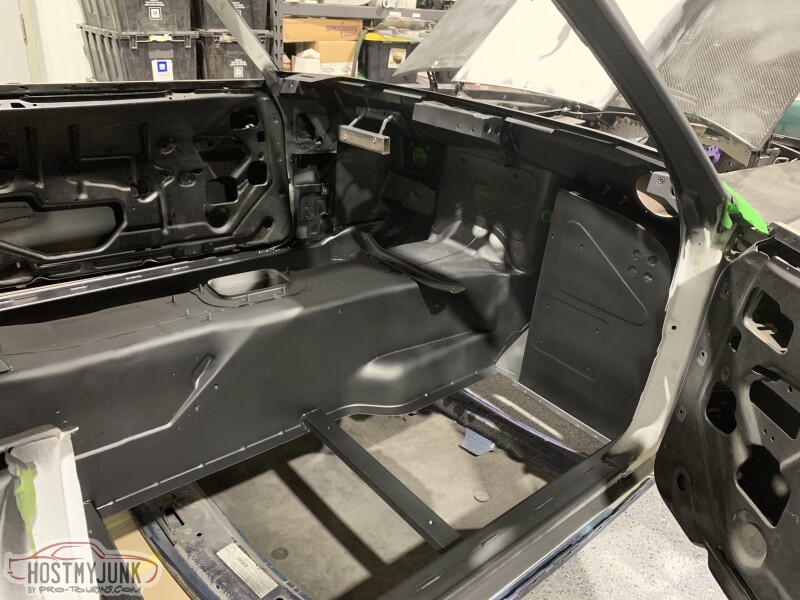
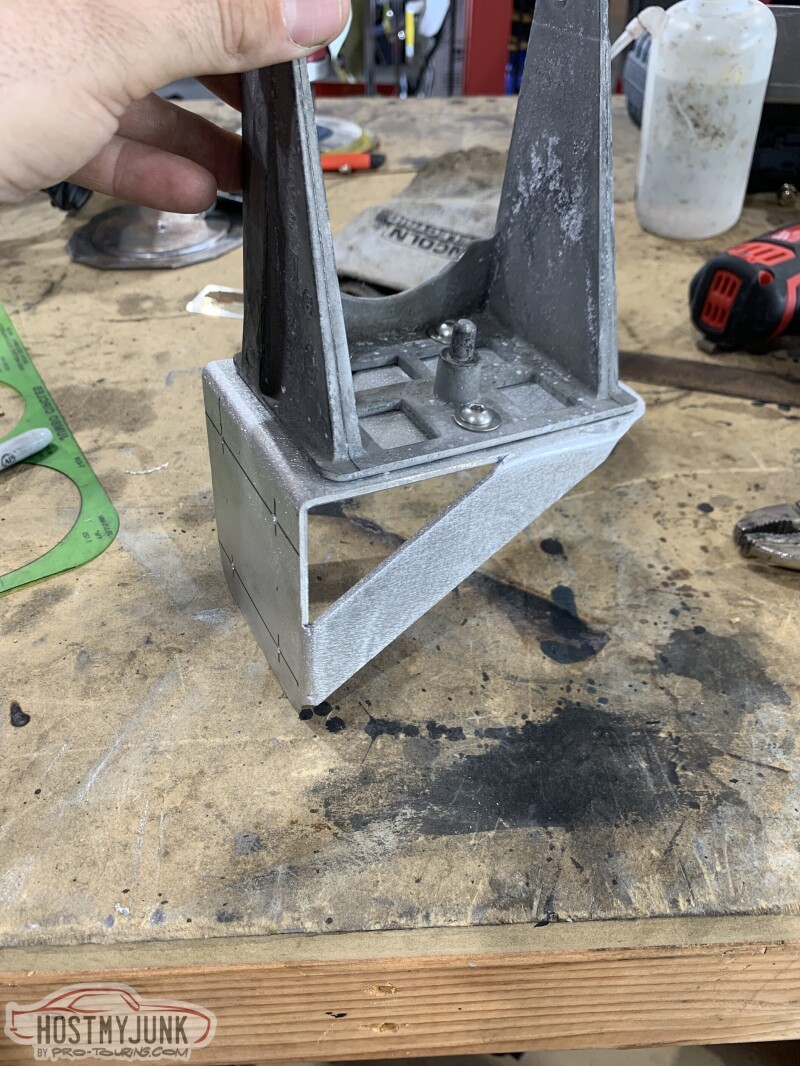
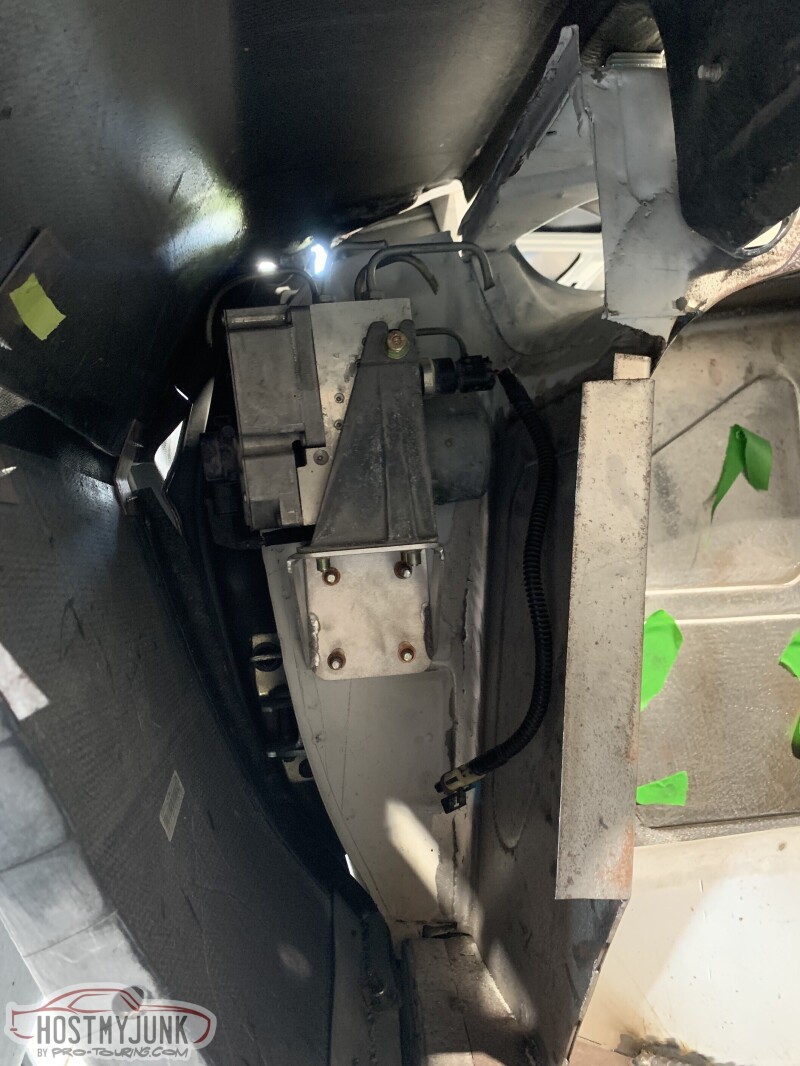
I also found a place for my ABS module and BPMV. I made a bracket to mount the modified stock bracket to and then mounted the whole assembly behind the passenger fender in the wasted space.
Picking up where I left off last time I got the car stripped down with the craptastic epoxy that the blaster applied that was flaking off and then into sealer. Also the bare metal was sealed to stop the surface rust.
With that out of the way I was able to get the driver quarter metal finished by pick and file and with the stud gun on areas with no back access.
The passenger side was the same process. Final fit, zip screw, trim, weld, metal finish, seal.
With the quarters in place I needed to finish up retucking the bumper. Since I did the wide body on the car I needed to modify the pockets to be a little deeper and trim the bumper ends accordingly. I didn't get great pictures when I did the driver side so I'll run down the passenger side. With the bumper bolted in place I tapped off the metal around to make a template. Transferring that to some sheet metal I got everything cut out and clamped into place before welding and metal finishing everything.
Now with the bumper squared away I moved onto the door handles. I'm running C6 style release buttons so I needed a pocket to get my fingers into. Starting with a shape the same angle as the stock gills and not the NACA duct I made a tape pattern to get me in the ball park. It took some work and time, but I like how they came out.
In between all of this work I've been doing some body work on the hood, upper valance and roof getting it pretty close so when its ready for a real body guy it won't be too far off and should help move things along quicker from paint jail. For not being a body guy I'm really happy with how it came out so far.
That brings us to this weekend. I've been going back and forth on where to put my fuel filler since the Vette tanks are kinda high behind the driver seat. I didn't want to have an external filler, but thats what worked the best for me. I had an EMI filler, but I wanted a locking one so I ordered the RideTech unit. Safe to call it a unit as its huge and heavy. On the scale it was over a pound and twice as much as the EMI that I ended up using, because of the weight and size. Mostly the weight lol. With a modification to my bead roller a few years ago I made a perfect circle to recess the filler cap. I cut that up from version 1.0 and welded it into the driver quarter. And as with the rest of the metal if was pick and filed to fix the warping.
I also received my LED headlamps, so I got those test fit then boxed back up.
I also found a place for my ABS module and BPMV. I made a bracket to mount the modified stock bracket to and then mounted the whole assembly behind the passenger fender in the wasted space.
07-16-2022, 01:04 AM
#126
Racer
Thread Starter
Sorry for the lack of updates. Ok this is going to be long since its been a while since I've updated this. I'm just gonna touch on everything kinda quick since the pics are worth a thousand words.
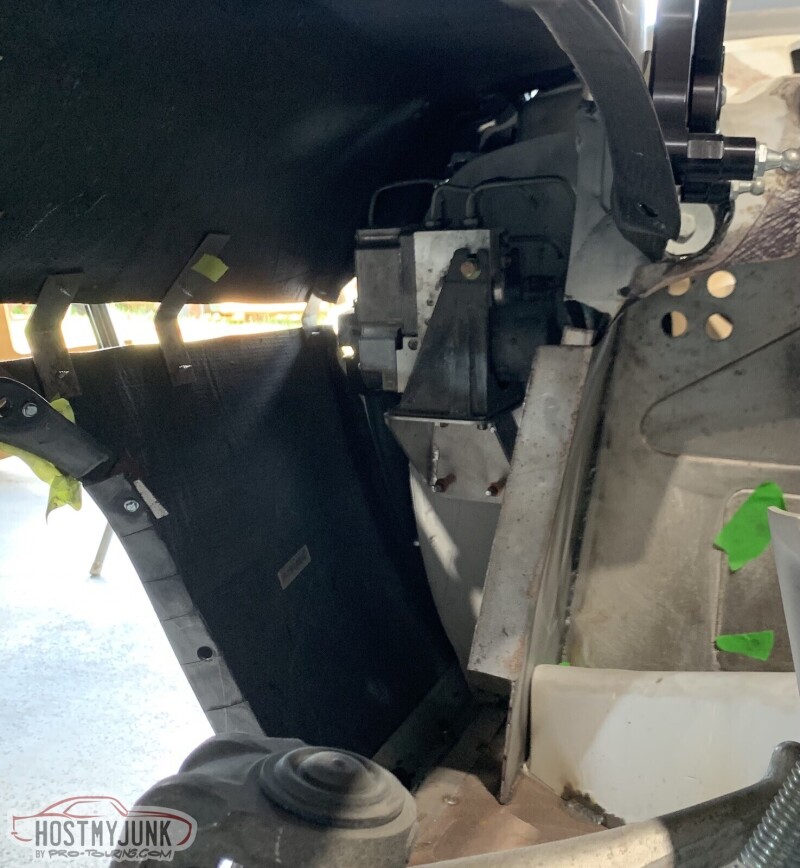
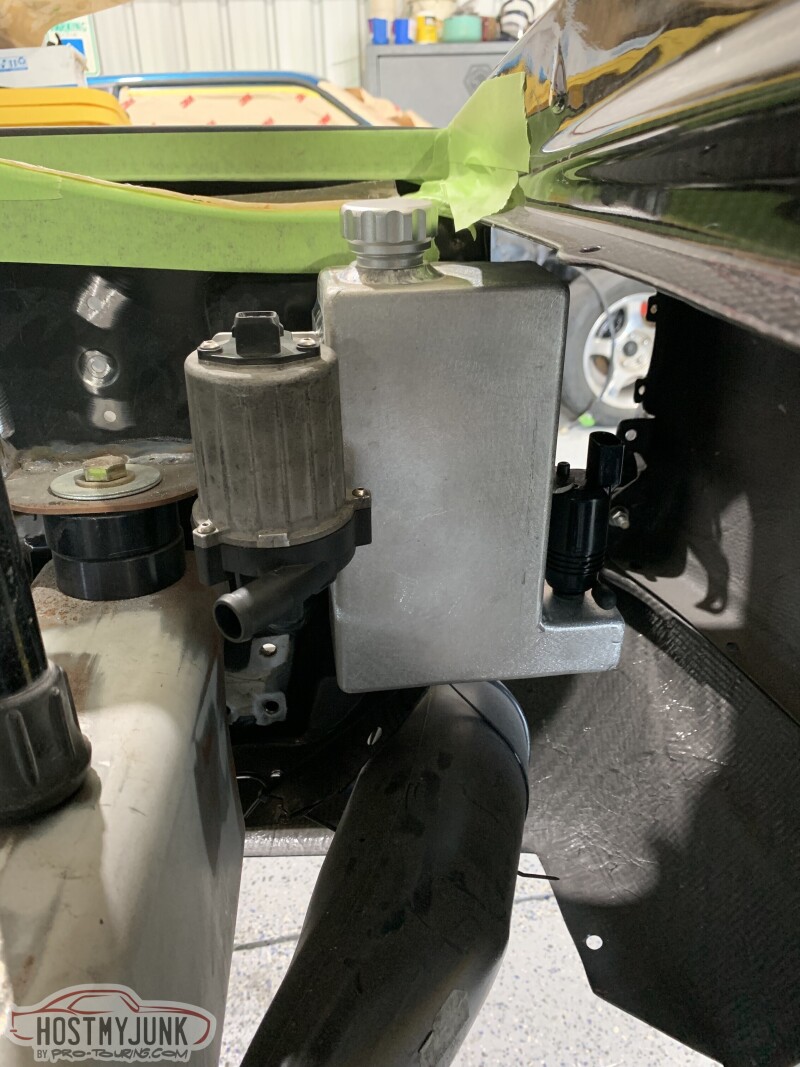
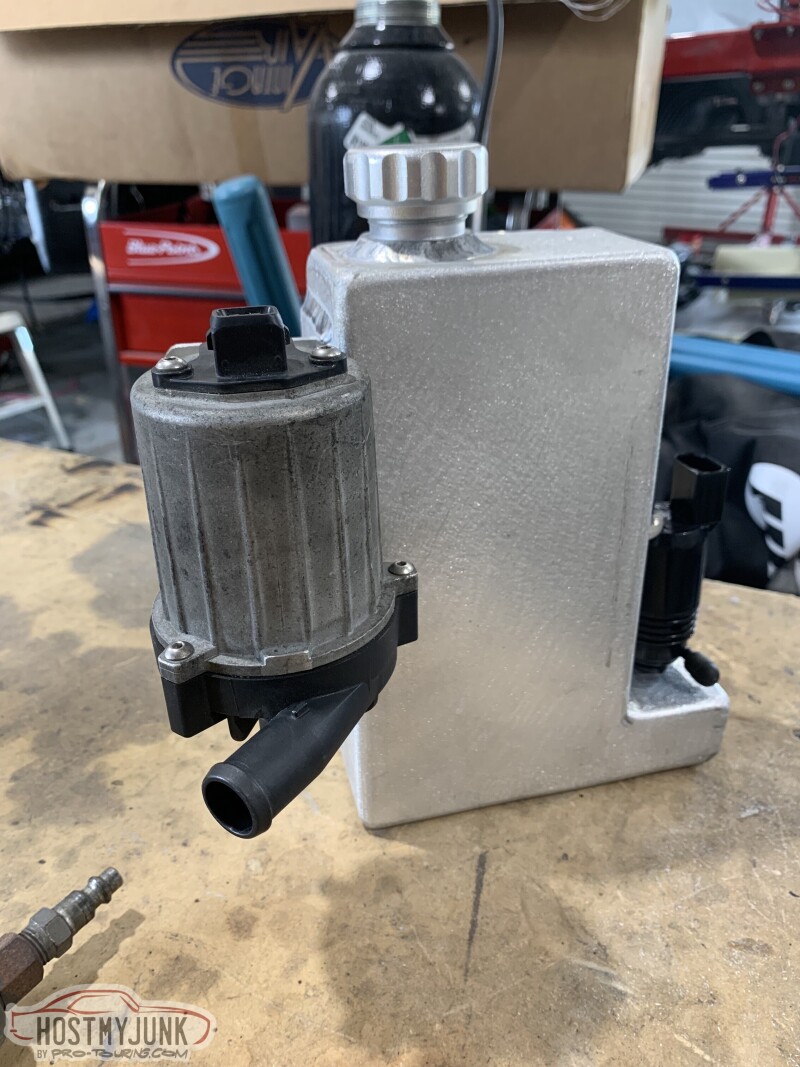
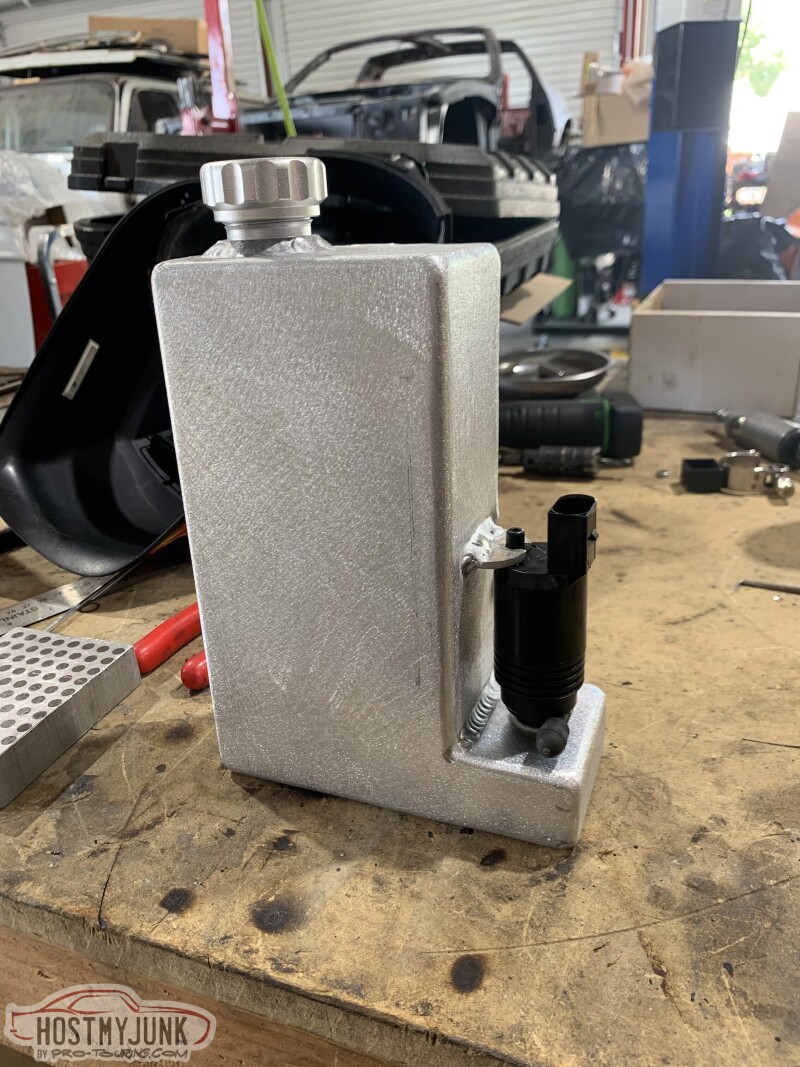
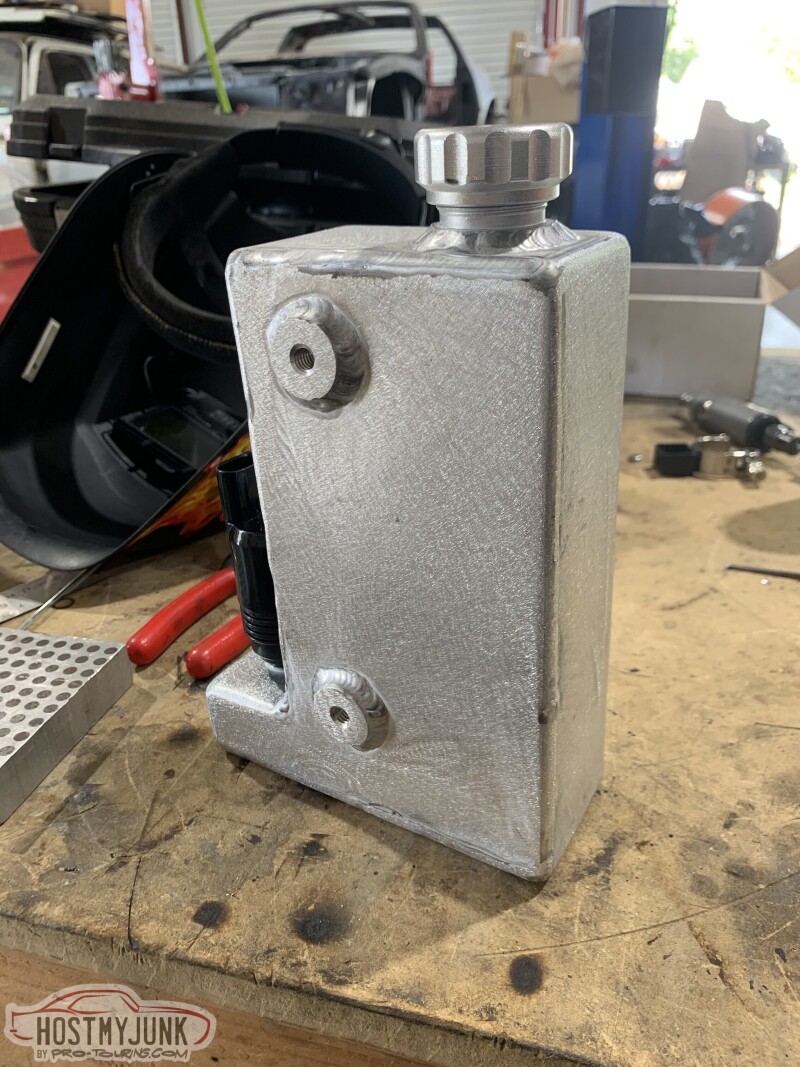
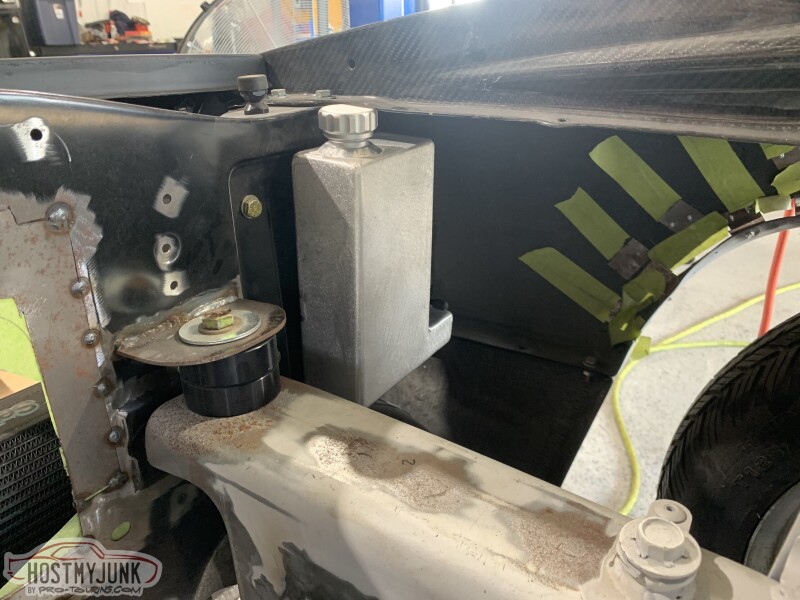
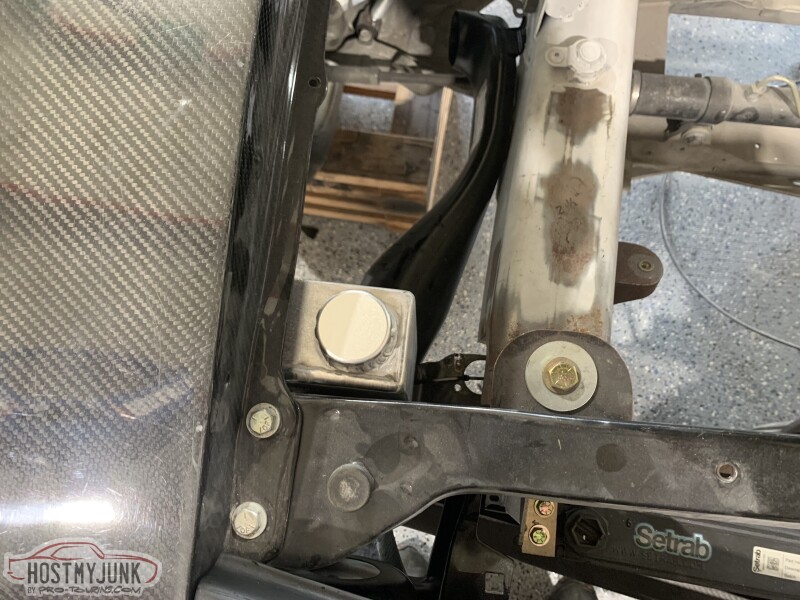
Looks like last update I had mounted the ABS. After that I built a washer reservoir and used it to mount the supercharger cooler pump.
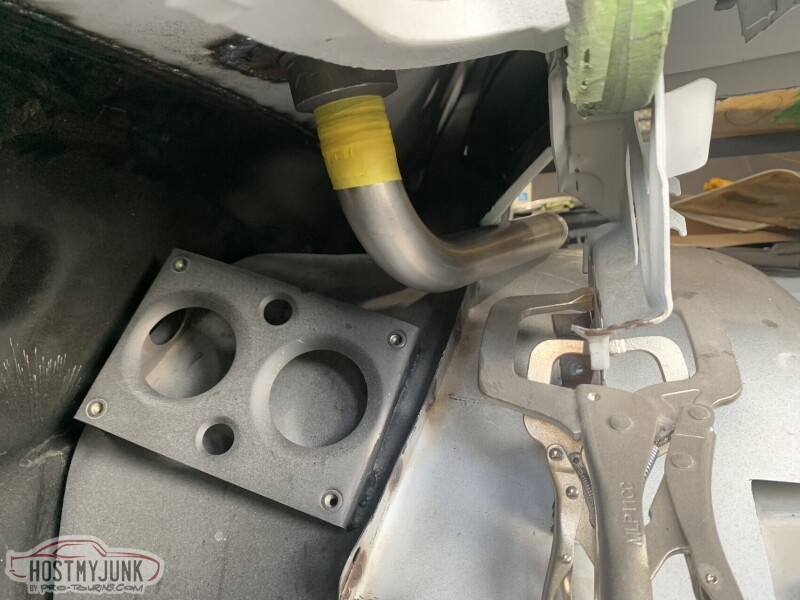
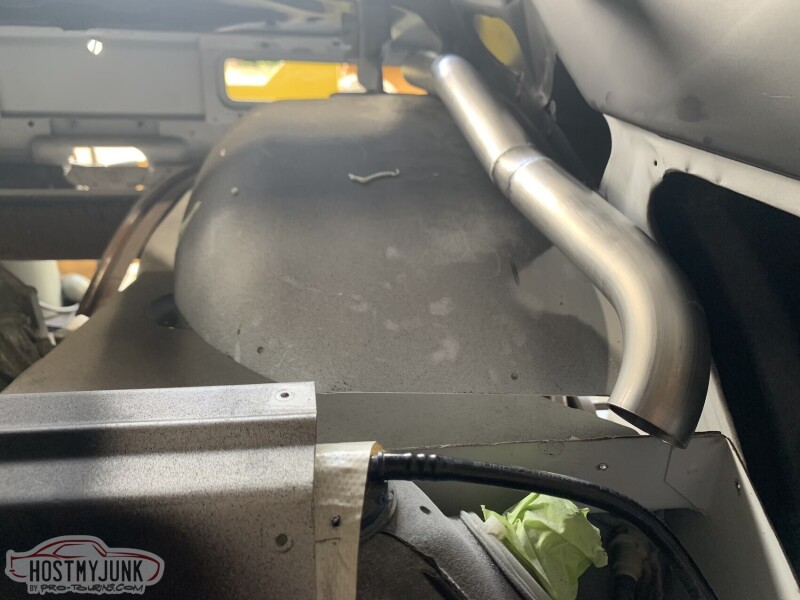
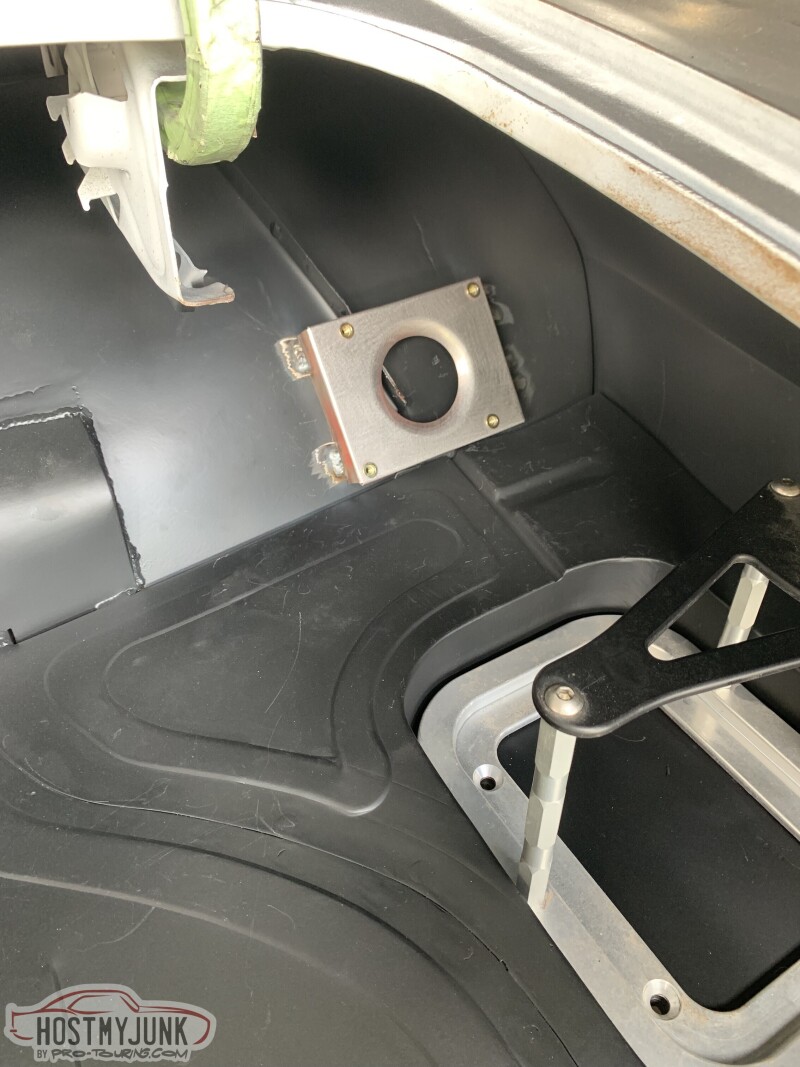
I fabricated a fuel fill pipe to connect the filler to the tank thats behind the drivers seat.
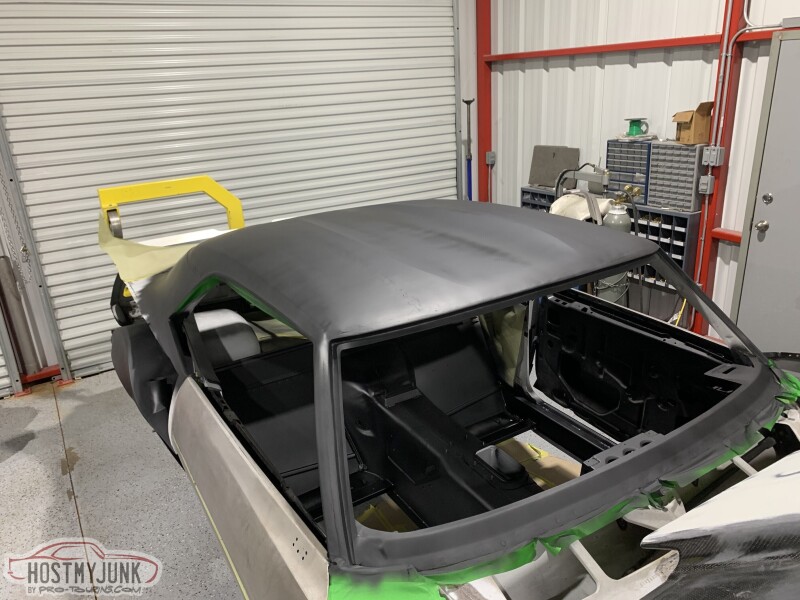
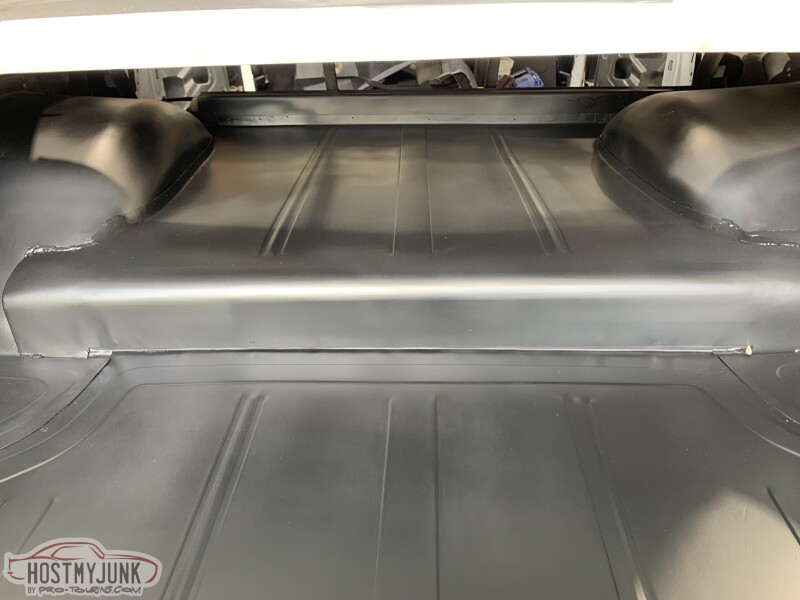
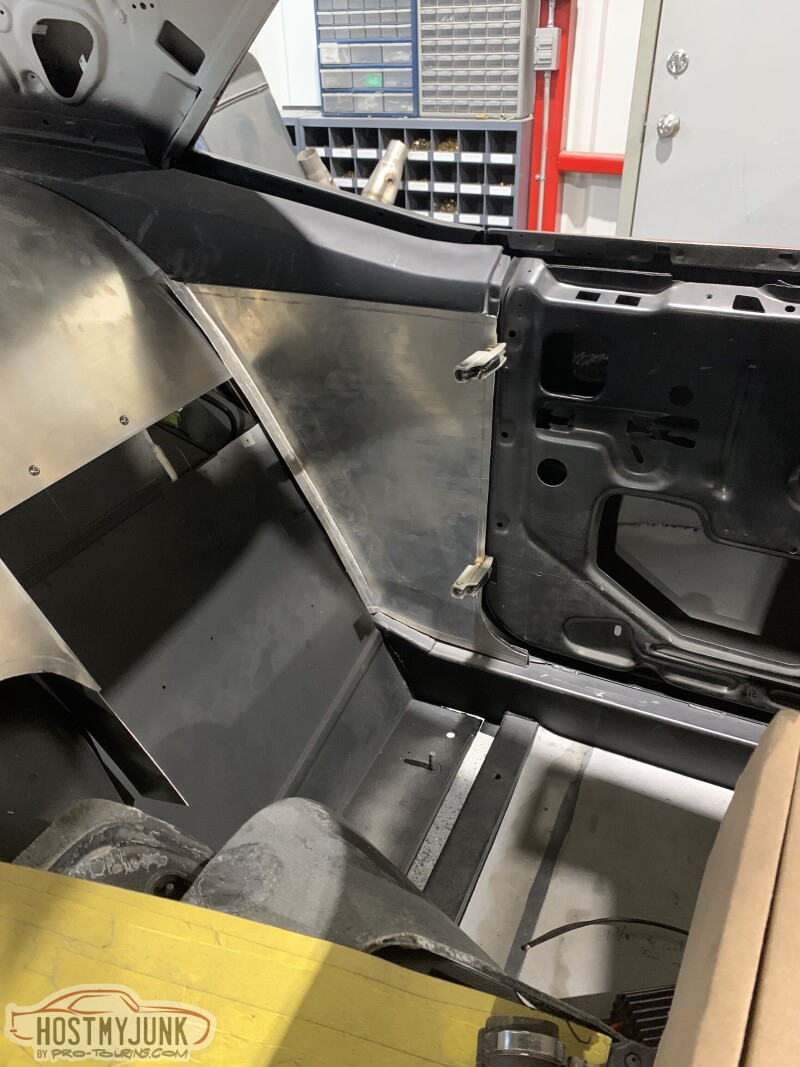
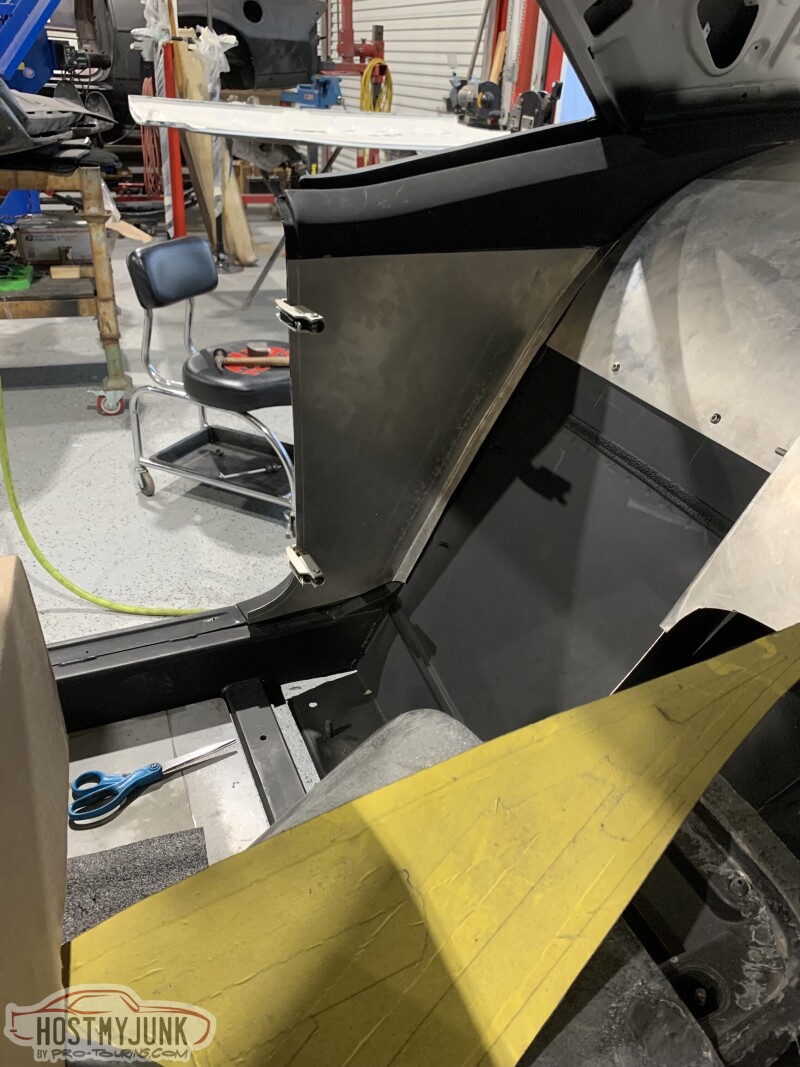
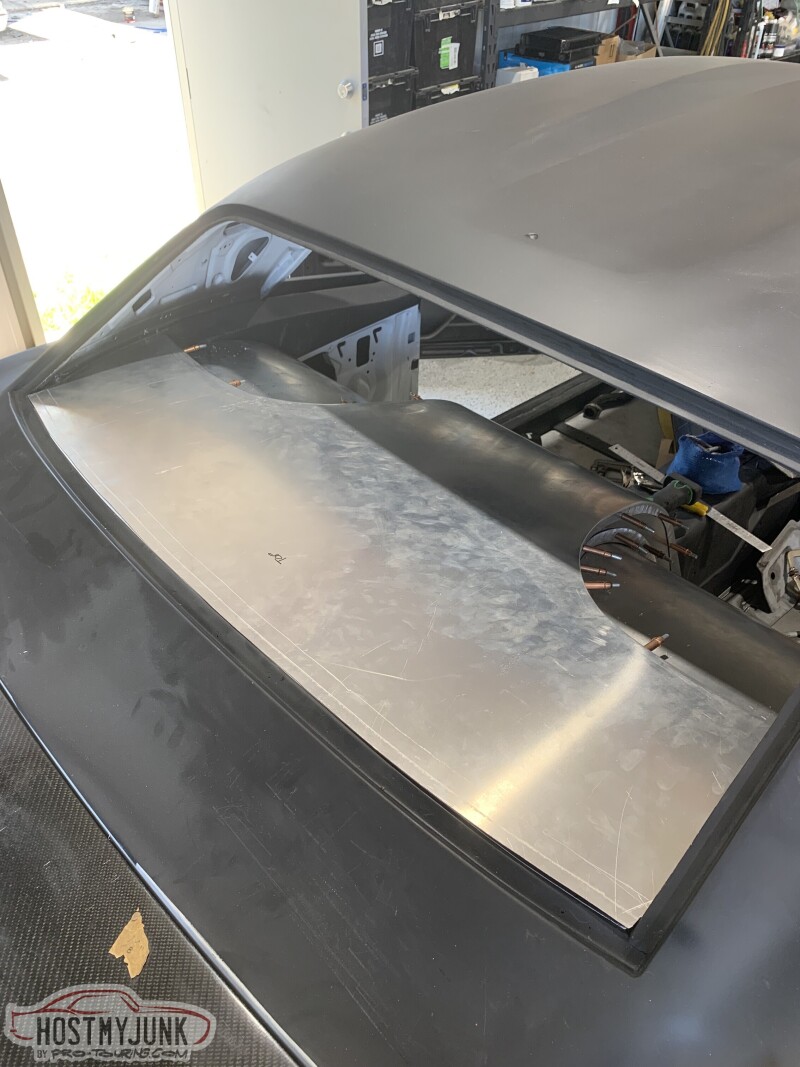
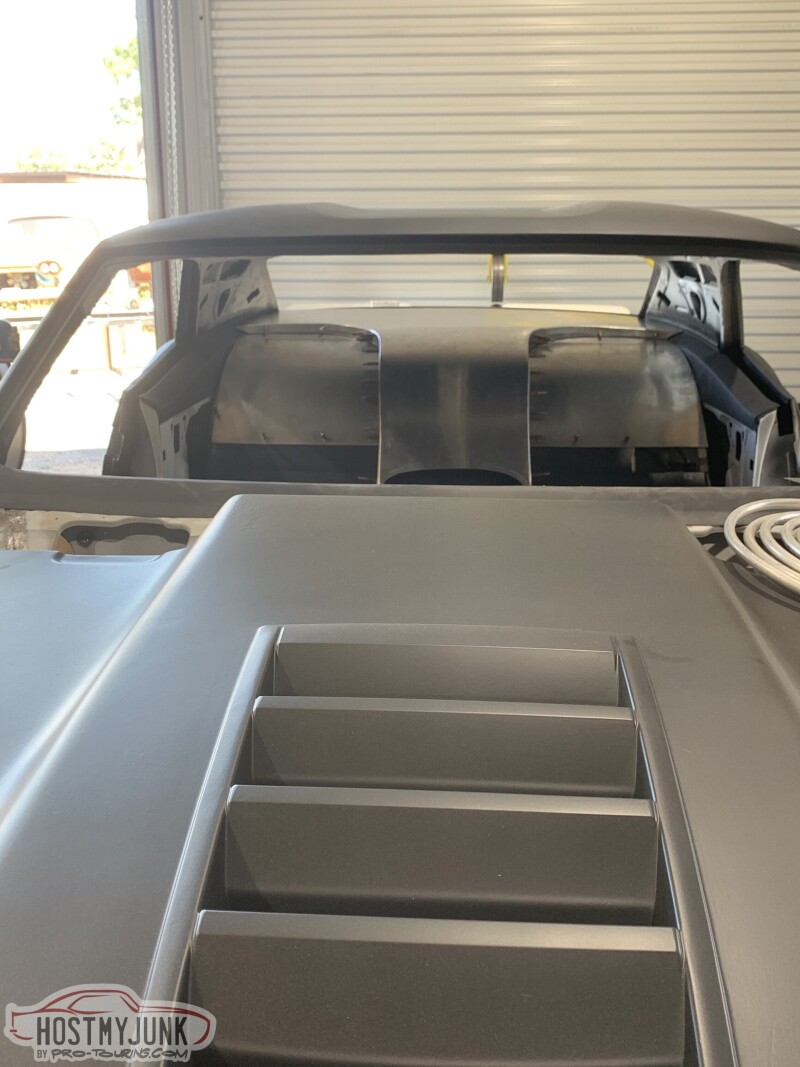
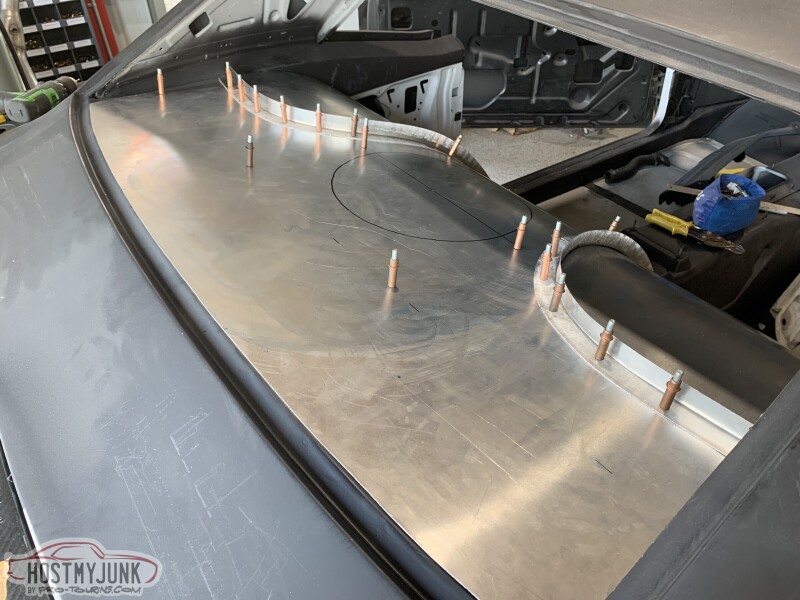
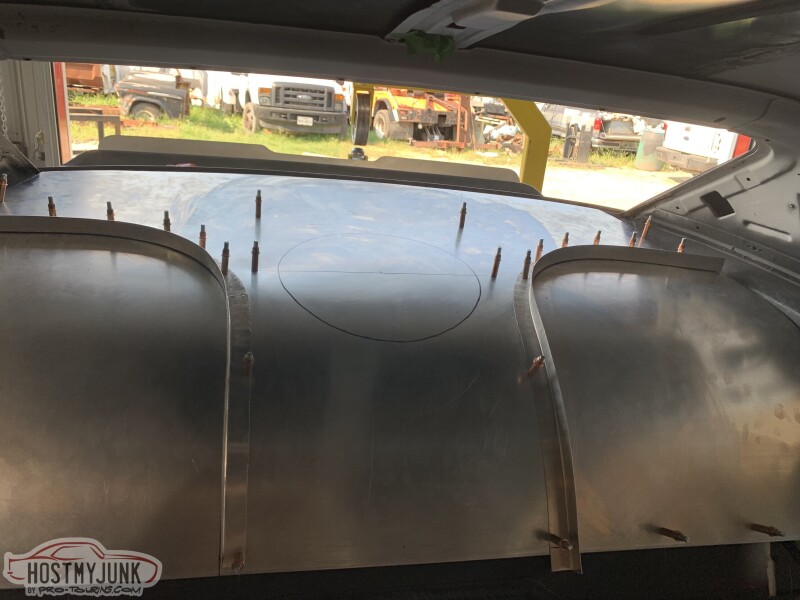
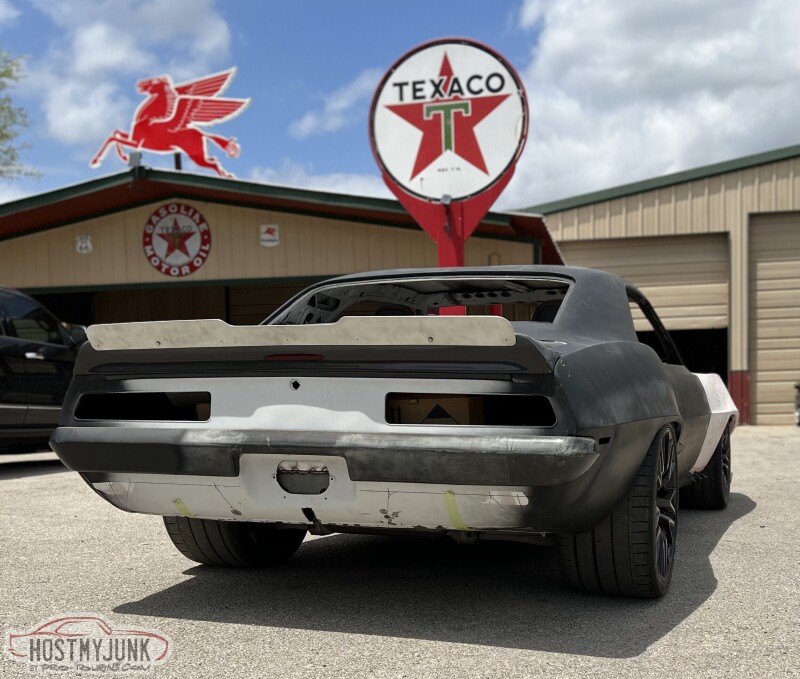
Then I moved onto the frame work for the rear package tray delete panel/waterfall, sanded everything down and shot it in black epoxy.

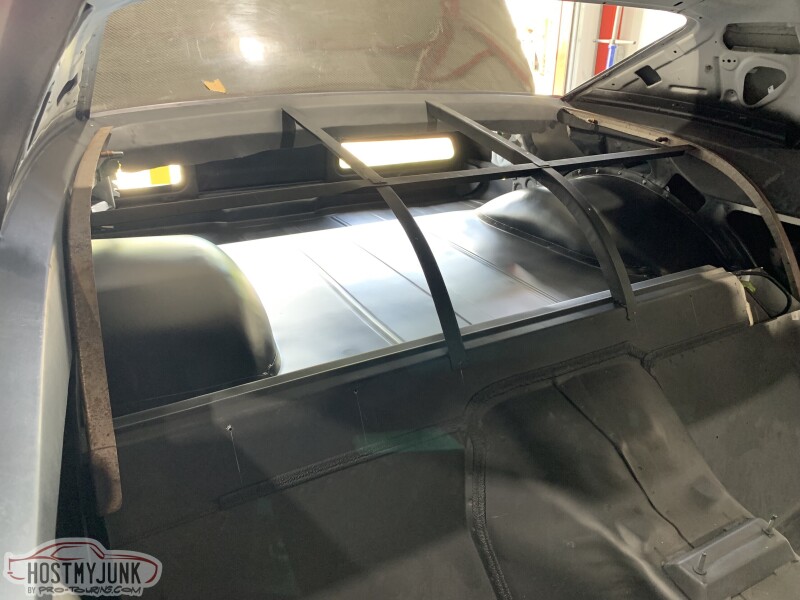
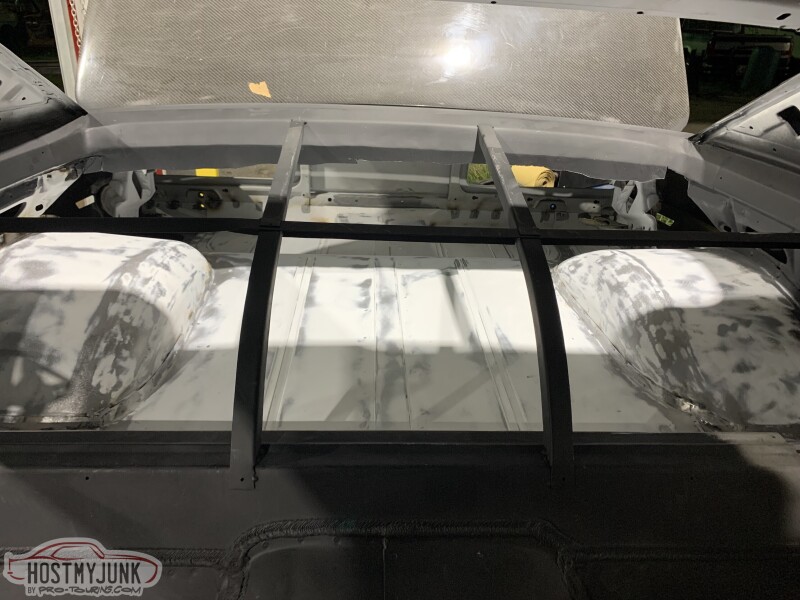
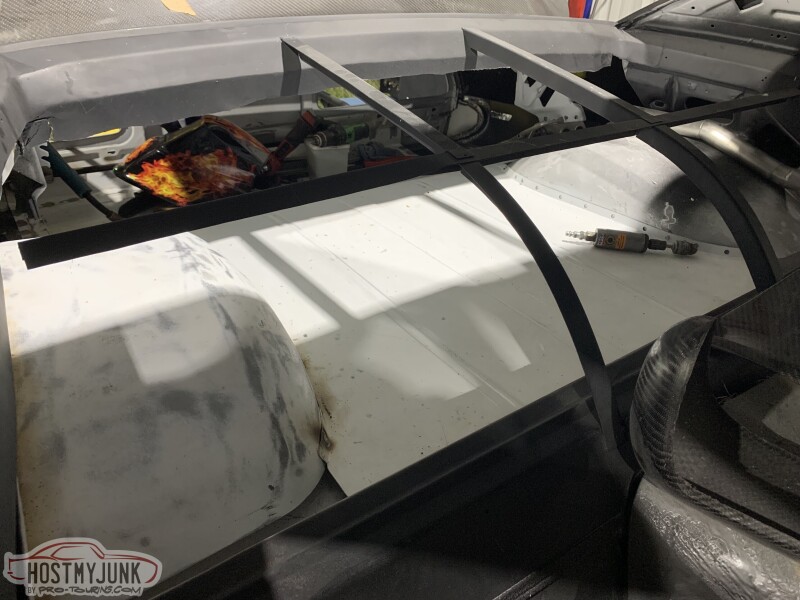
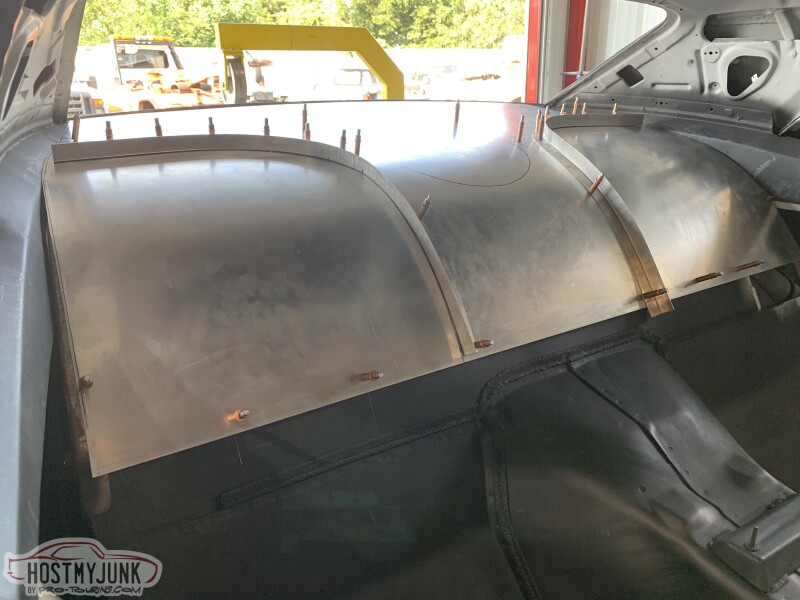
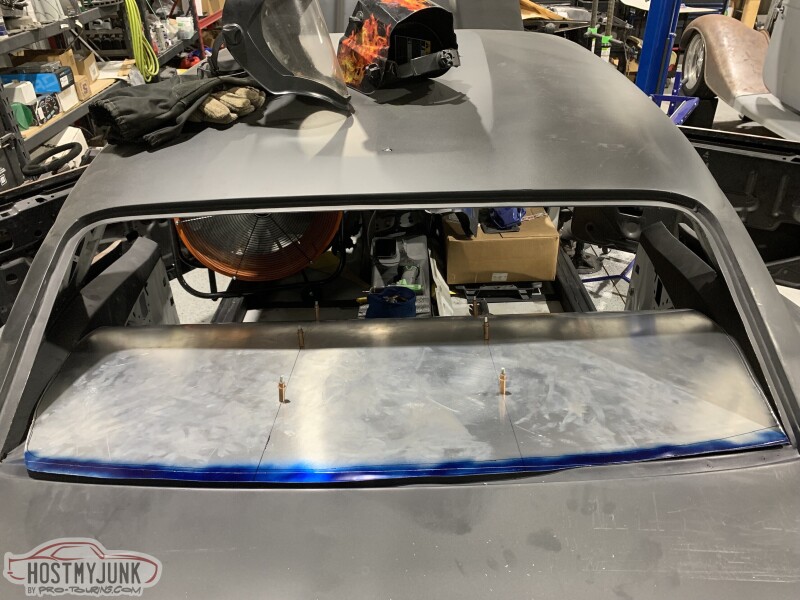
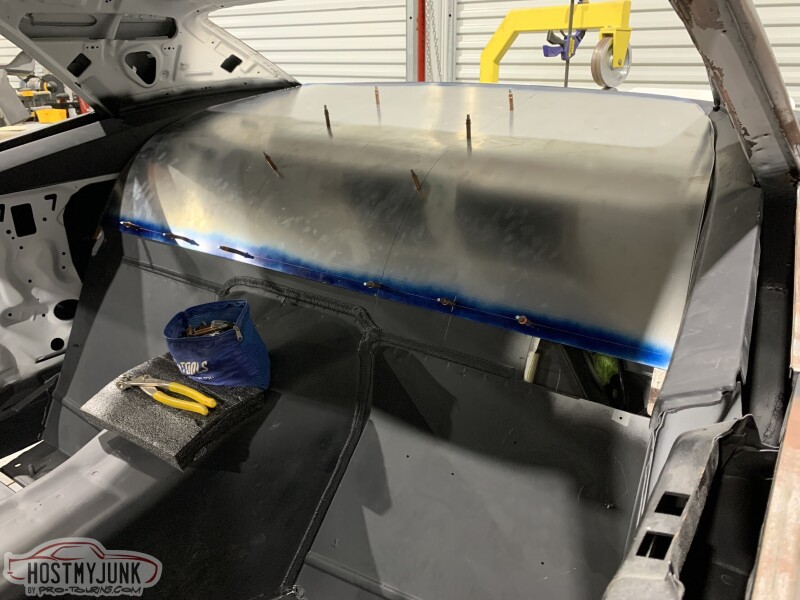
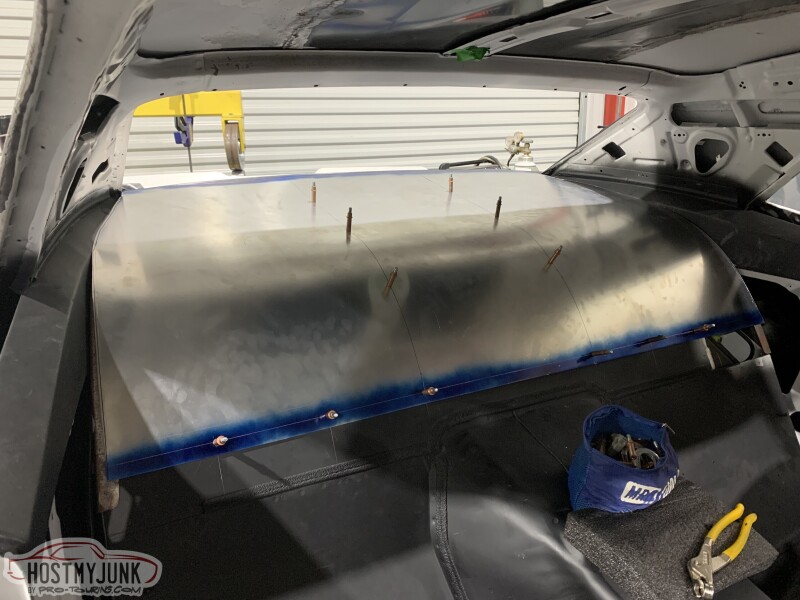
Which led to the waterfall being fabricated out of .040 aluminum, The plan is for this to be carped on the lower section and leather on the upper section with a 12" sub in the middle. Also a start of the rear side panels.
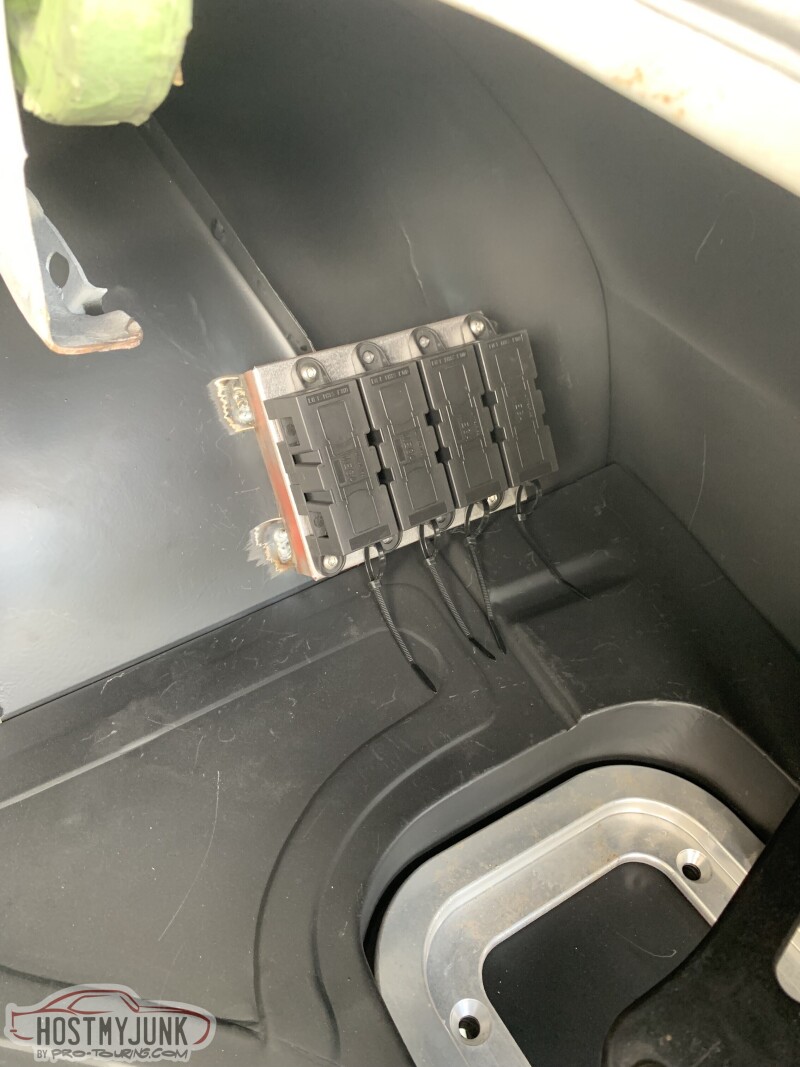
A quick little fuse bank holder next to the battery to hold the Mega fuses that power my Infinity Box system.
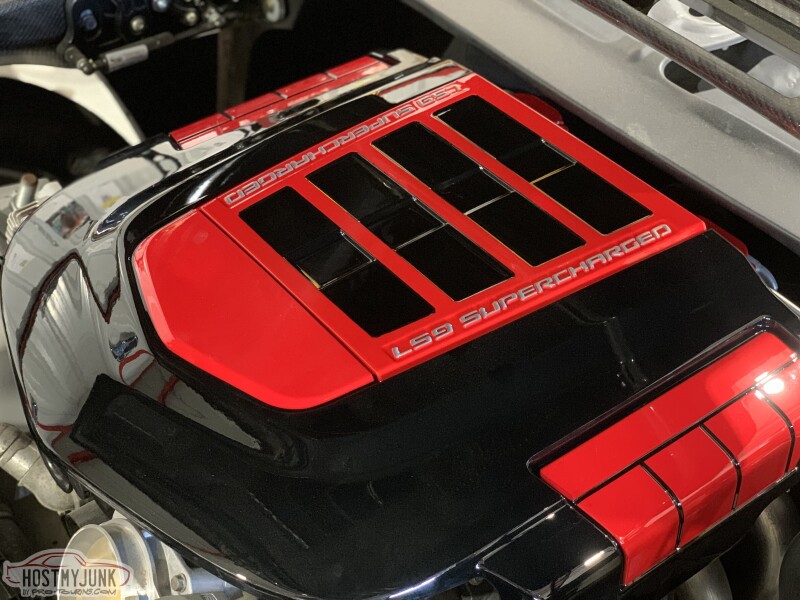
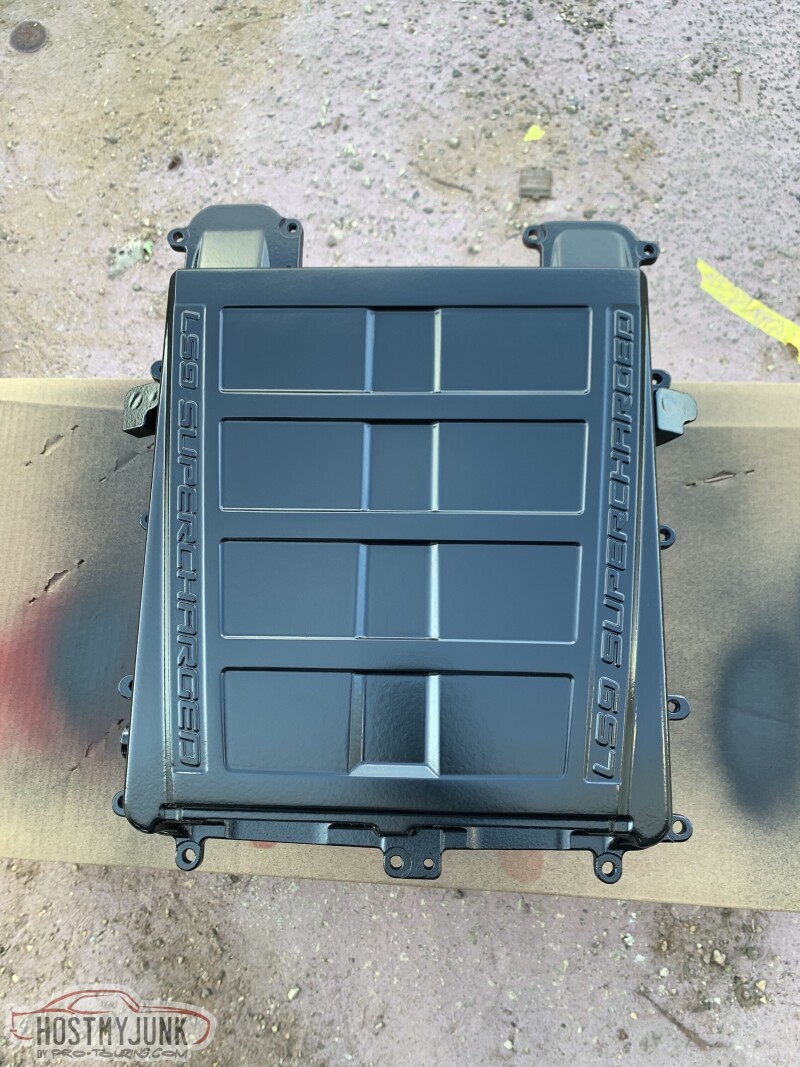
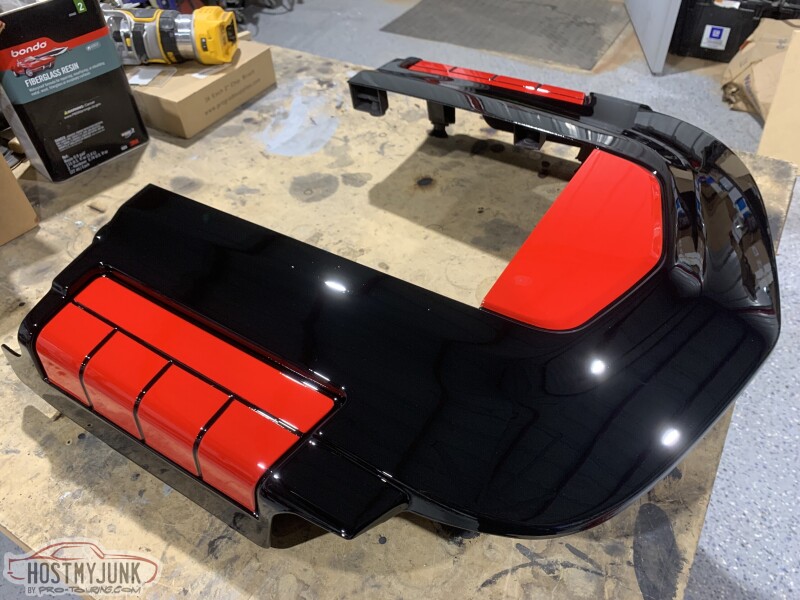
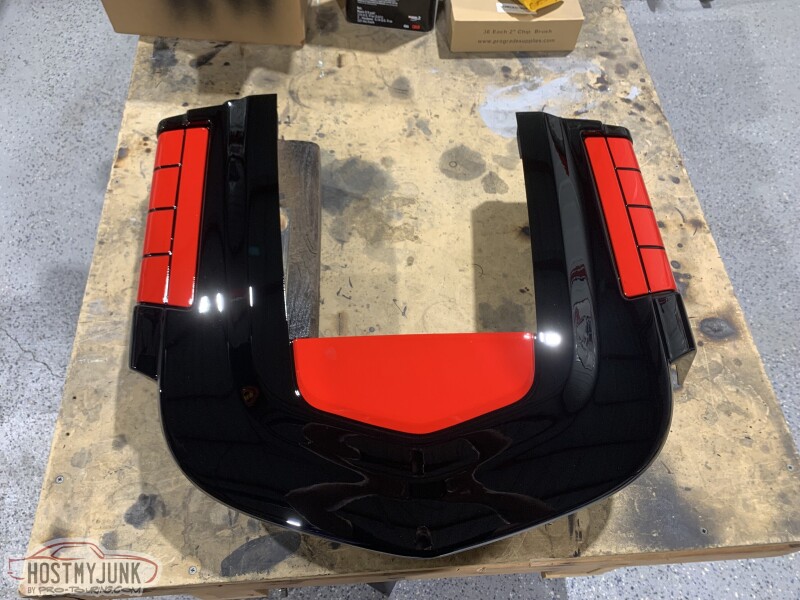
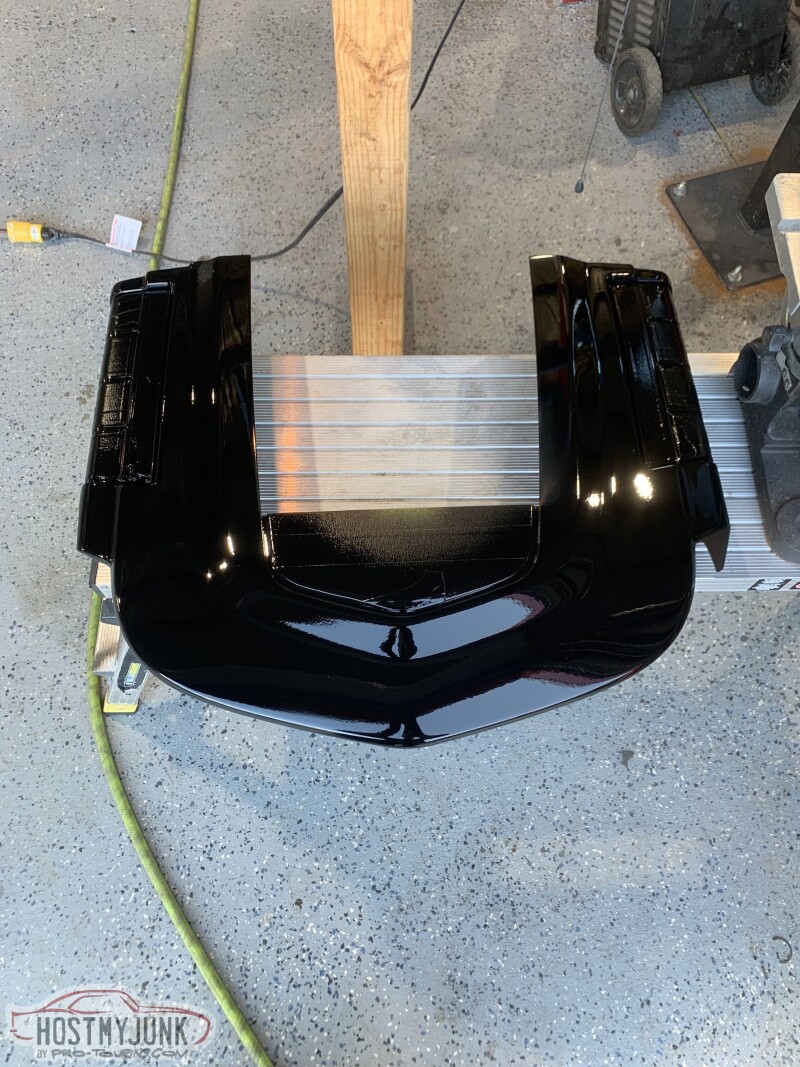
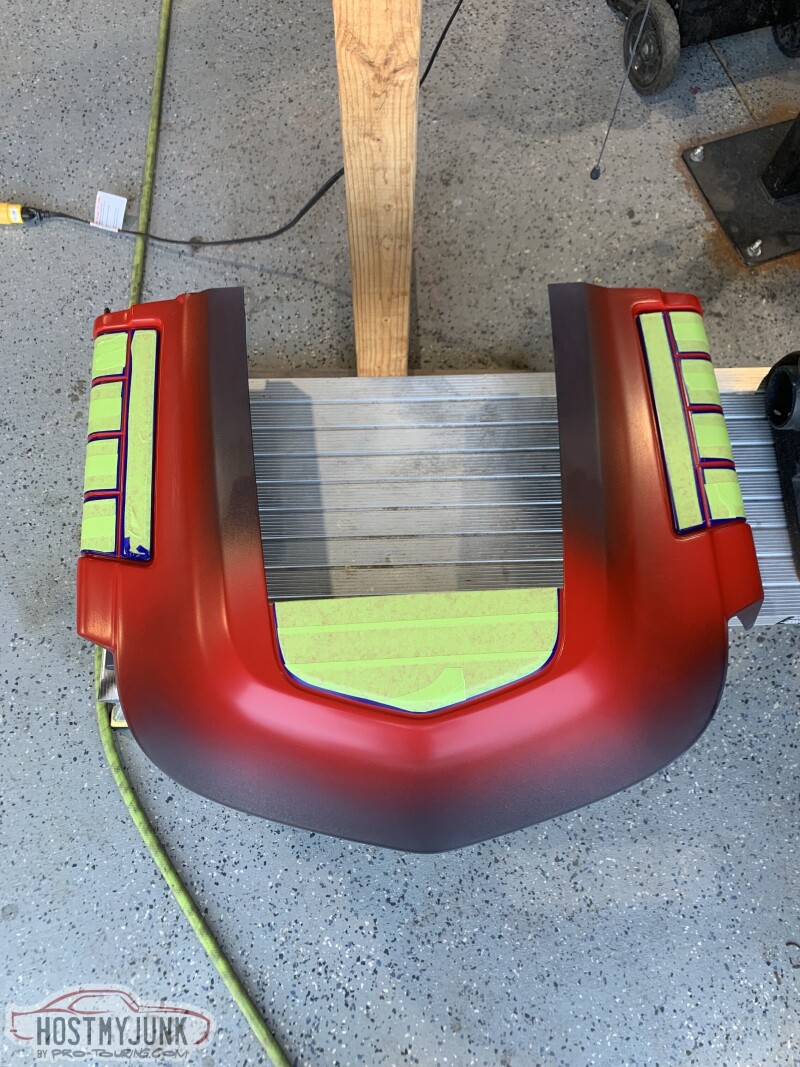
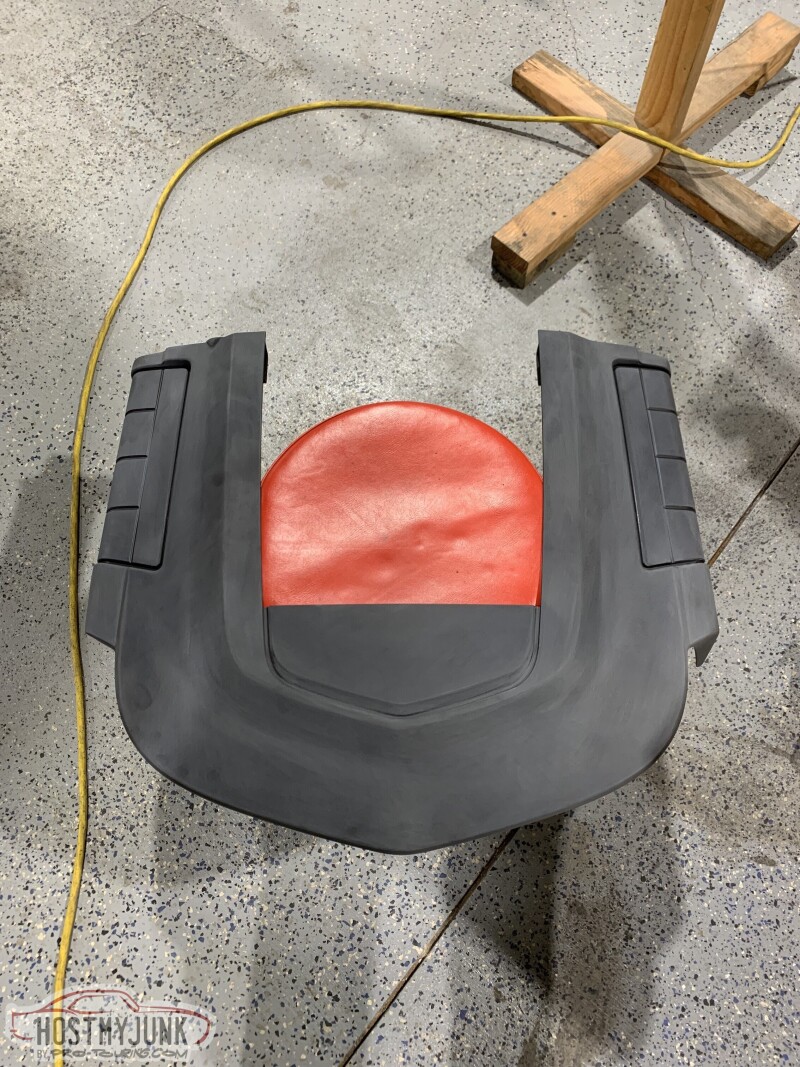
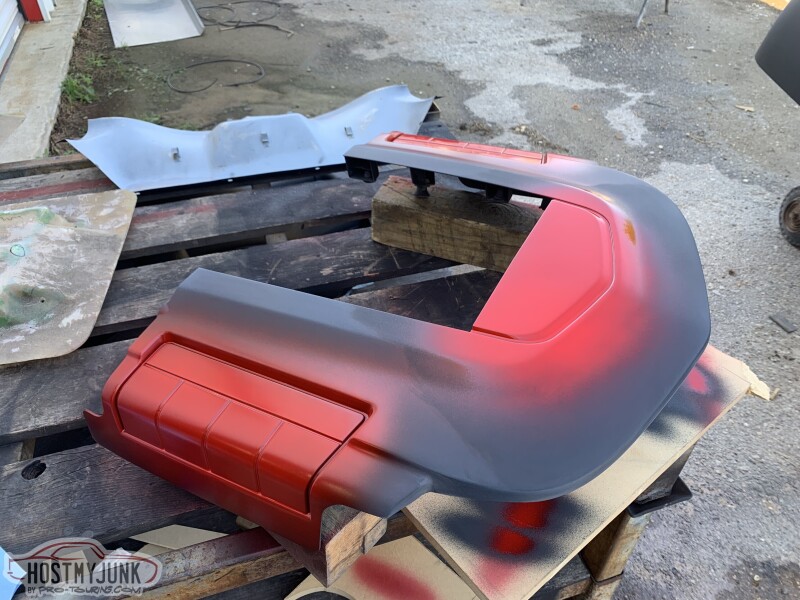
Some body and paint work on the firewall to get that moving in the right direction as well as the supercharger lid and cover. I'm a big fan of this red and black color combo that will be against a matte black engine bay and the metallic blue the car will be.
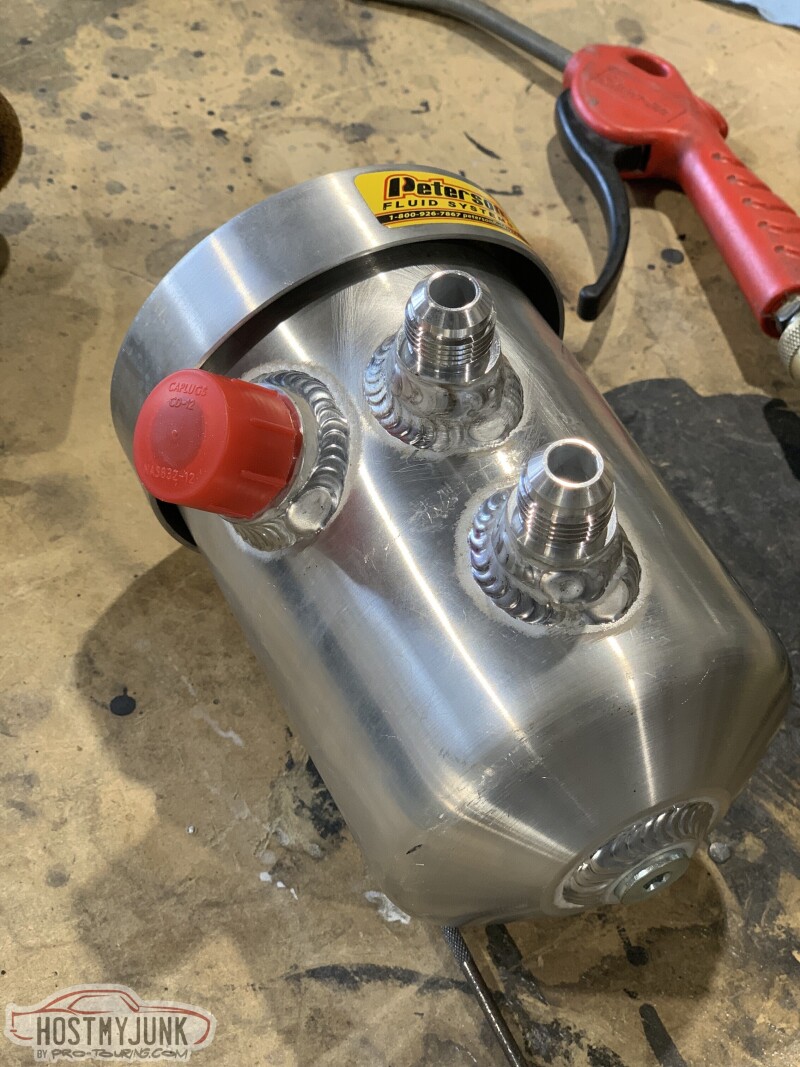
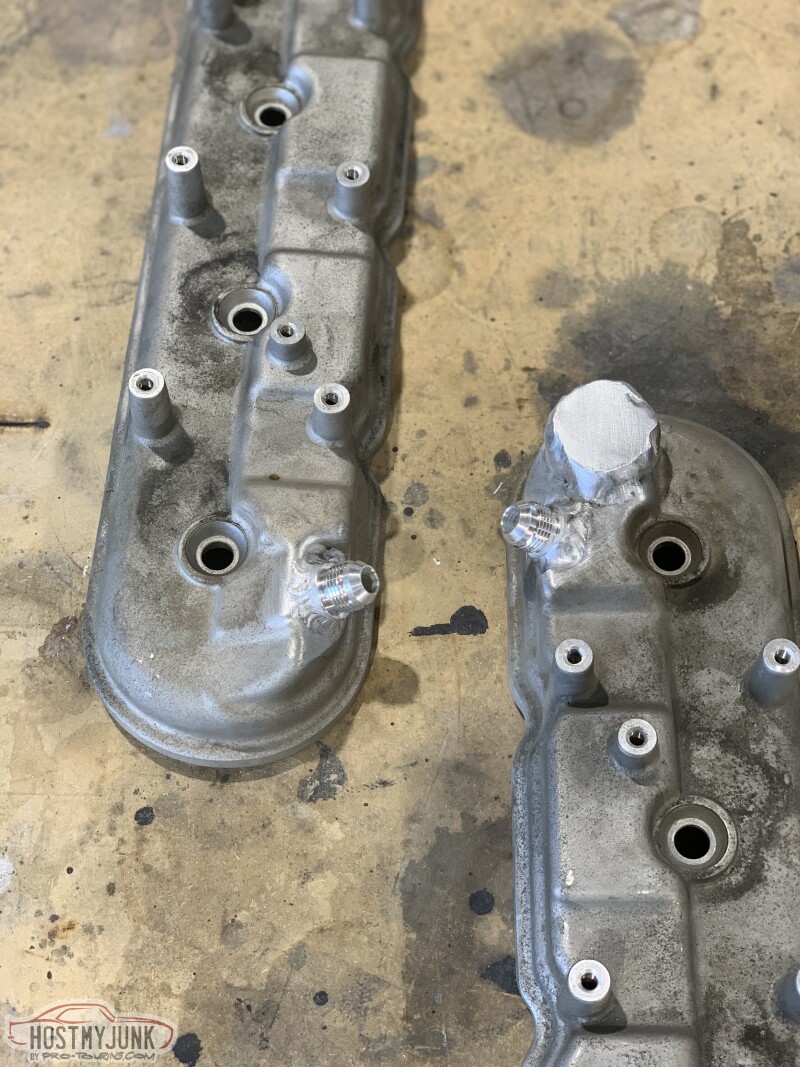
The engine has been mostly assembled and I welded AN fittings to the valve covers and bigger fittings on the breather tank.
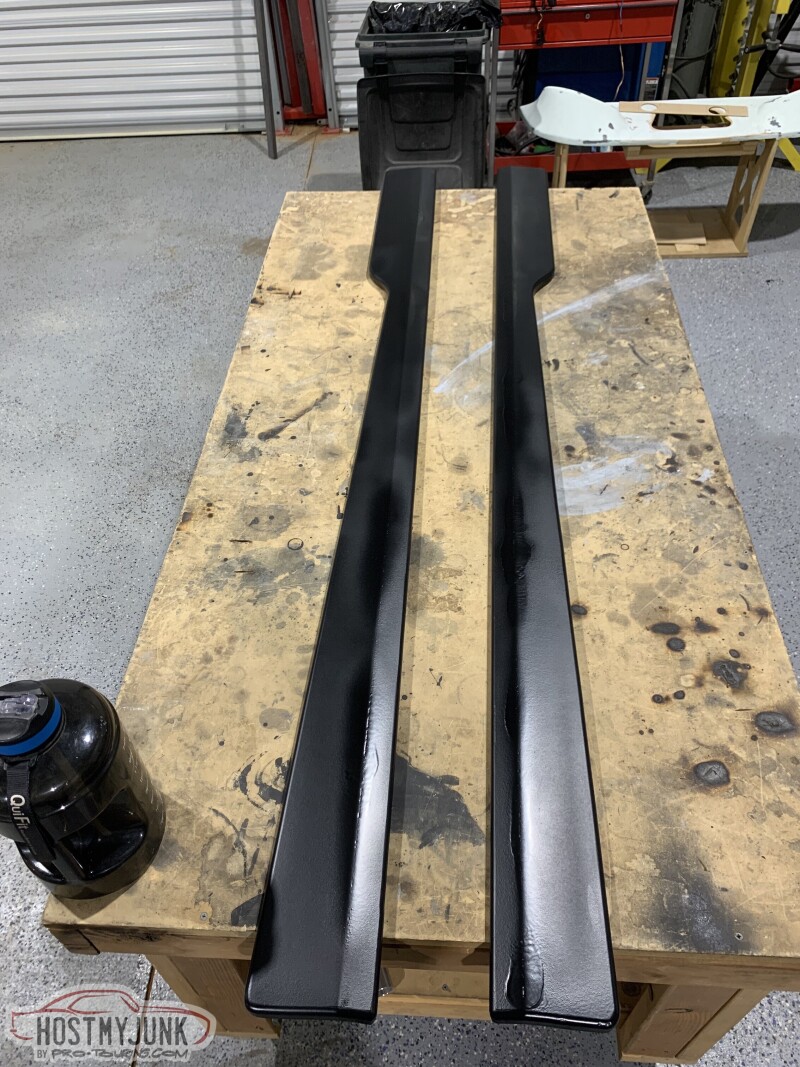
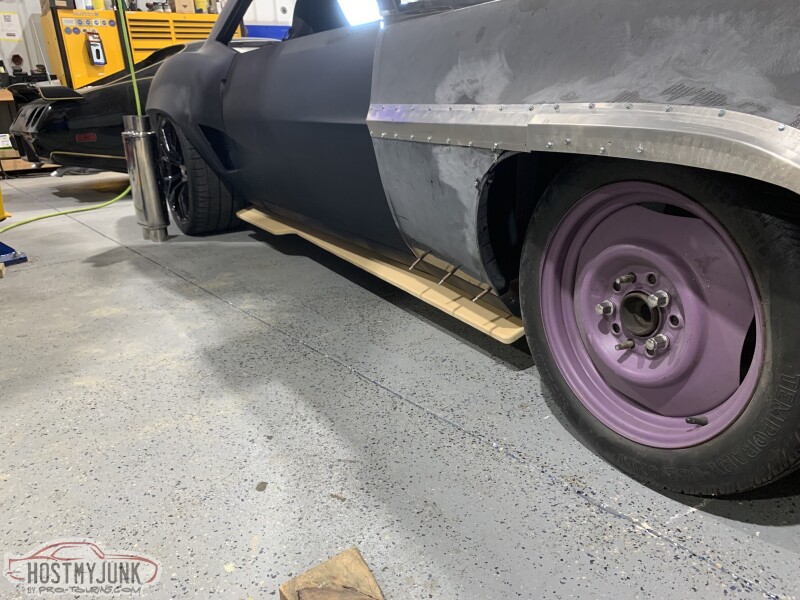
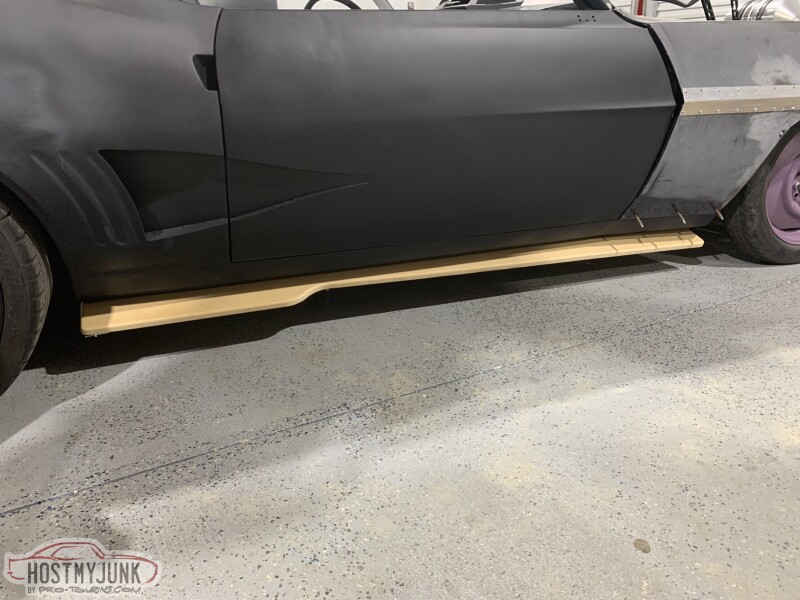
Around this time I started to work on the side skirts and get them ready to make molds from.

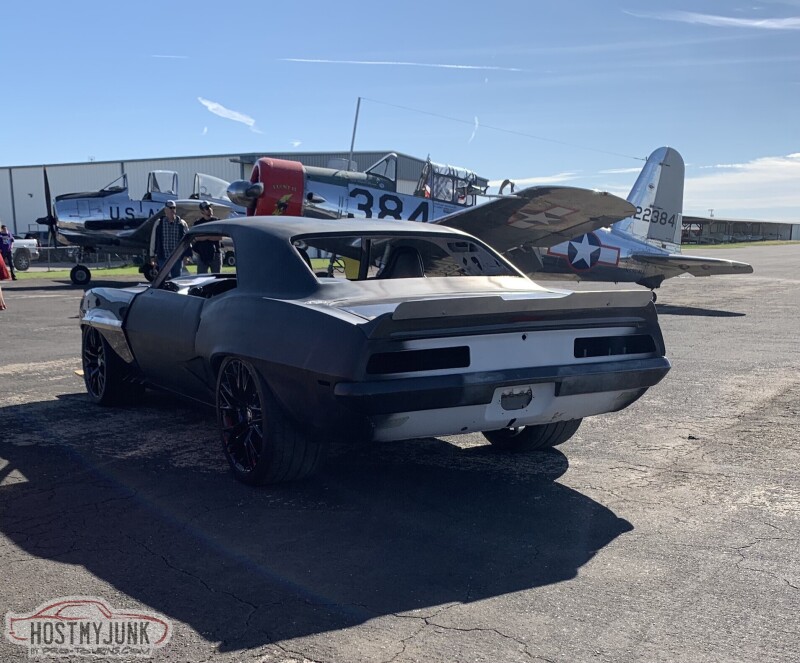
I also took the car to a local car show. Turns out I wasn't the only trailed car there.
Looks like last update I had mounted the ABS. After that I built a washer reservoir and used it to mount the supercharger cooler pump.
I fabricated a fuel fill pipe to connect the filler to the tank thats behind the drivers seat.
Then I moved onto the frame work for the rear package tray delete panel/waterfall, sanded everything down and shot it in black epoxy.
Which led to the waterfall being fabricated out of .040 aluminum, The plan is for this to be carped on the lower section and leather on the upper section with a 12" sub in the middle. Also a start of the rear side panels.
A quick little fuse bank holder next to the battery to hold the Mega fuses that power my Infinity Box system.
Some body and paint work on the firewall to get that moving in the right direction as well as the supercharger lid and cover. I'm a big fan of this red and black color combo that will be against a matte black engine bay and the metallic blue the car will be.
The engine has been mostly assembled and I welded AN fittings to the valve covers and bigger fittings on the breather tank.
Around this time I started to work on the side skirts and get them ready to make molds from.
I also took the car to a local car show. Turns out I wasn't the only trailed car there.
07-16-2022, 01:05 AM
#127
Racer
Thread Starter
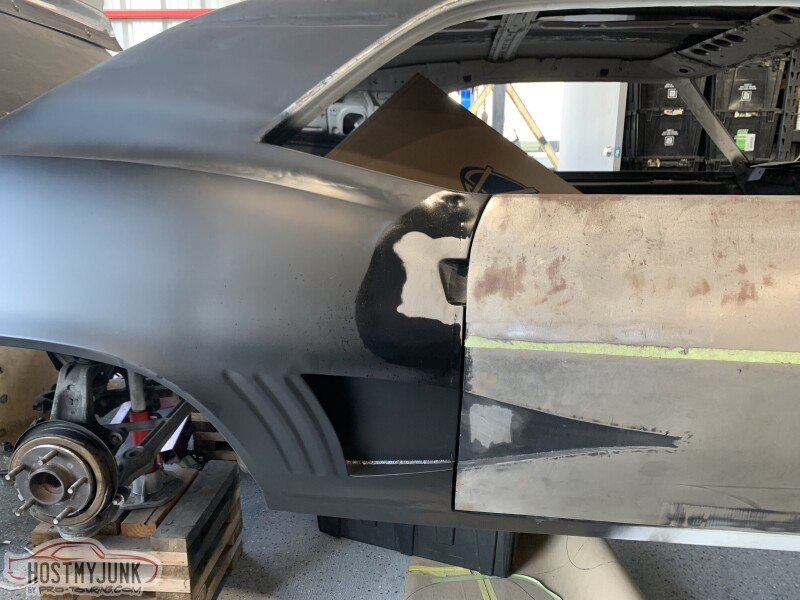
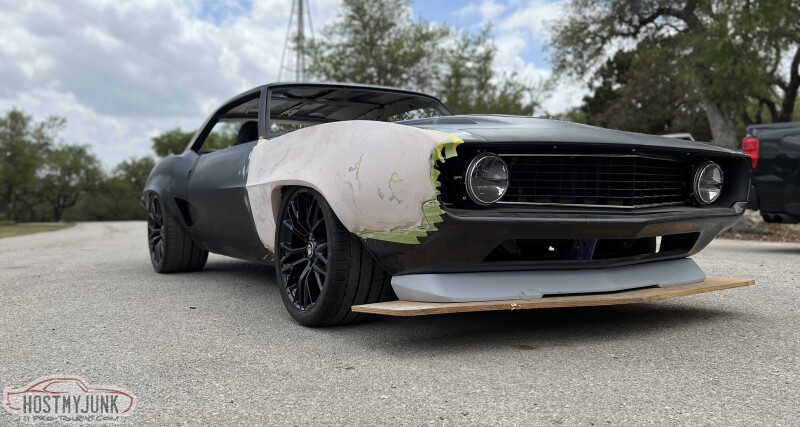
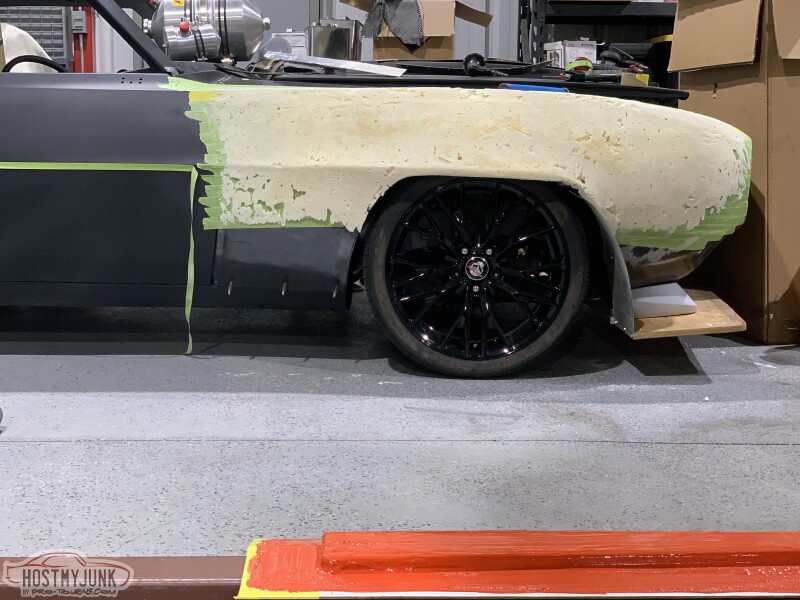
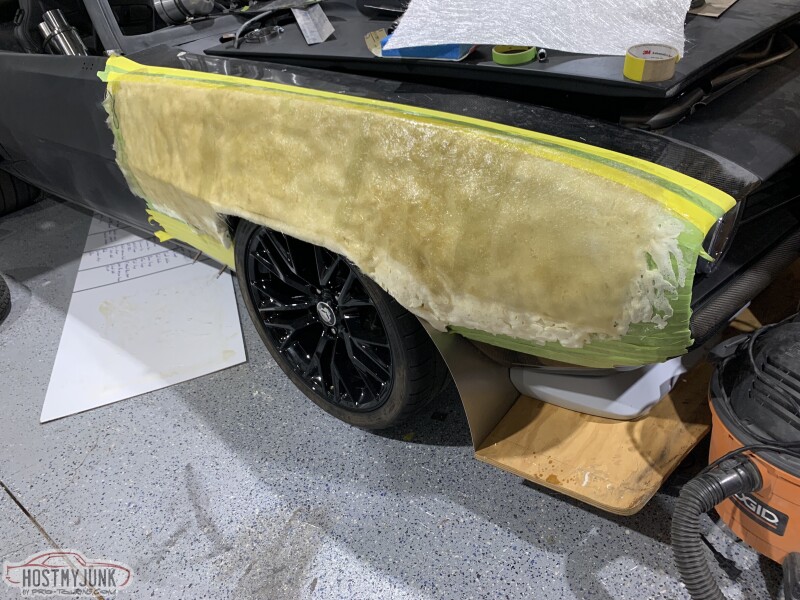
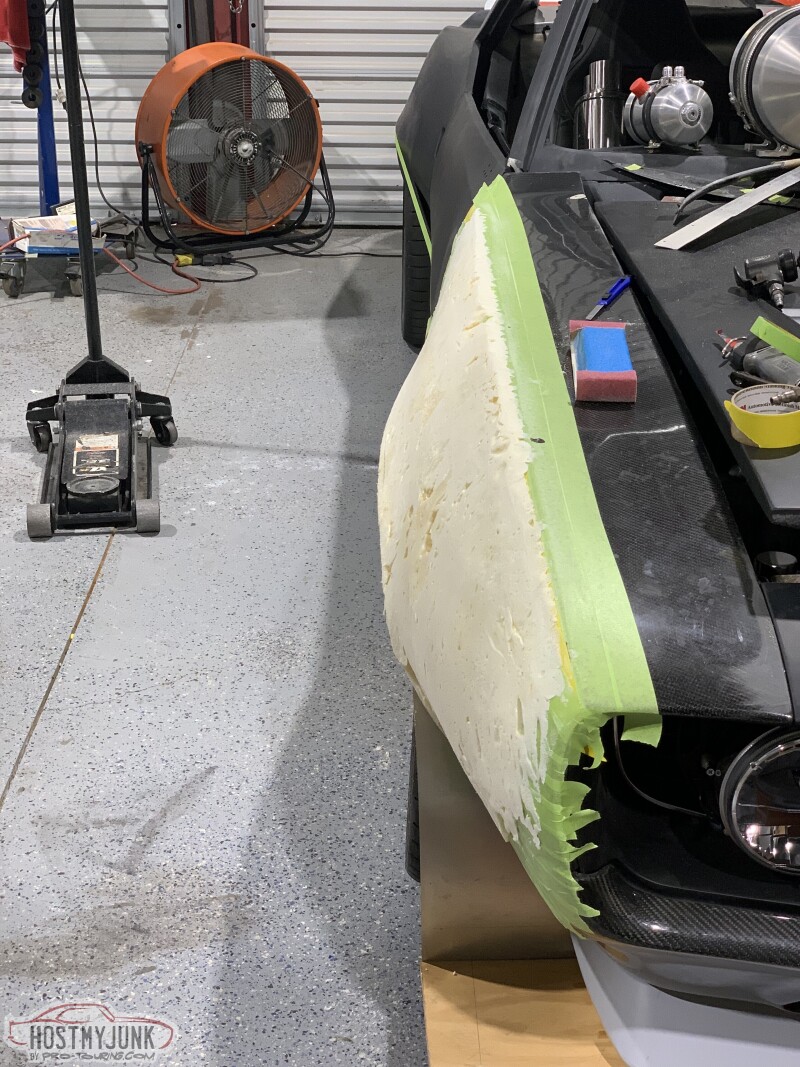
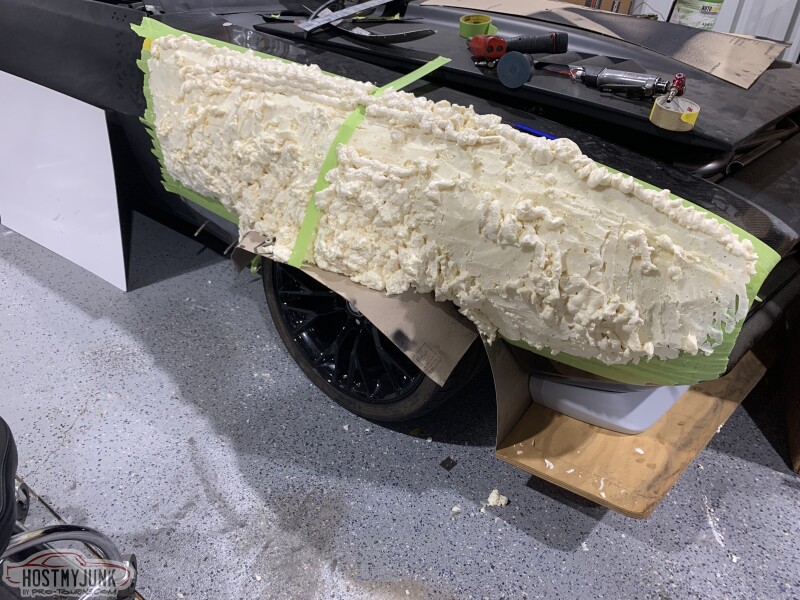
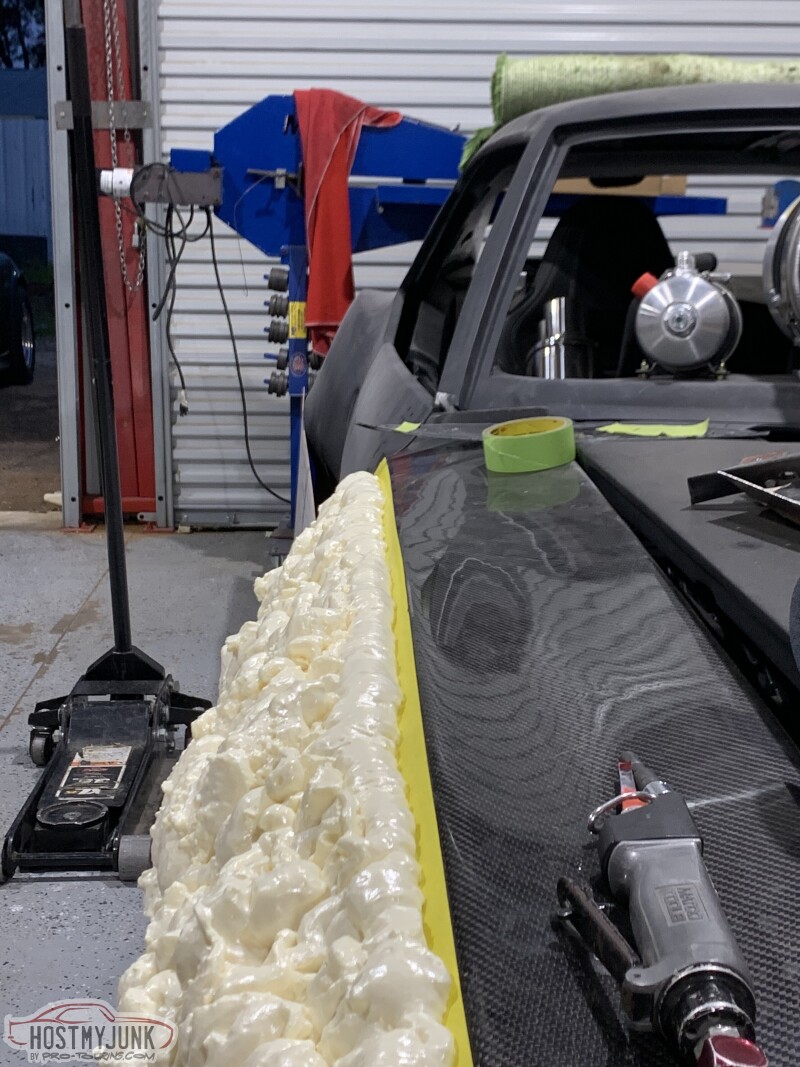
I've been messing with the wider body up front to clear the wheels. I used foam as a base then fiberglass to get a little more solid and shaped it with body filler. After all this is final I'll prime and paint it, wet sand, then buff to a high shine so I can make a mold off it then make a carbon fiber panel to replace everything with.
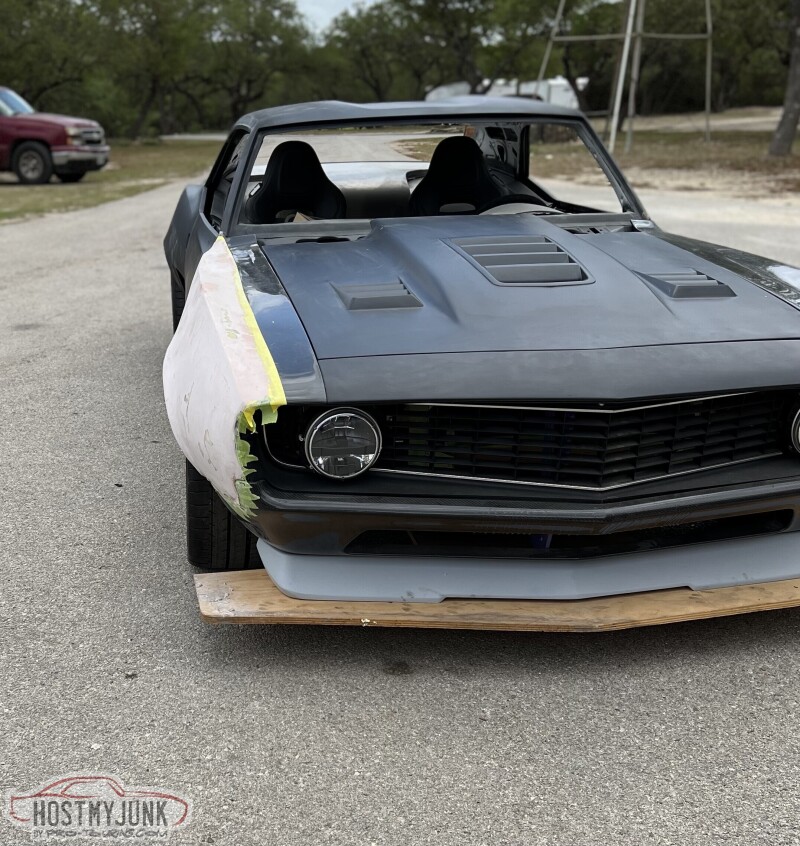
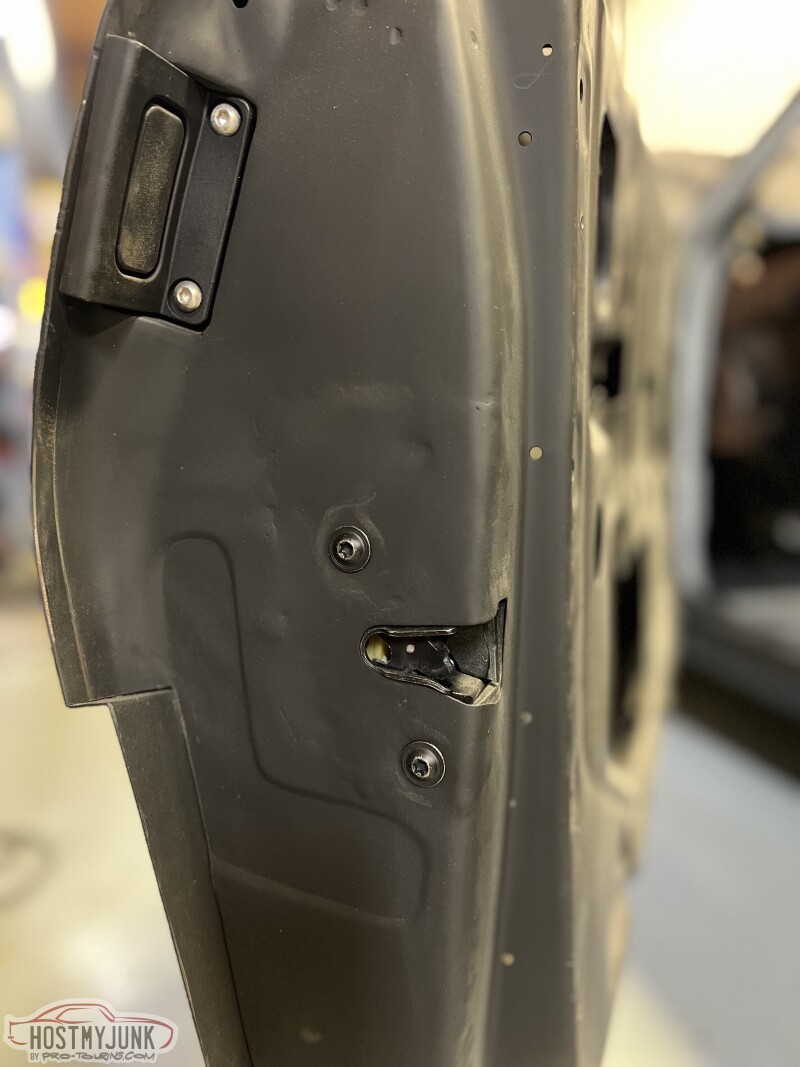
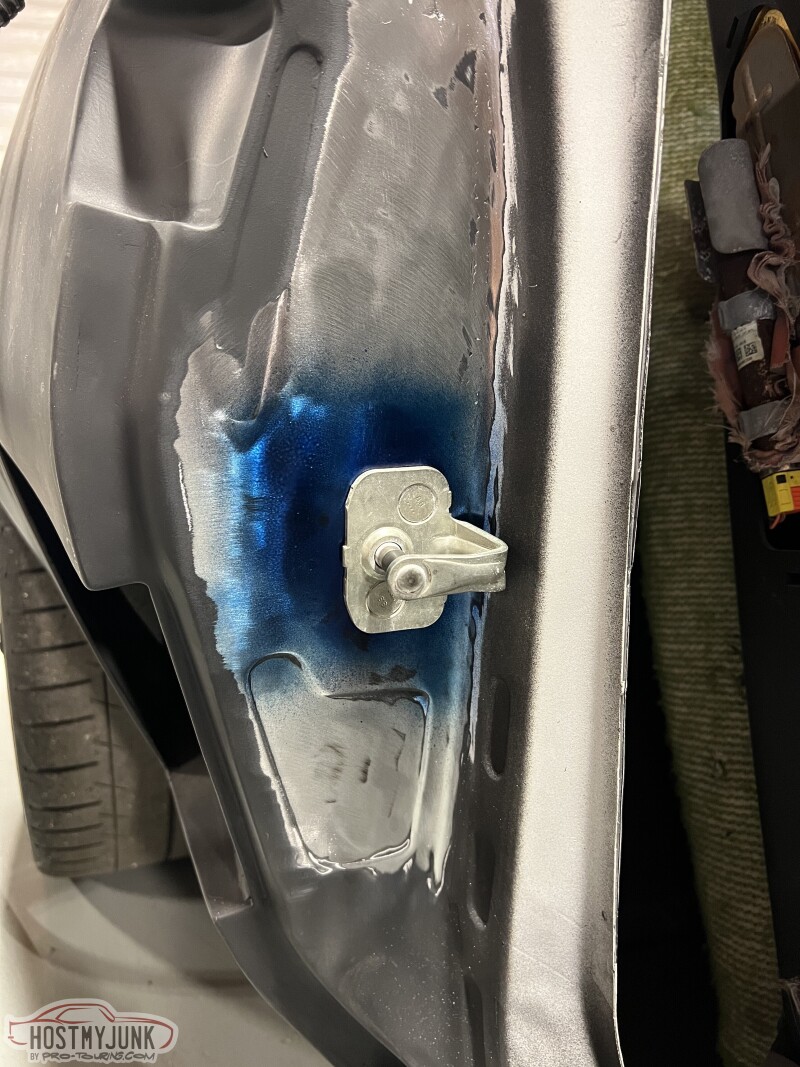
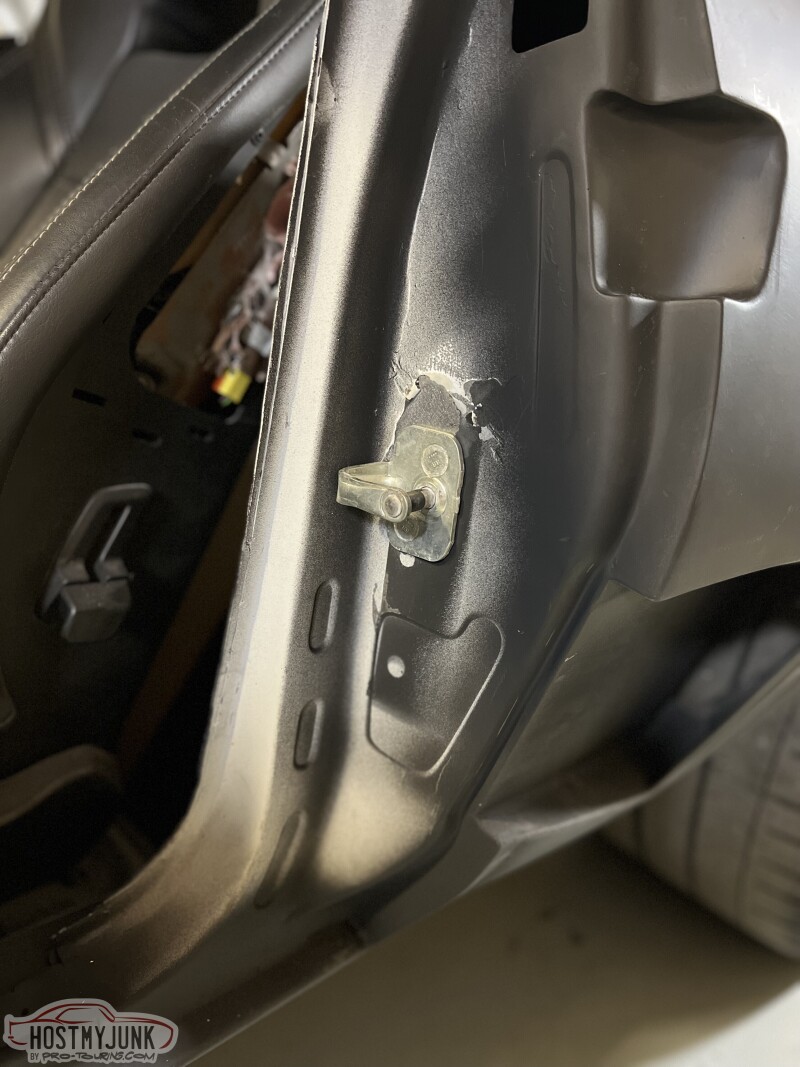
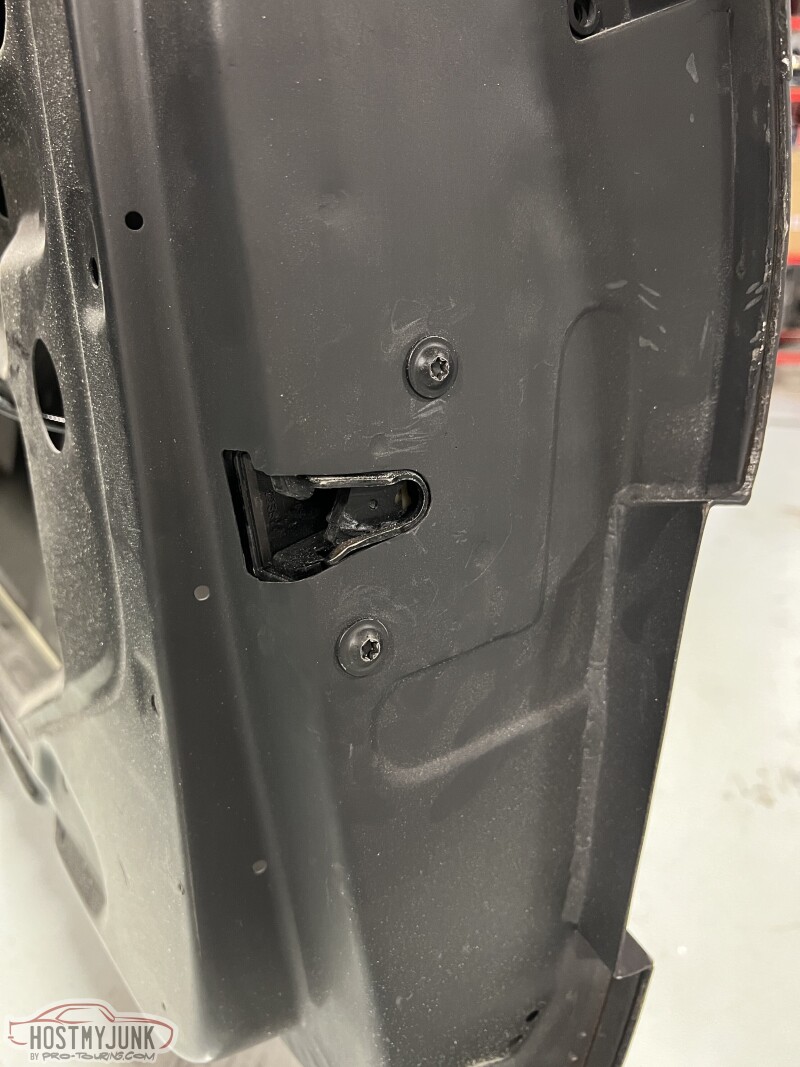
I've also finished up my C6 door latch swap and trimmed the under side of the hood so I could get to the secondary latch when I pop the hood. That will all be repaired with carbon and body worked so it looks like it came that way.
<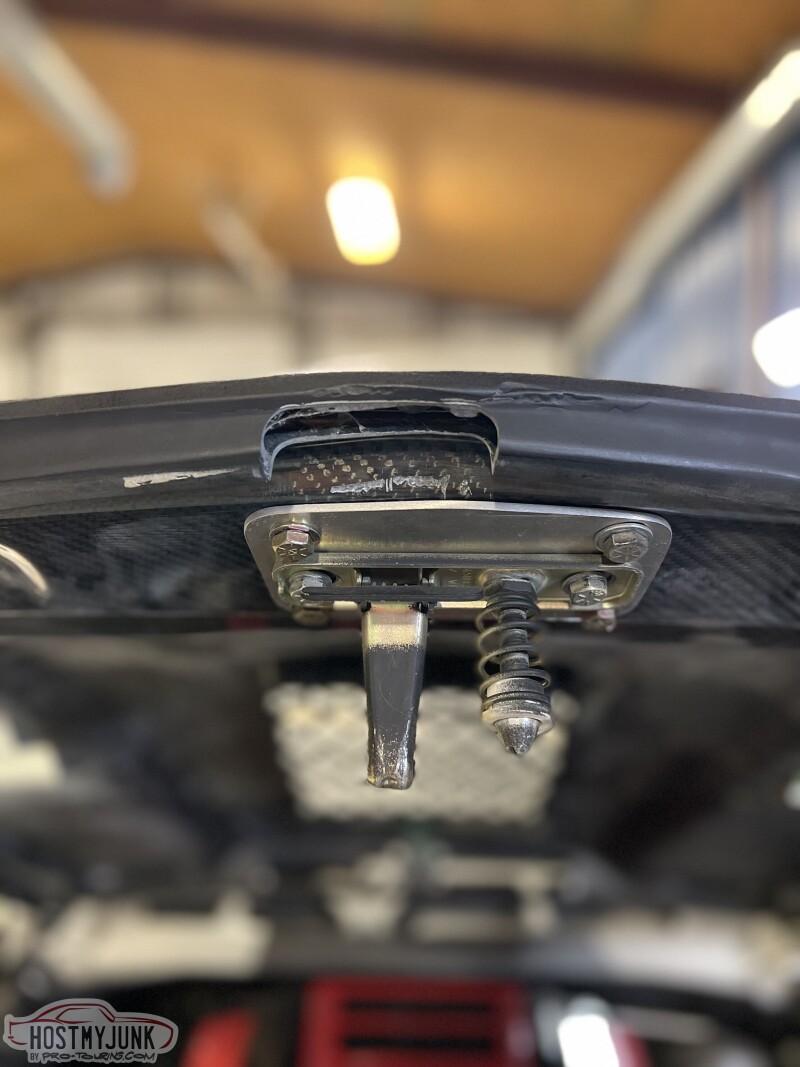
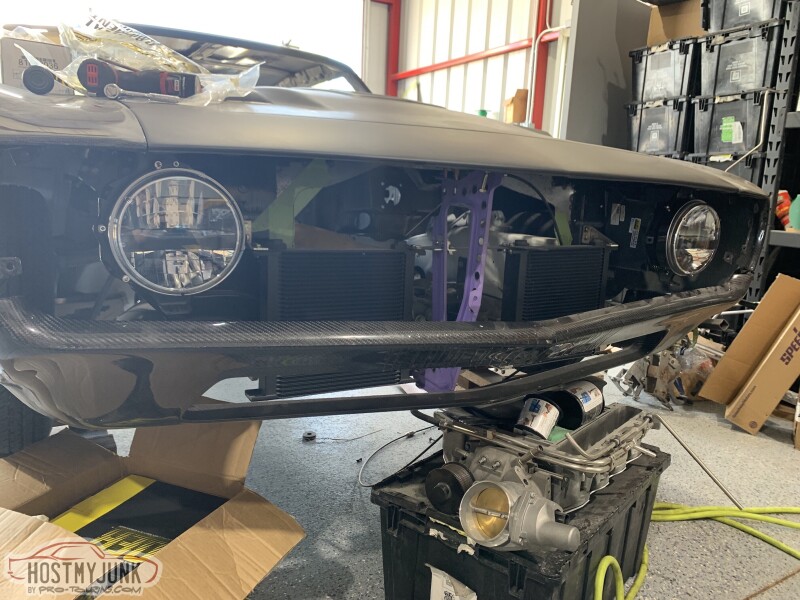
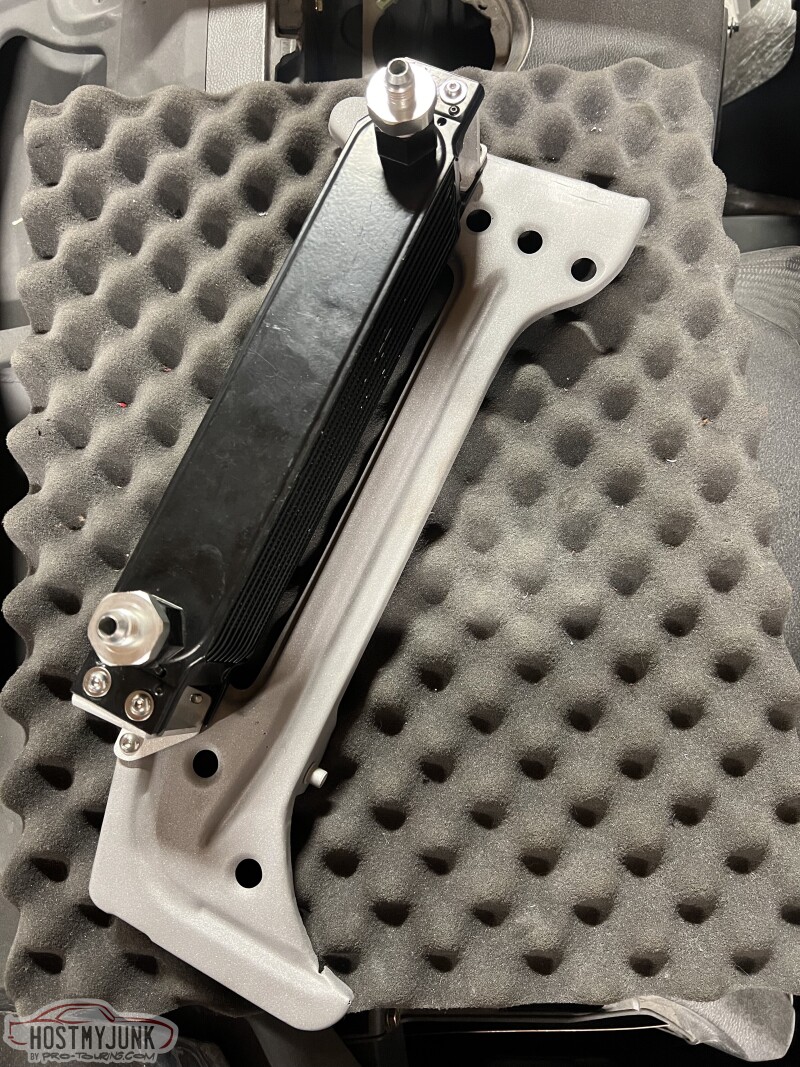
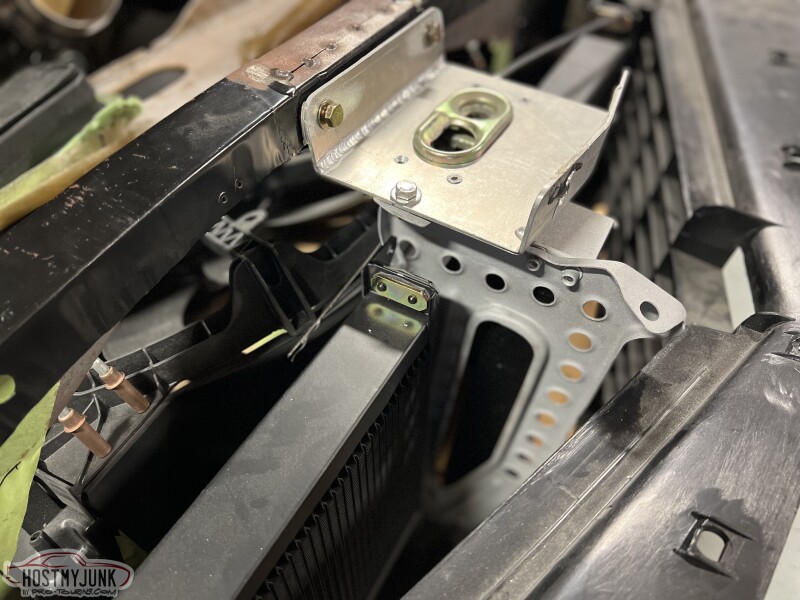
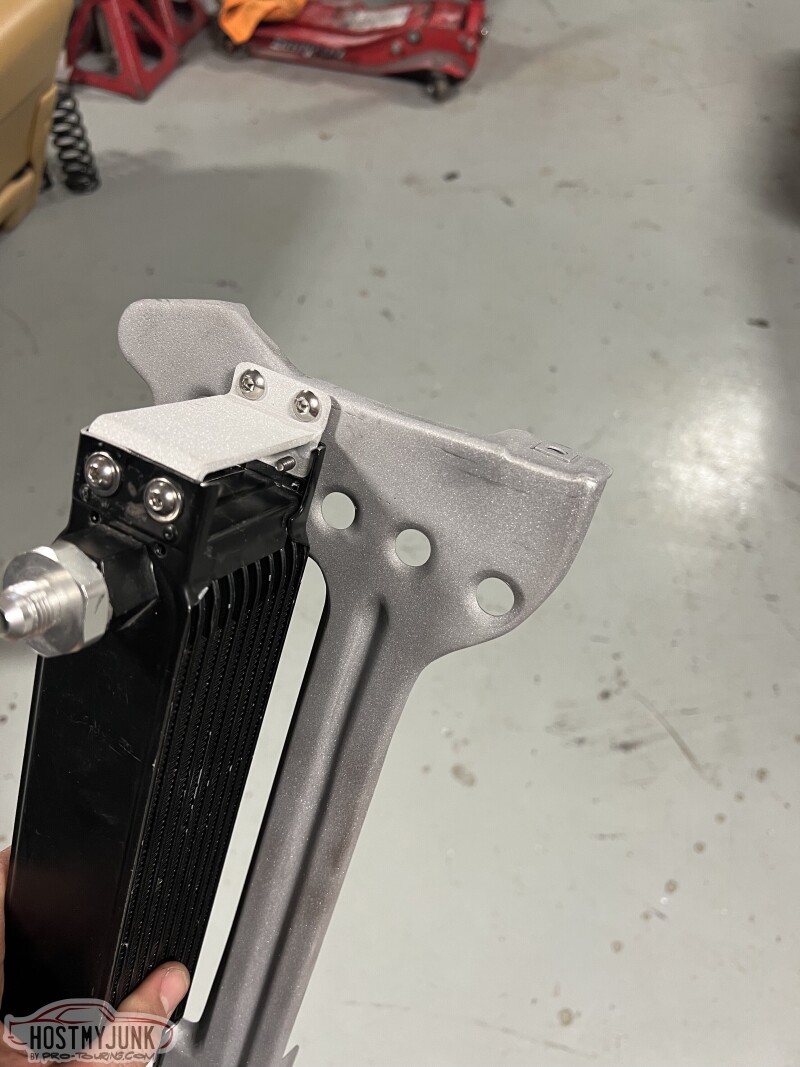
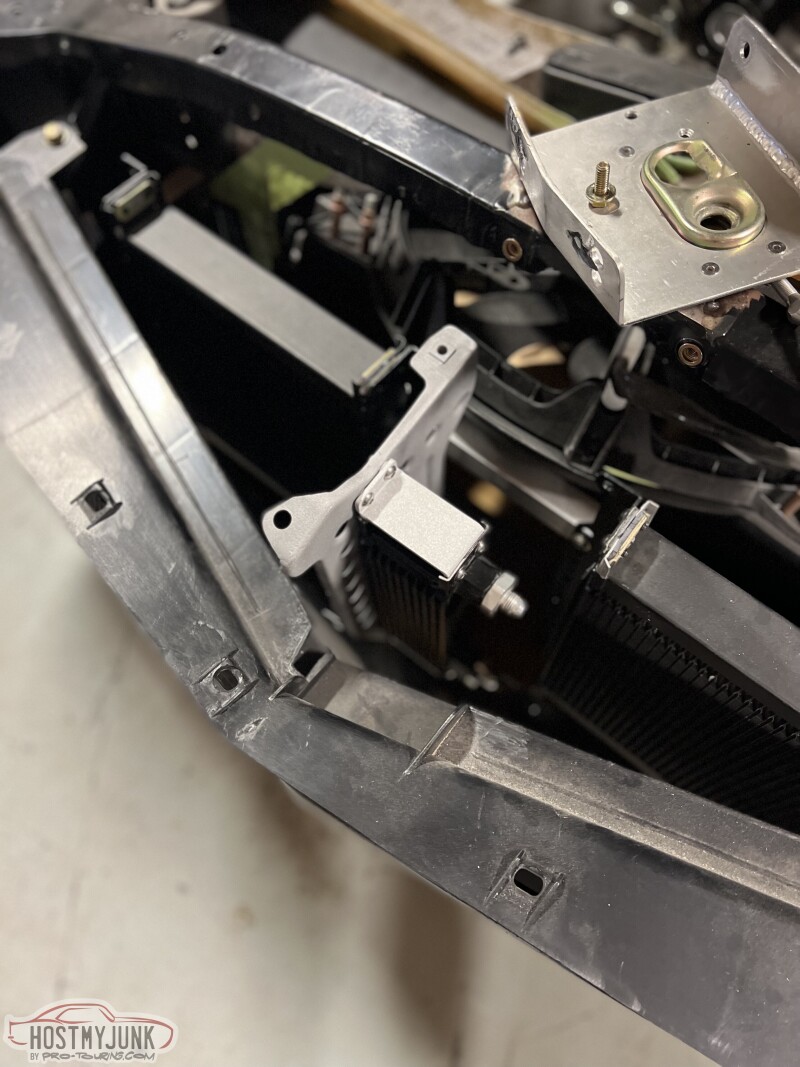
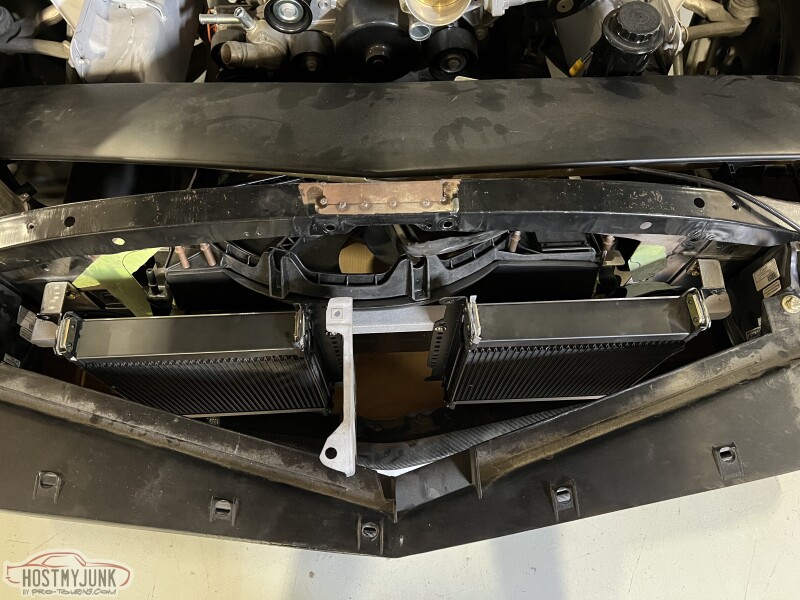
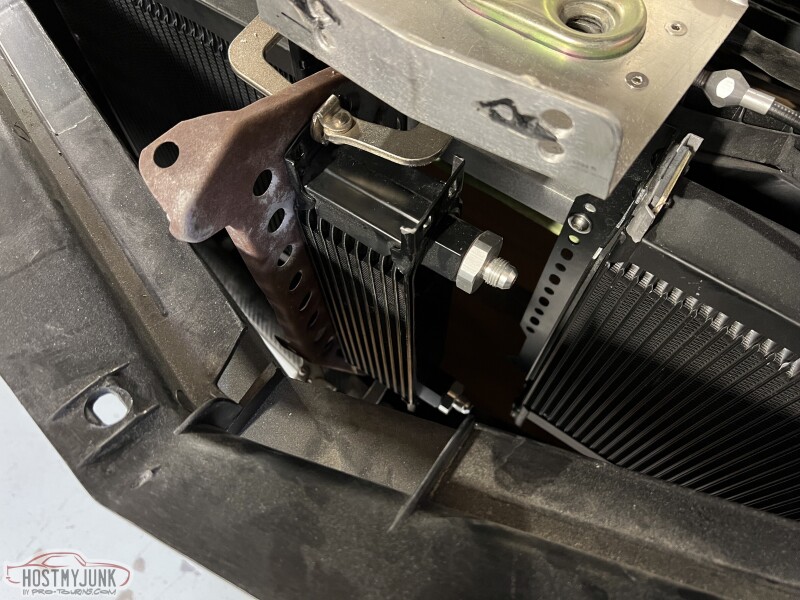
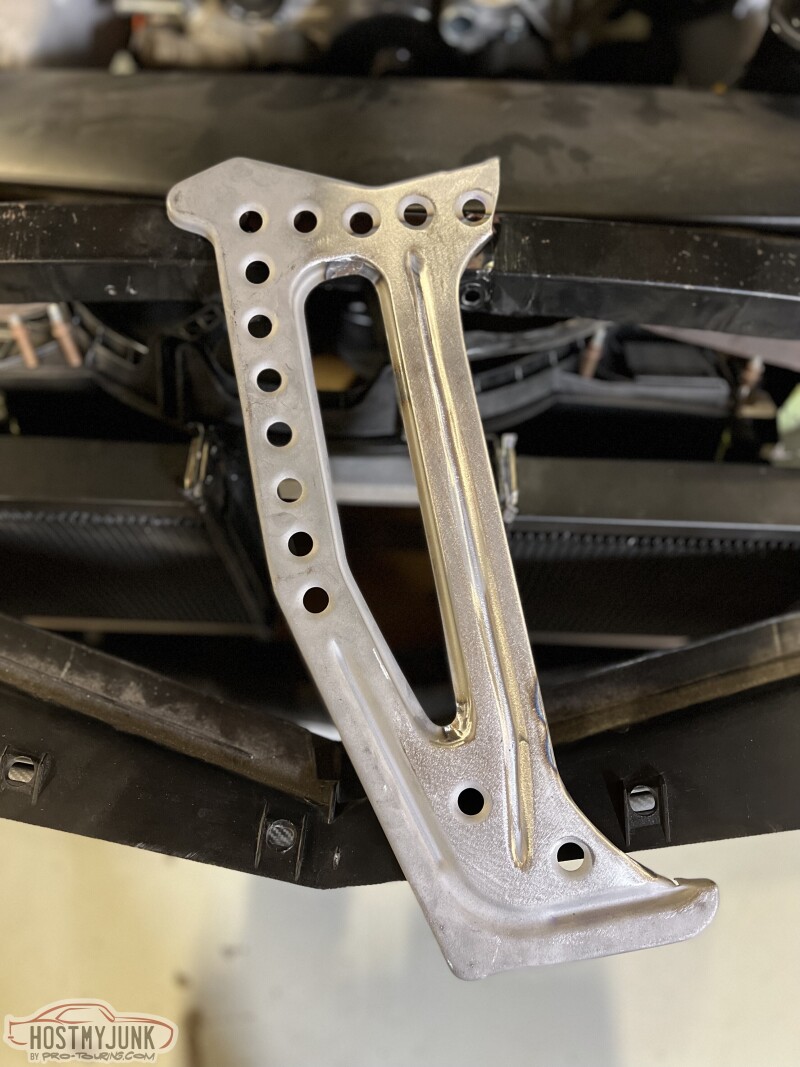
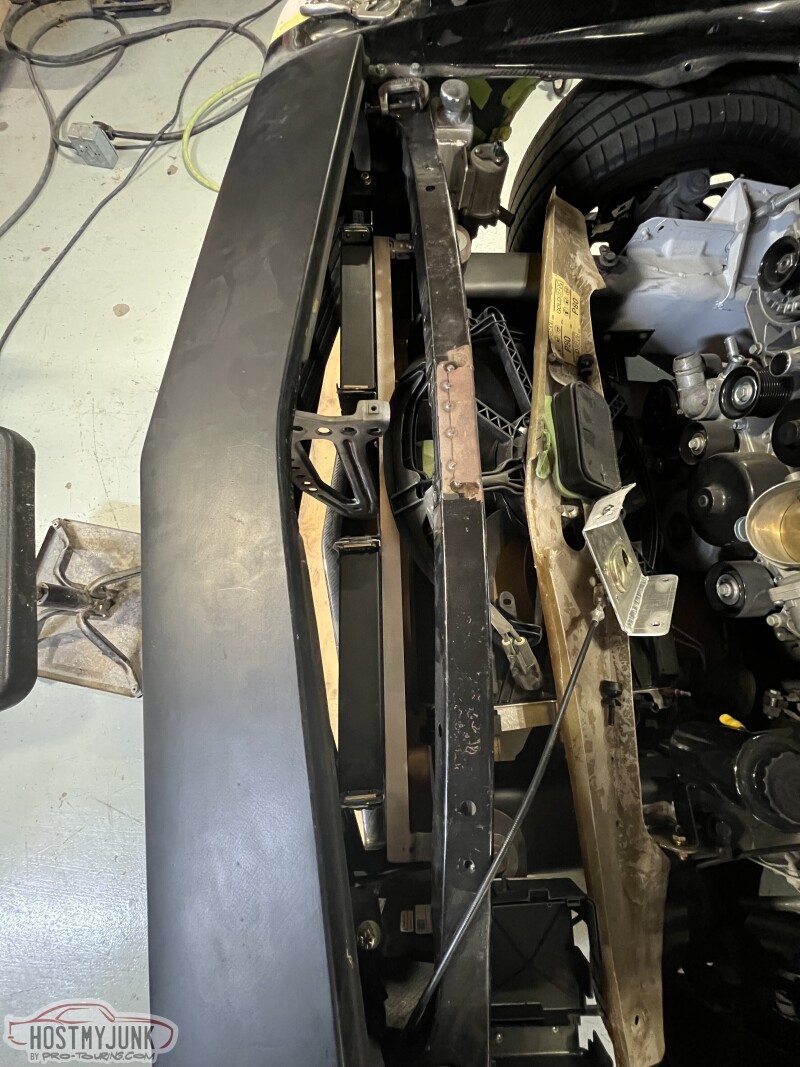
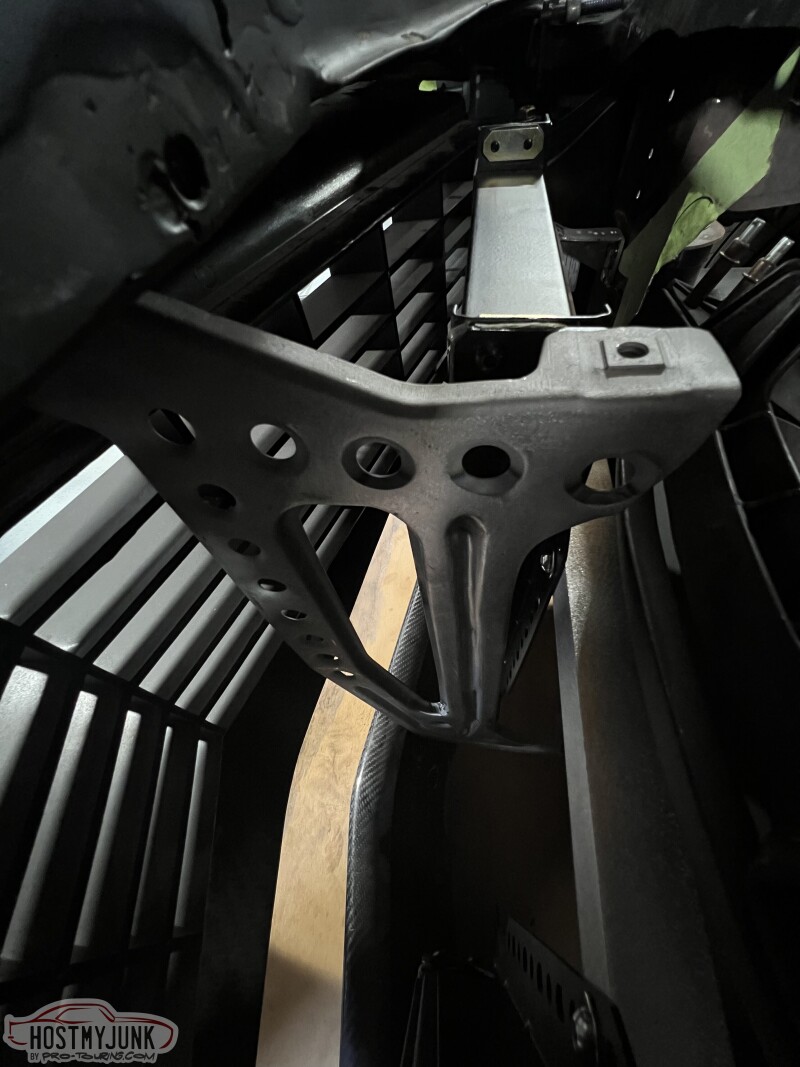
I mounted up the heat exchanger, oil cooler, and power steering cooler. Unless I had a stock one side by side you'd never be able to tell all the work I did on the header panel support to keep it looking factory while clearing the tilted forward radiator, mounting the power steering cooler to it, and raising up the mount to fit the Porsche hood latch. Oh, and dimple die holes for some weight savings.
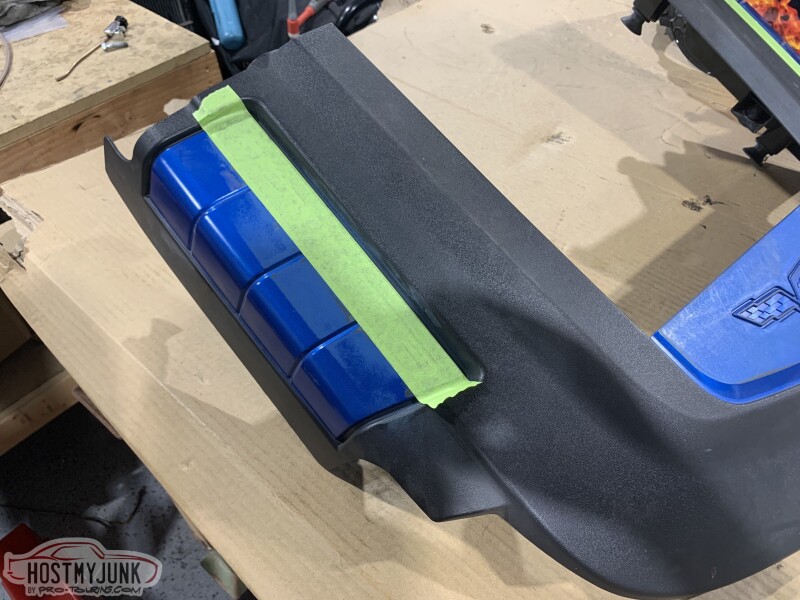
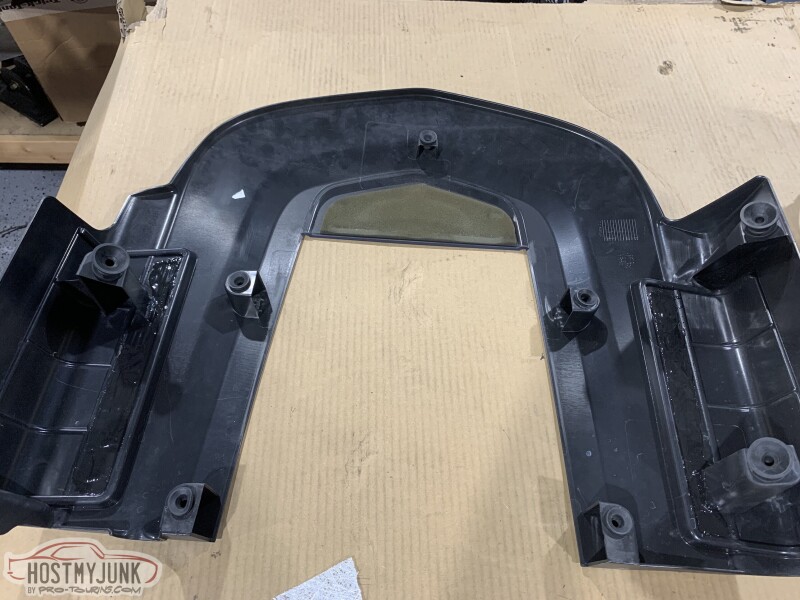
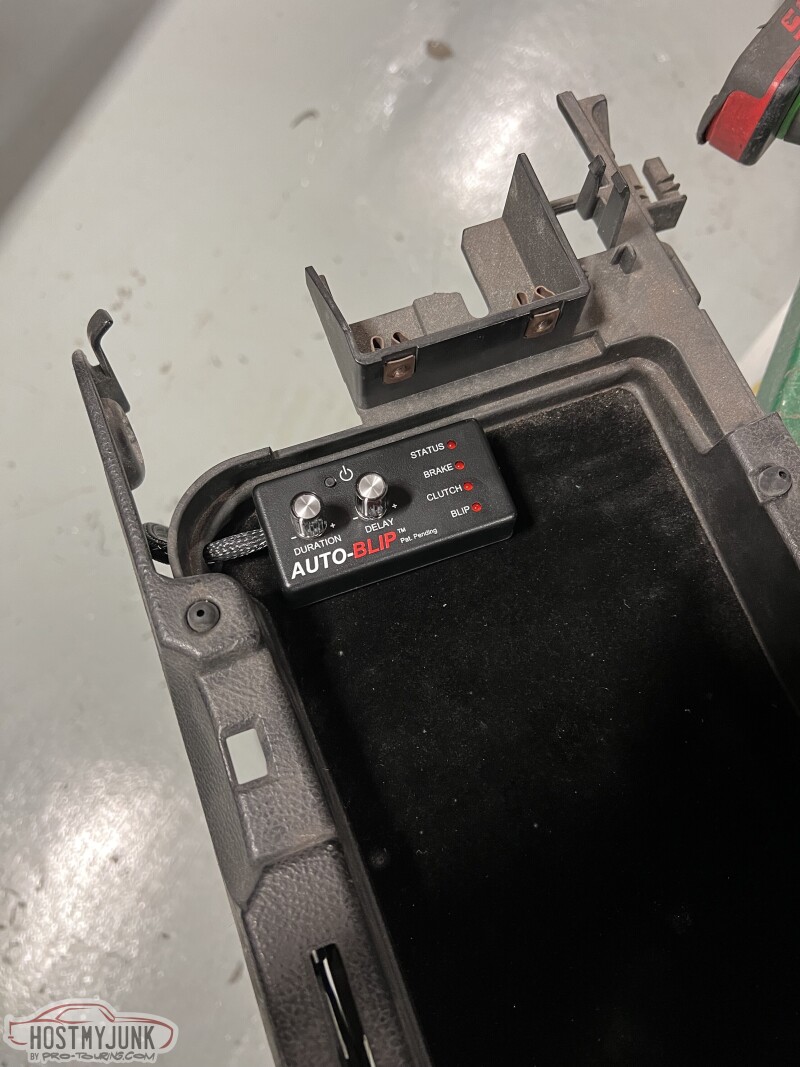
Some modern magic with this rev match module so I don't have to heel/toe all the time when down shifting. Perfect spot in the center console for it and out of site.
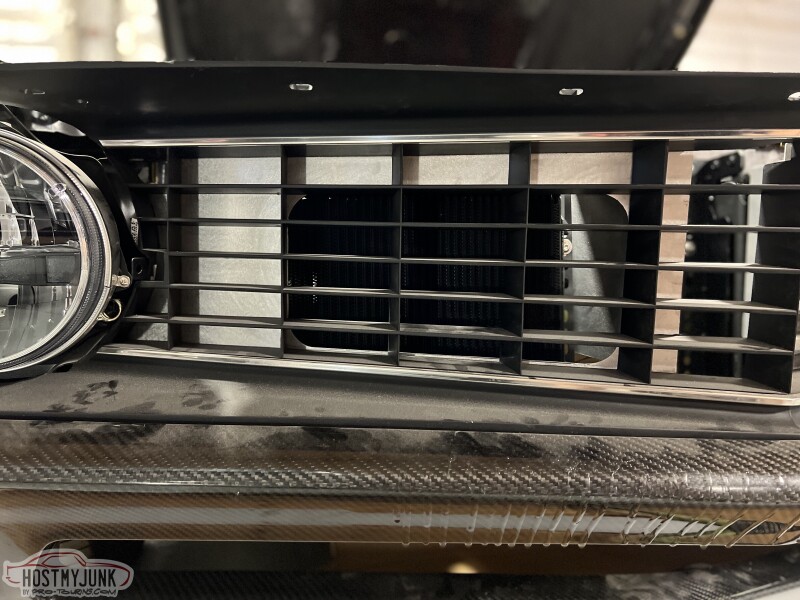
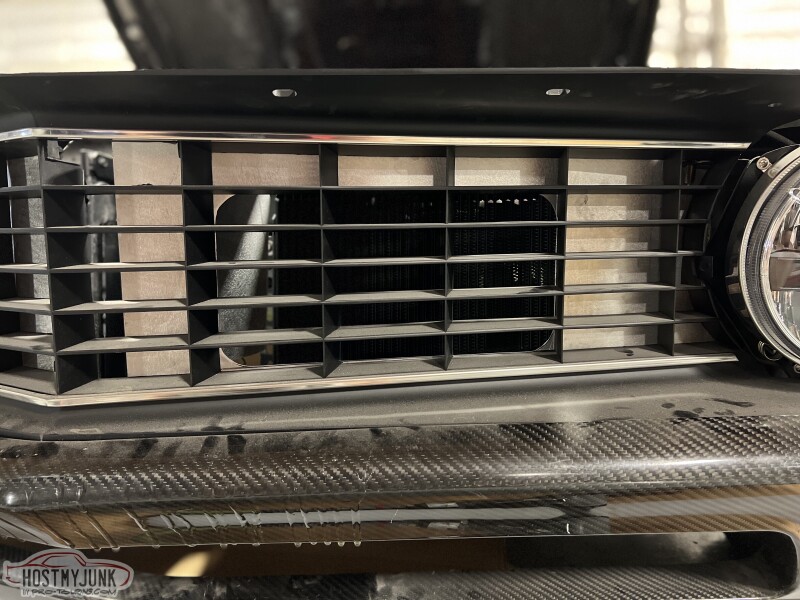
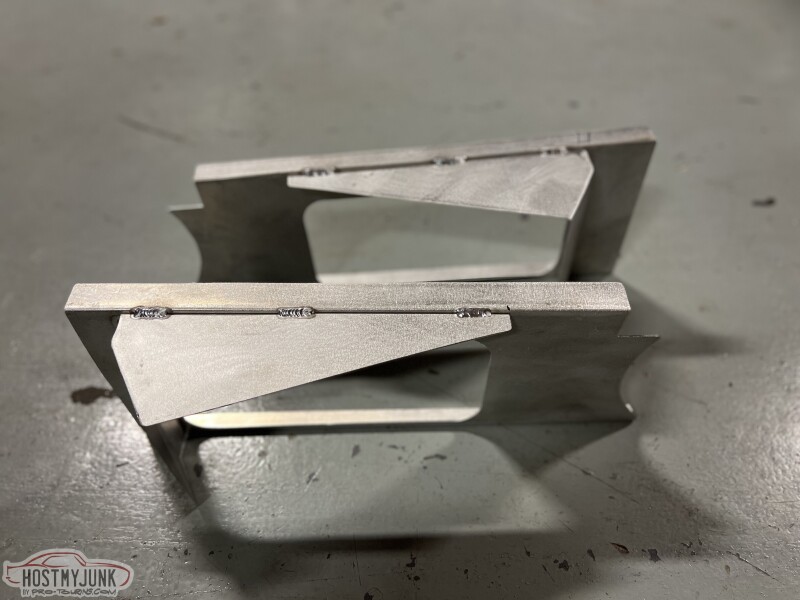
The last of the update brings us to some grille block off panels. Since the goal is to keep as much needless air as I can from going into the engine bay I made up these block off panels for the grille. I made them out of .040 aluminum to the size of the heat exchanger and oil cooler and duct them to the coolers. The center I left wide enough to blow onto the power steering cooler.

I've also finished up my C6 door latch swap and trimmed the under side of the hood so I could get to the secondary latch when I pop the hood. That will all be repaired with carbon and body worked so it looks like it came that way.
<
I mounted up the heat exchanger, oil cooler, and power steering cooler. Unless I had a stock one side by side you'd never be able to tell all the work I did on the header panel support to keep it looking factory while clearing the tilted forward radiator, mounting the power steering cooler to it, and raising up the mount to fit the Porsche hood latch. Oh, and dimple die holes for some weight savings.
Some modern magic with this rev match module so I don't have to heel/toe all the time when down shifting. Perfect spot in the center console for it and out of site.
The last of the update brings us to some grille block off panels. Since the goal is to keep as much needless air as I can from going into the engine bay I made up these block off panels for the grille. I made them out of .040 aluminum to the size of the heat exchanger and oil cooler and duct them to the coolers. The center I left wide enough to blow onto the power steering cooler.


