John Lingenfelter's 1973 Corvette drag car
#81
Race Director


Thread Starter
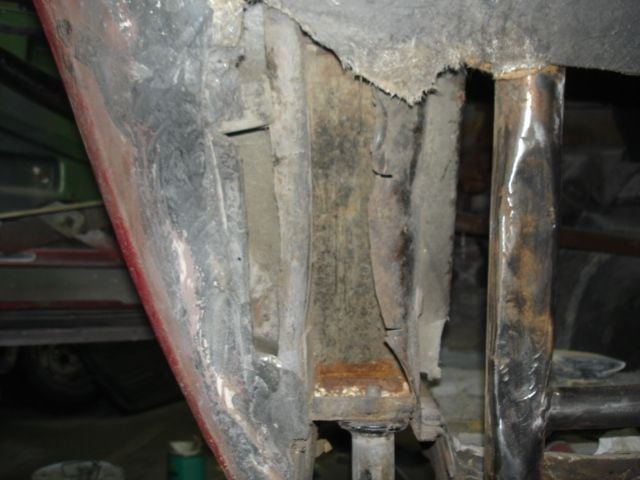
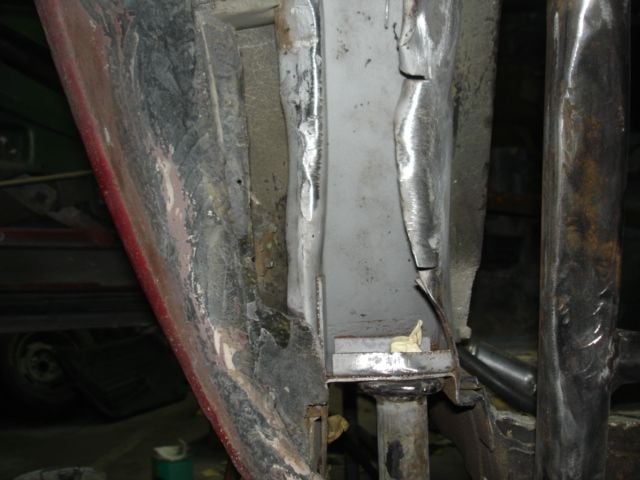


Due to a roll cage being installed. Previous modifications were made to the #3 body mount area of the 'birdcage'. These photos show me media blasting this area to get it clean as possible. There really was not that bad of a rust issue due to the cars life has mainly been on a drag strip. But now is the time to do whatever can be done to protect this area in the future. Obviously this is the left side.
DUB
Last edited by DUB; 12-28-2016 at 06:04 PM.
#82
Race Director


Thread Starter
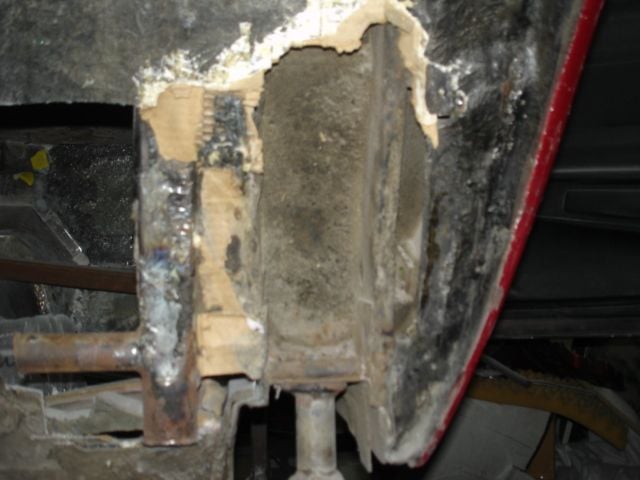

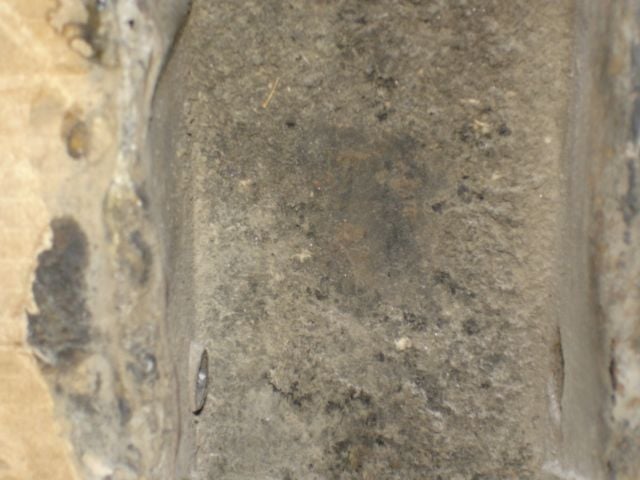

These are photos of the right side showing the amount of crud in the pocket area. This area was also media blasted and got to clean steel as like the left side was done.
DUB
Last edited by DUB; 12-28-2016 at 06:08 PM.
#83
Race Director


Thread Starter
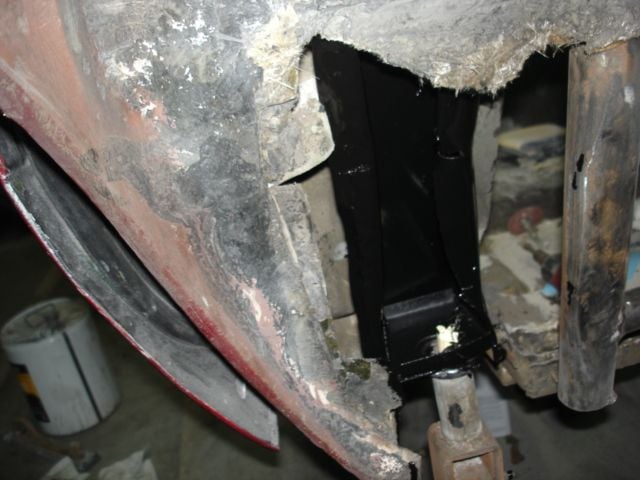

Showing the POR-15 applied to these #3 body mount areas in the birdcage area.
DUB
#84
Race Director


Thread Starter

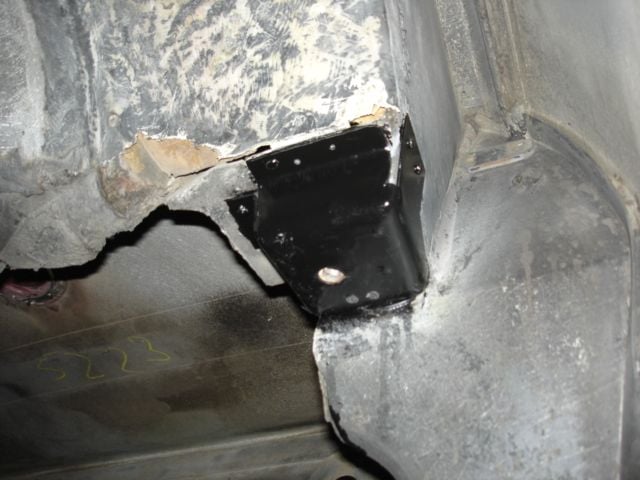

NOW...off the #4 body mount gussets on the body itself. They were media blasted and then also POR-15 was applied and allowed to cure.
In this area...the factory wheel well areas were sectioned and cut on and fiberglass laminating was poorly performed. If you look you can see how the wheel liner area that meets up to the front edge of the gusset has a gap. This area will be corrected.
Look and see if you can see cardboard.
DUB
Last edited by DUB; 12-28-2016 at 06:16 PM.
The following users liked this post:
74_stingray (01-07-2020)
#85
Race Director


Thread Starter


Now...I am going to have to address the rear floor area of the car due to it also being modified and poorly laminated.
You can see the carpet panel that goes from side to side that is behind the 'X' in the rear portion of the roll cage.
DUB
#86
Race Director


Thread Starter

This is what I saw when I took out the carpeted panel.
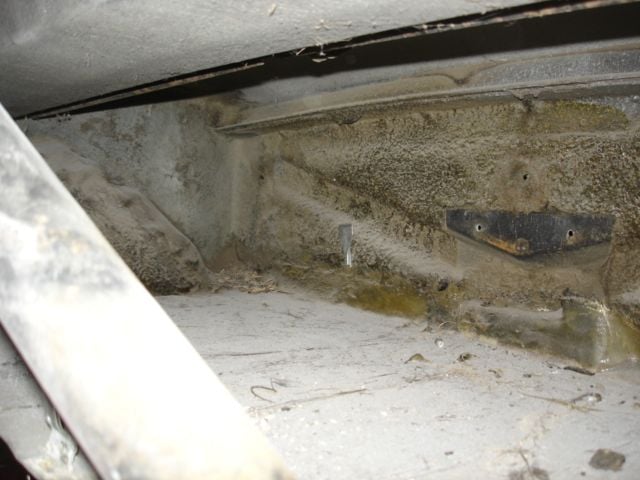
Another view of teh same area.

I had to cuss when I realized that the panel separation that I could see from under the car was caused by the person who did the work on this car in the past must feel that applying fiberglass resin on top of undercoating/sound deadener is okay. Well...I will tell you..it does not work.
You can see my seam splitter showing in this photo.
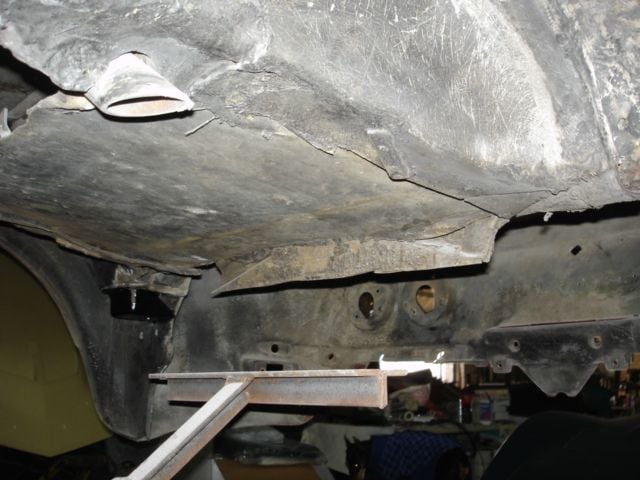
This photo show how the rear wall of the car is hanging down lower than the modified floor they attempted to put in. This will be cut off flush and I will entirely re-laminate this area correctly.
DUB
#87
Race Director


Thread Starter


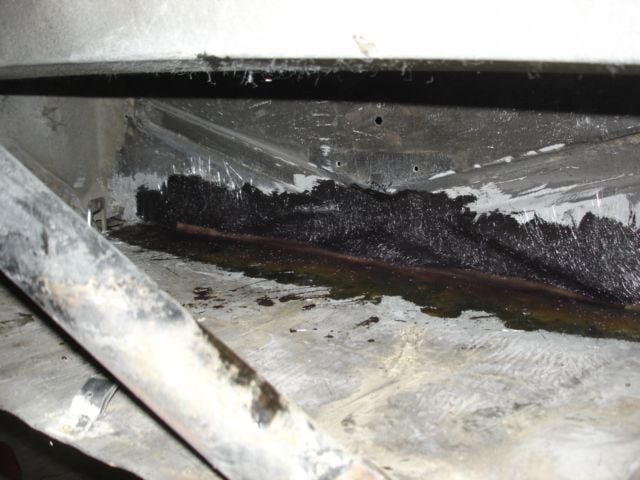
These photos show that I took removed the poor section of mat and resin they applied. Cut the bottom of the rear wall. They I took a heat gun and scraped off the sound deadener and prepped the area so i could start the first portion of correcting this rear floor pan area
DUB
#88
Race Director


Thread Starter

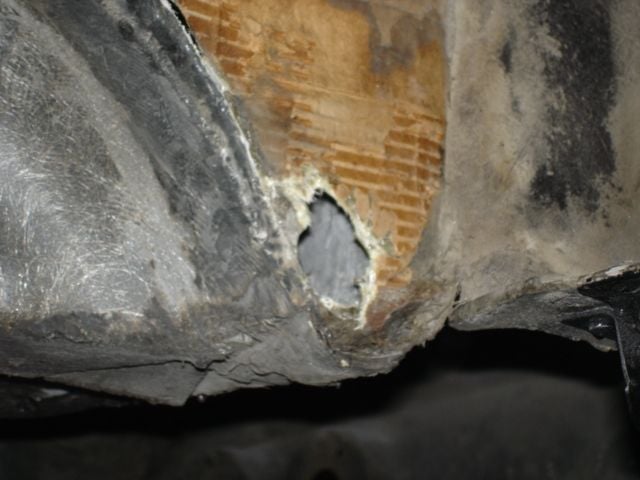
This is the left #4 body mount area. I had to cut out the wheel liner that they previously had in place due to how I previously mentioned that they did not bond it correctly.
You can see the cardboard that they used in another area of the rear area of the car.
DUB
The following users liked this post:
74_stingray (01-07-2020)
#89
Race Director


Thread Starter

In this photo you can see the sound deadener that is applied to the area of the panel that I will be laminating on to create a flange.

Using a heat gun and a razor blade tool....I scraped off the sound deadener.
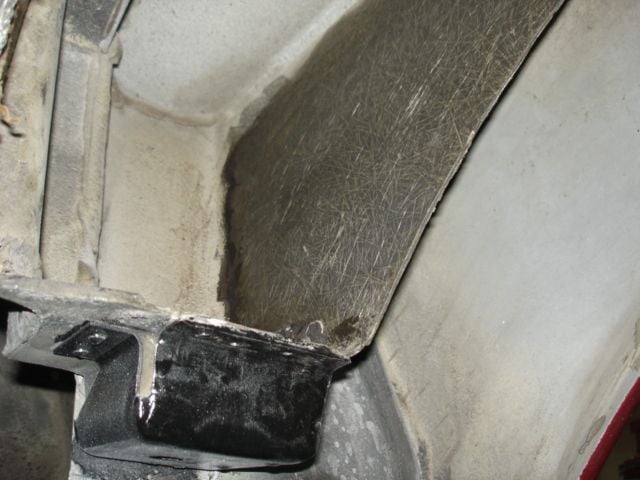
This show the are AFTER I wiped it down with a solvent to get the remaining sound deadener off the panel. It is WISE to do this so IF you grind the panel....you are not grinding IN the residue into your fiberglass. Correctly prepping an area is KEY to the repair being a success.

Here is a photo of the paper towel I used to wipe off the residue. No need in doing something half-a$$.
DUB
The following users liked this post:
74_stingray (01-07-2020)
#91
Race Director


Thread Starter
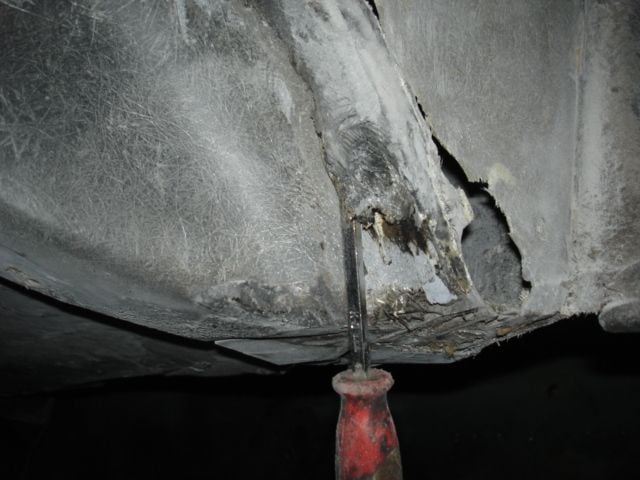
Every time I turn around...when I think I am 'Good to go'. Something causes me to stop and cuss like crazy. The person who did the laminating on the car previously MUST have thought that resin sticks to undercoating because I have found it in many areas.
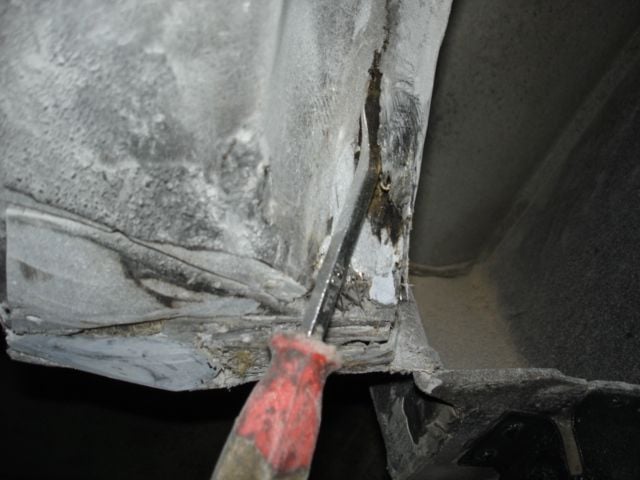
Using my heat gun and my seam splitter.....I can get under the lamination and it peels off.
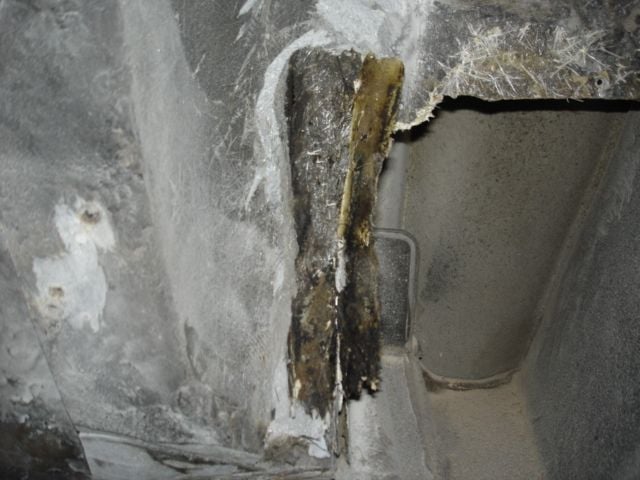
AS you can clearly see...there should be no way for this to come off like I got it to come off it the lamination was done correctly. There should be NO foreign residue of any type under this section. You can see the black undercoating.
DUB
The following users liked this post:
74_stingray (01-07-2020)
#92
Race Director


Thread Starter
The birdcage can also get badly eaten up by rust in the #2 body mount area which is inside the hinge post.
DUB
#94
Race Director


Thread Starter

This is the area I removed the sound deadener and washed off the residue. I ground it to prep it for laminating.
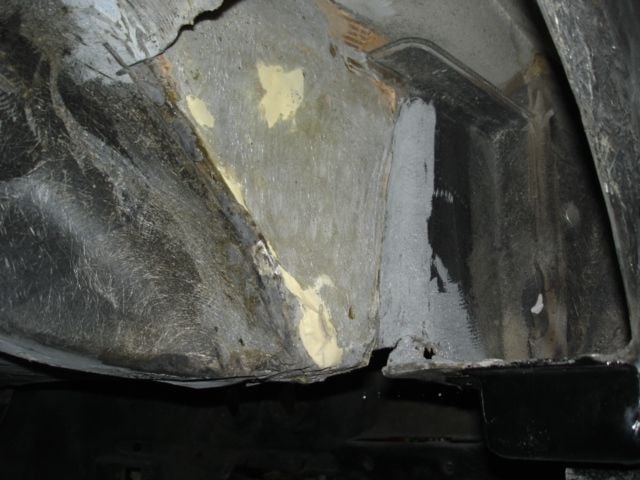
Remember the cardboard??? I ground it off and prepped this area so I can laminate it.
I am using masking tape to seal off the holes so teh resin does not get all over the place in aress when I will be working later.
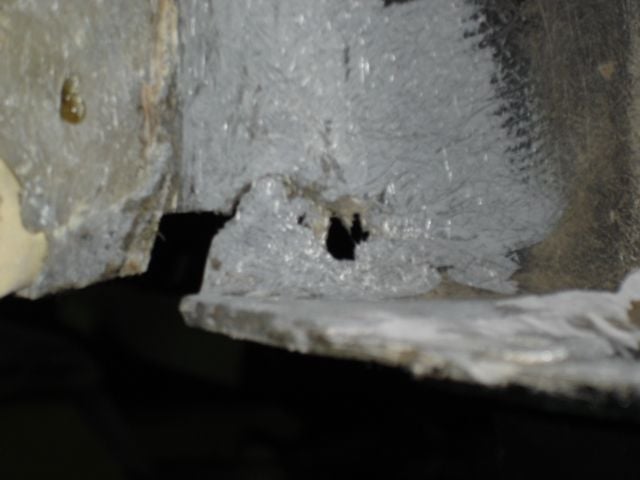
This is a close-up view of the bottom of the last photo showing a crack in the tub area. This is being repaired while I am in this area.

I was lucky to get a photo of teh #4 body mount showing how i prepped teh 'pocket' area. I am going to be applying mat and resin into this pocket and bringing it out to create a flange. In doing so. NOW I will know that when I am done...the repair will be solid.
This was not done by the previous person because they just slapped mat and resin on top of the #4 metal gusset...which DID NOT hold.
DUB
#95
Race Director


Thread Starter
#96
Race Director


Thread Starter
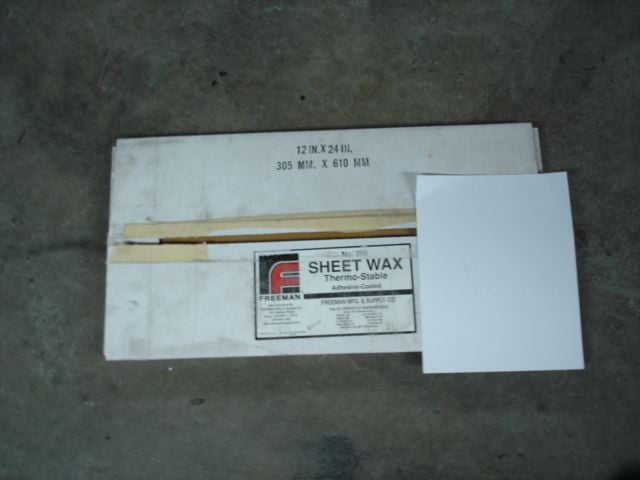


A little something different for those who may want to do this.
I use this sheet wax to create area that I can laminate on. Setting this up took no time due to the sheet wax can be formed.
DUB
The following users liked this post:
74_stingray (01-07-2020)
#97
Race Director


Thread Starter
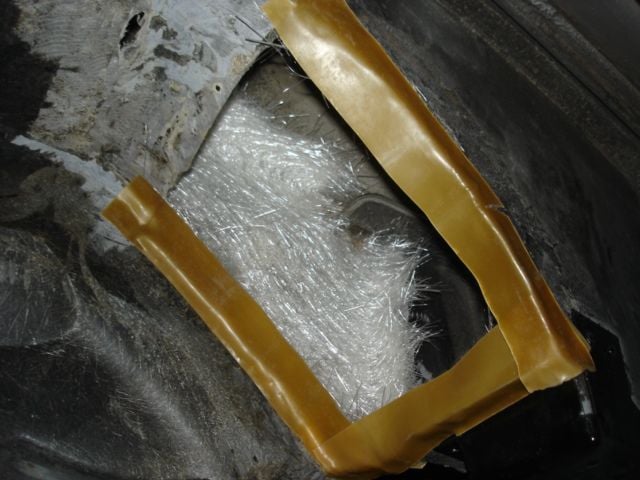
Taking the time to get patterns of your mat is WISE. Test fit them... So when you actually go in and laminate. You have everything set-up so you have a successful repair.

AS I have mentioned to many forum members. You do what you have to do to make sure that when you are done laminating ...or... getting ready to bond a panel in...you have your set-up ready to go.
I am no different. I do not care if it looks professional. The end result will be.
DUB
The following users liked this post:
74_stingray (01-07-2020)
#98
Safety Car


I only see small blue squares with a question mark instead of pics?
Ok now
Ok now
Last edited by Robert61; 12-28-2016 at 10:29 PM.
#99
Now that stuff looks like a pretty cool way to do things. I will wait to see what is next. Very informative Dub!
RVZIO
RVZIO
The following users liked this post:
DUB (12-29-2016)
#100
Race Director


Thread Starter
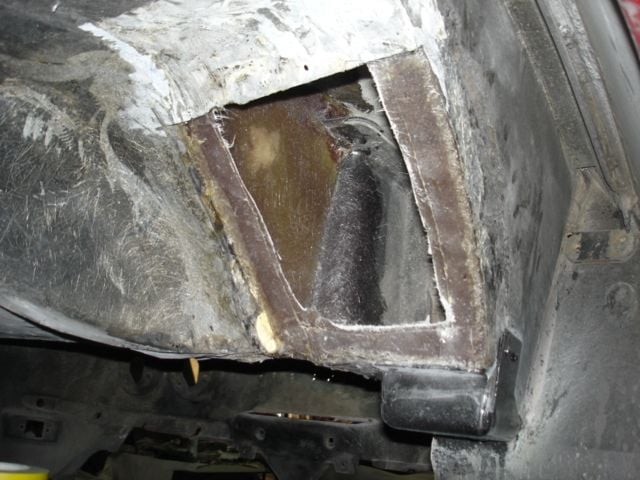
The masking tape ad sheet wax has been removed. Now you can see the flanges I made. This will not only aid in strength...but it will make it easier for me to close this area up.
Ther flage at hte bootm of teh opening was what Iw as the most concerend about. I needed to make sure teh fiberglass would be able to get added away from the edge of the #4 gusset.
The way they did it before....they cut the factory fiberglass so close to the gusset. There was nothing for them to laminate to except for the steel gusset itself....which we all know by now ( or should know). Fiberglass mat and resin does not stick well to steel for very long.

RECYCLE---RE-USE----RENEW
This is the previously hand-laid fiberglass panel that I cut and peeled out of the car. No need in throwing it away when I can use it to actually speed up my process and save time also. It already has the correct arc made in it.
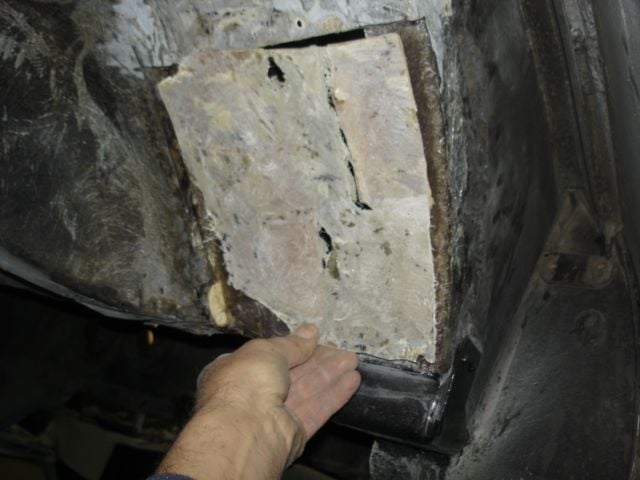
This is the panel where I have ground on it and getting it to the basic shape I need.

After trimming it and getting it to the shape I need. I bonded it in withe Vette Panel Adhesive. I am going to laminate on top of this. all this panel is doing is providing me a good solid surface to laminate onto.
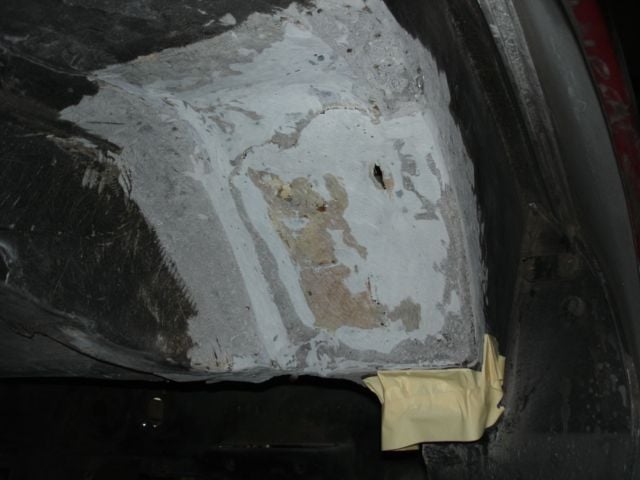
I applied more VPA and ground on it to the surface was basically flat and if there were any irregularities. These irregularities are blended in so I have NO sharp edges or corners and such that would cause my mat and resin to not lay down correctly.

Here it is all laminated up and just waiting for it to cure. I KNOW for a fact that this area is STOUT now. Now off to do the other side the same way...or it may be worse...no way to tell until I get into it.
DUB


