Paint/Body Corvette Materials, Techniques, and How To

Lic plate hole repair.

Thread Tools
 
Search this Thread
 
Old 11-28-2016, 10:37 PM
  #1  
outhouse
Safety Car
Thread Starter
 
outhouse's Avatar
 
Member Since: Jun 2016
Location: Auburn Ca
Posts: 3,882
Received 150 Likes on 133 Posts
Default Lic plate hole repair.

Purpose of this thread is to have others learn from all my mistakes which are many

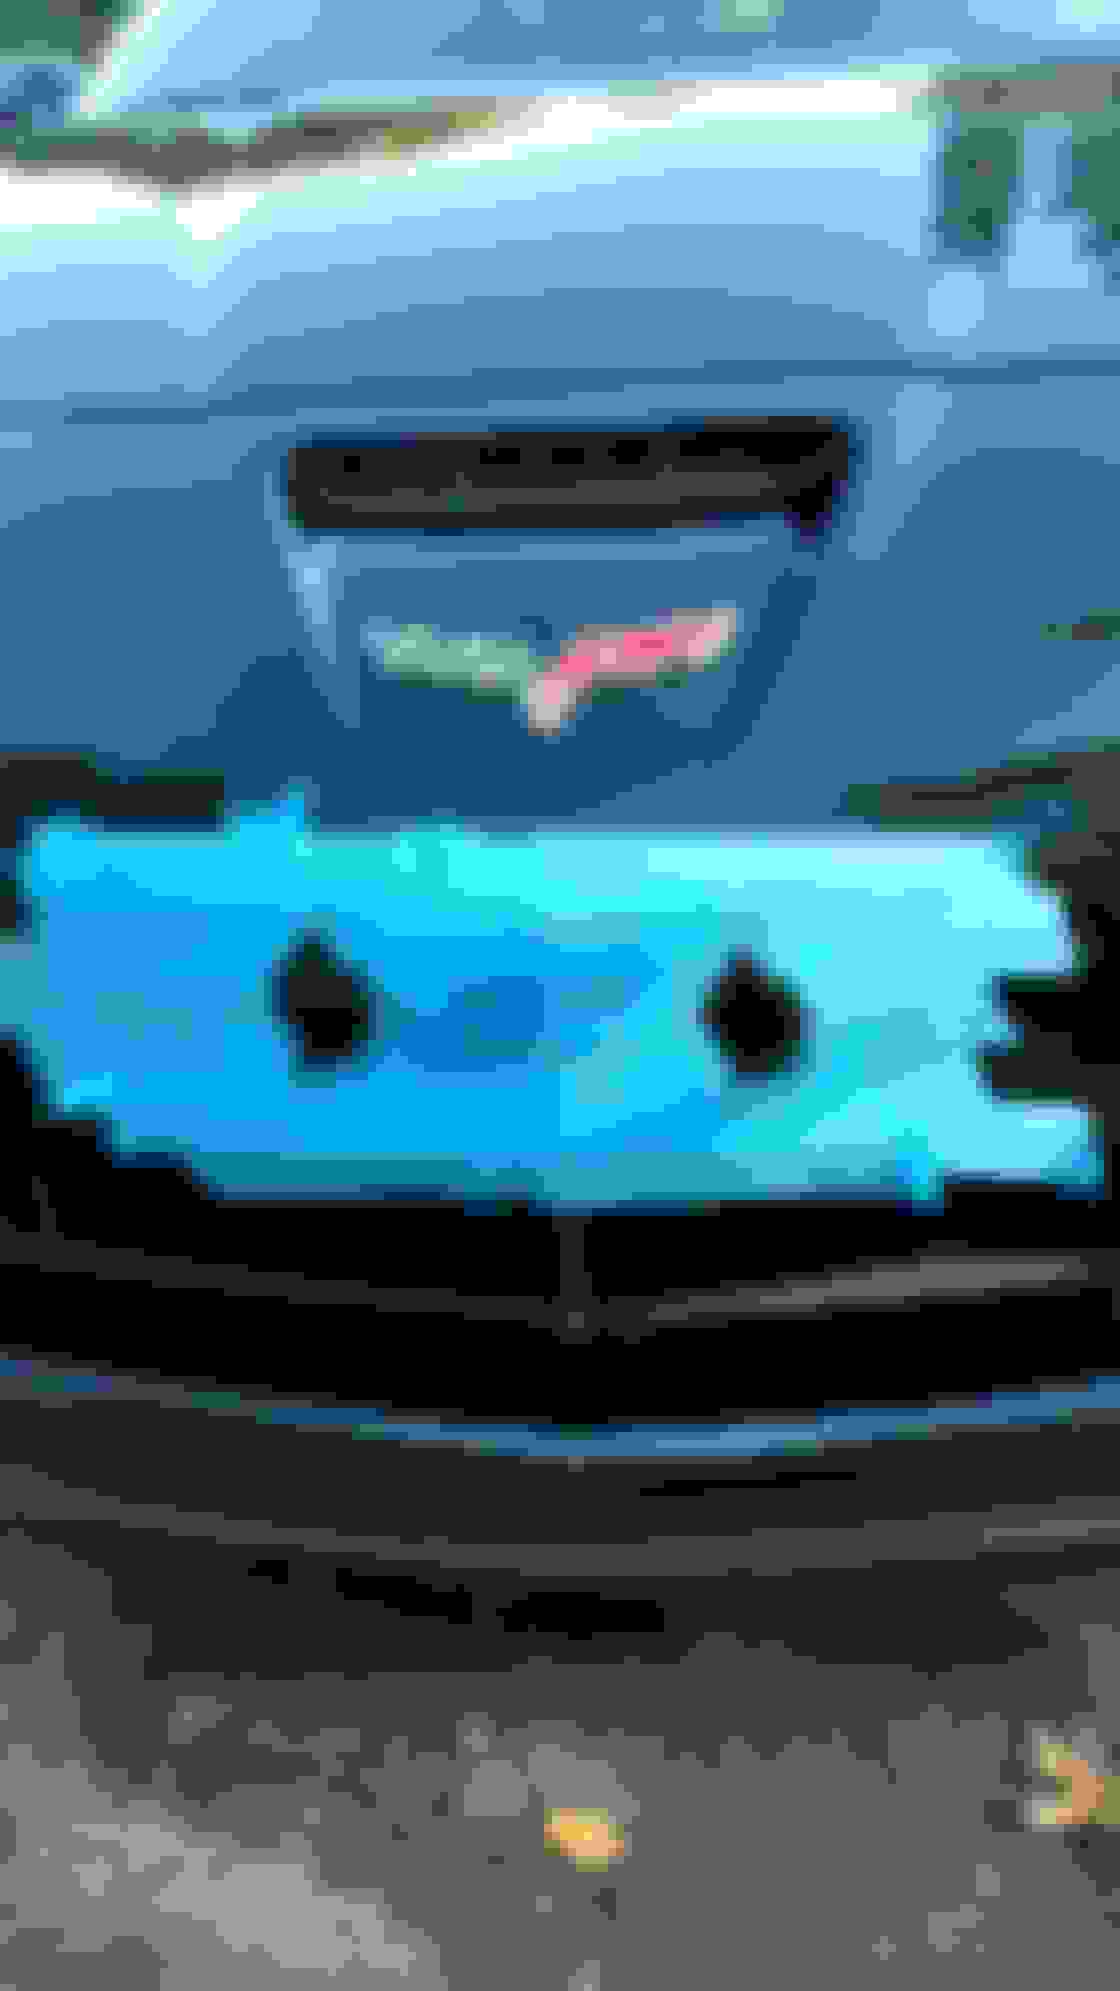
Ok my buddy keeps giving me crap about the two holes and I decided to just do it.


Now the only reason I'm doing this is at home is that we have an in house bodyshop that is huge and does decent work and is always busy, and they can fix anything I screw up. I have backup.


So day 1


Old 11-28-2016, 10:41 PM
  #2  
outhouse
Safety Car
Thread Starter
 
outhouse's Avatar
 
Member Since: Jun 2016
Location: Auburn Ca
Posts: 3,882
Received 150 Likes on 133 Posts
Default

So I used glaze/filler to seal the holes and tried to cheap out and not use bondo.


I tried to keep the work area small, in the end this was a big mistake, as the whole area was actually shrunken in quite a bit.


Old 11-28-2016, 10:46 PM
  #3  
outhouse
Safety Car
Thread Starter
 
outhouse's Avatar
 
Member Since: Jun 2016
Location: Auburn Ca
Posts: 3,882
Received 150 Likes on 133 Posts
Default

Little color added, poorly at that. So after a few more coats a hit it with clearcoat as well, and in the shade it looked so much better then the holes.


Unfortunately in the sun there was no blend and I am OCD about this.


On top of that the whole area was sunken in and while the holes were filled and now shiny, the reflection was terrible and drew my eyes way to much.


All the work up to this point was scrapped and it was all sanded down back to square one.


No semi finished pics because I started over


Old 11-28-2016, 10:50 PM
  #4  
outhouse
Safety Car
Thread Starter
 
outhouse's Avatar
 
Member Since: Jun 2016
Location: Auburn Ca
Posts: 3,882
Received 150 Likes on 133 Posts
Default

Now were playing with fire


used 800 and black sanded down the primer, then red scrub pad to get ready for a little color.


Old 11-28-2016, 10:53 PM
  #5  
outhouse
Safety Car
Thread Starter
 
outhouse's Avatar
 
Member Since: Jun 2016
Location: Auburn Ca
Posts: 3,882
Received 150 Likes on 133 Posts
Default

Ok throwing a little color back on. 5 light coats and I may be getting a little bleed from primer through the black, or just color coats to thin. In the sun you can still see the primer.


Old 11-28-2016, 10:58 PM
  #6  
outhouse
Safety Car
Thread Starter
 
outhouse's Avatar
 
Member Since: Jun 2016
Location: Auburn Ca
Posts: 3,882
Received 150 Likes on 133 Posts
Default

Ok remember all outside and all rattle can so far. Received my airbrush today and I went back to can.


Few more light coats of color with no color sanding in the blend less near the upper bumper line which I will address in my last color coat in the sun with the airbrush using some thinned out color.


No clear yet, and she is coming along. I have a day off Thursday to do more. Hopefully I can get a sunny pic of this, been raining the last week and cloudy today.


Old 11-28-2016, 11:18 PM
  #7  
outhouse
Safety Car
Thread Starter
 
outhouse's Avatar
 
Member Since: Jun 2016
Location: Auburn Ca
Posts: 3,882
Received 150 Likes on 133 Posts
Default

Last thing is the rattle can for color I'm using is way to black, ill be spraying in a cup and blending my own adding a touch of white, as in the sun the original color is more gray.


Without blend its pretty obvious and my upper line is going to be a thin blend, and as you say, YOU can see everything once cleared and in the sun so the paint has to be a closer match.


I'm learning
Old 11-29-2016, 02:20 PM
  #8  
outhouse
Safety Car
Thread Starter
 
outhouse's Avatar
 
Member Since: Jun 2016
Location: Auburn Ca
Posts: 3,882
Received 150 Likes on 133 Posts
Default

Sunshine pic. Shows flaws shading hides.


Just walking by the car it looks fine and your eyes are not drawn to the repair.


Should all be addressed by my last color coat and blending


Old 11-29-2016, 03:01 PM
  #9  
outhouse
Safety Car
Thread Starter
 
outhouse's Avatar
 
Member Since: Jun 2016
Location: Auburn Ca
Posts: 3,882
Received 150 Likes on 133 Posts
Default

Ordered 1 oz of the proper color paint "I hope"
Old 11-29-2016, 05:20 PM
  #10  
DUB
Race Director
 
DUB's Avatar
 
Member Since: Apr 2009
Location: Charlotte NC
Posts: 19,294
Received 2,713 Likes on 2,321 Posts

Default

Originally Posted by outhouse
Now the only reason I'm doing this is at home is that we have an in house bodyshop that is huge and does decent work and is always busy, and they can fix anything I screw up. I have backup.


DUB
Old 12-07-2016, 02:21 PM
  #11  
outhouse
Safety Car
Thread Starter
 
outhouse's Avatar
 
Member Since: Jun 2016
Location: Auburn Ca
Posts: 3,882
Received 150 Likes on 133 Posts
Default

OK cloudy out so it will have to do for now. You will see the clear as I did not blend well and polished to much making an edge. The clear is soft and I used some polishing tricks to bring out the shine to help hide the lines.


Not perfect but at this point better then the two holes in the bumper


Weather will be bad for the next week. After that I may try and air brush the blend instead of the rattle can I used here.


By the way, the 1 oz color bought from ebay was perfect and the color blend with the airbrush was pretty good.


Old 12-10-2016, 04:13 PM
  #12  
Z06PSI
Team Owner

 
Z06PSI's Avatar
 
Member Since: May 2007
Location: In the woods so F%^$ O&&
Posts: 48,600
Received 245 Likes on 108 Posts
St. Jude Donor '17-'18-'19

Default

Stick to repairs and not advice or uneducated points of view.
Old 08-06-2018, 09:34 PM
  #13  
RIKKI Z-06
Le Mans Master

 
RIKKI Z-06's Avatar
 
Member Since: Jul 2014
Location: Jax, Fl
Posts: 6,671
Received 272 Likes on 186 Posts
Default

Old 08-06-2018, 09:35 PM
  #14  
RIKKI Z-06
Le Mans Master

 
RIKKI Z-06's Avatar
 
Member Since: Jul 2014
Location: Jax, Fl
Posts: 6,671
Received 272 Likes on 186 Posts
Default

Old 08-07-2018, 08:56 AM
  #15  
DUB
Race Director
 
DUB's Avatar
 
Member Since: Apr 2009
Location: Charlotte NC
Posts: 19,294
Received 2,713 Likes on 2,321 Posts

Default

I guess if 'outhouse' is happy with the end results who can dispute that.

I know that I would not do it that way due to having large clear coat blend areas is just as bad if not worse that holes in the bumper. And those edges where the clear coat stopped...will fail in time.

The entire bumper needed to be prepped and clearcoated so there would be no blend lines.

DUB

Get notified of new replies

To Lic plate hole repair.


Quick Reply: Lic plate hole repair.


All times are GMT -4. The time now is 09:52 AM.