When you click on links to various merchants on this site and make a purchase, this can result in this site earning a commission. Affiliate programs and affiliations include, but are not limited to, the eBay Partner Network.
Dan. I install the rivets the other way...where the head of the rivet is against the fiberglass and the peened or bucked end of the rivet is on the inside.
Doing it the way the assembly manuals shows it does not make sense at all. It makes NO SENSE to have the bucked end of the rivet being held in place by soft fiberglass. because they surly do not show a flat washer that would strengthen that area...which then...would make no sense due to they could simply put the rivet in the 'correct' way.
For what it is worth. I have worked on original front clips and the rivet WAS NOT installed as the diagram shows. The flat head of the rivet is against the outside surface of the fiberglass.
I used the tried and true masking tape for this small area shaping.
Then I broke out the sheet wax and the magic started happening!
It is so much easier to setup a large area for laminating. I thought the .032" thickness would need to be doubled, but 1 layer did the trick! I overlapped the sheets at the top edge transition to reinforce the shape.
2 layers of fiberglass mat later, and the shape held perfectly.
I have removed all the old resin/mat repair materials and am slowly building the corner back up to the original shape.
Luckily there was still some original fiberglass underneath to maintain the shape.
I need to repair the inner fender edge that attaches to the radiator support, so I blocked up the fenders and removed the support.
Sandblasting commenced, and the next project task became evident.
Looks like I will need to brush up on my metalworking and welding skills!
I will cut the spot welds, take a section out to inspect the insides and decide if it's study enough to repair.
VERY GLAD to see you got some of the sheet wax and it shows how well it can work when trying to repair a large area...and even areas that have a shape to it due to it can be shaped.
VERY NICE REPAIR!
As for the radiator support. Hopefully when you open it up it can be saved.
I drilled the spot welds on the lower support edge and found a lot of rust inside. I tried sandblasting in as far as it would reach, there is a lot of metal thickness missing.
I'm going to pick my battles and buy a replacement core support. Too important of a structural member for the front end, especially with all the fiberglass work I am doing.
My near term goal is to get the body back on the frame so I can finish the fiberglass work on the front end with all the support pieces in the right location.
I also want to hang the doors and set the hood so I can work on the gaps.
The passenger door had damage (what a shock!) so I sandblasted the metal and ground out the old repairs.
I used the sheet wax again to hold the pieces in place while I laminated the outside first.
3 layers of mat and resin on the outside of the door.
After sandblasting the metal, some pinholes were revealed on the lower edge right below where the fiberglass was damaged. I carefully blasted the inside lower edge to remove the rust.
I placed a strip of 22ga sheet metal behind the holes and used the Mig welder on it's lowest setting to fill them.
Then i ground the welds flush.
Now for the questions.
The driver's door inside has indications of being struck on the raised centerline, but the outside looks fine. I wiped it with lacquer thinner and didn't see any hairlines.
Should I only grind the inside fiberglass to remove the loose fibers and repair with layers of mat and cloth, or should I also grind the outside down and laminate with mat?
I can get a knife under some of the de-lamination.
But the outside looks fine.
Next question.
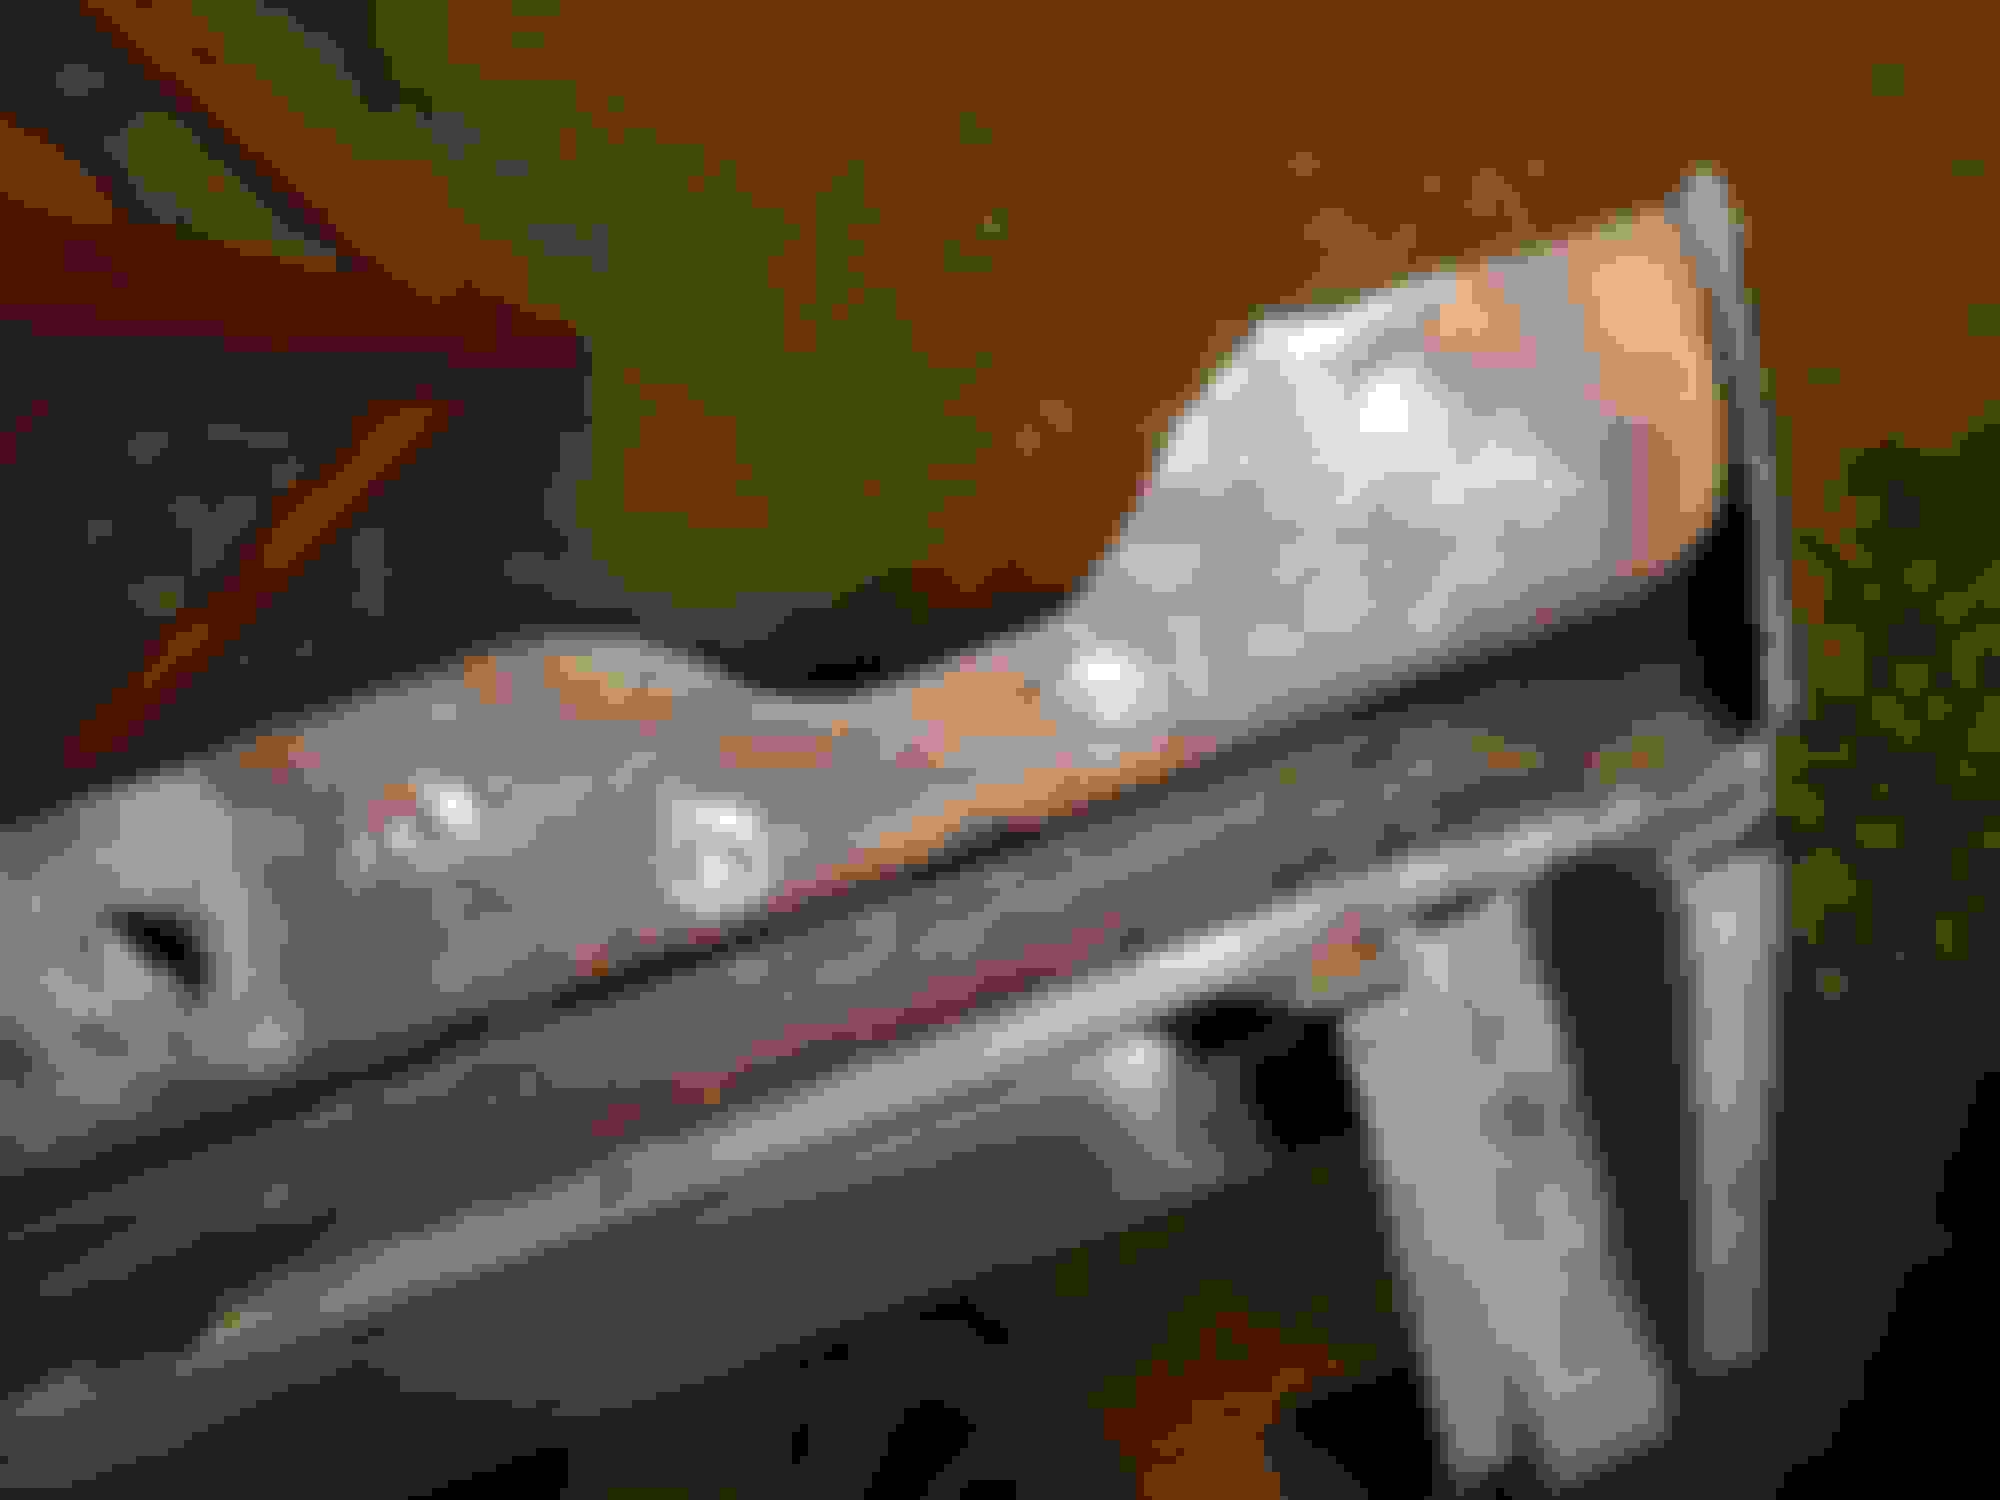
The driver's door mirror mount has issues:
I have no idea why the 2 strips of fiberglass are missing.
I chased the threads on the metal plate and they are solid, as are the rivets.
The backside is in-accessible, so how do I back up the holes to fill with mat and resin?
It doesn't make sense to enlarge the holes to get a backer in place.
Thanks,
Dan
Next question.
The driver's door mirror mount has issues:
I have no idea why the 2 strips of fiberglass are missing.
I chased the threads on the metal plate and they are solid, as are the rivets.
The backside is in-accessible, so how do I back up the holes to fill with mat and resin?
It doesn't make sense to enlarge the holes to get a backer in place.
Thanks,
Dan
All looks great. Thanks for posting your work it will help me redoing my 70' Coupe.
 04-18-2018, 05:40 PM