When you click on links to various merchants on this site and make a purchase, this can result in this site earning a commission. Affiliate programs and affiliations include, but are not limited to, the eBay Partner Network.
Working a 1973 coupe. Done with restoring / rebuilding / replacing and have a complete rolling chassis. Decided it was so much fun I would restore / rebuild / replace the body.
Purchased from ACI fiberglass a one piece rear clip:
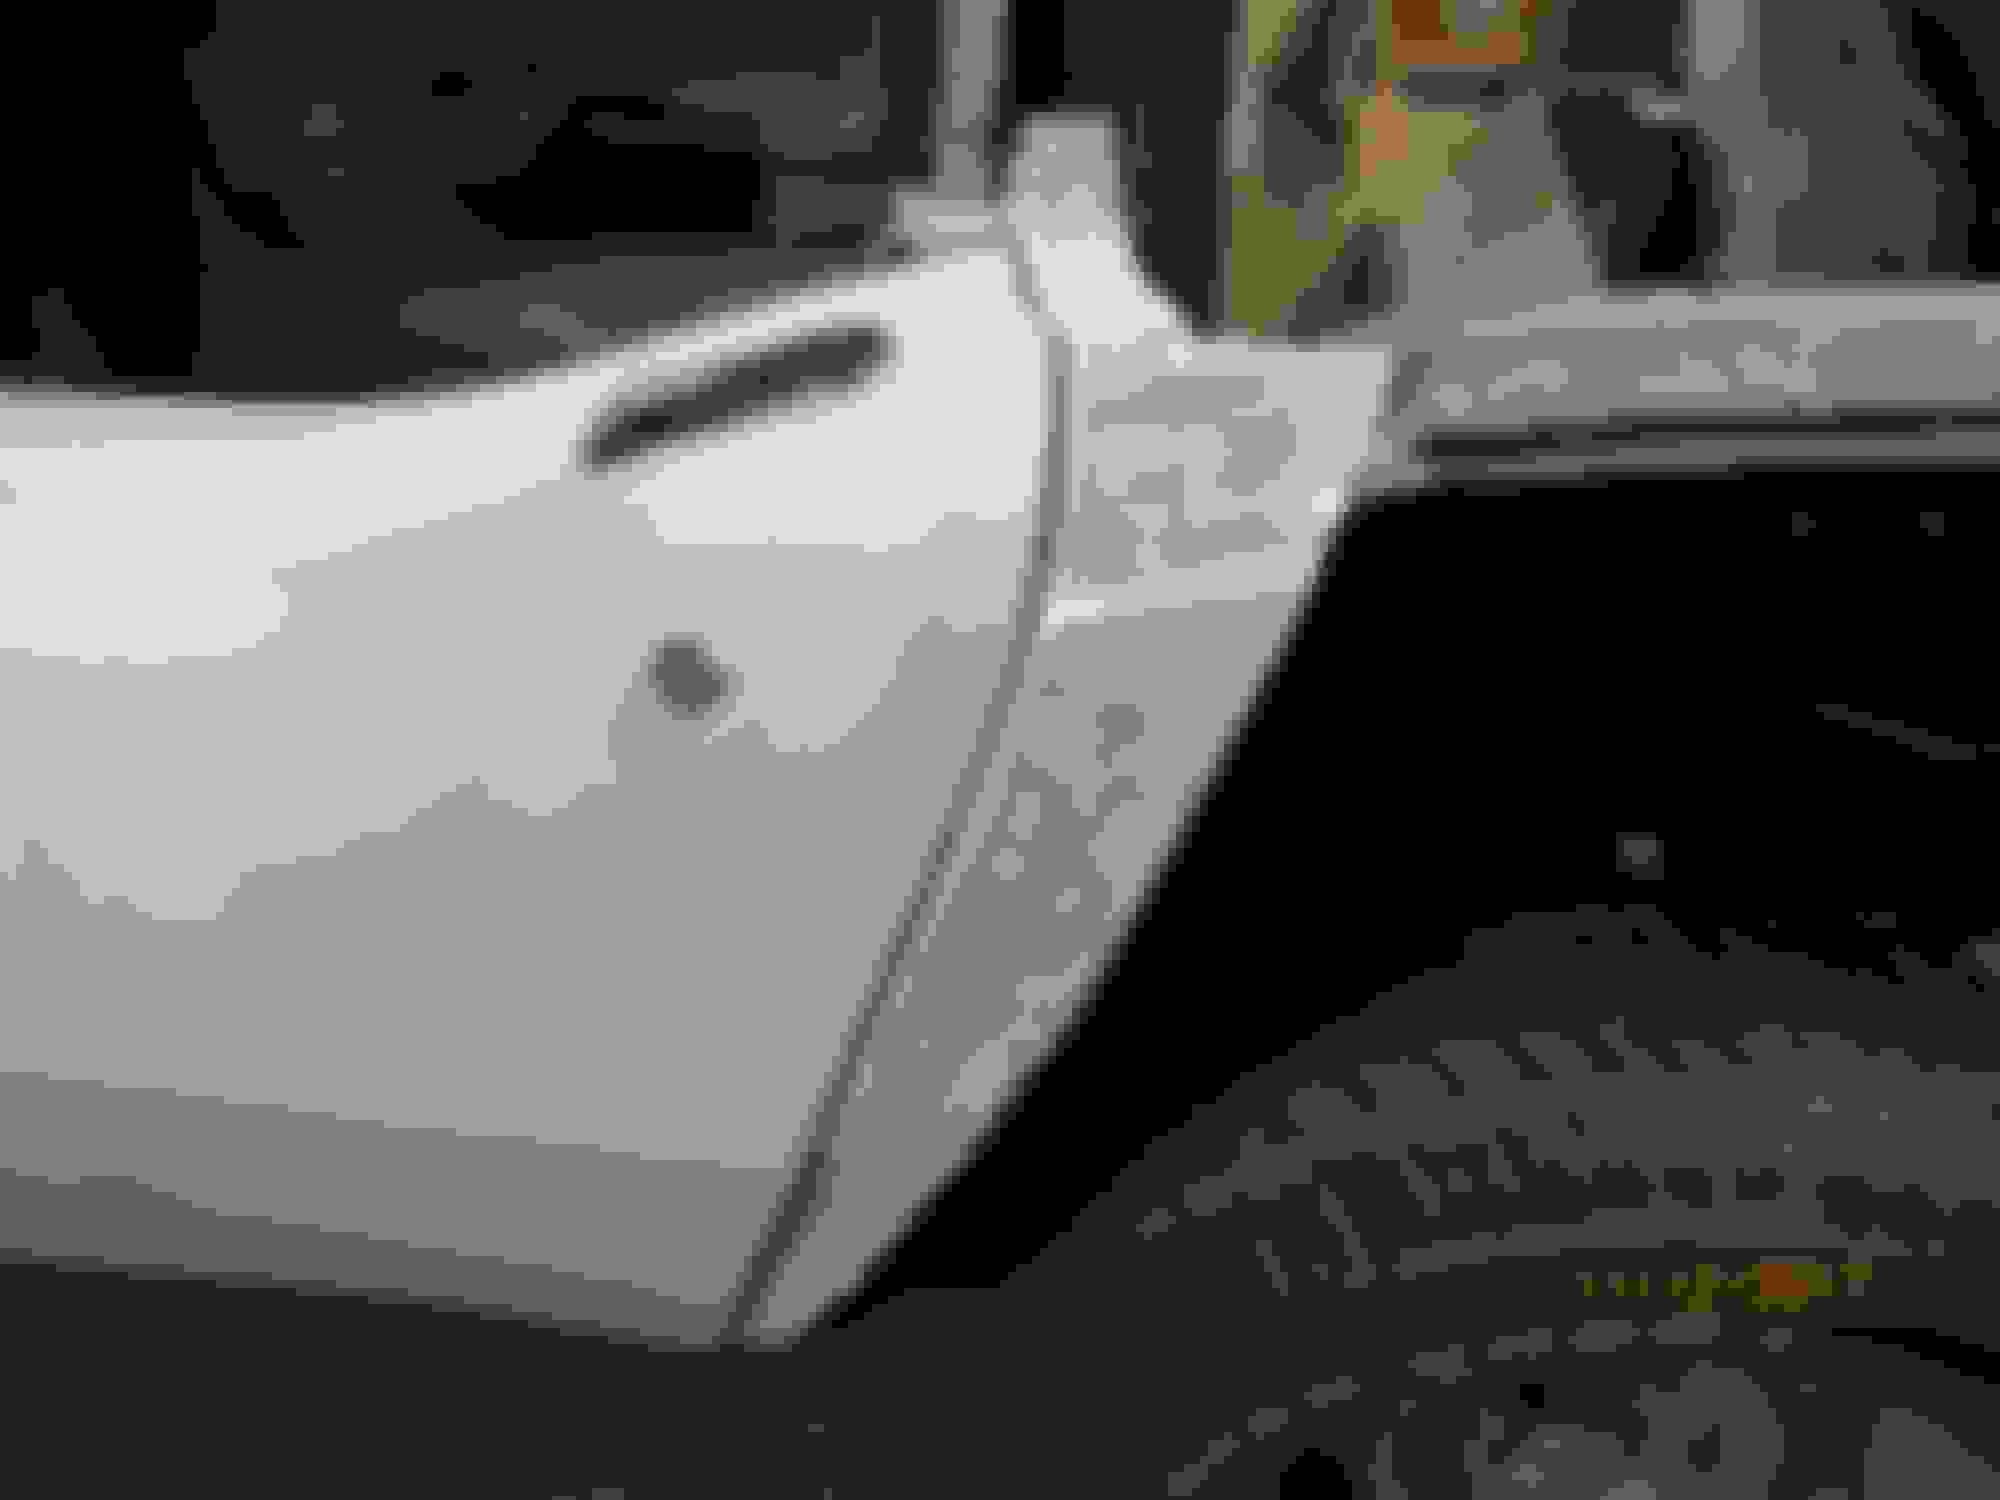
Purchased and installed door lock pillar:
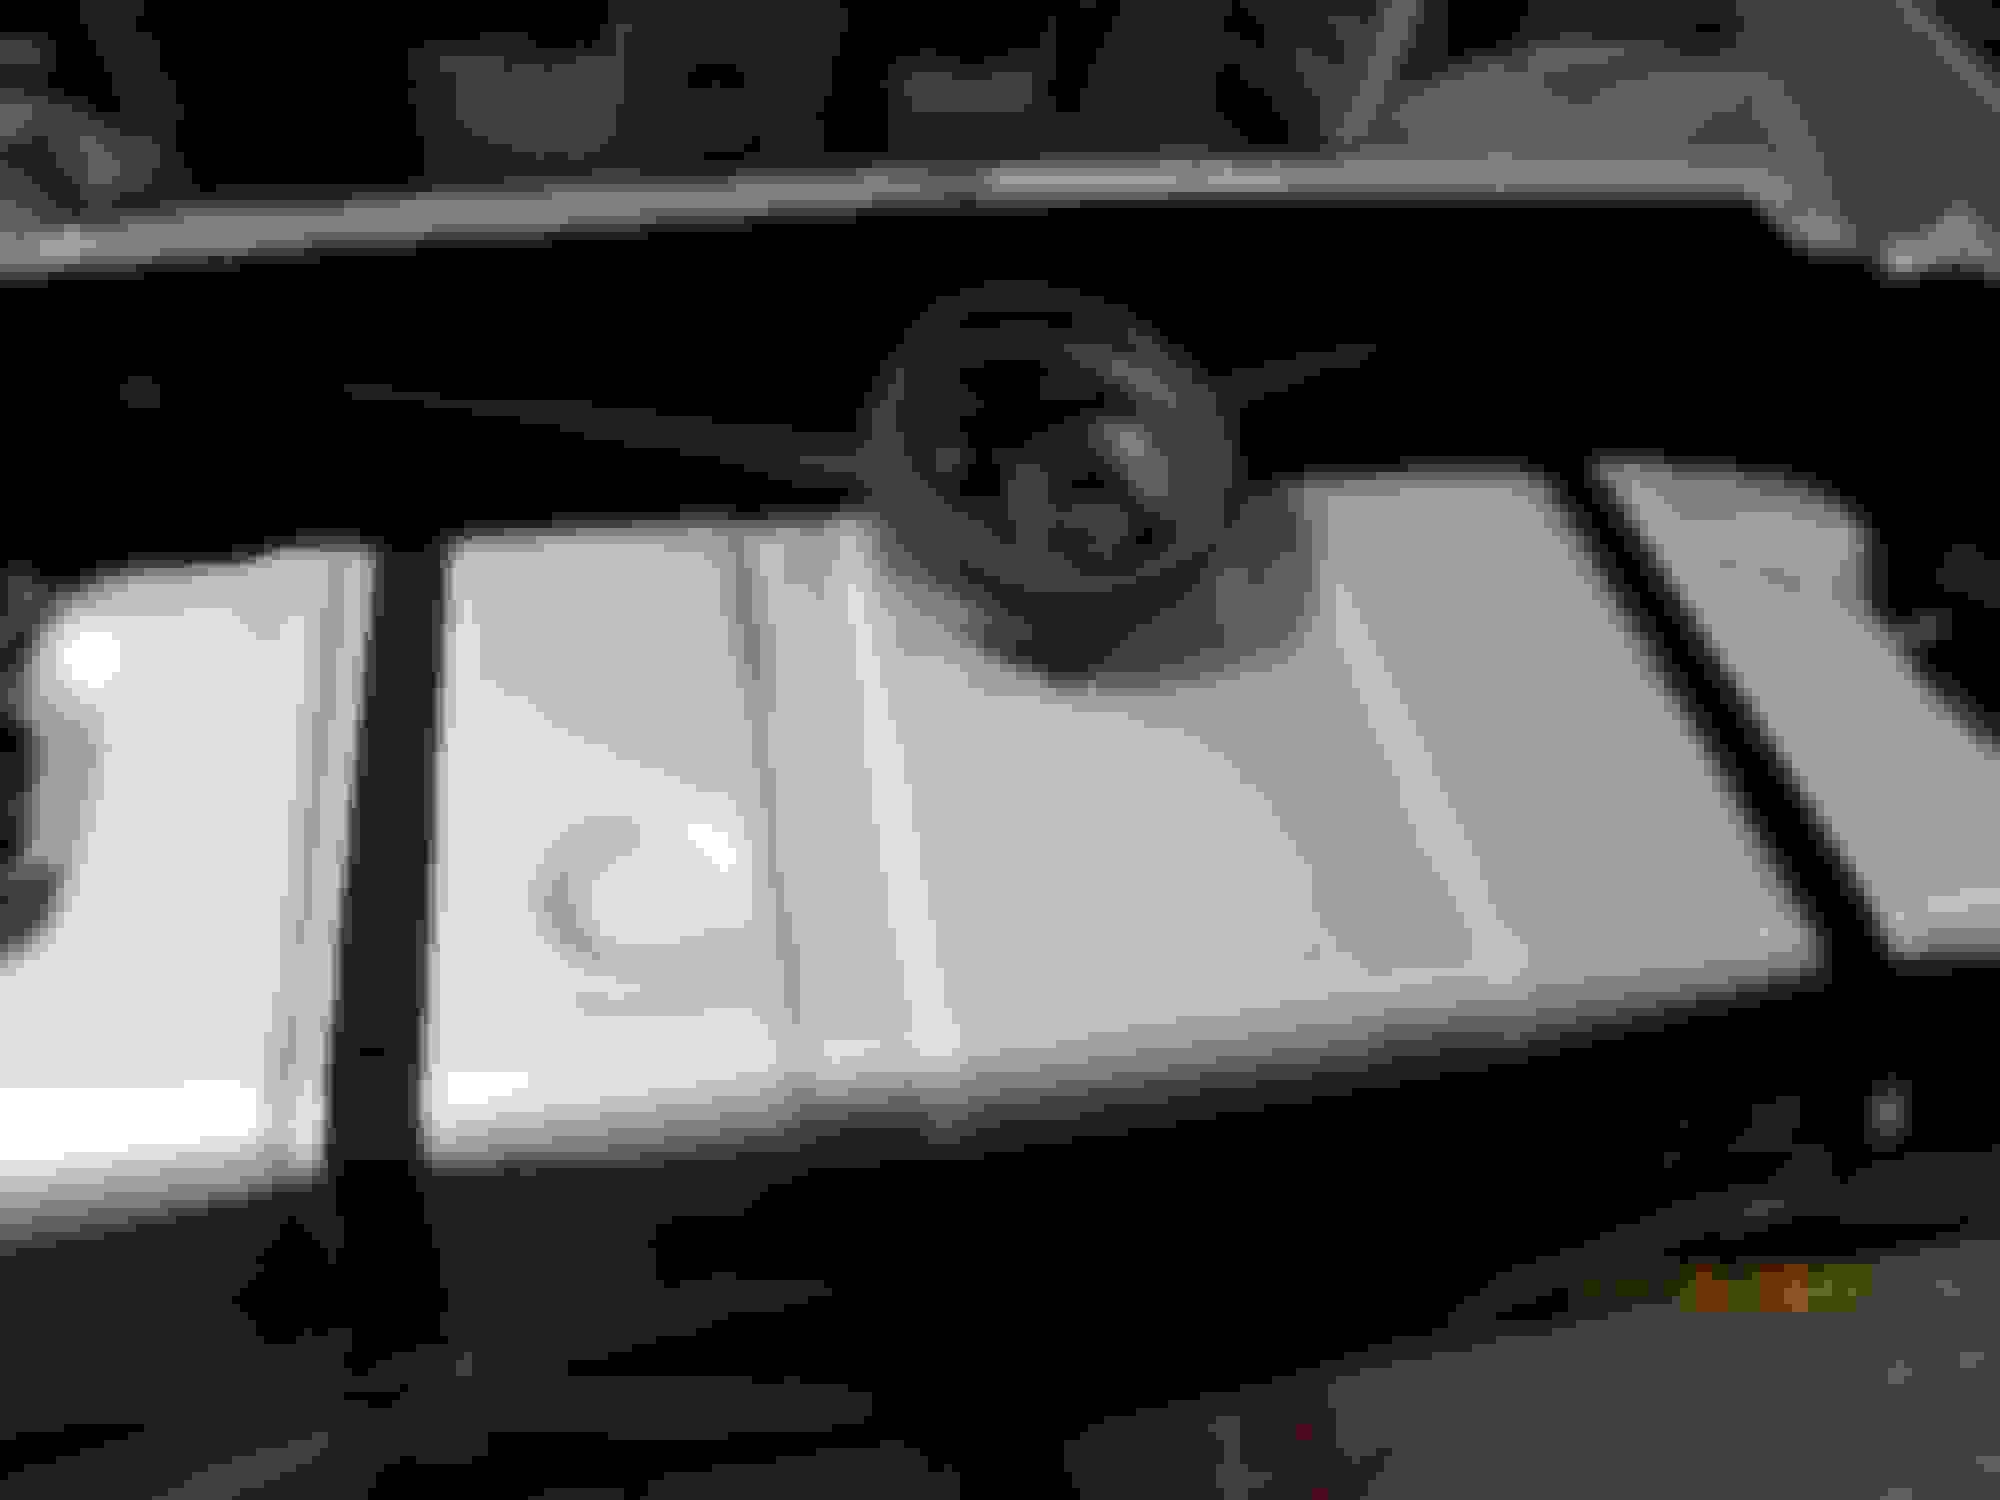
Installed Fuel Tank:
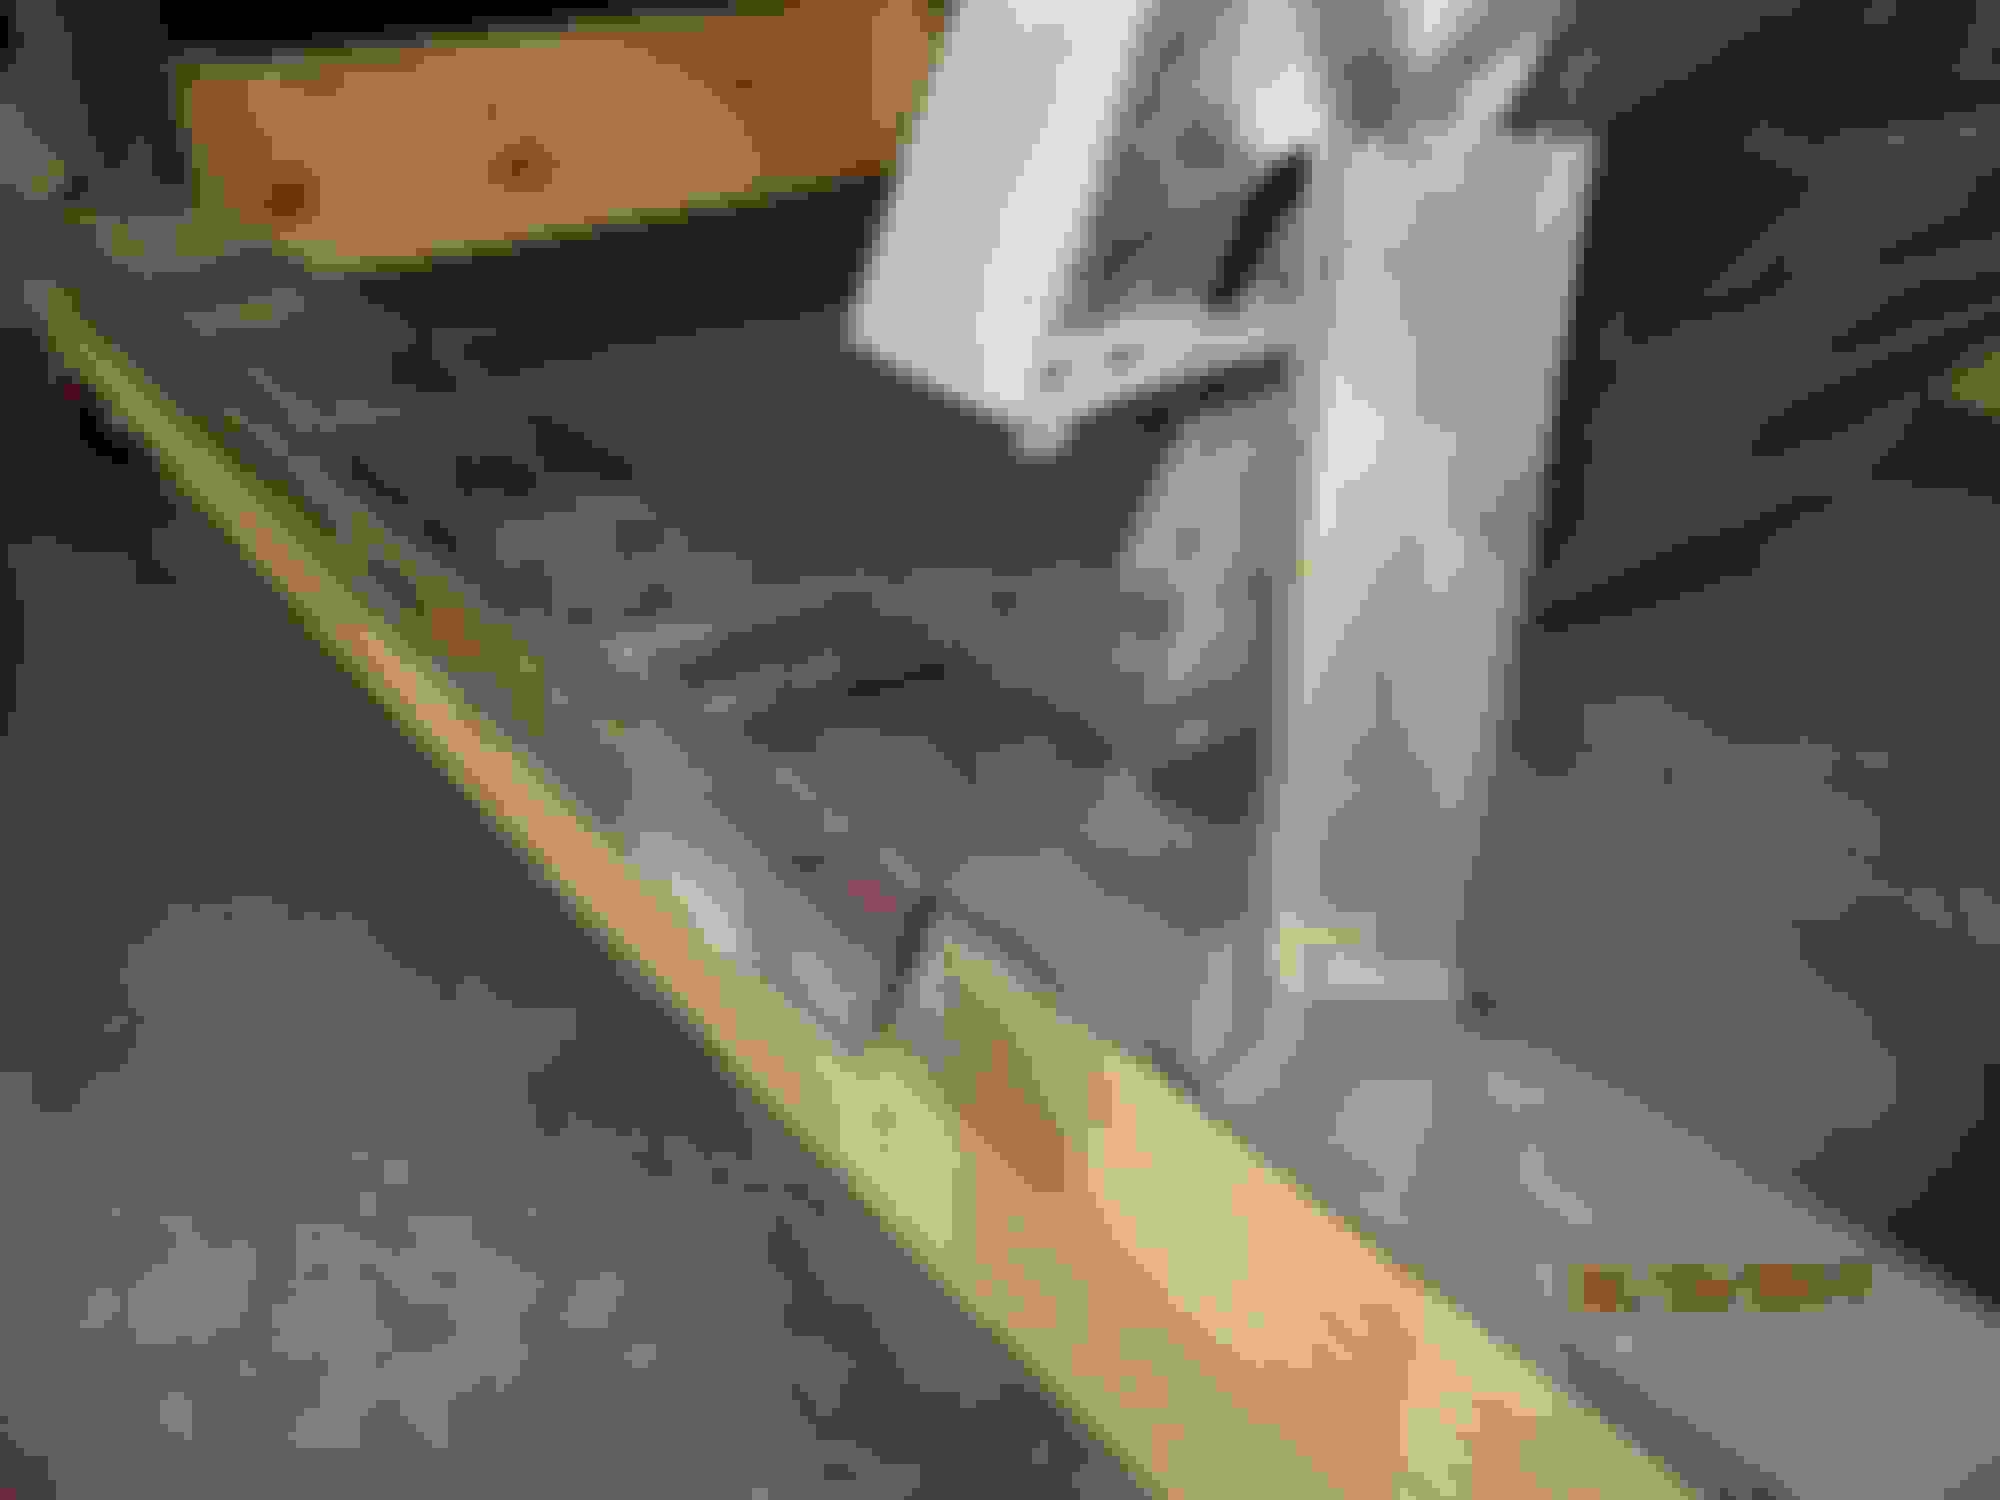
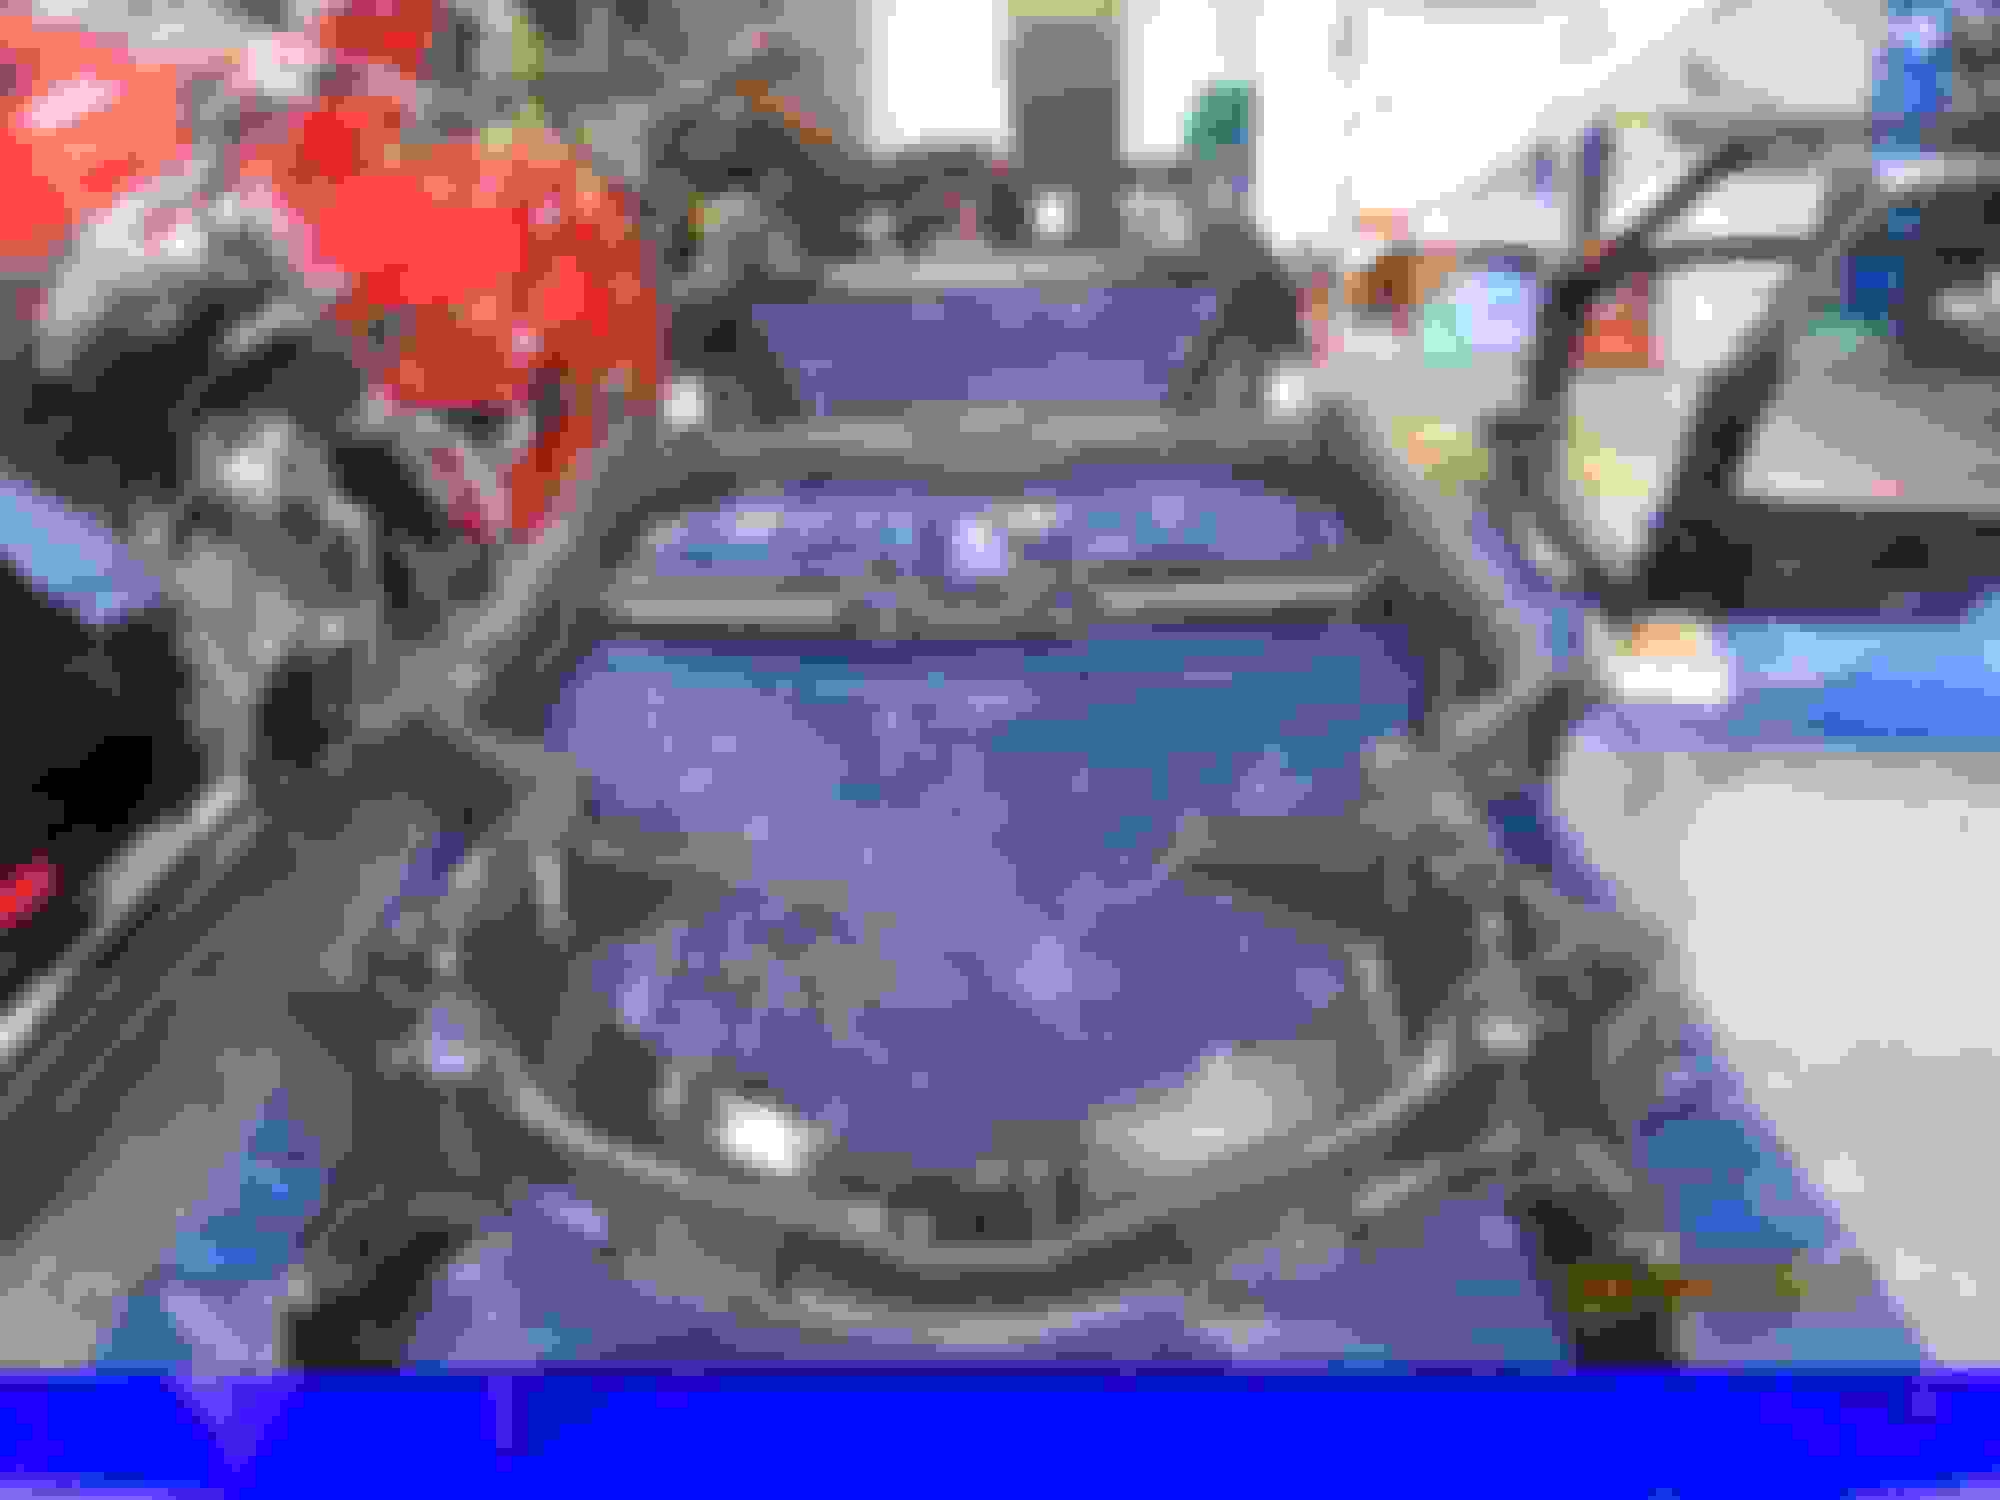
Checked to see that bumpers would install correctly:
I have placed the 'clip' on the frame many times, adjusting, tweaking, shimming and never got a warm fuzzy feeling about the fit. No reference point to start with, so I decided to use the rear (bumpers) as my reference point. Here is what I get:
If I lift the rear end up and press on the top I can get it to lay flat, but there is a lot of stress on the clip from the underside where the under body bonding strip is, not to mention I am still a full inch shy of the bonding strip on the top of the bird cage.
If I reverse the order and use the bonding strip on the top of the bird cage as my reference point then I can not get the gas tank centered on cut out or the bumpers installed without 1) modifying (cutting) the bumper supports or 2) stressing the tail lamp panel to the point where it feels like the fiberglass is close to breaking.
I would greatly appreciate any suggestions, comments, complaints or even some support on ways to get this 'clip' installed.
If I lift the rear end up and press on the top I can get it to lay flat, but there is a lot of stress on the clip from the underside where the under body bonding strip is, not to mention I am still a full inch shy of the bonding strip on the top of the bird cage.
Unless I am not reading what you wrote as you intended..but as I read it...you are contradicting yourself.
IF you are getting to to lay flat by pressing on it....I am lost that if you can do that..how are you off by an inch???
Do oyu still have the rubber boot that goes a round your fuel cap area on the tank??? If so....remove it. That rubber boot can cause for fitting issues.
I am assuming that you have your bumpers and brackets off when you are test fitting it.
Much like one-piece front ends...when a one piece rear clip is being installed I always try to get it so it sets down at the front by the doors so I can check to make sure that due to it being hand laid...the roughness of the fiberglass is not causing the clip to not want to settle in place...and due to the texture of the area on the backside of the clip are rough and inconsistent...they require some delicate grinding.
I also assume all of or at least a vast majority of the factory adhesive has been ground off.
I do not worry about how the fuel tank is center (side to side)..I can fix that later if needed.
Also..when you get it fitted and are ready for bonding it....I would stop and take the time to get the fuel door opening correct and those parts fitted while you have on a support stand.
Thanks for looking over this post DUB.
With bumper / supports installed, lifting up on the bumpers, pressing down on the front of the rear clip at the bird cage cross support: i can get it to lay down flat on the cross support but is shy of the bonding strip, to get the clip to rest on the bonding strip the body must go back about 1-1/4" or the frame has to move forward about 1-1/4", each independent of the other.
The comments you make will be helpful, I will remove the rubber boot, factory adhesive has been removed.
I am planning on loosening the body mounts to see if I can move the body backwards, even a half inch would help a lot, use the top bonding strip on the birdcage as my reference point, clamp in place and see how much stress is placed on the tail light panel when attaching the bumper.
Thanks for helping.
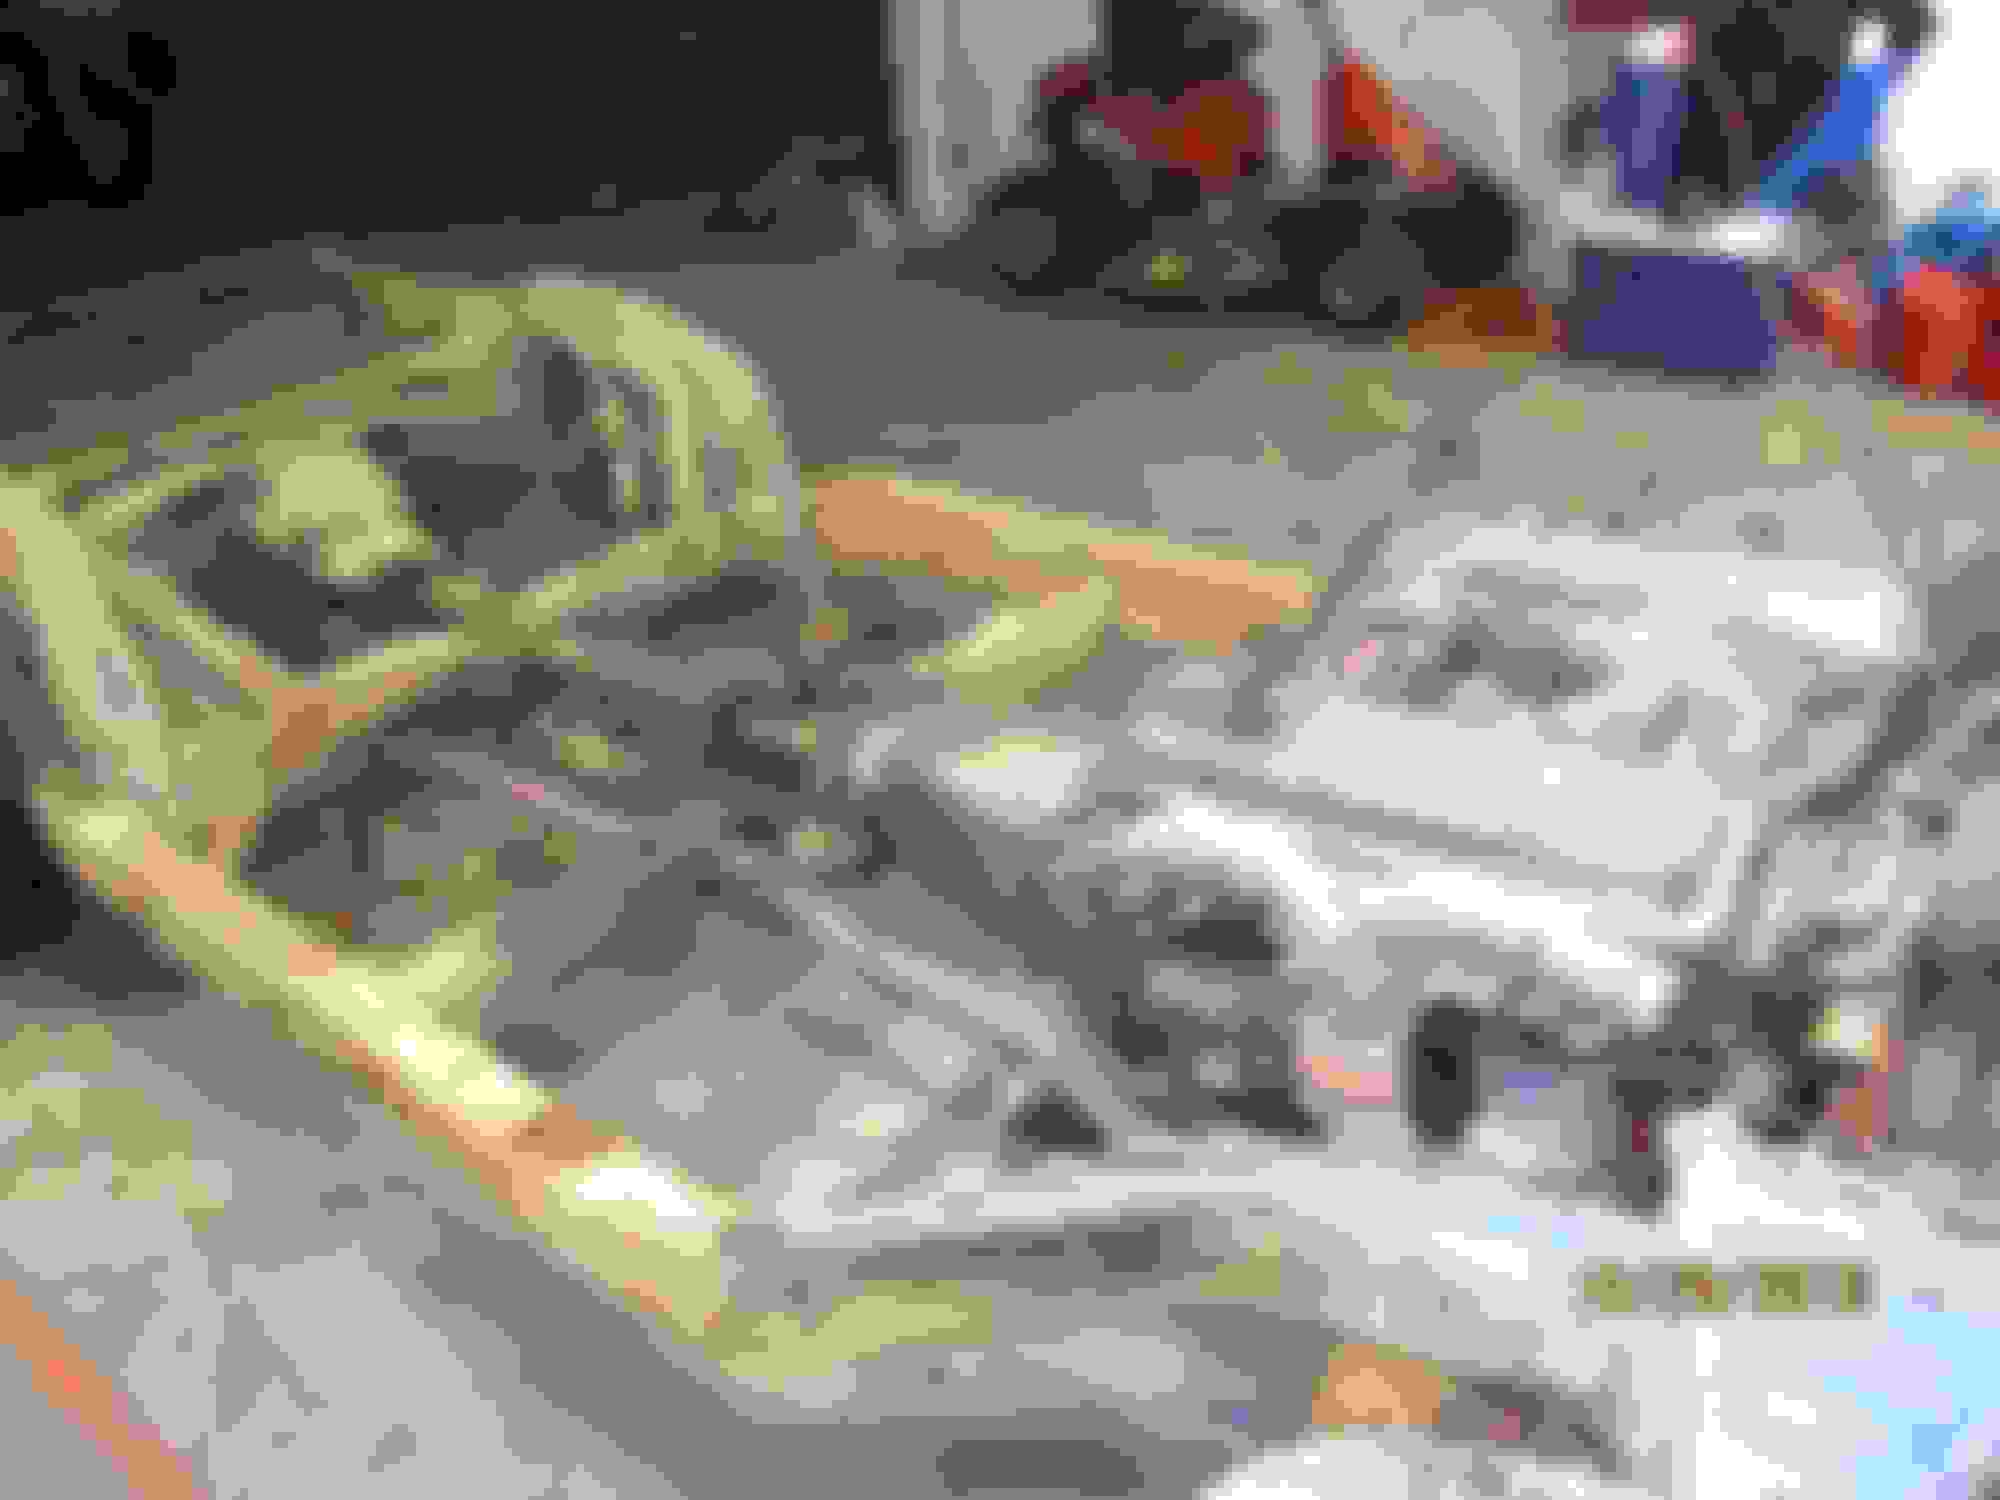
Please understand when I say I have no reference point, it is because there is no body on the frame, this is what I am working from:
Last edited by HvilleDogDoc; 12-01-2017 at 10:02 PM.
Before you go and start wanting to move the body on the frame....you are aware that there are two index points (holes) in the door sill areas that allow you n to 'square' the body to the frame??? Not knowing if you took the body off the frame.
WOW!!!!!!!!!
I can asy that most body men wouldnot do what bahs ben ndoento this body. The main rasaon is that removiogn everyhtiung can be doen..adn I ahve doen it...but what it does it make sit much ahrde rot get panels to go back on UNLESS measuremetns were taken to prodive the needed information on wher things went and so on. Normally teh rear clip would eb doen adn the door stay ona nd so on...so oyu still ahve apaenle that youknow is correct.
Having nothing there to go by...this is gong to be a challenge to say the least...because you will have to get your doors back on and make sure that they can be correctly adjusted...and then the front clip goes on and set in place.
Then...what can come back and haunt you is when you get ready to put the windshield back in....you will want to make sure you install all of the molding and trim (at least on the pillars)...and install the pillar w/strips and T-tops...so when you go an put you door glass back in...they can actually be adjusted. The reason I am writing this is because I have had to repair many Corvettes where the top corner of the windshield frame has laid inwards or down a bit and thus...will not allow for the door glass to have any movement and adjustment. Due to the angles are now off Just keep that in mind.
So how did you have to correct the windshield frame to get to the correct angles?
I am sure I will have many other challenges with the body since it all attaches in some way to the bird cage. This bird cage has been stripped down / repaired / refinished so I am sure there are many angles that are off:
Both lock pillars where repaired this way.
But it is all for fun... right?
So how did you have to correct the windshield frame to get to the correct angles?
Obviously the windshield is NOT installed. I use my porta-power and press up on the top corner to get it to go up IF the angle of the pillar post shows that is what it needs.
Which is why ...when i have jobs like yours in my shop...there are so many things that need to be re-installed an cheeked so I do not have any surprises when I do go to put it together.
Because I have been down the road that I felt that the time I would spend in installing all of the parts I needed to was a waste of time...UNTIL... when I went to have to put them on I had major problems that I could have gotten corrected only IF I had done it when I was supposed to do it.
Before you go and start wanting to move the body on the frame....you are aware that there are two index points (holes) in the door sill areas that allow you n to 'square' the body to the frame??? Not knowing if you took the body off the frame.
Are you referring to: 1) the two holes on the rocker channel of the birdcage:
and 2) the hole on top of the frame about 8 inches back from #2 mount on driver side, and about 8 inches in front of #3 on passenger side:
If so I am out of luck since this new / remake frame from Vette Products of Michigan does not have these holes on the frame:
WOW...that is a crying shame...because I do know that the mid-years do not have them but GM started putting the holes in the frame so it can be indexed. I could swear that the last one I got from them had the holes for indexing the bird cage in it.
I can see there are no hoes on the top of the frame rail...but are there any on the underside???
AS you probably know there really is not that much movement when the body is on the frame due to the caged nuts...but there still is in regards to getting the bird cage square to the frame and the amount of set-back it might need.
Seeing how you not have any wheel wells to use to gauge if the body is forward or to the rear enough...it will be a process in getting it set up so these parts can go on without you taking many steps back away from the car and see that it is tweaked.
Knowing that Vette Products of Michigan builds these frames...maybe contact them and see if there is anything they can provide to you so you could possibly drill them in the correct locations ....IF....in the event...you are running into a bunch of hassle in getting it set-up correctly.
With this being a new frame..and you have the front and rear clip off. Getting the shims correct in all locations is going to be a process. You might be needing a laser like what you would use to hang pictures on the wall to do this.
Do not loose hope because it can be done...but might take a bit more time and effort.
 11-30-2017, 08:46 PM