When you click on links to various merchants on this site and make a purchase, this can result in this site earning a commission. Affiliate programs and affiliations include, but are not limited to, the eBay Partner Network.
I laid the paint on Tuesday. I think it laid out BEAUTIFULLY! The weather was 78� with 30% humidity...weather that couldn't have been more perfect to the shoot. I set the covers out to bake in the sun all day yesterday. Today I will be adding the black to the front/rear bumperettes, then installing the covers.
I did not want to include pictures here until the covers are done and installed. It's raining here today and tomorrow, but Saturday will be beautiful...I will take shots of the finished product and post them then.
By shear design and the composition of the resin in the 'flex' bumpers...They may still have distortion when they are put out in the sun and get hot. I am not a chemist but years of body work has brought me to this conclusion. Because a 1/2" thick piece of urethane would still flex to some degree.
I can not say if adding rigid resin (when cured) would counteract the flexible nature of the resin the part was made out of.
This is why I do not use the flex bumpers at all. This 'variable' is something I do not what to have to deal with. Because when I started installing the fiberglass bumpers when they came out...it was not a variable. As a matter of fact..when the fiberglass bumpers first came out...they were really thick and heavy. And they were really hard to get to work due to all of the mat and resin in the bend where the retainers would fit. Over time that has all changed.
IF resin is added to the backside of the bumper is it often times not needed on the entire backside of the bumper. As like Dave wrote. it can cause for further modification due to this added thickness. So some care and attention may be needed.
When I apply added mat and resin. On the front bumper it is usually on the inside across the top only. Due to the sides and the areas around the lower grilles and front bumpertettes..it is usually rigid enough and will not show up any major distortion that the eye can pick up. I will use both cloth and mat.
On the rear bumpers..I usually apply it between the inner taillights to strengthen that flat surface where the emblem goes.
DUB
Thanks for the response. As you said, the distortion becomes most evident when car is out in the sun for awhile, which is when it matters the most to me to NOT be wavy. Note, I do NOT have this problem anywhere else on the car to the degree I do on the bumpers.
As you said, the problem is primarily on the rear bumper in the large open area between left and right tail lights, where Corvette emblem is, and to some degree across the top. On the front bumper, its the whole upper surface. In the heat, it almost appears you can see the fiberglass matt material when you look at a reflective angle, and it certainly gets more wavy with heat. Its just too damn thin.
I think I should first try adding some glass to these areas on the back side. As for clearance with inner bumper, I will do what it takes. Honestly, I am not sure if it will work or not.
I have been talking to ITS in Toledo and he will make me extra thick rigid bumpers if I want. I hope it does not come to this, but if that is what it takes, I will.
Last edited by Torqued Off; 05-03-2018 at 01:01 PM.
The fiberglass bumper covers are thick enough that they do not flex when being pressed on, similar to the other body panels. As for having ZERO waviness? No. They're fiberglass, and by the nature of how they are made they are not perfect, and hence, all have some degree of "waviness". The same statement holds true for these C3's. If you find a C3 that has arrow straight panels that look as smooth as glass, it is because they were reworked to appear that way...they did not come that way from the factory. There are some degrees of waviness in every panel of these cars, and no two C3 bodies, or panels for that fact, are exactly alike. Bottom line, the bumper covers will ultimately be what you make of them, in both fit and final appearance...whether that be working them to perfection, or working them to be a perfect match for your particular car's imperfections.
As for reinforcing your Tru-Flex? Sure, you can do that...but, if you are using your original reinforcements in the front, there is the potential for running into clearance issues by adding material on the inside. My covers fit snugly over the reinforcements, and so much so that to get them to fit properly I had to do some trimming of the rubber. That may not happen to you though. If you are that unhappy with your covers and are thinking of repalcing them anyhow, try it. You have nothing to lose and everything to gain.
Good luck!
I understand how original cars were, and have had to endure the speech on more than one occasion, even from my painter. I do not care how the cars came from the factory, nor do I care that my Trueflex is light years better than urethane. My painter DID fix most of the imperfections in GM's production line, so 99% of my body panels are absolutely wave free, with only a few very minor imperfections. These Trueflex bumpers are not even close to the rest of the car, and my eye sees the difference. Some people wouldn't see it, but I can't NOT see it. I simply have a higher standard. Everything become more obvious when the car is in the sun for awhile.
As for clearance, I will deal with what I have to. So I probably will first try adding some glass to trouble areas. If that does not work, I may have to make next big step to replacing with rigid glass bumpers....a big financial loss and disappointment, and a lot more money to spend to make it the way I want it.
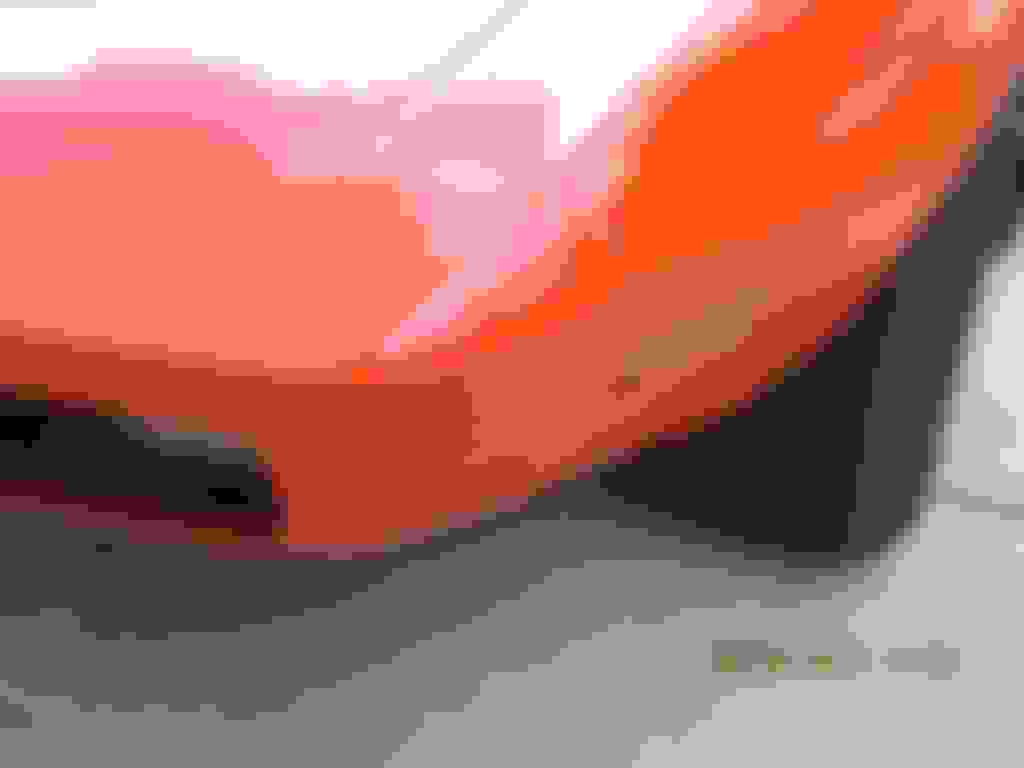
THE day has finally arrived! The weather broke earlier than expected and I was able to roll it out and get some shots in of the finished bumper covers...and most importantly, the PHENOMENAL job you did matching the paint! My neighbors have been watching the progress, and they say they simply can not believe that these weren't painted as the same time as the car...the match is THAT good!
From what I can see in these pictures....you have achieved almost perfection. What brand bumpers are these? I see no waviness in those bumpers. I would love to see pictures with reflections of straight lines, which is how you can really see waviness. Reflections of straight lines in a straight part produce straight reflections. But, these pictures show your bumpers are less wavy than my Trueflex.
I'm very happy with the results. The bumpers are Eckler's that were actually damage returns. My original plan was to use ACI both front and rear as was recommended by DUB in other threads of his, but I couldn't pass up the deal I got on both of these. They were surprisingly smooth out of the box...sans the damaged areas. Using DUB's methodology along with lots of time, sandpaper, resin, mat, and VPA, AND the paint DUB mixed for the car helped to bring these covers to where I wanted them...and again, I am very pleased with the end result.
I'm really looking forward to DUB's assessment and am standing by...
I have to say...that I was happy with the color match I achieved from only having your fuel door to use as a color match part. So many times I have seen that a part that is on the top surface may be a shade off of the color that is on the sides of the car due to the sun exposure it gets. SO...I was sweating it when it came to how the sides of your bumpers were going to match the fenders and quarters.
But with the bumpers on the car makes me feel really good that I DO feel I nailed the color match. And trust me I AM looking for a flaw in my color matching. I just can not see anything.
Kinda reminds me of the saying..."Every once and a while a blind squirrel can find a nut." I know that I have the talent to do this...but sometimes I feel fate or luck can come into the equation.
The job YOU did is quite awesome and I KNOW you are pleased.
YES..I can tell you did a nice job on painting the bumper-ettes. Many people ...when they get to the point that the covers are painted...won't spend the time for that fine little detail.
Looping back around to "square one", I want to thank you once again for taking the time to outline the the procedure for fitting these rigid fiberglass bumpers to our cars without having to modify the car whatsoever. It was reading that thread that inspired me to take on this project.
I would like to tell you that it was a real pleasure speaking with you during our many phone conversations, and working with you through this process. I hope that on one of my future trips to SC, we can both find the time to meet in person. Your shop is only about an hour north of family I have there, and I would gladly make a side trip up your way to meet face to face!
I would also like to express my most sincere gratitude for all of the time and effort you put in to putting together the paint supplies I needed to pull this project together. Your talent and "Eagle Eye" for mixing and walking paint color to where it needs to be is beyond impressive to me...and that talent can definitely be seen on my car! Matching 2018 polyurethane paint to match 1976 lacquer to that on a fuel filler lid was no easy task...and I realized that going in...but as you saw in those pictures, you did indeed nail it! Challenge accepted, challenge conquered!!!
In the end, I think that WE did a great job on this car. Without ourTEAMWORK I do not believe this car would look the way it does today!!
I deal with many differ types of people. Those that do not care how it comes out and just want it back in ten minutes..and those that want it RIGHT...and everything in between. But one thing for me still holds true. I do best work when I am generally left alone so I can focus on what I know I need to do for that specific customers repair.
So having customer like you Dave. That I clearly understood the importance of this color match. And the fact that you allowed me to be able to do what I needed to do and not under any pressure constraints. Allowed me to not have anxiety when I was attempting to get his color to walk to the color it needed it to be.
So any people out there at that are getting work done on something that they cannot do themselves...and they have someone doing it for them. And that person is doing the very best they can. TRUST ME...at least speaking for myself. I am putting enough pressure on myself to make sure I get it RIGHT...that having added pressure added to the repair is generally not a good thing. It actually causes the process to slow down.
Because as many people who work on their own cars already know. There are some repairs that may seem to be a no-brainer and should be completed in short while with good success...but these same repairs can so sideways in a second..and THAT is when having clear head can often times save th repair form getting out of hand.
So..in this case of this color match..I was relaxed and FOCUSED and the end result came out as I hoped it would.
I know I'm a little late but you and DUB nailed it ! That is way harder to do than most people know when it comes to matching something that's already painted in both color and gloss !
 05-03-2018, 08:52 AM