When you click on links to various merchants on this site and make a purchase, this can result in this site earning a commission. Affiliate programs and affiliations include, but are not limited to, the eBay Partner Network.
nice work will, i have been saving all your pictures so i can reference them when i dig into my car.. i am sure i am gonna run into the rust area you did, so a picture is great too look at..i do need too find the rivets you and dub are talking about? if you could give me a link too them please? that goes for DUB also? thanks troy
Thanks for the complement. The rivets I used to attach the bonding strips to the bird cage are Cherrymax CR3523-6-3 and you can search online for places that sell them. Here is one I just found on Google.
As for the rivets I filled the holes in the header with, they are also aircraft rivets but I wouldn't have used them if I didn't already have them because they are way too hard for anyone who doesn't have experience driving them. I would get the soft rivets from Paragon or someplace like that. They will be much easier to drive and create the correct looking butt.
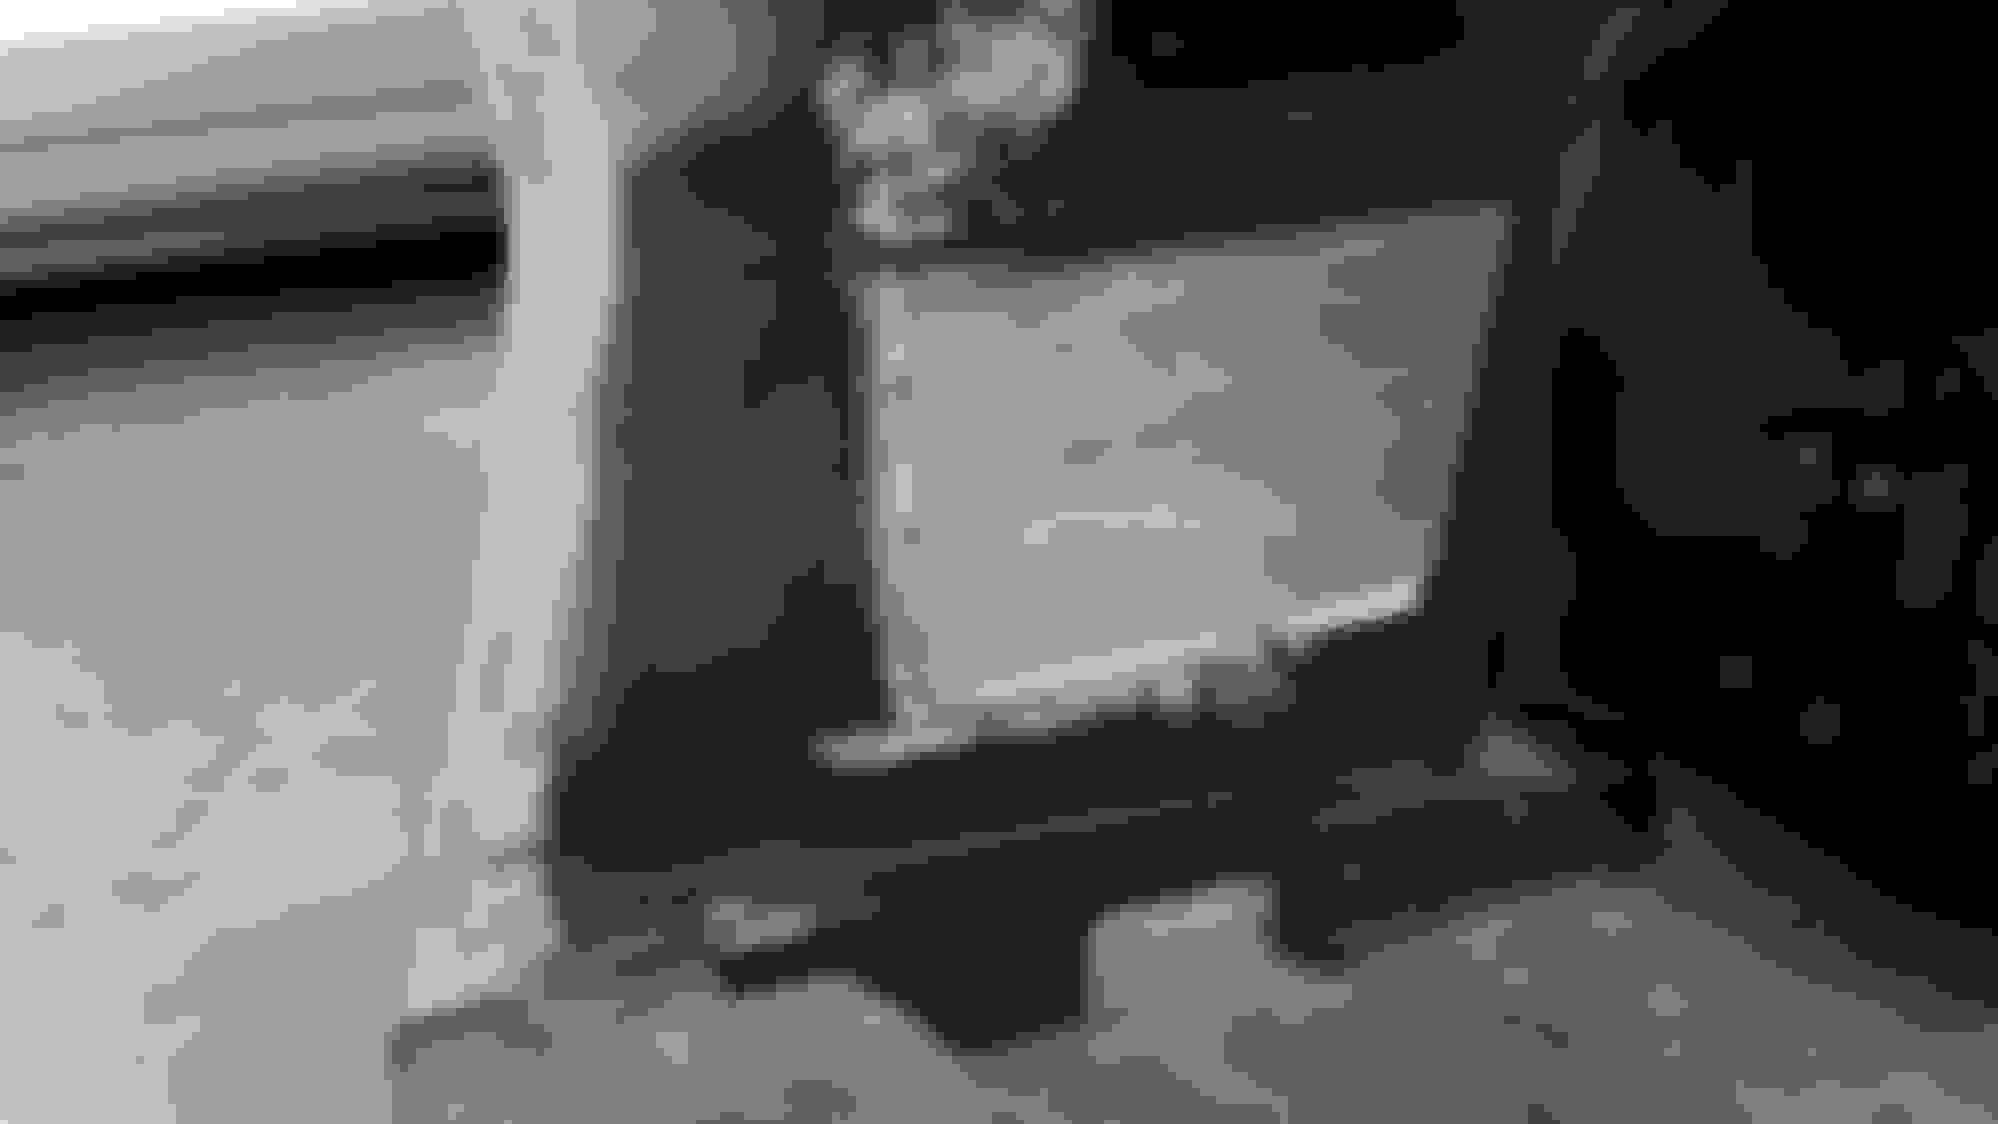
Thanks for the pics Will. They let me see inside under the fender and will help me in the future with what I need to do to fix my 454. Unfortunately some of us have more rust than you!
I went so far as to buy a complete windshield frame from S. Calif. It's pretty pristine, but even that one has more rust than yours in that hidden spot under the cowl / plenum trim piece.
You're luckier than I.
Oh Man, that looks like a job! I did get lucky with mine but I didn't know it at the time. Its been a learning experience for sure.
I'll be posting a few more pictures this weekend. I hope to get a little primer shot on some of the hidden areas in preparation to dry fitting the nose. Sorry for the delay.
I have been a little preoccupied with our new family member. 2009 ZR1
Well today I managed to get the epoxy sprayed on all the areas that I wanted to cover before I bond the nose back on. With any luck I will be dry fitting and bonding next weekend.
I might add and this is only due to not knowing everything about how much has been put on it.... so I might be out of line here.
The surface of the windshield frame where the urethane is going to be actually applied. Hopefully you do not have an excessive film build of material there. Reason being....SHEAR. Excessive film build on that surface can cause that product itself to shear and cause the windshield bond to fail. Often times it is best to have it bare steel and allow the glass company to come in and apply their primer for the metal so the urethane is really bonded on and the film thickness of this primer is so thin that it really can b not shear off due to how it has been designed for that specific reason. Applying epoxy primer there is okay...but it does not need to be applied on really thick. Painting that pinchweld area where the urethane goes with paint and then clearing it is actually a big NO-NO ...but do as you wish.
DUB
Thanks for the heads up DUB. Everything you see has 3 light coats of SPI epoxy primer. I can sand the bond area down if you think I should? I didn't think about the shear aspect of it and was only considering corrosion. Learn something new every day.
Thanks for the heads up DUB. Everything you see has 3 light coats of SPI epoxy primer. I can sand the bond area down if you think I should? I didn't think about the shear aspect of it and was only considering corrosion. Learn something new every day.
Thanks for posting your great work. While I've not begun the body work I have a sneaky feeling I'm gonna be in the same boat as you were. This thread will be a big help.
Thanks for the heads up DUB. Everything you see has 3 light coats of SPI epoxy primer. I can sand the bond area down if you think I should? I didn't think about the shear aspect of it and was only considering corrosion. Learn something new every day.
I would let the glass company you use decide to use decide if they want it totally removed or not. I know the glass company I use is really picky about that so I leave it bare steel or if the factory primer is still good...leave it alone and let them decide.and then allow them to apply their primer so the urethane will work as designed due to they have specific guidelines they follow to make sure the car is like it was when it was crash tested.....even though I know you car was never crash tested...they do not care and treat old cars the same and new car in this aspect due to liability..
Okay the "Nose Job" is finally done. Well at least the part I have been worried about. Two friends and myself bonded it back onto the car last night with very little issue. I will need to go in and clean up some of the inside plenum joints but over all it went well. I wasn't able to get any pictures of the adhesive application due to time constraints but here are some before and after shots.
As I was fit checking everything including the wiper door, hood and front bumper, it became apparent that the nose was not aligned properly from the factory(at least not to my liking) so, I had to shift it back on the drivers side a little over a 10th of an inch. things look pretty good now and I am so relieved this part of the job is done.
Ok DUB, I have a question for you again. I started to get ready to refine the door alignment and noticed an issue that has me puzzled. I am sure you have seen this before and know how to deal with it. The drivers door in the top rear alignes perfectly with the top of the rear clip and pillar. The Passenger door does not? Both doors are fairly well aligned over all to the outside. It looks to me like this may be another factory alignment issue and the only way to fix it would be filler? If I'm wrong whats the fix? Call me if you like.
YES...VPA is what is needed here. My main concern is NOT worrying about how flush the door is to the quarter panel when you start to go down the door. I am concerned that the 'GIVEN' curve at the op of teh door is correct in relation to the quarter and then do what ever filling I need to do.
Well I guess its time for an update. I have been working the last few weekends on the door gaps and stock hood fitment and gaps. Things are shaping up nicely but its been a bit of a learning curve. I have sanded more off than I've used for sure. Still a bit more prefecting to do but getting close.
Now here is the L88 hood that I am not sure I want to mess with? The fit isn't very good and will take a lot of work. Huge gaps and seams to be close to 1/2 inch too short.
I might add that just be careful on how tight you get your gaps due to you still have to take into account the primer you plan on using and the thickness of the paint you are going to sue due to it will be thicker than what GM put on the car. So going off GM's body panel gap specifications is not also something you follow to the number due to the added thickness of what you are applying onto the edges of these panels WILL close in that measurement.
WE will get together on this hood issue....and I have seen this and have had to close in the gap many times on aftermarket hoods. This repair ( if you choose to do it or not) is definitely in your 'wheel house' in being able to accomplish.
 09-05-2018, 05:09 PM