When you click on links to various merchants on this site and make a purchase, this can result in this site earning a commission. Affiliate programs and affiliations include, but are not limited to, the eBay Partner Network.
Good morning!
(Warning.......LOTS of pictures)
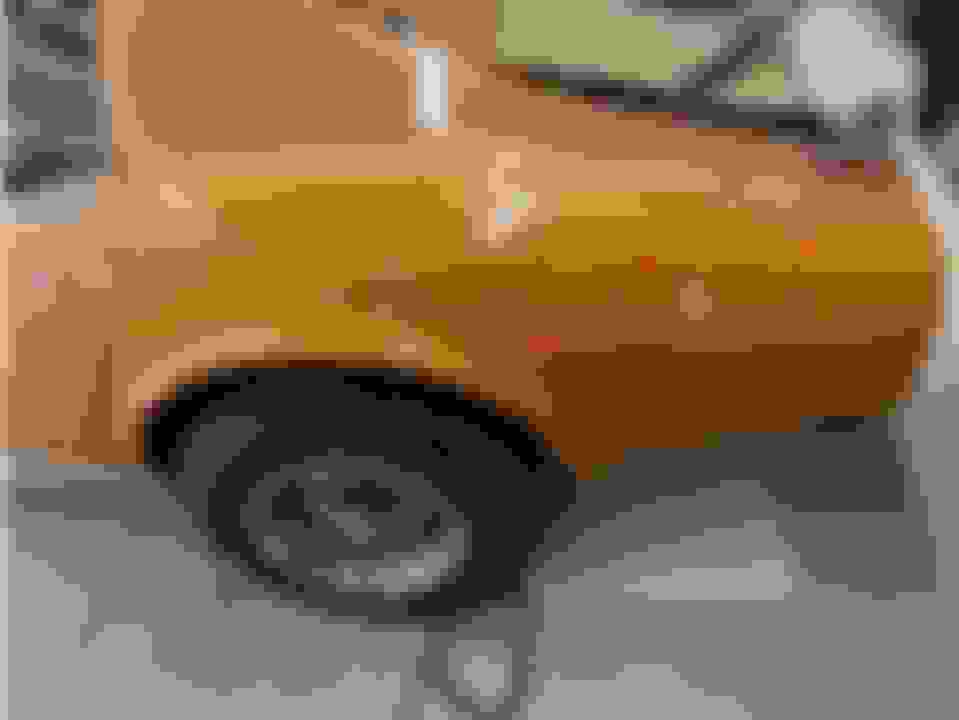
Dub, here's the LH rear quarter I'd mentioned a bit back when we had chatted on the phone about my front bumper. It had a bad repair done at some point as you can see. After 20 years of looking at it, it's time to do something as it's driving me nuts (well, more nuts....). Below is a damage "map" and individual pictures. I'm inclined to replace the rear quarter, but really need your input, Dub. I'll get more pictures from within the wheel well later to get a more complete picture. The pictures here are lower res so as not to make this post too unwieldy, but higher res can be provided.
There's appears to be a splice at location 1
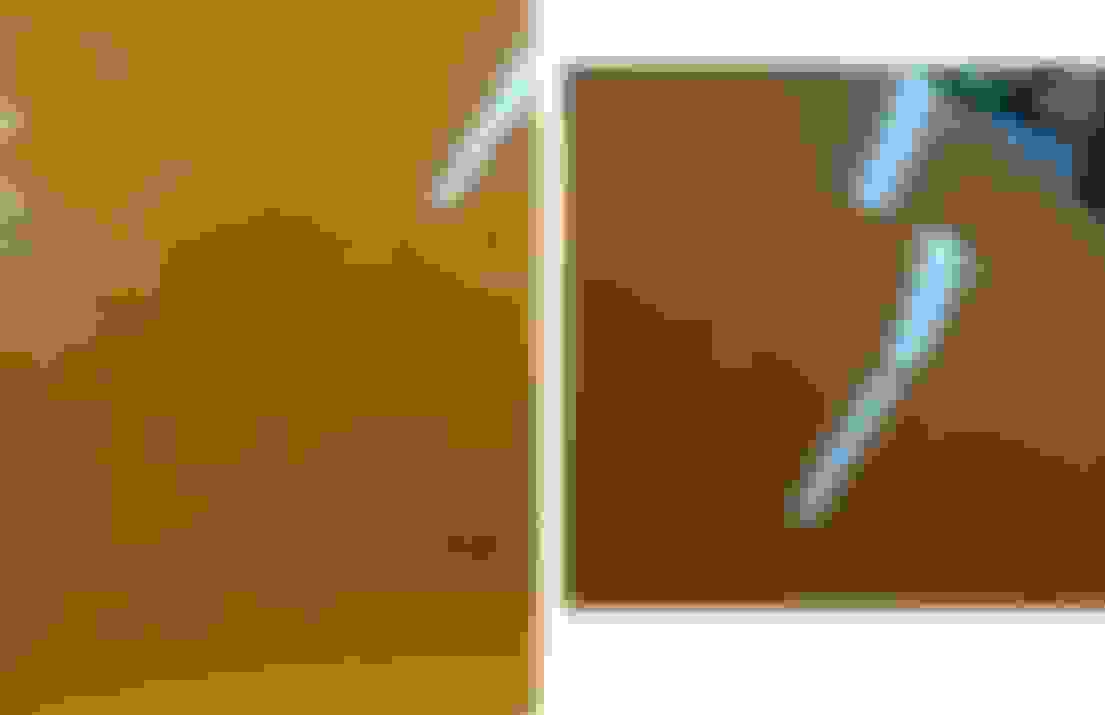
Damage 3 is hard to see, but appears as a divit (fastener?) as does damage 2 thru damage 9.
It's very easy to see woven glass at damage location #10. Unfortunately, damage 11 appears above the bond line and onto the top deck, so damage may not be isolated to the quarter panel, and probably a damaged bonding strip, too.
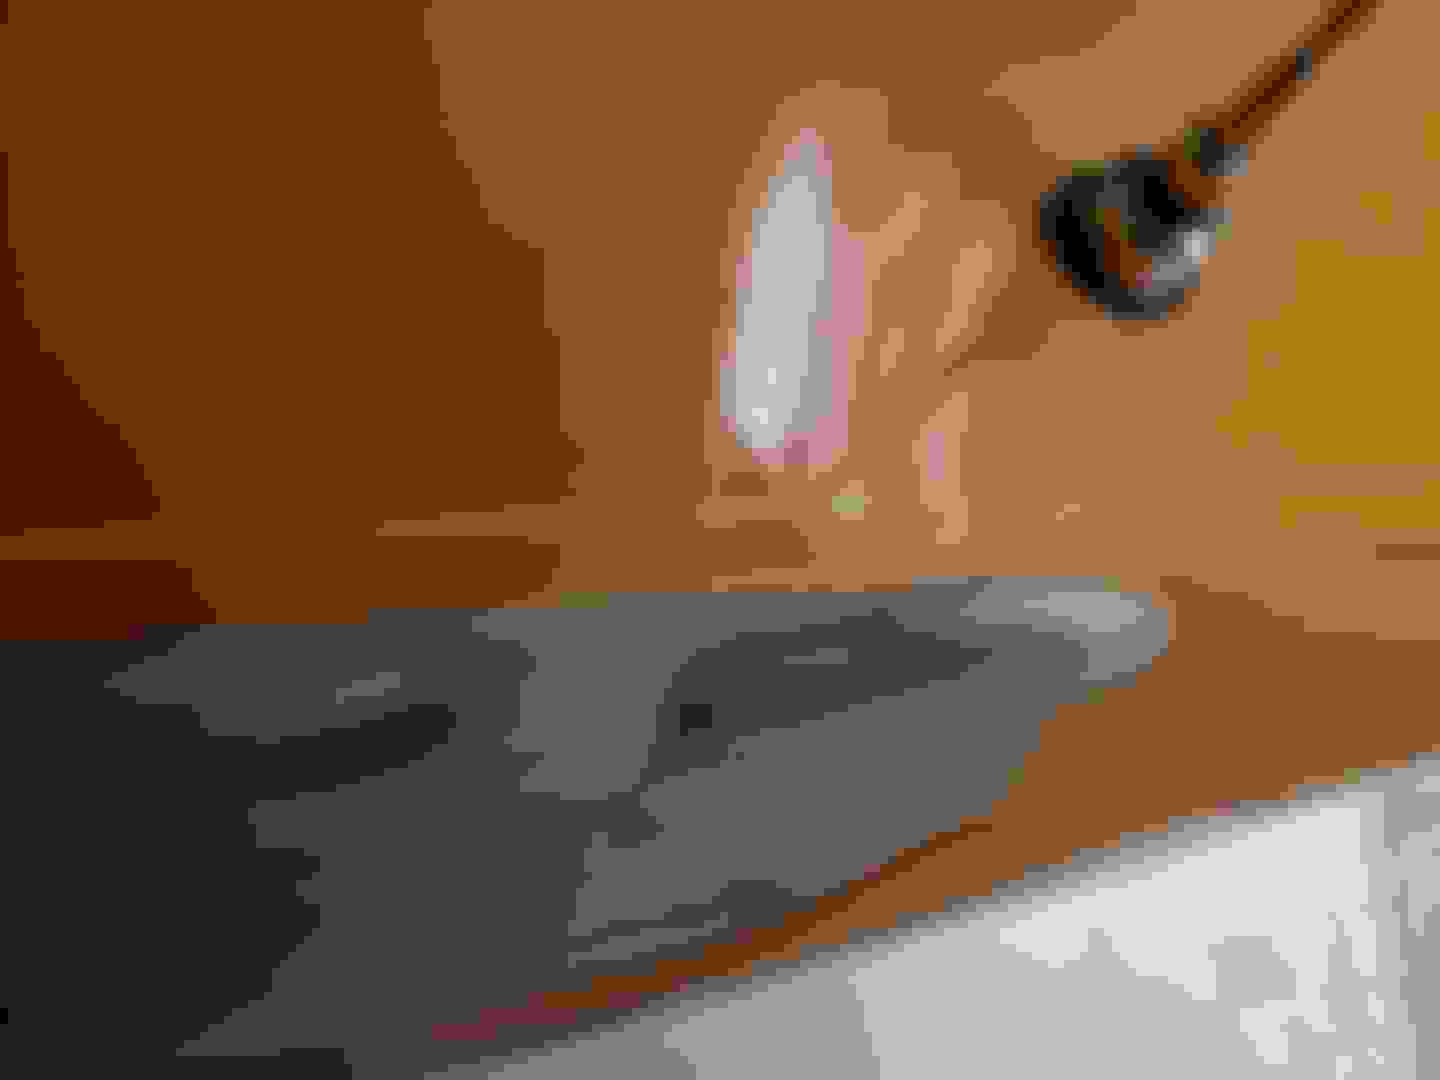
And from the inside, looking forward toward the LH rear splash shield...it looks like they used a fiber reinforced filler rather than a bonding adhesive, but I may be wrong.
And finally, as viewed from the rear. It looks like they tried glassing the bond line using woven fabric instead of VPA.
I would suggest you sanding at these area and see what is going on under them before you jump in and try to remove the quarter panel.
Once the bonding seam is exposed it will further help us determine if the quarter is bonded on good enough to allow it to stay on the car.
At area #9 I would swear they left the flat blade screw in the panel due to I can see what looks like the line for a flat blade screw in your photo.
As for fiberglass cloth showing up that is an easy fix more than likely. Unfortunately with the cloth effect going above the bond strip and on the top of the upper panel...that will now change how the rear clip gets painted so you do not have a tape line.
The area that seems like it was sectioned in should not be a big deal...but seeing what is going on under the paint is always best.
Can a quarter be put on. YES...can this one be fixed...more than likely.
Good morning, Dub,
Thanks so much! Which areas would you suggest tackling first? Would 80 grit be too coarse?
I'll also try and get pictures from inside the wheel well tomorrow where it seems they gobbed on lots of VPA (or likely something else) as there isn't a lip on the inside of the opening like on the RH side.
The other problem this is causing is the huge misalignment with the rigid glass rear bumper I got a few years back. Once I removed the old urethane cover back then, I discovered just how misaligned it was! The bumper is much better on the right side. Thanks, Dub!
AS for how the bumper is fitting I am more concerned on how the top body lines line up with the bumper due to these DO NOT CHANGE becasue they are a part of the rear upper body panel..
Sometimes the bumper needs to be centered and BOTH sides worked on. Sometimes choosing eon side and working on the other side to get it correct is needed.
In the photo below the yellow arrow is pointing to where I am talking about getting the body lines correct on each side. ...if possible.
Thanks! Yes, I should have mentioned that the bumper wasn't well aligned for the picture; I had taken it off to get better pictures of the back side of the quarter panel behind the rear splash shield and when I replaced it, I put it on holding it in place with two spring clamps just close enough to show the problem. If I'd been smart, I'd have taken the picture BEFORE removing it. However, I'm glad this happened since you brought up something I'd not have given much consideration to until it was too late! Thanks, Dub! Fate worked in my favor this time!
I'll try and get some sanding done after work tomorrow and put up the results of what I find.
I'm ready to do whatever is necessary to make this LH rear quarter the best it can be. If you feel replacing is best, I'm all for it as I'll probably be buried in this car, so it will be around for a long time (and hopefully me too!).
Thanks, Rvzio! Not sure if you've seen my front bumper post, but before I posted it and had Dub's help, I bought enough VPA to put front bumpers on all 53K '79 Corvettes! If you didn't buy any Evercoat stock over the last few years, you missed an opportunity of a lifetime!
Have a good day!
Had a chance today to start sanding away the paint to find what's underneath. Even though I know I want to get this fixed like new, it sure was tough to take those first couple swipes with the sanding block! The point of no return....but I knew I couldn't live with it as is any more.
I started gently around area #10, and used 120 grit instead of 80 grit as I don't know what I'm doing and I figured better to start gently. I got the paint off, trying to only take off the orange, but a very thin layer of grey came off, too. I eventually switched to 80 grit as you suggested and worked forward to just shy of area #5. What I've found so far is below. I've re-posted the "map" from the first post for easier comparison. I didn't find the screw heads I expected (yet), but I did notice:
bondo around area #10
porosity throughout the areas of 6-9
lots of different shades I can't identify
the woven glass that I could see in the paint wasn't visible after sanding away the paint with 120 grit....only bondo. But once I switched to 80 grit, things began to appear.
I'll continue removing paint, but what should I do next in this area? Keep sanding? Stop (have I gone to far)? How bad is the top deck flange that forms the upper part of the fender? Doesn't look too good, does it.
Thanks, Dub!! More pictures tomorrow as I get more paint off. Have a good evening.
Here's some pictures after this morning's sanding with all 80 grit. I've stopped before going to far as I'm not sure what I'm looking at. I figured better to go slow then to really screw it up.
Here's area #1 after the first bit of sanding
Area #1 after more sanding
Area #1 and some of Area #2
Current status
Thanks, Dub. I can't seem to find the bond line forward of a line drawn up from the center of the axle. Maybe I haven't sanded far enough, but once again, I figured better to go easy!
I've done a bit of grinding, and oh boy...what a mess. I think I've bitten off more than I can chew, but now that I've got it in my mouth, I might as well not go hungry! I wouldn't have been happy trying to ignore it.
After sanding...before grinding.
After grinding at area #10...I never did find the bi-directional fabric that seems to be there in the previous picture. I would have known if I'd ground thru it, right?
Something 'funky' is going on there. Clearly some type of repair has been made and getting to the root of it may require a bit more grinding along the top edge of the quarter where you see the 'bondo' with all the air pockets.
I am not seeing that you are grinding it down too far...so do not worry.
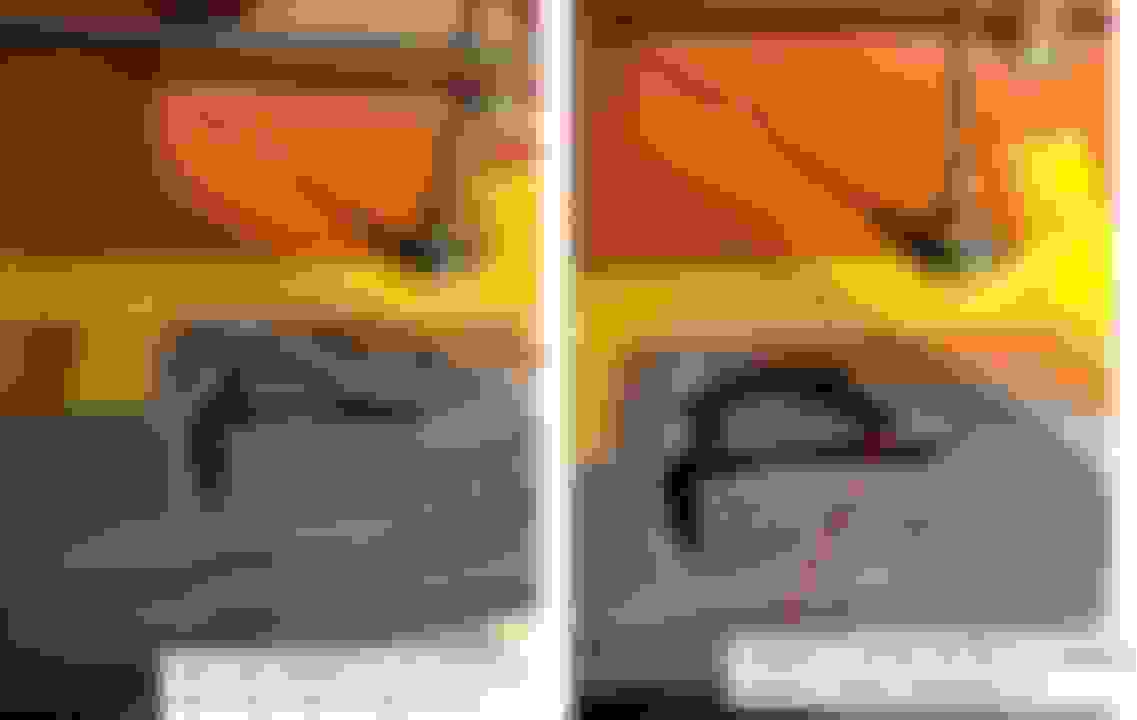
In the photo below the air bubbles in the GM adhesive is normal. I see them quite a lot.
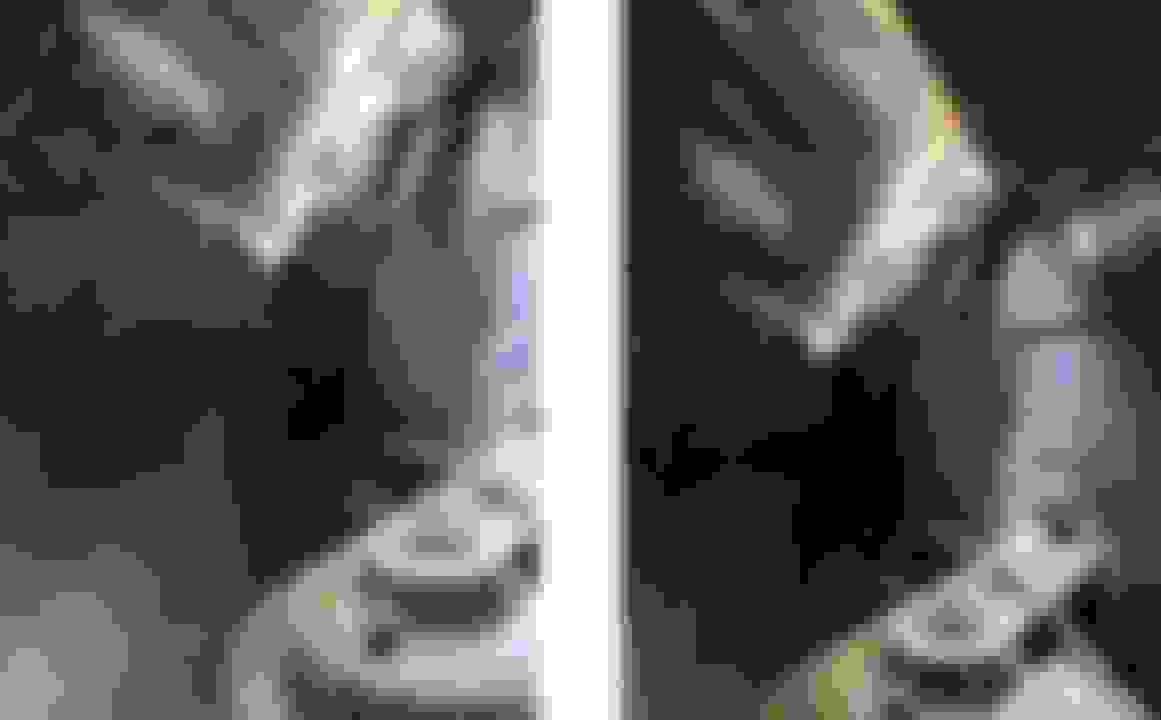
The blue arrow is the SMC. The purple arrow is the bonding strip exposed. The yellow arrows are pointing to the adhesive between the bonding strip and the panels. In case you need identification on what you exposed.
Thanks, Dub. That picture and description was very helpful! The info on the factory adhesive with bubbles is good to know...I kept grinding figuring it was a terrible repair job made worse by whatever was going on. THANK YOU!! Do you think I've damaged the bonding strip with my grinding? I have nightmares of doing more damage to structure that is currently OK.
Thanks again, Dub. Your assistance makes this all possible and manageable. Your guidance helps me keep going with some confidence that I'll eventually get this right so my car looks right and more importantly IS right!
I think your doing a good job of finding out what was causing your issues. When at this stage it's great to have a Dub who can tutor you threw it. I remember the same feelings on my rear quarter and it is a little nerve racking. Doubt and the unknown get a little scary at times. You are doing just fine and the rewards will be great when you step back and think, I fixed it myself, You will learn a ton and inspire others . Carry on!
For Others: I am not a professional, but I did want to learn. When Dub mentioned to me removing old stuff I was terrified. Many phone calls and Dub tutoring I was able to achieve great results, at least I was satisfied. The novice can do great things, especially with the great detailed help from a pure professional like Dub! Hats off man!
I honestly do not think that you have done any damage to the bonding strip because you ground down to it. So you are fine. And even if you went into it a good bit...or even ground through it. The integrity of the bonding strip in that small little section could not cause any problems in the future to the strength remaining in the bonding strip on either side of where you ground.so do not worry. By you grinding this area as you did. Hopefully my description of how to taper out the bonding seam to fill it back in with VPA makes sense in that description in mentioned when using paint sticks as an example.
In our latest phone conversation ...funny how I mentioned this exact same repair that Roger did on his 1969. And here he is posting the photos of what he came across and how HE took the time to learn and fix it to what I consider a VERY professional result. Further proving that IF a person WANTS to do it and take the time to get into an area that they are not very well versed in...It can be done.
Roger...THANK YOU for taking the time to post your photos and it will help Rob and many others that may see this thread and show them that so much can be done with these cars that all it takes is the DESIRE to WANT to do it. Obviously a lot of work may also be included in that statement. But on these cars as many of us know...most body repairs on these cars are not as easy as some may think and will take effort.
I think your doing a good job of finding out what was causing your issues. When at this stage it's great to have a Dub who can tutor you threw it. I remember the same feelings on my rear quarter and it is a little nerve racking. Doubt and the unknown get a little scary at times. You are doing just fine and the rewards will be great when you step back and think, I fixed it myself, You will learn a ton and inspire others . Carry on!
For Others: I am not a professional, but I did want to learn. When Dub mentioned to me removing old stuff I was terrified. Many phone calls and Dub tutoring I was able to achieve great results, at least I was satisfied. The novice can do great things, especially with the great detailed help from a pure professional like Dub! Hats off man!
Thanks, Rvzio! I appreciate your vote of confidence AND the remarkable job you did on your car!! It really helps a great deal to know there's other fellows out there like me who haven't done this before, but have success!!
You're so right on Dub....a truly fine man. The time, effort, and experience he's shared with me has been pivotal in this project. I'd wanted to fix this for years but was too afraid to start and screw it up. Thanks to his careful guidance, instruction, and patience, it's gone from a daunting task with fear of permanent damage to my car, to a journey of learning and enjoying the experience. Dub's efforts to assist guys like us cannot be understated. It's a great deal of his time, and to offer it so willingly is unique indeed! I couldn't get local Corvette guys to do anything but snicker at me or say they'd show up and never did. Looking back, they did me a favor!
Dub; your time, help, and generosity, are greatly appreciated. More than you know.
Good afternoon, Dub,
I hope you're doing well! I'd been a bit under the weather since Monday, but did get out before work and sand a bit on area #11. The results are below. As you know, I'm an incompetent boob when it comes to body work, but even I know this is a sh!!ty repair! Hard to believe someone with even less ability than me got paid to fix the car this way!
I've got to work late today, but hopefully tomorrow early I'll be out carefully grinding to get you some idea of what's going on with it.
Dub, thanks again for your help, encouragement, and patience!
Roger...thanks to you, too, for sharing your project and the wonderful success you had! It's a great motivator for me.
Area #11 before sanding....
Glad to help Rob, almost looks like the quarter panel was replaced in just a funky section instead of the entire panel since it appears the bonding strip is not to strait. Oh well, take your time. Dub will check it out.
Good morning, Dub!
Thanks for checking in!! Here's my latest "progress" (??)....I'm going to start insulating my garage today so I can (for the first time ever!!) work on my car this winter. Then, if time permits I'll be grinding on the front part. One thing became apparent yesterday....there is someone even more incompetent with body work than me, but they got PAID to do this crappy work. I have no clue what I'm doing, but I know what they did is very poor quality. Well, a picture's worth a thousand words, so......
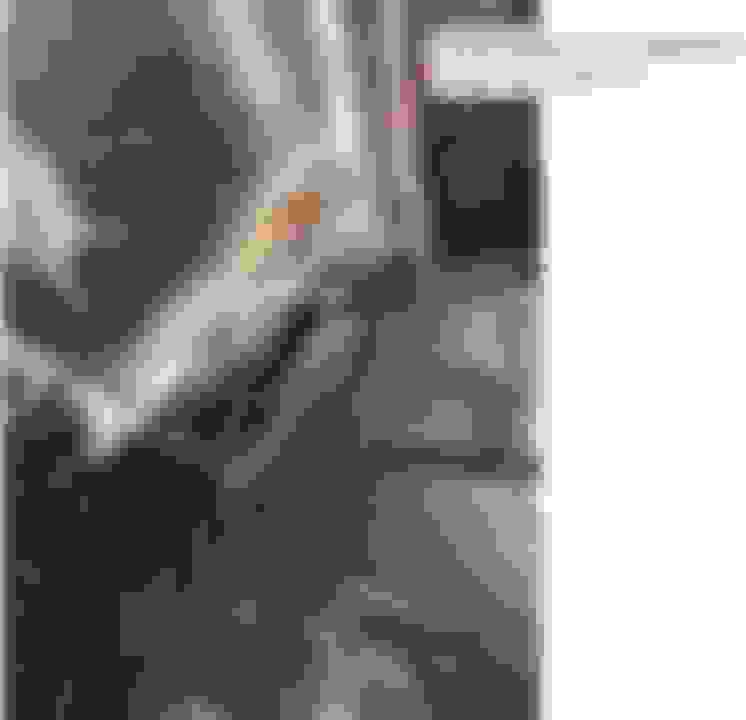
This next picture has what appears to be another hole underneath the red "tint" just below what looks like the original bond line. Maybe they were too lazy to replace the panel properly? There's also LOTS of something...bondo or filler...inside the fender lip of the new panel.
 08-12-2018, 11:59 AM