






Amature interior resto, DAY 1,(dial up death!)
Thread Starter
Le Mans Master


Joined: May 2006
Posts: 9,993
Likes: 1,136
From: League City Tx

Sorry to leave you hanging guys, I had to to another christmas thing....
My memory card got full on my camera so I will take more pics tomorrow. I got the ENTIRE interior out, including the speedo/tach cluster etc. I did not remove the AC box but I did check it and it seems to be working, both doors "appear" to be sealing. This project was a little more indepth then I thought it was going to be but...
I have a guy coming to take the windshield out, then I am going to work on the rust on the birdcage. The rust is VERY minor. The pics above make it look REALLY bad but in reality, once I vacuumed the rust flakes out, there is really only 2 small holes on each side and NO rust in the bottom of the birdcage in the kickpanels. AFter the windshield is out, (probably weds) I am going to wire wheel the all birdcage where rust is, then I am going to POR15 it. After that I am going to epoxy up the holes and sand it smooth for visual appearance. I was quite relieved the rust was not bad. The car has always been in Houston so...
I need to take a good inventory and make another order for willcox. Turns out I need way more stuff then I already ordered.
After all is said and done, the only original panels that will remain in the car is the LH dash, RH dash, rear window lower molding, kick panels and the radio access plates. The T-pad is rotten, as is about everything else. The dynamat should be here tomorrow but I can't install any of that until I do the grinding on the birdcage. I figure it will take me 2-3 weeks to finish it once I get everything in and the glass guy shows up. I will post up some more pics tomorrow and keep this thread going for those that are interested. BTW I have never worked on an old vette, or actually even an interior for that matter so..this is interior for dummies.
My memory card got full on my camera so I will take more pics tomorrow. I got the ENTIRE interior out, including the speedo/tach cluster etc. I did not remove the AC box but I did check it and it seems to be working, both doors "appear" to be sealing. This project was a little more indepth then I thought it was going to be but...
I have a guy coming to take the windshield out, then I am going to work on the rust on the birdcage. The rust is VERY minor. The pics above make it look REALLY bad but in reality, once I vacuumed the rust flakes out, there is really only 2 small holes on each side and NO rust in the bottom of the birdcage in the kickpanels. AFter the windshield is out, (probably weds) I am going to wire wheel the all birdcage where rust is, then I am going to POR15 it. After that I am going to epoxy up the holes and sand it smooth for visual appearance. I was quite relieved the rust was not bad. The car has always been in Houston so...
I need to take a good inventory and make another order for willcox. Turns out I need way more stuff then I already ordered.
After all is said and done, the only original panels that will remain in the car is the LH dash, RH dash, rear window lower molding, kick panels and the radio access plates. The T-pad is rotten, as is about everything else. The dynamat should be here tomorrow but I can't install any of that until I do the grinding on the birdcage. I figure it will take me 2-3 weeks to finish it once I get everything in and the glass guy shows up. I will post up some more pics tomorrow and keep this thread going for those that are interested. BTW I have never worked on an old vette, or actually even an interior for that matter so..this is interior for dummies.
Thread Starter
Le Mans Master
Joined: May 2006
Posts: 9,993
Likes: 1,136
From: League City Tx
Day 2


SORRY about the crappy pics, I had the wrong resolution on the camera. Today I got all the panels I am going to use dyed, the shift console plate painted and detailed along with the center vent/wiper switch bezel.
Tomorrow the windshield guy is coming to remove the windshield and I will start grinding and cleaning the rust. I have another big order coming from Willcox including POR 15 for the birdcage. My dynamat showed up today but I can't start installing until I am done grinding/painting the birdcage.
It will be an ongoing process. There is a lot of cleaning and detail work involved in this project, thats for sure. Tomorrow I will get better pics.
Last edited by ajrothm; Dec 26, 2006 at 08:47 PM.
Thread Starter
Le Mans Master
Joined: May 2006
Posts: 9,993
Likes: 1,136
From: League City Tx
BTW for you guys doing your interior, the Corvette America dye and primer kick ***.... They lay down smooth and even and dry perfect, even if you cake it on. Also its dry to touch in 20 mins.
Ofcourse for $15 a can, it should kick ***.
Ofcourse for $15 a can, it should kick ***.
Corvette Stories
The Best of Corvette for Corvette Enthusiasts

Top 10 Most Explosive Corvettes Ever Made: Power-to-Weight Ratio Ranked!
Joe Kucinski
150 hp to 1,250 hp: Every Corvette Generation Compared by the Specs That Matter
Joe Kucinski
8 Coolest Corvette Pace Cars (and Replicas) of All Time
Verdad Gallardo
Top 10 Corvette Engines RANKED by Peak Torque (70+ Years of Muscle!)
Joe Kucinski
Corvette ZR1X Will Be Pacing the Indy 500, And Could Probably Race, Too!
Verdad Gallardo
Top 10 Corvettes Coming to Mecum Indy 2026!
Brett Foote
Top 10 C9 Corvette MUST-HAVES to Fix These C8 Generation Flaws!
Michael S. Palmer
10 Revolutionary 'Corvette Firsts' Most People Don't Know
Joe Kucinski
5 Reasons to Upgrade to an LS6-Powered Corvette; 5 Reasons to Stay LT2
Michael S. Palmer
Thread Starter
Le Mans Master
Joined: May 2006
Posts: 9,993
Likes: 1,136
From: League City Tx
Days 3&4
UNFORTUNATELY, I found major rust in the birdcage after we pulled the windshield and all the sealant out. I am working on cleaning it up an I am going to POR 15 it and patch it up as I can not afford a body off resto for the correct repair. Here is some pics:


And a few of the parts I repainted/detailed:


Today I installed the CD player in the bezel(PITA), speakers in the dash pad and lots of hand detail painting on trim etc. I am waiting for more parts to show up, mainly POR 15 so I can seal and fill the birdcage, then I can start installing the dyna mat and rest of the interior..
I have been working 12hrs a day on this thing and by looking at the car, you can't tell...LOL
And a few of the parts I repainted/detailed:
Today I installed the CD player in the bezel(PITA), speakers in the dash pad and lots of hand detail painting on trim etc. I am waiting for more parts to show up, mainly POR 15 so I can seal and fill the birdcage, then I can start installing the dyna mat and rest of the interior..
I have been working 12hrs a day on this thing and by looking at the car, you can't tell...LOL



Melting Slicks

Joined: Jun 2005
Posts: 2,938
Likes: 2
From: Arkansas

I bought three cans of CA "black" dye which is actually SEMS "landau black"

Melting Slicks
Joined: May 2004
Posts: 2,084
Likes: 1
From: Aussie expat in Saudi Arabia


Burning Brakes


Joined: Feb 2006
Posts: 1,173
Likes: 5
From: Paducah Ky
The interior resto looks really nice Allen. The birdcage problem really bites. Seems like there's always more problems than meets the eye. I consider myself extremely lucky as I had surface rust in a few areas with only minor pitting but everything was solid. Ya never know till you get them apart.
Thread Starter
Le Mans Master
Joined: May 2006
Posts: 9,993
Likes: 1,136
From: League City Tx
Thanks guys. I will get more pics today of the rest of the stuff I am painting and detailing.
So far I have used about 3 1/2 cans of dye and one can of the dye primer. That dye works REALLY well. Even on metal stuff. I would spray it in a lid and dip my model paint brush in it for hand painting small stuff(lock *****/trim etc) and it works great.
Right now I am waiting on the POR 15 to get here so I can start coating the bird cage, then I will probably just fill the holes with roofing putty(like whats under the stainless t-roof trim from the factory) or fiberglass and paint over the holes. I hate to BUBBA the repair but a complete dissassembly of the car to repair the birdcage properly is not in my budget. I am already in WAY too deep on the interior stuff. Luckily the rust is only in the top layer of the birdcage and not the inner layer or at the floor. There seems to be no structural weakening that I can tell by hand. I guess we will see how well POR15 really works. Whatever I do it will look good, just I will know whats under there. The car was painted about 7-8 years ago so, someone had made a half a$$ patch job on it then. I will have the windshield guy really dope up the windshield and channel good also to help seal it.
I am not too worried about it. My car never sees rain and seldom gets washed.
1982corvettedude, THANKS for the tip on the dye. I am gonna keep that stuff in stock at my house.
So far I have used about 3 1/2 cans of dye and one can of the dye primer. That dye works REALLY well. Even on metal stuff. I would spray it in a lid and dip my model paint brush in it for hand painting small stuff(lock *****/trim etc) and it works great.
Right now I am waiting on the POR 15 to get here so I can start coating the bird cage, then I will probably just fill the holes with roofing putty(like whats under the stainless t-roof trim from the factory) or fiberglass and paint over the holes. I hate to BUBBA the repair but a complete dissassembly of the car to repair the birdcage properly is not in my budget. I am already in WAY too deep on the interior stuff. Luckily the rust is only in the top layer of the birdcage and not the inner layer or at the floor. There seems to be no structural weakening that I can tell by hand. I guess we will see how well POR15 really works. Whatever I do it will look good, just I will know whats under there. The car was painted about 7-8 years ago so, someone had made a half a$$ patch job on it then. I will have the windshield guy really dope up the windshield and channel good also to help seal it.
I am not too worried about it. My car never sees rain and seldom gets washed.
1982corvettedude, THANKS for the tip on the dye. I am gonna keep that stuff in stock at my house.



Le Mans Master


Joined: Oct 2004
Posts: 5,269
Likes: 54
From: Orlando Florida
St. Jude Donor '05
Alan,
a portable 110V flux core welder, sheetmetal from the hardware store and a angle grinder is about all you need to get the windshield frame repaired - that's how I fixed mine which was not as bad as yours but had two holes in the lower corners.
You should be able to rent the welder for a small fee, these are only $130 brand new (I think I saw one at WalMart) and don't require gas.
You will have to grind the welds smooth - flux core is ugly gorilla welding - but it's waay better than using putty
a portable 110V flux core welder, sheetmetal from the hardware store and a angle grinder is about all you need to get the windshield frame repaired - that's how I fixed mine which was not as bad as yours but had two holes in the lower corners.
You should be able to rent the welder for a small fee, these are only $130 brand new (I think I saw one at WalMart) and don't require gas.
You will have to grind the welds smooth - flux core is ugly gorilla welding - but it's waay better than using putty
Thread Starter
Le Mans Master
Joined: May 2006
Posts: 9,993
Likes: 1,136
From: League City Tx


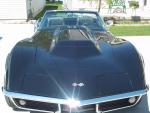
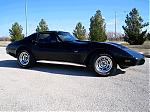
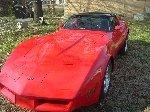
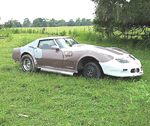
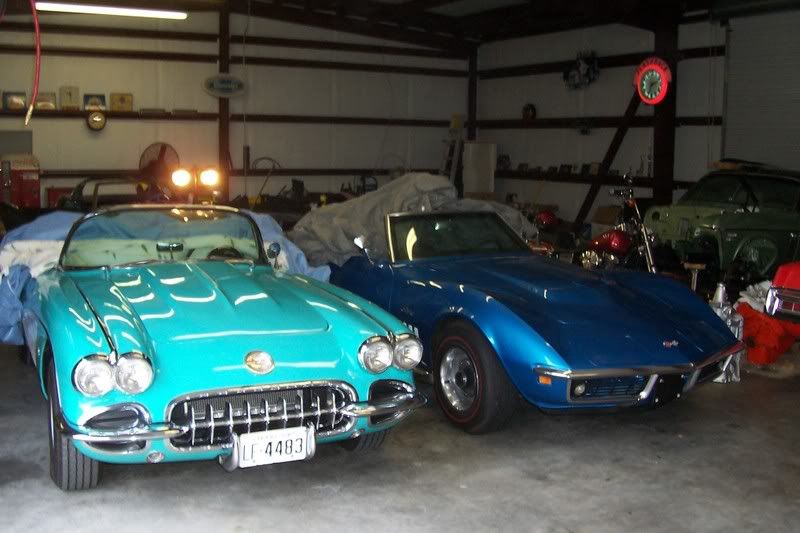
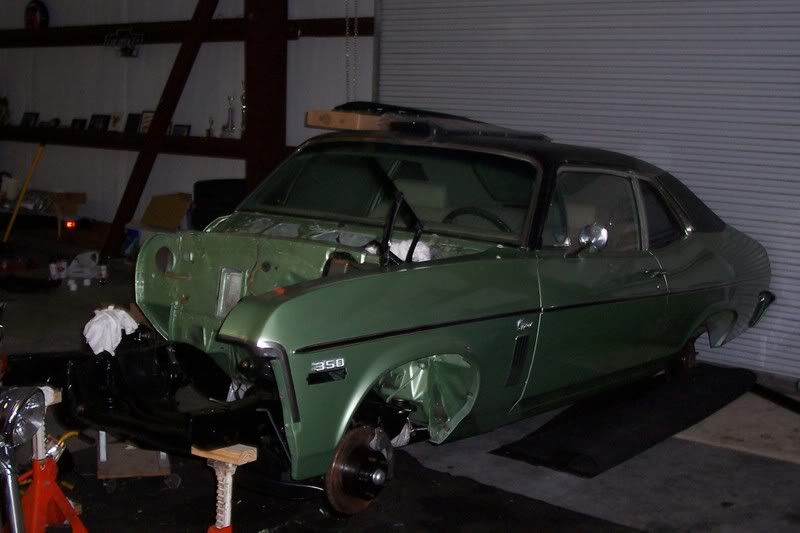
And a couple of pics of some of my dad's I clicked off while I was clicking. He also has a 67 BB coupe thats getting some paint fixed and a 64 SS Chevelle that is all original, including the paint.

Last edited by ajrothm; Dec 29, 2006 at 04:37 PM.
