
DIY: L92/LS3 6.2L swap into C5 FRC


Thread Starter
Drifting


Joined: Apr 2015
Posts: 1,893
Likes: 295
From: Buffalo NY
These pics are going back about a month.
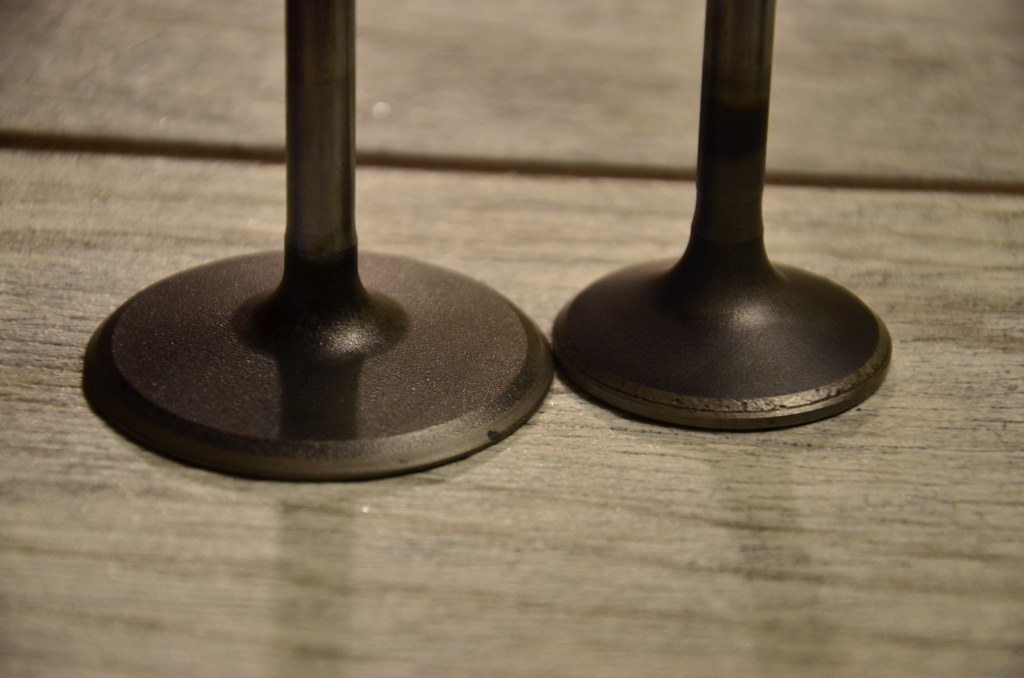
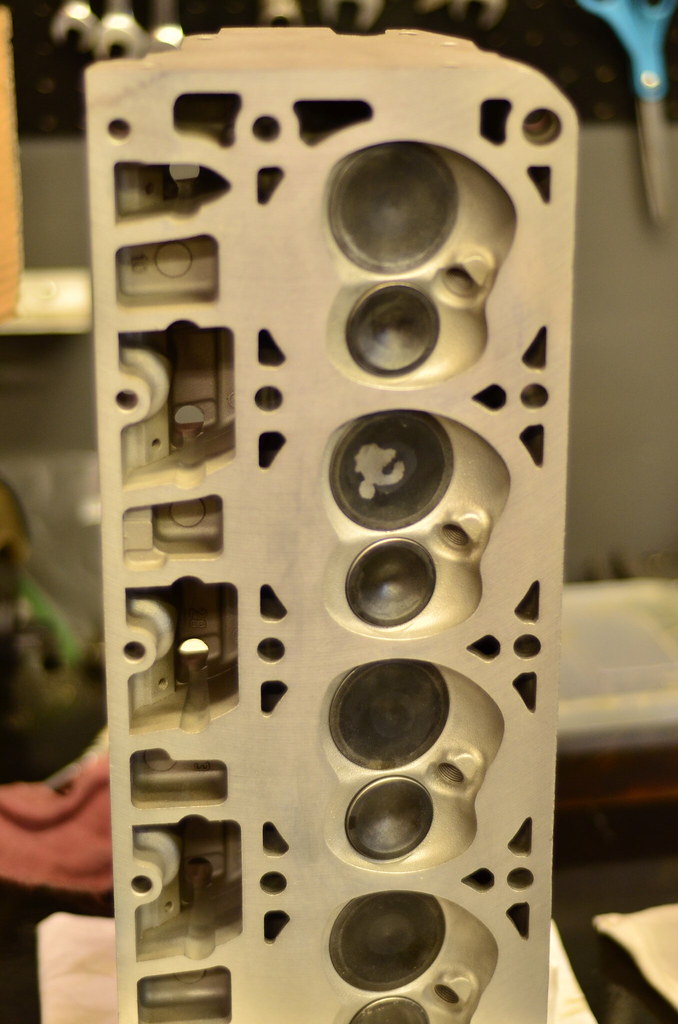
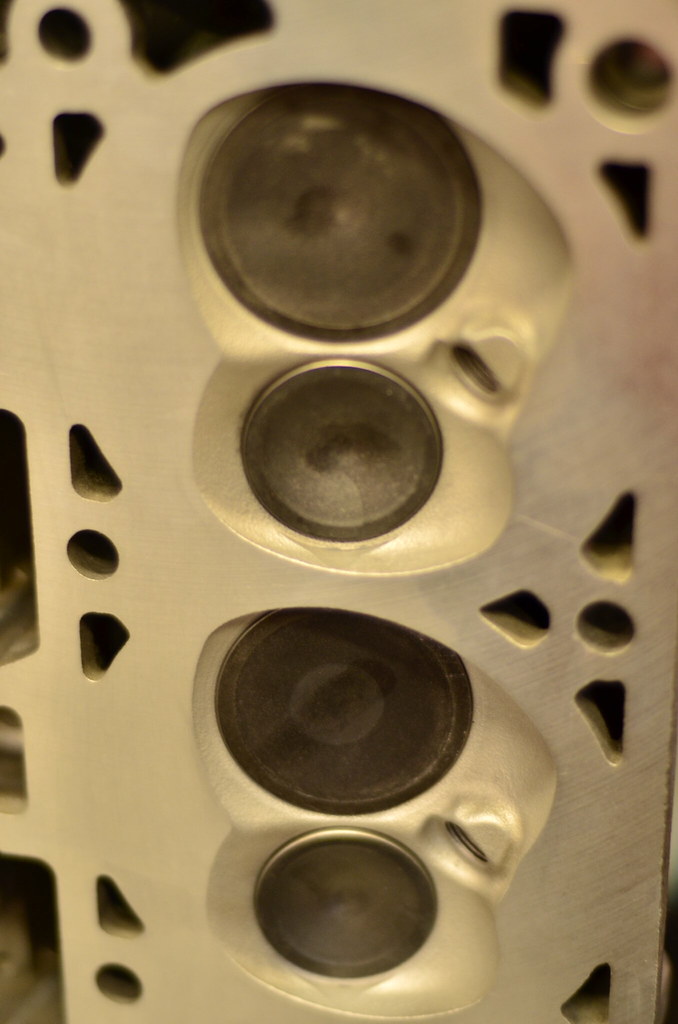
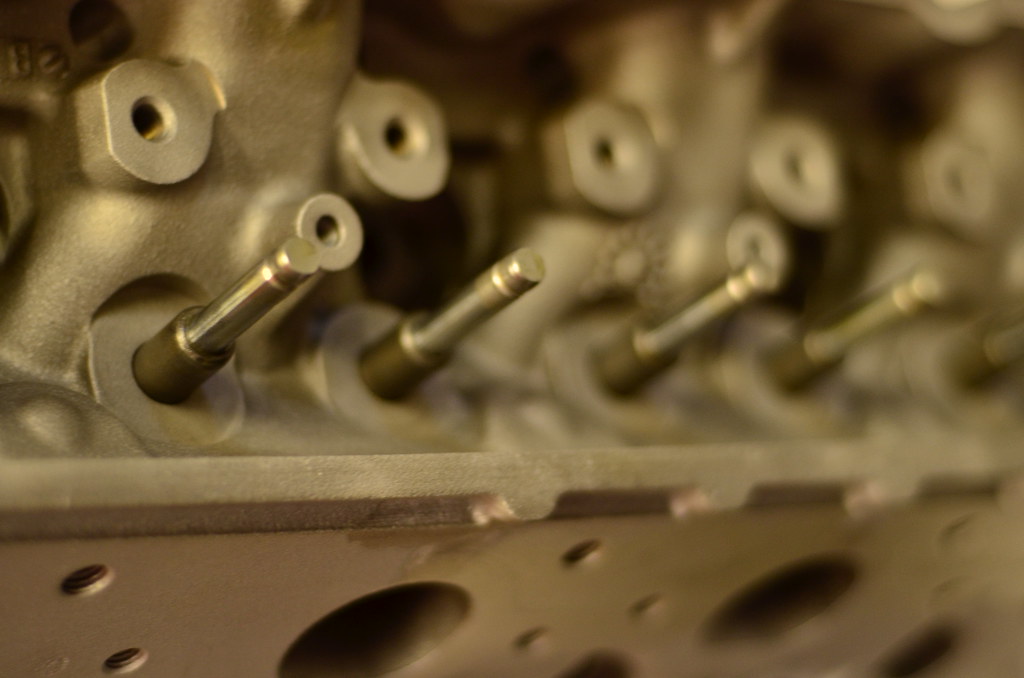
I inspected the valves and found that there was some minor pitting on the seat surfaces. Never lapped in valves before, so here we go. How hard can it be? Actually easy enough that I had my wife do it...
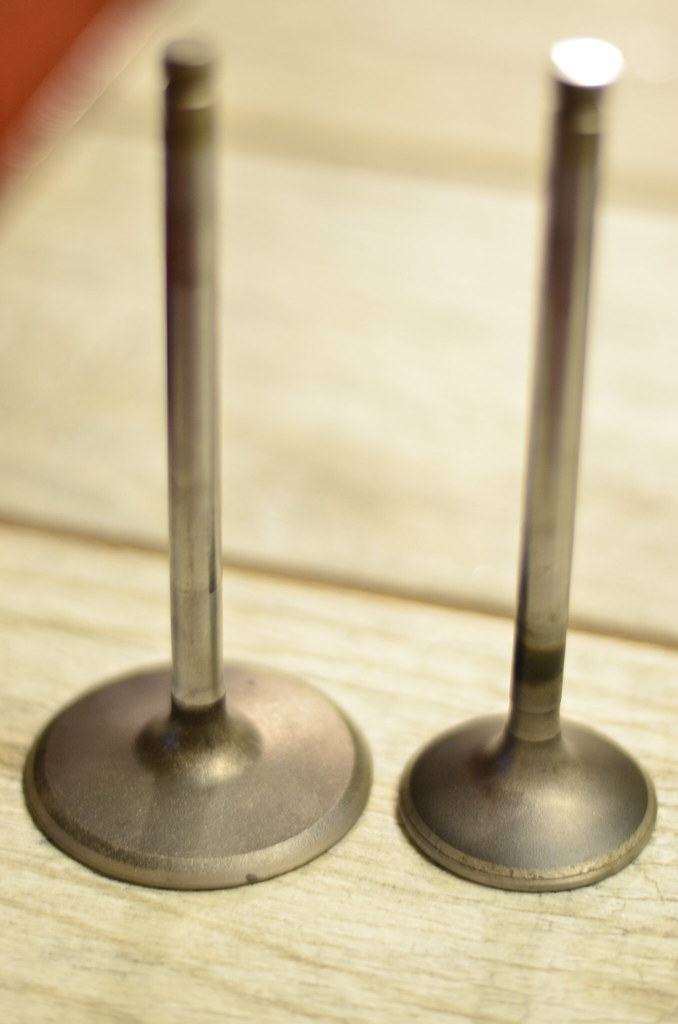
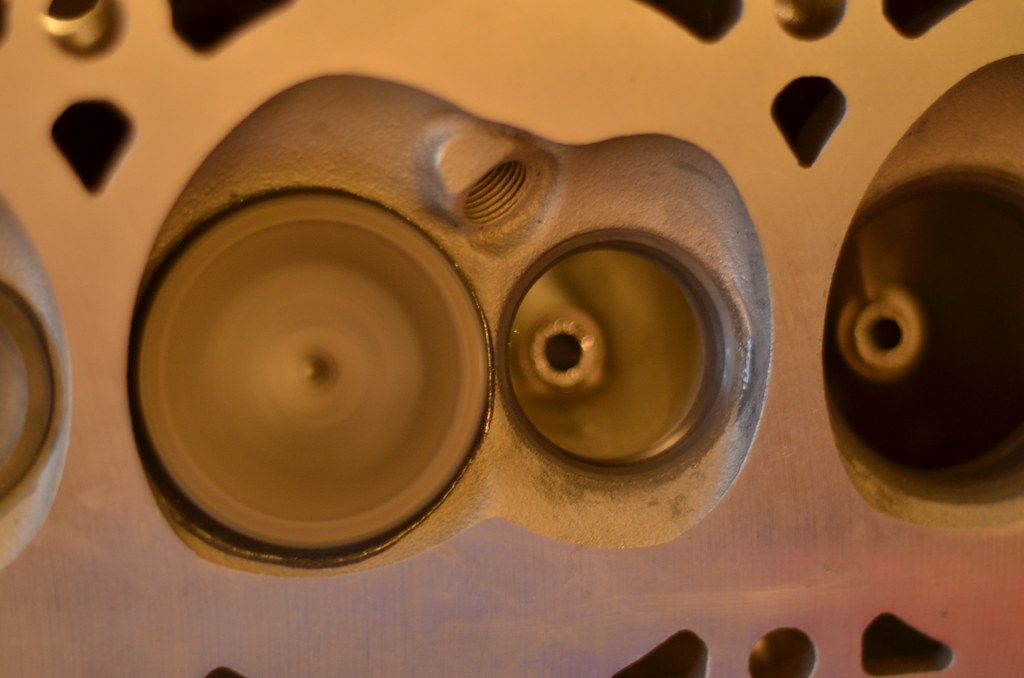
The left (intake) is after, the right (exhaust) is before. Night and day
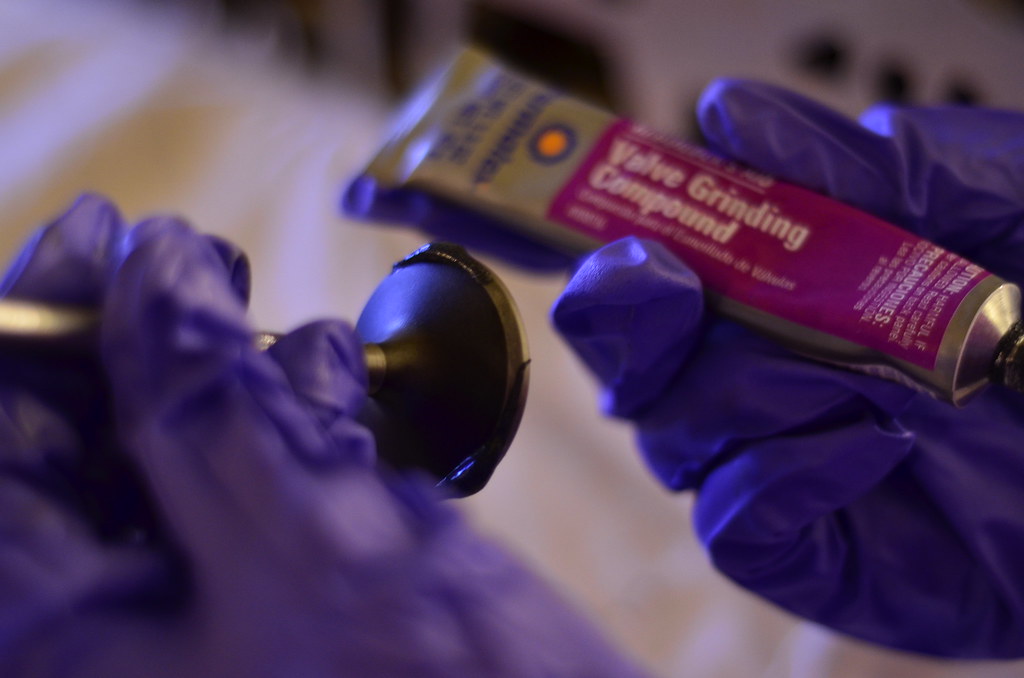
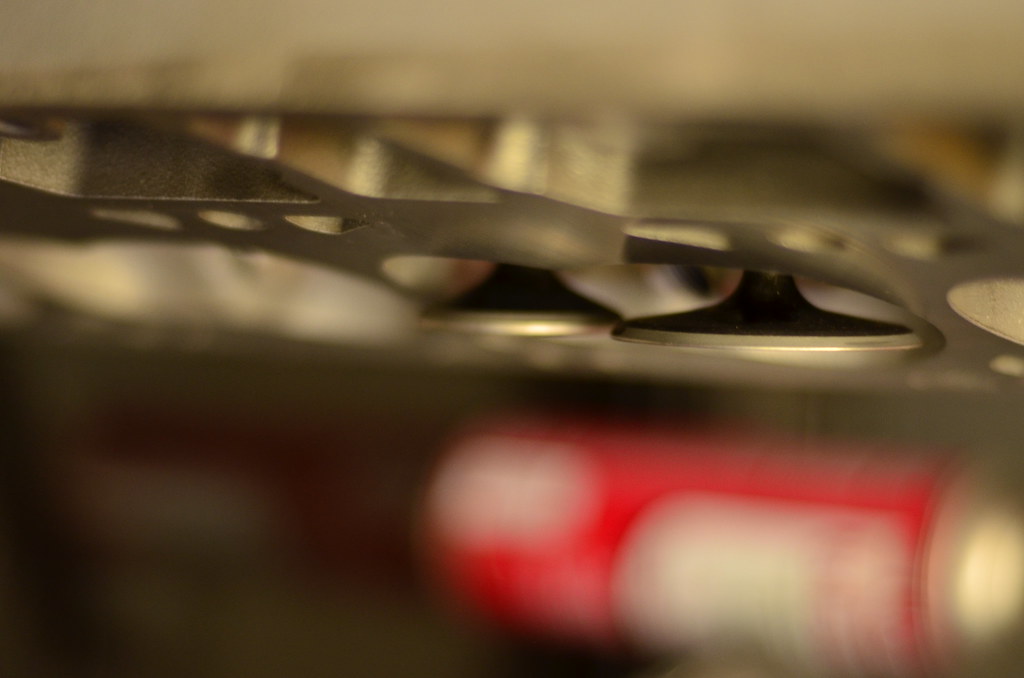
Apply magic goo

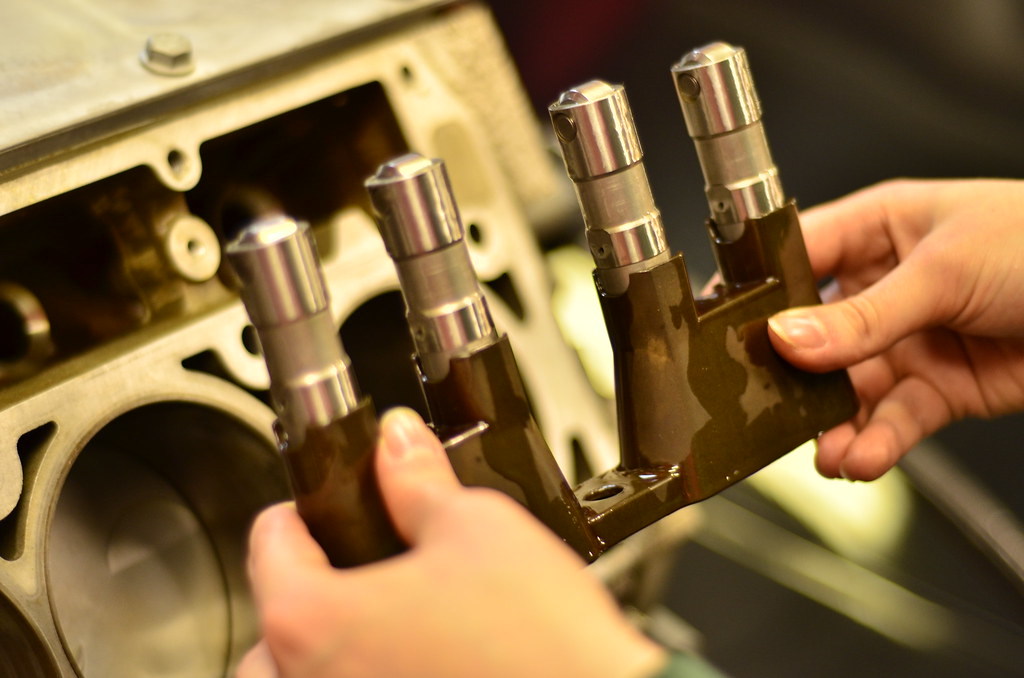
Insert valve into head, oil stem lightly.
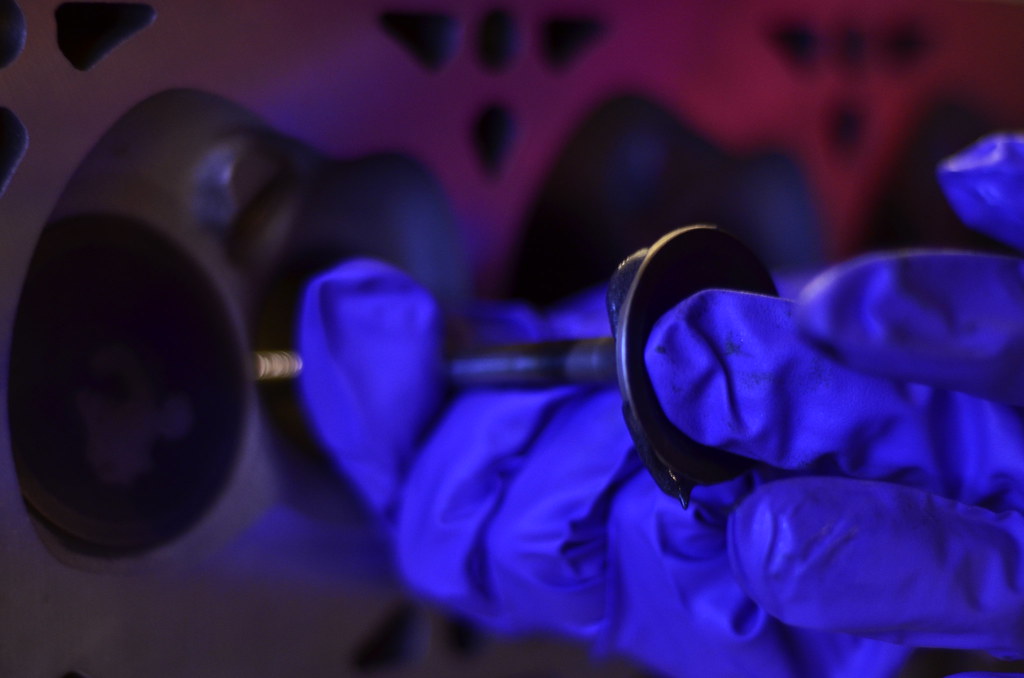
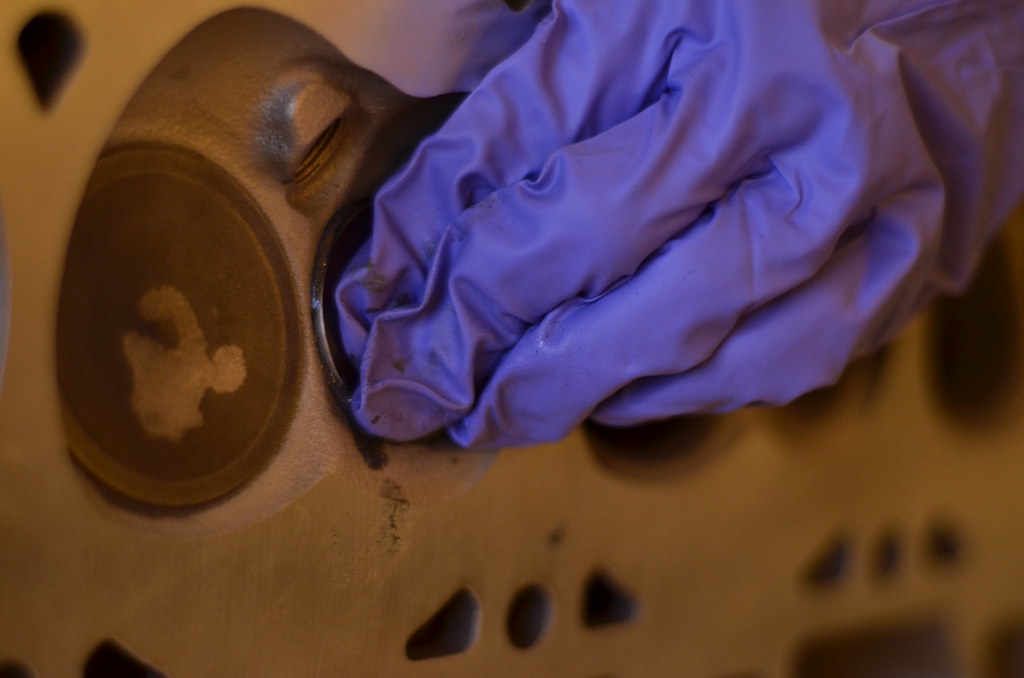
Use the wooden tool for 10 minutes until you realize there has to be a more effective way than the Tom Hanks Castaway method of starting a fire
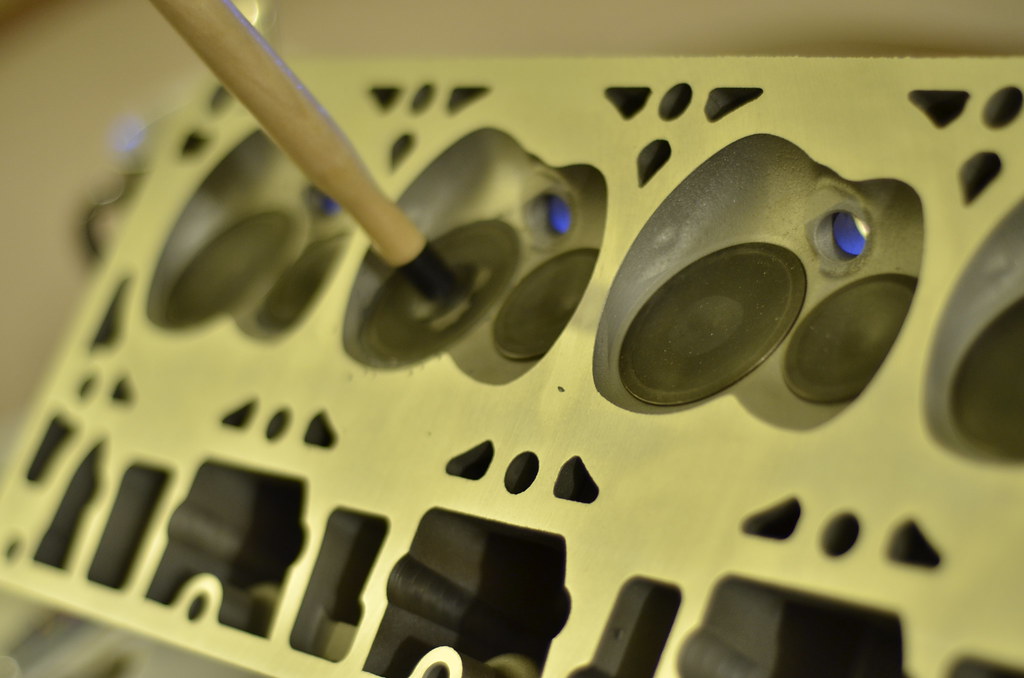


Break out the power tools and a length of old vacuum hose


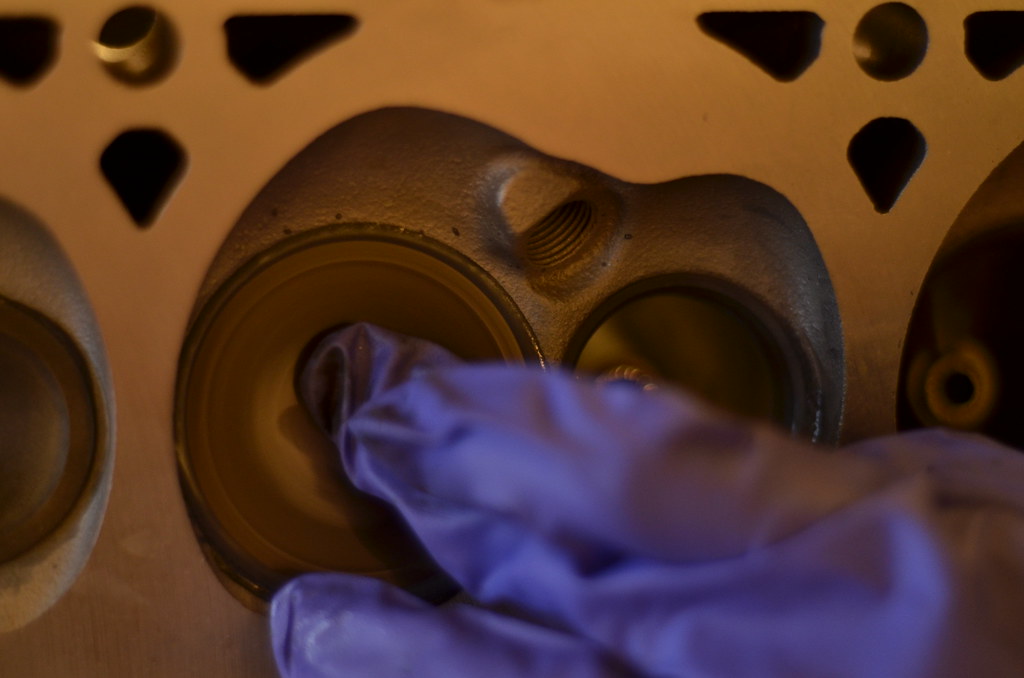
After all 16 were lapped in they were removed (in order) and cleaned out with hot soapy water and a brush.
I inspected the valves and found that there was some minor pitting on the seat surfaces. Never lapped in valves before, so here we go. How hard can it be? Actually easy enough that I had my wife do it...
The left (intake) is after, the right (exhaust) is before. Night and day
Apply magic goo
Insert valve into head, oil stem lightly.
Use the wooden tool for 10 minutes until you realize there has to be a more effective way than the Tom Hanks Castaway method of starting a fire
Break out the power tools and a length of old vacuum hose
After all 16 were lapped in they were removed (in order) and cleaned out with hot soapy water and a brush.
Last edited by nsogiba; Feb 22, 2018 at 12:19 PM.
Melting Slicks

Joined: Jul 2016
Posts: 2,521
Likes: 219
From: Los Angeles CA
Maybe it's just the photos but those valves look close to being too rough to lap. Lapping isn't restoring a sealing surface. It's giving two acceptable machine surfaces a matching edge. If the valves went back to their appropriate cylinders it's not that bad, but if you mixed them and moved them around generally you'd need a minor valve job.
Best way to tell though, take a glass of hot water, install a spring, pour into the chamber until it cools. If you don't have anything leak past the valves when seated you're good, if you do, well, you know the answer.
Best way to tell though, take a glass of hot water, install a spring, pour into the chamber until it cools. If you don't have anything leak past the valves when seated you're good, if you do, well, you know the answer.
Thread Starter
Drifting
Joined: Apr 2015
Posts: 1,893
Likes: 295
From: Buffalo NY
Maybe it's just the photos but those valves look close to being too rough to lap. Lapping isn't restoring a sealing surface. It's giving two acceptable machine surfaces a matching edge. If the valves went back to their appropriate cylinders it's not that bad, but if you mixed them and moved them around generally you'd need a minor valve job.
Best way to tell though, take a glass of hot water, install a spring, pour into the chamber until it cools. If you don't have anything leak past the valves when seated you're good, if you do, well, you know the answer.
Best way to tell though, take a glass of hot water, install a spring, pour into the chamber until it cools. If you don't have anything leak past the valves when seated you're good, if you do, well, you know the answer.
Melting Slicks
Joined: Jul 2016
Posts: 2,521
Likes: 219
From: Los Angeles CA
Machine shop said the valves were fine. I have used them for cylinder head work in the past and trust their judgement. All of them had the same uniform appearance after lapping. If the sloppy guys can make 1000whp on ancient rusty unmaintained garbage, this is more than adequate for my purposes.
Thread Starter
Drifting
Joined: Apr 2015
Posts: 1,893
Likes: 295
From: Buffalo NY
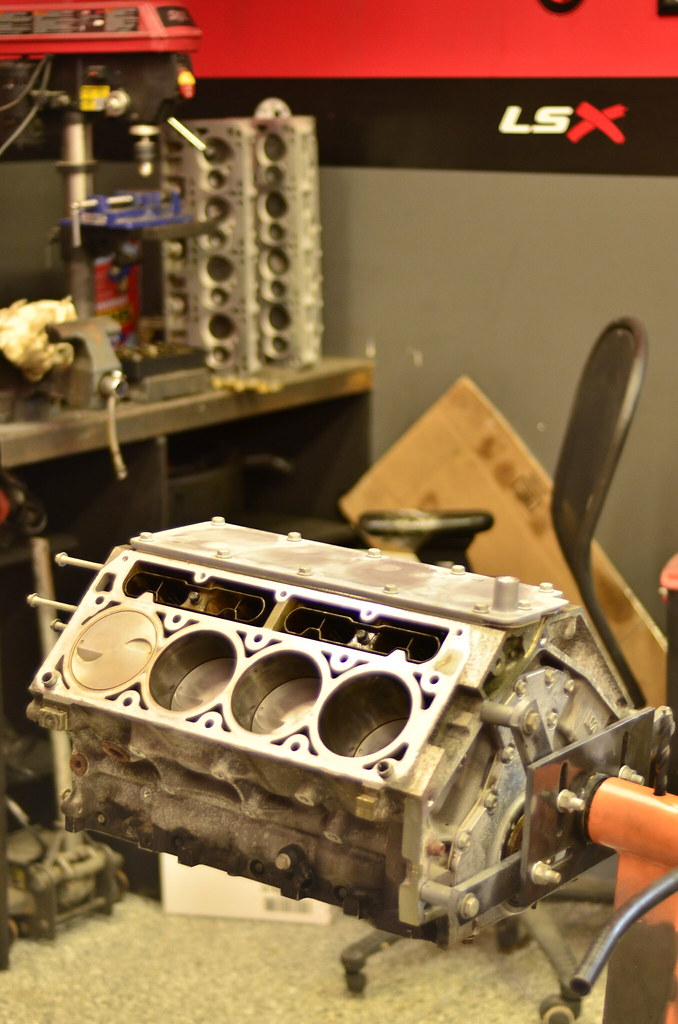
Anyhow, moving to the fun stuff:
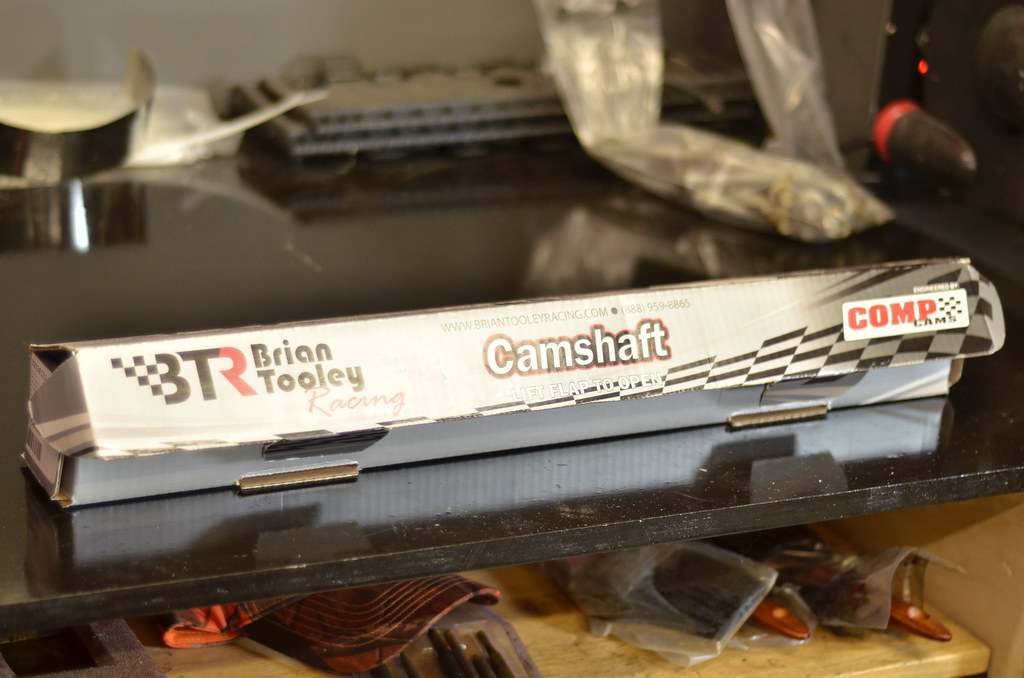
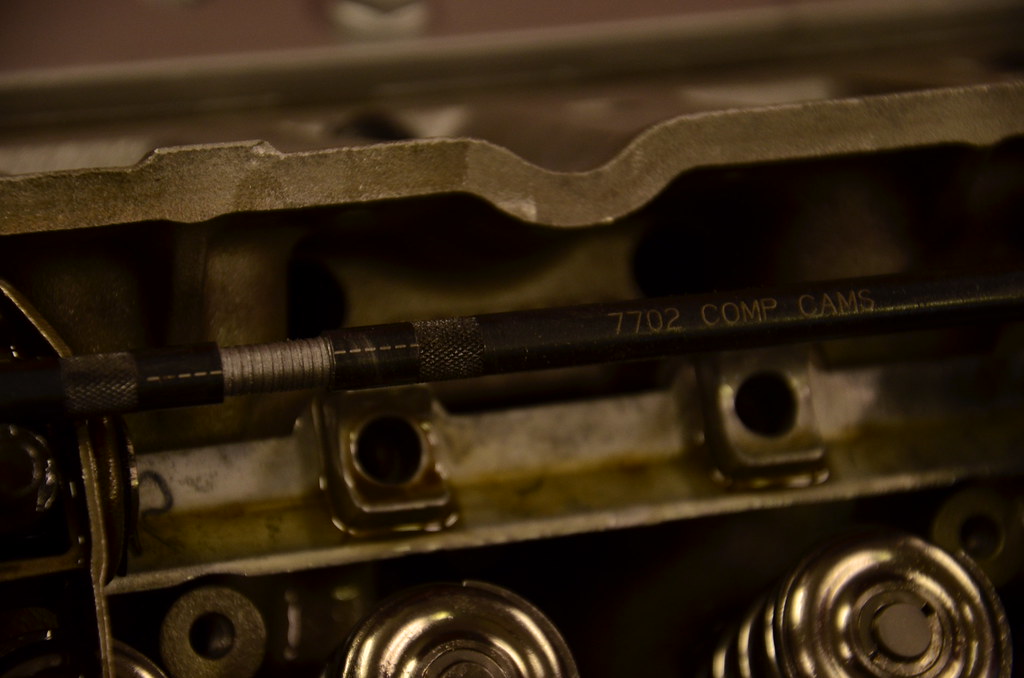
LS3 Stage II 3 Bolt Cam 225/238 .612"/.585" 113+3

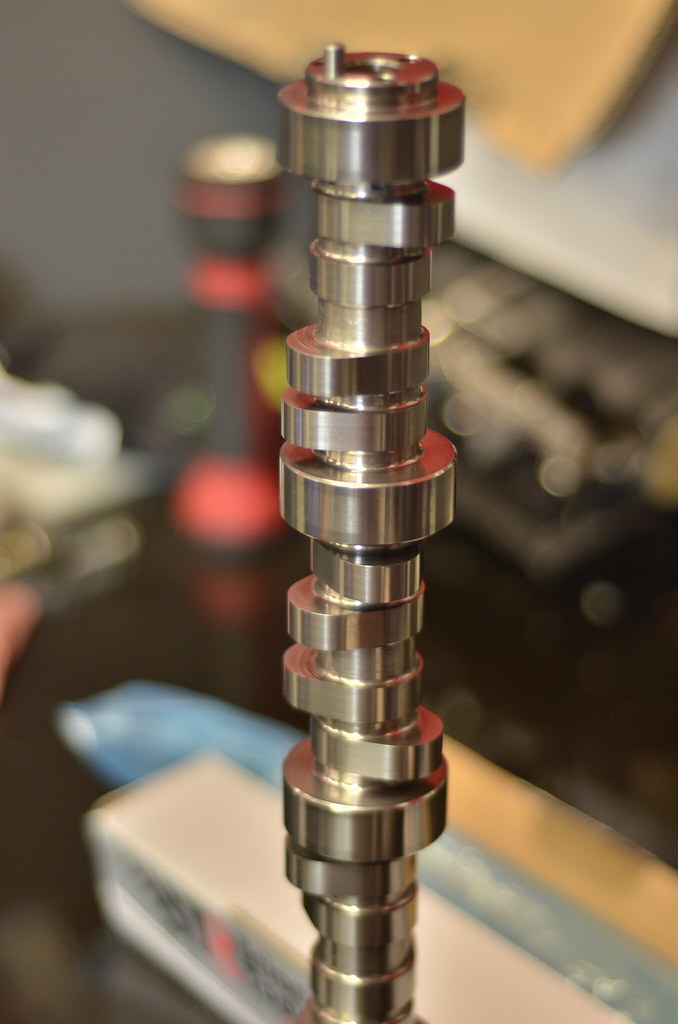
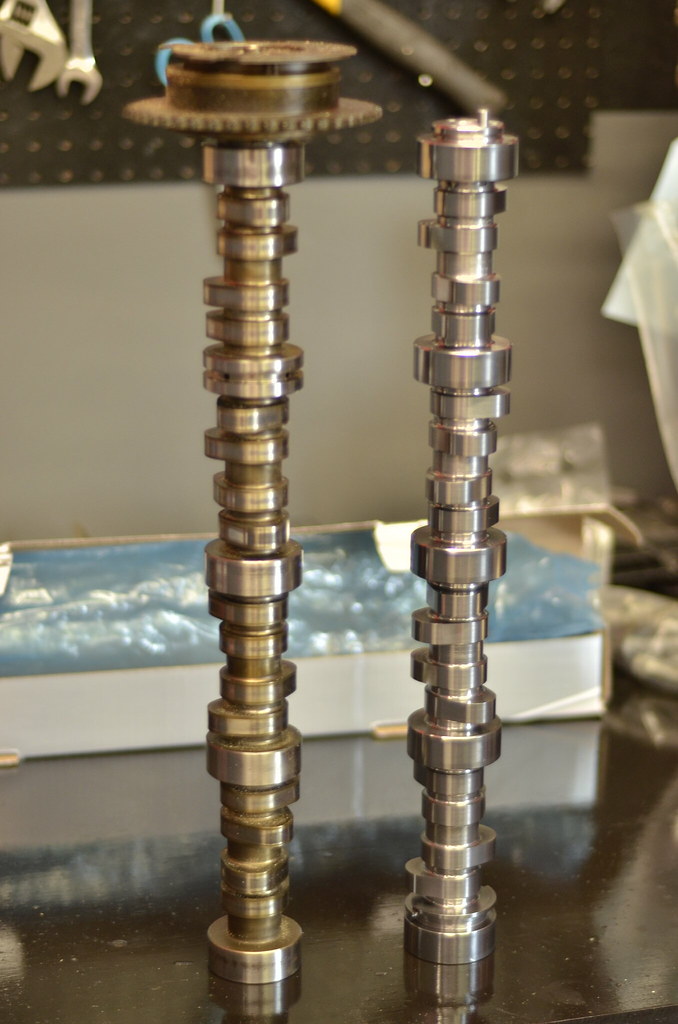
VVT Comparison

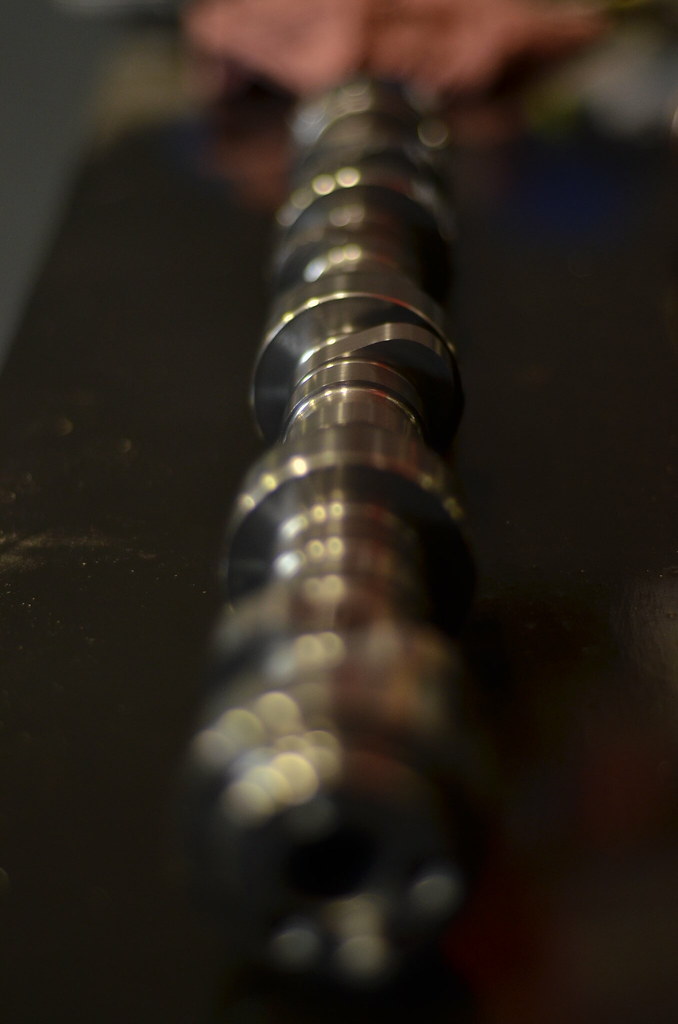
Installation Prep

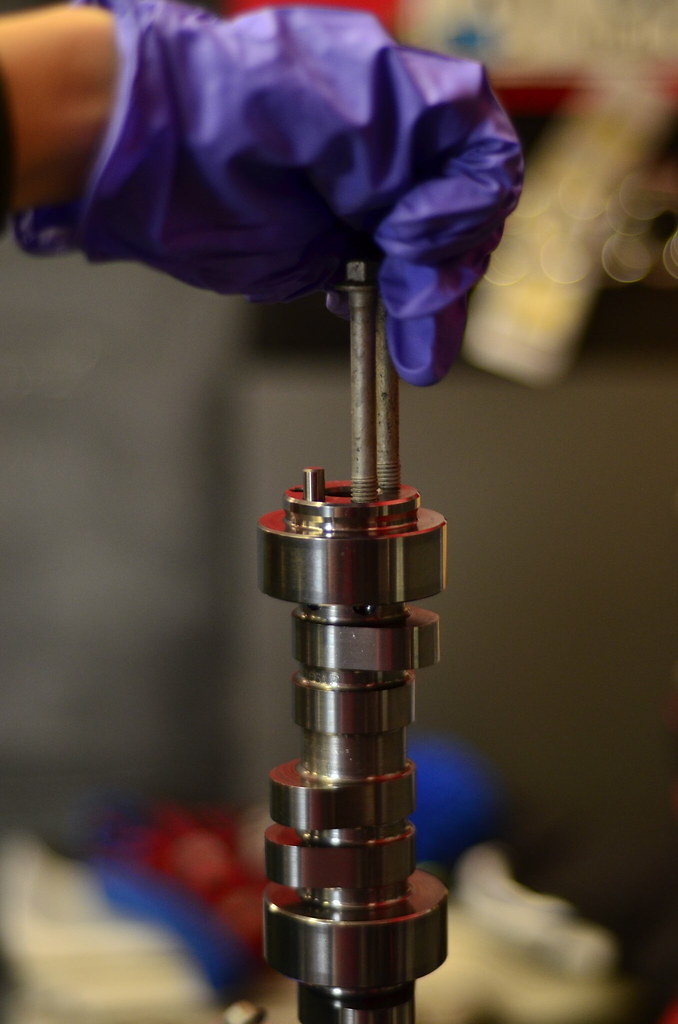
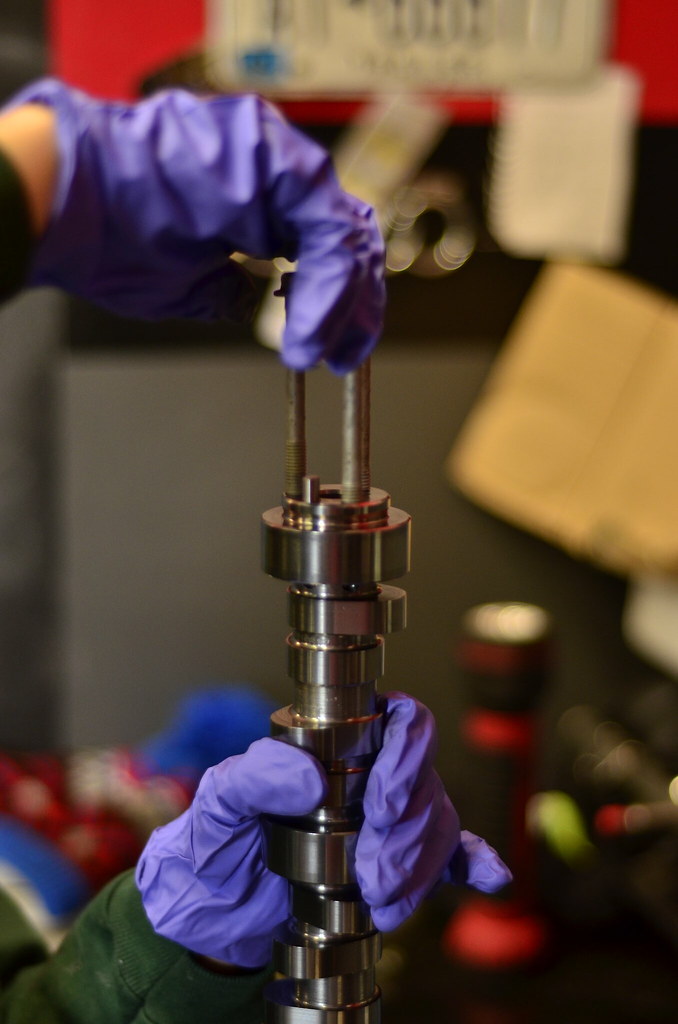

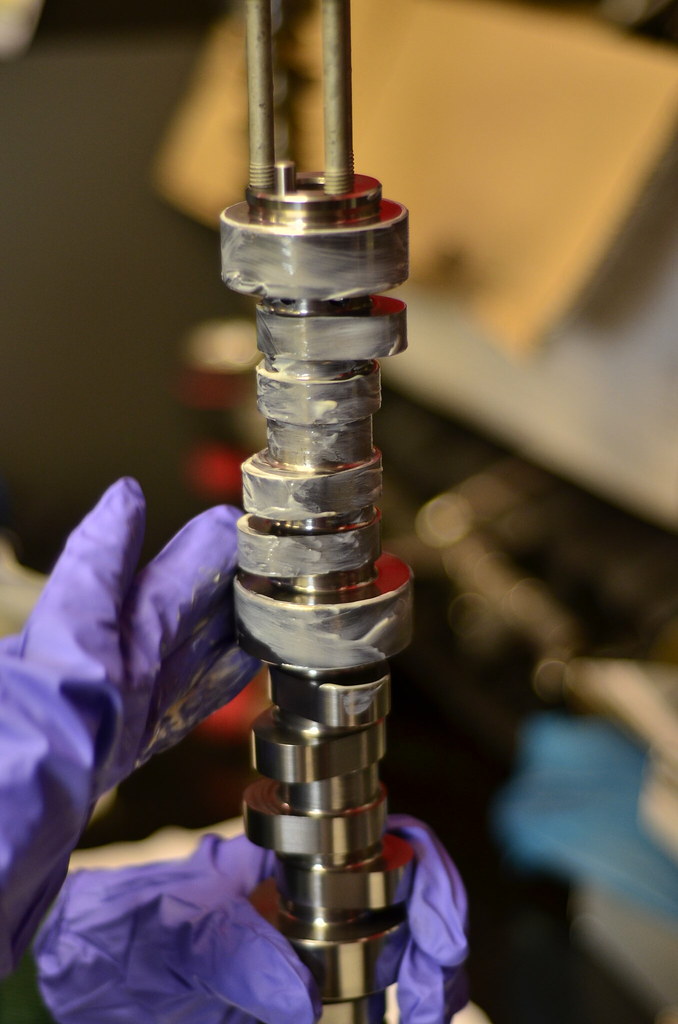
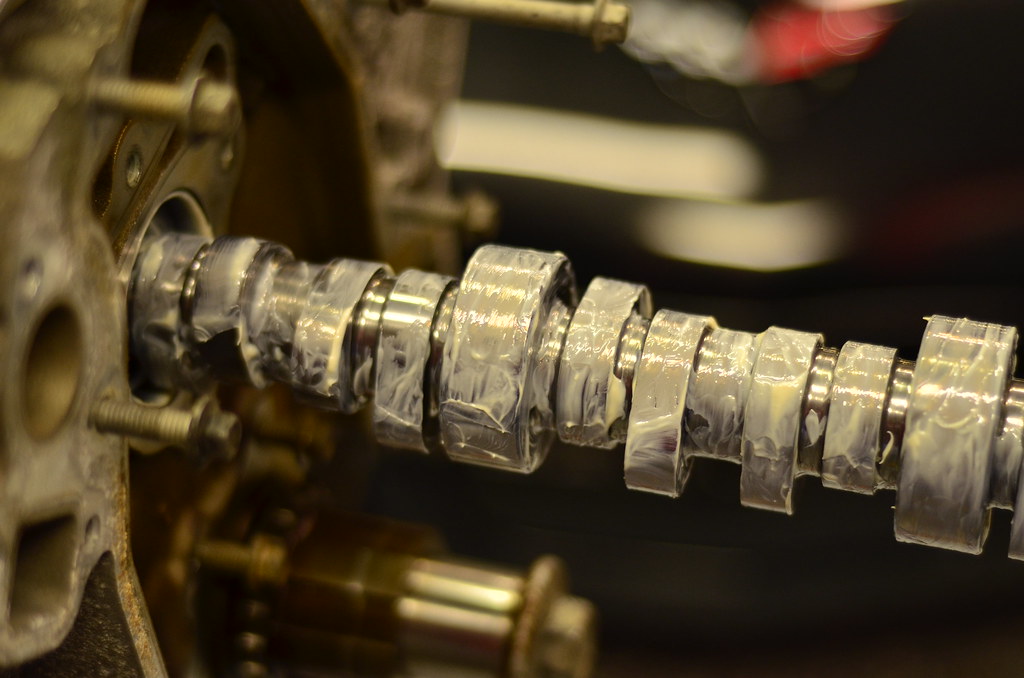

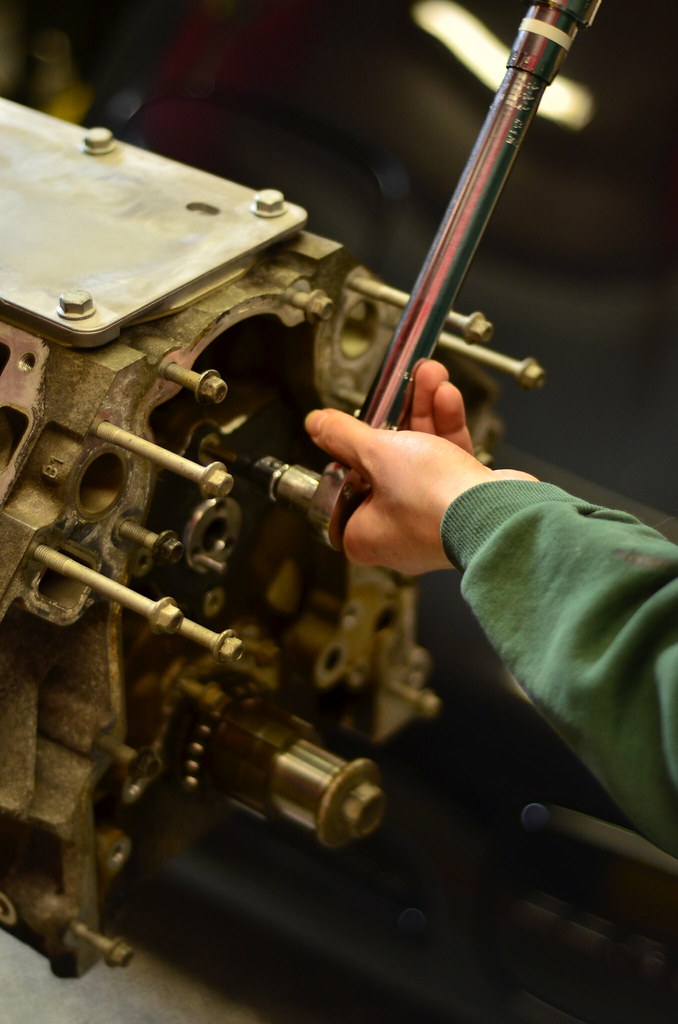
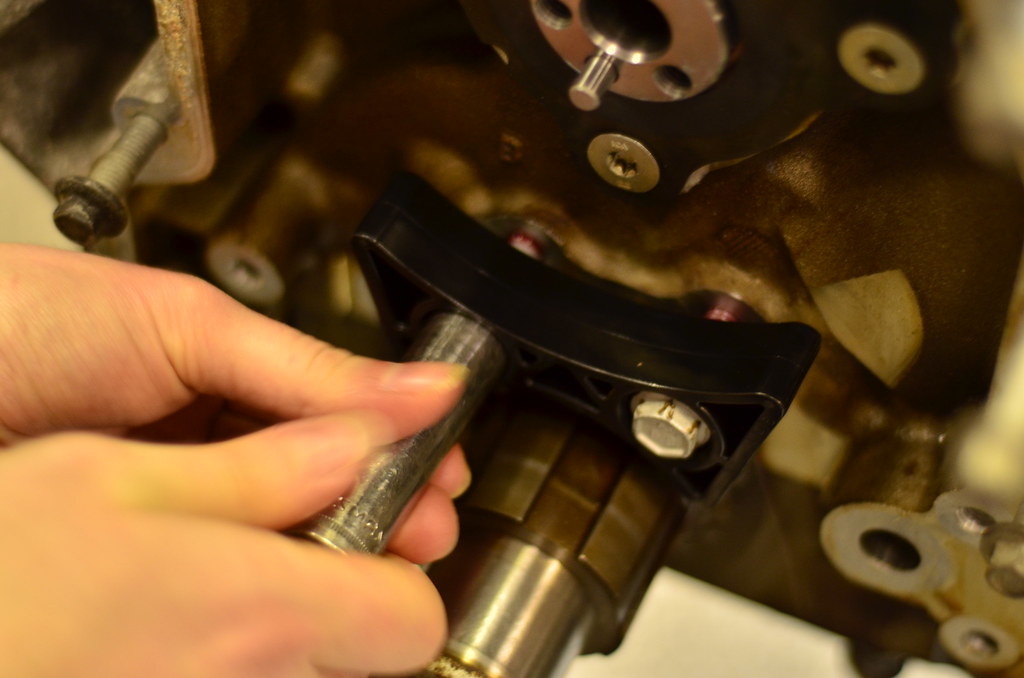
Hanging the Cam Retainer Plate by a bolt or two, and installing the bolts with red loctite.


Final Torque in a cross pattern.

LS3 Stage II 3 Bolt Cam 225/238 .612"/.585" 113+3
VVT Comparison
Installation Prep
Hanging the Cam Retainer Plate by a bolt or two, and installing the bolts with red loctite.
Final Torque in a cross pattern.
Last edited by nsogiba; Feb 22, 2018 at 01:01 PM.
Thread Starter
Drifting
Joined: Apr 2015
Posts: 1,893
Likes: 295
From: Buffalo NY
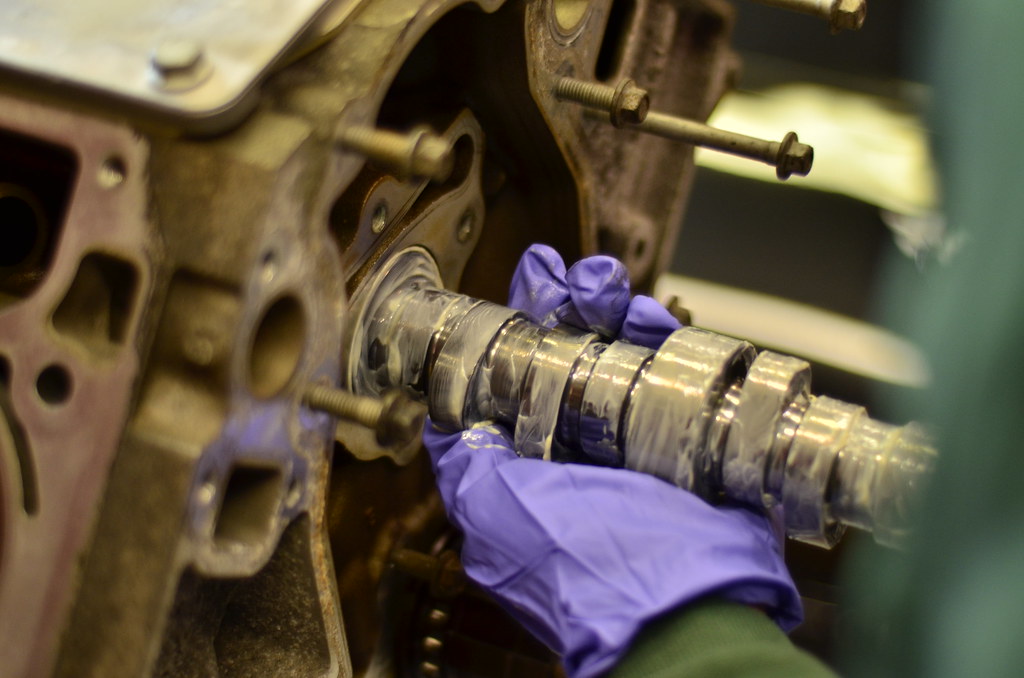
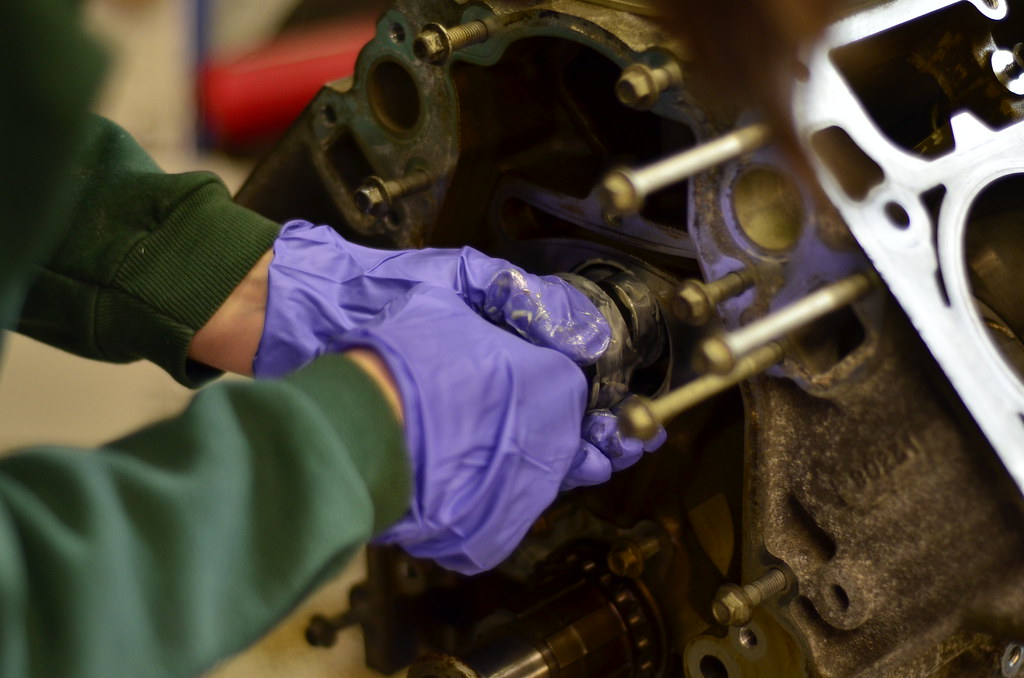
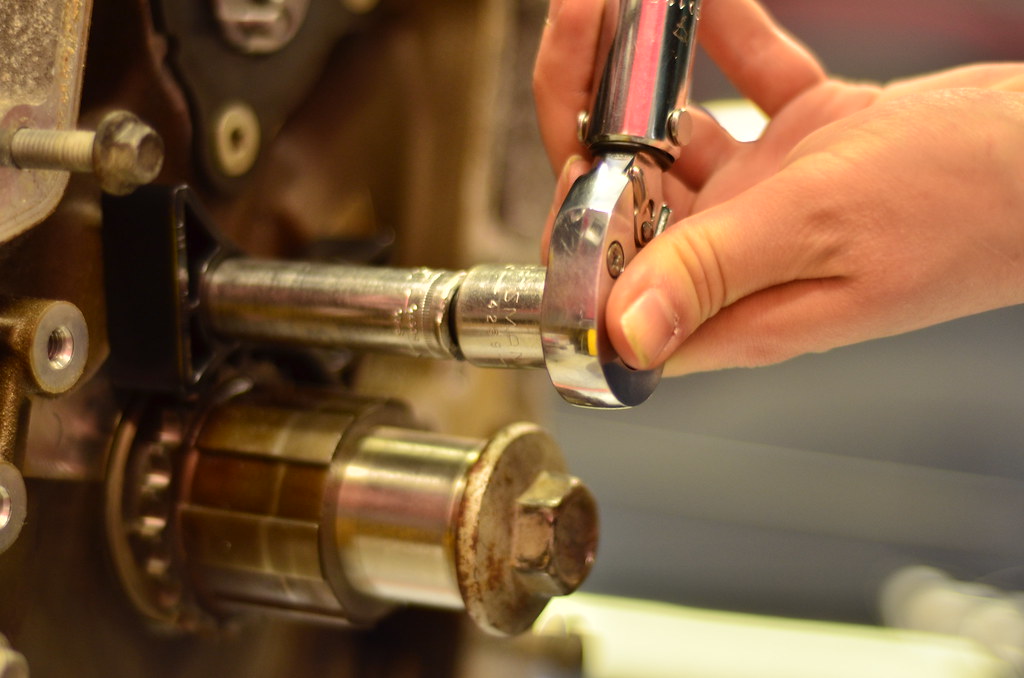
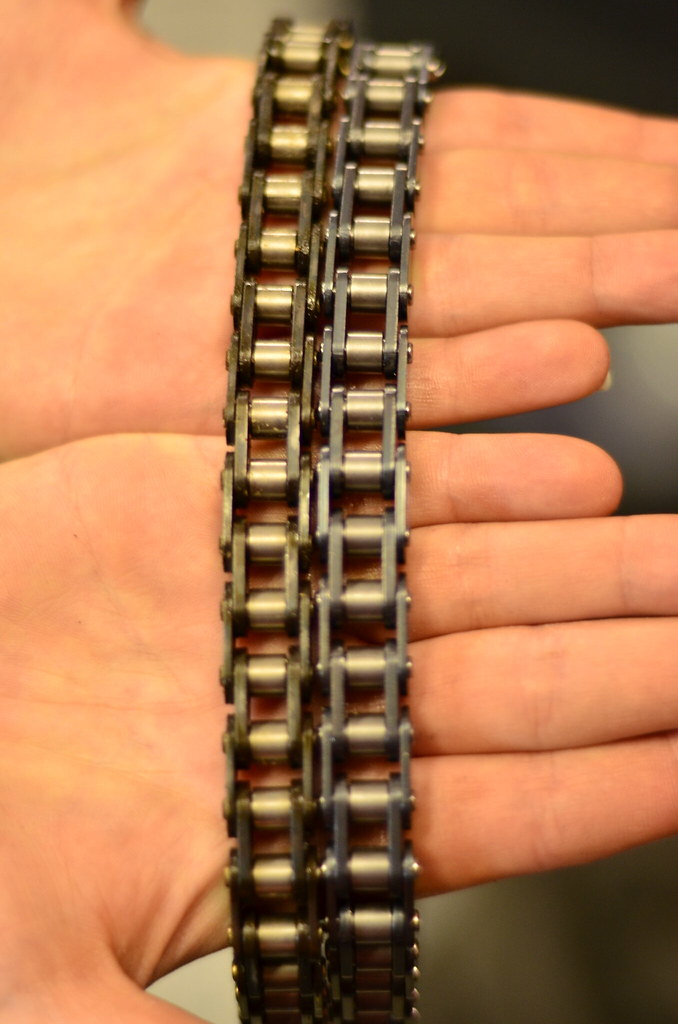
4x Cam gear, ARP hardware, and a simple LS2 chain damper. No spring loaded tensioner to fail.
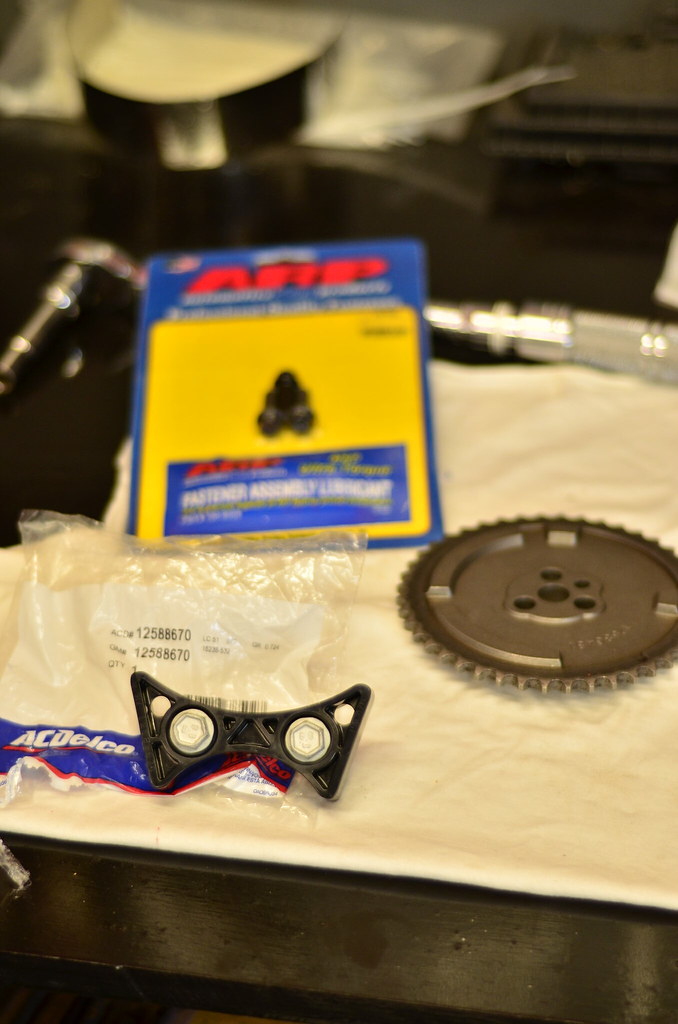
Loctite and torqued to spec
L92 chain on left, LS2 on right. I don't think there's a difference. Didn't have a Gen III chain to compare to, but I'm sure it's wimpy compared to these two.
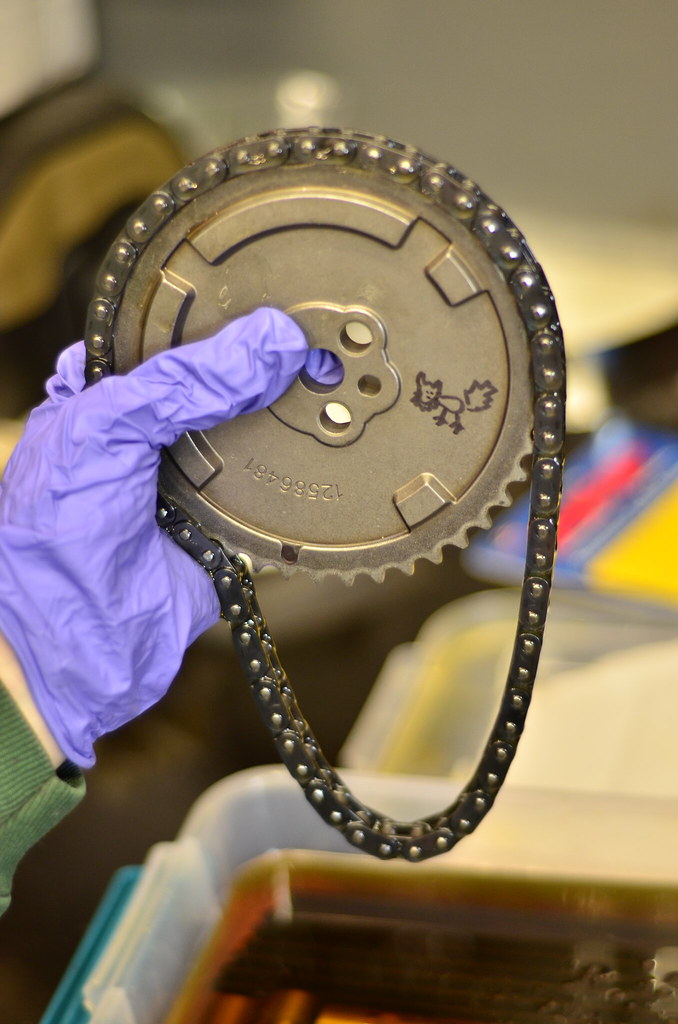
Some graffiti courtesy of the wife to let this engine know we mean business. (....it's a cat...) sure honey, whatever you like
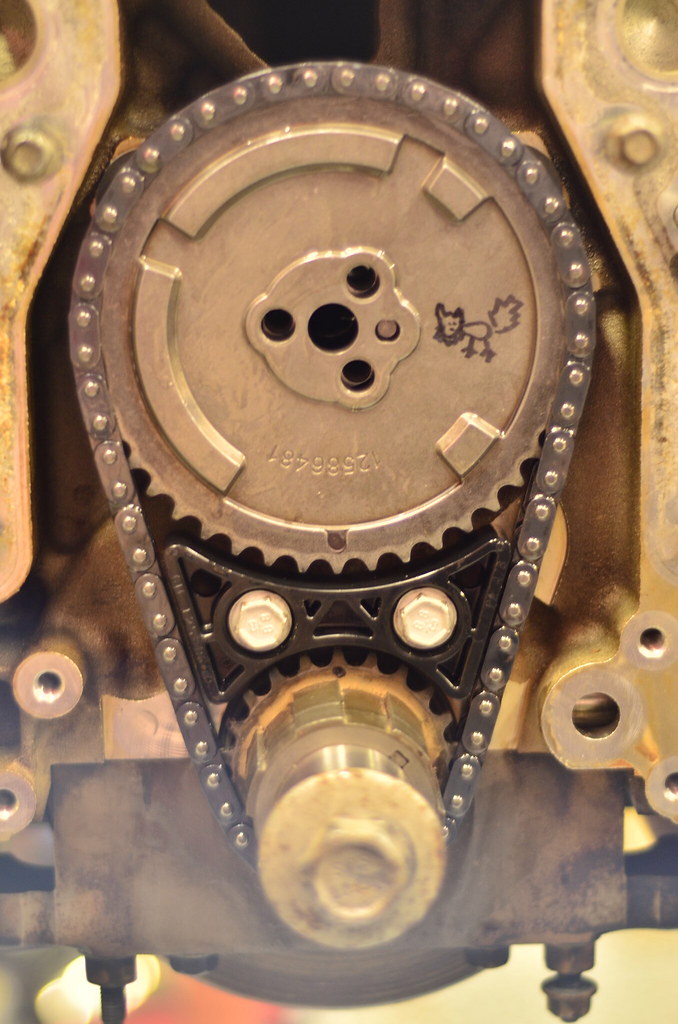
Obligatory "Dot to Dot" timing photo as evidence of correct timing if I have issues down the road.
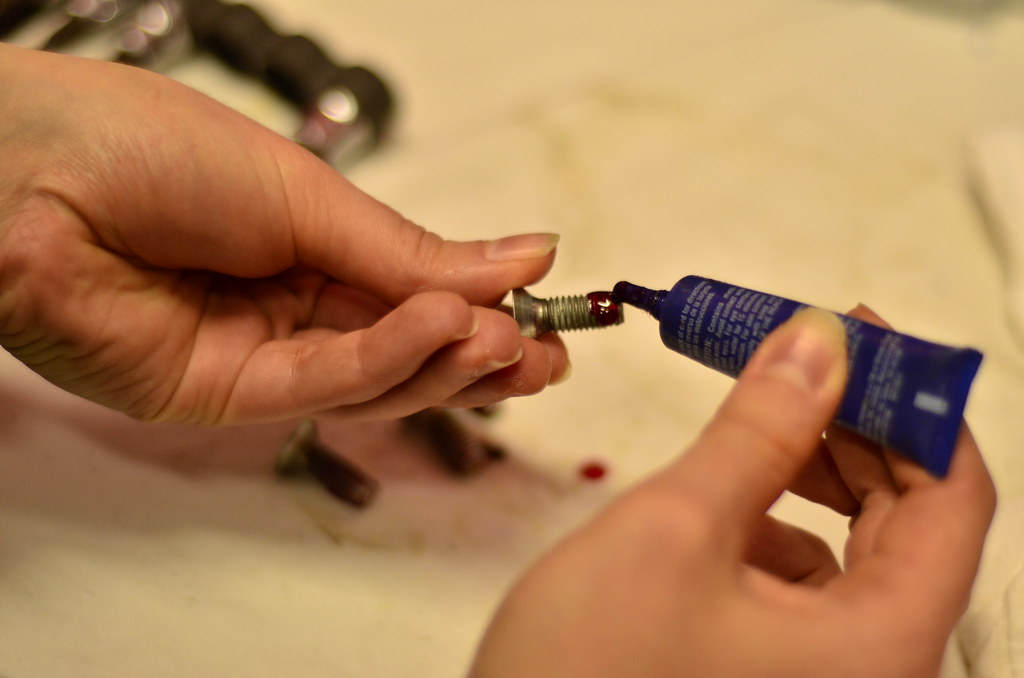
Forgot to snag a pic of the cam gear being bolted down, but we used ARP bolts with red loctite torqued to spec.
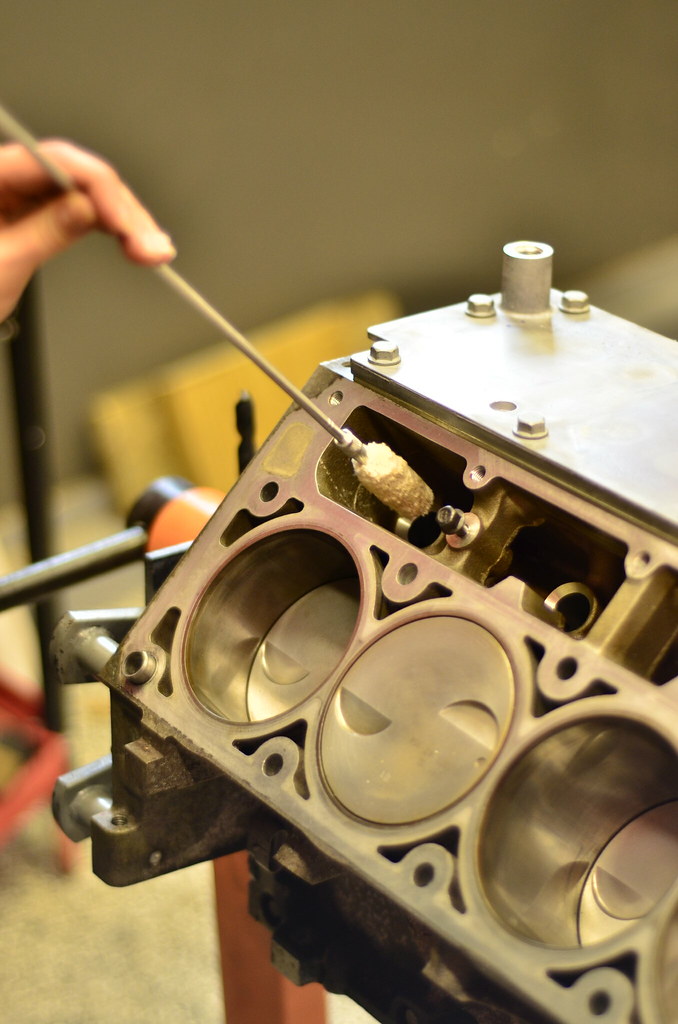
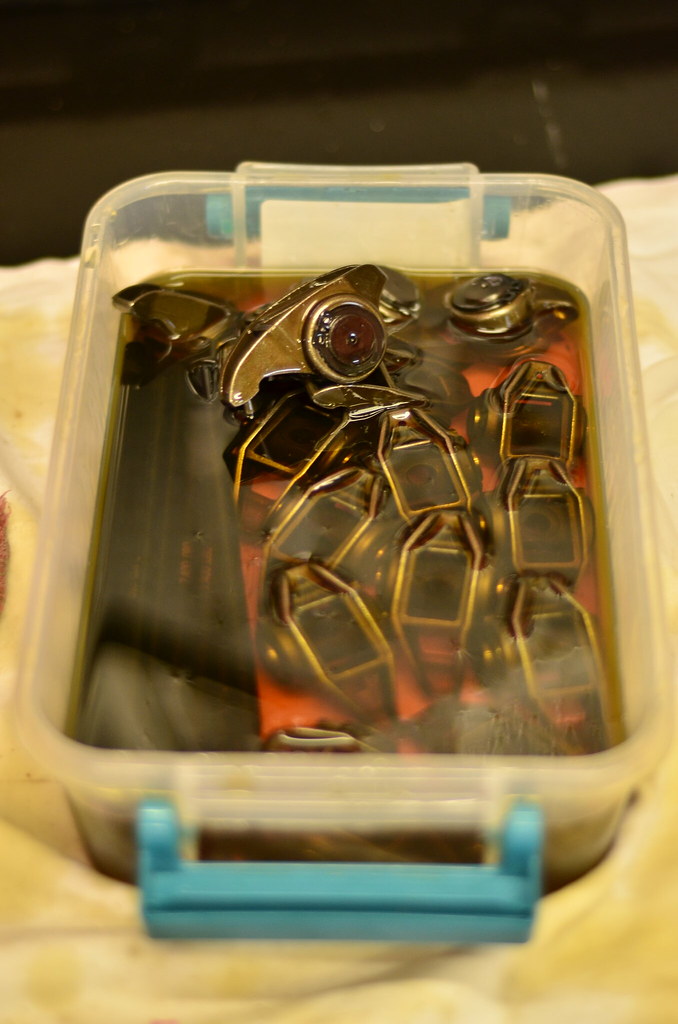
LS7 lifters soaking for a few weeks ahead of assembly. Note the drainback holes in the lifter trays. When those get installed, they have to go towards the outside of the block to facilitate drainback.

Fun fact - a bore brush I normally use on my 870 12ga is perfect for cleaning and then oiling lifter bores.

Assembled into trays, which were scrubbed clean and blown out with brake parts cleaner and compressed air.

All oiling holes face towards the front of the engine (probably not necessary since the oil galley passes through on both sides, but that's the way the originals came out).

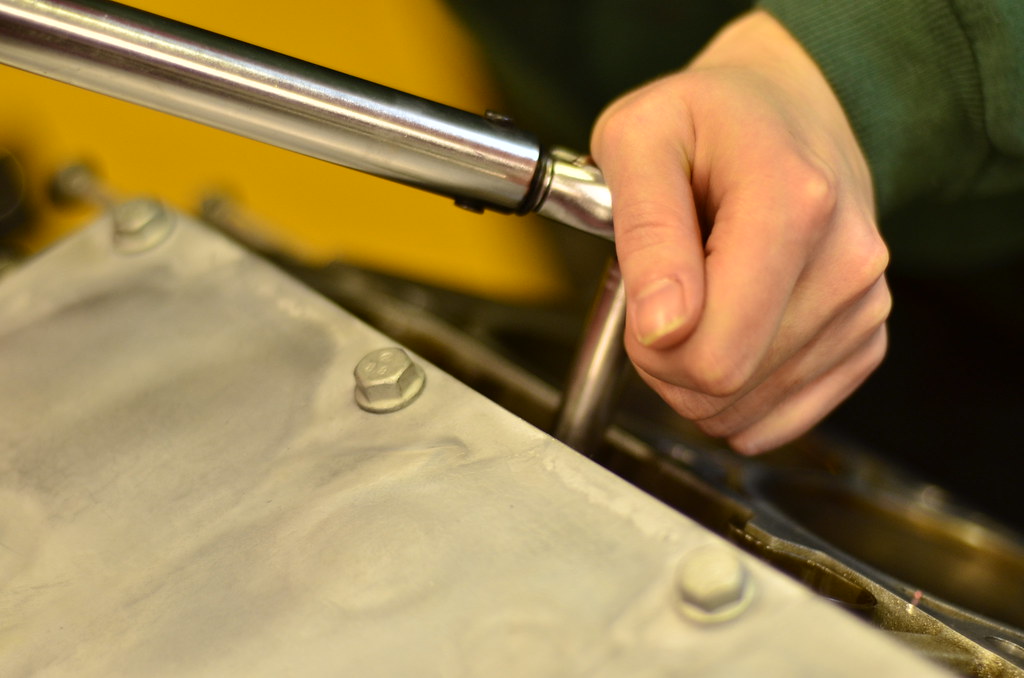
Torqued down.
Loctite and torqued to spec
L92 chain on left, LS2 on right. I don't think there's a difference. Didn't have a Gen III chain to compare to, but I'm sure it's wimpy compared to these two.
Some graffiti courtesy of the wife to let this engine know we mean business. (....it's a cat...) sure honey, whatever you like
Obligatory "Dot to Dot" timing photo as evidence of correct timing if I have issues down the road.
Forgot to snag a pic of the cam gear being bolted down, but we used ARP bolts with red loctite torqued to spec.
LS7 lifters soaking for a few weeks ahead of assembly. Note the drainback holes in the lifter trays. When those get installed, they have to go towards the outside of the block to facilitate drainback.
Fun fact - a bore brush I normally use on my 870 12ga is perfect for cleaning and then oiling lifter bores.
Assembled into trays, which were scrubbed clean and blown out with brake parts cleaner and compressed air.
All oiling holes face towards the front of the engine (probably not necessary since the oil galley passes through on both sides, but that's the way the originals came out).
Torqued down.

Thread Starter
Drifting
Joined: Apr 2015
Posts: 1,893
Likes: 295
From: Buffalo NY
While the top end was getting put together I cleaned up a couple things.
Borrowed a friend's HF blast cabinet.

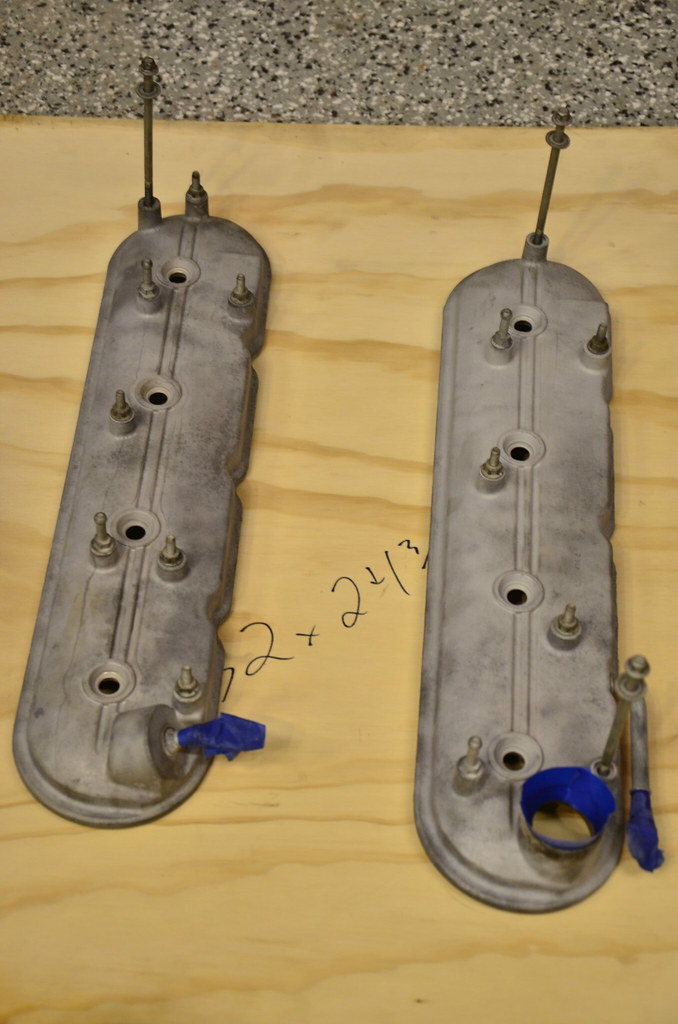
Valve cover bolts, before and after.

Valve covers after a bunch of blasting and scrubbing
High heat primer.
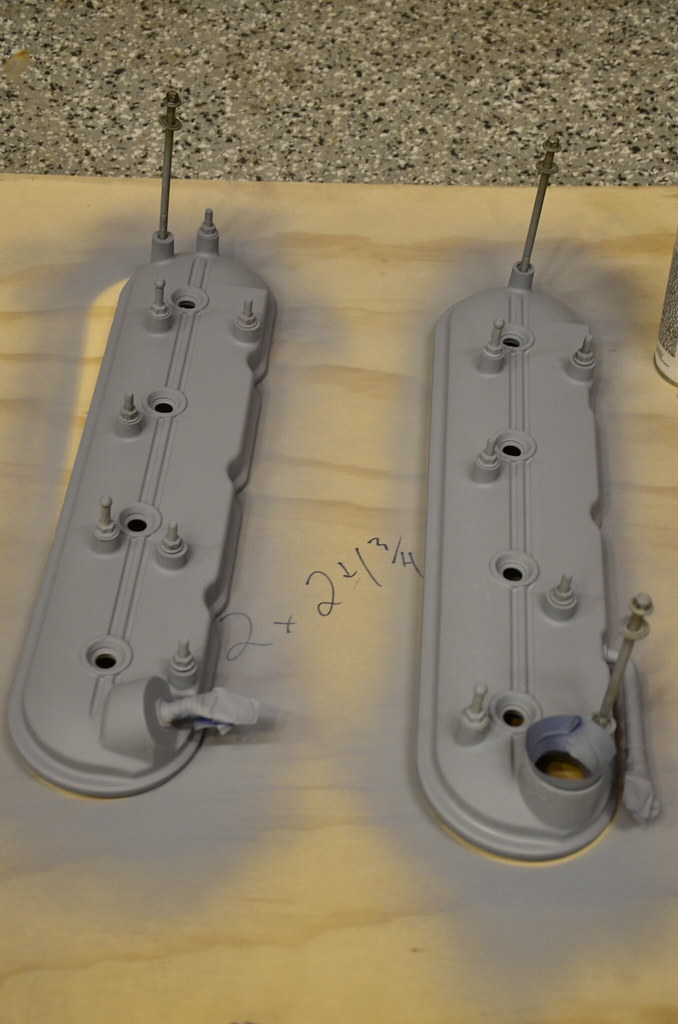
Used some old hardware to keep paint out of the threads.

I sprayed them with a nice VHT Wrinkle Red like I have on my LS6 intake manifold - makes for a nice pop without being tacky. Pics to come later
Checking for pushrod length. The 7.400" units that came with the cam kit ended up being the correct length.
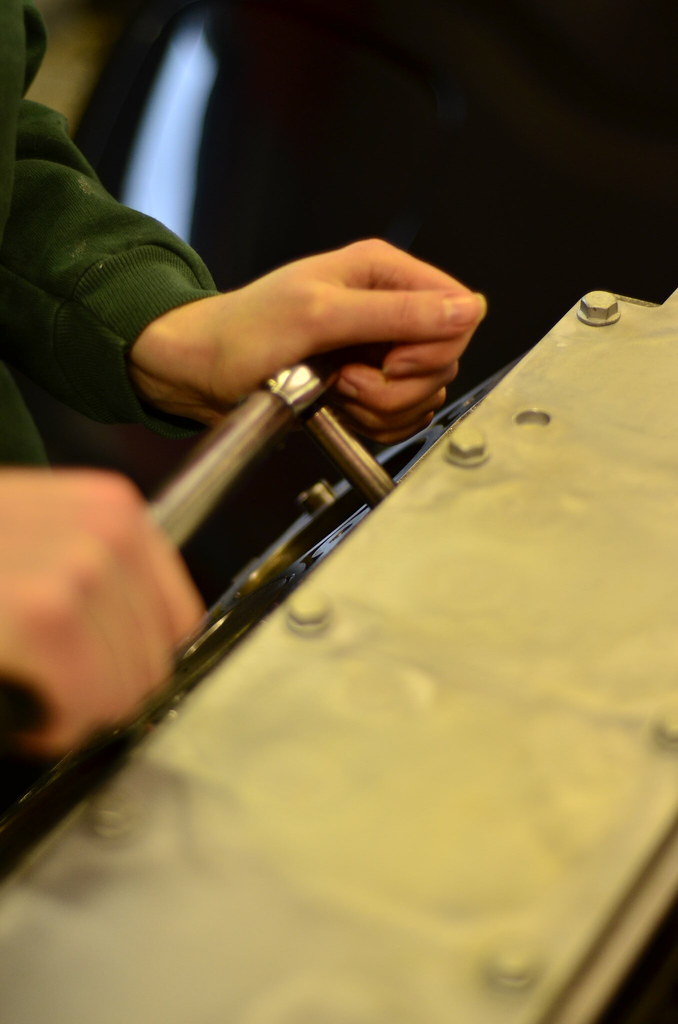
Engine got rotated to get each cylinder on the base circle of the cam (compression stroke) for both valves, and the stock rockers with BTR Trunion upgrade were torqued down with the goofy 8mm 12 point bolt.

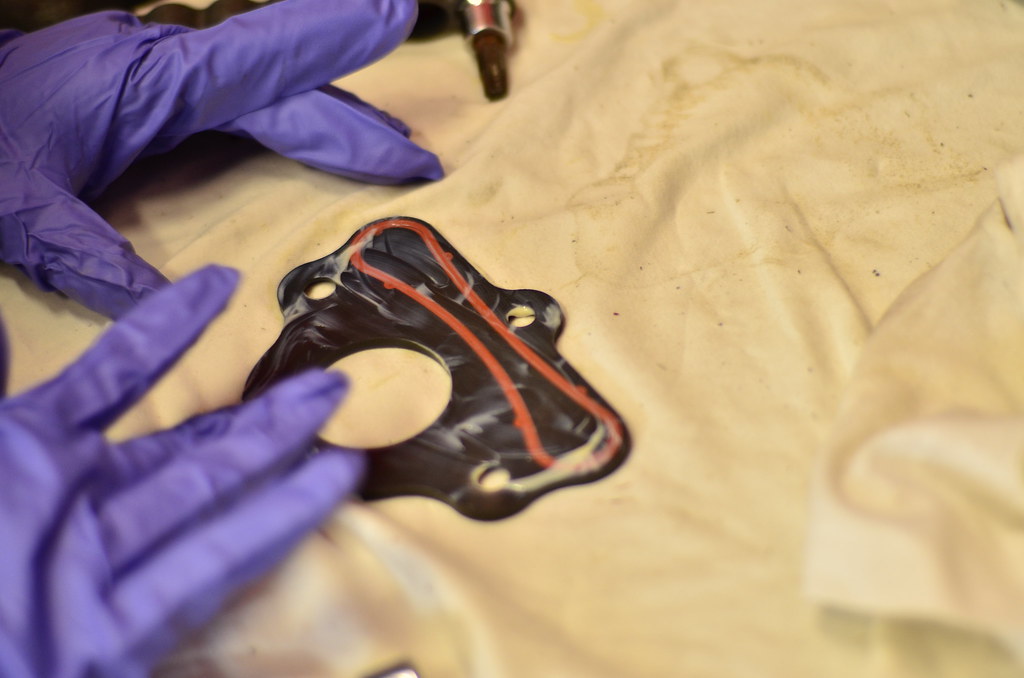
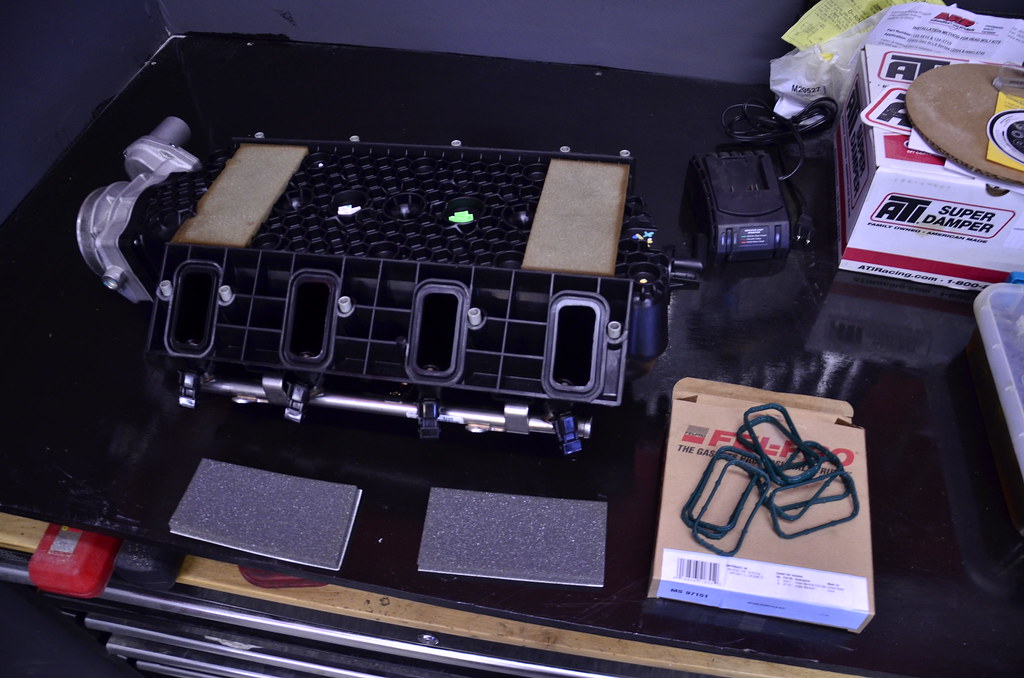
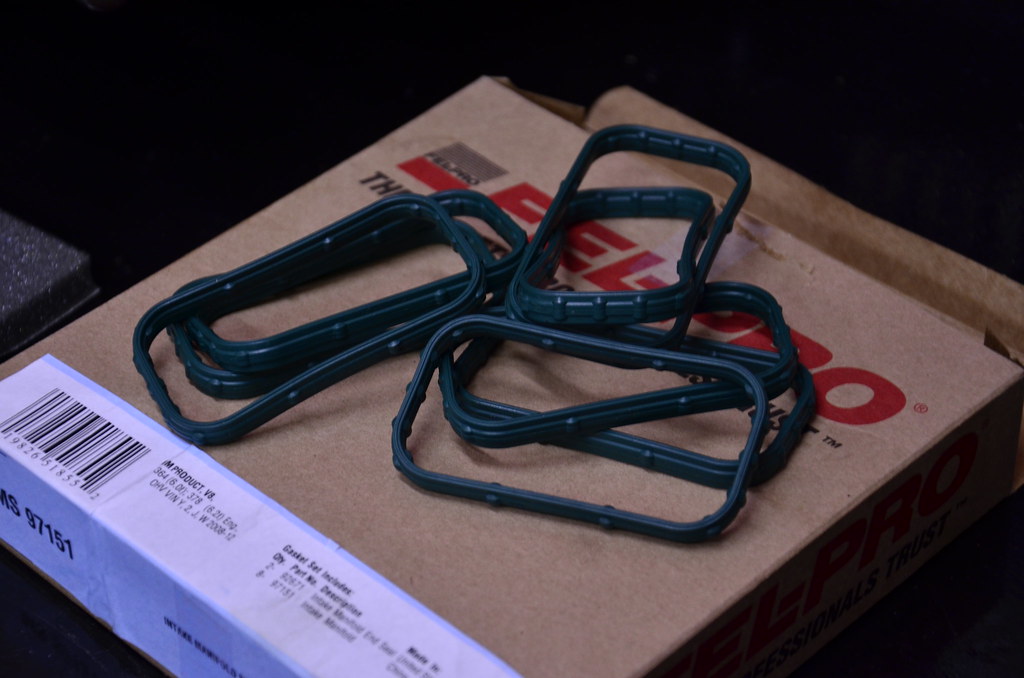
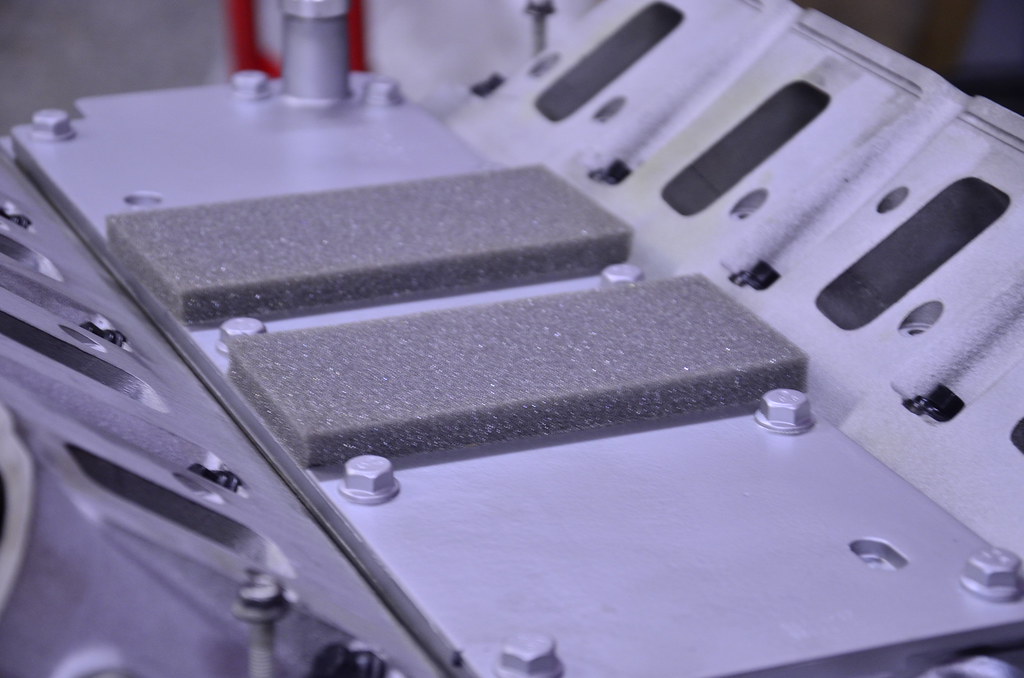
The new intake manifold gasket kit was picked up locally since I forgot to order it in my big blanket Rockauto order; it included the noise absorbing foam that goes under the intake.
Since the foam on the old intake was still in great shape, I just applied the new foam to the valley cover in the blank areas from the intake. I am really hoping I can fit the LS3 acoustic cover to keep valvetrain noise down. Don't mind trimming the back a bit so that it doesn't hit the cowl.


The intake manifold bolts got dusted off in the blaster also. Before:

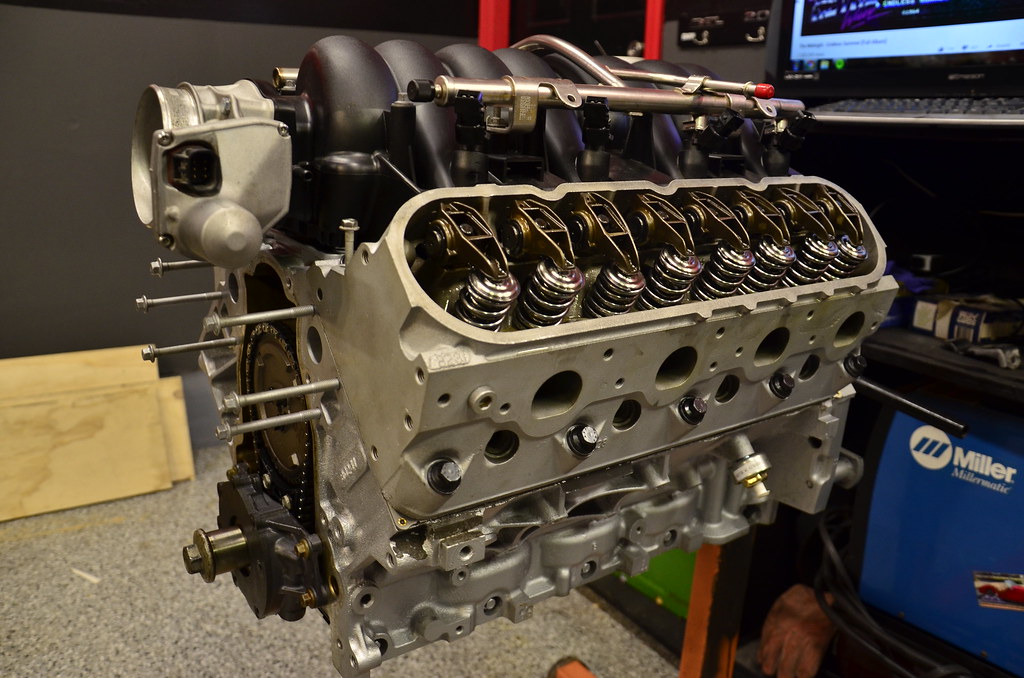
LS3 intake manifold on:

Borrowed a friend's HF blast cabinet.
Valve cover bolts, before and after.
Valve covers after a bunch of blasting and scrubbing
High heat primer.
Used some old hardware to keep paint out of the threads.
I sprayed them with a nice VHT Wrinkle Red like I have on my LS6 intake manifold - makes for a nice pop without being tacky. Pics to come later
Checking for pushrod length. The 7.400" units that came with the cam kit ended up being the correct length.
Engine got rotated to get each cylinder on the base circle of the cam (compression stroke) for both valves, and the stock rockers with BTR Trunion upgrade were torqued down with the goofy 8mm 12 point bolt.
The new intake manifold gasket kit was picked up locally since I forgot to order it in my big blanket Rockauto order; it included the noise absorbing foam that goes under the intake.
Since the foam on the old intake was still in great shape, I just applied the new foam to the valley cover in the blank areas from the intake. I am really hoping I can fit the LS3 acoustic cover to keep valvetrain noise down. Don't mind trimming the back a bit so that it doesn't hit the cowl.
The intake manifold bolts got dusted off in the blaster also. Before:
LS3 intake manifold on:
Thread Starter
Drifting
Joined: Apr 2015
Posts: 1,893
Likes: 295
From: Buffalo NY
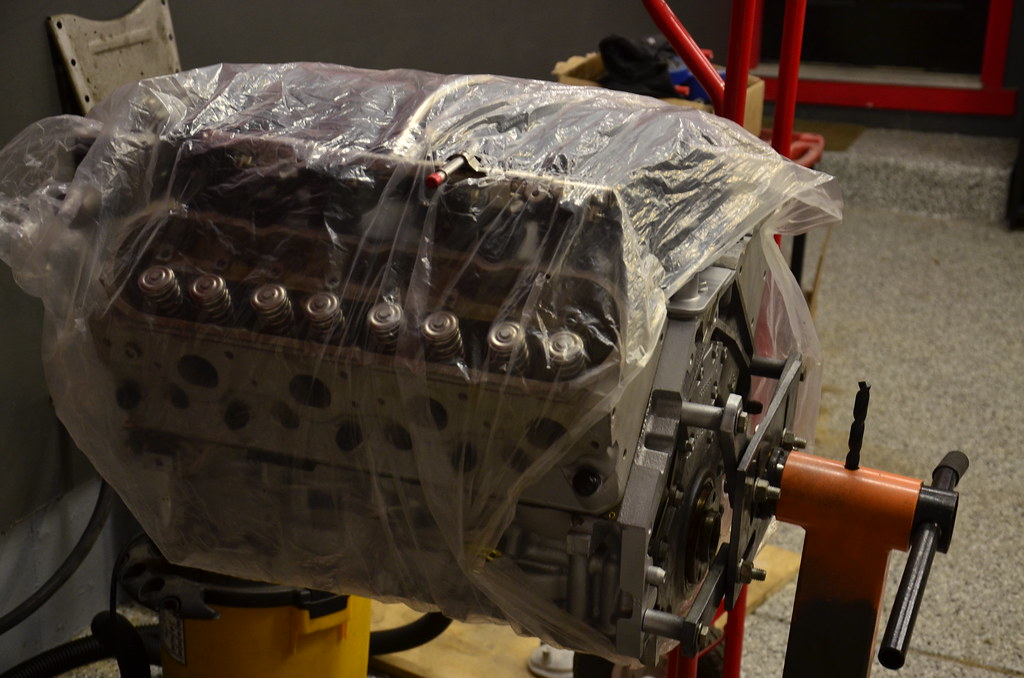
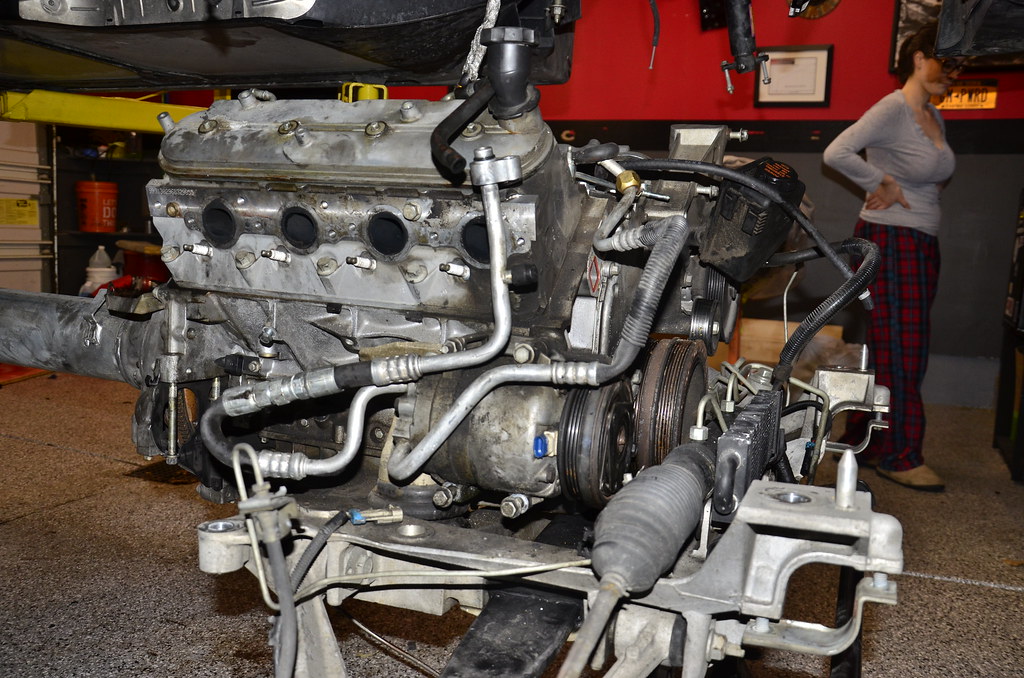
That's as far as I could get on the motor for the day, so I wrapped it up and shoved it out of the way
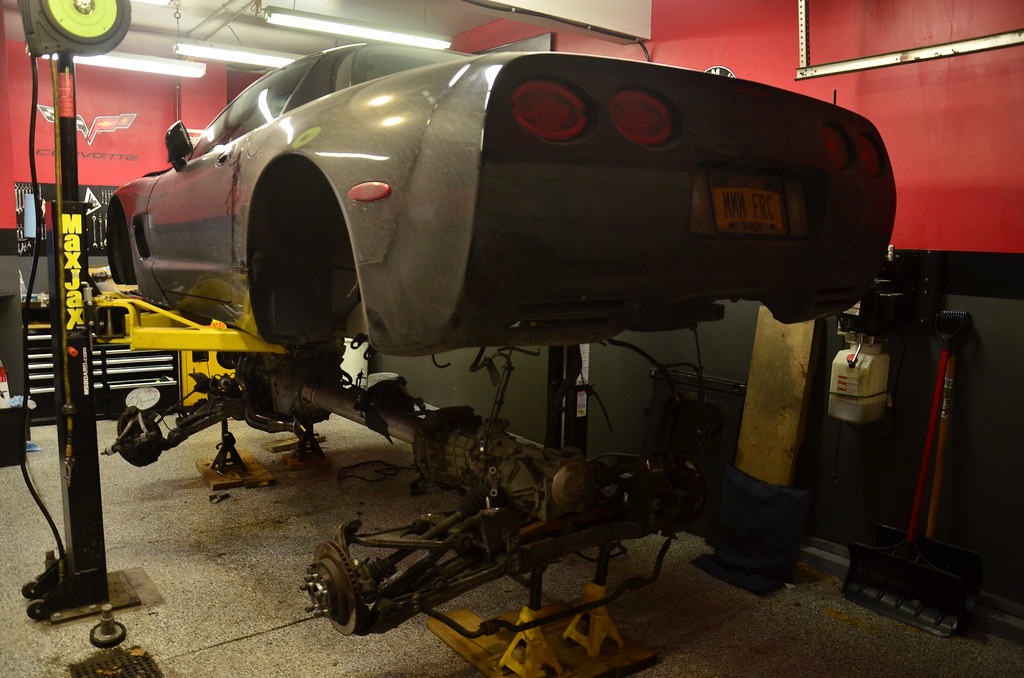
The car went up on the lift and I started to tear it down. From a running, driving car to drivetrain out, it took me about 20 hours going slowly and labeling connections, taking notes about every disconnected wire, bolt, etc.

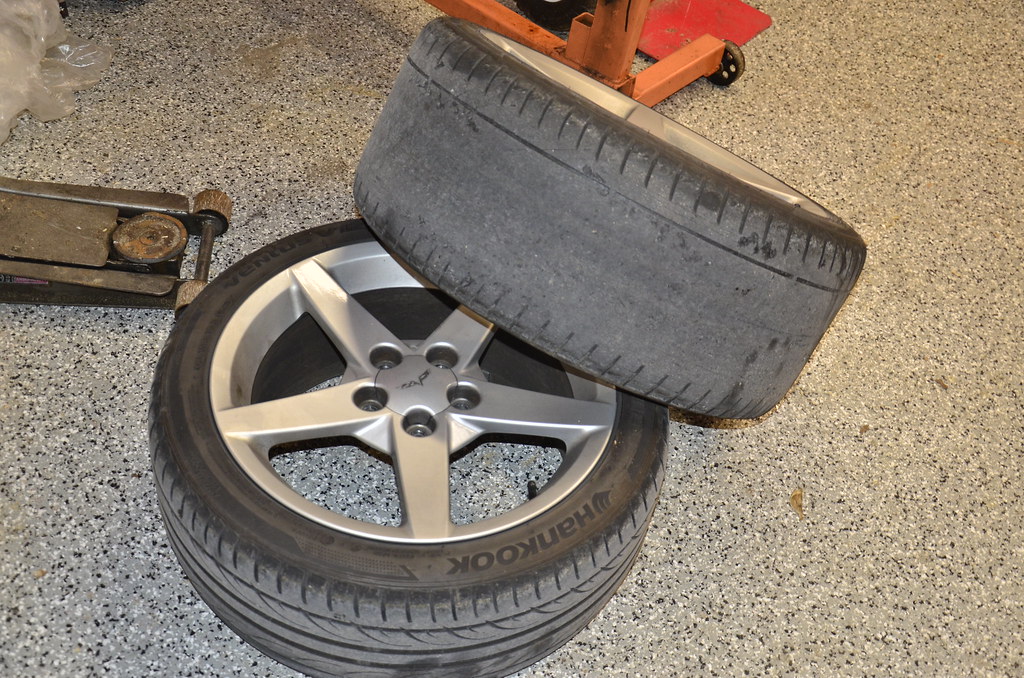
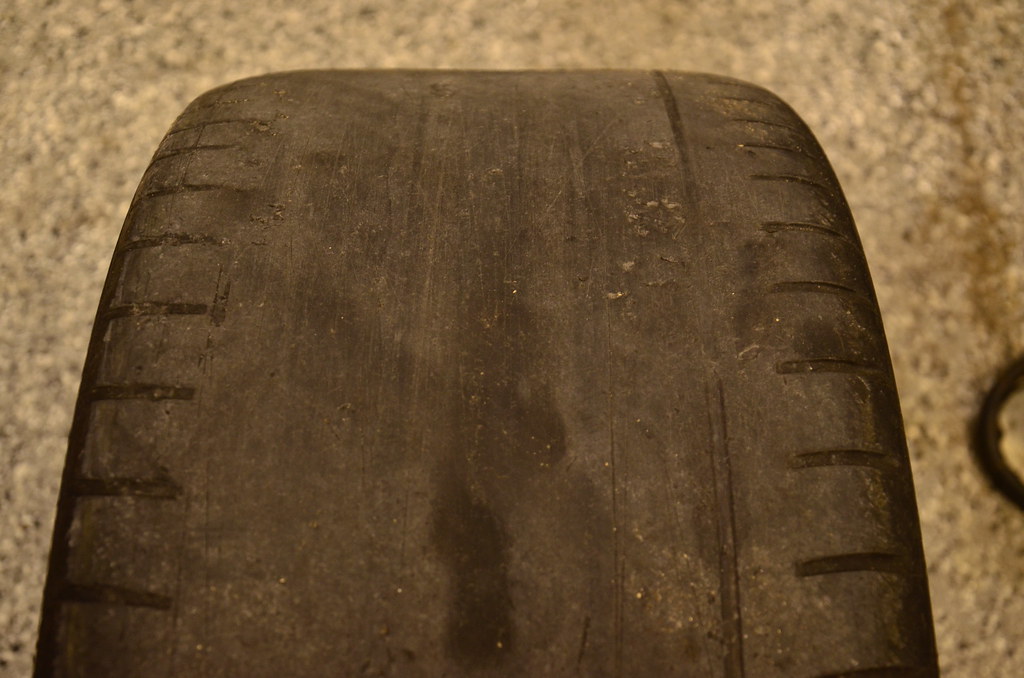
Rear tires are ready for a couple more months of use. These are Hankook Ventus V12s in a 285/35/19 and make for a great street tire. I even ran a few track days on them.
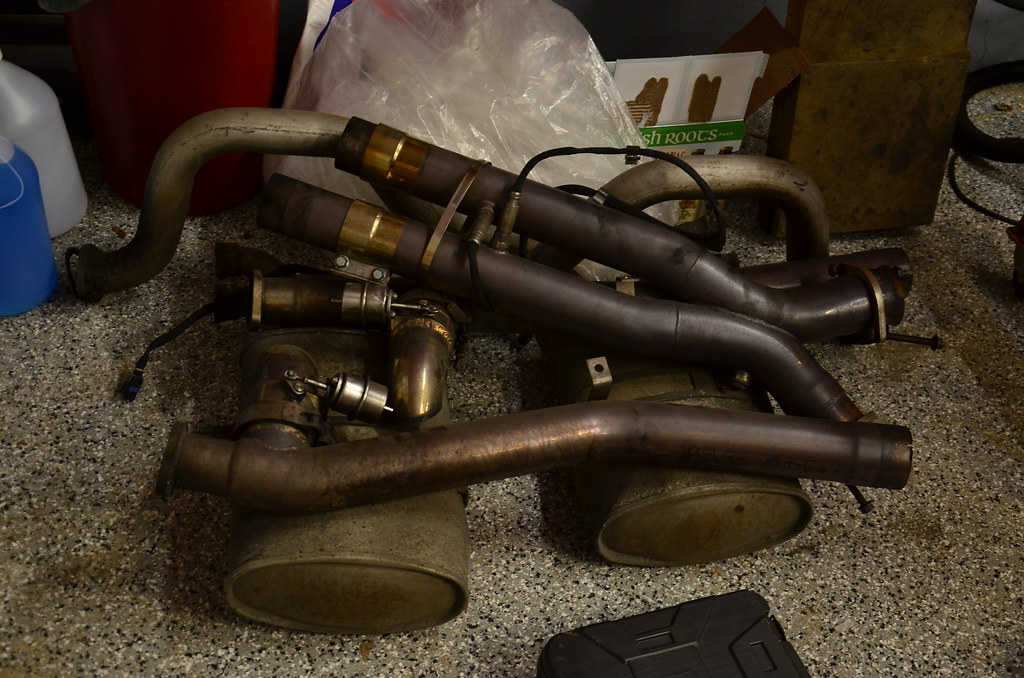
Exhaust components removed. Once I have the car up and running I'll be relocating the cutouts to the rear mufflers to do a "bypass mod on demand".
Finally:
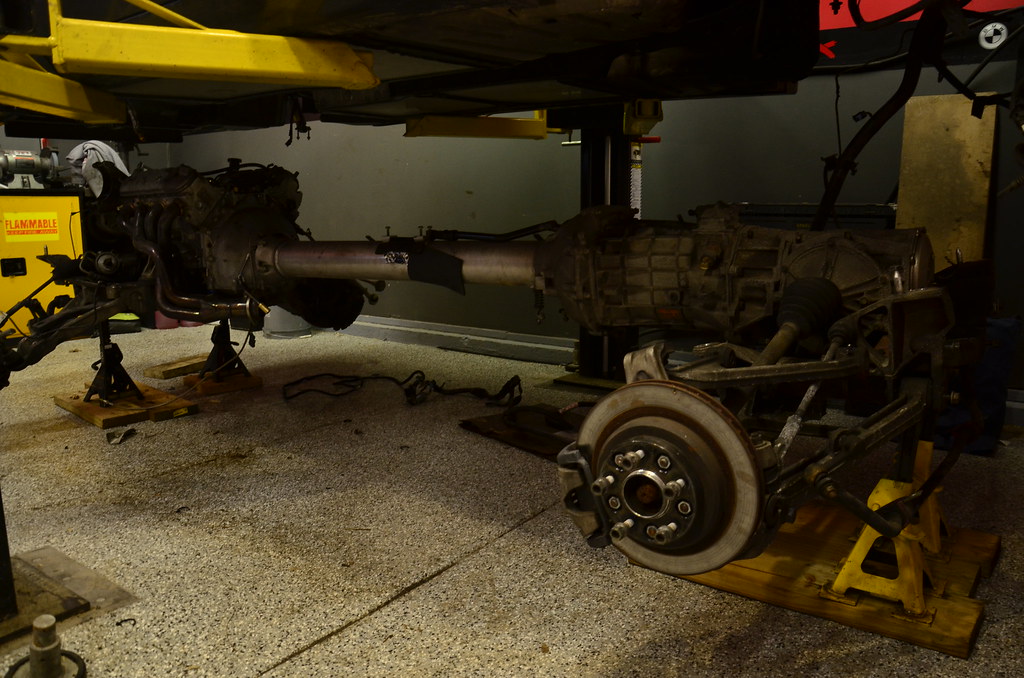


Just some notes about dropping the drivetrain:
-It's easier to disconnect the rear diff, trans, and torque tube harness underneath the battery box and let them drop with the drivetrain than it is to leave them with the car.
-I left the EBCM/ABS module attached to the body (tied up with a string) but disconnected the brake line leading to the RF wheel so that I didn't have to remove the steering rack.
-If I was only doing the engine swap I would have probably pulled the engine alone, out the top. However, since I need to replace my whining 4.10s, I thought it would be easier to drop the whole assembly.
That brings us to current day progress.
-My passenger inner half shaft rubber boot is leaking, I need to replace it.
-Need to measure the depth of the Y-Body LS1 balancer against the ATI Super Damper I bought and make sure it's the same.
-Need to remove the batwing oil pan, clean it thoroughly, install the Improved Racing trap door baffles and Oil Cooler Thermostat block.
-AC condenser and radiator need to be pressure washed.
-My garage is a mess.
The car went up on the lift and I started to tear it down. From a running, driving car to drivetrain out, it took me about 20 hours going slowly and labeling connections, taking notes about every disconnected wire, bolt, etc.
Rear tires are ready for a couple more months of use. These are Hankook Ventus V12s in a 285/35/19 and make for a great street tire. I even ran a few track days on them.
Exhaust components removed. Once I have the car up and running I'll be relocating the cutouts to the rear mufflers to do a "bypass mod on demand".
Finally:
Just some notes about dropping the drivetrain:
-It's easier to disconnect the rear diff, trans, and torque tube harness underneath the battery box and let them drop with the drivetrain than it is to leave them with the car.
-I left the EBCM/ABS module attached to the body (tied up with a string) but disconnected the brake line leading to the RF wheel so that I didn't have to remove the steering rack.
-If I was only doing the engine swap I would have probably pulled the engine alone, out the top. However, since I need to replace my whining 4.10s, I thought it would be easier to drop the whole assembly.
That brings us to current day progress.
-My passenger inner half shaft rubber boot is leaking, I need to replace it.
-Need to measure the depth of the Y-Body LS1 balancer against the ATI Super Damper I bought and make sure it's the same.
-Need to remove the batwing oil pan, clean it thoroughly, install the Improved Racing trap door baffles and Oil Cooler Thermostat block.
-AC condenser and radiator need to be pressure washed.
-My garage is a mess.
Last edited by nsogiba; Feb 23, 2018 at 11:02 AM.
Thread Starter
Drifting
Joined: Apr 2015
Posts: 1,893
Likes: 295
From: Buffalo NY
Not sure what a gearheadjohn is...working on cars isn't a personal hobby of hers but she realizes that my interests and hobbies are important to me, so she makes an effort to try them out together.
 If only I could get her to enjoy a good scotch or gin and tonic as much as I do.
  I return the favor to her by experimenting with cooking and painting - things I normally wouldn't go out of my way to enjoy, but that are fun with her.
Melting Slicks

Joined: Mar 2008
Posts: 2,962
Likes: 254
From: Richmond, Ky
Gearheadjohn was an auto correct for just plain gearhead. I didn’t catch it when posting. Gearheadjohn is my hotmail account. I think you have a real gem for a partner.
Oh my gosh, I just reread your post, she cooks and likes to paint too! You hit the trifecta!
Oh my gosh, I just reread your post, she cooks and likes to paint too! You hit the trifecta!
Last edited by f6john; Feb 23, 2018 at 01:31 PM.

Former Vendor
Joined: Dec 2016
Posts: 3,574
Likes: 2,412
From: Lookin over Hoover Dam
I compared the cost of doing a heads/cam refresh on the LS1 vs the LS3 swap and although the heads/cam was a bit less expensive, the setup would have been "tapped out" versus the LS3 which is just beginning to breathe. There is a lot more room to grow with the LS3, especially with the rectangle ports (if I ever decide to go with an LSA blower setup).
Keep in mind that I'm doing a lot of "while you're in there" preventative maintenance, which some folks wouldn't bother with. For example, although the engine was fairly low mileage and ran well before it was pulled, I decided to pull the heads, have them cleaned up and skimmed, etc. I hand lapped the valves, installed new headgaskets and ARP head bolts, etc. Most folks would have just "run it". I also chose to replace all "consumables" such as spark plugs, gaskets top to bottom, sensors, etc. That adds some cost, but to me is worthwhile for the peace of mind.
L92 longblock, 78k: $3600
Cam, valvetrain upgrades, lifters, L92 to LS3 conversion parts, $1200
LS3 intake, fuel rail, LS2 silver blade throttle body: $600
Electronic conversion/adapter harnesses, $400
So that's 5800 for just the bare minimums. I suppose you could skip the cam upgrade but it doesn't make sense to leave it alone while it's out. The L92 VVT cam is awful and the Gen III PCM can't run the VVT system anyways; if you start with an LS3, you don't have the VVT system but you're paying a premium for the LS3 name (the stock LS3 cam isn't amazing either).
I have also added some upgrades to the oiling system to prevent issues on the road course for the handful of times per year that I attend. Those are just the bare minimum items, I'm sure I'm forgetting a lot. I plan on putting together a final cost and list of parts once the car is fully sorted out...
I have a 62k mile C5Z but problem is I drive my gf's 09 6spd LS3 car a good bit and that LS3 is just a strong starting point. My cars full bolt ons and tune, plus MN12 gearing, plus I'm lighter but...her car has serious grunt and she doesn't have any bolt ons yet.
I could get some good cash for my LS6 as well or keep for a project *****. I'd love to put in a 996 Carrera 2 and do a 997 front end.


Melting Slicks

Joined: Sep 2007
Posts: 2,013
Likes: 170
From: Highlands Ranch CO
Thread Starter
Drifting
Joined: Apr 2015
Posts: 1,893
Likes: 295
From: Buffalo NY
Yes. The new motor would have probably had the torque to load up the 3.42s better, but I have already invested in the 4.10s; that, and it will really pull up top. If the new 4.10s whine again I'm putting in a factory 3.42 diff and never touching it again.
The Gen III will always be a great value but you can't beat the breathing ability of a Gen IV with bolt ons. It's crazy that some LS3 guys are putting down 500rwhp with just a cam, bolt ons, and a tune. I can't imagine the crazy head/cam combo you'd need to run to hit that number with an LS1/LS6, not to mention how much it would suck to drive on the street. I do 95% of my driving on the street so the torque punch down low and midrange of the LS3 was really appealing.
Maybe I have big hands, but I had a TON of trouble even getting to the bellhousing bolts. I suppose you could leave the bellhousing attached and pull it off the torque tube, but since I already planned on rebuilding the diff and inspecting the torque tube, it was a no brainer to pull it all out the bottom. I would prefer to work on something comfortably, away from the car instead of cramped inside the car every day of the week.

Yeah, I'm just curious. I've run some basic numbers, but I'm just looking for real deal from someone doing it.
I have a 62k mile C5Z but problem is I drive my gf's 09 6spd LS3 car a good bit and that LS3 is just a strong starting point. My cars full bolt ons and tune, plus MN12 gearing, plus I'm lighter but...her car has serious grunt and she doesn't have any bolt ons yet.
I could get some good cash for my LS6 as well or keep for a project *****. I'd love to put in a 996 Carrera 2 and do a 997 front end.
Melting Slicks
Joined: Jul 2016
Posts: 2,521
Likes: 219
From: Los Angeles CA
Is RKT standing behind the gears? I've heard of these issues with the 4.10s before, maybe he could replace them with 3.90s or 3.73s for best of both worlds? Curious to see how the extra cubes drive and what sort of mileage hit you take.
Thread Starter
Drifting
Joined: Apr 2015
Posts: 1,893
Likes: 295
From: Buffalo NY
We are going to ship the gears back to Motive to hopefully have them warrantied. Rick is being good about the whole thing. I am not making any conclusions (positive or negative) until I see the whole ordeal through to the end.