When you click on links to various merchants on this site and make a purchase, this can result in this site earning a commission. Affiliate programs and affiliations include, but are not limited to, the eBay Partner Network.
Hi all. May I have your help please before I screw something up. I am swapping out the valve covers on my C7 Z06/7 LT4. Before doing so, I looked up on the web how to remove the breather tubes from either side. What I found states that the 2 plastic hooks break off VERY easily and fall into the housing. One person suggested heating up the engine so the plastic was more pliable. Another said they just yank it out and let the broken pieces remain. Another said there may be a tool to do this. And yet one more pointed out they thought there were plastic press points on either side of the connector that help release the plastic tabs. Before I "experiment", has anyone here actually done it without breaking the tabs and what was your method or the correct method please? Thanks! Here's a pic of what I'm swapping into the engine . . . Carbon Flash Metallic painted valve covers . . . and the second pic was from the web showing the tabs with one broken (but maybe older model than a C7? as it doesn't quite look like mine). Thanks a lot for your help!!
[QUOTE=Vrroom;1590895091]Looks like I neglected to upload the pics I referenced! Here they are:[/QUOTE
On the passenger side coil cover all I did was pull the hose/connector straight up. You have to yank it with a little force and warm it up a bit.
It will work.
Looks like I neglected to upload the pics I referenced! Here they are:[/QUOTE
On the passenger side coil cover all I did was pull the hose/connector straight up. You have to yank it with a little force and warm it up a bit.
It will work.
Thanks RedRocket! Were there the little black hooks like in the picture? Or was that a previous engine model? i.e., are they not there at all on the LT4? Or, the warmth makes them flexible enough that they don't break. I really appreciate your help!! Thanks!!
Thanks RedRocket! Were there the little black hooks like in the picture? Or was that a previous engine model? i.e., are they not there at all on the LT4? Or, the warmth makes them flexible enough that they don't break. I really appreciate your help!! Thanks!!
Yes - they looked like the picture. They're a little stubborn but a good straight pull will do. Many said you could use a small screwdriver to push in the tab on one side to ease the removal but I couldn't get the screwdriver down in there - so a good tug and viola - it came out intact. I'm sure the warm up helped some. BTW - I pulled off my cover and painted it myself - original GM color and used a clear coat with hardner.
Yes - they looked like the picture. They're a little stubborn but a good straight pull will do. Many said you could use a small screwdriver to push in the tab on one side to ease the removal but I couldn't get the screwdriver down in there - so a good tug and viola - it came out intact. I'm sure the warm up helped some. BTW - I pulled off my cover and painted it myself - original GM color and used a clear coat with hardner.
Thanks RedRocket. That is VERY helpful and reassuring. I'm sure they look wonderful. Understand if I had painted mine, there'd be paint everywhere and the parts would look like, well, you know. So, getting them painted was my only option. Still used OEM paint too. Thanks again. This really helped me!!
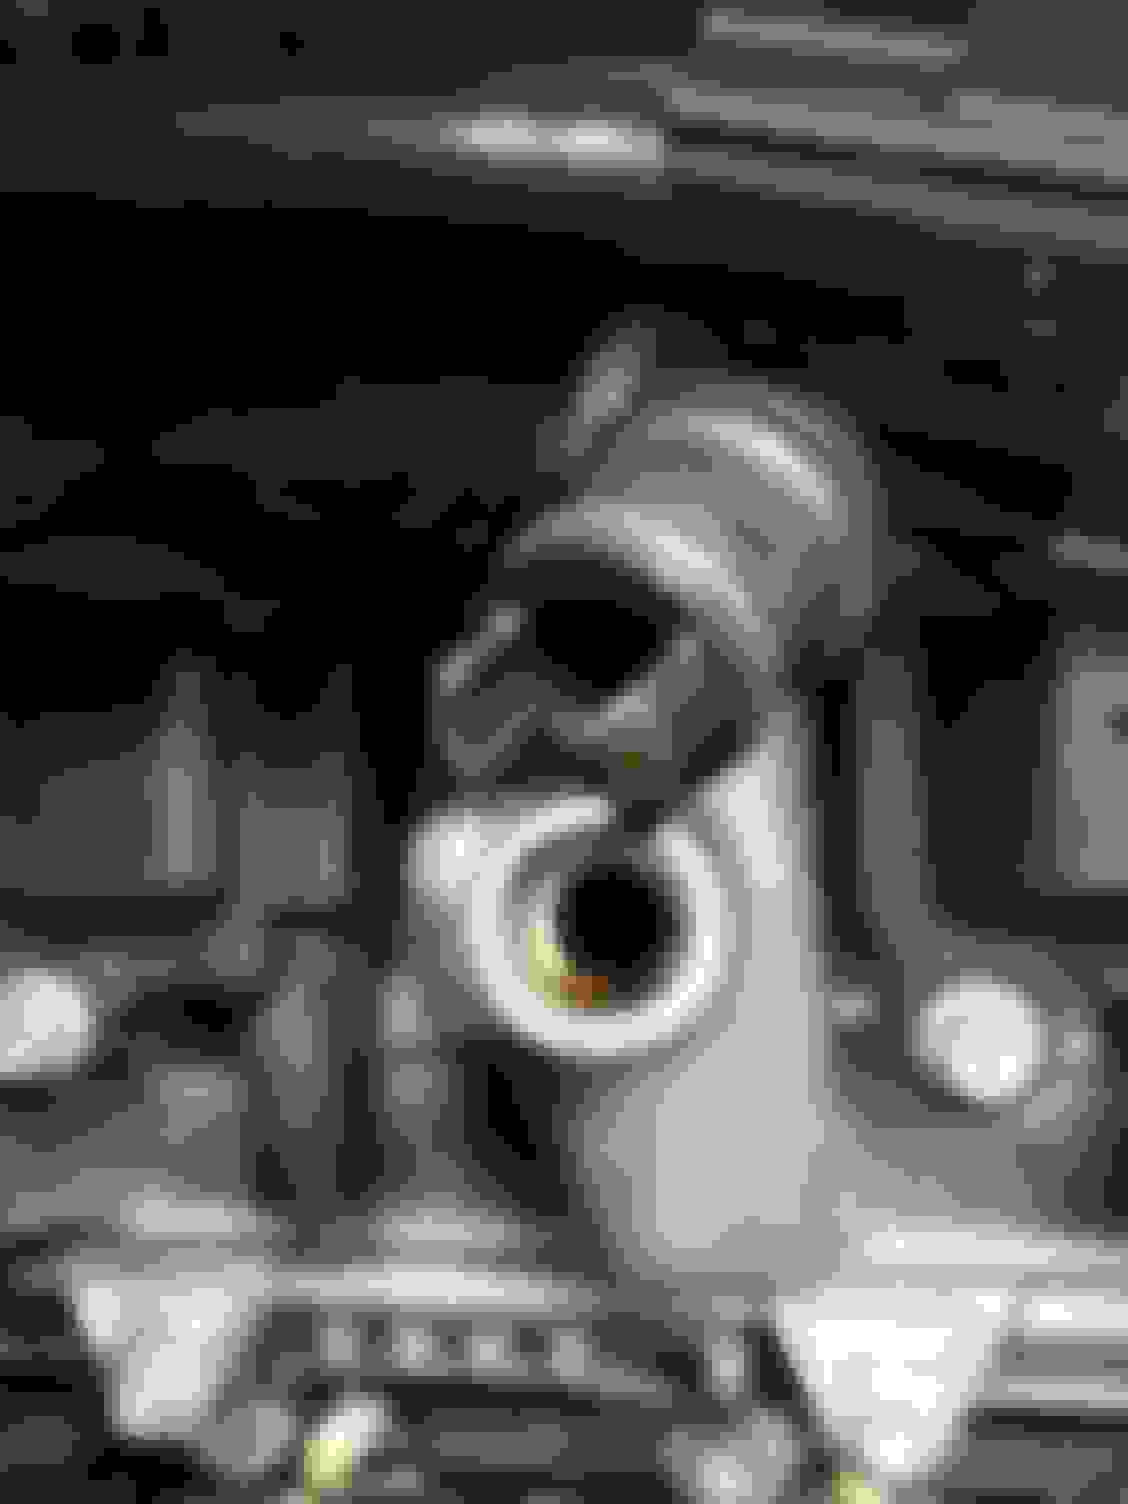
Thanks RedRocket . . . thanks everyone. I did it successfully. I brought the engine up to operating temp, cut it off, and then proceeded to remove the breather lines. Driver's side did NOT have the hooks . . . instead it had a pressure plate that loosened a catch ring. The passenger side DID have the plastic hooks and they released without breaking . . . but you can see in the pick one of the hooks got a little stressed. I'll clean that up before putting it back. Thanks for the help. Here are two pics: the first valve cover installed (driver's side), and the passenger side air line. I'll put the passenger side valve cover on tomorrow (they're a bit a a bear themselves . . . especially trying to do a retro-fit with all the lines in the way).
Don't know if your installation instructions say it, but if they don't, I would put some blue painter's tape on the cover to prevent scratching the new cover during the install. Passenger side is a tight fit.
Don't know if your installation instructions say it, but if they don't, I would put some blue painter's tape on the cover to prevent scratching the new cover during the install. Passenger side is a tight fit.
Thanks Vegas. Excellent counsel. I figured that out AFTER my first scratch (which was fortunately under the rail so not visible). Boy are these tight fits!!! Driver's side done. I'm doing the passenger side this morning. Wish it were the easy one. Oh well. Part of the fun is the doing, right? Thanks!!! Oh . . . and P.S., there were no instructions!
Wish the tube connector was better designed. Just had the same issue with one of the tabs breaking. Couldn't find where it fell. I assume it's not a problem?
Nothing from what I can see. I'm thinking that the heat would make sense, but not the 90 turn. It's just a round hole.
It's a stupid/cheap design and a big PITA!
Broke the tab off of my Z51 today. Anyone know what the tubing assembly is called? I assume the LT4 and LT1 tubing is different??? Seems like the way it is designed you have to replace the tubing assembly and just can't swap the end connector. Looked on multiple GM parts websites and couldn't find the part in the LT1 diagrams...any help would be greatly appreciated.
So, what's the answer to the busted tip?
Bad mechanical results if you just reinstall with missing clip end?
What do I order to replace it?
Do I have to fish out the missing tip?
BTW, I did this with a 90 degree twist, but no engine warm-up.
Personally I wouldn't worry about the plastic...it will eventually end up in the bottom of the oil pan...may come out during oil change? If the broken clip doesn't hold the o-ring in place you could end up with an oil leak.....

 11-13-2015, 06:44 AM


 Thanks!!! Oh . . . and P.S., there were no instructions!