When you click on links to various merchants on this site and make a purchase, this can result in this site earning a commission. Affiliate programs and affiliations include, but are not limited to, the eBay Partner Network.
Assistance please: 1965 deck lid spring replacements
Hi all, looking for some help on installing 2 new springs on my deck lid. sent the lid out to be repainted, deck lid was not staying up when trying to store top. I took out the two springs and now want to install the replacements correctly. Looking for some pictures of where the spring attaches both on top and where on the bottom. I see that the top of the spring can be placed on three different notches. Due to it's age, I can't see where I need to connect the bottom of the spring. Do the open ends of the spring face to the inside of the car or towards the outside. Thx, Chuck
Due to it's age, I can't see where I need to connect the bottom of the spring.
The bottom attachment point is prone to rusting away. Mine were gone. Replacements are available. The AIM suggests using the center
/upper mounting point.
To install the new spring, stretch it using a floor jack, and install shims. After the spring is attached, close the deck lid and the shims will fall out.
To lengthen a spring for installation, simply clamp the loop end in a vise and bend it 90 degrees. Place a thick washer in the space , then bend it the other way and instal another washer.
Keep it up until it is long enough to instal by hand. Close the hood or trunk and the washers fall out.
This task will try your mechanical talent and your patience. Be careful, the spring has a lot power coiled up. Search under my name for the same subject and you will read about my effort. Dennis
Is the lower spring clip a separate piece? Can I put it on top of the bracket, I think I'm going to have trouble placing it underneath. Remnants of rusted metal remain. I didn't intend on taking the complete bracket out, will do if I must remove. Thoughts?
Had to resort to sawzall to remove someone's weld (Bubba style) repair to passenger side.
Thx, Chuck
Someone above said to bend the bottom hook of the spring just a little. Do not straighten it. The reason is, if the catch, which is part of the full bracket at the bottom of the bracket is strong enough, the bend will allow you to catch the spring end easier because of the changed angle of the end. But having said that, if the catch is rusted, it may not be strong enough to hold the spring under full tension. That leads to the whole bracket replacement which is no fun. Can you get some pics of this? Dennis
[QUOTE=Sullyvette;1593926320 Is the lower spring clip a separate piece? Can I put it on top of the bracket, I think I'm going to have trouble placing it underneath. Remnants of rusted metal remain. I didn't intend on taking the complete bracket out, will do if I must remove. Thoughts?
Had to resort to sawzall to remove someone's weld (Bubba style) repair to passenger side.
Thx, Chuck[/QUOTE]
You'll have to take out the bolt to put them in...
He's right, they are separate.
However I hope Bubba hasn't been into yours.
If the fasteners that bolt the hinge/spring assemblies to the body are frozen, or stripped, or in any way buggered up, you might have a bigger problem. Getting to the metal frames to which the fasteners attach is an adventure in itself.
Thank you for your suggestions. I ordered the lower clips today, along with the bolt kit. Still working on getting the passenger side bolt out. I'm thinking a key hole saw or putty knife might clean out the remnants under the existing tower. Wish me luck, lower clips are back ordered. Thx, Sully
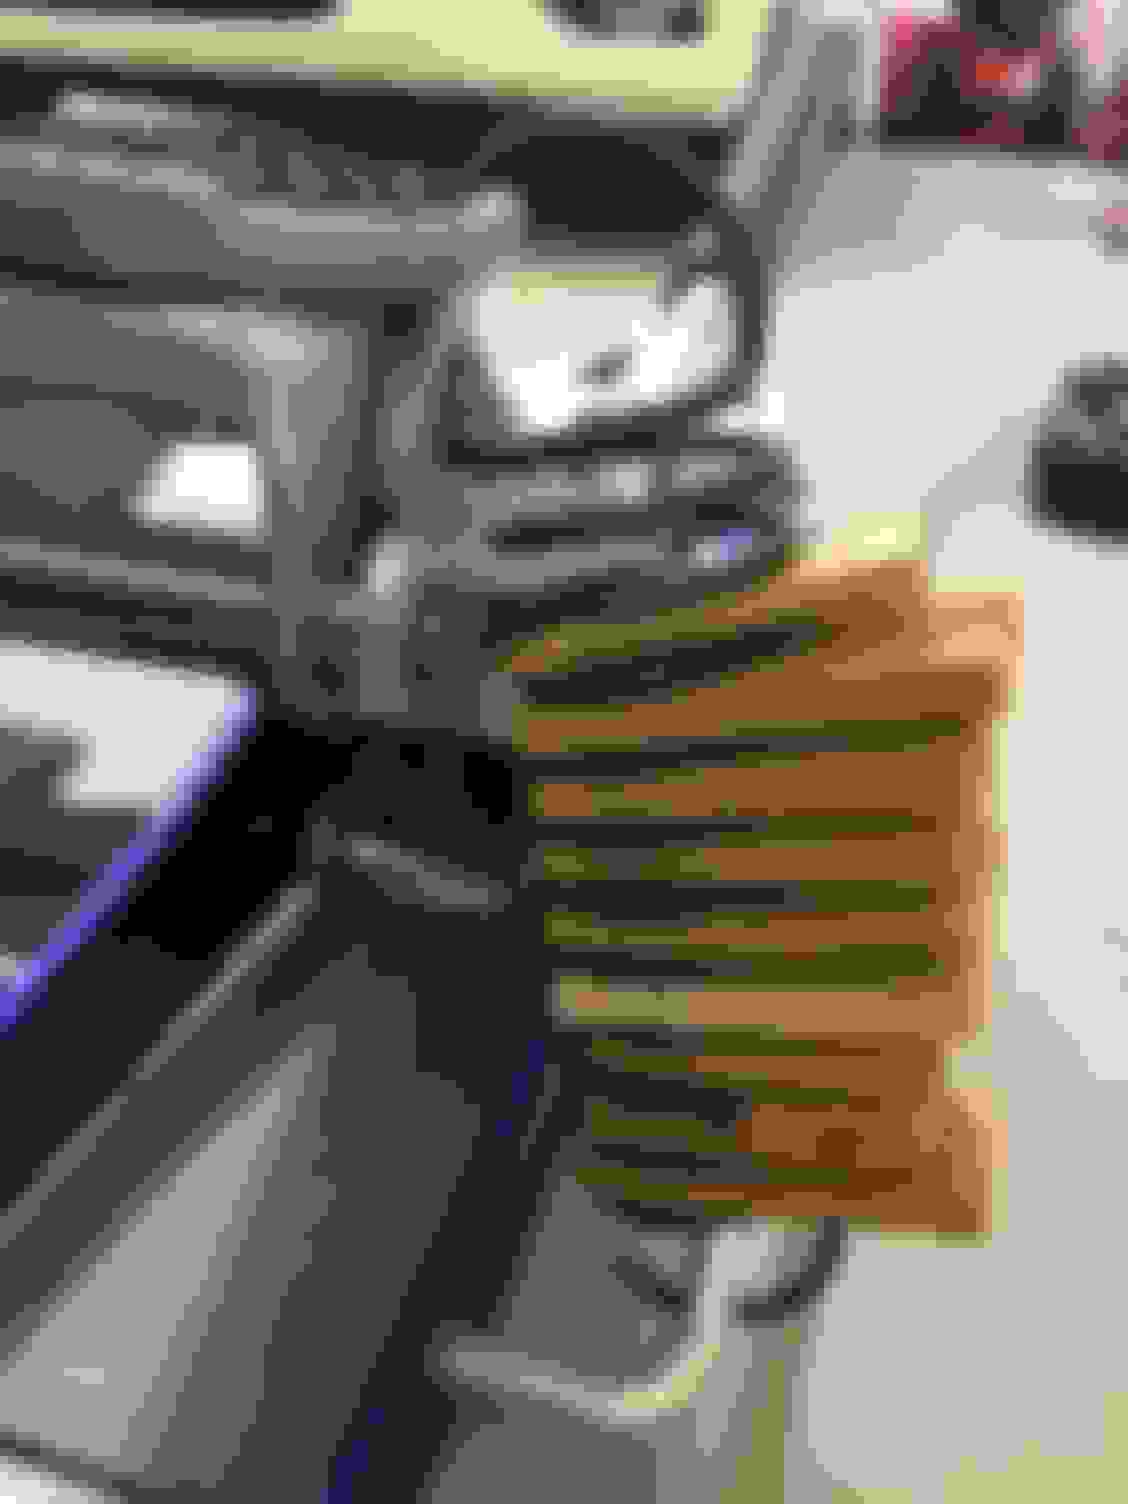
Gott'r Done. Thanks to the assistance from my son, Daniel and numerous Forum members. The trick with stretching the spring with the race jack was among the best. I filled the gaps with wood cabinet shims. I cut them in a vice and placed them in between the spring gaps. It made the spring installation a breeze. I hope the enclosed photo's show how easy this was. Now, as soon as the deck lid gets painted, I can re-install the lid and get ready for the spring jaunt. Thanks again
Guy's
The bottom attachment point is prone to rusting away. Mine were gone. Replacements are available. The AIM suggests using the center
/upper mounting point.
To install the new spring, stretch it using a floor jack, and install shims. After the spring is attached, close the deck lid and the shims will fall out.
Great info from several guys on this post. I hope I don't have to replace mine, but after reading this, I'll be a lot more comfortable tackling it if I ever need to.
Gott'r Done. Thanks to the assistance from my son, Daniel and numerous Forum members. The trick with stretching the spring with the race jack was among the best. I filled the gaps with wood cabinet shims. I cut them in a vice and placed them in between the spring gaps. It made the spring installation a breeze. I hope the enclosed photo's show how easy this was. Now, as soon as the deck lid gets painted, I can re-install the lid and get ready for the spring jaunt. Thanks again
Guy's
Great pics that will probably be linked in the future for helping others.
Deck lid spring. I now want to move the top of the spring to the forward most notch. How do I expand the spring while keeping the spring in the car? I only need a 1/4 inch. Is there a tool out there for this? I put shims in last night but couldn't get the extra height to be able to move the spring to the next notch. My deck lid will drop about 8-10 inches as it's positioned now. The third highest notch would put more tension on the spring and keep it from dropping. Thx, for any thoughts, Sully
Is there always a shim underneath? I have mine out right now to replace the springs and bottom catch, which were both rusted fairly badly. I don't recall there being a shim
Sullyvette, get your son to crawl into the back with shims and a flashlight, then close the lid. This will stretch the spring allowing installation of the shims. Then open the lid and move the spring.
 01-21-2017, 10:16 PM


 Dennis